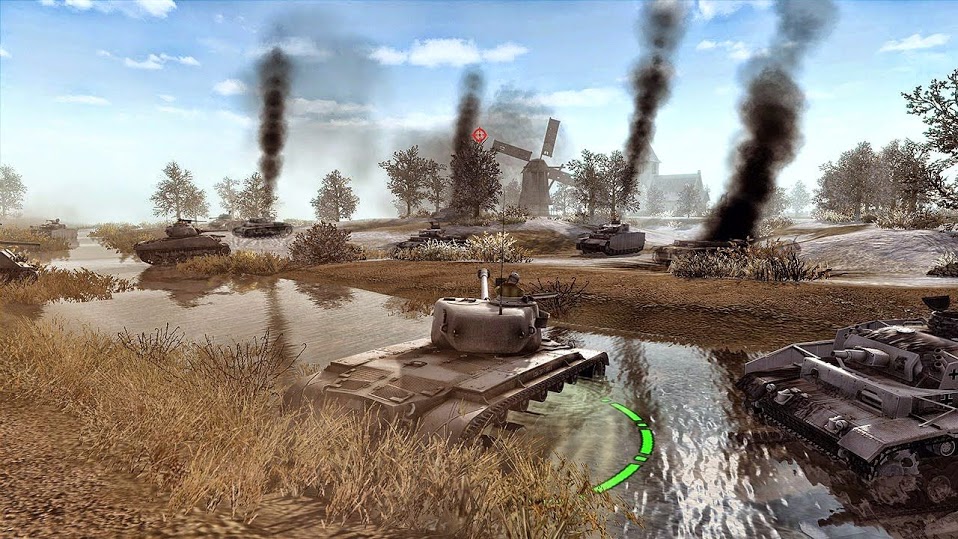
Overview
This is a basic tutorial on how to get started with the basics of the Men of War: Assault Squad’s 2 GEM editor.NOTE: Individual links for every display have been added.As of 21.04.2016, this guide has been remastered once more, proving that I am interested into keeping my contribution as good as possible.
Installing & Launching
1. Go to your Library.

2. Click on the “Install” button, then wait for it to finish.

3. Press on “Install”, then choose the 2nd option called “Editor”.

Loading the Map Stage
4. First, you will see a black screen.

5. Press Esc , then choose whatever map you like.

6. Make sure that you have your Fn good for the Men of war functions ( F1, F2, and so on)

7.Choose what map you would like to work on.


The Map & The Control Panels
8. You will see the map loaded without sky/units/sounds, etc.
Preview of the empty map
Direct Picture
9. F2 is for the heights, colors , dimensions and nature.
Preview of the F2 control panel
Direct Picture
10. F3 is for the units, waypoints, camera, commands, triggers, etc.
Preview of the F3 control panel
Direct Picture
11. F4 is for editing the FX of your mission, alike: sounds, music, etc.
Preview of the F4 control panel
Direct Picture
12. F6 is for changing the weather and for the sky looking.
Preview of the F6 control panel
Direct Picture
13. F9 is for the ability to change the alliance of the units.
Preview of the F9 control panel
Direct Picture
Map Setupping & Putting Units
14. Set up a sky from the F6 tab to make the map realistic and more colourful.
Preview of the map with a sky setted
Direct Picture
15. Then press F3 and put some units (whatever you wish).
Preview of the units who are going to fight
Direct Picture
16. Then put some other units opposite the “Player 0” and change the team to “Player 1”.
Preview of “Player 1”
Direct Picture
Preview of “Player 2”
Direct Picture
17. If you don’t want any unit to retreat, tick the “no retreat” box.
Preview of the “no retreat” box
Direct Picture
Waypoints & Tags
18. You need to put waypoints in order to have a conflict area (where they will fight).
Example of waypoints
Direct Picture
19. Firstly, select player 1 and press CTRL+T.
Preview of the tag panel for “Player 1”
Direct Picture
20. Name the squad however you want. (example: ger for Germans)
Preview of the chosen tag for “Player 1”
Direct Picture
21. Go to waypoints and name it whatever you’d like to, then put random waypoints to the other team by “Add a waypoint”. Then go to triggers , and name it however you’d like to, then Other ➣ actor_to_waypoints and put waypoint 0, then select the tag you’ve put for “Player 0”.
Preview of the trigger panel
Direct Picture
22. You may do the same thing for “Player 1” (do the same stepts above, just put a different tag).
Note: When you’re going to put waypoints for “Player 1”, make sure to select in the trigger at “Waypoint” the first point you have selected (such as -> “Player 0” from the point 0 to the 5th point -> “Player 1” from 6th point until the last point of it).
Preview of the triggers after both of the teams have been waypointed and tagged
Direct Picture
Some Bonus Features
23. If you want the units to move fast, or slow, you can do that by the following trigger: make a new trigger ➣ actor_state ➣ put the tag at “selector” ➣ speed ➣ whatever you like. The fastest one is “Bow”.
Preview of the actor_state panel
Direct Picture
24.If you want a music during the battle, make a new trigger ➣ Scene ➣ Music and put whatever you’d like to.
Preview of the music panel
Direct Picture
25.If you want to move your units, press F1 and you can move them.
Preview of a unit moving
Direct Picture
During The Battle
26.Press Start , located at the right corner, down.
Preview before the battle
Direct Picture
27.You will see that both “Player 0” and “Player 1” are following the waypoints. If you didn’t give waypoints for “Player 1”, only “Player 0” will follow their waypoints, while “Player 1” won’t follow anything.
Preview during the battle
Direct Picture
Preview after the battle
Direct Picture
28. If you want to end the battle, just press “Finish” in the down-right corner, and the map will respawn as it was before the battle.
Preview after pressing the “Finish” button
Direct Picture
Note: You may change the players during the fight from your numerical side part. (0-9)


