![Halo 3 - ALL COLLECTIBLES [Terminals & Skulls] for Halo: The Master Chief Collection](https://steamsolo.com/wp-content/uploads/2021/07/halo-3-all-collectibles-terminals-skulls-halo-the-master-chief-collection.jpg)
Overview
This guide is created to direct you to every single skull and terminal in the Halo 3 campaign and multiplayer, if you want to see the collectibles in the level you’re currently playing then click on the tabs on the right edge of the screen to skip to them. Each one is organized based on the order you would find them in each mission.IMPORTANT!: YOU MUST BE PLAYING ON AT LEAST NORMAL DIFFICULTY FOR THE SKULLS TO SPAWN! IF YOU GO THROUGH ON EASY YOU WILL FIND NOTHING!ALSO IMPORTANT: USE THE ACROPHOBIA SKULL TO GET ALL OF THESE SKULLS MORE EASILY. NO MORE SKILL JUMPS REQUIRED!If this guide is helpful and you’d like to easily find it again you can click on the star at the top of this guide to add it to your favorites. Also remember to dislike/like this guide if it was bad or helpful.
Sierra 117
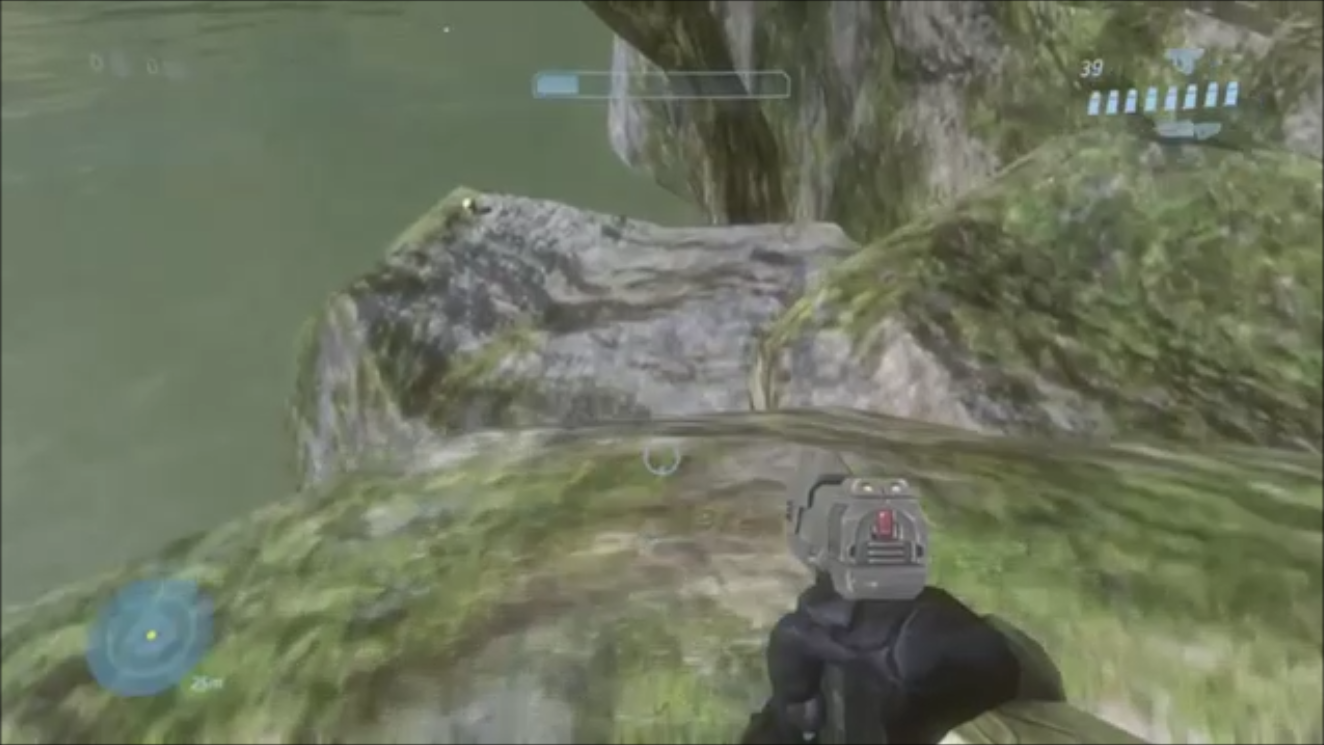
At the first encounter with covenant you can see a lake or river in the distance, at the edge of the water there is a rock with your first skull sitting atop it
This is on the right side of the shore line

Later on in the mission you will need to rescue johnson from this building, above the building is a high ledge you can jump on from the bridge.
At the FAR end of the ledge your skull is waiting to be claimed
This concludes Sierra 117’s skulls


Crow’s Nest
At the very start of the mission your first skull is literally above your head on an air duct. To get there we will walk to a weapon rack at the other side of this room and jump on it to reach the vent.
Here is another view looking down from where we started the mission


Later on after this we will be meeting a brute chieftan and some buggers.
In this tunnel with the buggers we will see our second skull in another tunnel hidden below us
This concludes Crow’s Nest


Tsavo Highway
Tsavo Highway has only 1 skull for us but it is WELL hidden below the highway after we defeat some buggers behind an energy shield blocking our path
Now we will look down to our left side for a place to drop down
The skull will be even further to our left beyond this short chasm
Here it is, sitting on that rock across the chasm
This concludes Tsavo Highway


The Storm
The Storm is another single skull mission but it has a little trick up its sleeve! At the first outdoor section with the AA wraith the skull will spawn on top of a silo (?) of some sort petruding from the mud. But if you destroy the wraith the skull will despawn.
Park your hog by the silo and jump on top or ‘nade jump on (with cowbell skull enabled) and the skull appears after a few seconds
This concludes The Storm


Floodgate
Floodgate is SOOOO easy. at the first 10 seconds of the mission a human combat form will spawn on top of a building in front of your path carrying your skull.
If you shoot him he will always drop it to the ground for you.
This concludes Floodgate


The Ark
Okay so this mission is where things get spicy. we have our first terminals and LOTS of em!
After you fight the first pair of hunters in the sniper section of the mission you will get to this hallway and the first terminal is waiting for you after you hang a right
As you follow Johnson’s pelican to the two AA wraiths you’ll be destroying you’ll find yourself under this platform, the next skull is on this platform’s struts
Jump up on a rock or ‘nade jump up to the platform
Another big jump is needed to reach the skull now (try using the cowbell skull if you struggle with ‘nade jumps)
After playing through the tank section you will be prompted to activate a bridge by 343GS and behind you is your second terminal
After fighting the scarab there is another terminal inside the building that houses The Ark’s Silent Cartographer (just after the brute who is pissing on a wall)
And JUST after this will be the final skull on this mission in the next hallway following that last terminal. Make sure you grab a grav lift before killing the scarab and save it for this section
The skull is on the TOP level of this shelf type structure
This concludes The Ark


The Covenant
The Covenant is the last insane level for collectibles. But this one really is insane.
The first terminal is in the first tower beside the elevator.
Now we have 1 skull and 1 terminal in the same location, the second tower which The Arbiter has cleared for us
Skull is on the long platform up high
Terminal is down below within the tower entrance
Final terminal of the mission is in tower 3 by the elevator just like tower 1
Final skull of the mission is too confusing to explain here. I’ll leave you with a high quality video from the golden age of halo 3 :3
This concludes The Covenant


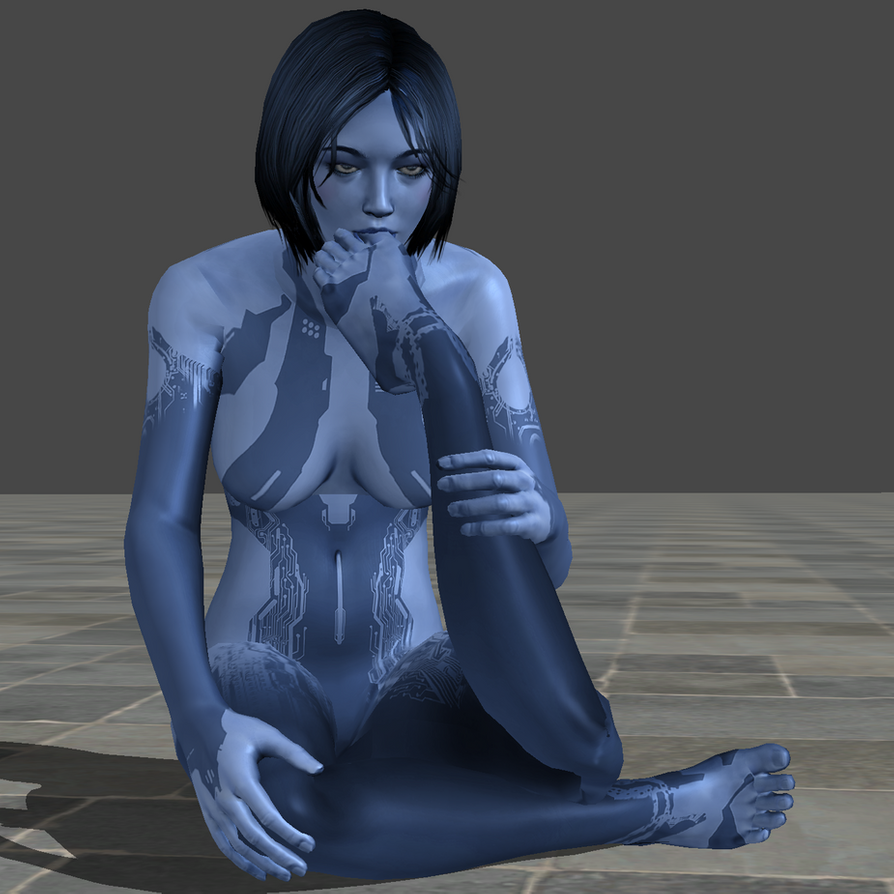
Cortana’s feet
Cortana has only 1 skull. This skull is located in the big room you come across 1/3rd of the way through the mission
The skull is on top of the large centerpiece hanging above your head when you walk in
This conclude’s Cortana’s feet


Halo – it’s finished.
I think we’re just getting started.
Both the terminal and the skull are located at the very start of the mission. just walk to the cave and hug the right side
Skull
Terminal
This concludes Halo 3’s Singleplayer skulls/terminals


MULTIPLAYER – SANDBOX
This one just like the IWHBYD skull is too tedious to explain here. I’ll leave ya’ll with another old gem from the glory days

MULTIPLAYER – Assembly
The skull on Assembly is located on one of the black pipes spanning the top of the map. Fly up in forge to easily collect it.

MULTIPLAYER – Citadel
On the blue spawn side of Citadel there is a skull hidden in a crevice between the ceiling and the blue spawn wall. It’s only a few steps away from the over-shield spawn

MULTIPLAYER – Heretic
This is the remake of the halo 2 map ‘Midship’. Above the blue side of the map there are some shutters which has your skull on top. Fly up in forge mode to collect!

MULTIPLAYER – Longshore
Fly over in forge to the whale sign by the water. There’s a duct there with your skull


MULTIPLAYER – Orbital
There’s an elevator shaft near the middle of the map and if you fly up in forge to the ceiling of this shaft your skull is sitting upon a ledge which you may land on.
Congrats! You’ve completed all multiplayer skulls now! Unless you’re saving stupid Sandtrap for last…
