Overview
This is a beginners guide in taking and editing screenshots in Insurgency Sandstorm using the replay feature. There are currently no other guides on this subject so it took me quite a while to figure it out. So I am making this guide to make it easier for others to taking better looking screenshots.
1. Load a map
You can do this on community servers or official servers, completely up to you. The biggest difference between the two is that community servers support mods and modded maps and that you can easily find empty servers if you only want pictures of yourself, or if you want to stage a photo with some friends. Official servers do not support mods or modded maps, and you do not know which map you will play on, but if you want a picture with a lot of people doing objectives and shooting at each other, then this might be the way to go.
If you can, I recommend making your own server so that you can choose which map to play on, what mods to play with, how many bots you want, and you can make it password protected so only you and potentially your friends can join. However, this requires more setup and might be too much if you are only trying to take one picture. But don’t worry there are a lot of empty servers with mods.
(Keep in mind that night maps appear as day maps in the replay mode for some reason, so it will look like you are running around with night vision during the day.)
2. Play the game
When you have chosen a game to play, all you have to do is play the game. Make the loadout you want for the picture and start posing around the map, shoot things, throw grenades/molotovs and stand in front of them, etc. Do whatever you want, because the way we are going to take the picture is by using the replay mode, so what you are doing while playing is what you will be able to take pictures of.
3. Take the photo
The controls for the replay mode are the following:
If you want to change any of these, open the settings and go into Binds, once here go all the way down to the subcategory Spectator. I have personally changed Increase- and decrease Playback Speed to Numpad+ and Numpad-.
When this is set up, the next step is to watch the replay, and to do this simply go to the main menu, press stats and then press history and here you select the latest game and press watch.
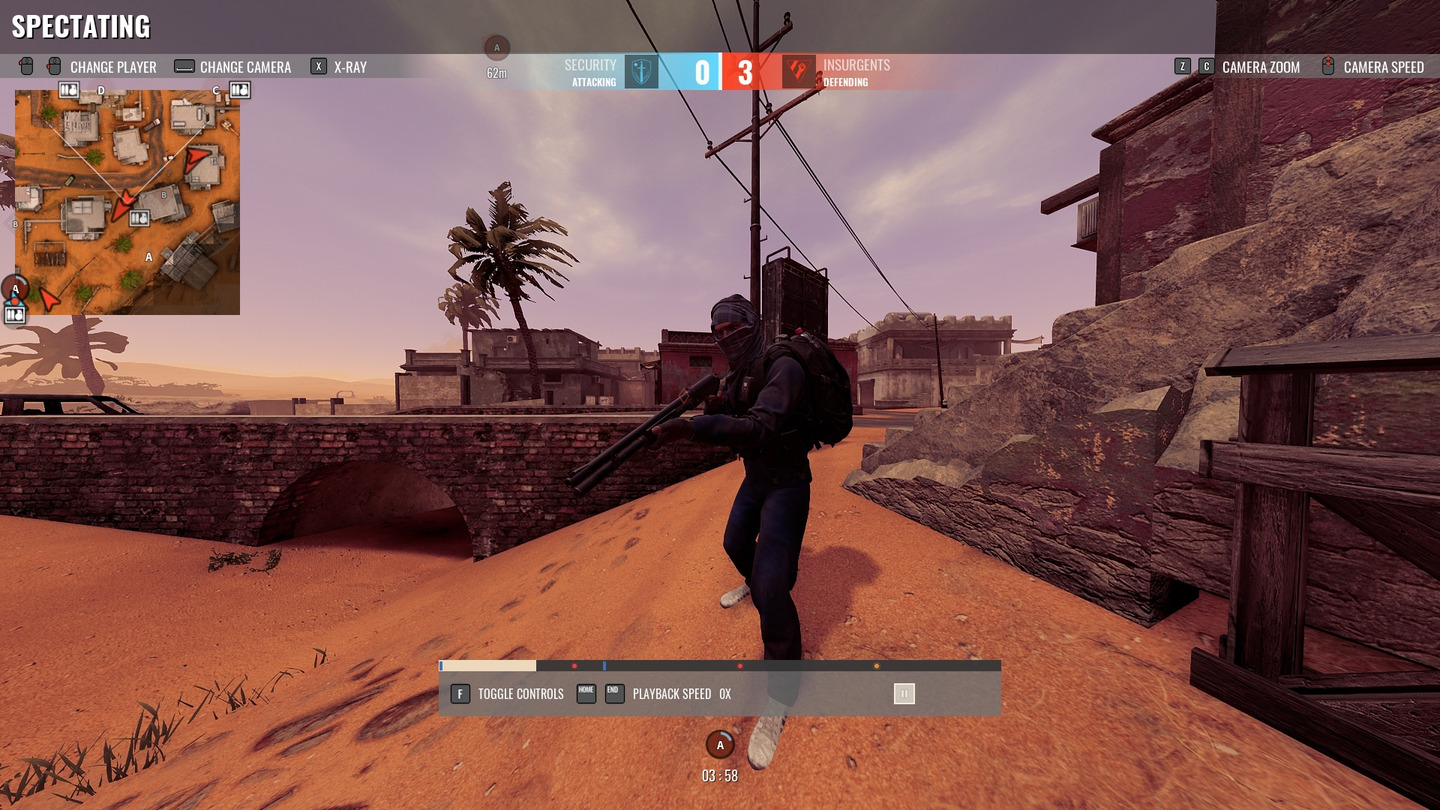
At the bottom of your screen, you will see this control panel, this is where you control the time. You can skip forward in the replay to different moments, change the playback speed and fully pause it.

The khaki-colored line indicated where in the timeline you are. And the blue small stripes show when the round restarted, the red dots show when one side captured an objective and the orange ones are when one side destroyed an objective.
And then you can see your current playback speed, keep in mind that even if it says 0x it still moves but really, really slowly. So in reality 0x means something like 0,1x. If you want to fully stop it you need to press the pause button on the right. Sometimes it does not let you use the mouse to press pause, when that happens you simply have to toggle on and off the control panel with F.
Now all you have to do is fly around and find something you want to take a picture of, or if you posed when you were playing, just follow your character around until you see him do it or skip forward in the timeline if you know roughly when he will do it.
The first thing to do when you have found what you want to take a picture of, make sure you fully pause it, so it does not move. And then turn off both the hud and control panel using H and F.
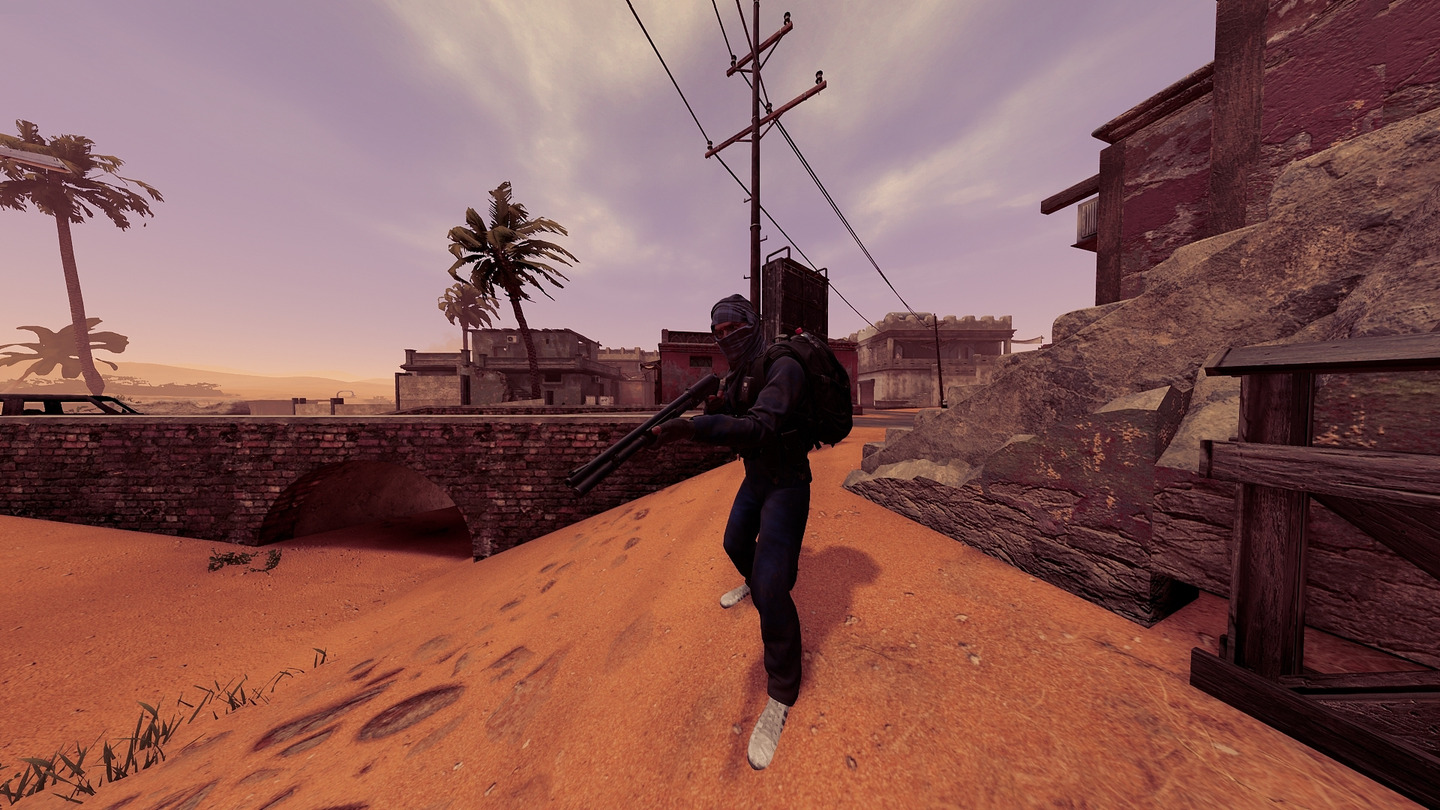
Next, I recommend zooming in using C and Z when setting up the shot because, in my opinion, this looks a lot better than the default zoom level.
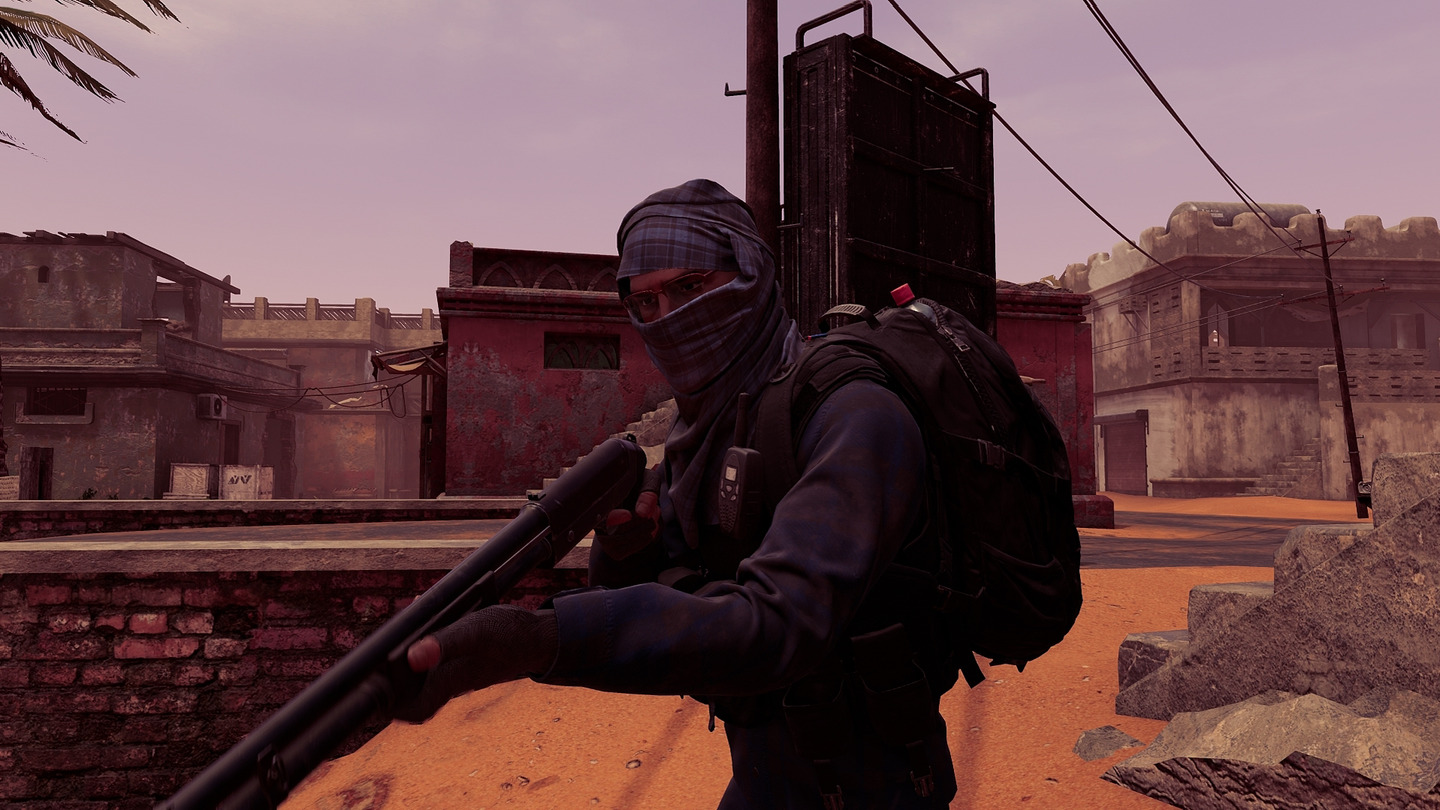
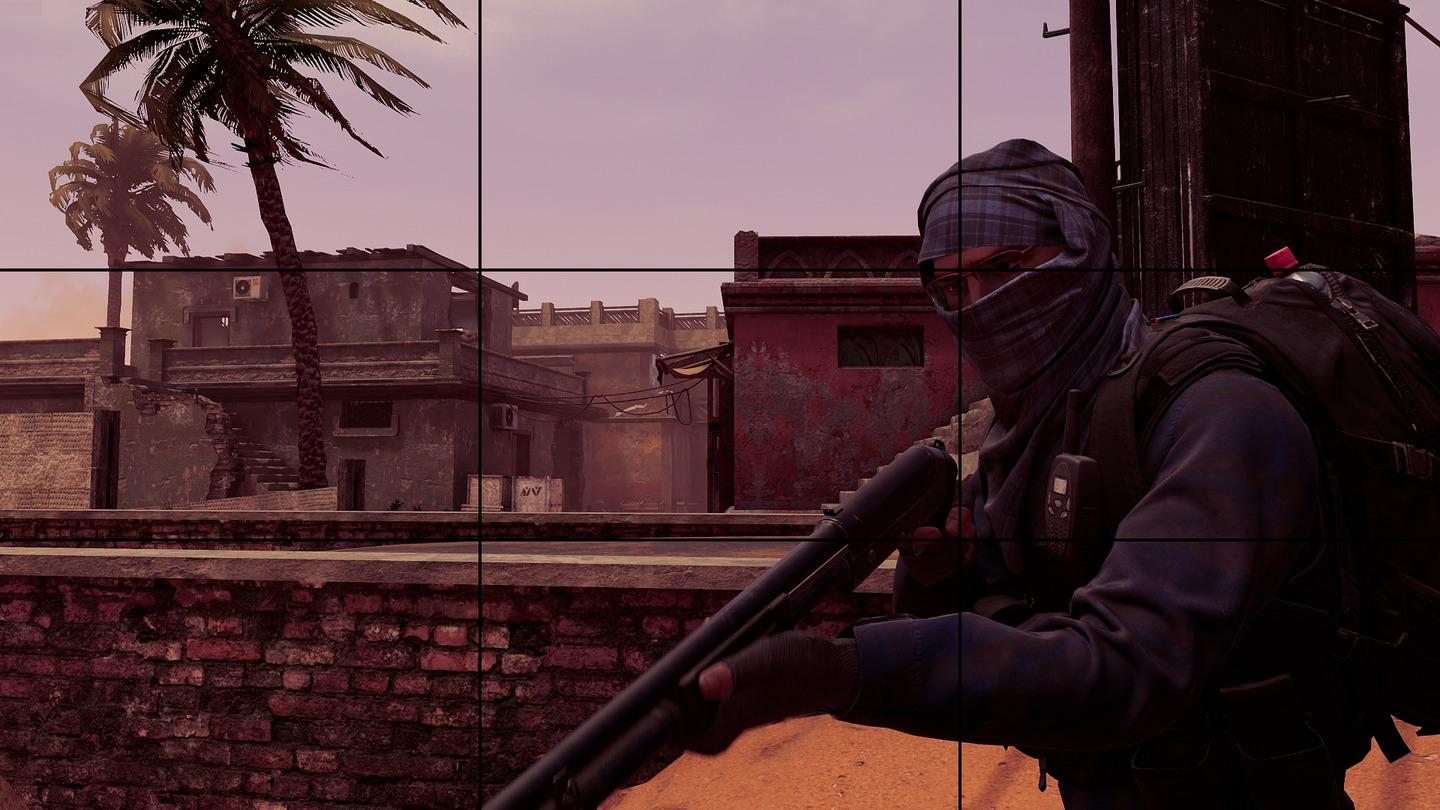
And the last thing I like to use the “Rule Of Thirds”. Basically what that means is that you imagine a grid with two lines both vertically and horizontally, dividing the screen into 9 squares. Then you simply put the object in the cross-section between these lines, I usually put the head in the top right or top left cross-section.

When you have set up the shot the way you want it, all you have to do is to press F2 to take a screenshot using Steam. You do not have to use Steam, you can use other programs too. But I recommend using Steam or if you have an Nvidia Graphics card you can use Nvidia’s Photo Mode by pressing Alt+F2 and with this, you can take higher resolution pictures using their Super resolution photo capture mode. If you use this I recommend choosing the AI-Up Res method.
If you use the Steam version, to get access to the photo what you will have to do is open Steam, hover the mouse over your username and press Content, and then press Upload Screenshot, here you have to choose Insurgency Sandstorm and then click Show on Disk. From here you can move the screenshot to where ever you want it, and then import it into your photo editor of choice, for me it is Photoshop.
4. Edit the photo
Everyone edits their photos differently, but I’m going to show what I do to mine. I edit mine in Photoshop, there are probably free programs that can do the same thing, but I do not know any, so you will have to look it up yourself if you do not have access to Photoshop. I’m not going to explain what everything means so to understand this you will need a basic understanding of Photoshop.
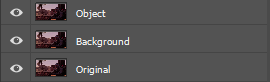
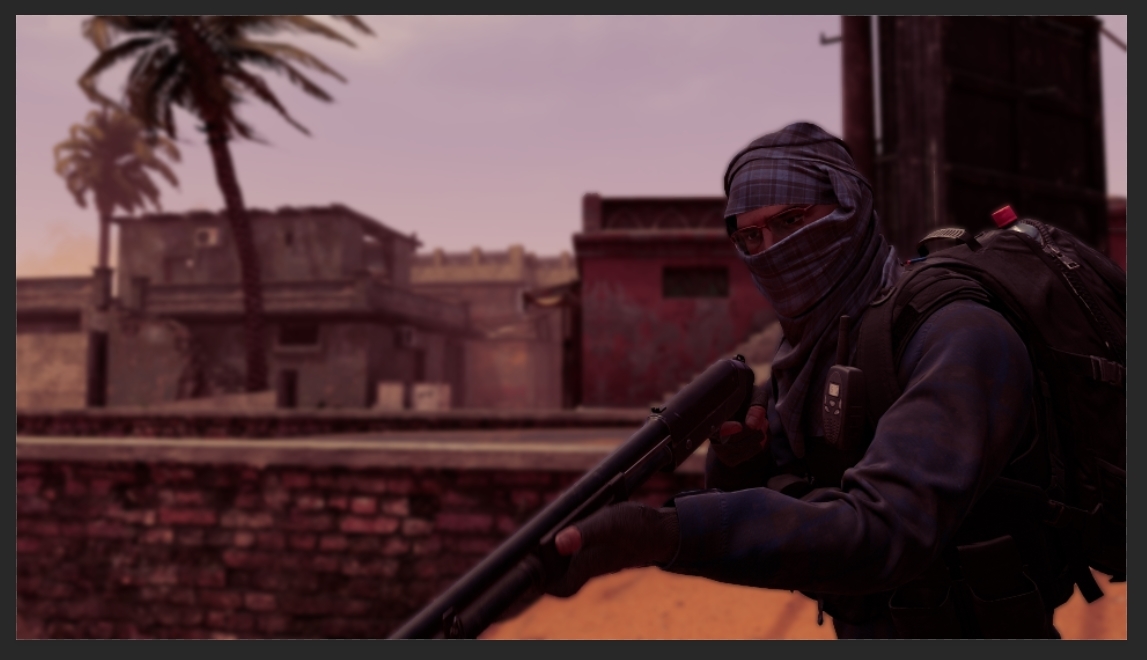
The first thing I do is duplicate the image twice, I call the first one Original, the second one Background, and the third one Object.
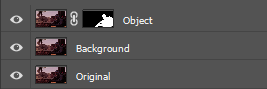
I then cut out the object using the Pen Tool and create a mask and then a layer mask so that I can make changes if I need to further down the line.
Then I add Gaussian blur to the Background layer to simulate the fact that a camera can only focus on one thing at a time. Making it look a lot more real. Do not overdo the blur.
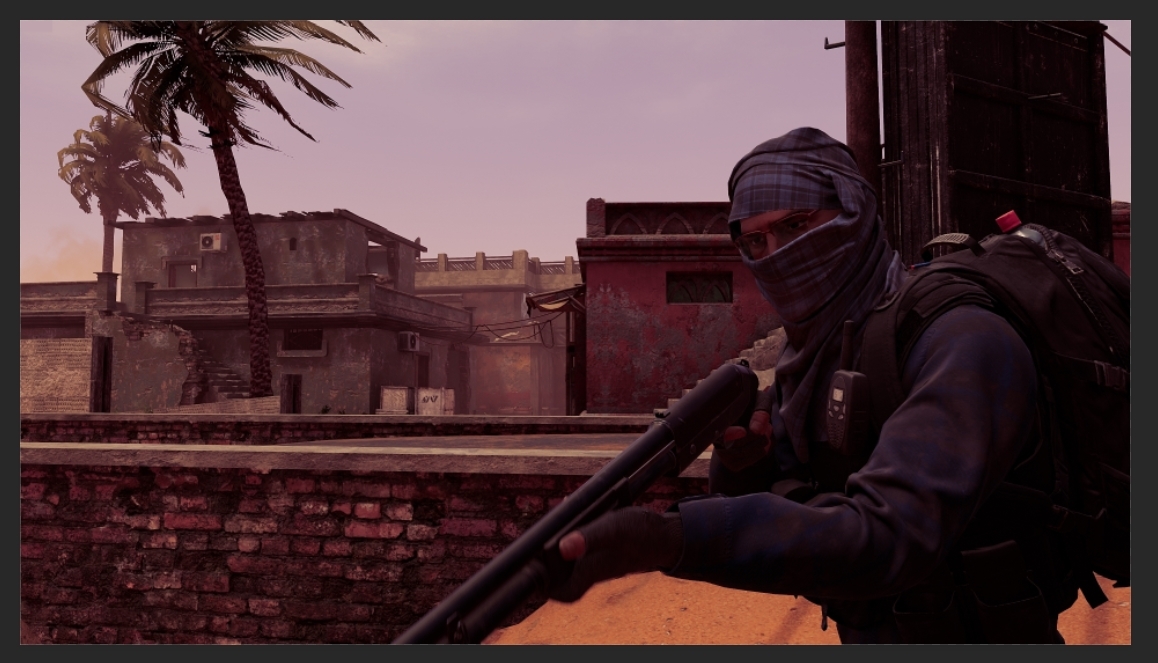
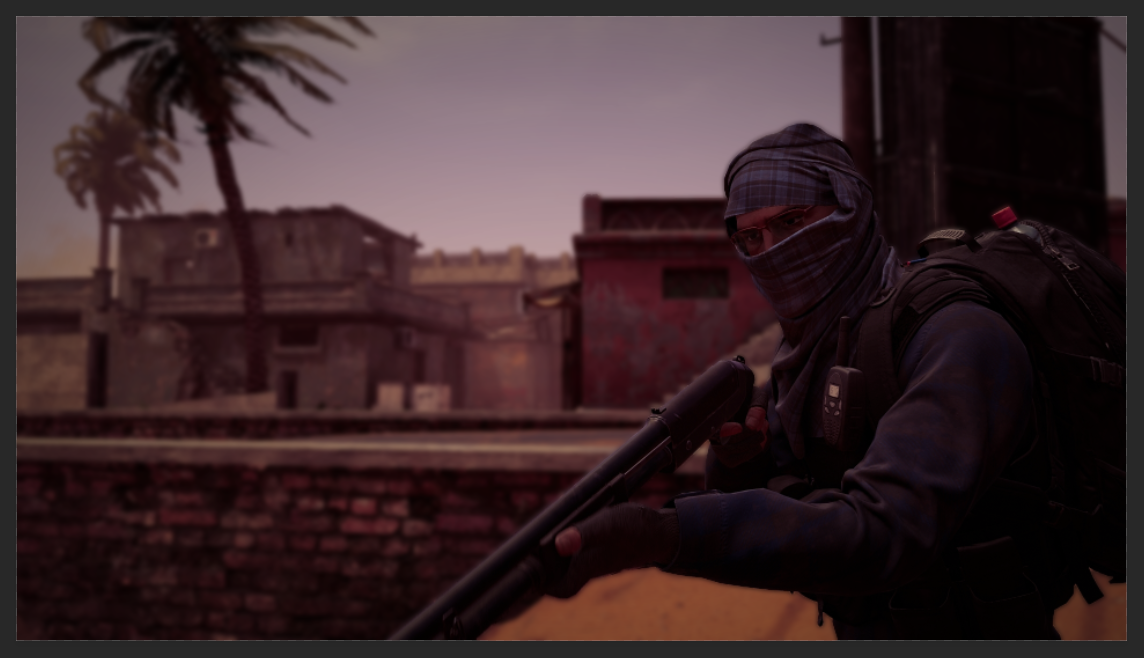
The next thing I do is add a vignette, I do this by making a new layer, naming it vignette, and then making it completely black, I use the Elliptical Marquee tool and I make an oval shape from edge to edge, then I invert the mask using Ctrl+Shift+I and make a layer mask. You can then reduce the amount by lowering the opacity.
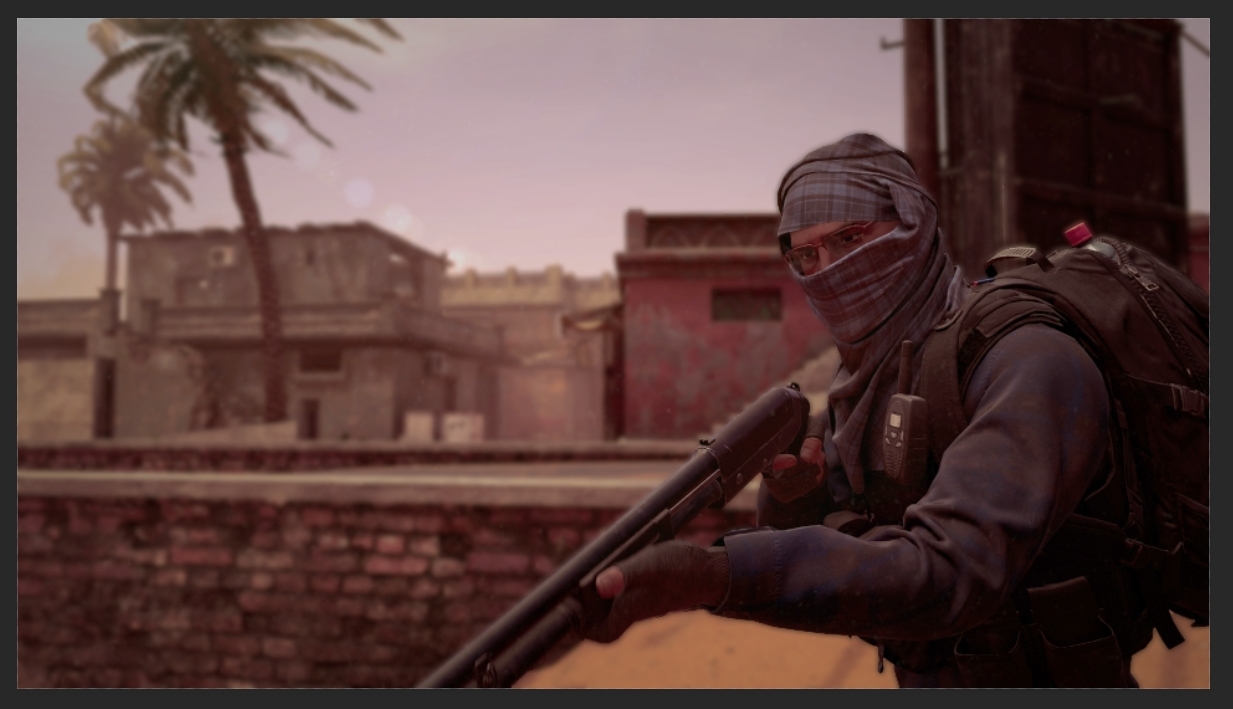
Then I add dust and other particles and textures to make it “less perfect”, I just google lens flares black background, dust black background, etc. When I have found images I like I use the screen blend mode to remove the black background.

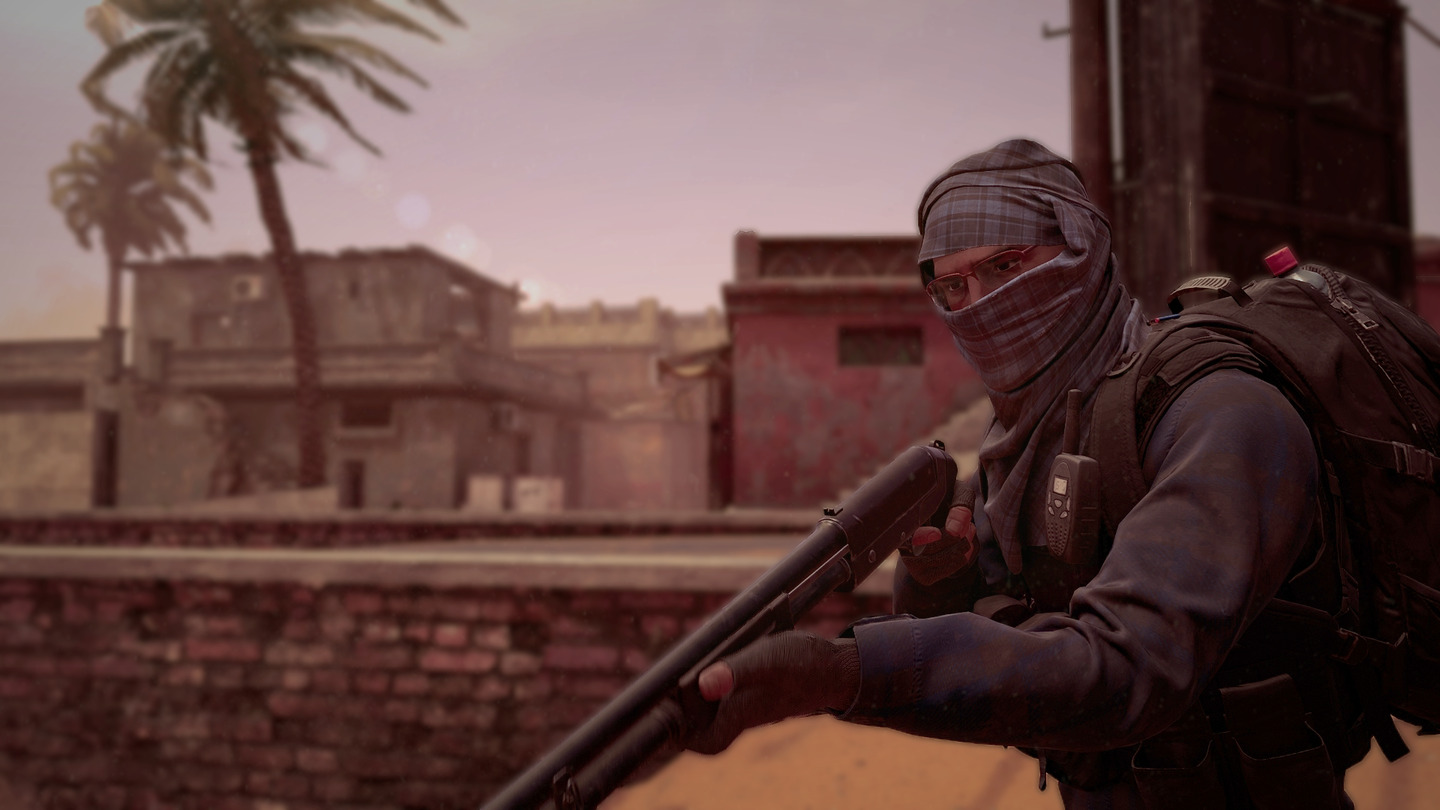
Lastly, color correction. This is going to be different depending on what kind of picture you have, which end goal you have, the temperature in the image, etc. Just test stuff and see what fits and what you like.

5. Thank you
Thank you for taking the time to read this guide, I hope it has helped atleast someone learn how to take better screenshots or atleast given some inspiration, tips or new ideas. Regardless, thank you for reading!