Overview
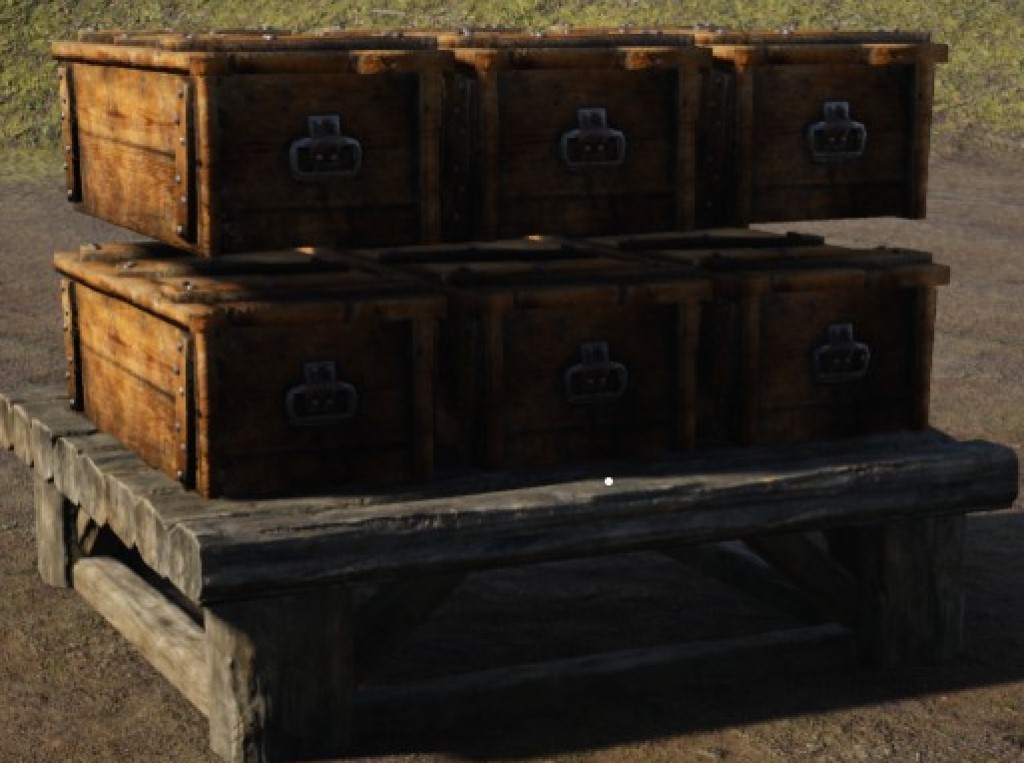
since V5.0 has dropped this guide is now featuring outdated information. there has been a Chest Rack added that will hold up to 6 chests (ahem 9 chests) now 🙂 …. its far less work than using this method :Dhowever that said, this method can also be employed to stack building elements such as Sloped Roof parts to create smoother roofs over more foundations. i may edit this guide to reflect this.Heres a solution for more compact storage. this is a quick step by step guide on my method for accomplishing this set up.
Setting the Stage
First step is to find the base height you would like to work from
Next, first raising your foundation 8 clicks on your mouse wheel, carefully align it with the first ghost image you placed.
Build the Foundation you just placed
Then place a wall ghost image
you can mirror this to create 2 Foundation wide Storage Halls also, in addition you can expand in length as much as needed.
Chest Placement
Now using the ghost wall as a center align your chest and place it with the front edge on the seem between the 3rd and 4th slats in the foundation from your side.
Place 2 more chests, one on either side.
Now delete that foundation, whats left should look like this.
Next snap and place a new Foundation to the ghost Foundation you set your base height with. build the Foundation you just placed and should look like so.
Lastly place the remaining 3 chests on this Foudation, i like to offset these chests by 1 slat in the foundation to create a tiered effect that hides the gap a little better.
The end result is nice and clean, there is a bit of patience involved as well as wasting a bit of resources. keep in mind the more chests you want, the more resources you will sacrifice.


