![MSC Achievement guide [ENG] for My Summer Car](https://steamsolo.com/wp-content/uploads/2021/07/msc-achievement-guide-eng-my-summer-car.jpg)
Overview
(Guide updated 7th March 2020) Includes now: “Finnish sisu!”, “Hannes Kolehmainen”, “Can’t stop smoking now”, “Smoking kills” and “Darwin award”. More achievements will be added to the guide soon.
–> Introduction
Guide for those “harder” achievements, which description doesn’t tell what to do to get the achievement.
For example = “Grand Theft Teimo” and description only says “You little punk!”.
– Newest achievements are marked “NEW” and put on the top on the guide.
Also i have updated some old screenshots and in the guide.
– Achievement icons were updated (17.4.2017).
– Those ones which require permadeath mode, have different icons than normal ones.
Normal achievements (locked and unlocked)


Permadeath mode achievements (locked and unlocked)


TIP:
I recommend you to do “Yeast Festival” first, (You have to make Kilju and it takes 5-6 ingame days until it’s ready, so you could do other achievements while Kilju is brewing).
NEW – Finnish sisu!
Dont care about rumors, this doesn’t require permadeath mode!
You have to finish rally with major suspension damage. This “major suspension damage” can happen if you crash hard, OR it can be done by unbolting parts. In this guide i show what parts to unbolt.
This can be done on saturday and on sunday. (In this guide and video it is saturday).

–> This guide includes video below.
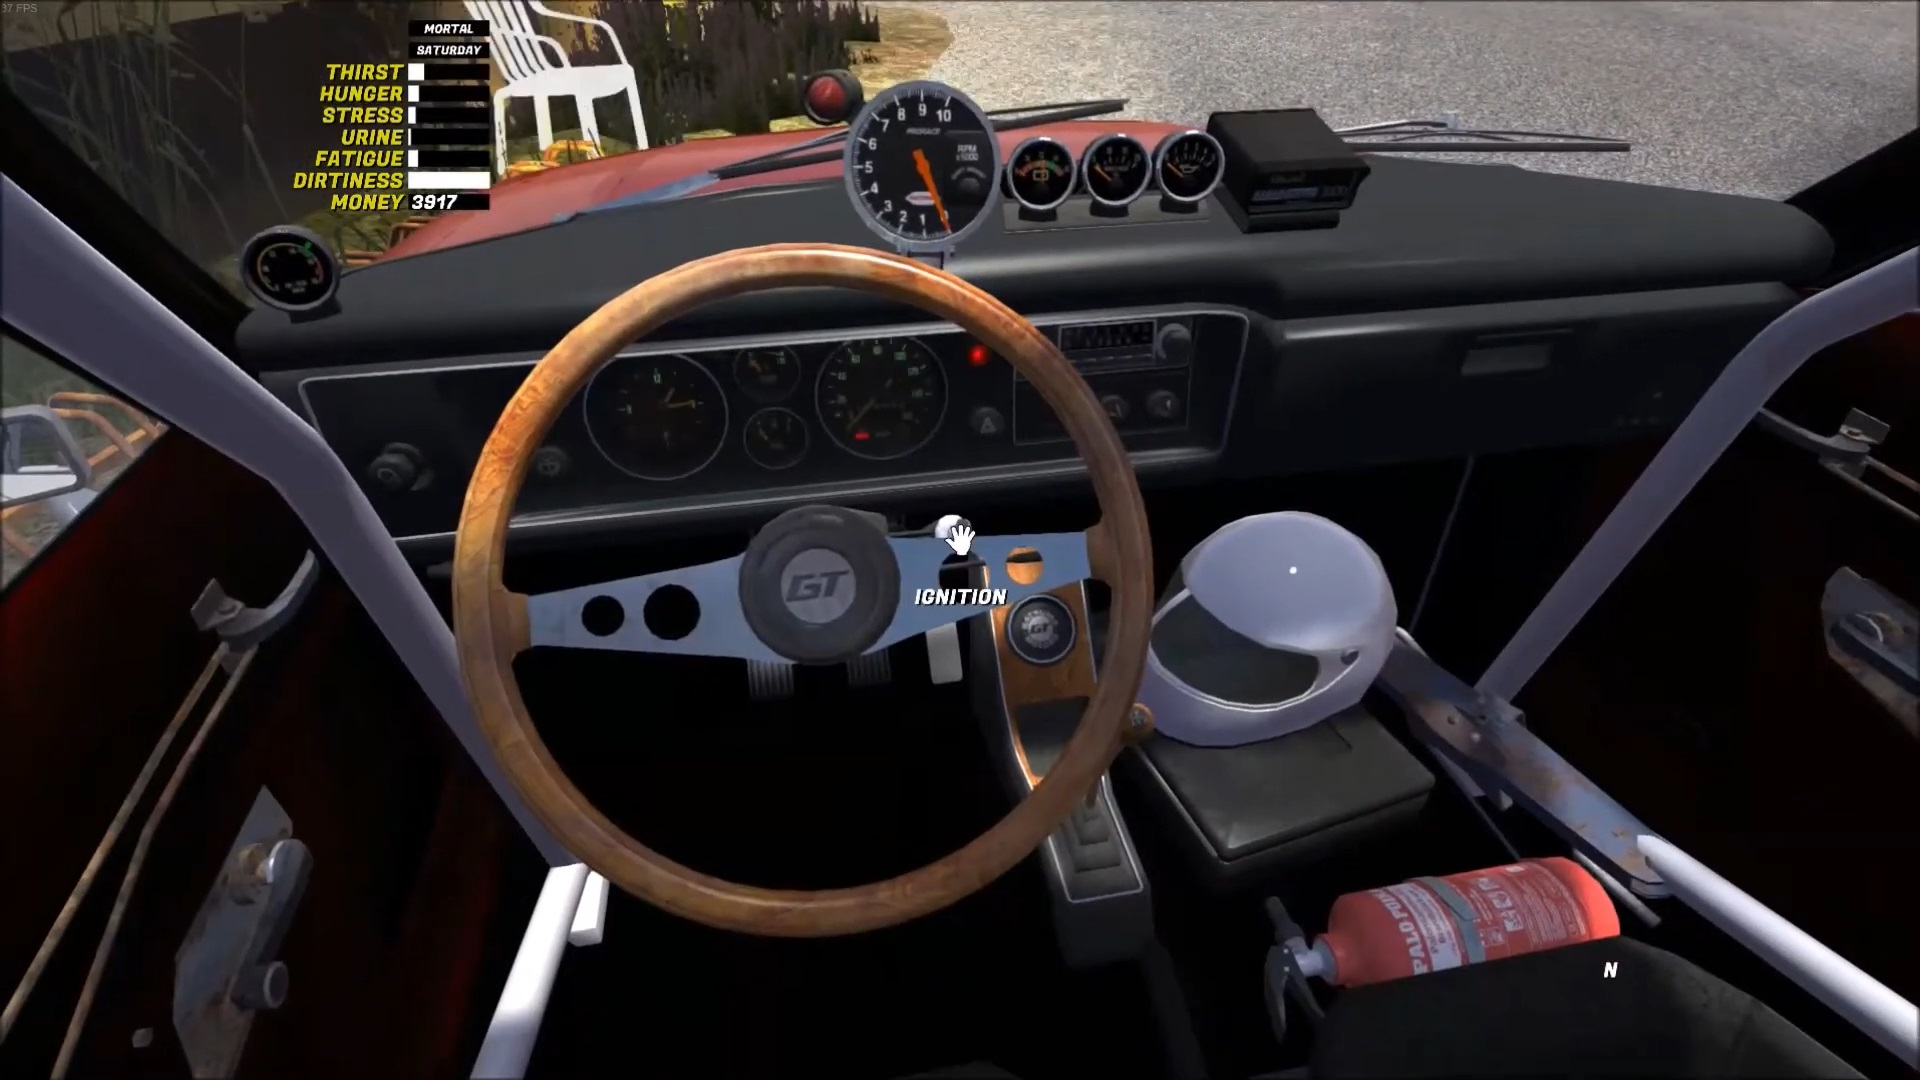
First your Satsuma must be ready for the rally:
– You must have: Inspected Satsuma, Fire extinguisher, Roll bars, Bucket seats with 4-point harness, Rally tires and Helmet, you must have it nowadays.
– You also need to have toolbox and car jack in the Satsuma, so you can lift the car and unbolt the parts.
You dont have to have any performance parts, if you dont have them. Your rally time doesn’t matter, you only have to complete the rally with “broken” Satsuma, no matter how long it takes.

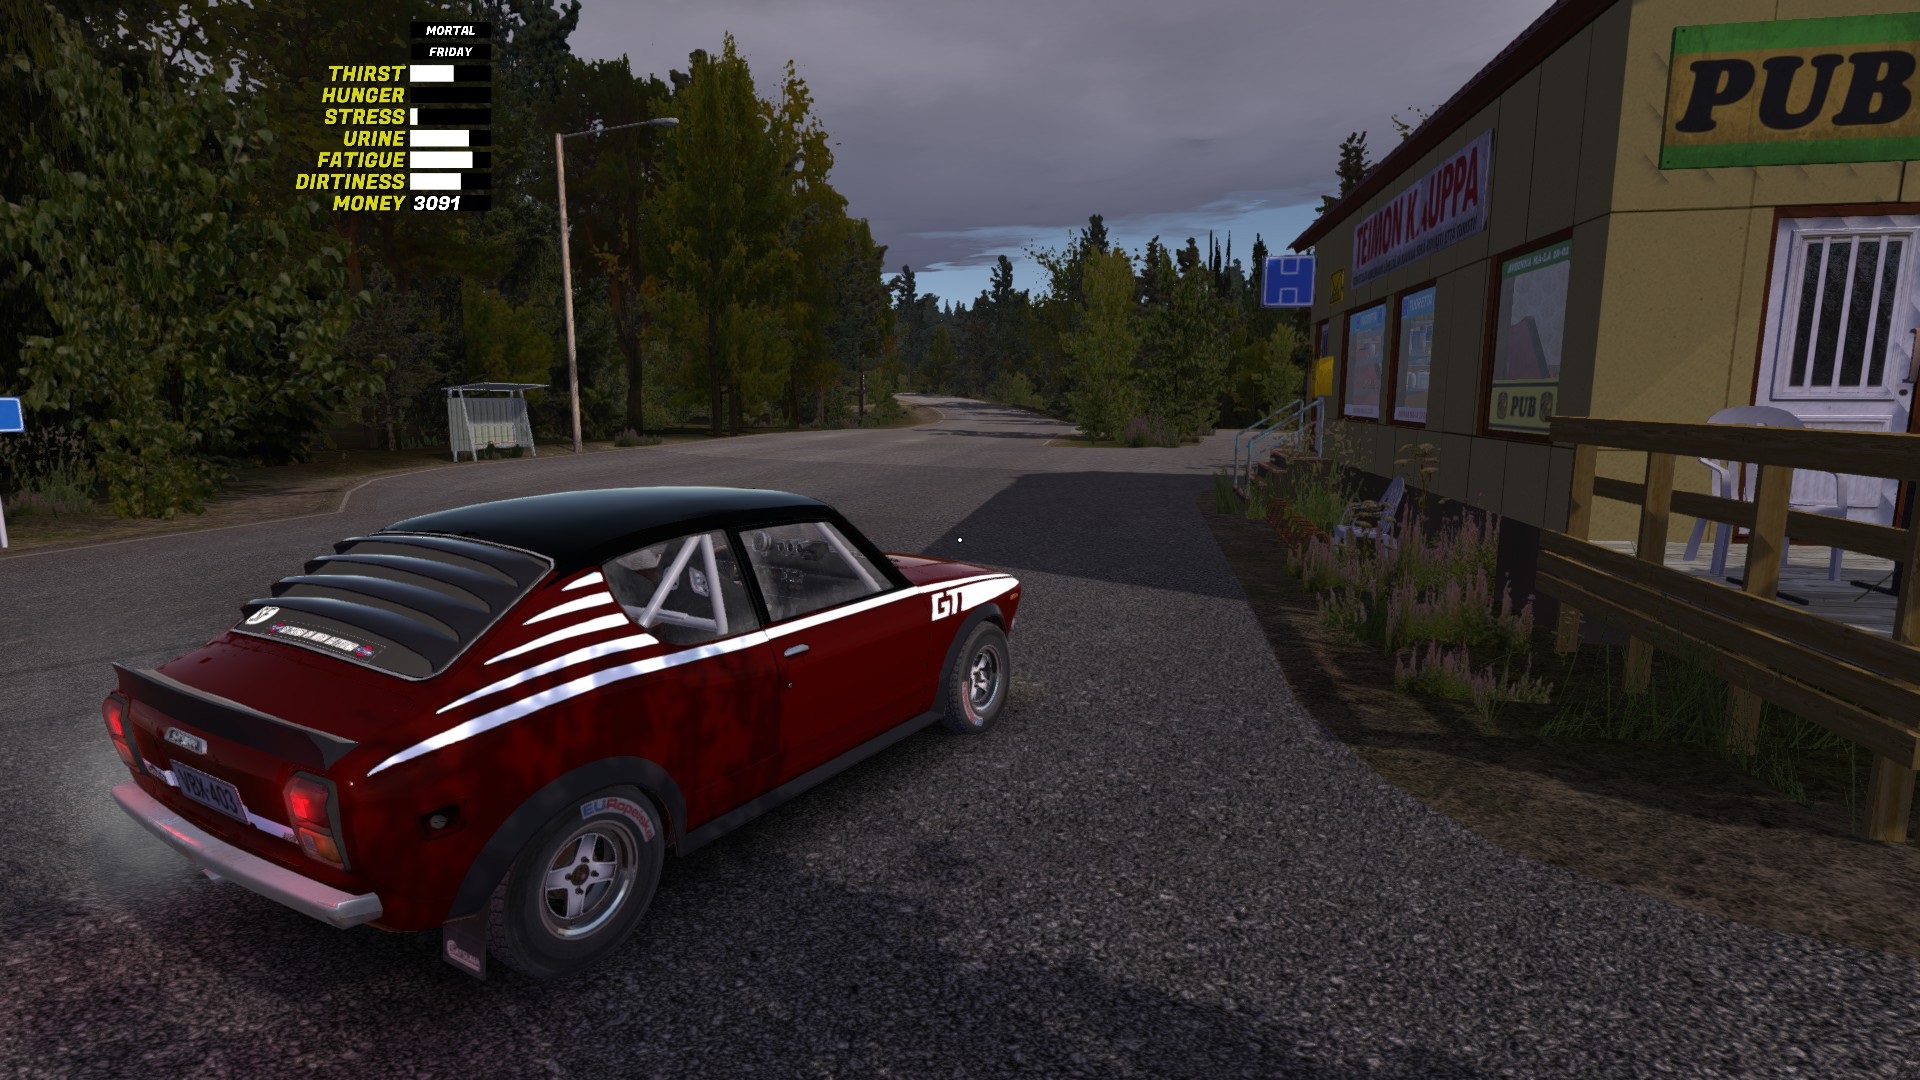
When you have your Satsuma ready, toolbox and car jack in the car, wait for saturday. Drive to the Teimo’s Shop and save your game to the toilet behind the Teimo’s Shop.
This is what you’re going to do:

Watch the video or keep scrolling down the guide.
This doesnt take much time, so you can start the rally at 10 o’clock or later, but before 16:00.


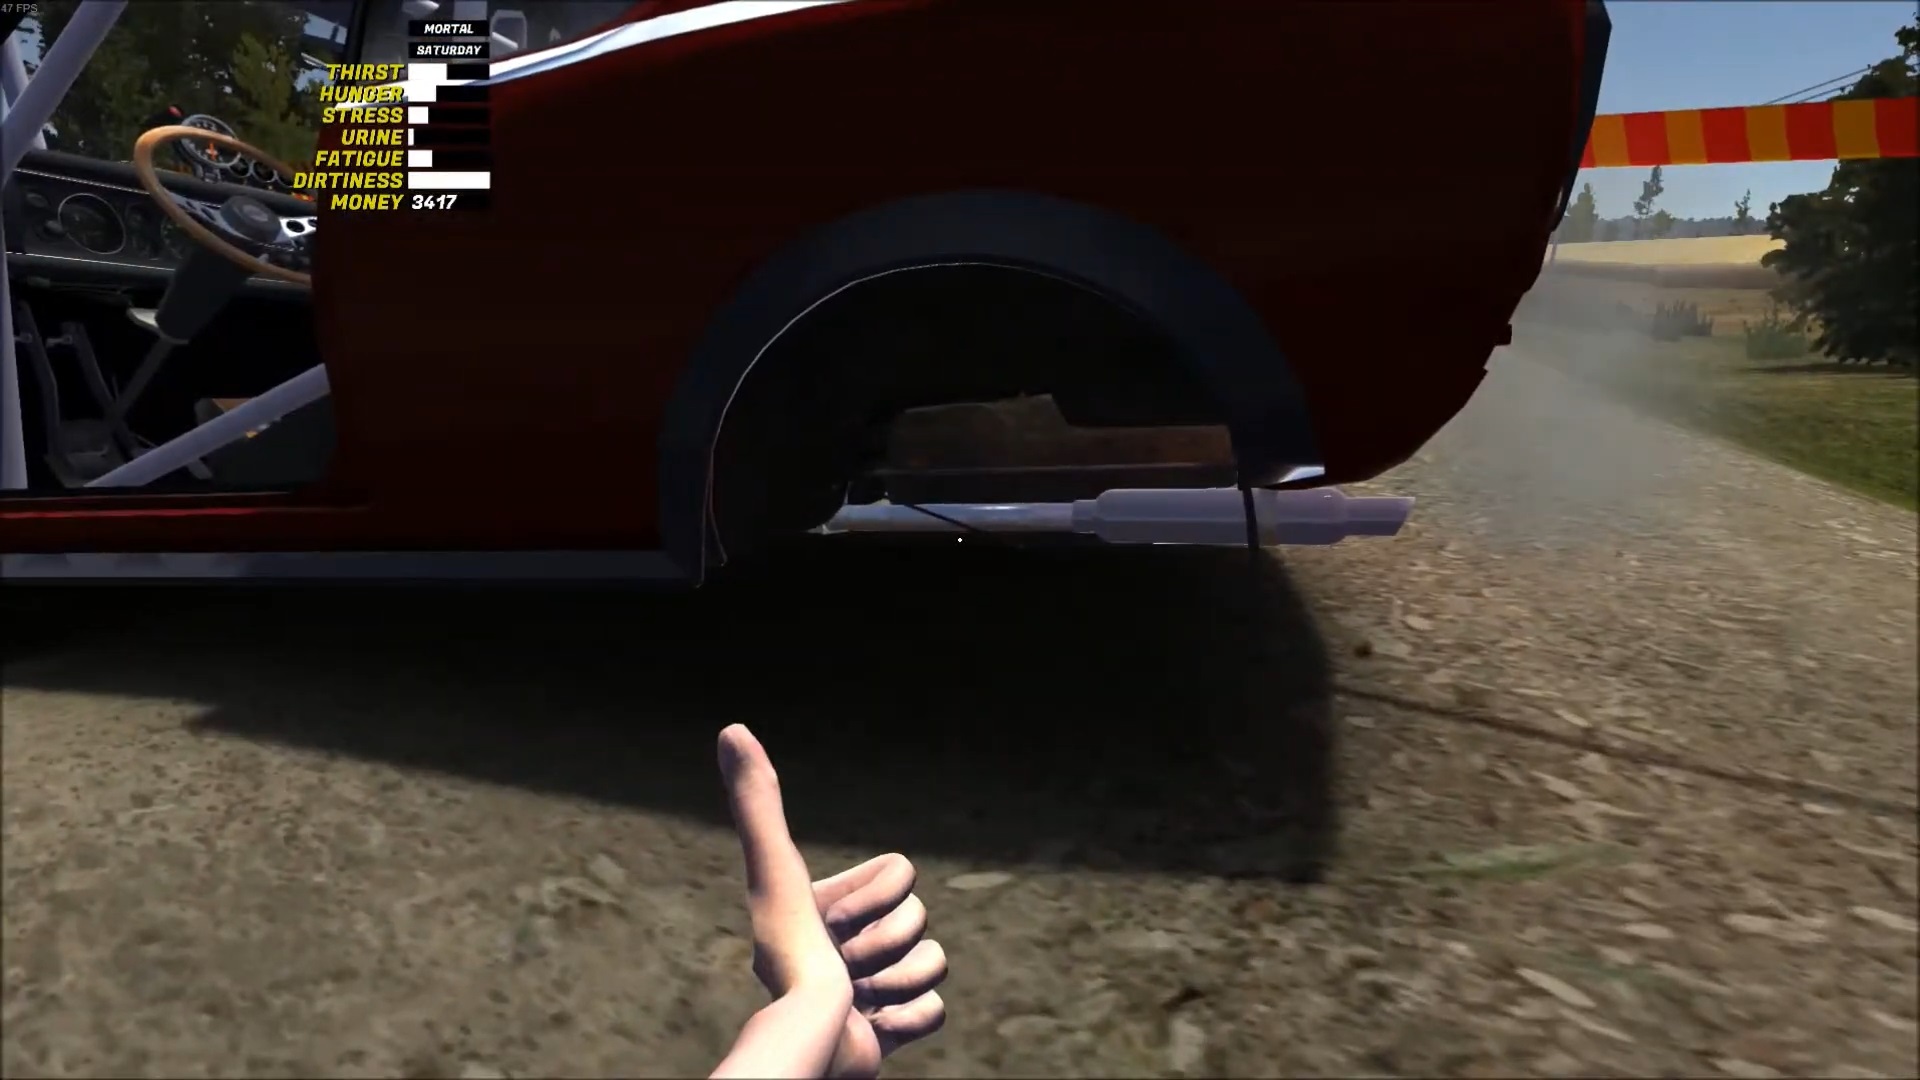
You have to unbolt:
Rear left wheel (4 x 13mm)
Rear left shock absorder (2 x 6mm bottom, 1 x 12mm top)
Rear left coil spring (no bolts, can be taken off after shock absorder)
Rear left brake line bolt (1 x 7mm)
Rear left drum brake (1 x 14mm)
Rear left trail arm (2 x 12mm)

Be careful if other rally cars are coming. You are slower now and Satsuma is harder to control.

IF you crash like i did, try to get back to the road and continue rally.


When you cross the finish line you should get the achievement.

After finishing the rally you can now drive back to the home road and install all the parts back.
OR
Just press “Quit without saving”.
NEW – Hannes Kolehmainen
This one is permadeath mode achievement.
Rally should be done on foot, by walking or by running. In this guide i show what you need if you decide to run instead of walking. This can be done on saturday and on sunday, i recommend saturday.

–>This guide includes video. Watch it below. (Video contains only running the rally, not preparation)
By running the rally takes about 49 minutes to complete, you can do it faster if you dont stop when you drink, because you can carry milk and drink it while running.
You need quite much preparation, start preparing on thursday/friday (or earlier if your Satsuma is not ready for the rally)
This is what you need:
1. Buy 8 milk bottles, 3 beer cases and coffee pack to make coffee.
(Milk and beer of course to lower Thirst and Coffee for lowering Fatigue). You dont need food, because milk and coffee keeps Hunger enough low even you are running. You may need cigarettes to lower Stress or you can just press “N” and swear all the time while running to lower Stress.
Buy things and go to home to make some coffee. (If you dont have coffee pan/coffee cup yet, those can be found from the island where is the summer cottage).


When you have those 8 Milk bottles, 3 beer cases, coffee pan full of coffee and coffee cup. Take Hayosiko and start dropping everything around the road.
OPTIONAL: Take your moped to the finish line so you can drive home after finishing the rally!

2. After dropping drinks around the map your Satsuma must be ready for the rally.
– You must have: Inspected Satsuma, Fire extinguisher, Roll bars, Bucket seats with 4-point harness, Rally tires and Helmet. (Yes helmet, you must have it nowadays).
NOTICE! You dont need performance parts IF you dont have them yet, because you’re only going to drive the car to the starting point and then start running.

3. After drinks are dropped and Satsuma is ready for the rally, you need to drive to the Teimo’s Shop. You should have everything low (Hunger, Thirst, Fatigue, Stress etc.)
PROTIP for Hunger, Thirst, Fatigue, Stress
– One good way is to go to the Pub Nappo late night on friday. There you can drink coffee to lower Fatigue. Eat and drink to get Hunger and Thirst down. Dirtiness doesn’t matter if it is high, because that doesn’t kill you.
When you have got everything down, save your game to the toilet behind the Teimo’s Shop. Save so many times that it’s 10 o’clock on saturday morning, then be ready to start the rally. You must start rally at 10 o’clock because rally takes time even you are running.

When it is 10 o’clock on saturday, start the car and drive to the starting point.
Wear the helmet and sign the registration form. Then drive to the starting area and wait. When countdown begins wait until you see “DRIVE!” and turn off the engine and start running.
Watch my video for more details. (Video was done before this guide, thats why there is different list of needed things in the beginning of the video)
NEW – Darwin Award
You have to drink and then immediately give breath analyze test to Police. This makes breath analyze tester to give higher number easier, because breath has still much alcohol after drinking.

NOTICE: If Police doesn’t appear on the road you can easily press “Quit to menu” and try again if they could appear next time –> Thats why i recommend to save and start this from your house.
YOU DONT have to pay the fine after achievement if you press “Quit to menu”.
First you need to buy beer case if you don’t already have, (IF you have, 8 bottles is enought).
After buying beer case, drive home and save to the home at daytime.
Then come back to the game.
Take the beer case to your car. (Any vehicle, except moped)

And booze bottle. (Can be found from the place where you chop firewood near your house.)

Then go driving to the highway and start looking for Police. Drive as long as you meet them, if you don’t see them anywhere, press “Quit to menu” and come back driving to the road, Police appearing is randomized.
First you’re going to see one Police measuring your speed. Slow down and drive to the others.

Then you can see other Polices and one is showing stop sign to you, stop there.
! Remember to drive out of the road to avoid crashes !
Carry beer case and booze bottle to the ground near Police.
BUT not too near – IF you hit Police with beer case or booze bottle, OR throw bottle against Police, he will go down and you have to start again because he just lays on the ground.
Then start drinking 8 beers by facing to the forest, because if you face Police while you drink beer/booze you will throw straight the empty bottle and Police will go down.
After 8 bottles of beer, drink the booze!
Now you can face the Police and go closer (be still careful not to knock him down).
Police offers you the analyzer, press mouse 1 when you can see the white text.
After giving the breath analyze, Police will check it.

Take the fine and you can see how much breath analyzer tester was fooled by drinking just before test. Achievement should unlock at the same time you open the fine.
I guess you don’t want to pay the fine, so press “Quit to menu”
NEW – Smoking Kills
For “Smoking Kills” you need to go to the Teimo’s shop with GASOLINE canister and buy some cigarettes. You have to smoke cigarette while refilling gas canister, then you’re going to drop the finished cigarette in the canister, after that canister will explode – you die and get the achievement.
[Huge thanks to: pingu’ for helping]
You can’t do this with diesel canister, because diesel is not that flammable as gasoline is.
How to smoke? Smoking controls:
Equip cigarette package after taking it out of shopping bag: f button (Default key).
Smoking action key: i button (Default key)
Finish cigarette: press i twice (You can finish cigarette anytime)
First travel to the Teimo’s shop and remember to take the gasoline canister with you.
Buy cigarettes if you don’t have any.
Take cigarettes, go out and start smoking.

Open the canister and start filling it with gasoline, at the same time smoke the cigarette.
—> Don’t fill the canister full yet! Full canister doesn’t explode, because it won’t vaporize that easily.
While filling the gasoline, press i key twice to finish the cigarette and it should fly straight to the canister.
You’re going to see some flames around you – then the canister is going to explode and you’re going to die – and get the achievement.
IF nothing happened after you threw the cigarette, try again and try to aim to the canister with cigarette. If canister is already full, this won’t work, you have to empty the canister to try again.
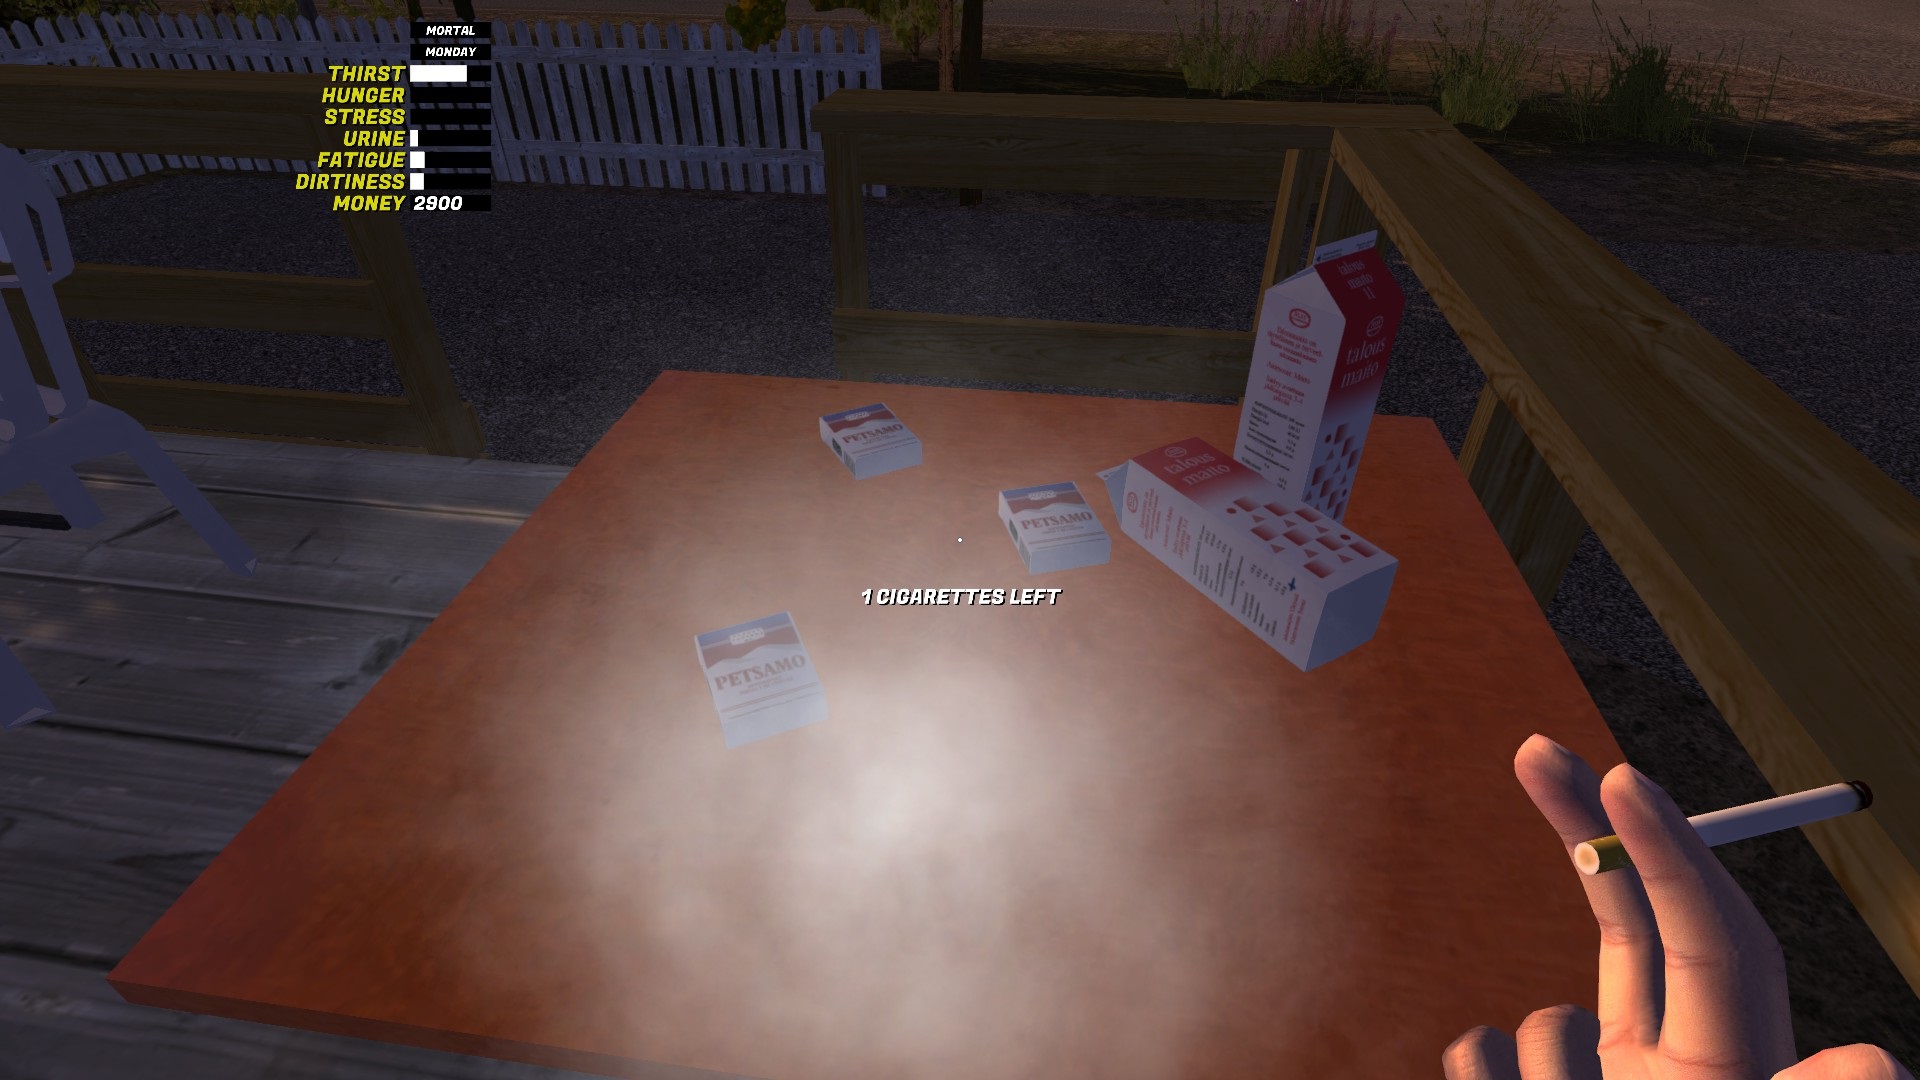
NEW – Can’t stop smoking now…
This one is another permadeath mode achievement.

You need to smoke 3 packages of cigarettes (60 cigarettes) to get this one.
[Thank you: pingu’ for helping]
You can’t smoke too much cigarettes in this game, so you can smoke all those 60 cigarettes one after another (it takes about 30-40 minutes to smoke all 60 if you do this on one playtime). You could get this by time playing permadeath save and smoking sometimes, but it’s much easier to smoke them all at once.
First travel to the Teimo’s shop to buy enough cigarettes.
3 packages is enough, but if you have new save like i did, i recommend you to buy 4 packages.
If you accidentaly finish one cigarette too early and you have only 3 packs, you don’t get the achievement, because all 60 cigarettes must be smoked fully. This is why i recommend to buy 4 packs. You could also buy 2 milk bottles, if your thirst raises up.

I decided to do this on the Pub Nappo’s terrace.

Start smoking by pressing ( i key default).

Don’t finish cigarettes before they are smoked fully, only full smoked cigarettes count.
Your character will finish automatically the cigarette when it’s fully smoked.


You can try to win the Jackpot and get the “Jackpot!” achievement at the same time if you don’t have it yet.


Still few cigarettes to smoke…


Jonne!
This one can be unlocked simply just driving to the Teimo’s Store with ES Jonnez moped.

TIPS for the moped fuel:
Moped doesn’t have any kind of fuel gauge, so that is why you better put fuel tap on the (ON) position everytime you drive. When you run out of fuel, you can still switch fuel tap on the reserve (RES) position and then moped can consume the fuel that is left on the bottom of the tank, and you’re able to drive still few kilometres. This is the only way how moped could warn you that fuel is low.
(Thank you: Juice Junkie for notifying that (RES) and (ON) had wrong meanings.)
TIPS for achievement:
If you don’t want to drive to the Teimo’s store, you can put your moped to the boat and take it to the town. Once you arrive to the ashore just take your moped and drive to the Teimo’s store, then you get the achievement. This saves your time and this is quite useful because, you can carry your groceries from the store to the boat on your hands while you are driving moped, faster than walking.
(Thank you: N7 Rik)
Another good way to get this without driving moped to the Teimo’s store is that you put your moped to the trailer and tow it to the store by tractor. Once you arrive to the Teimo’s store you get the achievement and this will also unlock “A True Hillbilly!” achievement if you don’t have it yet.
(Thank you: Tanks Be Rolling)
^If you didn’t get the “Jonne!” achievement and you did this, take your moped from the trailer and drive little bit on the Teimo’s store yard, then your achievement should unlock.
Okay if you want to drive to the Teimo’s store, follow these steps.
First you better take your helmet, it is in your room. If you drive without helmet, bee may fly to your eye and you will die. Also if you crash you may survive when you have helmet.

Wear helmet by pressing (F). Take off helmet by looking down, then you can see text “Remove helmet” then press (F) to remove it.
Here is your moped.


Now open the fuel tap. Put in on the (RES). (Read above from “TIPS” why)

—— Remember everytime to move kickstand up before driving! ——


– On the right side of the moped you can see kickstarter. Press mouse 1 and hold W (throttle) at the same time to start the moped. You can lean (Press Q, default) to see kickstarter better.

On the left you can see lights switch (on/off), lights work also if you press L (Default). And from the right hand side you can shut off the engine by pressing Mouse 1.


Okay this is probably all you have to know about moped.
Here is the way where i would recommend you to drive to the Teimo’s Store.

DON’T GET KILLED BY GREEN CAR DRIVER OR TRAIN! 😀
– You better drive slowly to the corners.

When you exit the driving mode, “Jonne!” achievement will unlock.


You may also want to buy 2 stroke fuel.

Finnish Summer
Go to the island and warm up that sauna there to get this achievement.
Go to the island by boat of course, no need to swim 😀 (Beers are not required :D)


First you should make some firewood, because this sauna is real sauna, not electrical like that one in your house. You don’t need to make much firewood, only 4-6.

Then just put the logs to the fireplace and start a fire.


Yeast festival + Mr. Kilju
You have to make Kilju and drink it to get “Yeast festival” achievement.

There are 2 locations where your Kilju bucket may be: in your home in the room before sauna and bathroom OR on the island in the cottage (Thank you: per.nottemark)
So if you don’t see Kilju bucket in your home then it is on the island, and i recommend to bring it back to home, because otherwise you should go there by boat to check when it is ready. Don’t drop your bucket to the lake 🙂
First you should go buy ingredients from the Teimo’s Store. There are 2 different recipes.
– Recipe 1 (Recommended): 6 sugar packages and 1 yeast is enought for the achievement. Buy also 2 juice cans if you don’t yet have any empty ones.
(Thank you: loki4321x3 and [MG] Christmas Kraken)
– Recipe 2 (more expensive recipe): Buy 10 sugar packages, 1 yeast and 2 juice cans. These will cost 104,35MK. (Juice only, because you need to put Kilju somewhere, do not add juice to Kilju).
– I also tried to make Kilju with only 5 packages of sugar, BUT when i went to sell that Kilju for the drunk guy, i didn’t get “Mr. Kilju” achievement, because drunk guy said that my Kilju was too lame. – Kilju with 10 sugar packages is enough strong for him and you’ll get “Mr. Kilju”.
But first “Yeast festival”
All ingredients:

Add all 10 sugar packages to the bucket and add then 1 Yeast box.


Kilju is ready after 5-6 in-game days, it doesn’t buble anymore when it’s ready (Listen carefully).


When 5-6 days have passed and you can’t hear bubling anymore, you can open the lid. Now you need empty juice can to take some Kilju from the bucket.
– AND finally when you taste it, you get “Yeast festival” achievement.

—————————————————————————————————-
Okay and now “Mr. Kilju”.

Just like i said before – I also tried to make Kilju with only 5 packages of sugar, BUT when i went to sell that Kilju for the drunk guy, i didn’t get “Mr. Kilju” achievement, because drunk guy said that my Kilju was too lame. – Kilju with 10 sugar packages is enough strong for him and you’ll get “Mr. Kilju”.

Fill one can with Kilju. (Fill more cans if you have/if you want, because you get 170MK per can when you sell them for the drunk guy)


– And you get “Mr. Kilju” achievement + 170MK per can (if you had more than one)
By the way, there are many ways to make Kilju (different amount of sugar and yeast)
and when you sell Kilju which is done by different recipe, drunk guy pays different amount of cash or he doesn’t want to buy it at all.
Total idiot & full idiot

— Permadeath achievement (I don’t know why)
This is so simple one. You just need to hitchhike that green car guy, enter to the passenger mode and show middle finger to him.
— You can also get “Feel Alive” too if you travel as a passenger with drunk guy. See more details below on this guide for “Feel Alive”.
This guy.

Okay, he drives there randomly and you don’t know where he is. BUT If you save your game to your house and press “Continue” in the main menu and you take your car and drive in end of the Kesselinperäntie, you’ll see him driving there.
– You can get this achievement anywhere at anytime, but i think this is good place.
This is end of the Kesselinperäntie.


Greased rust
You should get drag race (1/4 mile) time under 17 seconds with Satsuma on the airfield.
This is harder than it sounds. Good luck!

This is what you need:
– Twin carburators
– Racing radiator
– Steel headers
– Racing exhaust pipe
– Racing muffler
– Racing tyres (?SUTASIKO)
– Racing Tachometer (Optional, i bought it later and made the video, it is easier to make perfect start)
– Final Gear: 4.625 (Also tried default one: 4.286)
– Air/fuel mixture 13.1 (Thank you: Henry Ford and Mukolu)
– Half full fuel tank
– Patience
– “Some” weight reduction on your car (i will tell later)
I expect that you know how to order/install those parts so let’s jump to the final gear change.
Go to the Fleetari’s Workshop.


After you get your Satsuma back, go home and rip off everything what you can, because your car should be light as possible. Also you should set your air/fuel mixture to 13.1 (Thank you: Henry Ford and Mukolu)
You can see on the video what it looks like.


Also fuel tank is best to have only half full. (Check before ripping everything off).
Now you are ready to go.
Map to the Airfield.


Video here. (In this video i have now that Racing Tachometer and my Final gear change is 4.286)
All i can say, this is really hard one, i tried it many times and you just have to get perfect start (Good, fast shift from 1->2, 2->3 and 3->4 are easier, just rev to the limiter and shift.
My results, both times i had same kind of start.
Final gear change 4.625 and without Racing Tachometer.
Final gear change 4.286 and Racing Tachometer. (this one was on the video)


Grand Theft Teimo
You just need to drive to the Teimo’s store at night and get inside the store by breaking the window when Pub Nappo is closed.
–> This might be bug but try out: This achievement should be unlockable also when Pub Nappo is still open, then you’re just gonna walk through the bar to the store and then break the window from inside and you’ll get your achievement without messing with yellow car guy and without jumping on the car, (Thanks for pingu’)
– TIPS: Save the game before doing this IF you don’t want to pay that window. After breaking the window you can just press “Quit without saving”.

First you should make that yellow car guy leave. (You might be able to break the window on the yellow car, but there is a risk that he starts the car and kills you).

Well you don’t have to wait long time.


Now you got the “Grand Theft Teimo” achievement so you could press “Quit without Saving” now.
Or have some fun.


Feel Alive

— Permadeath achievement
As the description says, you should travel over 90km/h as a passenger of a drunk driver to get this one.
— IF it looks like that drunk guy is driving slowly and you don’t get the achievement, try to swear at him and give him a middle finger, after that he will drive faster. (Thank you: MangAnimE [H ★ S])
You can get “Total idiot & full idiot” at the same time if you don’t have it yet. Check the guide for that one above on this guide.
I recommend you to save you game to your house first, because everytime you start your game from you house after saving, drunk driver will drive pass the Kesselinperäntie.
You just have to take your car immediately after saving and drive to the end of Kesselinperäntie and wait for drunk driver. You don’t have to wait long time.
– You can get this achievement anywhere at anytime, but this is the easiest way to get it in my opinion.
This is the end of Kesselinperäntie, your home road.

Then you just need to hitchhike and wait there…


Enter to the passenger mode and stop hitchiking, then he will start driving.

!!!There is a big risk at the town of Peräjärvi that he will drive too fast to the corner and crash!!!
LOOK OUT!


– Just like i said before: he will drive slowly from the Kesselinperäntie to the Town of the Peräjärvi, after leaving the town of Peräjärvi, he will start driving faster and you’ll get your achievement.
Here i got mine, good luck!

–> Special Thanks! (Players who have helped/given advices)

pingu’, Henry Ford and Mukolu -> Found better air/fuel mixture for “Greased Rust”.
pingu’ -> Found other way to get “Grand Theft Teimo” (Fair way, no cheats).
per.nottemark -> Noticed that Kilju bucket has 2 locations where it can be: On the island or in your house. (Bucket has been spawned to the island if you didn’t make Kilju before update: 17.4.2017)
MangAnimE [H ★ S] -> Noticed that it’s not necessary to mix Kilju ingredients after adding water.
N7 Rik -> Found a good way to get “Jonne!” achievement.
Tanks Be Rolling -> Found a good way to get 2 achievements: “Jonne!” and “A true Hillbilly!” at the same time.
loki4321x3 and [MG] Christmas Kraken -> Found better and easier recipe for Kilju.
MangAnimE [H ★ S] -> Solved problem why “Feel alive” didn’t unlock, he had to swear and give a middle finger to drunk guy before he started driving fast enough to unlock the achievement.
pingu’ -> Helped and gave advice for “Smoking Kills” and “Can’t stop smoking now…”
Juice Junkie -> Noticed that moped fuel tap positions (RES) and (ON) had wrong meanings.
–> Questions?
If you have questions or feedback, please write on the comments, I’ll answer as soon as i can.
If you have suggestions or you have found different/easier way to get achievement, tell me on the comments and i may add your way to the guide.
I don’t accept random friend requests. Just ask here on the comments if you have somenthing.
