![INFRA Complete Guide and Walkthrough [Ch.5 - 6] [2018] for INFRA](https://steamsolo.com/wp-content/uploads/2021/07/infra-complete-guide-and-walkthrough-ch-5-6-2018-infra.jpg)
Overview
Complete Guide for the fifth and sixth chapters of INFRA, including all collectibles with images separately from the game walkthrough. Written in May 2018
CHAPTER 5: FRESH WATER [Walkthrough]
Total of Collectibles in this chapter:
⦰ Missable Achievements: 6
🏹 Geochaches: 5
🗎 Documents: 15
🔨 Repairable Spots: 8
🖻 Photographs: 47
—
This chapter is quite one of the most interesting chapters in this game. We have cleared Stalburg Steel and were told to investigate the surroundings of the Pitheath Water Treatment Plant that`s nearby. What happened there?
—
Map 1: Pitheath Water Treatment Plant
Total of Collectibles in this module:
⦰ Missable Achievements: 4
🏹 Geochaches: 2
🗎 Documents: 4
🔨 Repairable Spots: 2
🖻 Photographs: 15
Video Guide
[link]Walkthrough
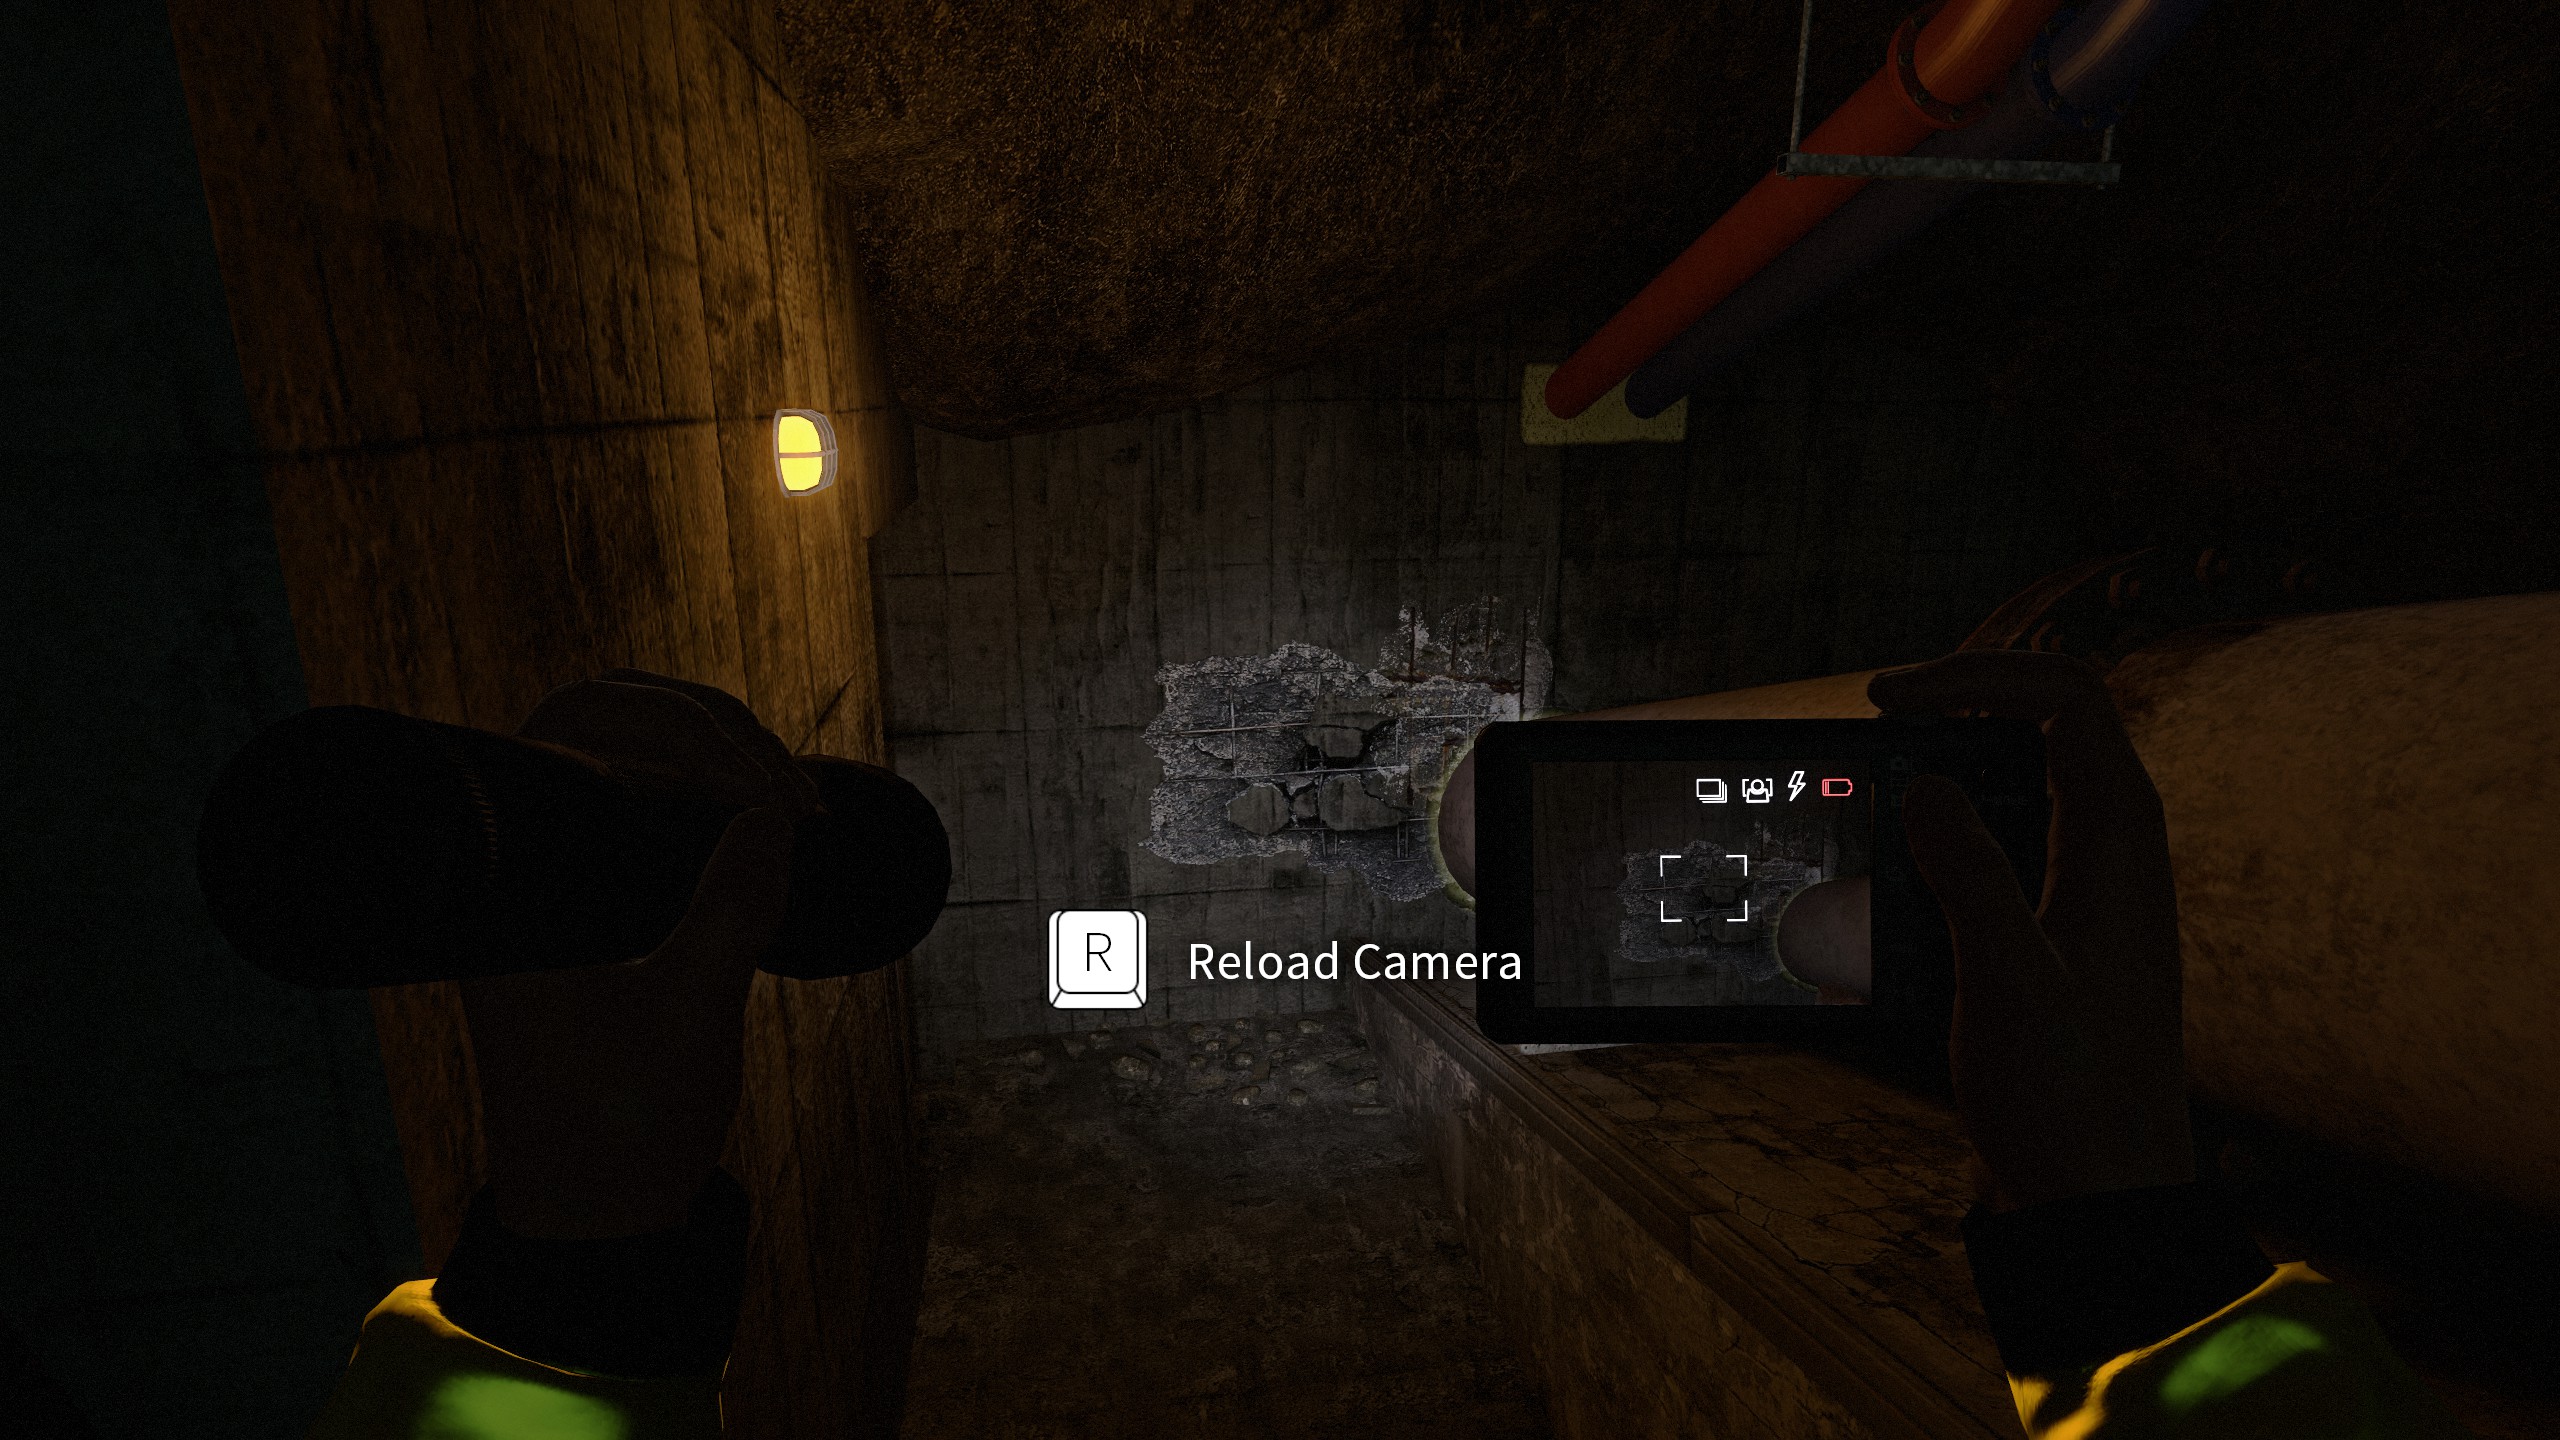
Enter the next room and photograph the broken cement at the far back (P1). Then photograph the steam that`s coming out of the broken valve around the corner (P2). In the room with the broken cement is a red valve. Take it. Backtrack one more room, climb up the ladder there and enter the red valve. After that, close it by turning the valve. Then you`ll be able to exit these tunnels.
As soon as you get out of the tunnels, turn immediately to the left until you reach a deserted computer. Go uphill near that computer, climb up some rocks and grab the hidden geocache (G1). Now go down the alley where we started. To the left is a locked shed. From now on, we will call it the Sewer Shed. In front of you is another locked building. Take a photo of the damaged window (P3). Make sure to not break it.
Crouch below the valves and follow the wood path all the way to the right. Pass a shoe in the tree and continue walking straight. At a dead end, you`ll find a locked gate to your left with a red access card beneath it. Pick it up. Turn around and you`ll see a building to your right that you passed before. From now on we will call it the Security Building. In front of you near the wooden path is the Generator Building. Follow the street to the right. You`ll see the Main Building to your left, the Secondary Building to your right and the Laboratory at the far back.
Enter the secondary building with your red access card, walk up the stairs there and grab the white access card on a shelf.

Then, take the stairs down again and enter the back room. In a small box near a corner of this room are small bottles of water. Grab one and insert it in the Water Sample Machine in this very room. Then push the button and grab the sealed bottle. Exit the building from where you came from. Enter the laboratory with your access card, walk through the secondary door and enter this sealed bottle in the first machine that you see. Push the button and you`ll soon be rewarded with this achievement.
You`ll also receive a document along with this achievement (D1). There`s also a blue access card lying around the table here somewhere.

In a corner of this room is a kebab roll inside a small box on a table. Eat it to be rewarded with this handsome achievement.
Exit the room and enter the storage on your left with the white card we got earlier. Photograph the mushrooms in the back room there (P4). Exit the laboratory and enter the main building. Try to find the damaged window you took a photo of earlier. There`s a room next to it with another document inside (D2). Leave by using the back door and enter the sewer shed. Turn on the valve until the light is green. Everything is done here. Exit the shed.
Go back into the main building again and find the Steel Factory pipes in a room to your right. Close Pipe 01. Here`s another bit of damaged cement that you should photograph (P5). There`s another machine room in the other wing of this building. You`ll find damaged cement in there (P6) and a valve next to it. Turn it on. You can now go upstairs and push the grit classifier button to get this machine room working.
Enter the generator building we passed earlier. You can`t stay too long in there though. Quickly push the button in this room and take a photo of the broken valve (P7). There`s one building we have not entered yet. And that is the Security Building. Go inside and take a photo of the dirt (P8). Then open both of the pipes in here.
Go up the stairs and photograph the boots in the sand (P9). Then enter the computer room and take a photo of the document on the right (D3). There`s a box beneath it with a CD in it. Take it and enter it into the CD ROM drive at the computer. Click on ‘REPAIR’ and then all the red crossed to repair this plant (R1). When you`re leaving this building, don`t forget to take a photo of the broken floor near the pipes you opened earlier (P10).

Now we`ll have to get this water treatment plant running again. Return to the back room of the Secondary building. Push the Grit Classifier 1, Grit Classifier 2 and Secondary Clarifier 2 button. We`re close to finishing this. Leave through the back door of this building and take a photo of the broken grit classifier to your left (P11). Jump on the turning grit classifier to your right and go straight diagonal across the clarifier. Behind there is a small cellar. Turn the valve and push the button to finally repair this plant (R2) and get this achievement.
Leave the cellar, go through the gate next to it and enter the office building at the far left. Enter the office room to your right and grab the key from the bottom left shelf as well as the coins from the table next to it. Open the opposite door in the hallway with the key and take a photo of the tablet in there (D4).

There`s a soda machine in the hallway here. Buy a drink with the coins from the office. Then take the drink up the stairs and into the control room to get this achievement.
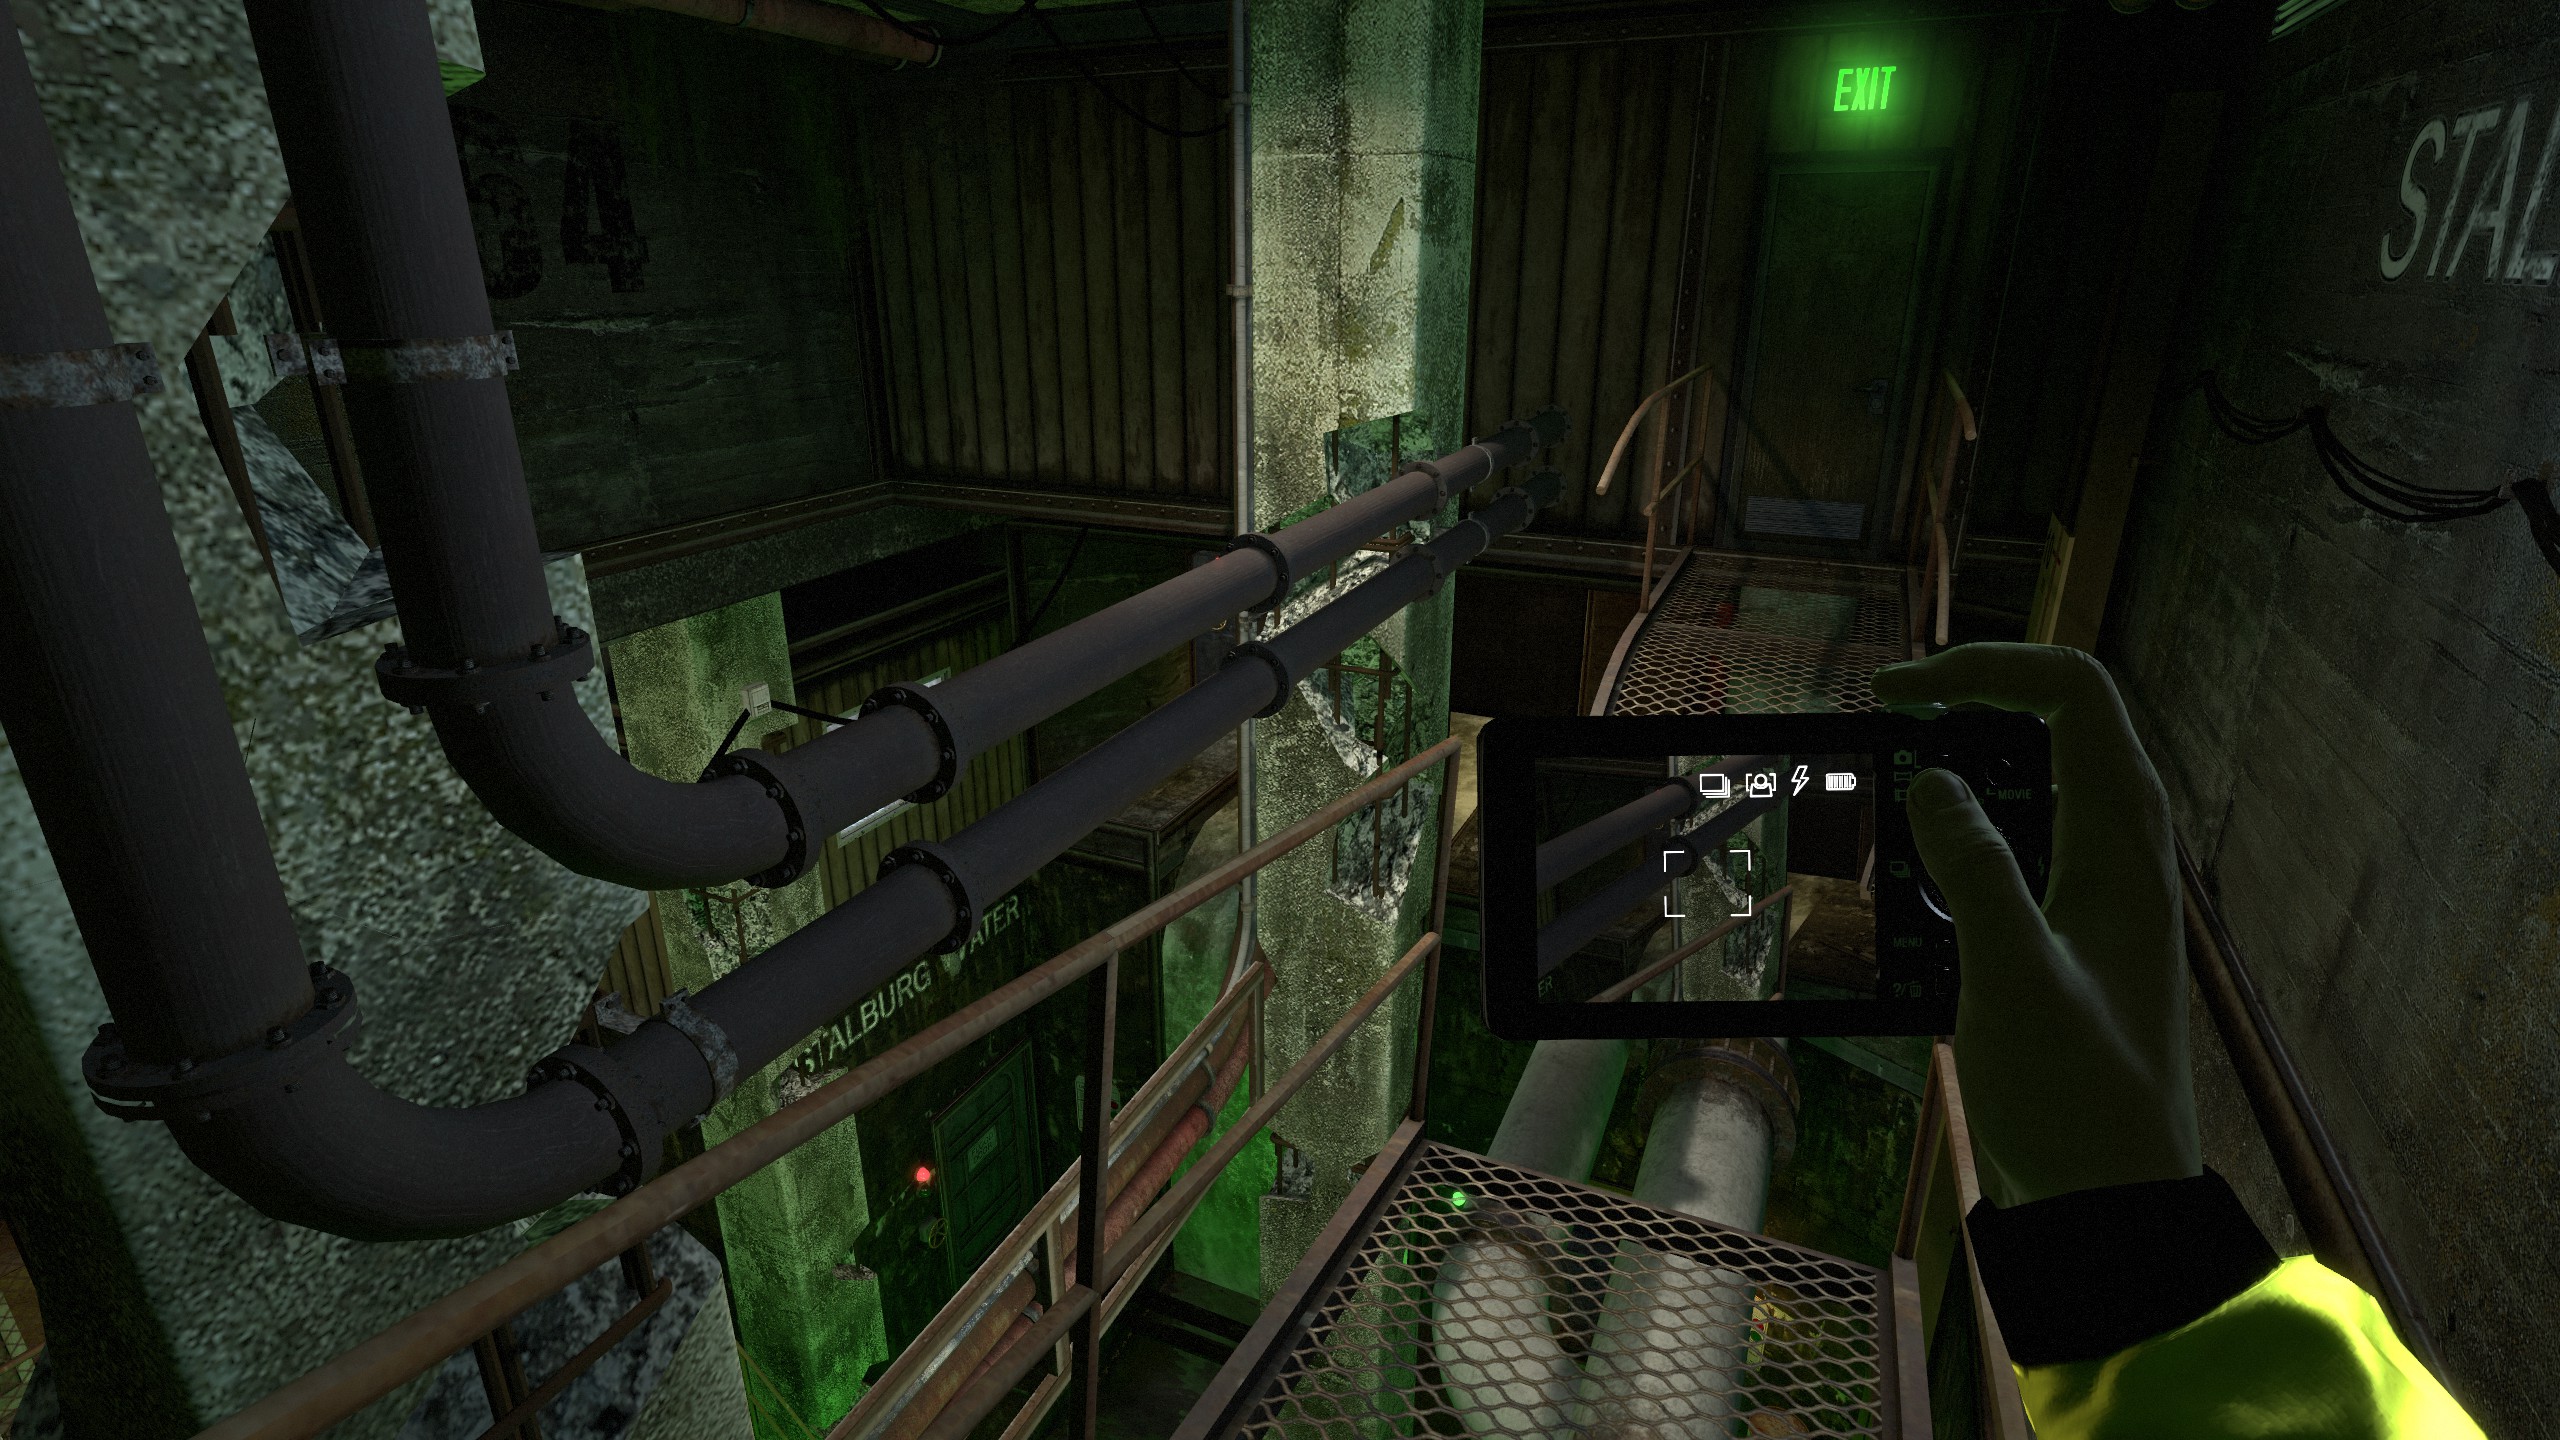
In the control room take a photo of the Lake Stalburg System (P12). Take the keys from the corner of this control room. Then exit the building by using the exit door near the soda machine. Photograph the dead fish in the lake to the left (P13). Then walk along the river to the right to the far far back until you find another geocache (G2). Return to the dead fish and enter the building next to it. Take a photo of the barrels in there (P14). You`ll soon reach some tunnels with a small river in it. Take a photo of the dead fish inside (P15). After that you`ll reach the next module.
Map 2: Pitheath Sewage Canal
Total of Collectibles in this module:
⦰ Missable Achievements: 2
🏹 Geochaches: 3
🗎 Documents: 9
🔨 Repairable Spots: 6
🖻 Photographs: 22
Video Guide
[link]Walkthrough
Enter the next room. Save the game. You should definitely immediately save your game here before triggering any alarm. Otherwise the next achievement will be unobtainable for you. First, photograph the broken cement next to the door you just passed through (P1). Walk up the stairs and immediately go to the computer at the very left without triggering any alarms.

Enter the following codes here to deactivate all the alarms in this building:
– 6832 (from the computer logfiles)
– 1970 (found on the tablet in the next room)
– 1245 (Building number)
After that, deactivate all alarms in this building and open all the doors by using the computer. You won`t gain the achievement yet, but later when you leave this building.
Photograph the tablet on the table next to you (D1). Then, enter the room next door and take a photo of another tablet that`s lying on the table there (D2). Go back to the entrance hall, go down the stairs and leave by using the exit door.
You`ll find yourself outside near the canal. Walk some time until you see dead fish in the canal next to you. Photograph them (P2). At this time you should also get the Sneaky achievement. Also photograph the broken wooden crossing to the left of the dead fish (P3). Continue walking until you reach a bridge. Take a photo of the couch on the other side of the canal (P4). Before you cross the bridge over the canal though, there is a geocache behind the bush opposite of the bridge (G1).

Cross the bridge and go all the way to the left until you reach a secret building. There`s a USB stick in the computer there which also counts as a document (D3).
Return to the bridge we crossed earlier and walk up the stairs. You`ll find another document on a chest here (D4). Return to the bridge again an continue walking along the canal. Jump into the canal and walk up the stairs behind the sluice gate. Open the little container building up here and photograph the document on the table (D5). Then take the two keys with you and exit the container.
Cross the bridge and enter the electrical building. Photograph the document on the barrel to the right (D6), then look upstairs. Quickly take a photo of the fire (P5) and then turn off the fire by using the switches at the back and pull the fire alarm (R1). Leave the building, turn to the left and take a photo of the collapsed staircase (P6). Climb up the broken staircase and go through the gate with the keys from the office.
Immediately turn to the right and photograph the broken valve by looking down the railing (P7). Don`t enter the building yet, but continue your path by going through a gap in a gate. You`ll soon see some dead fish in a pond to the left. Photograph them (P8). Go all the way back to the large bridge we crossed earlier near the electrical building. Cross it again and enter the tunnels at the far back.
There`s a fire here. Take a photo of it (P9). Crouch up to the fire and turn off the valve (R2). Take a photo of the electrified floor (P10). Use the valve from the sink by entering it near the fire origin and opening the valve. Then turn the gas valve again until the breaker explodes. Turn the gas valve again and you`ll now be able to continue onwards. Take a photo of the collapsed hallway (P11). Then go up the stairs and photograph the note on a box at the far back of the room (D7).
Go up the stairs a bit more, leave the building and photograph the broken ladder next to the other building (P12). Remember these stairs. We`ll come back to them later. Now go all the way down and take a photo of a damaged pillar near the gate (P13). Before you go inside the building though, climb down the ladder to the canal. Go into the tunnels below the bridge and you`ll soon find a geocache hidden there (G2). Return to the ladder and now enter the building, a garage.
In the control room is another note (D8). We`ll have to repair the forklift now. Enter the battery from the shelf next to the forklift into the forklift. Flip the main switch. Grab the fuel from the balcony above the entrance to the garage and fill the forklift with it. Enter the keys and start the motor. Go into the control room and use the barrel to move the forklift below the grate of the garage. Open the grate by using the forklift and leave the garage.
You`ll reach a big area. Go to the canal behind the biker club. Jump down into the canal and photograph the broken cement on top of the canal (P14) and the objects blocking the other side of the canal (P15). In the parking lots opposite of the canal is the third geocache (G3). Go to the building next to the garage. There`s a sewer hole nearby. Photograph the mushrooms inside it (P16). There`s also a bunch of keys in there. Grab them.
Return to the staircase we memorized a while ago. Unlock the door there and photograph the document on the bed to the left (D9) as well as the mushrooms (P17). Return to the sewer hole and enter the building there. To the left is a machine that you have to fix. Turn everything on except Pipe R2, Pipe R3 and the Factory switch. Then pull the main power lever and pull the operator button to repair this machine (R3).
Enter the next room and soon the sewer. Photograph the hole above you (P18) and the broken gate to your right (P19). Then close this sluice gate by turning the valve in order to repair it (R4). Follow the path in the other direction and you`ll soon find some pipes. One of these is broken. Photograph it (P20). This is quite tricky to find though. Crouch into a vent and go all the way through. You`ll reach a hallway with broken cement to the right (P21). Grab a handle and raise the gate in this very room to repair it. Unfortunately, something does not work. Close the door this room from the inside and fix. Crouch behind the mechanism, remove the crowbar and turn the valve again (R5).
Go back to the sluice gate near the point where you fell down and pass through. Photograph the collapsed tunnel at the end (P22). Then open the water gate by turning the valve (R6). Now you`ll be able to open the flood door next to the collapsed tunnel to reach the next module.
Map 3: Pitheath Sewer
Total of Collectibles in this module:
⦰ Missable Achievements: 0
🏹 Geochaches: 0
🗎 Documents: 2
🔨 Repairable Spots: 0
🖻 Photographs: 10
Video Guide
[link]Walkthrough
Enter the next room and photograph the broken catwalk (P1) as well as the broken pillar next to it (P2). When you reach the bottom of the room, enter the small room next to it. There`s a cave-in next door that you should take a photo of (P3). Afterwards, save the game. Now push the flood doors overwrite button to trigger a sequence.
Get out of the room and photograph the falling pillar (P4). Open the flood door next and grab the bolt cutters behind it by throwing a brick at the glass. Go up the stairs and cut the chains with the bolt cutter. Stack some chests up, jump over the railing and photograph the broken ceiling (P5). Another pillar will fall down soon. Take a photo of the missing pillar (P6). Jump on the valves. You`ll reach a control room by using the flood door. Photograph the damaged window (P7) and flip the lever. Then push all the buttons.
Go through the main gate after it opened, *according to the comments you can take another photo of the ceiling here* and photograph the flood door after the rubble falls behind you (P8). Photograph the broken valve in the corridor next to you (P9) and go up the ladder into the control room. Take a photo of the map on the wall (D1), the document on the table (D2) and finally the damaged ceiling (P10). Just wait a bit longer, push the button and you`ll complete this chapter.
CHAPTER 6: PUBLIC TRANSPORT [Walkthrough]
Total of Collectibles in this chapter:
⦰ Missable Achievements: 2
🏹 Geochaches: 2
🗎 Documents: 10
🔨 Repairable Spots: 2
🖻 Photographs: 79
—
We were told by our boss to return to the office to get the next job. Unfortunately a tunnel system caved in and now we`ll have to reach the metro station by foot in order to get to our office.
—
Map 1: Hartman’s Hideout
Total of Collectibles in this module:
⦰ Missable Achievements: 0
🏹 Geochaches: 0
🗎 Documents: 1
🔨 Repairable Spots: 0
🖻 Photographs: 10
Video Guide
[link]Walkthrough
After you are able to walk, first photograph the broken window to your right (P1) and the giant hole above you (P2). Behind the door is some broken cement (P3). Go through the exit door in the next room and photograph the damaged cement on the wall (P4). You`ll reach a ladder. Take it downwards.
In a room at the bottom is another audio tape that you should hear (D1). Also photograph the dynamite below it (P5). Return to the ladder and climb up two floors. Above you the ladder should be broken preventing you to climb higher. Take a photo of it (P6). As you go into the sewer room, take a photo of the door to your right (P7). Take two bricks and throw them against the window in the door so that one of them hits the Flood Gate Control button.
Go down the ladder in this room and photograph the blocked flood door (P8). Above the ladder you just climbed down is also some damaged cement (P9). Go through the flood gate, climb up another ladder and there`s another part of broken cement here (P10). Unlock the door and again throw a brick against the exact Flood Gate Control button. Walk over the flood gate and jump down into the sewer tunnels behind the closed gate to reach the next module
Map 2: Pitheath Metro Station
Total of Collectibles in this module:
⦰ Missable Achievements: 1
🏹 Geochaches: 1
🗎 Documents: 6
🔨 Repairable Spots: 0
🖻 Photographs: 11
Video Guide
[link]Walkthrough
As soon as you start, go all the way through the tunnel. Remember the ladder you passed and photograph the damaged wall at the end of the tunnel (P1). Then crouch through the pipe, climb up the ladder and photograph the heated surface that you can`t pass through (P2). Return to the ladder from the beginning and climb through the manhole. Turn off Burner A. Then turn on Burner B and photograph the fire in the room next to you (P3). Turn off Burner B again and return to the heated surface from before.
You can get into the next room from here now. Go up the stairs and open the door to reach a corridor inside a metro station. There should be a note directly behind the door (D1) and a access pass next to it. Go to the left door and place the interference on 106MhZ. You can open the door now. Photograph the broken elevator (P4). Then go up the stairs and to the left. Take a photo of the wet floor (P5). Now go the opposite way and take a photo of the wet floor here as well (P6).
In the conference room, photograph the note on the table (D2). Turn on the projector and photograph the screen (D3). Take the keys and turn the radio off. The garden area should now open up. Take a photo of the dead fish in the pond (P7). Go into the next room, take the archives key from the key board and turn off the transmitter right next to it.
Go all the way back to the wet floor and open door G1. Inside, take a photo of the board (D4). Turn off the radio. Go down the stairs and then into the archives. Turn the interference rate to 108MhZ. There are batteries between U and T, a document between S and R (D5), a document between T and O (D6) and batteries between D and C.
Go up the stairs again, but this time into the room you got the archives key from, opposite from the G1 room. There`s a vent in a corner there. This is a machine room. Take a turn to the left and photograph the damaged cement there (P8). Then go all the way through the machine room and drop down into a bathroom. Get outside into the metro station. Before going down the stairs though, climb up the plants on the left, walk a bit and you`ll find a geocache there (G1).
Near the bathrooms you got out is an ATM. You`ll have to use this ATM in order to get access to an achievement in Chapter 9 – Module 2. You`ll need to withdraw 1000$ with your PIN 1337. Now go down the stairs and photograph the closed shop to the right (P9).

Go to the ticket automata next to you and enter the PIN 1337 to grab a ticket. You`ll receive this achievement after you complete this module.
At the far back of this hall is another open shop with a spot to photograph (P10). Go down the stairs to the metro railways and take a photo of a mushroom growing on the wall there (P11). Next go into the maintenance room in a far corner and go through the hallway to reach a small metro. In the office grab the metro keys. Then go to the switch box, switch to manual toggle and pull the lever down to the Aux Track. Enter the metro and take a ride towards the next module.
Map 3: Metro Tunnels
Total of Collectibles in this module:
⦰ Missable Achievements: 0
🏹 Geochaches: 0
🗎 Documents: 0
🔨 Repairable Spots: 0
🖻 Photographs: 12
Video Guide
[link]Walkthrough
As soon as you get out of the tunnel, take a photo of the damaged pillar to your left (P1). Drive over the bridge and soon you`ll enter the next tunnel. In this tunnel is a broken valve that you should take a photo of (P2). After you drove through another metro station, you`ll enter another tunnel with a broken pillar at an intersection (P3). Close after that you`ll see a cave-in to the right that you should also photograph (P4). Now you can continue driving until an event occurs.
Step out of the metro and take a photo of it (P5). Then, take a photo of the cave-in at the end of the tunnel (P6). Then walk back and to the left. At the back there is another cave-in behind some grates (P7). Cross the hall and take a photo of the broken roof while you`re doing that (P8). Behind you should be some dangerous barrels, take a photo of them (P9).
Now get to the other side and take a photo of the missing catwalk (P10). Nevertheless, get onto the catwalk by climbing, go to the control room window and take the keys from the outside. Take the valve from the flood door, turn the valve next to it and then jump down to your metro. Climb up the ladder next to it and enter the control room. Look down the vent and photograph the broken valve (P11). Also photograph the broken cement above it (P12). Enter the valve in the small room and turn it. The broken valve shouldn`t be a danger anymore. Climb down into the vent and get to the next module.
Map 4: Stalburg Central Waterplant
Total of Collectibles in this module:
⦰ Missable Achievements: 1
🏹 Geochaches: 0
🗎 Documents: 2
🔨 Repairable Spots: 2
🖻 Photographs: 14
Video Guide
[link]Walkthrough
Go through the next door and into the water. Photograph the water leak to the right (P1). At the end of the corridor is another water leak (P2). To the left is a weird machine. First go to the right and take a photo of the broken ceiling to the left at the far back of the corridor, near the locked gate (P3). Return to the weird machine and push the first, second and fourth button. Exit through the gate.
Walk up the stairs and read the document next to the flood door (D1). Leave through the exit door and walk up the stairs. You`ll reach another corridor with pipes in it. Soon the tunnel will – surprisingly – start to collapse. Take a photo of the cave-in behind you (P4) as well as the leaking pipe behind you (P5) and then wait for the gate to open. Behind it is another broken pipe (P6). Quickly go through the next gate and photograph the fire behind you after you escaped (P7).
Leave the room by using the door on the right. You`ll reach the Water Plant. We`ll later fix this place. Go to the office building on the opposite side and open up the first floor door. These are locker rooms. You`ll find a green access card below the lockers here. Go through the far door into the first floor hall. In a corner to the left is machine that lets you turn off the fire alarm. Take a photo of the broken elevator next to it (P8).
Go up the stairs to the third floor and go even higher. There`s a broken flood door here. Take a photo of it (P9). Go back to the second floor and open the control room. There`s a key on the table here. Take it. Go down on the first floor men`s toilet and grab the yellow key card from inside the toilet. Open the third floor door with it. Take the key and the keycard from inside there. Leave the office building by using the second floor next to the flocculation pool and enter the room at the far back right. Take a photo of the broken cement inside (P10).

We`re going to fix this plant now.
Step 1: First go to the big hall we were in earlier and push all four buttons above the pipes turning them all off.
Step 2: Next up, go to the big flucculation pool next to it. There`s a secret ladder here. Climb it down and walk across the ledge to find a secret room with 2 valves. Turn on the Sewer Pipe 03 and close the Flocculation Pool valve.
Step 3: Get out of the secret room and climb up the ladder again. Go to the left, take up the stairs and enter the Coagulation room. Turn on the Raw Water Coagulation pipe
Step 4: Push the flocculation button at the bottom of the big hall
Go back into the office building and open the door in the corner on the first floor. Go down into the cellar. Immediately to your left is now a gate with a small room behind it. In the corner of that room is a loose valve. Take it with you. Get out of the room again and enter the Sewer Pipes 01 and 02 room opposite of you.
Step 5: Replace the valve in this room.
Step 6: Return to where you entered. There are two sewer pipes here. Turn Sewer Pipe 01 off and sewer Pipe 02 on.
Step 7: Turn the valve you replaced in Step 5 and press the button next to it. (R2])
Continue going this way and you`ll find the Raw Water pool to the right. Enter it, pass it and go complete straight until you reach stairs. Take them down and photograph the red gate at the end of this big hall (P11). Go back to the service area behind the raw water pool. You`ll soon see a sedimentation room to your left.
Step 8: Enter the sedimentation room and turn the third valve which was off. Every pipe should be green now.
Get back outside and photograph the water leak below the machine on the left (P12). Photograph the broken minecart in front of you (P13) and the damaged ceiling above you (P14).
Step 9: Backtrack a bit more to find a hatch on the lefthandside of this corridor. Take it down and open the Flocculation/Sedimentation valve (R1)
Return to the office building once more in search of the last document we missed. Enter Thomas Balogs room on the second floor and take a photo of the documents inside (D2).
Afterwards, return to the service tunnels again and take the minecart to get out of this module.
Map 5: Minitrain Tunnels
Total of Collectibles in this module:
⦰ Missable Achievements: 0
🏹 Geochaches: 0
🗎 Documents: 0
🔨 Repairable Spots: 0
🖻 Photographs: 26
Video Guide
[link]Walkthrough
Start the minitrain. As soon as you reach a flooded area, take a photo of the flooding (P1). Drive around three corners to reach a building with a big 4 on it. Next to that is some damaged cement (P2). Continue driving, photograph the first leaking pipe (P3), the second leaking pipe (P4) and around the corner the third (P5) and fourth leaking pipe (P6). Make sure to crouch below the third leak, otherwise you`ll die.
You`ll leave the flooded area. Photograph the cave-in (P7) and pull the lever to switch tracks. After the next tunnel you`ll see another building to your left. Go inside and photograph the broken cement (P8). There are also camera batteries inside here. Outside around the corner is some more damaged cement (P9). You`ll soon reach a locked gate. Take a photo of the leak in front of it (P10) and the broken cement to your left (P11).
The building on your right has some codes for you. Go the building on the opposite side and take a photo of the broken window (P12). Enter the building, take the keys and use the code 8453. After that, pull all the levers. Return to your minecart and use the door to the left of the steam leak, that can now be opened with the keys you got. Photograph the broken minecart behind it (P13). At the back is also some broken cement (P14). Also take a photo of the mushroom tunnel back there (P15) and the locked door at the back (P16).
Pull the switch at the back near the locked door and the switch at the front. In the room with the broken minecart, turn the valve and pull the switch next to it. Return to your minecart and push the button in the building next to it. While you`re waiting for the door to open, don`t forget to take a photo of the broken elevator in the center of this hall (P17). Continue driving your minecart. When it is about to enter the poison tunnel, jump off and wait for it to return. Then continue until you again reach the room with the elevator.
Pull the switch next to the gate and drive through the open gate at the opposite side of the hall. Soon the tunnel will start to collapse. Just continue driving, don`t go back, but photograph the collapsed hallway (P18). You`ll soon reach a room with several tracks. When the minecart is about to go right, stop it and go straight instead to find a cave-in (P19). Return to the spot where your minecart waits. Behind it – that`s where you came from – is a hidden ladder. Take it up and photograph the broken cement (P20). Continue driving the minecart, pull the next switch you see and drive through the next longer tunnel until you reach a dead end.
Step out of the minecart and photograph the missing ladder to your left (P21) as well as the broken cement (P22). Then use the chests in this room as an improvised ladder. Up there, photograph the left (P23) and right steam leak (P24). Turn the valve and go through the tunnel to your right. There`s another steam leak here (P25). You`ll soon reach another steam leak (P26). Go back and turn the second valve, turn the valve at the beginning, then the second valve, then the valve at the far far back. Turn the second and then the first valve again and finally enter the vent to finish this module.
Map 6: Central Metro Station
Total of Collectibles in this module:
⦰ Missable Achievements: 0
🏹 Geochaches: 1
🗎 Documents: 1
🔨 Repairable Spots: 0
🖻 Photographs: 6
Video Guide
[link]Walkthrough
After the train passes, take a photo of the rubble (P1). You`ll soon reach the left platform of the metro station. Behind a bench to the left is another geocache, left of the bench with the newspaper on it (G1). Go up the stairs at the far back and climb through the vent. Go down the stairs on the middle platform and look through the grates on the left to see a leak behind some bars (P2). Go through the open door next to it.
Remember this hallway. First take the left door, go to the second room and photograph the flooding beneath the ladder (P3). Return to the hallway and take the door on the opposite. Move the chests away and enter the secret area. Go to the projector on the right and enter the tape next to it. Wait a few seconds and then photograph the map on the projector screen (D1). Go through some doors in a back area which lead down to a cellar.
Go down and turn left. Photograph the cave-in there (P4). Also photograph the dynamite in the next to the cave-in (P5) and a graffiti (P6). Go to the door at the far back and enter the code 4123 to gain access. Go through and finish this chapter.
Collectibles [Chapter 5 – Map 1]
Module 1: Pitheath Water Treatment Plant
P1
P2

G1
P3


D1
P4


D2
P5


P6
P7


P8
P9


D3
R1


P10
P11


R2
D4


P12
P13


G2
P14


P15

Collectibles [Chapter 5 – Map 2]
Module 2: Hacker Valley
P1
D1


D2
P2


P3
P4


G1
D3


D4
D5


P5
R1


P6
P7


P8
P9


R2
P10


P11
D6


P12
P13


G2
D7


P14
P15


G3
P16


D8
P17


R3
P18


P19
R4


P20
P21


P22

Note: I forgot to photograph R5 and R6, but they are gotten through natural story progression and are thus not missable as can be seen in my text walkthrough above
Collectibles [Chapter 5 – Map 3]
Module 3: Sewers I
P1
P2

P3
P4


P5
P6


P7
P8


P9
D1


D2
P10


Collectibles [Chapter 6 – Map 1]
Module 1: Sewers II
P1
P2


P3
P4


D1
P5


P6
P7


P8
P9


P10

Collectibles [Chapter 6 – Map 2]
Module 2: Metro Station
P1
P2


P3
D1


P4
P5


P6
D2


D3
P7


D4
D5


D6
P8


G1
P9


P10
P11


Collectibles [Chapter 6 – Map 3]
Module 3: Metroride
P1
P2


P3
P4


P5
P6


P7
P8


P9
P10


P11
P12


Collectibles [Chapter 6 – Map 4]
Module 4: Underground Water Plant
P1
P2


P3
D1


P4
P5

P6
P7


P8
P9


P10
P11


P12
P13


P14
R1


D2
R2


Collectibles [Chapter 6 – Map 5]
Module 5: Train Tunnels
P1
P2


P3
P4


P5
P6


P7
P8


P9
P10


P11
P12


P13
P14


P15
P16


P17
P18


P19
P20


P21
P22


P23
P24


P25
P26


Collectibles [Chapter 6 – Map 6]
Module 6: Central Metro Station
P1
G1


P2
P3


D1
P4


P5
P6

