Overview
This guide will show you the easy process of creating portraits for use in Hearts of Iron, as well as how to add new leaders, and change the names and portraits of already existing leaders.
Preface
Hello! And welcome to Crimson_Nomad’s guide to portrait modding! In this guide I hope to show you an easy way to change portraits, add leaders, and create your own portraits for historical immersion, fixing Hirohito’s chins, or just memeing the game to hell.
For the purposes of this guide I will be using paint .net, which is an app that can be found on the Microsoft Store, there is a free version, and you should be able to get away using that.
Let’s get started!
Creating the Portrait
Step 1:
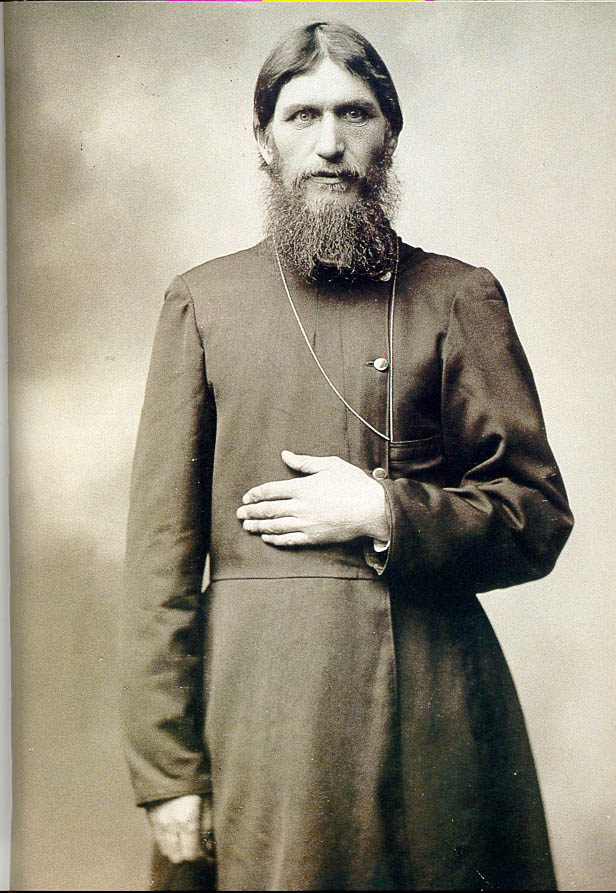
To begin this guide, we will begin by choosing a portrait that we want added into the game. In this example I have decided to replace Joseph Stalin with Russia’s greatest love machine: Rasputin.
Step 2:
In order to make this as simple as possible, we are going to “overwrite” a vanilla portrait with the portrait we want to make. For the sake of coding simplicity, I will be overwriting Stalin’s portrait. All of Hoi4’s portraits can be found in:
C:Program Files (x86)SteamsteamappscommonHearts of Iron IVgfxleaders
Make a copy of the portrait you need on your desktop, or somewhere that is easily reachable.
Step 3:
Now, open your image and the template portrait up in your preferred program, I will be using paint.net.
After this, select the “Rectangle Select” tool, and use it to select a vertical rectangle in the area that you want the portrait to show.

Copy and paste the selected area into the template portrait.
Now you should get a pop up that says something like this:

Select “keep canvas size”, as expanding the canvas will make things more difficult to format.
Now, the image you have pasted may be a bit larger the the portrait. If this is the case, simply shift-left click while dragging the borders of the image inward to minimize the image while still maintaining the ratio.

Once you have minimized and toyed with the image a bit to your liking, save the portrait as either the same image or one with your preferred name, MAKE SURE TO SAVE IT AS A DDS FILE. For the purposes of this guide, I will be overwriting the copy of Stalin’s portrait I made, so I don’t have to change the portrait path. However, for custom leaders, I will be showing you how to set a custom path later in this guide.
Now let’s move on to the next step: having your portrait appear in game.
Getting the Portrait in Game
The next step is to get the portrait to appear in game.
Step 1:
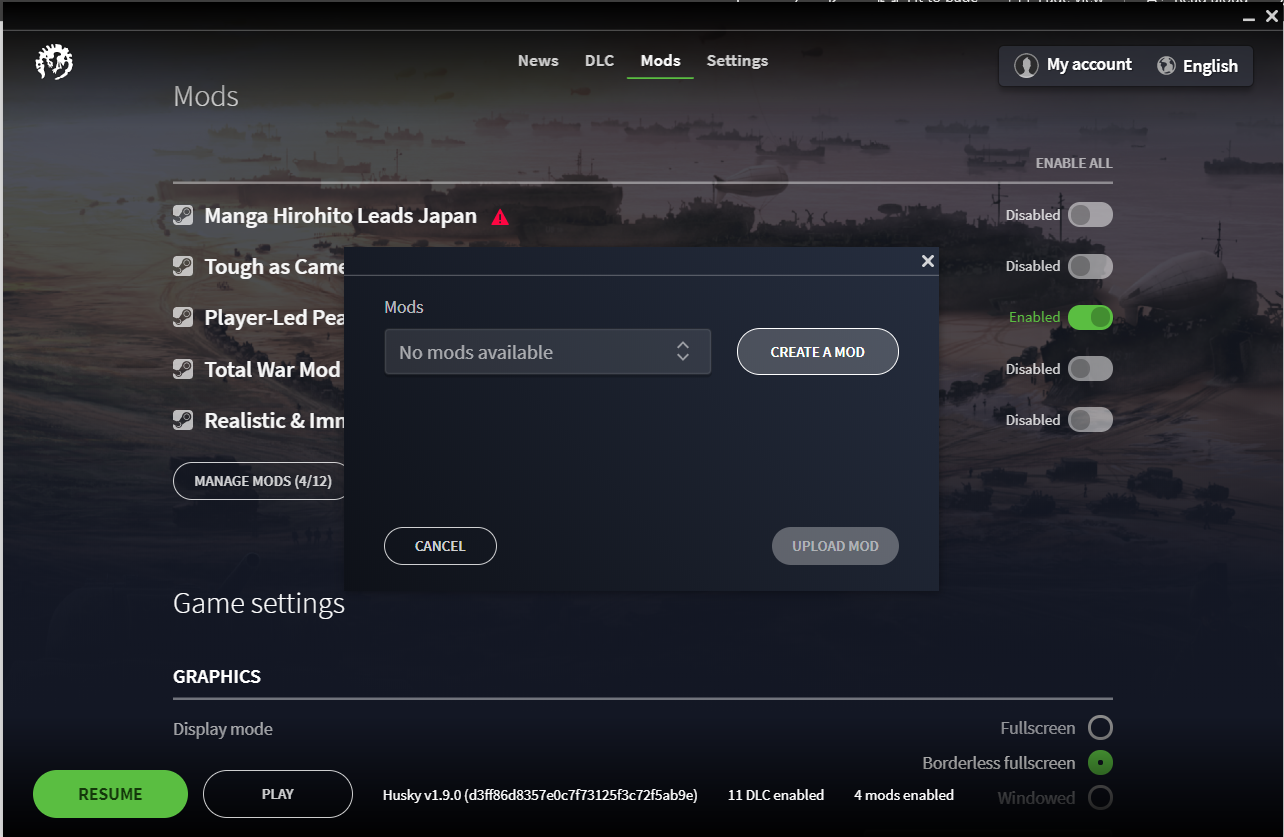
Launch up Hearts of Iron, and go to the “mods” section of the launcher, underneath which, you will see an option that says “Mod Tools”.
Select this option and click “Create New Mod”.
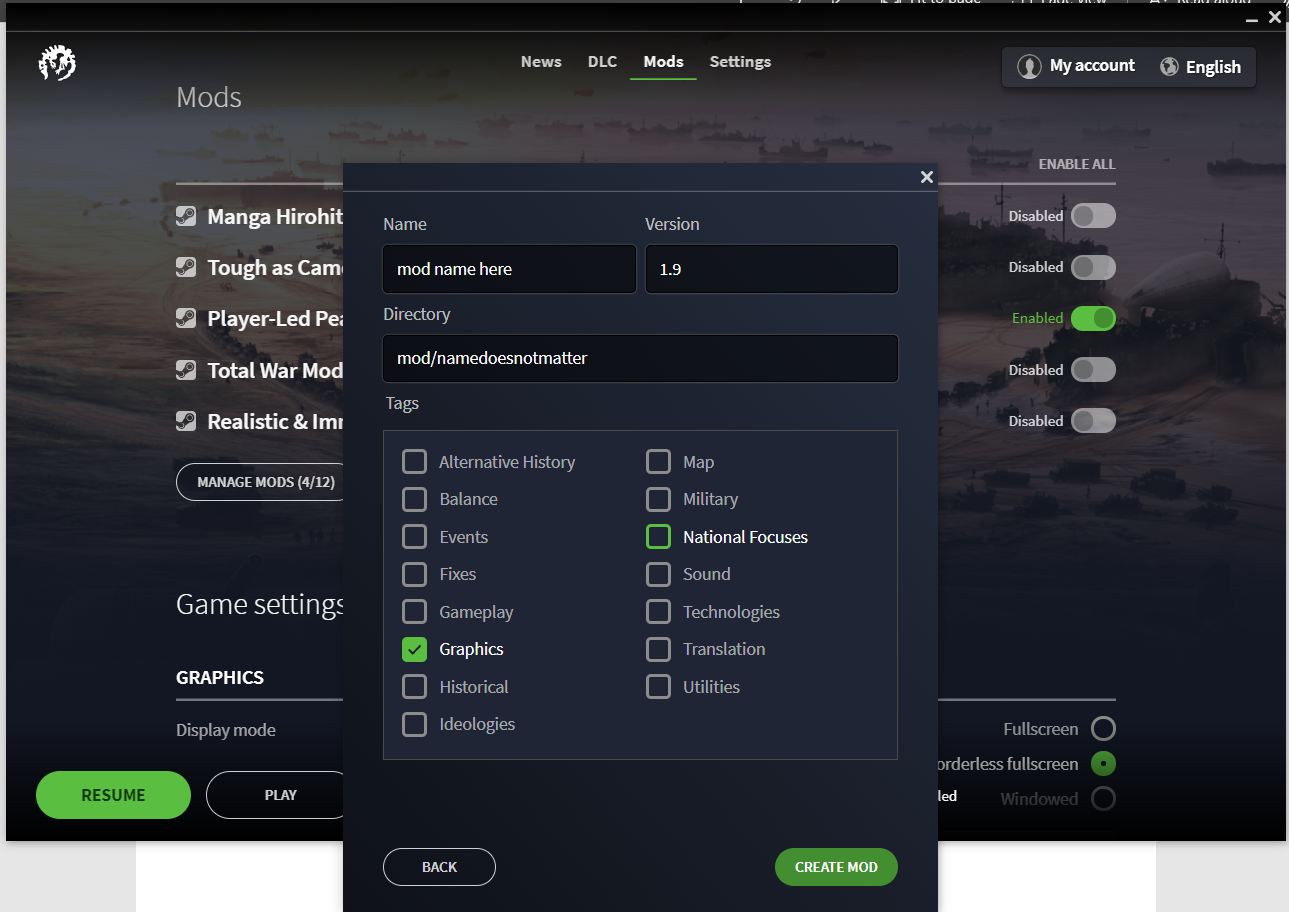
Next fill in the boxes with the information you want, such as your mod name and the directory, which does not have to match your mod’s name. As for version number, as of publishing this guide, Hearts of Iron 4 is in 1.9.
Step 2:
Go to your mod directory, which can be found in C:DocumentsParadox InteractiveHearts of Iron IVmod
(Note: “Documents” is the actual folder on your computer that comes with it’s own graphic, not the folder that you may have created at some point, this file is usually under Quick Access or Users.)
Open you mod file, which should be called whatever you previously named it whenever you created the mod. Within the directory, create a folder named “gfx” (all lowercase).
Within the “gfx” folder create a new folder named “leaders”.
Within the “leaders” folder create another folder named “SOV” (This is for replacing Stalin’s portrait, for other countries, name the folder after the country’s tag ex: GER for Germany, ENG for England. All of the country tags can be found in C:Program Files (x86)SteamsteamappscommonHearts of Iron IVhistorycountries)
Place your leader portrait into SOV or whatever folder is within “leaders”, and you’re done! Simply launch up the game with your mod enabledand see your portrait!

Step 3 (for changing leader names/traits):
Create a second folder named “history” within your mod file and create another folder named “countries” within the aforementioned “history” folder and copy/paste the corresponding country file from C:Program Files (x86)SteamsteamappscommonHearts of Iron IVhistorycountries.
It should look something like this:

Open up the country document and scroll down to the leader you want to modify.

Rename the leader to whatever you want here, add any traits you wish and save the document.

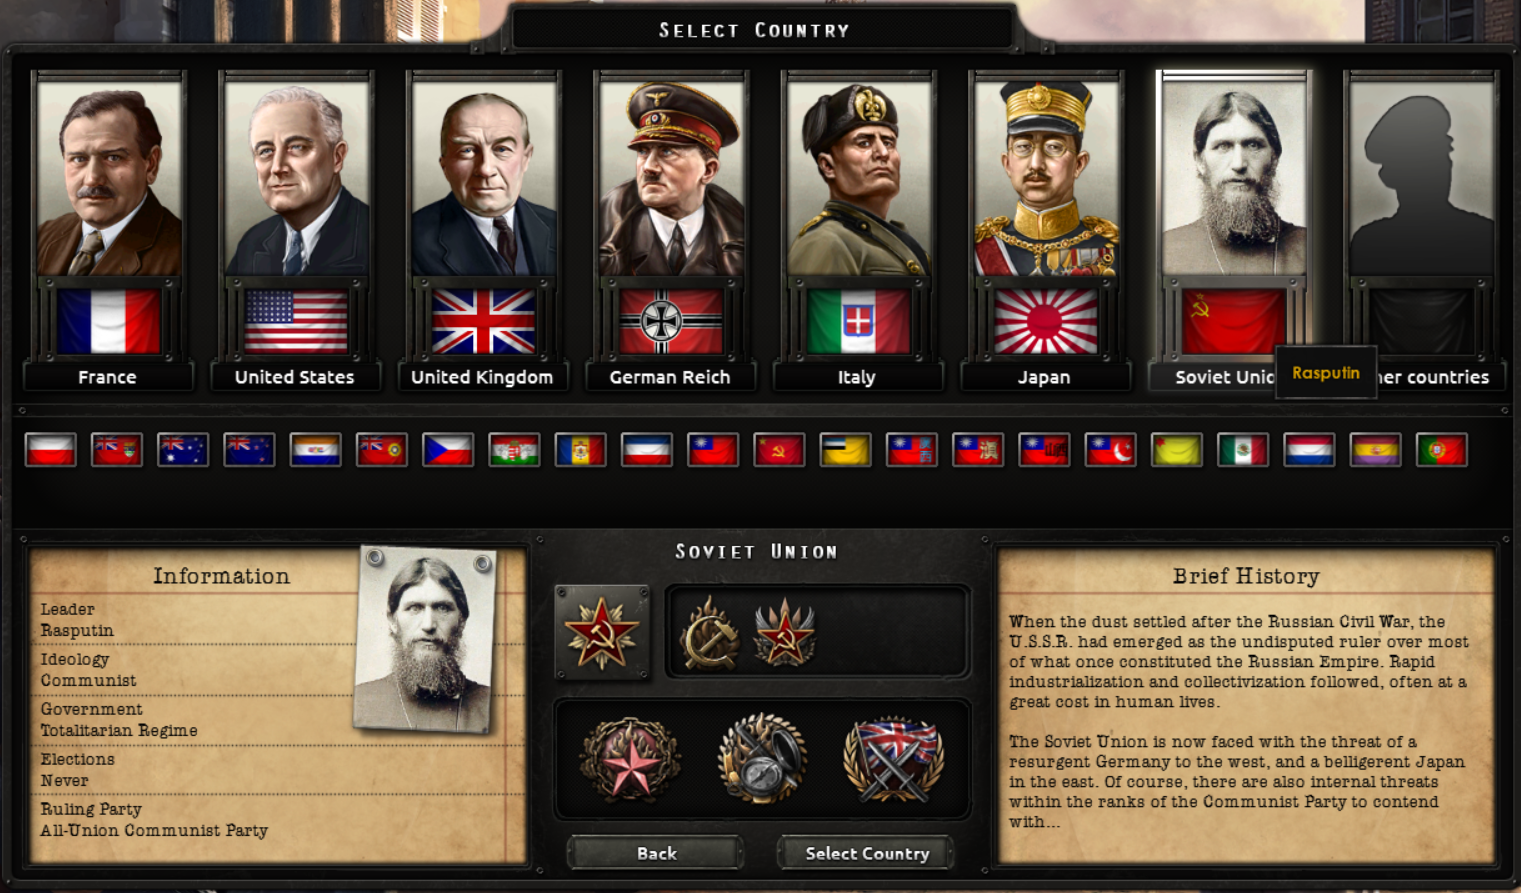
Now you can play the mod!
The final product:
Adding a Leader
Adding a leader to the game is very simple. Follow the previous steps in creating a portrait and creating the “gfx” and “history” folders. Once you get to the country document, copy one of the pre-existing leaders, preferably from their own leader type and paste them below. Here’s a picture of the German country file from my Inglorious Basterds Spy Pack:

Notice that Hans’ portrait directory is different from the other spies. This is the custom directory to get a custom image for a leader. Simply copy and paste this and fill on the appropriate information in order to have a custom portrait for your custom leader!
portrait_path = “gfx/leaders/GER/portrait_hans_landa.dds”
That’s pretty much it for adding a new leader.
Conclusion
I hope you found this guide helpful, and are able to create new portraits for Hearts of Iron!
Please make sure to leave any feedback, errors, and anything that you find to be unclear in this guide in the comments below and I will try to get back to you!
Enjoy the wonders of portrait modding!