Overview
In this guide, you will learn everything there is to know about playing my main and favorite character, Rogue.
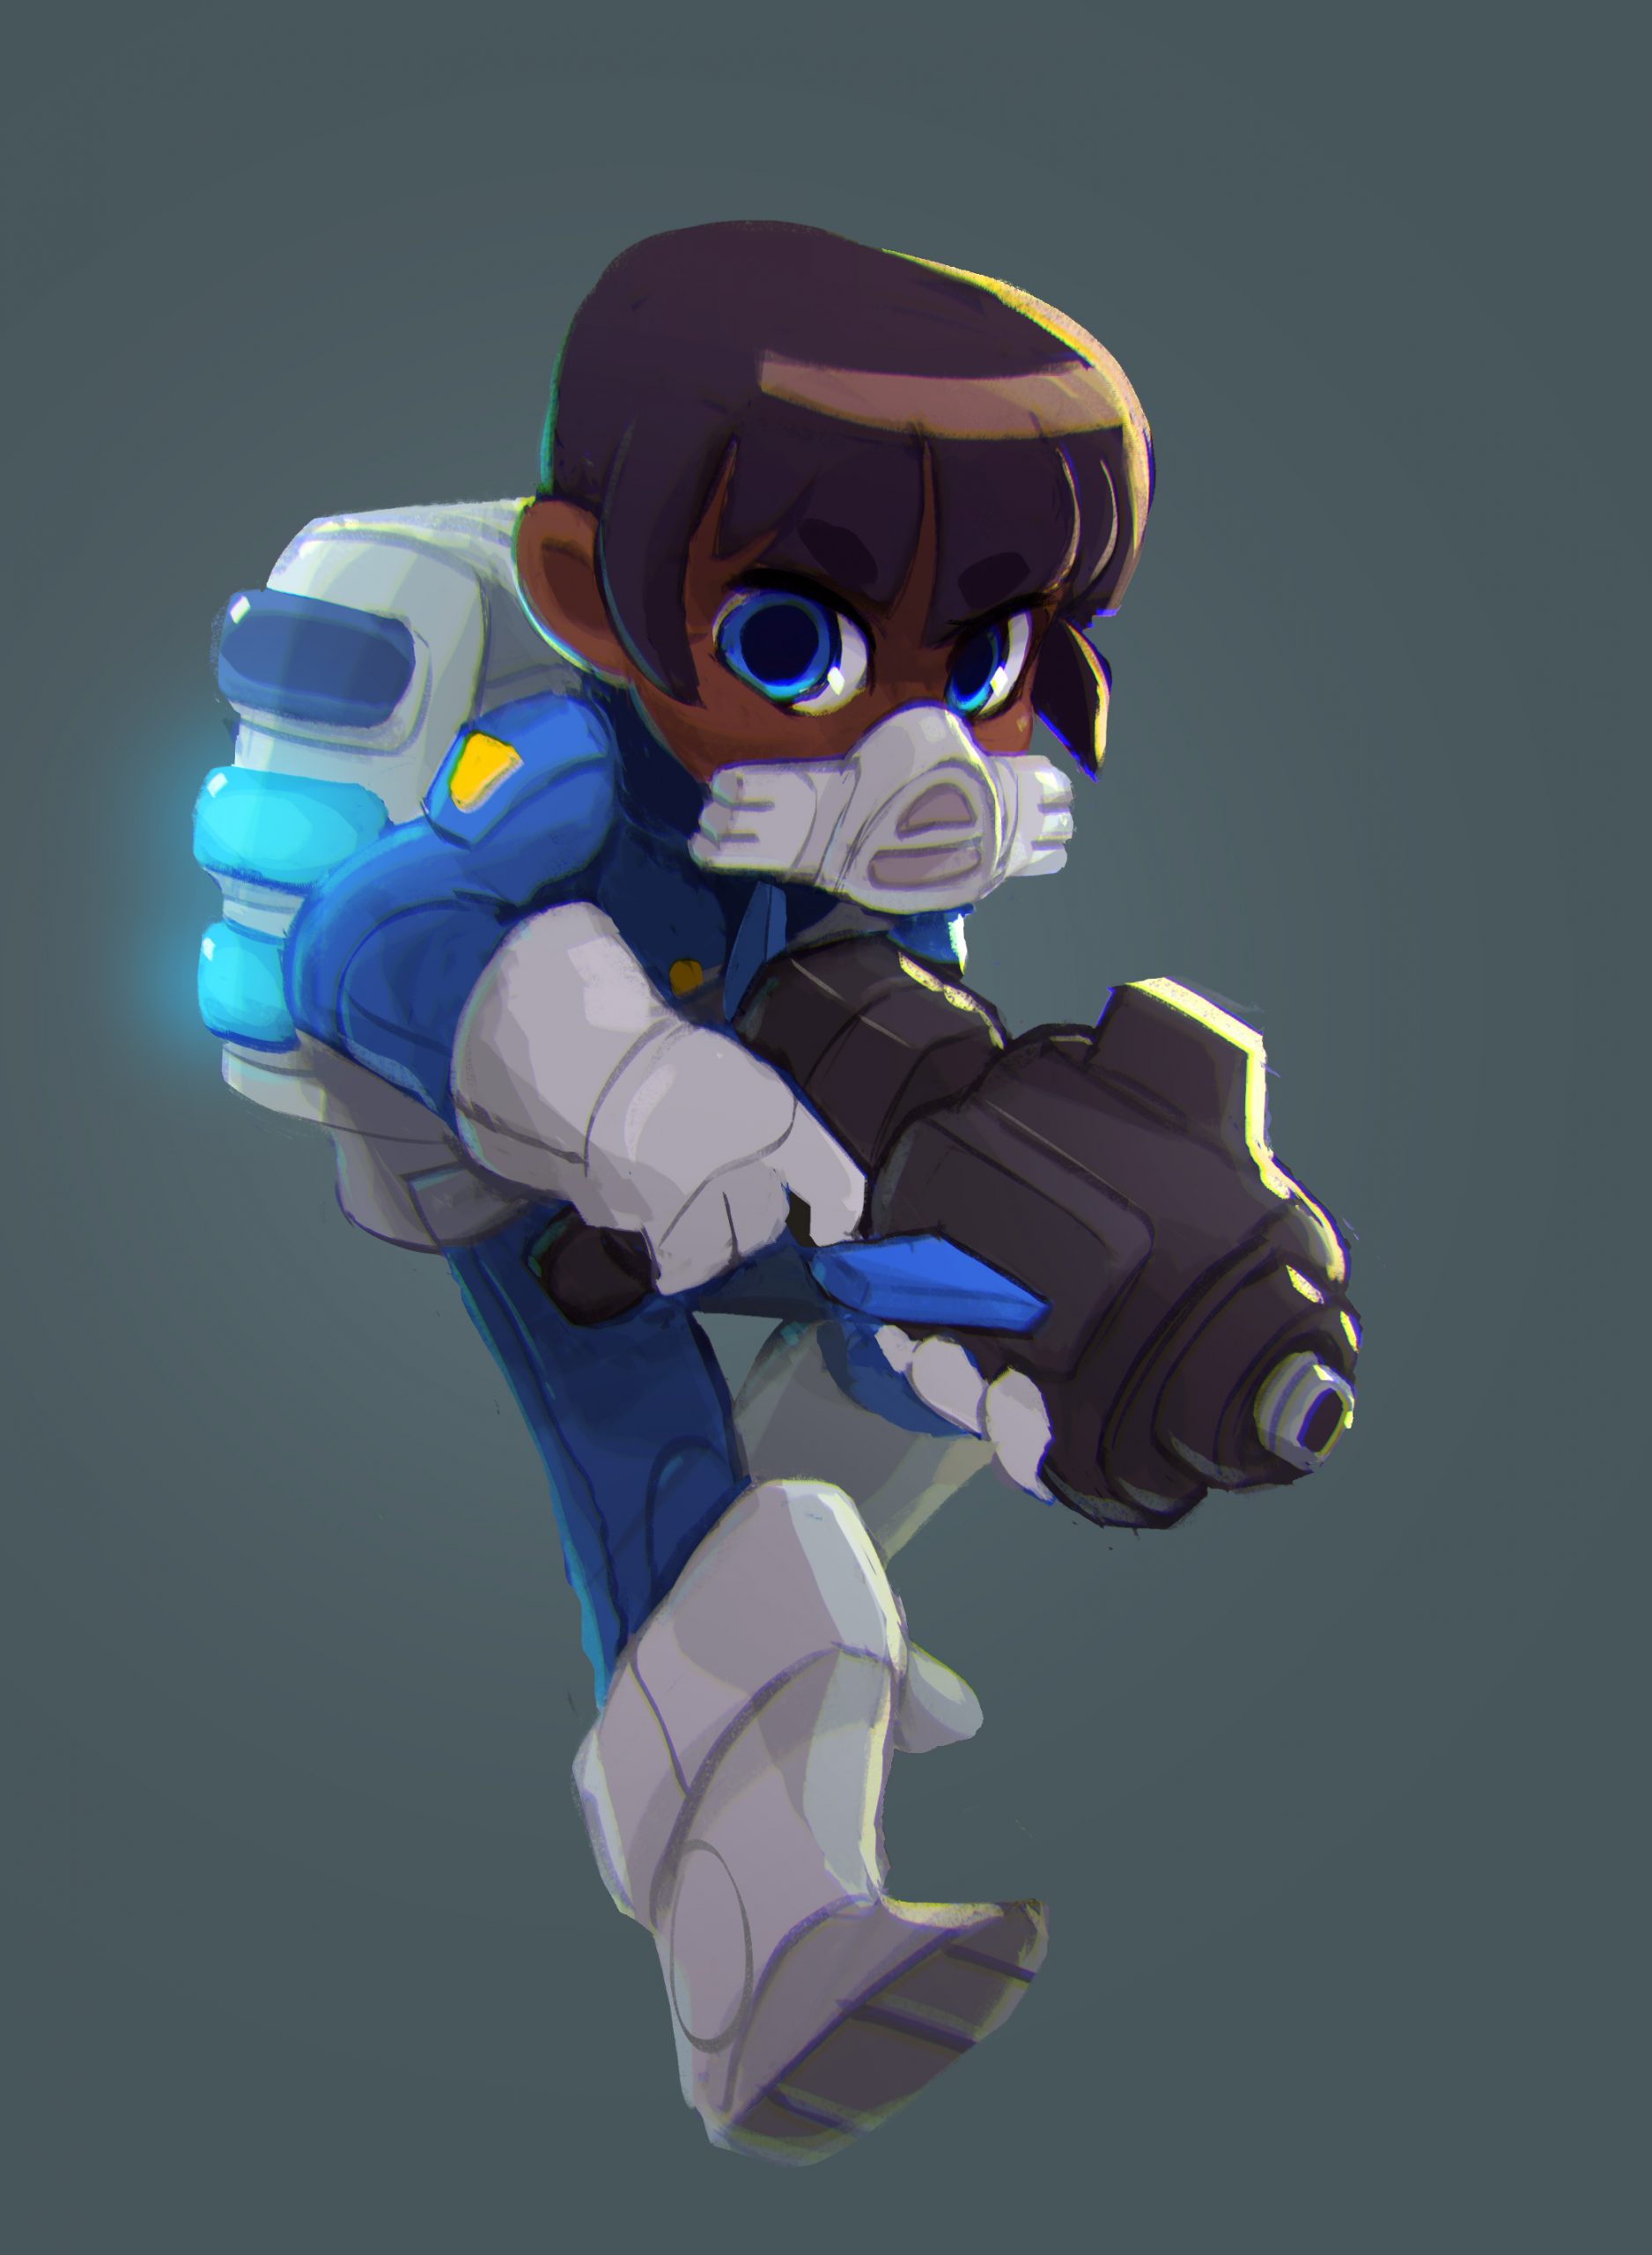
Who is Rogue? How do I unlock her?

Rogue, in terms of lore, is an ex-I.D.P.D. trooper, on the run from the menacing police force after stealing the I.D.P.D.’s super weapon, the Portal Strike. Supposedly, Rogue was once close friends with Lil’ Hunter. The other ex-trooper was sent out on a dangerous mission, but having failed to complete it, the I.D.P.D. abandoned him in the Frozen City, ensuring his demise. Rogue, after witnessing the Nuclear Throne, and upon hearing Lil’ Hunter’s fate, disobeyed orders, stole the I.D.P.D. super weapon, joined up with the gang of throne-seeking mutants, and set off to find her friend. She is slowly acclimating to the apocalyptic, mutated world, evidenced by her broken Trash Talk (mutant language); and unlike her new mutant buddies, she is an inter-dimensional, futuristic, combat trained human, who uses radiation to augment herself and her tech.
In order to unlock Rogue, you must reach, defeat, and sit on the Nuclear Throne.
Rogue is severely different from the other mutants in both lore and playstyle, due to her unique passive and active abilities. She is a challenging character designed for experienced players, and while many rule Rogue out as the worst “garbage-tier” character, I completely disagree with decreeing her as the worst. Is Rogue the best? Certainly not.
But in the right hands, with the right mindset, you can master her difficult playstyle and soar to greatness.
Shown above is my 100% complete Rogue page – proof that I submit to you to convey that I understand Rogue thoroughly.
Now that you understand who Rogue is, and how to obtain her, it’s time to begin covering her attributes, playstyle, and tactics.
Rogue’s Abilities, Suggested Playstyle, & Tactics
General Mindset
Rogue has two passive abilities, and one special active ability, both of which will be covered in this section. Gameplay-wise, as a character, Rogue was designed to be a difficult to play, fast-paced, rush character. Her starting weapon, the Rogue Rifle, can be compared to a more spammable, slightly weaker I.D.P.D. version of the Assault Rifle, which fires two fast travelling blue bullets, just like an I.D.P.D. Grunt. Her starting weapon relies on quick reflexes and reaction times, momentum, and accurate spam, and if utilized correctly, can alone get you to loop 1.
However, despite her intended design of run & gun, slow play, patience, and focused dodging should be adopted into your mindset when playing as Rogue, as charging blindly into hoardes of enemies is a very easy way to get overwhelmed and quickly killed. She excels at quickly dealing with enemies one at a time, so play agressively, but not so agressively that you have to focus on tons of enemies at once.
With the above in mind, it’s time to learn about Rogue’s active and passive abilities and how they distinguish and compliment the aforementioned mindset, starting with…

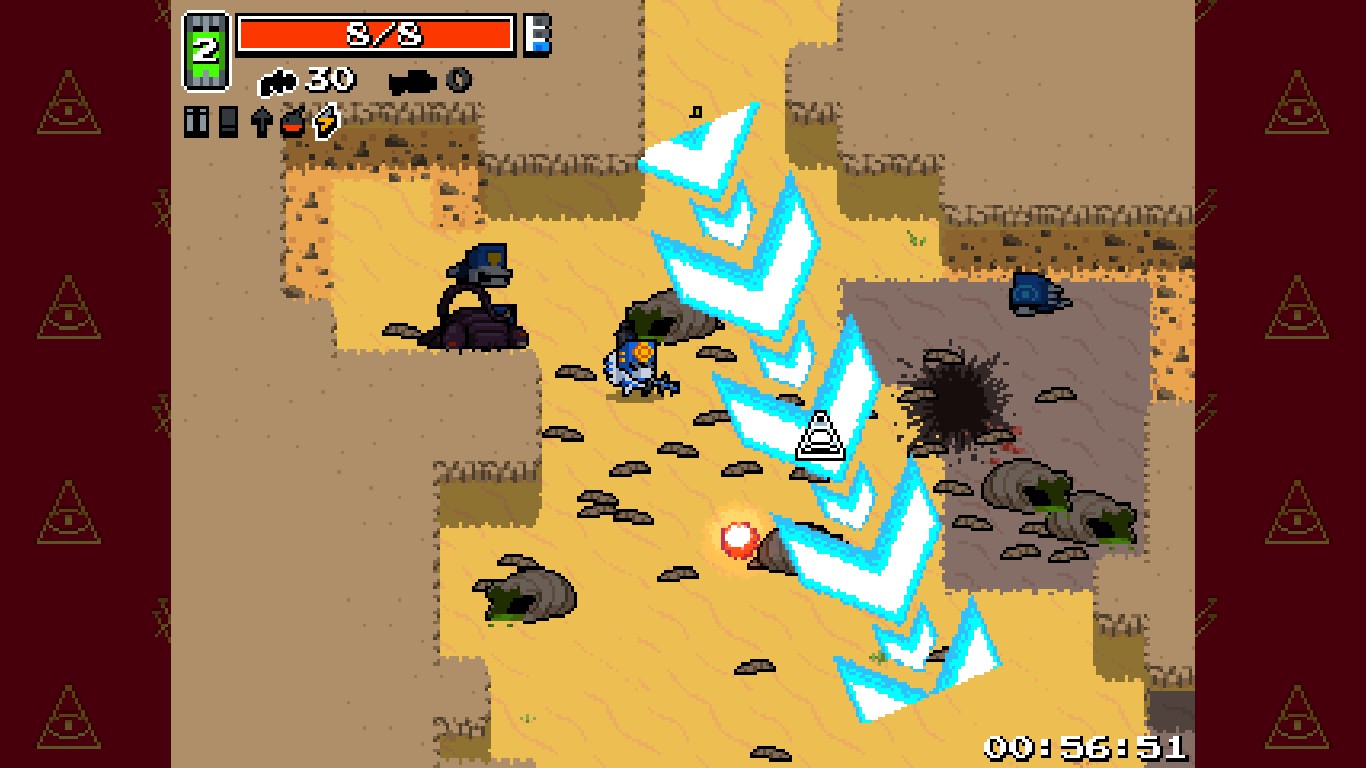
Rogue’s active ability is what distinguishes her from the other mutants. Unlike the others, her active has an ammo reserve – in the form of the super weapon she stole – the Portal Strike. Upon clicking the right mouse button, a blue stream of arrows will form, streaking through your crosshair. The stream of arrows will remain on the screen for as long as you hold down right click, and can be rotated in any direction by guiding it with your mouse. Upon releasing right click, you will unleash a barrage of 5 blue explosions, following a straight line from the back arrow forwards, each dealing 8-16 damage per frame/hit.
With her Throne Butt, Rogue’s Portal Strike explosions become significantly larger, dealing the same amount of damage but increasing the radius so that enemies can be hit by multiple explosions in a single frame, therefore increasing its damage output.
You should also take care when using her active, the explosions can damage anything – including yourself. A carelessly placed Portal Strike will instantly kill you unless you have Strong Spirit or Boiling Veins.
On the left: The blue arrows – visual indicators of where the explosions will happen.
On the Right: The explosions as they happen.

Something important to note about Rogue’s active right off the bat – you will never see Radiation Canisters. Instead, Rogue recieves Portal Strike Canisters.

This is one of Rogue’s biggest downsides, as she levels up much slower than the other mutants due to her lack of rad canisters, which also makes Ultra Weapons less viable. The silver lining to the fact that she doesn’t get rad canisters is that Hostile Horror will never spawn should you forget to pick up Portal Strikes, and her active in general can be a life-saving utility.
The Portal Strike allows Rogue to get out of sticky situations, as it can function as:
- A makeshift Hammerhead, creating safe spawns and cover at will in a tight spot.
- Free access into the Pizza Sewers.
- A means of activating Proto Statues without having to expose yourself.
- A means of attacking enemies without peeking out of cover to engage them.
Reserving your Portal Strikes for moments when you need cover or quick bursts of high damage is the smartest way to utilize Rogue’s active, as they provide several uses that can give you the edge you need to survive. Though situational, it is almost always better to have a Portal Strike handy, and not need it, than to need it, and not have it.
Moving on, we will begin to cover Rogue’s two passive abilities, the first of which being…
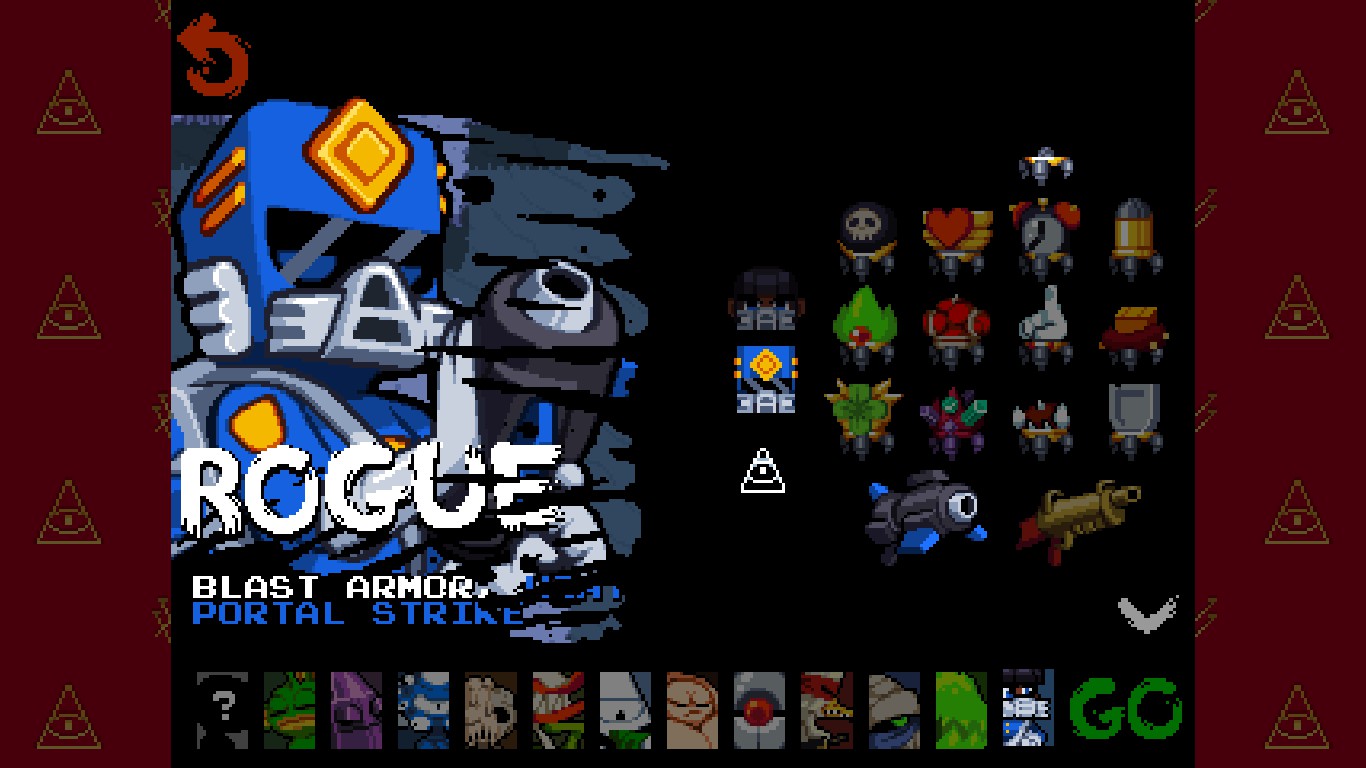
Passive – Blast Armor
Blast Armor is a tough ability to nail down correctly, and often times does more harm than good. Whenever Rogue takes damage, an immediate blue explosion will form on her position, dealing the standard 8-16 damage to any enemy too close, as well as destroying any walls, props, or enemy projectiles caught in the blast.
Its intended use is to act as a makeshift Gamma Guts by killing enemies that touch you, and create cover by blasting into walls if you’re pinned and getting shot at – both funcitons using health as a trade off. However, while it sounds good in theory, its very messy in practice.
More often than not, you won’t be taking contact damage from silly things rushing you, and in the event that you do take damage, the blast radius is far too small to deal with the threat that touched you. Just as well, when you get hit from an enemy shooting projectiles from far away, it’s very likely that the cover you’re using to hide from them will be destroyed in the process, creating more problems.
The Blast Armor can also destroy explosive props – if you’re too close to a car or generator and take damage, it’s possible for the Blast Armor to proc, and destroy the explosive prop, killing you in the process. Be aware of your positioning as Rogue, as unfortunate damage too close to an explosive hazard can end your run instantly.
Every once in a while, the Blast Armor will function as intended, and save your skin. But in my opinion, it is far too situational to be utilized efficiently. It’s also important to note that taking Gamma Guts will almost completely render the Blast Armor useless, as enemies that deal contact damage will be killed before they hit you. Pairing Gamma Guts with Scarier Face will completely negate the ability when it comes to contact damage.
Some of the rare upsides to the Blast Armor include the ability to kill mimics if you accidentally touch one, creating cover in a wall after being hit by a projectile, and destroying projectiles. That’s about it.
It’s very difficult to cleverly use Rogue’s Blast Armor, and more often than not causes more harm than good. But as long as you are aware of the ability’s dangers, and focus on the enemies you’re shooting, the Blast Armor will just be a side thought with a few small extra benefits.
In the next section, due to word limits, we will cover Rogue’s other passive…
Rogue’s Abilities, Suggested Playstyle, & Tactics (continued)
Passive – Heat

Heat is Rogue’s second passive ability, which corresponds to her lore. The I.D.P.D. is chasing her since she defected, and as such, the I.D.P.D. will spawn under certain conditions in every level except for 7-3.
Those conditions specific to Rogue are:
- Upon killing approximately half of the enemies in the level, two I.D.P.D. Portals will spawn.
- After the level’s end, two I.D.P.D. Portals will spawn.
And, in addition to Rogue’s Heat Passive, the I.D.P.D. will spawn under every other normal condition, such as post-loop spawns, opening Crown Vaults and destroying Proto Statues, etc. The police want her dead!
And this passive is why I adore Rogue, why I started playing as her in the first place. The constant stream of policemen and women on your tail forces you to learn how to deal with them – and over time, you understand how they attack, their patterns, and with that knowledge you can devise strategies to counter them.
Unfortunately, this experience must come firsthand, and takes several hours of practice before setting in. On the other hand, and fortunately for you, I’ve compiled an encyclopedia that catalogues the various I.D.P.D. troops, the conditions under which they spawn, their stats & abilities, and suggested strategies on how to deal with each individual troop – even the Captain.
You can read it here: [link]
The barrage of tougher I.D.P.D. troops following you has several benefits; first off, they grant the player the experience of fighting them firsthand, and add to your kill count, and second, they will often drop pickups like health packs and ammo in a pinch. A common strategy to get easy kills and potential drops that I employ is to stand near the portal that opens at the end of each level, and enter the portal when the end-level I.D.P.D. spawn, granting myself invulnurability as I can shoot them down in the small window of time alloted before the level switches. Occasionally, the troops will drop ammo or health, and the drop will quickly follow me into the portal.
Heat will become far more apparent in post-loop, as troops will be everywhere. You must remain calm and collected, assess the threats presented to you, and deal with them one at a time. Getting overwhelmed, as stated earlier, is the quickest way to get killed as Rogue.
Now that you understand Rogue’s general mindset, playstyle, and how her abilities work, the next section will cover mutations, ultras, and small tips.
Mutations, Ultras, Synergies, & Tricks
Useful Mutations
Aside from the obvious general mutations that ensure your build is powerful (Strong Spirit, Bloodlust, Bolt Marrow, Trigger Fingers, Long Arms, etc.), here I will cover a set of more unconventional mutations that fill certain niches and compliment Rogue’s actives and passives.
Beginning with…
Boiling Veins – Boiling Veins allows you to take no damage from an explosion or fire if you have less than 4 HP. This makes your Portal Strike incredibly viable at close range, and so that you won’t be killed if it hits you. As an added bonus, Rogue won’t be killed if her Blast Armor triggers an explosive prop to be destroyed.


Euphoria – Euphoria slows down enemy bullets by 20%. This will help immensely against the waves of I.D.P.D. troops you fight, as well as the Captain fight. The blue bullets that they fire travel extremely quickly, and are difficult to dodge. Euphoria makes it easier to avoid damage.


Gamma Guts – Gamma Guts deals 6 damage per hit animation for as long as you’re in contact with an enemy. Not only does it help if you’re out of ammo, but it synergizes with Scarier Face to help negate the negatives of Blast Armor. Plus, if you stand on an I.D.P.D. Portal, Grunts & Inspectors will be killed instantly.


Last Wish – Last Wish refills your ammo, health, uncurses weapons, and allows passage into the Jungle if taken before 5-1. It isn’t a good mutation post-loop, but it somewhat synergizes with Rogue; it refills your Portal Strike ammo if you absolutely need it.


Open Mind – Open Mind allows an extra chest to spawn on each level, either an extra Ammo Chest, Weapon Chest, or Radiation Canister will be equally likely to appear. Synergizes with Rogue’s active; on occasion, two Portal Strike Canisters will appear in a level.


Recycle Gland – Recycle Gland gives bullets that connect with an enemy a 60% chance to give 1 bullet back (bullet ammo efficiency). This compliments the rather powerful Rogue Rifle, making it much more viable in the lategame.


Scarier Face – Scarier Face takes away 20% of every enemy’s health, including bosses. This mutation is huge for the Captain fight, and makes the Rogue Rifle more viable by allowing it to one-shot enemies it couldn’t previously one-shot before.


Throne Butt – Throne Butt is character specific, but for Rogue, it increases the radius of the Portal Strike Explosion, effectively allowing enemies to be hit multiple times by one explosion, therefore increasing the damage.


Ultra Mutations

Rogue’s Ultra Mutations are… underwhelming at best. Prior to update #93, Rogue’s first ultra mutation was “Resourceful” – enemies had a small chance to drop Portal Strike ammo crates upon death. However, that has since changed. Although, despite the changes, Rogue’s Ultras aren’t very good. We begin with…
Ultra A – Super Portal Strike – Rogue’s Ultra A is a straight upgrade to the ammo capacity of your Portal Strikes. Instead of 3 total Portal Strikes, you get a whopping…


I almost never take Ultra A – it becomes quickly insignificant in the lategame, and the only time I would ever take it is if I had taken Throne Butt beforehand. It isn’t useless, but I feel like I can manage with only 3 Portal Strikes, 6 seems unnecessary.
Ultra B – Super Blast Armor – Rogue’s Ultra B is another straight upgrade – this time to your Blast Armor. Instead of 1 explosion, taking damage now creates 4 explosions, 1 in the center of your character model, and the other 3 in a triangular shape around you.


Blast Armor alone isn’t great, but I feel like it becomes much better with Ultra B. Enemies that touch you are much more likely to be punished by the explosions, and you’re far more likely to create useful cover if you get hit next to a wall. With Boiling Veins, Ultra B synergizes well; you can adopt a more ballsy run and gun playstyle post-loop, and not have to worry about exploding props. I believe that the more agressively you can play as Rogue, without risking too much, the better. Ultra B allows you to do just that.
Rogue’s Crown Struggle – Routes & Tips (Pre-Loop)
This entire section will be dedicated to unlocking the sets of both pre and post-loop crowns as Rogue. Unlocking all the crowns on any character is a tedious, arduous experience that requires patience and skill, and Rogue is no exception. Arguably, she is one of the hardest characters to unlock all the crowns for (Probably just behind Melting). Once again, I’m going to link the guide for fighting the Captain below, as understanding the ins and outs of that fight is a quintessential part of unlocking all the crowns, for all the characters, and this man goes much more in depth about the fight than I ever could.
Read his guide here: [link]
With that in mind, it’s time to go over each crown, what they do, and general strategies that you can use to unlock them as Rogue. We start with…
Pre-Loop Crowns
The Crown of Life – This rather simple crown removes health drops entirely, but makes Big Medikits (which replace your Portal Strike & Radiation Canisters) 66% more likely to appear, even at full health.


This crown is relatively easy compared to most of the others. Bloodlust is essential, and skilled dodging will be key. The less you get hit, the more likely you’ll win. If you’re at full health and a Big Medikit shows up, save it until the level’s end – you never know if you’ll end up needing it. Just like all of the other pre-loop crowns, you don’t need to loop to unlock it, you merely need to defeat and sit on the Nuclear Throne.
The Crown of Guns – This crown removes ammo drops entirely, but makes enemies have an 8% chance to drop weapons of any kind. This 8% chance stacks on top of enemies that already have an 8% chance to drop weapons.


This crown is one of the more difficult crowns to unlock, and is easily the hardest of the pre-loop ones. Ammo conservation is an absolute must, mutations such as Gamma Guts, Lucky Shot, Back Muscle, and Recycle Gland are incredibly helpful. Melee weapons are a godsend. Take hard hitting weapons that are accurate, and don’t miss your shots – running out of ammo in a firefight means you’re in deep trouble. Don’t bother trying to loop with this crown at first, as wasting ammo on the generators may leave you defenseless in the Throne fight.
The Crown of Haste – This crown makes ammo drops, rads, and health kits fade three times as fast. However, all drops (except for rads) are worth one value more than normal; this means that health kits will be worth 3 health instead of 2, ammo drops have 1 more bullet than normal, etc.


This crown is one of the easier crowns in general. Its modifier doesn’t limit anything in your run, but you must be quick to ensure you get ammo, health, and can level up. Plutonium Hunger helps a ton when unlocking this crown, but almost any build worthy of defeating the Throne will get you this one easy-peasy. Feel free to attempt to loop with this crown, as it is friendly towards beginners in the crown struggle.
The Crown of Destiny – This crown gives you a free mutation upon selecting it, but all of your mutations will be chosen for you from that point on. The mutation selected will be the mutation that’s furthest on the left from your previous set of mutations.


This crown is a cakewalk. And fun! You should have absolutely no problem unlocking this crown, and I like to take it to see what wacky build the game will decide for me from time to time. Some strategies that revolve around the Crown of Destiny involve going to the Cursed Crystal Caves before getting it to reach level Ultra and take a free mutation afterwards. If you’re not going for the Cursed Caves play, always make sure you take the Crown of Destiny on 5-2 to ensure you have the freedom of choice in your build up to that point.
The Crown of Curses – This crown makes it so regular Weapon Chests will have a 66% chance of turning into a Cursed Weapon Chest instead of the normal 14.2% chance when taking a crown.


This crown, too, is very easy. The gimmick of cursed weapons and cursed weapon chests is that you can find powerful weapons that would normally spawn 2 levels ahead of your current level earlier. (example: A cursed weapon chest in 3-3 can hold a Smart Gun, which normally spawns in 5-1). However, you can’t put cursed weapons down unless they’re for other cursed weapons, or you remove the curse by looping, going through a Crown Vault, or taking Last Wish. The ability to find powerful weapons earlier is the benefit of the Crown of Curses, and any build competent enough to defeat the Throne will be enough to unlock this one.
The Crown of Risk – This crown makes it so enemies will have a 50% higher chance than normal to drop pickups when you’re at full health, and a 50% lower chance than normal when you aren’t at full health.


This crown is a tough one. While it isn’t as hard as the Crown of Guns, it makes survivability more bleak the more damage you take. Taking Bloodlust is essential, and Rabbit Paw will slightly help allieviate a lack of drops. Second Stomach also is good, as the medikits you recieve when at a lower drop rate will count for more, hopefully enough to bring you back to full health.
The next section will cover post-loop crowns, due to word limits.
Rogue’s Crown Struggle – Routes & Tips (Post-Loop)
Post-Loop Crowns
Once you’ve unlocked all of the pre-loop crowns, it’s time to begin unlocking the more difficult post-loop ones. These will test your skill indefinitely, and some are harder than others. Knowing how to reach and reliably defeat the Captain will be essential, as reaching the Throne post-loop is no easy feat. For each post-loop crown, I will advise which route is easier to take: Captain Fight, or Throne Fight. For Rogue specifically, the Captain Fight will be difficult, as the I.D.P.D. HQ is challenging to get through. We begin with…
The Crown of Death – This crown takes away 1 unit of HP from your max health, and makes explosions “bigger” by spawning 3 small explosions around every big explosion spawned into the game.


This crown is the first of the post-loop exclusive crowns, and thankfully, is one of the easier ones to unlock. It doesn’t modify Rogue’s Portal Strikes, I.D.P.D. Grenades, Blood Explosions, or Plasma Explosions, so don’t be worried about using your active. Boiling Veins is absolutely wonderful to have, but isn’t entirely essential if you’re careful. Paired with the Hyper Launcher, you are bound to do heavy damage. I would grab a powerful explosive weapon, and head to the I.D.P.D. HQ to fight the Captain to unlock this one.
The Crown of Blood – This crown makes it so TONS of enemies will spawn in each level. It doesn’t modify difficulty, so weapon drops will remain the same. Each enemy will drop one less rad than usual.


This crown is extremely difficult to unlock. Only one crown boasts a bigger challenge – but the Crown of Blood introduces a whole new level of difficulty that one can only adapt to over time, with plenty of practice. If you’re new to the Crown of Blood, post-loop will be a nightmare, and it will be easy to panic. Grizzled veterans who played before the game’s release will have experience with the crown and be unphazed, but the sheer amount of enemies on screen is an unforgiving experience. Strong Spirit and Bloodlust are a must; mutations like Bolt Marrow and Long Arms + a reliable melee weapon are godsends. Those confident enough to reach the Throne with the Crown of Blood enabled must know what they’re doing to unlock it by looping twice. Those who are unexperienced should take this crown to the Captain fight as soon as possible for a shot at unlocking it.
The Crown of Hatred – This crown will make it so opening a stationary chest (Ammo, Weapon, or Radiation Canister) will deal 1 damage to your character, but give you 16 rads upon opening a chest. Chests opened by portals will not give extra rads, but also not hurt your character. Breaking Radiation Canisters with a weapon will not hurt you.


This crown isn’t very difficult, but it isn’t the easiest of the bunch. The Crown of Hatred heavily incentivizes using Ultra Weapons, and when playing as Rogue, the crown’s modifier will make Ultra Weapons more viable. Be forewarned that opening a chest can kill you if you’re at 1 HP, so think twice before opening a chest. Big Medikits will heal you first, then damage your character. I would take this crown to the Throne fight, as opening essential chest resources before the Captain fight will handicap you with reduced health, and you’re going to want all the health you need for her bullet hell.
The Crown of Love – This crown will replace all chests with any type of Ammo Chests. As Rogue, you will still get a Portal Strike Canister, but only one will show up per level.


This is my favorite post-loop crown! And, it’s the easiest to unlock! Once you get a very nice build with powerful weapons, you should take the Crown of Love. You’ll almost never run out of ammo, and as long as your build is strong, you shouldn’t have too much trouble looping a second time. Ammo chests can appear as mimics, be forewarned. I would absolutely take this crown to the Throne fight, as it is much less of a hassle than the Captain fight. Just be sure you’re ready to commit to the weapons you have when taking this crown, though.
The Crown of Luck – This crown will make it so you start each level at 1 HP, but gives a chance that enemies will spawn into the level at 1 HP themselves. This modifier will not affect bosses.


♥♥♥♥. THIS. CROWN. The Crown of Luck is the most difficult of the post-loop crowns, trumping even the Crown of Blood. It’s a brutal challenge that requires loads of patience and raw dodging skill. Mutations such as Strong Spirit, Bloodlust, Rhino Skin, Euphoria, Rabbit Paw, Second Stomach, Scarier Face, Bolt Marrow, are absolutely REQUIRED to unlock this cruel crown. It doesn’t matter in the slightest which path you take to unlock it, as the modifier doesn’t affect bosses. You could try to go for the early unlock against the Captain, but you’d be walking into that behemoth of a boss fight only one hit away from death. Taking the long route to the Throne is equally as daunting – one mistake will end your run, and you have an entire loop to get through. As Rogue, utilizing your Portal Strike to create cover when given a terrible spawn is a must. Playing patiently is required, as the tiniest slip up will instantly end you. There is no shame in hiding like a coward and taking potshots to try and get Bloodlust to proc, this is encouraged to give you a fighting chance. If you attempt to unlock this crown, on any character, not just Rogue, pray to RNGsus and may God have mercy on your soul.
The Crown of Protection – This crown will make it so weapons will give you 1 HP instead of ammo when you walk over them. Melee weapons will give you neither ammo nor health, unless the melee weapon belongs to an ammo pool (Energy Sword uses Energy Ammo, etc.)


This crown is tough, but relatively pretty easy. Ammo conservation is a must, and mutations such as Lucky Shot, Back Muscle, Rabbit Paw, Gamma Guts, Recycle Gland, and Open Mind will help immensely in unlocking this one. Feel free to take this to the Throne fight – it might not be in your best interests to challenge the Captain with it, as ammo isn’t as plentiful and running out of ammo in the Captain fight will be catastrophic. The healing is a small benefit, but keep one eye on your ammo, because you don’t want to run out, at any point in the game.
The End
I’d like to thank you a ton for reading to the end.
I don’t think I’m the best at the game, or even Rogue, but I like to think that I kinda know what I’m talking about.
I hope what’s written here will help you understand how I play as Rogue, and assist in your journey for 100% completion.
The gifs under the “Passive – Heat” section and “Ultra Mutations” section are not mine – the police chasing Rogue was made by Gieron[nuclear-throne.wikia.com], and the Level Ultra animation was made by Tdtbaa[nuclear-throne.wikia.com], respectively.
Once again, thanks for reading – go forth and be awesome.