Overview
Some tips for each of Nuclear Throne’s bosses, including loop and secret bosses, so spoilers! Please enjoy!
A List of Bosses
The Boss of the Deserts is the Big Bandit, a rather simple boss.
The Boss of the Scrapyards is the Big Dog, a huge, menacing boss.
The Boss of the Frozen City is the infamous Lil’ Hunter, known best for how annoying he can be.
The Boss of the Palace, and the Final(ish) boss of the game is the Nuclear Throne itself.
The Boss of the Campfire is the Throne’s terrifying Second Phase.
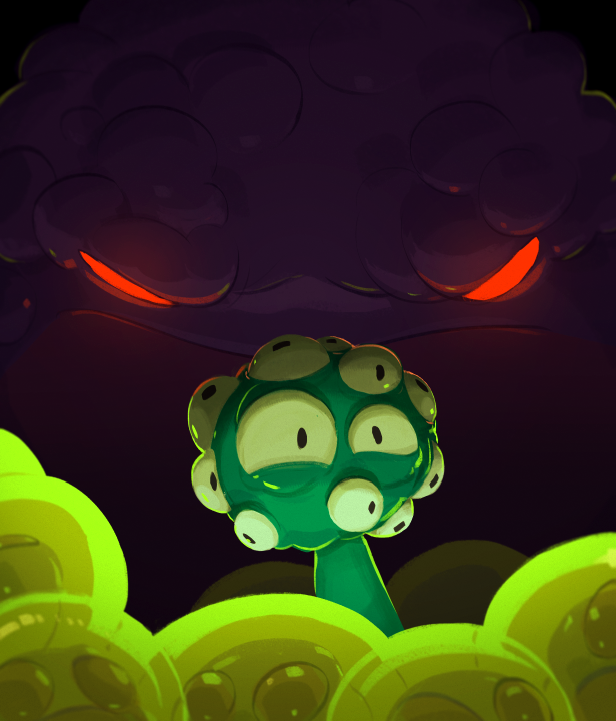
The Loop Boss of the Sewers is the large and toxic Ballmum.
The Loop Boss of the Crystal Caves is the Hyper Crystal, a towering crystal sure to bring you to your knees.
The Loop Boss of the Labs is the clever and intimidating Technomancer.
The Boss of the IDPD HQ is the Captain John Johnson.
Big Bandit
 Big Bandit is a simple boss to conclude a simple area. He will shoot a quick few shots at you, or he will charge at you. You don’t need much of anything to put an end to him, however using a slugger, crossbow, or grenade launcher is advised for an even quicker kill. The one thing to be wary of is his charge attack, as it can put an end to you in one hit in many circumstances, dealing 10 damage. However, this shouldn’t be too troubling. A great strategy to roast him is to get a Sledgehammer or anything that does more than that damage (On loops) and hit him with the weapon while he spawns in. It hits multiple times and usually insta-kills him. Get cucked, Grande Bandito.
Big Dog
 Big Dog is also fairly simple by himself. His two attacks are spinning, creating a slow volley of tightly packed bullets, and releasing 3 to 6 missiles to seek you out and blow you up. Make sure you can dispose of any annoying enemies before dealing with him, however. Fighting a Big Dog with five snipers behind him is much tougher than fighting a Big Dog alone. Also, if you ever run low on ammunition, wait for him to release some missile to regain some ammo. Mutations like Boiling Veins will always help make sure the missiles and his death explosion don’t kill you. Gamma guts will also roast him pretty easily.
Lil’ Hunter
 This little ♥♥♥♥♥♥ is a slippery, tough boss that you WILL have trouble with eventually. He will shoot a near undodgeable spray of bouncer bullets in close range and a tightly packed stream of bullets when afar. He also calls IDPD backup, and will spawn Grunts at first, and eventually Inspectors and even later… Shielders. He also jetpacks up and lands down, leaving a circle of fire. He will explode on death and fly around on his broken jetpack before exploding again. Some mutations that will make him less threatening are Euphoria and Boiling Veins, which both make his attacks less powerful.
The Nuclear Throne
 The Nuclear Throne is the final boss of the game, and is very intimidating. He will shoot a beam out at the carpet if you walk over it, shoot huge balls at you, and will shoot streams of green bullets out for minor damage. He also will explode upon death, leaving you to sit on the throne or to go through the Big Portal to the Campfire. In order to loop, you must destroy all four generators on the sides of the Throne Room. Destroying these generators will also take half of the Throne’s health, so it is recommended to do. I suggest taking Rhino Skin, Strong Spirit, and basically any melee weapon (Save the Wrench, Blood Hammer, etc.) for this fight if you’re having trouble. Once you loop the game, you will be taken to the campfire.
Throne II
 Once you make it to the campfire, you will be assaulted by the IDPD. Once you kill the lot of them, the second form of the Throne will appear, and an intense fight will commence. There aren’t many specific mutations to help against this, so stock up on the useful mutations. The second Throne will float around the level, shoot out big balls, some exploding and some shooting huge beams at you, then withering. The Throne will also stop moving to shoot out five streams of green orbs, each doing 5 damage! Once you defeat this final form, it will explode and another Big Portal will appear to bring you back to the beginning of the game.
As cool as this fight sounds, it’s pretty easy. The Throne floats around in a predictable manner, doesn’t have nearly as much HP as the first phase, and if you have any sort of melee weapons the fight is a joke. It doesn’t get much harder through loops either. If you’ve got good DPS, you can deal with it pretty easily.
Changes Due to Loops
Looping will change the way the bosses stated above act and work.
Big Bandit: More Big Bandits will spawn each loops. 2 on Loop 1, 4 on Loop 2, etc. They will also charge and shoot at the same time and have more health. However, they are still rather simple.
Big Dog: Big Dog now shoots more missiles that shoot out bullets themselves. This can easily overwhelm you, so destroy the missiles quickly! Also, Big Dog will have 80% more health each loop.
Lil’ Hunter: Lil’ Hunter is now able to spawn all matter of IDPD, and even Elites come Loop 2. His death explosion also becomes larger each loop.
The Throne: The Throne’s attacks get harder to dodge, adding one projectile to each attack per loop. The generators are also much easier to destroy.
Throne II stays the same, except more IDPD will spawn in, and eventually Elites.
Ballmum
 Ballmum, now dubbed “Mom”, can be very tough or very easy, it all depends on how you play. Mum will move around, spawning Ballguys and shooting large blasts of toxic particles. If you destroy most of the lesser enemies first, focusing on Mum with usually a melee weapon like the Energy Sword will easily take her down. Relying on running and gunning can lead you to being overwhelmed by Toxic Ballguys and Fireballers. Like I said, melee weapons really help, so Long Arms does help. Having the necessary health mutations is very useful as well.
Hyper Crystal
 Hyper Crystal will not attack you. However, touching it will literally destroy you, dealing 400 damage. It spawns Laser Crystals constantly to attack you and will not stop until you kill it. The surrounding enemies will usually overwhelm you, and can lead to almost certain destruction. The best weapon against the crystal is mainly perseverance. It’s tough to get destroyed by the Crystal itself. Keep destroying his spawn and make sure they don’t move too close to you.
Cursed Hyper Crystal
The Cursed Hyper Crystal is a lot like the Hyper Crystal, but is found in the Cursed Crystal Caves on loop, and will spawn Cursed Laser Crystals, so be prepared for teleporting and for hell. Fight is very similar to the normal one, just keep destroying the spawn before they can hurt you and focus your fire in part to the Hyper Crystal as well.
Technomancer
 At this point in the run, you should be able to take on most challenges, especially a boss who does nothing but throw endless easy enemies at you (Definitely not like the other loop bosses). This boss is made even simpler if you have a melee weapon, Trigger Fingers, Stress, or anything else to help your rate of fire (YV Ultra A) as you will tear through the armies of Freaks he calls forth. Technomancer does nothing but revive corpses into Necromancers, who do nothing but revive corpses into Freaks, which are rather easy enemies if you can cover large areas with your weapons. Technomancer has three little stations to do his work, and if you destroy all three stations, you defeat the boss, and go on with your life. Simple, right? Not exactly at times. Keep your eye on your ammo and your health, as things can go down in a second at times like this.
Captain
 This fight is against the leader of the IDPD, Captain John Johnson (who is a girl…), found in level three of the HQ. To get to the HQ, hijack a van by pressing E next to it while it’s still hovering. Currently, this boss is a much harder variant of the Throne who will periodically uppercut you. She controls a large, blue figure behind him, and will manipulate this figure to shoot Throne-like big balls at you, along with giving you the Mike Tyson combo at times, insta-killing you, so keep your distance. Once you defeat the Captain, you assume her spot as head of the IDPD, and the game ends.
THANK YOU FOR READING!
Reading this means a lot to me. Just comment down below if you enjoyed the guide, would like me to make more, or have some changes for me to make. It all means a lot to me, you guys. Thanks!