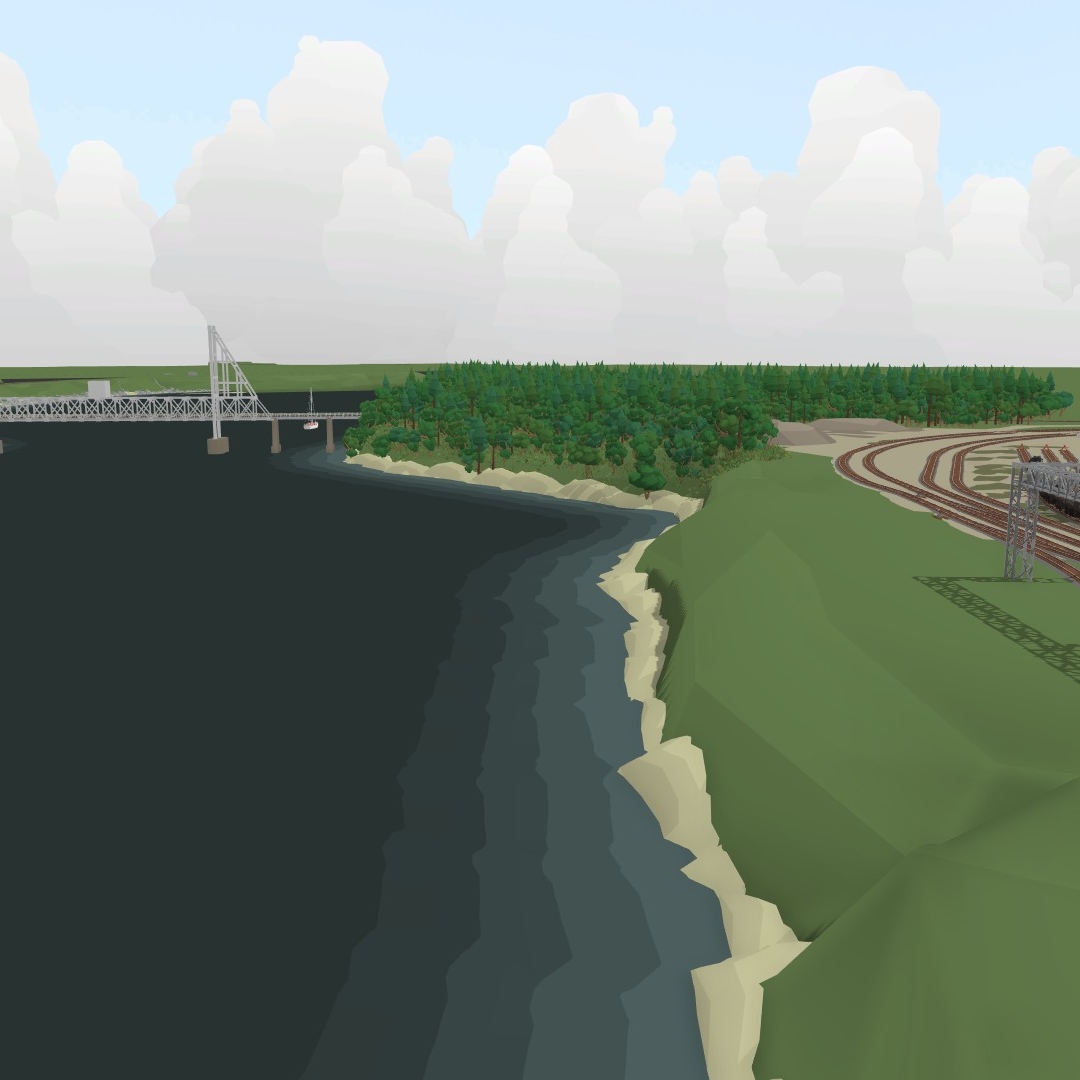
Overview
This guide will teach you the basics to make simple yet realistic water for your layout.
Items and Colours
To start you will need the flat terrain pieces. I personally prefer using the terrain piece in the top left of the item tray.
Now for colours. Make your base colour in the custom colours tab. I go with a murky dark blue as seen in the photos below.
Now that you have your custom base colour mixed it is time to add a new colour. when adding the new colour just bring the brightness of the new colour up by an increment of five. This will need to happen four times to get the look shown below.
Base
Shoreline colours
Now that we have the colours created and your base water is painted (base should be the darkest of the custom colours) it is time to add your four custom colours to the terrain piece shown above.
Placement
Go to the shoreline where the water meets the land and take your lightest coloured terrain piece and place it along the edge of the land and water.
Grab the piece that is slightly darker and go below that one.
Grab the piece that is slightly darker and go below that one.
Grab the piece that is the darkest and go below that one.
There we have it! Easy and beautiful water! Just a reminder, water does not have a straight and defined edge in real life, so it does not have to be a straight line on the shoreline.


