Overview
Animaiton presets are those little sliders on the top left of SFMs GUI. They can be used to “save” positons of bones or any other animaitonset to be resued at your convenience.
Intro
What are animation presets?
Animation presets are sliders that can control various aspects of a model, normally they control facial expression, phonemes, and visemes.
However, presets can be used to do much more.


This cube model has 30 individual feather bones that would be difficult to animate without the aid of presets.
Normally presets are loaded when the model they were created for is spawned inside the SFM. I will show you how to create animation presets and export them into .pre files which the SFM will automatically load whenever the model they were created for is spawned inside the SFM.
Things to consider when creating presets:
Presets and Python rigs have a strange relationship.– If a bone is defined in a python rig then then the rigs motion will overwrite the preset, that is to say adding a python rig will break the presets on any bones that are manipulated by the rig.
– Bones that are NOT manipulated in a python rig can still be manipulated by the presets
– If you want presets and python rigs to work in harmony, the bones that you make a preset for cant be defined in the python rig you make for the model
– The only exception to this rule is finger bones, finger bones will work with presets regardless of whether a python rig is attached or not.
Part 1: SFM Setup
First create a new scene, load the map, and spawn the model you want to create presets for.
DO NOT ATTACH A PYTHON RIG TO IT
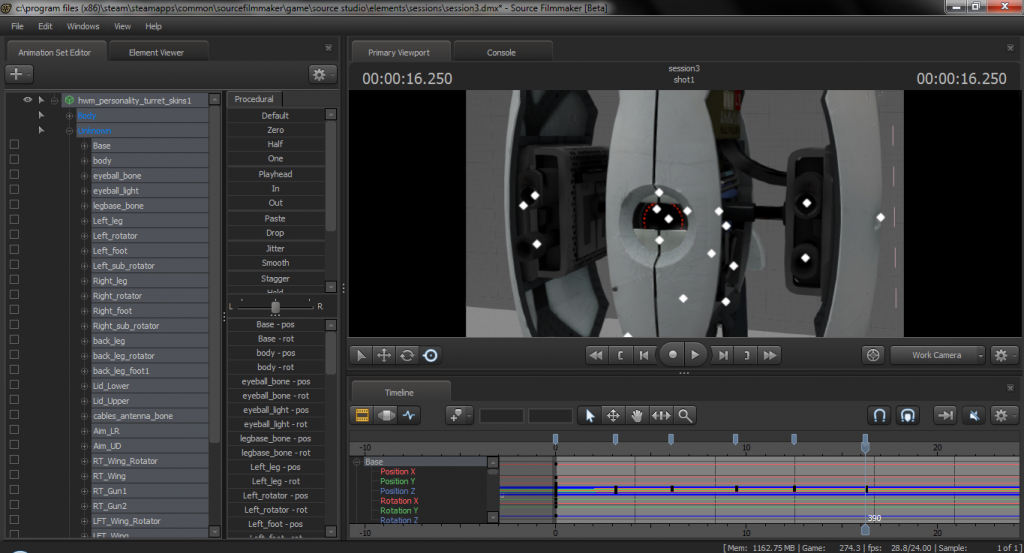
Then create a keyframe for all of the bones in the graph editor.
Move forward in time (it does not matter how much) and begin posing the bones into the positions that will become the maximum strength of the presets we will create.
Once you have created all of the preset “pose variants” you can begin creating the presets.
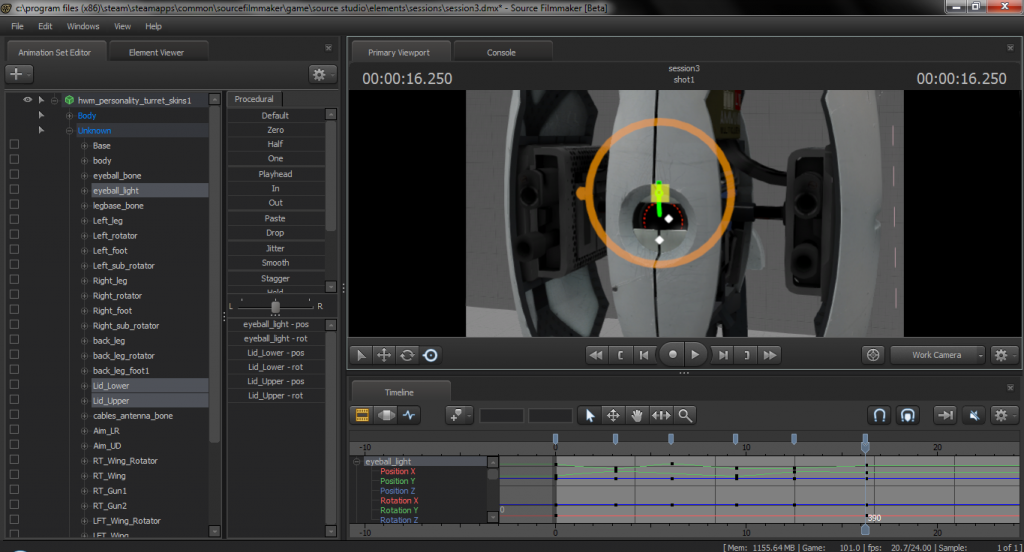
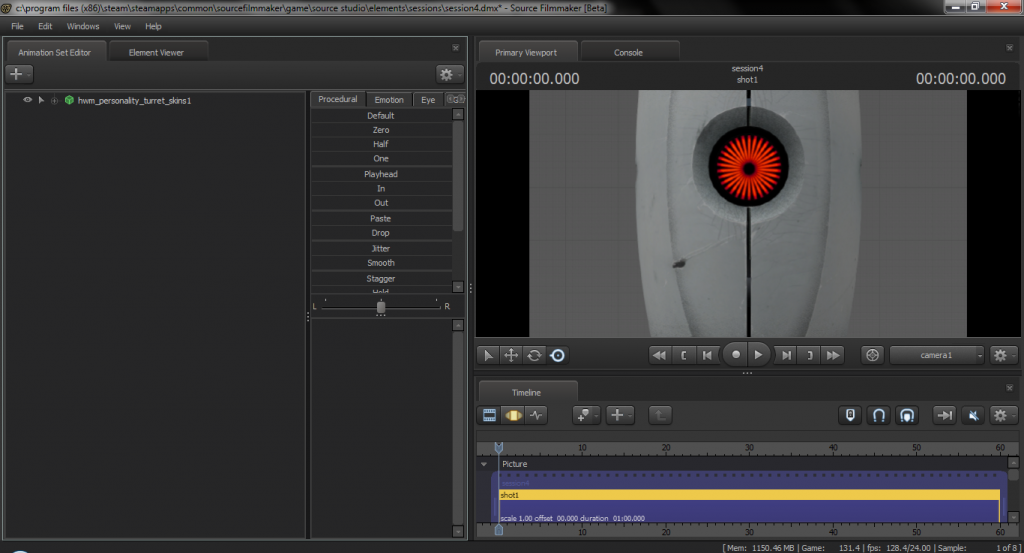
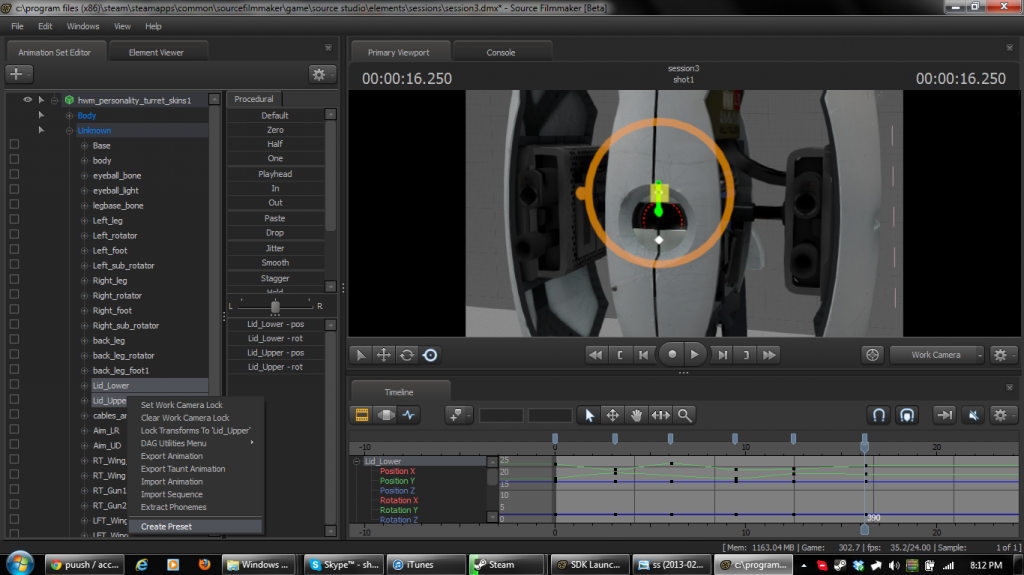
Select ONLY the bones that you want your preset to affect and Right Click > Create Preset
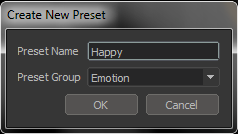
You will be given a prompt, You can name either whatever you want, but note that presets with the same Preset group name will share a tab, just something to consider if you ever make a film with a custom model and a valve hwm model.
Once you have created all of your presets you should test them to see if they work correctly.

Part 2: Exporting from SFM
CONGRATULATIONS! You have created presets.
BUT WAIT! We aren’t finished yet!
We still need to export them and associate them with the model so sfm loads them automatically every time we spawn it.
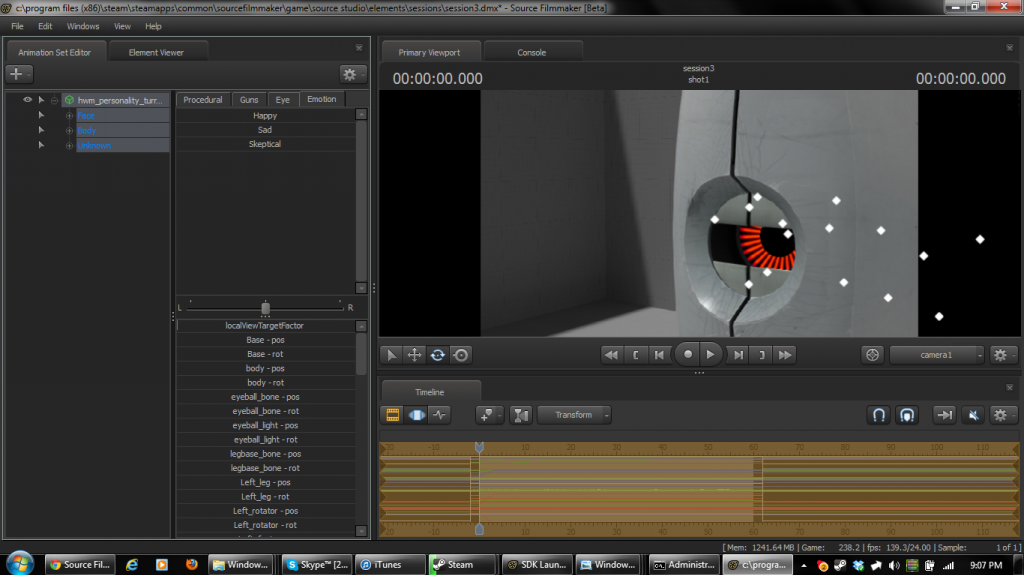
Once all of your presets have been created and you are satisfied with them right click on the model, go to Show in Element Viewer > AnimaitonSet.

In the Element viewer find the presetGroups element array and expand it, you should see all of the Preset groups you created.

Right Click on them and click Export Element. EXPORT EACH ONE INDIVIDUALLY

It does not matter where you save them, save them someplace that is easy to get to and you will remember.

Part 3: Into DMXedit
Once you have exported all of the presets as dmx you can close down the SFM.
Launch a command prompt window (type cmd in you start menus search bar)
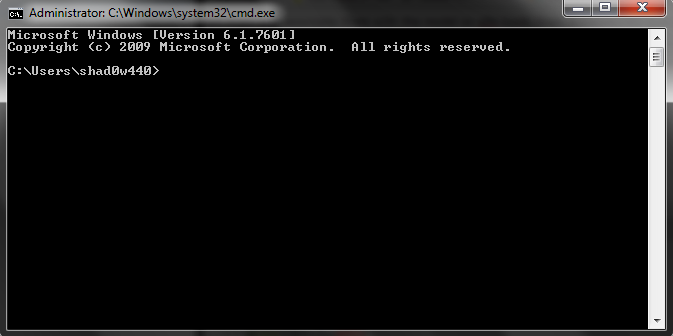
Once you have launched the command prompt change the directory to your SFMs SDK folder

Next we will launch a program that will convert our .dmx presets into proper .pre files.
To do this type:
Where dmxconvert is the executable program,
-i is the input file, that is the dmx we created earlier
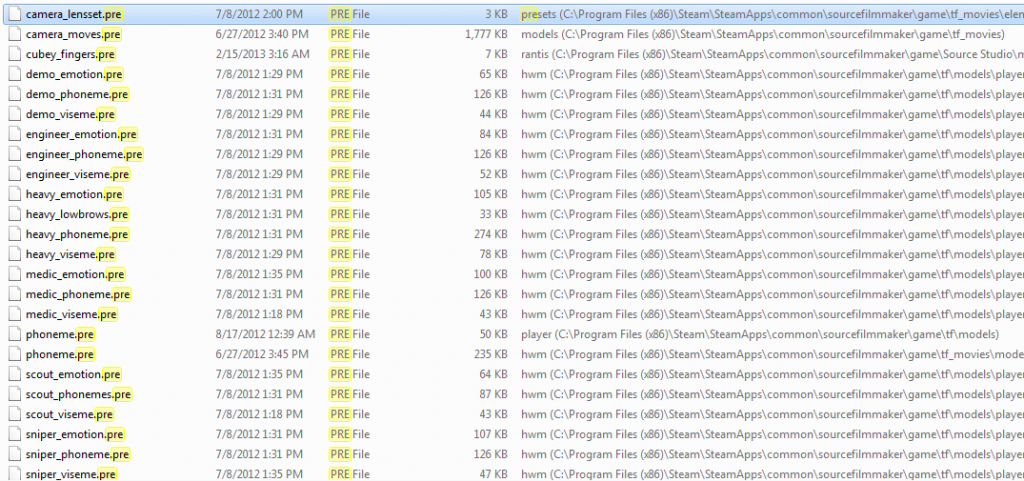
-o is the output file which will be the final .pre file In order for sfm to associate a preset file with a model the output file should be named after the model it was created with and saved in the same directory as the .mdl, for example a preset for derp.mdl will be called derp_emotion.pre
-of is the output format, we want to convert this dmx into a pre file so the output format will be preset
Lets look at an example:
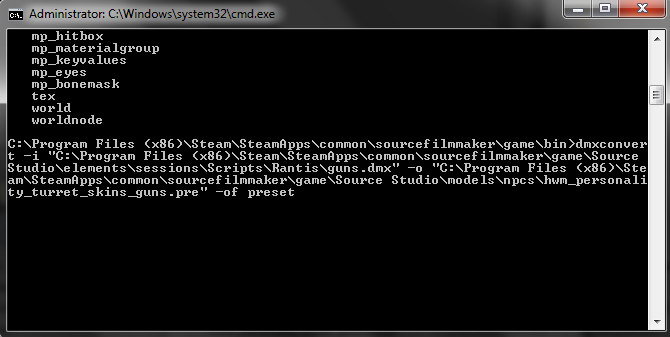
Note: If you simply type dmxconvert and press enter you will see a list of all the available commands, file types and encoding types that dmxconvert can change for you.
If you did everything correctly you should see .pre files in your models folder.
If you create a new scene and load the model in sfm, the presets you created should also load and be ready to go!
Done!
CONGRATULATIONS! You have created, and exported presets!
Happy Animating!
[link]