![[Tutorial] SFM - Apply custom textures to models without overwriting the original texture for Source Filmmaker](https://steamsolo.com/wp-content/uploads/2021/07/tutorial-sfm-apply-custom-textures-to-models-without-overwriting-the-original-texture-source-filmmaker.jpg)
Overview
In this guide you will get an Step by Step explaination how to use custom textures in SFM and how to apply them in SFM without overwriting the original texture.
The actual tutorial
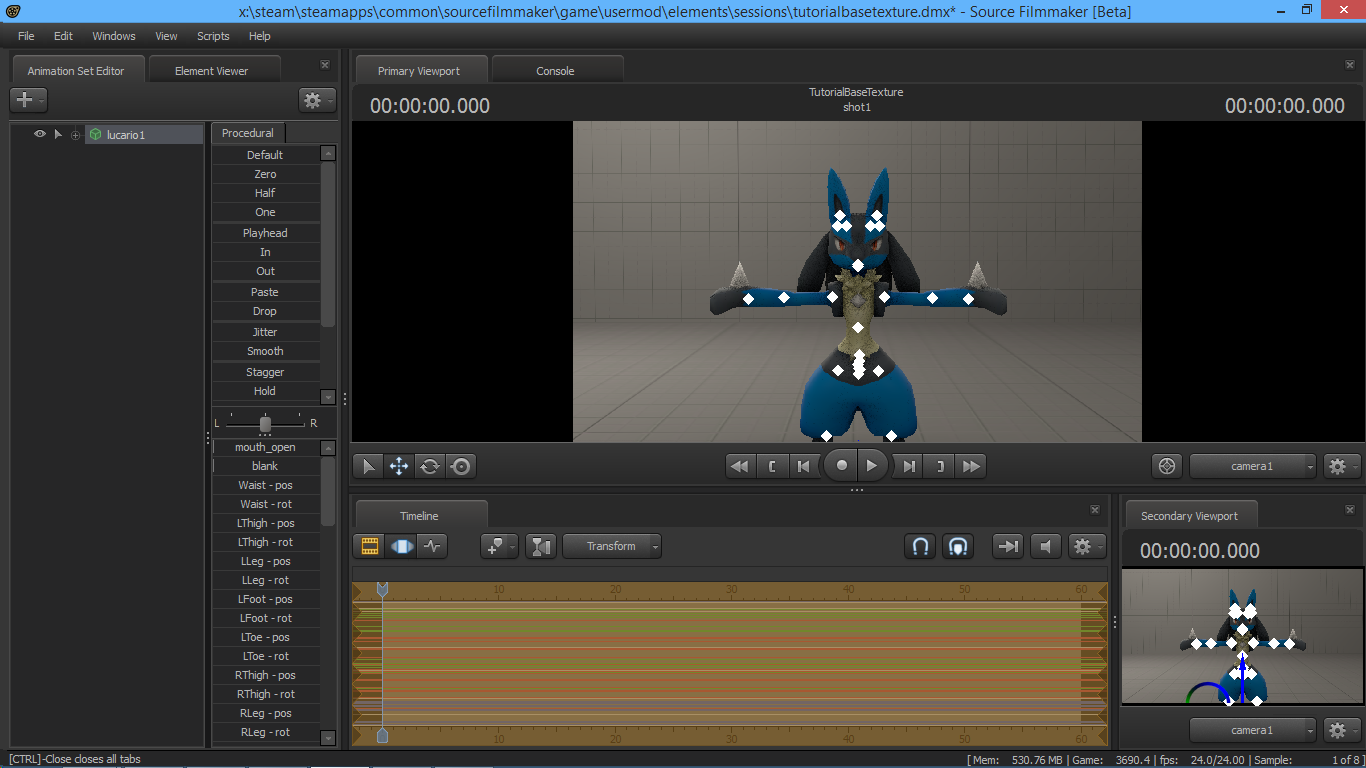
0. What do we do before we start? Start SFM, load the map and model. First your screen should look like this:
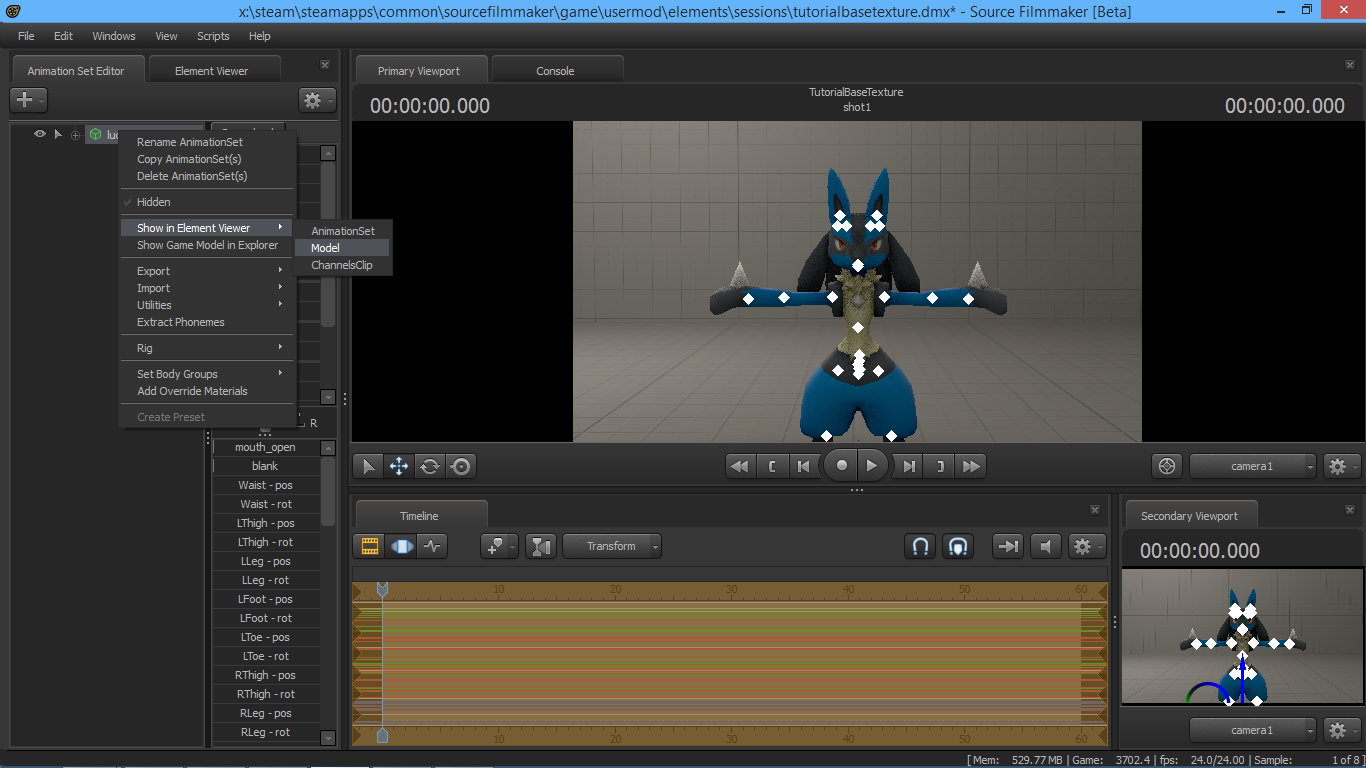
1. You got this? good. Now we want to “Add” and “Overwrite Material”
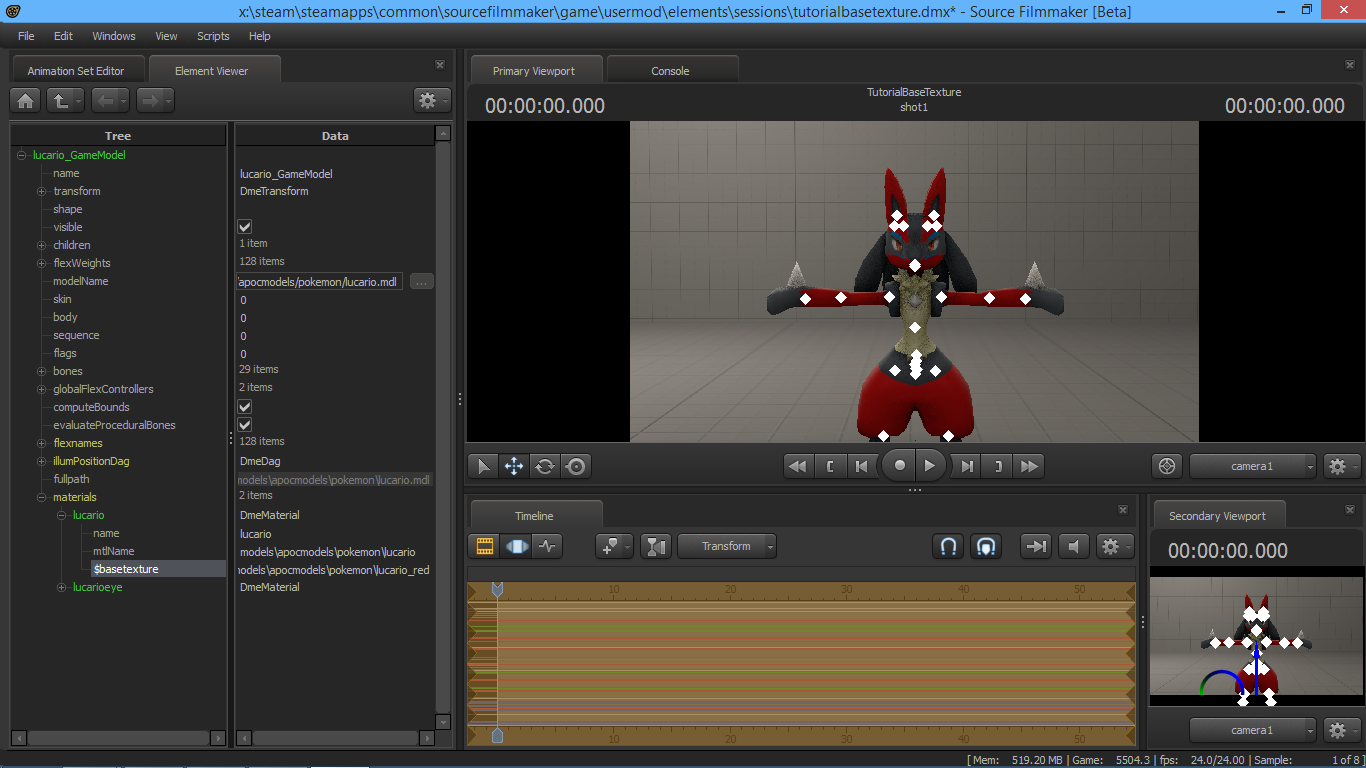
2. Now we want to edit the model with the overwrite material in the Element Viewer. We open it like this:
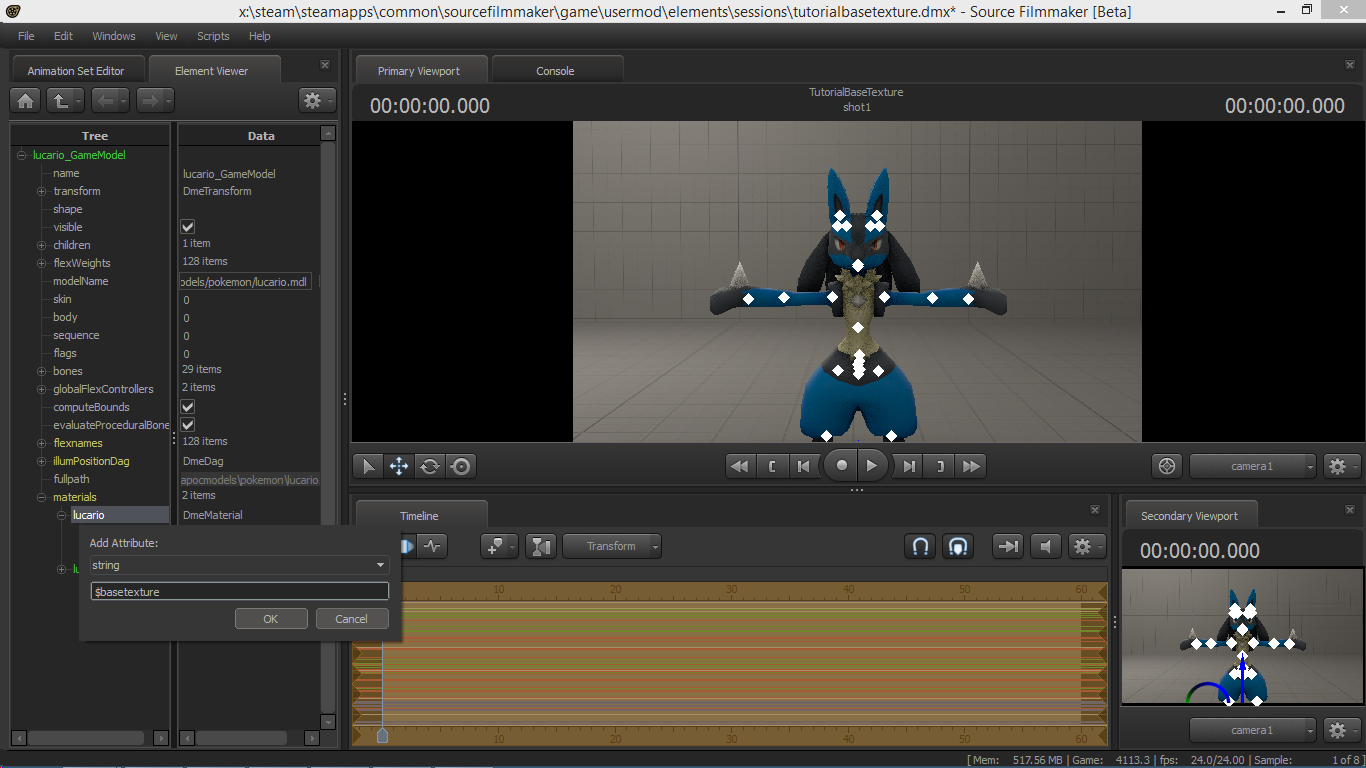
3. Now we got this materials tab which allows us the manipulate the model material:
4. Now we want to add an string attribute to our Lucario material (This Lucario model has 2 kinds of materials. One for the eye texture and one for the actual body. Im going to use the body texture.)
5. A small window is now popping up where we can create it with more details. you want to add “$basetexture” as name without the “”. (What we are basily doing here is editing the basetexture of the material on the fly. It wont change anything on the model file.)
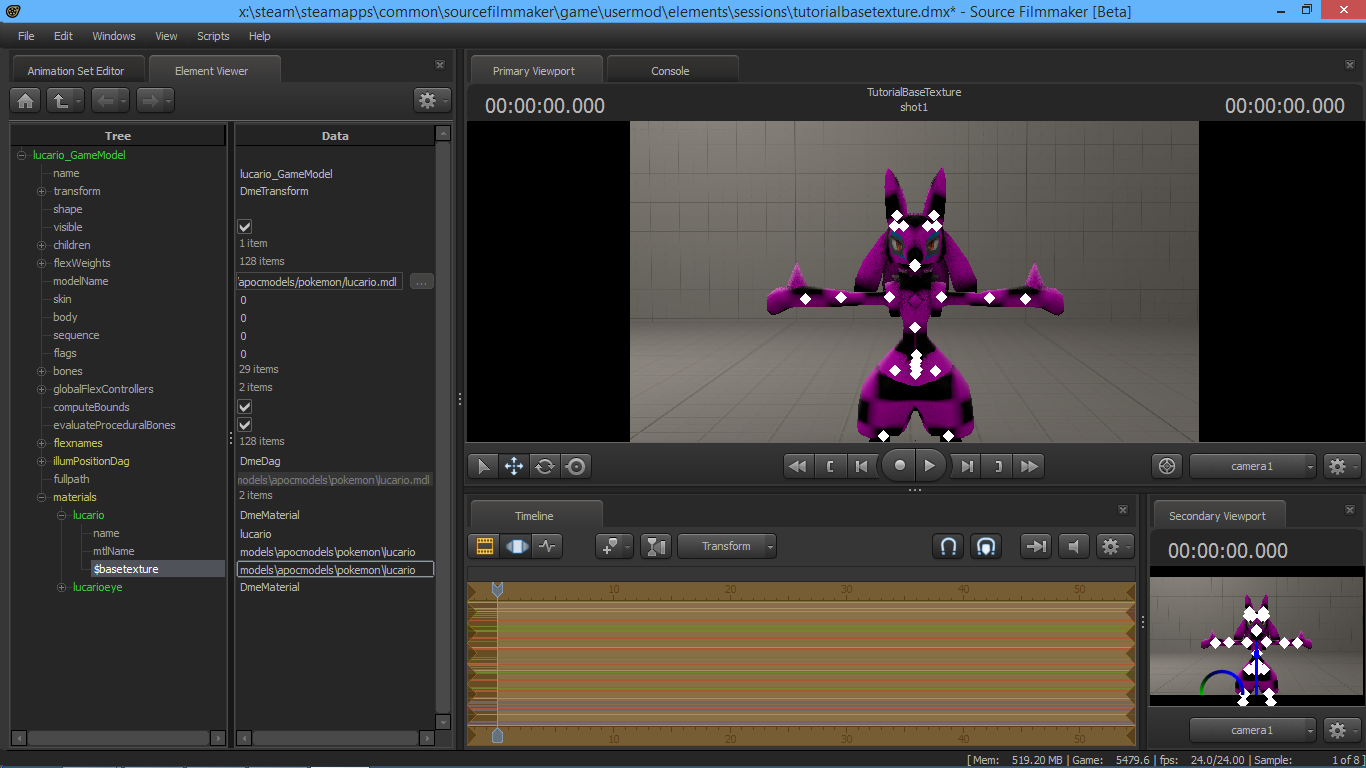
6. Now your model should be checkered like this. This is actually an error/debug texture. We selected no skin for the basetexture yet.
7.I already created a texture called “lucario_red”. The original texture was called “lucario” I edited the VMT and VTF so they fit my needs. “modelsapcmodelspokemon” is actually the the path of your model. When you have the texture in the same folder then you just have to edit the name of your custom texture. You change the $basetexture content to the texture path you created


Example: From “modelsapcmodelspokemonlucario” to “modelsapcmodelspokemonlucario_red”
Links to other tutorials
[Tutorial] SFM – Recolor/Alpha for Models without texture replacement: [link]