Overview
Fortune City has some real crazy people, and you’re the clean-up crew! In this guide, I give advice on how to defeat each and every psychopath in the game (with story specific ones left till the end in order to try keep the guide spoiler free).
Psychopaths in Dead Rising 2
Psychopaths in Dead Rising 2 are essentially survivors that have gone mad during the outbreak and are wreaking havoc and danger towards innocent people roaming the mall or Chuck himself. These guys tend to range in difficulty; Leon the motorcyclist, for example, is incredibly easy and only really requires good timing and patience whilst Antoine the Chef is a difficult boss that can regenerate his health and fight with incredible speed.
Bosses in Dead Rising give off a pretty nice amount of experience points and, in many cases, special benefits as well. Some reward you with survivors to rescue, others reward you with unique weapons and one even lets you get a tiger if done right. Yeah, a ♥♥♥♥♥♥♥ tiger.
This guide is created because I was bored, had nothing to do, had sunk many many hours into this game on my PlayStation and Games for Windows Live save prior to it coming to Steam and I wanted to fill my spare time with something. So here it is.
A guide on defeating every single psychopath in Dead Rising 2
*Note: The last four bosses in the guide are spoilers to the main story. To be honest the story in this game is pretty insignificant but if you want to play through it yourself you’re more than welcome to ignore this section and come back to it whenever you’re ready (the story bosses are in order wouldn’t worry about scrolling onto another boss section).
**Second note: For the purpose of the guide, and the fact that defeating a boss in co-op is definitely easier, I’m assuming that everyone playing the game alone.
General Tips
- The higher level you are the easier the psycho actually is to defeat. Put two and two together; level up before you fight a boss that will destroy you in two strikes!
- The bosses are always easier to defeat in co-op mode. Not that it’s impossible when you go solo but it’s definitely less of a challenge when there are two players.
- While some fights are located next to food venues, others aren’t. Taking food items with you is a good idea when fighting at lower levels.
- If you feel like it, magazines that boost the health recovered should definitely be picked up from food. Your mixed drinks will restore your health to full, meaning that there’s less food to eat and more time for taking down psycho’s.
- Survivors are meant to be saved, not used as punching bags. What I’m trying to say is, psychopaths will usually mow them down. Rescue them instead of using them as extra damage, because unless you’re Level 50 the Experience Points are always a better tradeoff.
- The Dodge Roll saves your life on countless occassions. Use it.
- Mixed drinks are definitely amazing; they restore a heap of health and give off valuable bonuses. The only downside is when you don’t know the recipes and create a Randomizer…
- Speaking of Randomizers (the black mixed drink) you might not want to drink those in the middle of a fight. The reason behind this is that the minute you drink on of those, you vomit. Three times.
- The Knife Gloves (Bowie Knife + Boxing Gloves) are probably the best core weapon you want to bring into a boss fight. Reliable damage and a pretty fast animation, definitely worth taking along for the fights that you find yourself in.
- Another weapon you can use is the Paddlesaw as from what I’ve seen it does a huge amount of damage to psychopaths. Keep in mind, however, that it’s slow and that it’ll probably prohibit your dodging ability (meaning that if you’re at a lower level you’ll do substantial damage but you’ll still be pummelled).
- The survivor mission Wilted Flower lets you unlock a secret shortcut between the Royal Flush and Palisades mall. Since the latter is an infinitely better shopping center this is definitely worth taking note of (to give you an idea, the Palisades has an inifinite amount of guns, machetes, knives, orange juice and milk as well as a blender for mixed drinks).

Looters
Looters aren’t really characters that I consider psychopaths, but at the same time they are hostile human beings that try to kill Chuck so I guess I can make a section for them.
Looters are bandits that are trying to take advantage of the situation by robbing stores. For some reason everytime Chuck appears they’ll instantly become hostile, so you can either walk away or kill them. They don’t take too many hits to defeat and don’t do much damage, so I wouldn’t worry too much about them
Looters can appear in these locations:
Royal Flush Plaza
Marriage Makers
SporTrance
Outside the safehouse hallway near that Zombrex/Playboy sign
Roy’s Mart
Platinum Strip
Dining at Davey’s
South Plaza
An unfinished underwear store
Palisades Mall
Shanks
High-Noon Shooting Range
The shouldn’t make you worry and, frankly, we have bigger threats to talk about.
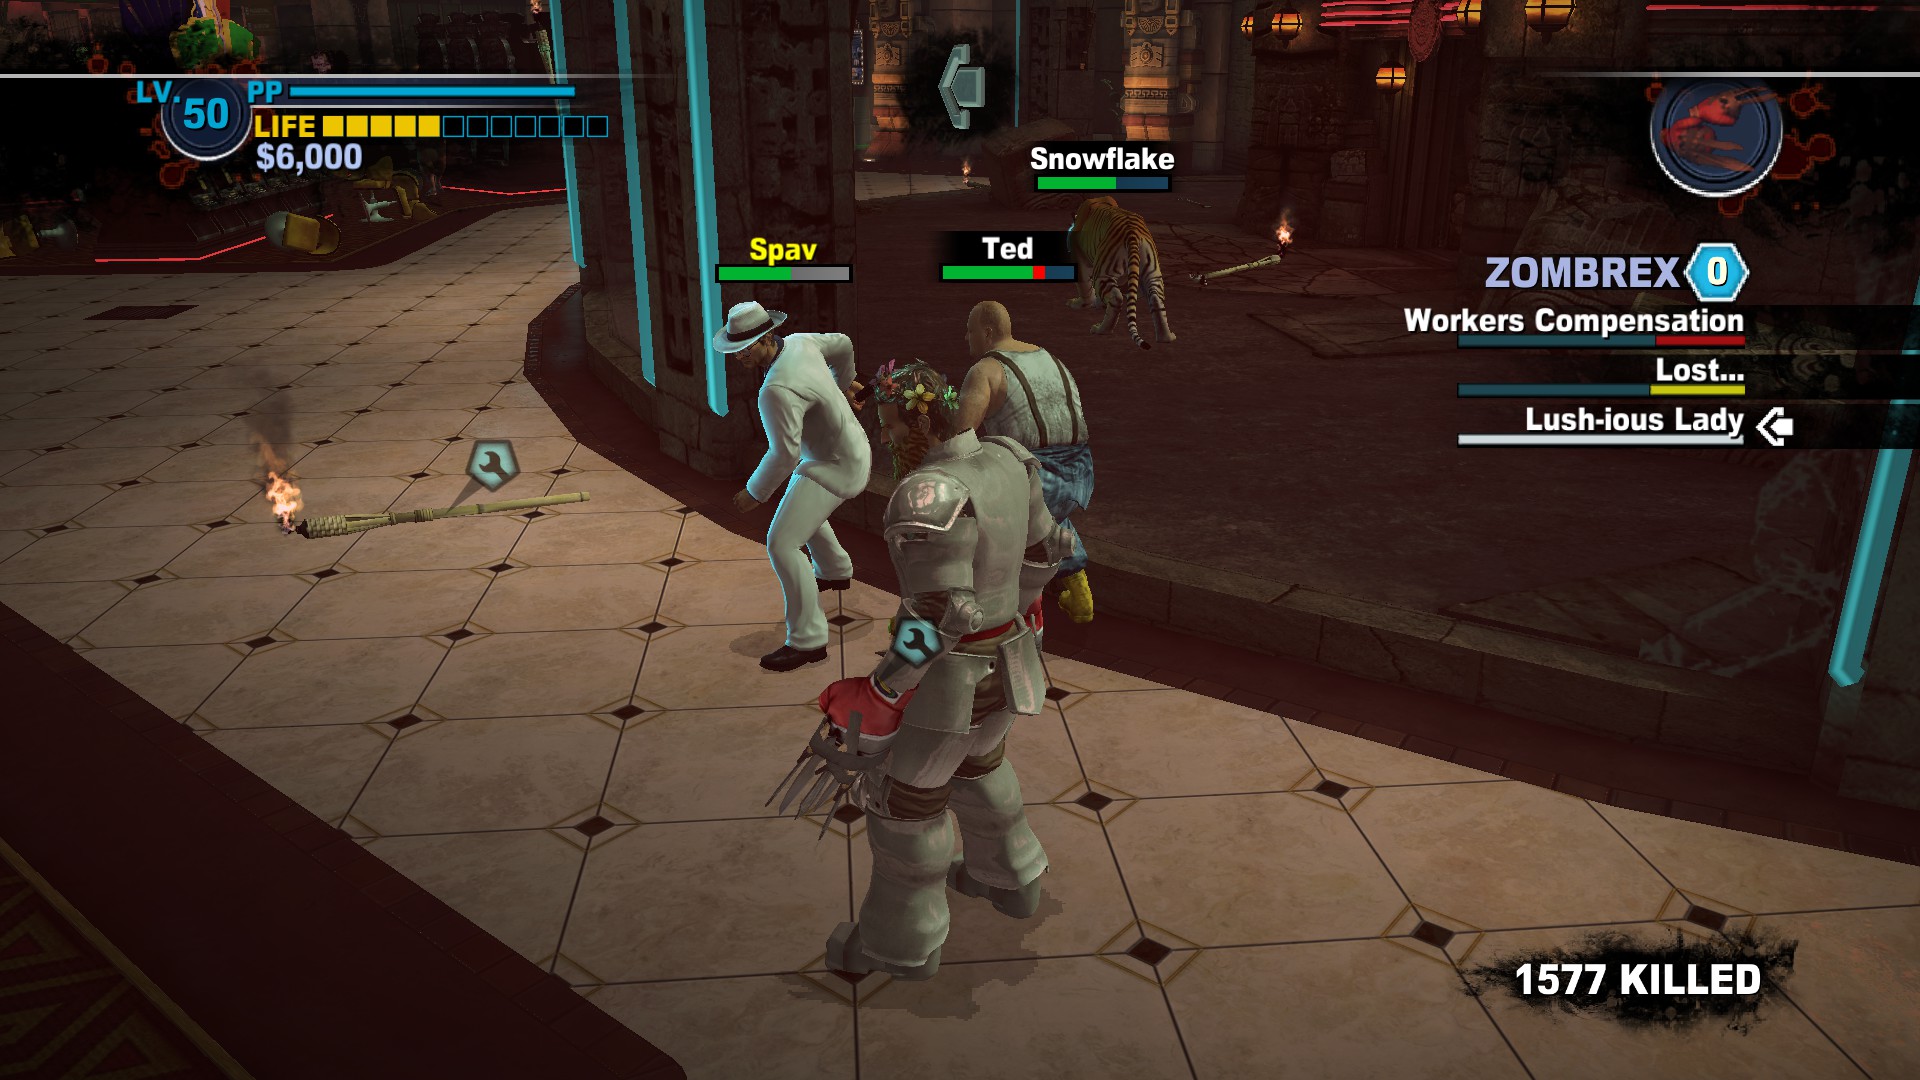
Snowflake Boss Battle (Theodore “Ted” Smith and Snowflake the Tiger)
Time: 4am September 25th – 10am September 26th
Where: The Yucatan Casino
How: Enter the Yucatan from any entrance and a cutscene will be triggered.
Ted and Snowflake are two “psychopaths” that you can choose to defeat. Ted is the trainer of Snowflake and considers her to be his only friend. Thus, when the outbreak hits, Ted needs to find ‘fresh meat” for Snowflake to eat, even if that means sacrificing innocent people.
When the fight begins, Snowflake will run off for a bit and you’ll be left to fight Ted for a short moment. Believe me when I say that this is definitely enough time for one to kill Ted, as at the start of the fight he prefers to run up and punch you instead of actually using his handgun. When Ted actually does decide to use his handgun it’s fairly weak and unnoticeable, so basically there is nothing to potentially worry about. There is also the chance that he will pick up a Fire Axe found on the ground, but if you’re fast enough this shouldn’t even happen. Just get him out of the way so you can actually deal with the real challenge here; Snowflake the Bengal Tiger.
After Ted dies, it’s just you and the beast. And believe me when I say this, Snowflake really is a beast. She’s not only quick and powerful but she pounces Chuck and then runs away until she can come back and repeat the process. At this point you’re given a choice; kill that damn tiger or try tame the thing to give to your daughter and save from the zombies. You can easily weigh up the pros and cons of each choice, but since killing Snowflake really just requires a hefty amount of eating, dodging and poking the thing with your weapons we’ll assume you’re willing to save her.
Saving Snowflake requires three to four steaks. One can be found in the nearby restaurant (Baron von Brathaus) and three more can be found inside Snowflake’s enclosure (which Ted decided not to feed her in favour of you for some reason). When Snowflake runs away, drop or throw the steak near her and wait. If done correctly, the tiger will come up and eat the food which will restore a small portion of her health. Repeat this method and Snowflake will become friendly. A good thing to note is that if you are to run out of steak, in the instance that you lose track of one or are forced to eat another, you can just leave the Yucatan and come back later.
After Snowflake is tamed (or defeated) you have the option to save Lenny, the guy at the start of the cutscene who was Ted’s original victim. Find him in the managers office, where he’ll show you the power switch for the Yucatan and help you power it up before letting you take him (and your newfound tiger companion) to safety.
Meet The Contestants (Leon Bell)
Time: 2.30pm September 25th – 8.30am September 26th
Where: Just outside The Arena
How: Walk up to the arena from the Platinum Strip.
Leon is probably my favourite boss in the game, for many reasons:
- Starting the fight unlocks a motorbike for you
- Ending the fight unlocks another motorbike for you and the possibility to customize it with amazing modifications (such as the Slicycle by attatching chainsaws to it).
- Leon himself is just hilarious to fight if you know what you’re doing.
The last one is definitely the highlight; he’s just funny to fight against.
After the cutscene ends, Leon will have given you the key to the red bike outside the arena. This bit is sort of misleading, so I’ll let everybody know; do NOT fight Leon with the bike. If anything, the bike is there to give you mobility and get to Fortune Park a lot faster and safer than if you walked. Then, the real fun begins.
Get on the bike and drive to Fortune Park, then get off. Leon’s attack pattern consists of circling around the area, then trying to ram you as he passes, then driving away to do a burnout and gloat before trying to ram you again and fleeing. So, everytime he tries to hit you, jump over the rails into the fountain area. Everytime this happens he will be momentarily stunned, letting you get about one to two hit in before he runs away.
What you want to aim for, and how I defeat Leon practically every playthrough, is for Leon to become stuck inbetween a tree and the rails. This tactic works incredibly well, as Leon cannot actually do anything and merely tries to escape. Be careful, though; the chainsaws on his bike are still capable of hurting you.
Another tactic to use (if you can’t be bothered with the first one) is to sit in the maintenence room with sniper rifles in the middle of Fortune Park. Leon will NOT follow you inside, meaning that everytime he tries to hit you you can just run inside. Bring some sniper rifles and enjoy the fight, taking potshots at him everytime he passes.

(Note: It is impossible to save Carlos, the survivor killed by Leon during the cutscene.)
Chuck The Role Model (Brandon Whittaker)
Time: 5pm September 25th – 12am September 26th
Where: The Americana Casino
How: Enter the Men’s Restroom and witness the atrocities.
Brandon is a former CURE member that has become insane after witnessing the very zombies he tried to protect kill everything around him. Thus, he’s now on a quest to turn everyone into a zombie. Great guy, really.
Brandon is surprisingly difficult considering his only weapon is a piece of glass. He’s fast, does quite a bit of damage and can be quite confusing if you don’t know what you’re doing. His attacks consist of:
- A spinning attack (which can knock both you and your co-op partner down in one strike).
- A lunging stab attack.
- A sneak attack where he retreats into the bathroom stalls and teleports to another.
- Brandon losing his marbles and pouncing you, then gutting you like a fish. Last time I read, though, this is only caused when you use ranged weapons.
First things first, stay near the entrance of the restroom. Brandon’s sneak attacks will become obsolete and he’ll be forced to fight you fairly. With Brandon’s stealth out of the way, it’s much easier to take him down. Simply wait for him to perform a lunging stab, jump out of the way, get two hits in and walk away. Anymore hits than that and Brandon will get an attack in.
Rinse and repeat this method and you should be able to defeat Brandon and save his former soon-to-be victim, Vikki.
Tastes Like Chicken (Antoine Thomas)
Time: 10.30pm, September 25th – 8.30am, September 26th
Where: The Food Court, inside Cucina Donnacci
How: Walk into the kitchen and you’ll automatically be greeted by the demented chef
A demented chef that had his claim to fame taken away by the apocalypse, Chef Antoine has gone crazy and started cooking dishes made of human meat. Or zombie meat. I don’t know, the story never explicitly states it, I just know that he’s a cannibal.
Antoine has quite a few abilities:
- He will throw plates, pans and cleavers at Chuck. These can be easily dodged.
- He can eat his own cooking and literally regenerate his own health. Meaning if you run away from the restaurant for a bit to heal, he’ll be recovering as well. And he can do it infinitely faster than you can. A good way to avoid him healing completely is to drink mixed drinks, so that way you should have enough time to prevent Antoine from healing excessively.
- He can slap you across the face with a pan.
- He can force you to eat his food and you’ll have to shake him off.
It’s good to note that Antoine demolishes low-level scrubs. What I mean by this is, Level. 20 Chucks that run in with a Spiked Bat and a Broadsword will be promptly smacked and discarded. Level up, prepare with mixed drinks and get a pair of Knive Gloves before you fight this guy. Consider making Painkillers so that his attacks aren’t as effective and try to at least level up to the point where you get the dodge-roll.
Despite being middle-aged Antoine is ridiculously agile for a psychopath and moves with tremendous speed. When he’s standing you’ll have enough time for about one hit before you should roll away and avoid getting smacked. When he throws projectiles it’s the same story; roll away to avoid the damage or try take cover behind the stoves. Ironically, Antoine is at his most vulnerable when he’s actually healing himself. Everytime he dashes over to a pot of remains he’ll start eating, to which Chuck can happily start demolishing him with a pair of Knife Gloves (which are amazing against nearly every boss, but even better against Antoine).
If that’s a bit too hard for you, bringing a firearm can come with its benefits; shooting Antoine with a handgun as he heals can interrupt the process and allow you to stay behind cover without having to chase after him. At the same time, however, Antoine’s recovery animations are probably his weakest points in the whole fight; why waste that opportunity to deal damage by using three bullets when you could be doing so much more?
Once Antoine is defeated you can rescue Cinda and Jasper. Cinda, a Yucatan employee who was locked inside a room by Antoine, will not budge until Jasper comes to get her as killing her captor wasn’t enough to prove that you didn’t start the zombie apocalypse you’re caught in the middle of. Jasper is on the other side of the Food Court on top of Hamburger Fiefdom and is actually quite easy to miss. Getting there requires you to climb a vending machine and get to the top of the restaurants, where you can get Jasper to come down and reconcile with his friend and convince her to come with the both of you to the safe house.
Everybody Knows Slappy (Brett “Slappy” Ernst)

Where: Palisades Mall, on the second floor in front of Kid’s Choice Clothing.
How: Examine the bloodied female mascot’s corpse.
Slappy (Brett) is a simple yet damaging psychopath. Without knowing how to disable him you’re definitely not going to have a good time, but if you actually know what you’re doing he should be a piece of cake. Thus, let’s go into details on how to defeat him.
This crazed, heartbroken mascot uses makeshift flamethrowers to try defeat you. He has three attack moves that you should watch for;
- Skating back and forth while spraying fire to his left and right.
- Firing several fireballs that can knock you down.
- Putting a Slappy mask onto Chuck, which you need to shake off before he gets a free hit.
Luckily for you, you’re located next to a store that has two of his weaknesses within it; water and marbles.
The Water Gun
You can use the water gun from a distance by firing it at Slappy, which will disable his flamethrowers momentarily allowing you to walk up and hit him. After a couple hits, however, Slappy will recover and hit anybody caught in the blast, meaning it’s best that you walk away after a few attacks.

The marbles are handy for knocking Slappy down, as he’ll trip over them. When this happens, start hitting him for a bit and walk away before you get caught in his recovery attack.
Other methods to knock Slappy out of the fight for a bit are:
The Hop-Kick
Jump and attack in order to kick Slappy down and be able to hit him.
The Double-Legged Drop Kick
Same effect as the hop-kick.
Fire Extinguisher
Same effect as the water-gun, where his weapons are disabled and you can run up to hit him.
Vomit
On the off-chance that you manage to get yourself drunk at the nearby liquor store, Slappy will actually trip over your vomit. Gross, yet effective.
Cooking Oil
Does the same thing as the vomit and the marbles. Isn’t as funny, though.
It’s also a good idea to note that for this fight you’re in the Palisades mall (basically the infinitely better mall). This means you have a liquor store, blender, grocery store and unlimited supply of sniper rifles and other firearms within the area, as well as two battleaxes. As long as you can knock him down consistently, Slappy should be no trouble.
Defeating this crazed entertainer will grant you the combo card for Flamethrowers. Mint!
Here Comes The Groom (Randall “Randy” Tugman)

Where: Silver Strip, Swept Away Chapel
How: Open the doors and see the ceremony
Randall Tugman is an obese man in a kinky costume, determined to force a woman into marrying him so that “he won’t die a virgin”. To do this, he kills his father with a chainsaw and threatens to kill you too. Perfect.
Randall is quite fast but really it’s the same case as Slappy; know his weaknesses and you’ll beat him. Randall has two clear disadvantages in this fight:
- He’ll perform a perverted taunt, at which point you can shoot him in the crotch area and he’ll keel over.
- His charges can easily be avoided by hopping over the walls near the pews.
There are many tactics to beat Randall. However, I can only realy give you advice on the tactics that I personally use. I never use the tactic where I shoot Randall in the crotch despite it possibly being a safer option. For this guy, I use these two.
The first one is to get a Rocket Launcher and start shooting. Randall will be stun locked for a bit and you can do quite a bit of damage to him before he’ll charge you and ignore the stuns. This is an incredibly effective tactic with one downside; you’re likely to hit Danni, his bride, and possibly have her defect mid-fight. This won’t make her get up and hit you, it will simply make her disappear after the fight so that you can’t save her. This tactic is great if you want to take out the boss with little regard for survivors.
The second option is to grab a fast melee weapon and fight him head on. When Randall charges, simply jump over the walls next to the pews. Stay close to him and he’ll perform a spinning, slicing animation. When the second spin is over, run up and hit him twice before you dash away. The fight should be simple.
If you find yourself dying easily there’s a blender across the road at the nearby liquor store. Make a mixed drink and do yourself a huge favour by healing up
Once the “ceremony” is over, you gain access to Randy’s signature chainsaw as well as the chance to save his “widow” Danni.

Mail Order Zombrex (Carl Schliff)
Time: 11pm September 26th – 2pm September 27th
Where: Royal Flush Plaza
How: Inspect the postal cart and you’ll see the enraged postman.
A psychotic postman who is incredibly loyal to his job. Great. As if Ted wasn’t enough for us in the area of “Crazy Employees”.
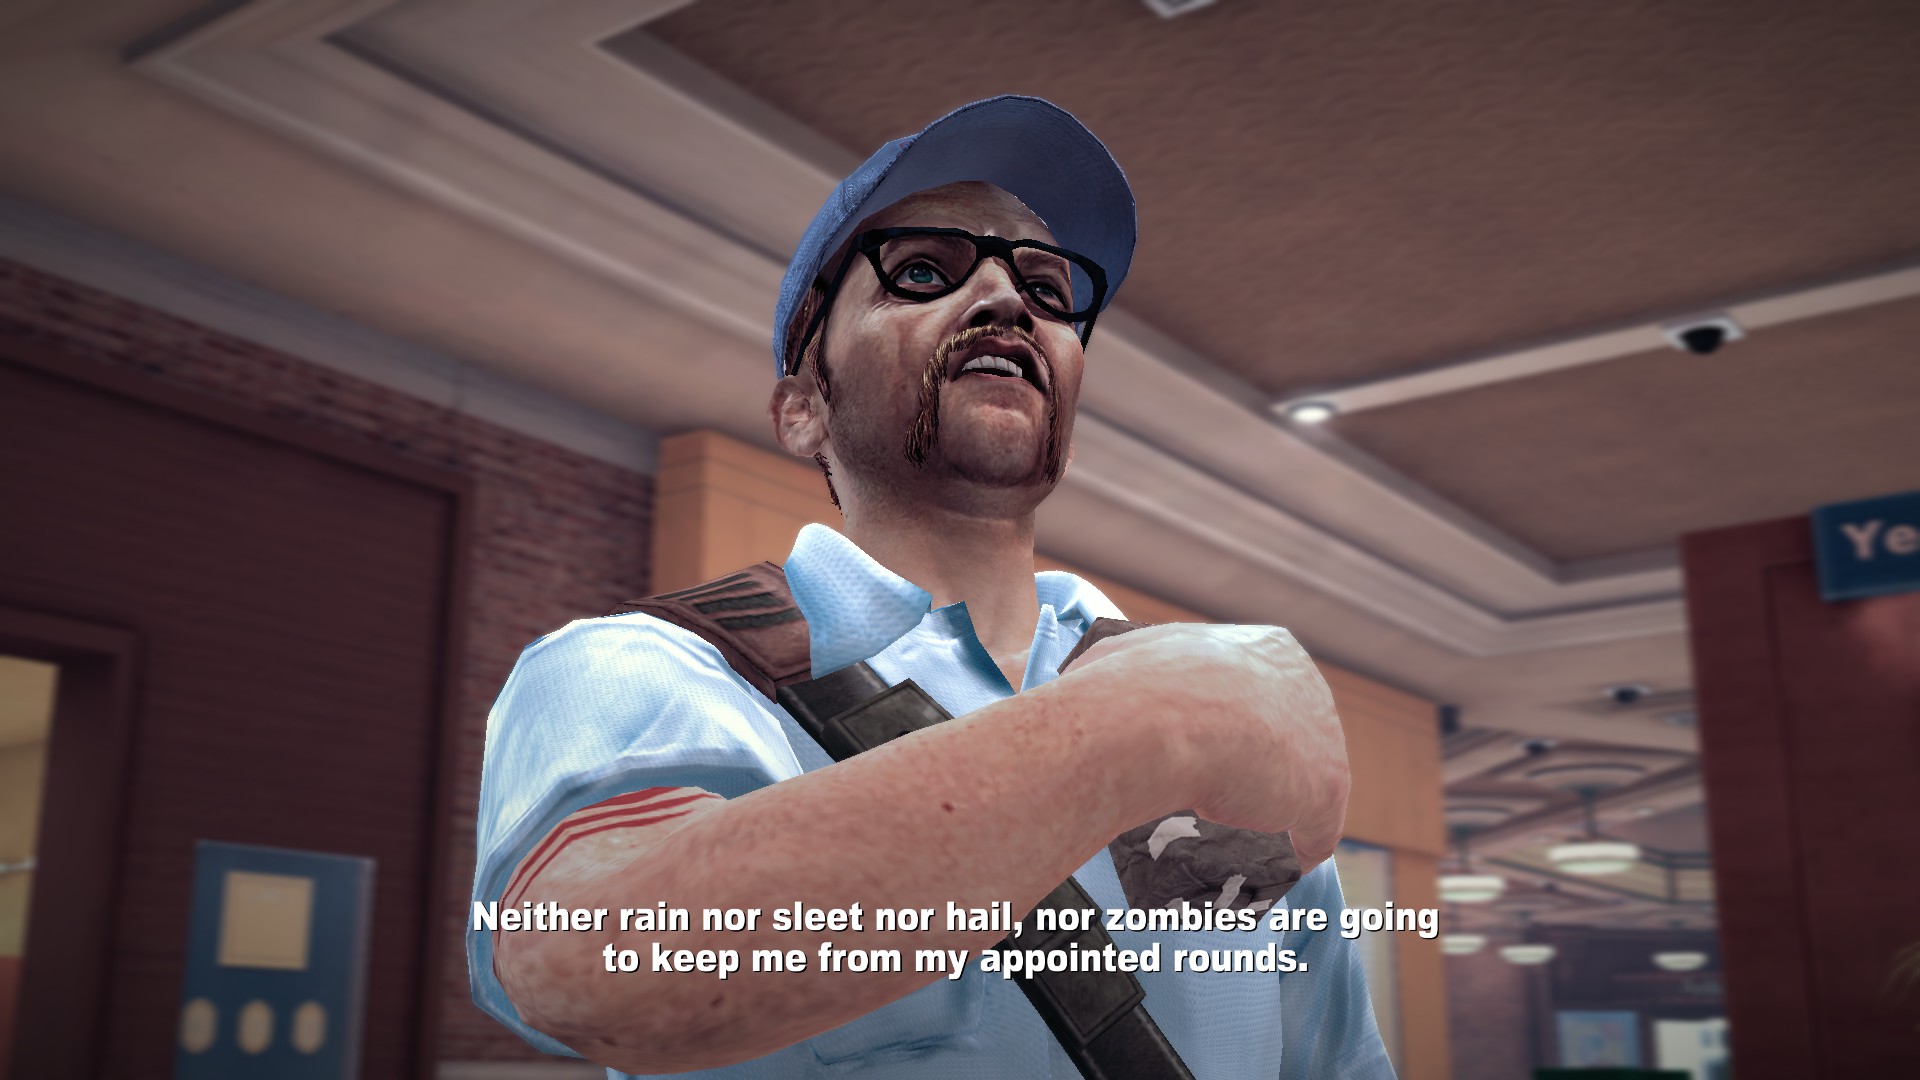
Carl wields a shotgun, shooting Chuck with three bullets at a time and hitting him across the face with it when he gets too close, and also throws explosive packages behind him as he runs away. When he stands in one place, aiming his gun, it signals that he’s about to shoot; roll or take cover.
When Carl fires his second round of bullets he’ll stop to reload, leaving himself open to attacks. Run up, attack him and quickly escape harm’s reach.
Those Zombrex packages he throws around are really the only threat you face in this situation. The minute he drops one, escape the blast radius as soon as you can.
Once Carl goes out with a bang you’ll automatically get a dose of Zombrex. This is great…if you kept Katey alive, that is.
One Hit Wonder (Bibi Love)
Time: 5pm September 26th – 9am September 27th
Where: The Slot Ranch Casino
How: Approach the stage and you’ll talk to the viewers.
A one hit wonder that’s gone mad after having her second chance at fame disappear. Brilliant.

First off, Bibi will demand that Chuck get her something to drink. Vocalists can’t sing with dry throats, so make your way to the bar on the other side of the casino and get her a beverage. Anything will do, as long as she can drink it.
Once that’s over with, Bibi will then point out that Chuck looks terrible and needs to be better dressed. Thus, go back to the Royal Flush Plaza and pick up a Tuxedo from the store across from Roy’s Mart. Return to Bibi.
Bibi will ask for you to round up “fans” in order to watch the show. Grab the fireworks in the back and attract some zombies. It shouldn’t be much trouble.

Once Bibi performs her stagedive, you have the chance to save Allison, Juan and Cameron. Bibi will, however, come to her senses and can choose whether or not to save her or let her die. Either way, help a wounded Cameron back to the safehouse with the other two right behind you and the mission will be over.
WWJWD? (Seymour Redding)
Time: 4am September 27th – 7pm September 27th
Where: The South Plaza
How: Walk up and witness the execution.
Spaghetti western films + security guards = this guy.
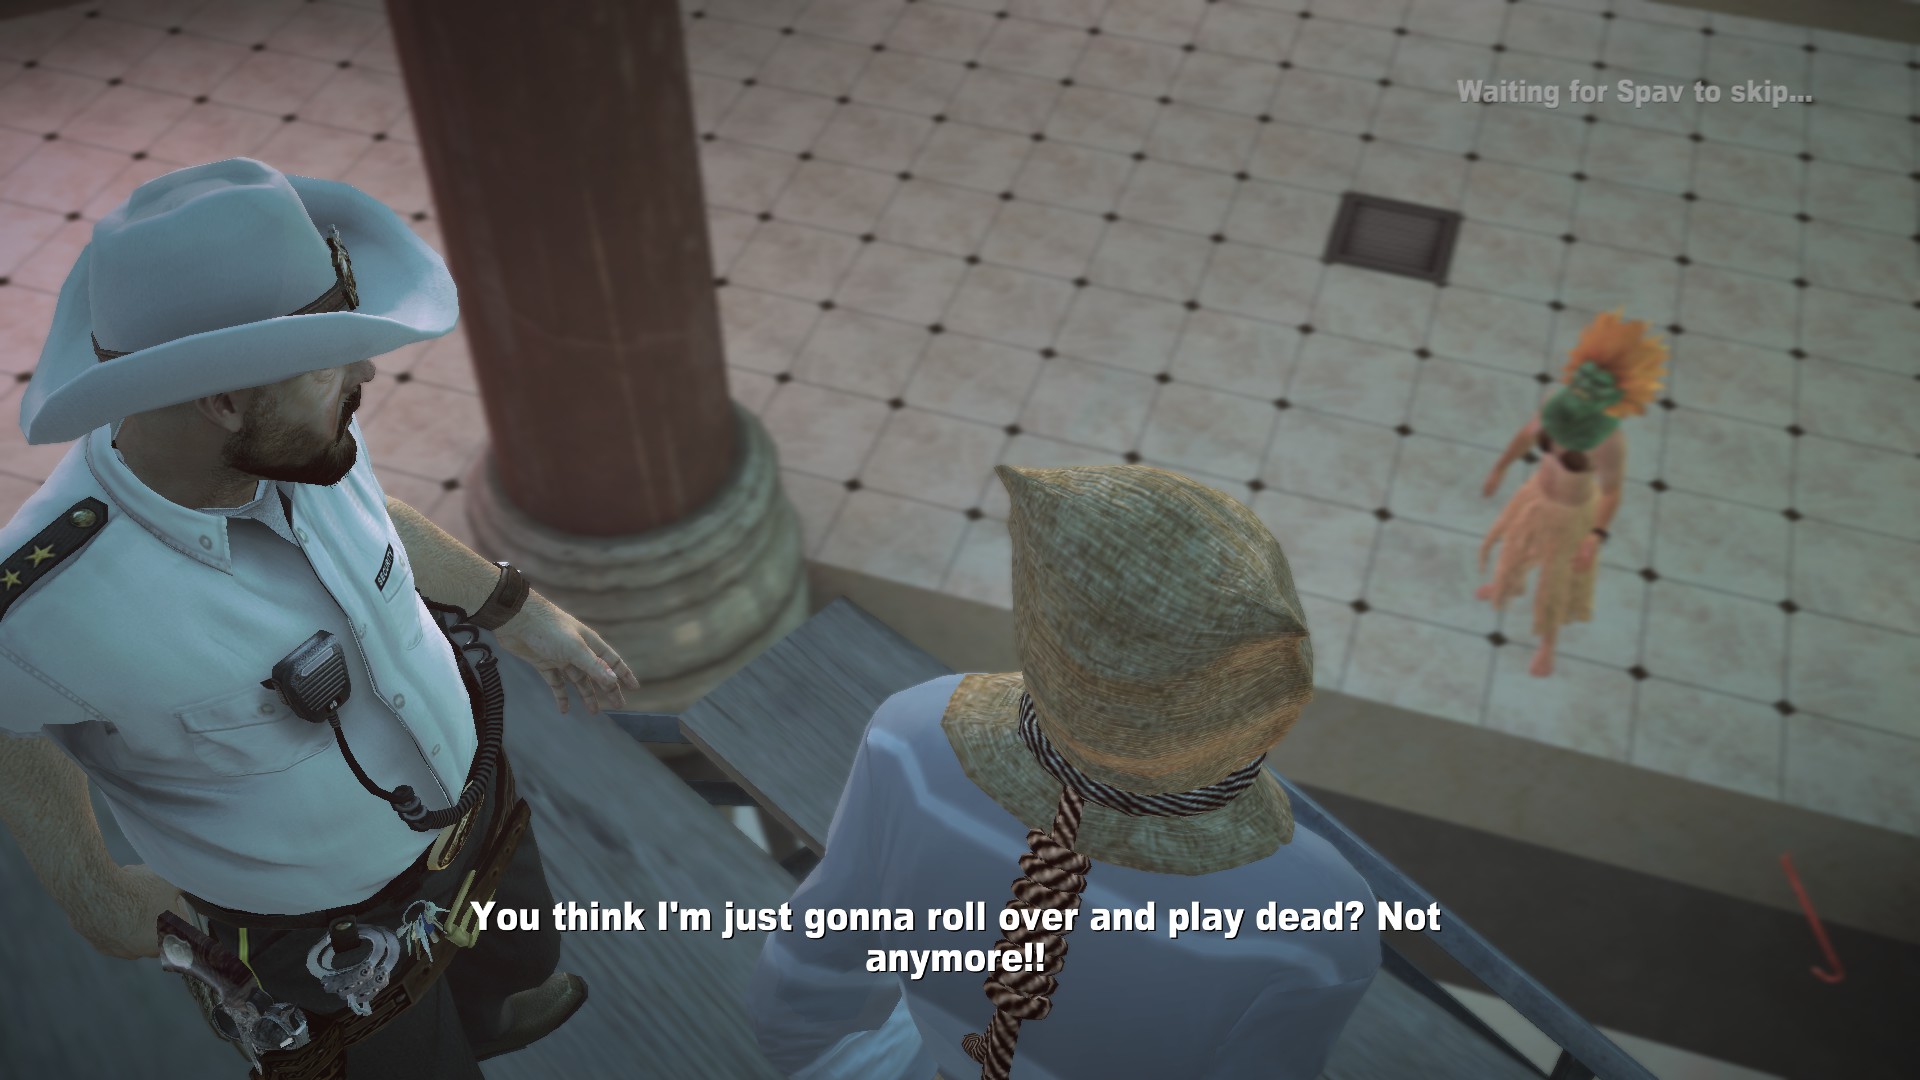
Seymour is incredibly easy to fight, so this section will be short. He uses a revolver, a lasso and a nightstick. Jumping onto high ground will result in Seymour tying you up and dragging you down, so that’s out of the question. This means that you’ll have to fight him in a one on one contest.
This is, however, really simple. He’ll swing with his nightstick, become open once he misses, and take a few hits while he tries to recover. Dodge his counterattack, repeat the few hits and you’ve pretty much defeated Seymour. Good job! It was really, really simple!

Militia Men (Deetz Harman, Earl Flaherty, Johnny James and Derrick Duggan)
Time: 9am September 27th – 9am September 28th
Where: Fortune Park, Platinum Strip
How: Enter the outdoors to witness murder.
Gotta love how Americans are portrayed in today’s world, right everyone?
These four rednecks are convinced that the only way to “purify” America is to get rid of everything in Fortune City, alive or dead. This means that the minute you step outside, you’ll have four of these guys on each side of the park, ready to try kill you.
In these areas you can find one sniper per location:
- On a scaffolding (Earl)
- Above the Atlantica Casino (Derrick)
- Above the Royal Flush Plaza (Johnny)
- Above the movie theater (Deetz)
There are two ways you can eliminate these guys:
1) The good ol’ fashioned melee tactic. Getting within melee range to fight these guys means you’ll have to take the ladder (except for Earl, who requires you to climb a few blocks and vault over a ledge). These ladders are located behind near Hot Excitorama, the Slot Ranch Casino and Juggz. Once you fight these guys on their ground, they have two attacks: machete slashes and sniper rounds.
For the melee hits, they’ll usually hit twice to which they’re open for an attack afterwards. Hit them a few times then walk away. Get too far away, however, and they’ll bring out their rifles and try get a shot on you. Roll or take cover and they’ll either transition back to their machete, stall for a bit while waiting for you to come out or miss the shot. Charging them head on while they do this could result in you getting shot, or you hitting them a few times while they try transition into their melee weapons.
2) The “Fight Fire With Fire” Tactic. Grab a sniper rifle and start shooting them. Now, on the one occassion that I did this tactic I managed to find a nice spot behind the fountain which allowed me to shoot into Johnny without taking any counter hits. That being said however, without cover you’ll only manage to get about one to two shots in before being shot back. Not the best tactic, but if you know what you’re doing it’s safer.
Eliminate the rednecks with melee and you’ll be able to pry a Sniper Rifle each from their cold, dead hands. Other than that though, they just keel over and die with nothing more than a nice amount of PP for Chuck.

World’s Most Dangerous Trick (Roger Withers & Reed Wallbeck)
Time: 12am September 28th – 9pm September 28th
Where: The Atlantica Casino
How: Enter the theatre and watch the magic trick
Once again, more insane people have been hired. Fantastic.
Chuck watches the magicians fail a trick, and his criticism manages to enrage them. Thus, the only logical solution is to grab a makeshift rocket launcher and two swords and kill you. Even better.
Reed, the taller of the two, will use a rocket launcher. He moves slowly and fires shots which momentarily stun and then hit Chuck. On other occassions, he’ll swing his Rocket launcher around or he’ll charge into the player with them. Weave around the slot machines, makng Reed confused, and hit him when he doesn’t know where you are. When he tries to counterattack, try dodge them as best as you can.

Roger, the shorter one, wields two swords and will run around the casino trying to engage in close combat. He dashes around the slot machines but is really easy to deal with once you get your hands on him. HItting him with weapons should momentarily stun him, and he can’t take too much damage, meaning he’ll probably dart back into the casino. Follow him and make sure he stays down once you get to him.
Once you see the two die together, enjoy the free combo card for the Rocket Launcher!
Alert: This Is Where Spoilers Begin
Story-Specific Enemies #1
These guys are basically looters with firearms. They’re nothing to really worry about, and you can dodge every bullet with more efficiency than Neo himself by using your dodge-roll technique. On the off chance that you actually don’t have the dodge-roll ability, take cover behind a wall or something and jump around or run up recklessly and one-shot them. They aren’t difficult, guys.
Now, onto the real challenges…
TURN AWAY IF YOU AREN’T UP TO THE NEXT BOSS
TURN AWAY IF YOU AREN’T UP TO THE NEXT BOSS
TURN AWAY IF YOU AREN’T UP TO THE NEXT BOSS
TURN AWAY IF YOU AREN’T UP TO THE NEXT BOSS
TURN AWAY IF YOU AREN’T UP TO THE NEXT BOSS
TURN AWAY IF YOU AREN’T UP TO THE NEXT BOSS
TURN AWAY IF YOU AREN’T UP TO THE NEXT BOSS
TURN AWAY IF YOU AREN’T UP TO THE NEXT BOSS
TURN AWAY IF YOU AREN’T UP TO THE NEXT BOSS
TURN AWAY IF YOU AREN’T UP TO THE NEXT BOSS
TURN AWAY IF YOU AREN’T UP TO THE NEXT BOSS
TURN AWAY IF YOU AREN’T UP TO THE NEXT BOSS
TURN AWAY IF YOU AREN’T UP TO THE NEXT BOSS
TURN AWAY IF YOU AREN’T UP TO THE NEXT BOSS
TURN AWAY IF YOU AREN’T UP TO THE NEXT BOSS
TURN AWAY IF YOU AREN’T UP TO THE NEXT BOSS
TURN AWAY IF YOU AREN’T UP TO THE NEXT BOSS
TURN AWAY IF YOU AREN’T UP TO THE NEXT BOSS
TURN AWAY IF YOU AREN’T UP TO THE NEXT BOSS
TURN AWAY IF YOU AREN’T UP TO THE NEXT BOSS
TURN AWAY IF YOU AREN’T UP TO THE NEXT BOSS
TURN AWAY IF YOU AREN’T UP TO THE NEXT BOSS
TURN AWAY IF YOU AREN’T UP TO THE NEXT BOSS
TURN AWAY IF YOU AREN’T UP TO THE NEXT BOSS
TURN AWAY IF YOU AREN’T UP TO THE NEXT BOSS
TURN AWAY IF YOU AREN’T UP TO THE NEXT BOSS
TURN AWAY IF YOU AREN’T UP TO THE NEXT BOSS
TURN AWAY IF YOU AREN’T UP TO THE NEXT BOSS
TURN AWAY IF YOU AREN’T UP TO THE NEXT BOSS
TURN AWAY IF YOU AREN’T UP TO THE NEXT BOSS
TURN AWAY IF YOU AREN’T UP TO THE NEXT BOSS
TURN AWAY IF YOU AREN’T UP TO THE NEXT BOSS
TURN AWAY IF YOU AREN’T UP TO THE NEXT BOSS
TURN AWAY IF YOU AREN’T UP TO THE NEXT BOSS
TURN AWAY IF YOU AREN’T UP TO THE NEXT BOSS
TURN AWAY IF YOU AREN’T UP TO THE NEXT BOSS
TURN AWAY IF YOU AREN’T UP TO THE NEXT BOSS
Story-Specific Enemies #2
Case: 4-1: The Source
Where: Shoal Nightclub, The Yucatan Casino
Amber and Crystal are some of the hardest psychopaths to fight in the entire game due to their unrelenting attacks and fast speed. One of the common mistakes people make about fighting the duo is that they instantly start trying to spread out damage and go for both. Luckily for you, you only need to get rid of one.
When the fight starts, focus on one of the twins only. The Knife Gloves (my go-to weapon for anything psycho related in this game) work great on the two girls. Another alternative is a Shotgun, as it will eat away at their health relatively easy and attacks will usually stun them for a bit.
When the sisters strike you they’ll deal about two to three blocks of damage before running away. This gives you time to either heal up or prepare. If the other sister starts to come after you instead of the one you’re targeting, run; there’s no point in risking losing health to someone that doesn’t even matter to progressing in the story. The same goes for when two of them chase you at once. Just run for your life.
Honestly, if those two methods of dodging and then hitting/running and gunning don’t work it’s a good idea to level up before you get into the fight. After the cutscene is over you gain access to the twin’s amazing Katana Swords. Sweet!
(By the way, killing the twins with cooking oil will not work. As tempting as the idea may seem.)
TURN AWAY IF YOU AREN’T UP TO THE NEXT BOSS
TURN AWAY IF YOU AREN’T UP TO THE NEXT BOSS
TURN AWAY IF YOU AREN’T UP TO THE NEXT BOSS
TURN AWAY IF YOU AREN’T UP TO THE NEXT BOSS
TURN AWAY IF YOU AREN’T UP TO THE NEXT BOSS
TURN AWAY IF YOU AREN’T UP TO THE NEXT BOSS
TURN AWAY IF YOU AREN’T UP TO THE NEXT BOSS
TURN AWAY IF YOU AREN’T UP TO THE NEXT BOSS
TURN AWAY IF YOU AREN’T UP TO THE NEXT BOSS
TURN AWAY IF YOU AREN’T UP TO THE NEXT BOSS
TURN AWAY IF YOU AREN’T UP TO THE NEXT BOSS
TURN AWAY IF YOU AREN’T UP TO THE NEXT BOSS
TURN AWAY IF YOU AREN’T UP TO THE NEXT BOSS
TURN AWAY IF YOU AREN’T UP TO THE NEXT BOSS
TURN AWAY IF YOU AREN’T UP TO THE NEXT BOSS
TURN AWAY IF YOU AREN’T UP TO THE NEXT BOSS
TURN AWAY IF YOU AREN’T UP TO THE NEXT BOSS
TURN AWAY IF YOU AREN’T UP TO THE NEXT BOSS
TURN AWAY IF YOU AREN’T UP TO THE NEXT BOSS
TURN AWAY IF YOU AREN’T UP TO THE NEXT BOSS
TURN AWAY IF YOU AREN’T UP TO THE NEXT BOSS
TURN AWAY IF YOU AREN’T UP TO THE NEXT BOSS
TURN AWAY IF YOU AREN’T UP TO THE NEXT BOSS
TURN AWAY IF YOU AREN’T UP TO THE NEXT BOSS
TURN AWAY IF YOU AREN’T UP TO THE NEXT BOSS
TURN AWAY IF YOU AREN’T UP TO THE NEXT BOSS
TURN AWAY IF YOU AREN’T UP TO THE NEXT BOSS
TURN AWAY IF YOU AREN’T UP TO THE NEXT BOSS
TURN AWAY IF YOU AREN’T UP TO THE NEXT BOSS
TURN AWAY IF YOU AREN’T UP TO THE NEXT BOSS
TURN AWAY IF YOU AREN’T UP TO THE NEXT BOSS
TURN AWAY IF YOU AREN’T UP TO THE NEXT BOSS
TURN AWAY IF YOU AREN’T UP TO THE NEXT BOSS
TURN AWAY IF YOU AREN’T UP TO THE NEXT BOSS
TURN AWAY IF YOU AREN’T UP TO THE NEXT BOSS
TURN AWAY IF YOU AREN’T UP TO THE NEXT BOSS
TURN AWAY IF YOU AREN’T UP TO THE NEXT BOSS
Story-Specific Enemies #3
Case: 5-2: The Getaway
Where: Fortune City Hotel Rooftop
You’re literally fighting a helicopter for this one.

On your way to the elevator you’ll be ambushed by several Mercs. Nothing to worry about.
Now, for the helicopter, this is the one fight where Knife Gloves are pretty much useless. What you need to do is, when the light on the winch is green, activate it and drag the helicopter down so that you can throw various objects into the rotors. You can never really run out of these as you’re surrounded by chairs and objects on the roof.
The helicopter’s attacks consist of swooping onto the helipad and firing a gun. Just take cover or roll under the winch’s wire and you should be completely fine in this fight.
TURN AWAY IF YOU AREN’T UP TO THE NEXT BOSS
TURN AWAY IF YOU AREN’T UP TO THE NEXT BOSS
TURN AWAY IF YOU AREN’T UP TO THE NEXT BOSS
TURN AWAY IF YOU AREN’T UP TO THE NEXT BOSS
TURN AWAY IF YOU AREN’T UP TO THE NEXT BOSS
TURN AWAY IF YOU AREN’T UP TO THE NEXT BOSS
TURN AWAY IF YOU AREN’T UP TO THE NEXT BOSS
TURN AWAY IF YOU AREN’T UP TO THE NEXT BOSS
TURN AWAY IF YOU AREN’T UP TO THE NEXT BOSS
TURN AWAY IF YOU AREN’T UP TO THE NEXT BOSS
TURN AWAY IF YOU AREN’T UP TO THE NEXT BOSS
TURN AWAY IF YOU AREN’T UP TO THE NEXT BOSS
TURN AWAY IF YOU AREN’T UP TO THE NEXT BOSS
TURN AWAY IF YOU AREN’T UP TO THE NEXT BOSS
TURN AWAY IF YOU AREN’T UP TO THE NEXT BOSS
TURN AWAY IF YOU AREN’T UP TO THE NEXT BOSS
TURN AWAY IF YOU AREN’T UP TO THE NEXT BOSS
TURN AWAY IF YOU AREN’T UP TO THE NEXT BOSS
TURN AWAY IF YOU AREN’T UP TO THE NEXT BOSS
TURN AWAY IF YOU AREN’T UP TO THE NEXT BOSS
TURN AWAY IF YOU AREN’T UP TO THE NEXT BOSS
TURN AWAY IF YOU AREN’T UP TO THE NEXT BOSS
TURN AWAY IF YOU AREN’T UP TO THE NEXT BOSS
TURN AWAY IF YOU AREN’T UP TO THE NEXT BOSS
TURN AWAY IF YOU AREN’T UP TO THE NEXT BOSS
TURN AWAY IF YOU AREN’T UP TO THE NEXT BOSS
TURN AWAY IF YOU AREN’T UP TO THE NEXT BOSS
TURN AWAY IF YOU AREN’T UP TO THE NEXT BOSS
TURN AWAY IF YOU AREN’T UP TO THE NEXT BOSS
TURN AWAY IF YOU AREN’T UP TO THE NEXT BOSS
TURN AWAY IF YOU AREN’T UP TO THE NEXT BOSS
TURN AWAY IF YOU AREN’T UP TO THE NEXT BOSS
TURN AWAY IF YOU AREN’T UP TO THE NEXT BOSS
TURN AWAY IF YOU AREN’T UP TO THE NEXT BOSS
TURN AWAY IF YOU AREN’T UP TO THE NEXT BOSS
TURN AWAY IF YOU AREN’T UP TO THE NEXT BOSS
TURN AWAY IF YOU AREN’T UP TO THE NEXT BOSS
Story-Specific Enemies #4
Case: 6-2: Last Stand
Where: Underground Tunnels
Dwight is the only thing standing in the way of you and Rebecca.
Dwight will shoot Chuck with his gun, throw grenades and knock Chuck down and toss him away. The last attack does a pretty big chunk of damage, so your best case scenario is to be as cautious as you can around this guy. Dwight also manages to become distracted by talking to various dead comrades, or gunning down zombies that are already dead, which leave him open.

Weave behind cover, avoiding LMG’s and grenades, then peek out and hit Boykin when you can. The fight should be over quick.
TURN AWAY IF YOU AREN’T UP TO THE NEXT BOSS
TURN AWAY IF YOU AREN’T UP TO THE NEXT BOSS
TURN AWAY IF YOU AREN’T UP TO THE NEXT BOSS
TURN AWAY IF YOU AREN’T UP TO THE NEXT BOSS
TURN AWAY IF YOU AREN’T UP TO THE NEXT BOSS
TURN AWAY IF YOU AREN’T UP TO THE NEXT BOSS
TURN AWAY IF YOU AREN’T UP TO THE NEXT BOSS
TURN AWAY IF YOU AREN’T UP TO THE NEXT BOSS
TURN AWAY IF YOU AREN’T UP TO THE NEXT BOSS
TURN AWAY IF YOU AREN’T UP TO THE NEXT BOSS
TURN AWAY IF YOU AREN’T UP TO THE NEXT BOSS
TURN AWAY IF YOU AREN’T UP TO THE NEXT BOSS
TURN AWAY IF YOU AREN’T UP TO THE NEXT BOSS
TURN AWAY IF YOU AREN’T UP TO THE NEXT BOSS
TURN AWAY IF YOU AREN’T UP TO THE NEXT BOSS
TURN AWAY IF YOU AREN’T UP TO THE NEXT BOSS
TURN AWAY IF YOU AREN’T UP TO THE NEXT BOSS
TURN AWAY IF YOU AREN’T UP TO THE NEXT BOSS
TURN AWAY IF YOU AREN’T UP TO THE NEXT BOSS
TURN AWAY IF YOU AREN’T UP TO THE NEXT BOSS
TURN AWAY IF YOU AREN’T UP TO THE NEXT BOSS
TURN AWAY IF YOU AREN’T UP TO THE NEXT BOSS
TURN AWAY IF YOU AREN’T UP TO THE NEXT BOSS
TURN AWAY IF YOU AREN’T UP TO THE NEXT BOSS
TURN AWAY IF YOU AREN’T UP TO THE NEXT BOSS
TURN AWAY IF YOU AREN’T UP TO THE NEXT BOSS
TURN AWAY IF YOU AREN’T UP TO THE NEXT BOSS
TURN AWAY IF YOU AREN’T UP TO THE NEXT BOSS
TURN AWAY IF YOU AREN’T UP TO THE NEXT BOSS
TURN AWAY IF YOU AREN’T UP TO THE NEXT BOSS
TURN AWAY IF YOU AREN’T UP TO THE NEXT BOSS
TURN AWAY IF YOU AREN’T UP TO THE NEXT BOSS
TURN AWAY IF YOU AREN’T UP TO THE NEXT BOSS
TURN AWAY IF YOU AREN’T UP TO THE NEXT BOSS
TURN AWAY IF YOU AREN’T UP TO THE NEXT BOSS
TURN AWAY IF YOU AREN’T UP TO THE NEXT BOSS
TURN AWAY IF YOU AREN’T UP TO THE NEXT BOSS
Story-Specific Enemy #5
Case: 7-2: The Only Lead
Where: Phenotrans Laboratory
These two are by far the easiest bosses in the game. Just dodge-roll you way up close to them and beat them into the ground. Their constant stream of pistol fire is definitely annoying, however, and it keeps you from moving half the time.
An alternative method is to grab a BFG and fire it at them, making them vomit all over the ground and letting you walk right up.
TURN AWAY IF YOU AREN’T UP TO THE NEXT BOSS
TURN AWAY IF YOU AREN’T UP TO THE NEXT BOSS
TURN AWAY IF YOU AREN’T UP TO THE NEXT BOSS
TURN AWAY IF YOU AREN’T UP TO THE NEXT BOSS
TURN AWAY IF YOU AREN’T UP TO THE NEXT BOSS
TURN AWAY IF YOU AREN’T UP TO THE NEXT BOSS
TURN AWAY IF YOU AREN’T UP TO THE NEXT BOSS
TURN AWAY IF YOU AREN’T UP TO THE NEXT BOSS
TURN AWAY IF YOU AREN’T UP TO THE NEXT BOSS
TURN AWAY IF YOU AREN’T UP TO THE NEXT BOSS
TURN AWAY IF YOU AREN’T UP TO THE NEXT BOSS
TURN AWAY IF YOU AREN’T UP TO THE NEXT BOSS
TURN AWAY IF YOU AREN’T UP TO THE NEXT BOSS
TURN AWAY IF YOU AREN’T UP TO THE NEXT BOSS
TURN AWAY IF YOU AREN’T UP TO THE NEXT BOSS
TURN AWAY IF YOU AREN’T UP TO THE NEXT BOSS
TURN AWAY IF YOU AREN’T UP TO THE NEXT BOSS
TURN AWAY IF YOU AREN’T UP TO THE NEXT BOSS
TURN AWAY IF YOU AREN’T UP TO THE NEXT BOSS
TURN AWAY IF YOU AREN’T UP TO THE NEXT BOSS
TURN AWAY IF YOU AREN’T UP TO THE NEXT BOSS
TURN AWAY IF YOU AREN’T UP TO THE NEXT BOSS
TURN AWAY IF YOU AREN’T UP TO THE NEXT BOSS
TURN AWAY IF YOU AREN’T UP TO THE NEXT BOSS
TURN AWAY IF YOU AREN’T UP TO THE NEXT BOSS
TURN AWAY IF YOU AREN’T UP TO THE NEXT BOSS
TURN AWAY IF YOU AREN’T UP TO THE NEXT BOSS
TURN AWAY IF YOU AREN’T UP TO THE NEXT BOSS
TURN AWAY IF YOU AREN’T UP TO THE NEXT BOSS
TURN AWAY IF YOU AREN’T UP TO THE NEXT BOSS
TURN AWAY IF YOU AREN’T UP TO THE NEXT BOSS
TURN AWAY IF YOU AREN’T UP TO THE NEXT BOSS
TURN AWAY IF YOU AREN’T UP TO THE NEXT BOSS
TURN AWAY IF YOU AREN’T UP TO THE NEXT BOSS
TURN AWAY IF YOU AREN’T UP TO THE NEXT BOSS
TURN AWAY IF YOU AREN’T UP TO THE NEXT BOSS
TURN AWAY IF YOU AREN’T UP TO THE NEXT BOSS
Story-Specific Enemy #6
Case: THE FACTS
Where: Yucatan Casino Roof
Turns out this old-guy was pure evil, and now it’s time to finish him off. Once Sullivan flees, you’ll find him on the Yucatan Casino roof via the previously locked elevator. You’re running on a time limit and you need to eliminate this guy before everything gets obliterated. Let’s do it.
Before you go to fight Sullivan I strongly reccommend that you mix a couple of drinks. Sullivan is an incredibly difficult, annoying fight and is capable of taking down even the highest-level Chuck with nearly a single blow. I would go as far as to say that he’s even harder than the final boss (who I will not name, since I’ll assume you want the story intact).
You need to get past quite the horde of zombies to get to Sullivan; walk past them if you want to preserve weapons or take them out to avoid them on the chance he kicks you back down. Either way, get to the top and find Sullivan standing on some tall construction platform, where the fight commences.
Sullivan will fight you with his bare hands, a handgun or by utilizing flares that signal the rockets of an AC130. Obviously, fighting Sullivan in hand-to-hand combat is the approach I took. First things first, he’ll disarm you if you have any weapons. Take a swing at him and he’ll catch your hands and throw you and your weapon off the platform. This means you either have to fight with your good ol’ bare hands, or by using hand-weapons such as the Knife Gloves or the Tenderizers.
Sullivan’s attacks always do quite a bit of damage, and there’s always the chance that he’ll kick you back down a level and into a pit of zombies. He constantly rolls and, on the worst occassion, he’ll connect a lethal uppercut that brings you down automatically to one block of health. The best approach, then?
The front kick or the double-legged dropkick. These two attacks will knock Sullivan onto his knees, keeling over for breath, at which point you can switch to a weapon and nail into him. Play safe, roll a lot and be careful and you should make it out of this fight alive.
TURN AWAY IF YOU AREN’T UP TO THE NEXT BOSS
TURN AWAY IF YOU AREN’T UP TO THE NEXT BOSS
TURN AWAY IF YOU AREN’T UP TO THE NEXT BOSS
TURN AWAY IF YOU AREN’T UP TO THE NEXT BOSS
TURN AWAY IF YOU AREN’T UP TO THE NEXT BOSS
TURN AWAY IF YOU AREN’T UP TO THE NEXT BOSS
TURN AWAY IF YOU AREN’T UP TO THE NEXT BOSS
TURN AWAY IF YOU AREN’T UP TO THE NEXT BOSS
TURN AWAY IF YOU AREN’T UP TO THE NEXT BOSS
TURN AWAY IF YOU AREN’T UP TO THE NEXT BOSS
TURN AWAY IF YOU AREN’T UP TO THE NEXT BOSS
TURN AWAY IF YOU AREN’T UP TO THE NEXT BOSS
TURN AWAY IF YOU AREN’T UP TO THE NEXT BOSS
TURN AWAY IF YOU AREN’T UP TO THE NEXT BOSS
TURN AWAY IF YOU AREN’T UP TO THE NEXT BOSS
TURN AWAY IF YOU AREN’T UP TO THE NEXT BOSS
TURN AWAY IF YOU AREN’T UP TO THE NEXT BOSS
TURN AWAY IF YOU AREN’T UP TO THE NEXT BOSS
TURN AWAY IF YOU AREN’T UP TO THE NEXT BOSS
TURN AWAY IF YOU AREN’T UP TO THE NEXT BOSS
TURN AWAY IF YOU AREN’T UP TO THE NEXT BOSS
TURN AWAY IF YOU AREN’T UP TO THE NEXT BOSS
TURN AWAY IF YOU AREN’T UP TO THE NEXT BOSS
TURN AWAY IF YOU AREN’T UP TO THE NEXT BOSS
TURN AWAY IF YOU AREN’T UP TO THE NEXT BOSS
TURN AWAY IF YOU AREN’T UP TO THE NEXT BOSS
TURN AWAY IF YOU AREN’T UP TO THE NEXT BOSS
TURN AWAY IF YOU AREN’T UP TO THE NEXT BOSS
TURN AWAY IF YOU AREN’T UP TO THE NEXT BOSS
TURN AWAY IF YOU AREN’T UP TO THE NEXT BOSS
TURN AWAY IF YOU AREN’T UP TO THE NEXT BOSS
TURN AWAY IF YOU AREN’T UP TO THE NEXT BOSS
TURN AWAY IF YOU AREN’T UP TO THE NEXT BOSS
TURN AWAY IF YOU AREN’T UP TO THE NEXT BOSS
TURN AWAY IF YOU AREN’T UP TO THE NEXT BOSS
TURN AWAY IF YOU AREN’T UP TO THE NEXT BOSS
TURN AWAY IF YOU AREN’T UP TO THE NEXT BOSS
The Final Story-Specific Enemy
The final boss in the entire game. Huzzah.
TK isn’t so much difficult as he is annoying. You go into an incredibly unfair fight, completely disarmed and having to save your daughter and love interest. Of course the odds are against you.
Various boxes are in the area. Toss them/stomp on them and they’ll reveal food and/or weapons. In some areas TK will lock you in and set off a chain of fireworks, which can be easily avoided if you understand the pattern. Everything is useful for you, so pick them up and get ready.
TK isn’t too difficult to fight, but the key is to understand when he’s preparing for an attack (as with every DR2 psycho). He’ll charge up and then strike, so dodge when he does that. After a bit, he’ll jump over the railing and go into hiding at which point you should try help save Stacy and Katey (whom cannot be saved during the fight; just try prevent their deaths for now). During this, TK will reappear and try to sucker punch you. Cancel the animation after a bit to ensure you don’t get hit, or wait until he appears and risk the damage to ensure the two live.
TK’s will also occassionally charge at you. You can dodge this by rolling, but the timing has to be pretty precise. Overall, TK is just an easy final boss that you should have no trouble with.
Final Words + Special Thanks
If you are still having trouble with every boss, my only advice left is to level up. You can’t fight a boss with two baseball bats at level 3 and expect to come out without a scratch (I have seen, on countless occassions, complaints on how difficult psychopaths are when the player themselves are fighting them like a complete idiot).
If you didn’t like this guide, or it didn’t help you, keep in mind that this is my first guide and I’m more than happy to hear some criticism and feedback on how I can improve. If you prefer visual aid (such as YouTube videos) I would definitely point you in the direction of Achievement Hunter videos as they seem to grasp the best method for the underleveled player.
Now, onto the honourable mentions…
Special Thank You
- Capcom. For putting this game on GFWL, ignoring the cries of fans and then finally patching it in 2015 when I finally gave a damn about the PC port. We love you, Capcom, you wacky bastards. By the way, treat Mega Man with some respect please.
- James, for making the amazing thumbnail for me despite having much better things to do with his time. Mint artist, all around good dude, thank you!
- Spav. For playing this game with me on two different consoles for about six+ playthroughs worth of gametime and then joining me on a quest to get every achievement. Thanks for the memories, buddy.
- The Dead RIsing wiki page. Really well managed, gave me some great information on specific times that bosses appear and other cool stuff, definitely saved me from several more playthroughs of this game to find tiny little details of other bosses and provided me with the info I need when I came across it.
That’s pretty much it.
Dead Rising belongs to Capcom. I’m just a fan who wrote a guide.
This guide was written by me, Panda (chosen penname). Please ask for permission before using excerpts of this guide, as I worked hard on it and it’s mine.