Overview
Here is a guide on how to make my robot ‘The Shield’I spent a while making this guide and trying to recreate my original design, so if you like it please rate up :)This guide has been created under popular demand. Enjoy 😀
Hello, once again!
Hi guys, welcome to my 2nd robot crafting guide. In the first we made the ‘Dragonfly’ now we will be making ‘The Shield’.
Here is a breif introduction to my robot
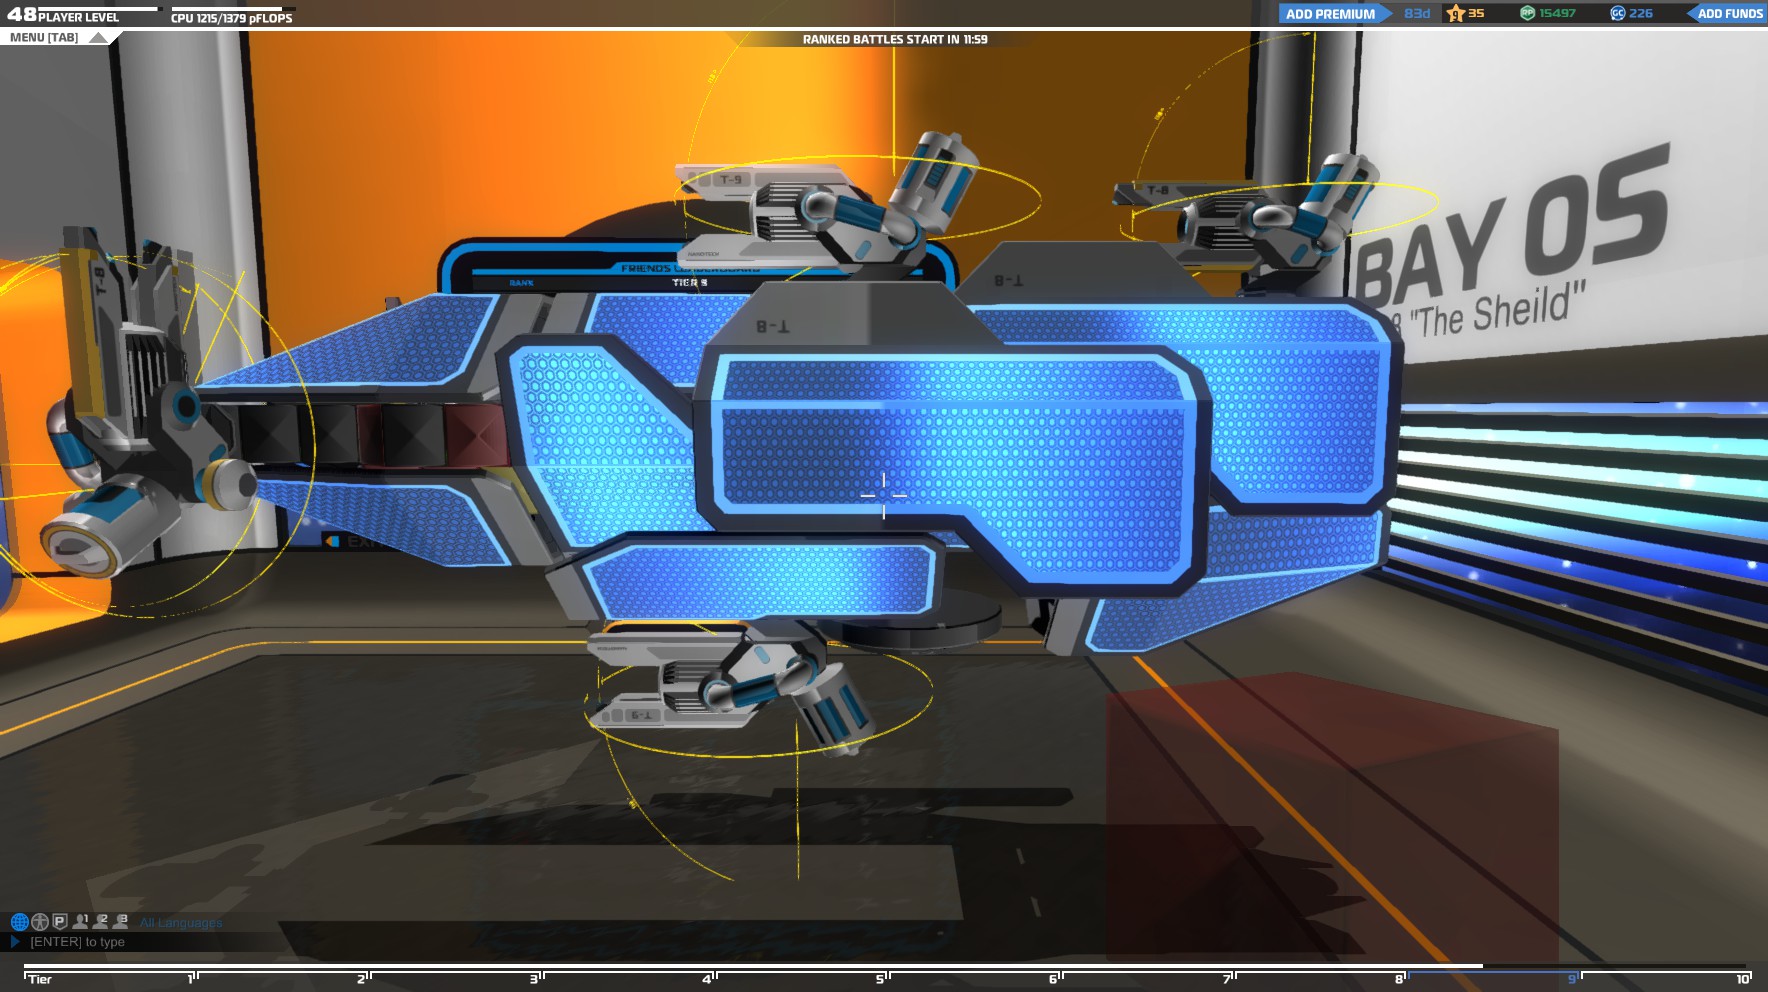
It is a badass medic. Thats all you need to know. 🙂
Seriously though. This is a tier 7 – tier 10 robot depending on what type of blocks you use. Alot of electroplates are used here and you need to be at least tier 9 to create it (Sorry folks!). However you could replace the high tier stuff with lower tier stuff.
This robot has the strength to go into the heat of battle and repair friendlies as well as deal significant damage to nearby enemies, however the back is weaker so be careful.
Without further ado… Lets go!
PLEASE NOTE – SCREENSHOTS HAVE BROKEN AND I CANNOT REPAIR THEM!!! IT IS POSSIBLE TO VIEW THEM BY CLICKING ON THE BROKEN IMAGE THINGY.
Sorry!
Ingredients
Before we get to the recipe, lets look at what we need.
Anything labeled with one of these things _ * _ Can be whatever tier you want.
*Light chassis cube – 155
*Light chassis Prisim – 36
*Hover blades – 4
Tier 6 Electroplate LEFT – 2
Tier 6 Electroplate RIGHT – 2
Tier 7 Electroplate LEFT – 3
Tier 7 Electroplate RIGHT – 3
Tier 8 Electroplate LEFT – 2
Tier 8 Electroplate RIGHT – 2
Tier 9 Electroplate LEFT – 1
Tier 9 Electroplate RIGHT – 1
*Nanotech Disruptor – 6
*Radar Jammer – 1
TOTAL RP (Electroplates only)
405,080RP
This number will be higher due to prices of chassis, hoverblades, Nanotech Disruptors and other objects.
TOTAL CPU REQUIRED (Excluding Jammer)
1,000 – MAX PFlops
This will probably be a little higher than i have said and it depends on the type of components you use and the variants you make.
Step One – The Chassis
WARNING – Read all text in this area, seriously. Not doing so could lead to complications and mistakes… It will also help you with dimensions so you dont have to poke at your screen whilst counting…
This is a very long section so lets get started straight away. I apologise if anything isnt that clear- the design is very complicated.
We will start with the basic layout of the robot. Remember you can use any tier block. I have used tier 0 blocks for convenience sake
First, create a platform that looks like below – The maximum length is 14 and the maximum width is 7 blocks
Then this. The light blue blocks are what has to be removed
Now we create the tail. Good luck 🙂
I know, its a bit bulky on the end… A hammer-tail bot that has a static tail 😀
Seriously though, this bit is difficult so be careful.
And another view of it for you…
Now we add to the base of the tail
See that bit? MAKE SURE IT IS THERE!
Make it like so!
Now some weird shapes
Another view?
Again…
This is on the belly of the robot
The belley even more…
Be sure to add the prisims.
Is this text annoying you yet? 😛
Now expand the little weird lump even more
Remove the following blocks…
Looks like this? Good!
Ok, ignore the red thing in the background. I had to destroy the original so i could make this guide….


Well thats it. For the layout. I hope you got it correctly. Now lets go to the next bit!
Step Two – Movement
Yeah, we need some sort of way to get around the battlefield. Lets go!
… What? … We need to add them? … Oh right. Ok now the hoverblades.
Its the bold text again >:)
Be sure to put the hoverblades in the correct place
The front…
The bottom of the front
The back
And the middle
Also, you need to cover this bit, like so…


Thats it, the 2nd easiest bit of the guide has been complete. Now to the hardest bit.
Step Three – Electroplating
In this step, we add the main important thingymabob… Electroplates!
I will be using a technique that i have named ‘layering’ (For info on this look at my ‘Robot Design’ Guide)
This is the hardest part of the guide, one mistake and the rest of the layers wont fit properly.
The front, it is like any other electroplated vehicle, thats kinda how i started off actually…
Now the bottom of the front
Before…
After
We must quickly add the pilot seat, this makes it easier than doing it later
Back to the top to cover the seat
Before…
After…
The side… Be careful
This must be reflected on the other side
Before…
During…
After…
And now the belly protection – because some people dont like being tickled 😛
Before
During…
After…
This belly layer overlaps the front bottom layer
Skip a bit and go to the tail
This must be reflected on both sides
Before…
During…
After…
Back to the side
These electroplates need to be upside down! NEED TO BE!
Before…
During…
After…
Behind the side to protect the tail…
Before
During…
Finished Result…


Thats it, did you do it correctly? I hope you did….
Step Four – Weaponizing and Other Stuff
You have reached the final stage…. Weaponizing.
Whats the point in fighting if you cant use anything?!
This is pretty straightforward. Lets go!
Front, 3 at once 😀
The top of the tail. Pretty obvious…
The top of the middle, we must add an extra layer first
Before
After…
Now we can add the weapon. I add it more forward because it is closer to the pilot seat meaning if the tail gets shot off… Well it should stay
The bottom, we must add an extra layer first
Then the gun, you can also add a jammer of your choice


And there you have it! Your very own ‘Shield’!
By the way… That red thing next to the following image is the original shield…

R.i.p Original, we will all miss you in your overpowered goodness…
Step Five – Modifications
Here are some examples of how you could modify the robot. If you have some good ideas of your own let me know, and show me 😀
An extra electroplate has been added, smartly found by erlk99.
Images also provided by erlk99.


Finished, at last!
Finally the guide has come to an end… Shame really.. Oh well!
I will be making another guide sooner or later, but for now i will be working on improving my current guides.
If you liked this then please rate up!
A few notes…
Note One – This robot may look like it will tip and roll over at any time, that shouldnt happen – at all…
Note Two- You can use any thing you want to make this robot… remember that.
Thats it guys, thanks for reading 😀
Note: Please take note that i really do not care for those who post hater comments. Statements of Pros VS Cons are acceptable, however posting comments that are directed toward hate, i will not tolerate. So dont waste your time. Besides, the ratio of ‘people who support’ against ‘people who hate’ is currently around 12:1 so yeah…(on a larger scale – 120 to 10…. see the difference?