Overview
I often like to rebuild my bot using different techniques to see what works and I hit upon this designe that has proved to be EXTREEMLY durrable and effective in T10 matches. I have even gone toe to toe with a mega in this and come out on top. (Shooting off their guns is still the key strategy, but this robot was able to endure the fire long enough to take off all his guns, something few bots can handle.) After seeing how well this design works and getting several compliments on it, I decided to upload a quick guide on how it’s made.The T10 Version I made requires about 1200 CPU to build, but it can be tweaked to work with lower CPU’s.
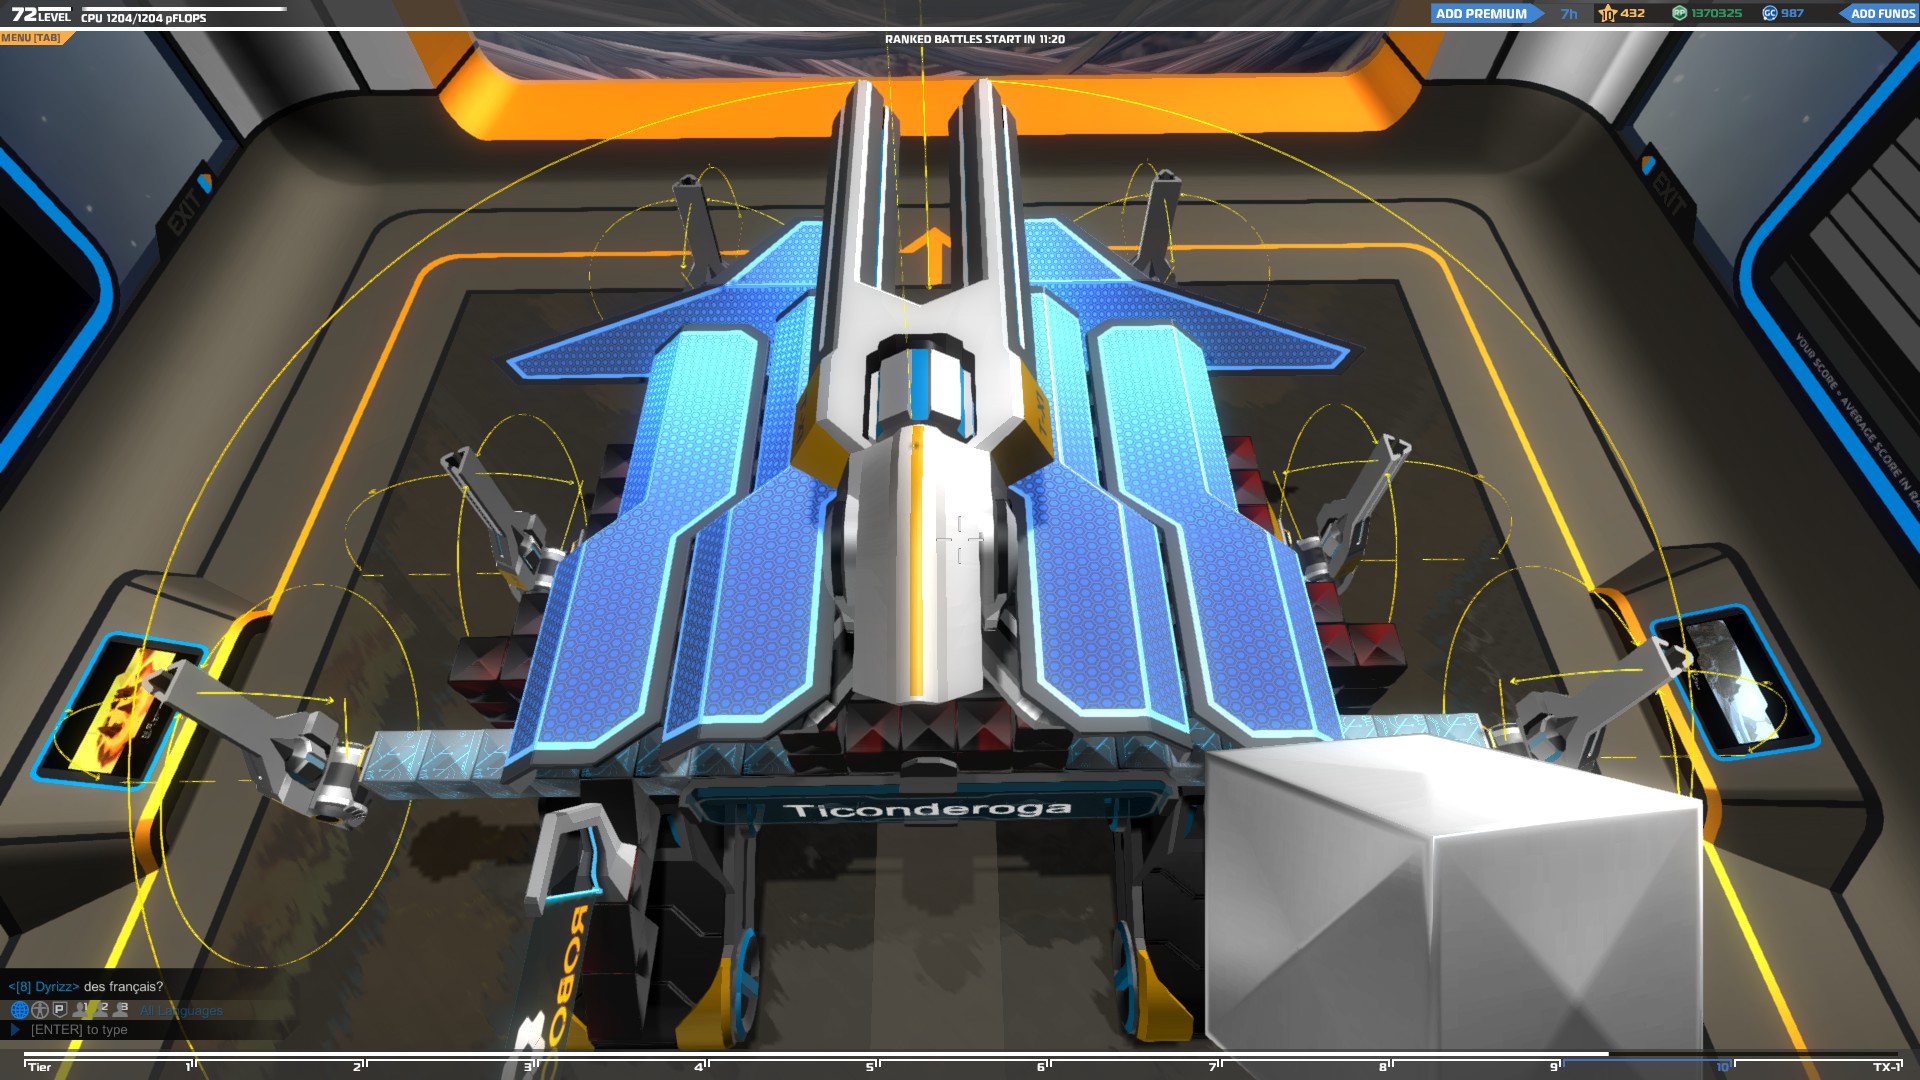
Ticonderoga. Simple and Powerful
 This huge tank is the size of a small Mega and just as powerful! If you’re tired of hiding from enemy fire, this is a good designe for agressive play styles. Because it has a large profile, a small medic can easily hide behind you and heal as you fight. The heavy sheilding is especially effective against bombers and snipers on high ground, and the armor structure holds up well in the un-sheilded sections at front and back.
The armor blocks are colored differently to highlight the building steps.
 Start with your pilot seat and encase it is a brick, 5 high, 4 deep, 3 across. Use your heaviest armor. For mine, I used TX-1 cubes.
From here, we will build another section of armor around it with a 1 block gap in between.
 First make two block extensions from the corners. These will connect the inner and outer hull. Then connect the blocks in a ring parallel to the top and bottom row of your Pilot brick.I left the corners open in my original design.

 Now, fill in the gap between the top ring and the bottom. I just made verticle sections one block appart in mine. As my CPU goes up, I’m slowly filling in the gaps, but it is still extreemly effective. The three blocks at the front should be closed, if possilbe, though.
 You will attach your tank treads directly to this layered armor cube. I used T10 treads for mine. (White blocks show connection points.)
 Cover top of the treads with armor blocks from your cube to the connections on top of the tread, and add some armor down the front, going down one block as the treads allow. Then add two pylons coming from the back row of the cube. White blocks show where SMG’s were placed. Teal where the reversed T9 Shields go. The other Teal blocks form the mount for the Mega SMG. (Each SMG should be two blocks higher / further out so it can shoot cleanly over the ones mounted in front.)

 Here’s what mine looked like after I added the guns. Then add the T10 sheilds on top and the T9 Shields in front, reversed so they fit. (Even though they are backwards, they still work, and the SMG’s are mounted to fire around the sheilds. As my CPU goes up, I want to add more shielding to protect those mounts.)
And there you have it! A durrable beast that is very difficult to destroy. You can add more armor around the treads as you get more CPU. I have not been one-shoted since I started using this robot. I even flipped over once and took a direct plasma hit to the underside and could still fight. The SMG’s are protected from enemy fire, and the Mega on top lets me shoot over cover without exposing the rest of the bot.
Two major drawbacks of this design are 1) It is slow, but that is true for all tread-dependant robots. 2) it’s big, so sometimes this means that you are stuck at the back of the group and have difficulty moving up when fighting in narrow canyons.
However, that’s a small price to pay for the ability to charge the enemy and force them back. Also, (this has happened several times now) if you’r mega dies, you can essentially replace him in battle and continue fighting the enemy mega. If it’s already damaged, it ends up being a pretty even fight.
I hope this guide helps you build better bots. If you liked it please rate and share so others can see as well. Happy Building!