Overview
A guide to building simple robots, with a focus on protection of the cockpit/driver’s seat and other critical components. Provides a great base structure upon which any type of robot can be built.
Initial Construction
Step 1: Building a basic frame.
The most crucial part of any Robot is the pilot. If the pilot gets destroyed so does the Robot, so the first thing any player should do while building a robot is to make sure the pilot is well protected.
A centrally located position is usually best for the pilot’s seat, providing maximum protection from all directions.
Here is a simple starting frame a player can use to build a cockpit for your pilot.

Step 2: What else do you want protected with your pilot seat?
As you play the game and unlock new parts, you may decide certain ones afford some extra protection. Personally i like to conceal my radar dish along with the pilot seat.
This way you are almost guaranteed to have your radar dish operational up until the point when you are totally destroyed.

Step 3: Beggining construction of the cockpit.
Now that you have selected the components you would like to protect, start to build a simple frame around the objects instead of just under them.
Using the “mirror” function with the “M” key makes the following steps alot easier.

Step 4: Filling in the spaces
Different shaped blocks can fit in spaces that larger ones cannot, make sure to experiment where you can place blocks to create multiple connection points around objects to further increase your robots strength.

Continue filling in the gaps around your pilot and other components until you have a structure that blocks most or all of the openings.

Step 5: Connecting everything together.
Connecting all the blocks on the edges and sides of your new cockpit will make it stronger. Don’t forget you can also use the smaller shaped blocks to reduce the weight of your Robot and give it a sleeker appearance, rather than just being a box.

Congratulations, you now have your very own basic cockpit and now you can decide what type of Robot you would like to make out of it.
Movement Types
Step 1: Selecting your method of movement.
Now is the time to decide what type of robot your going to be. There a quite a few options both on the ground and in the air.
There is alot to consider when deciding what movement type to use. Ground movement components tend to be a little tankier than the flying type, but that is subjective to the situation as is everything in robocraft. Ground movement is also comparatively slower than the flying options, a trade off for the increased toughness.
Weapon type is also a big factor in deciding your movement type. Flying Robots greatly benefit from the use of plasma launchers while shooting down at ground targets, with AOE missing a shot while shooting down is rather uncommon. But on the ground, missing a direct hit can mean causing no damage at all.
Here are a few notes about the movement options in this guide and what they offer:
- Wheels: fast, medium hitpoints, low CPU, low-medium cross country handling, small size
- Tracks: slow, high hitpoints, medium-high CPU, medium cross country handling, medium size
- Mech legs: slow, very high hitpoints, good cross country handling, large size, can jump/crouch
- Hovers: fast, medium hitpoints, low CPU, good-excellent cross country handling, small size
For this section we will focus on movement options available in the 1st and 2nd tier only.
Step 2: Adding your movement components.
Wheels
Wheels should be added to the bottom-most line of blocks and can either be centrally mounted with both sides wheels being mounted to the same line of blocks in the middle of the Robot.
To do this you will have to delete some of the bottom edge blocks to be able to mount the wheels to the centerline.

You may also have to increase the length of the bottom line of blocks to be able to fit all the wheels you would like.

Now add the wheels

Tank tracks
Tank tracks, like wheels, should also be mounted to the bottom most line of blocks but unlinke wheels, tank tracks take up alot more room around the mounting points.
Tank tracks turn using forward and backward rotation of the tracks, rather than pointing to the direction you would like to go. Because of this tank tracks turn more sharply and rotate faster if the tracks are spaced closer together and even better if there is only one set of tracks rather than multiples.
It is usually more beneficial to have tank tracks mounted on either side of your cockpit rather than underneath to the central line of the chassis because of the large size.
To do this you will have to replace some of the bottom edge sloped blocks with cube blocks to give the tracks a mounting point.
Depending on how many tracks you would like or how big you would like your Robot to be, you will have to strategically place these mounting points to allow room for your tracks.
Placing a single blocks in the middle of the vehicle will allow for a double track mount, like this:


Spacing the mount points out will give you room to mount four tracks, like this


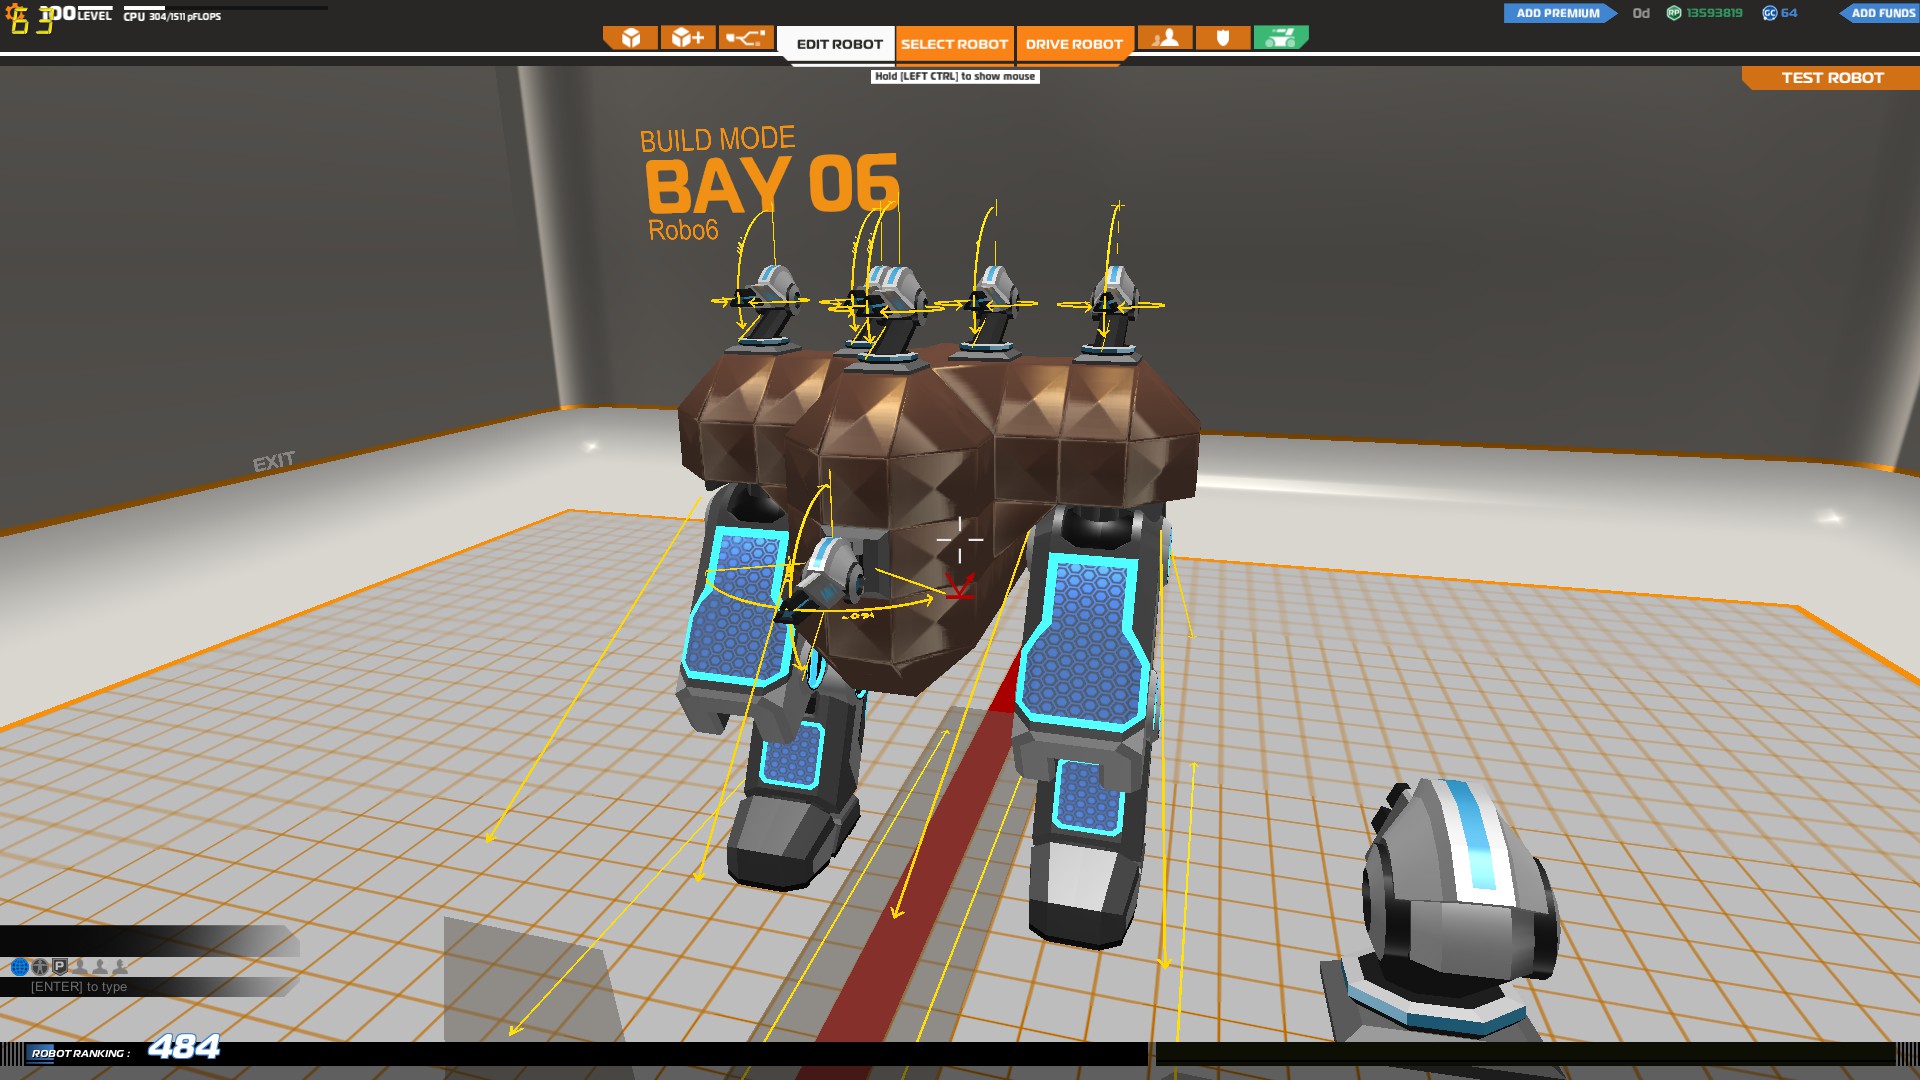
Mech legs.
Different from tank tracks and wheels, the mech legs can actually be placed in a variety of locations and still reach the ground.
Personally I like mounting mech legs to the top of the chassis rather than underneath. This way your cockpit is protected by the mechs legs from the sides and allows you a large weapons platform without increasing your height unnecessarily.
To do this create a line of blocks coming out the sides of your cockpit starting from the middle block on the top row.


Hovers.
Hovers can be placed a variety of places but generally do better towards the top of a Robot, that way the rest of the Robot hangs underneath it acting as a ballast.
Hovers can only fly a certain height off the ground and can sometimes be unstable when going off drops or up/down inclines. thrusters and strategically placed hovers can help you keep your Robot flying true.
To do this put hovers on the second highest row of blocks on your cockpit.

Continued Construction
Additional armor
In this section you will determine how much protection you would like to offer your movement components as well as determine the shape and look of your Robot.
Using the completed cockpit and movement components you have selected, you can now start to add additional armor, or make your Robot unique in whatever way you choose. Remember that you can roll/flip your robot in game, if you make your robot taller consider making it wider as well to avoid that situation.
Here are some simple armor options that can be added to the three movement types we’ve already covered.
Wheels
For wheels you can start building out from the cockpit on the first row of blocks above the tops of the wheels, don’t forget to fill in any spaces you can with smaller blocks underneath first.

Then start building out from there.

A platform overtop of your wheels like this will help protect your wheels from any attcks from above, and provides a platform for weapons at the same time. If you want you can also fully enclose them, just dont build any lower than the center line the wheels are mounted on.

Side skirts prevent damage from the sides as well as some degree of AOE damage protection from missed plasma launcher shots.

Tracks
For tracks you can start building on either of the 2 exposed mounting points on the tracks or from the cockpit, don’t forget to fill certain spots in with smaller blocks to increase strength.

A platform overtop of your tracks provides protection from above as well as multiple connection points, so that if part of your Robot gets destroyed that the track is connected to it won’t fall off as long as one of the remaining two points are still attached.

Side skirts prevent damage from the sides as well as some degree of AOE damage protection from missed plasma launcher shots. On tracks they also offer further connection points.

Mech Legs
Mech legs don’t offer many choices in terms of protecting them from damage with blocks. For that reason mech legs have built in electrplating protection to prevent them from being destroyed quickly. The only thing you can do to enhance their durability efficiently is to fully enclose the connection points in block.
Start off by connecting the inside edges of the leg mounts to the side of your cockpit.

Then cover the outside edge and the front and back with block as well.

Finish off by connecting all the blocks together with each other and then to your cockpit.

Hovers
With hovers your not quite flying and your not quite on the ground so you have to protect them both from the top and the bottom.
When plasmas shoot at you from above, if they miss and you have no armor underneath your hovers, they will take damage from the AOE and you can risk falling out of the air without even losing armor blocks.
Start off by building a ring around your hovers with as many connecting point to your cockpit as you can.


Now start building a platform on the top and bottom of the hovers

And finally close in all the edges and corners

Now you can get a chance to test drive/fly your Robots and make sure they operate correctly before putting some guns on.


Weapons and Hardware
Step 1: Selecting a weapon type.
As mentioned earlier in this guide weapon type and movement type are very closely related. The weapon types available at tier 1 and 2 are limited but as you progress in the game more weapon types will be unlocked.
In Robocraft you can only have one weapon type on your Robot at any time (with the exception of tesla blades).
The two weapon types included in this guide will be SMG’s and Plasma Launchers. Here are a few details about them.
- SMG: fast fire rate, powerful close range, loses power at long ranges, medium accuracy
- Plasma Launcher: slow fire rate, high power at all ranges, area of effect, medium accuracy
Step 2: Installing your weapon of choice.
SMG’s.
For this guide i will show some installation options for SMG’s on the wheels and the hovers. With those two being the fastest options, they can use their speed in combination with fast rates of fire to both avoid damage from the enemy and get in close to deal the most damage possible while still being able to put large aounts of fire on the enemy in the meantime.
For SMG’s you always want to make sure that there are no SMG’s directly in front of each other at the same height level, this will cause you to block your own shots with the SMG in the front.
Wheels
As a wheeled vehicle you wont be aiming down very often so mounting most of your guns on the top side of your Robot is the most logical choice. Front mounted SMG’s are a great choice as they don’t often intefere with the placement or line of fire of top mounted SMG’s.


Hovers
For the hovers it’s not a bad idea to have SMG’s mounted on the bottom as well as the top and even the sides too. As a hover you will find yourself aiming down at ground targets often and depending on the angle top mounted SMG’s don’t always have line of fire. Side mounted guns are alright, but they don’t have complete range of movement to the middle front unless at fairly long range. Front mounted SMG’s are still a good idea as well.


Plasma Launchers.
I’ll be installing Launchers on the Mech and Tracks movement types in this guide because of their ability to climb rather steep objects for height advantage and in the case of the mech legs the increased standing height and ability to jump.
As with SMG’s you don’t usually want launchers in front of each other on the same level.
Mech Legs
For the mech legs youll want to place Launchers on the sides front and top, with this combination you should always be able to hit a target even if it is behind you or you are jumping up and aiming down.


Tank Tracks
For tank tracks you should place all of your launchers on the top of your Robot only, you’ll only ever be aiming straight on or up at a target, you wont be leaving the ground much as a tank. When on high perches with a tank you can roll forward until your front end is pointing down enough for you to shoot the enemy, the high traction and weight of the tank wont’t let you fall even at fairly steep heights.
It can also be a good idea sometimes to build pedastals for your guns to sit on, sometimes they may need to be placed behind other guns, and increasing the height will give a little better line of sight.


Step 3: Adding Electroplate.
Electroplate offers protection in the form of shielding, when an electroplate takes a hit it loses an amount of it’s shield. After an electroplate loses it’s shield it will start taking armor damage until it gets destroyed. When shields are damaged on an electroplate it needs to go a certain amount of time without taking damage so that it can recharge.
There is only one electroplate in this guide as i mentioned before i would only be including tier 1 and 2 items. Here are some tips about it.
- Electroplate: high armor, very high shielding, recharges shields, high CPU, lightweight
Keeping with the weapon and armor layouts we have gone over, here are a few locations where electroplating might serve useful.
Protecting your weapons and movement from the front

Protecting your weapons and movement from the sides

Protecting your back

Replacing heavy block and protecting movement


Finished product
Following these simple building guidelines should put you well on your way to becoming an ace Robocraft pilot. Remember a Pilot is only as good as their Robot, so do your best to come up with your own designs and remember that this is only a guide, you can build your Robots anyway you like.
Feel free to leave comments and let me know if i need to explain anything better or provide more pictures. Even if you need help with more complicated builds feel free to leave a comment and i’ll get to you eventually.
If enough people request it i might make a guide for tier 3 and 4 or extend this guide and include the rails and other radar components.
Good luck to everyone and hope to see you on the battlefield.