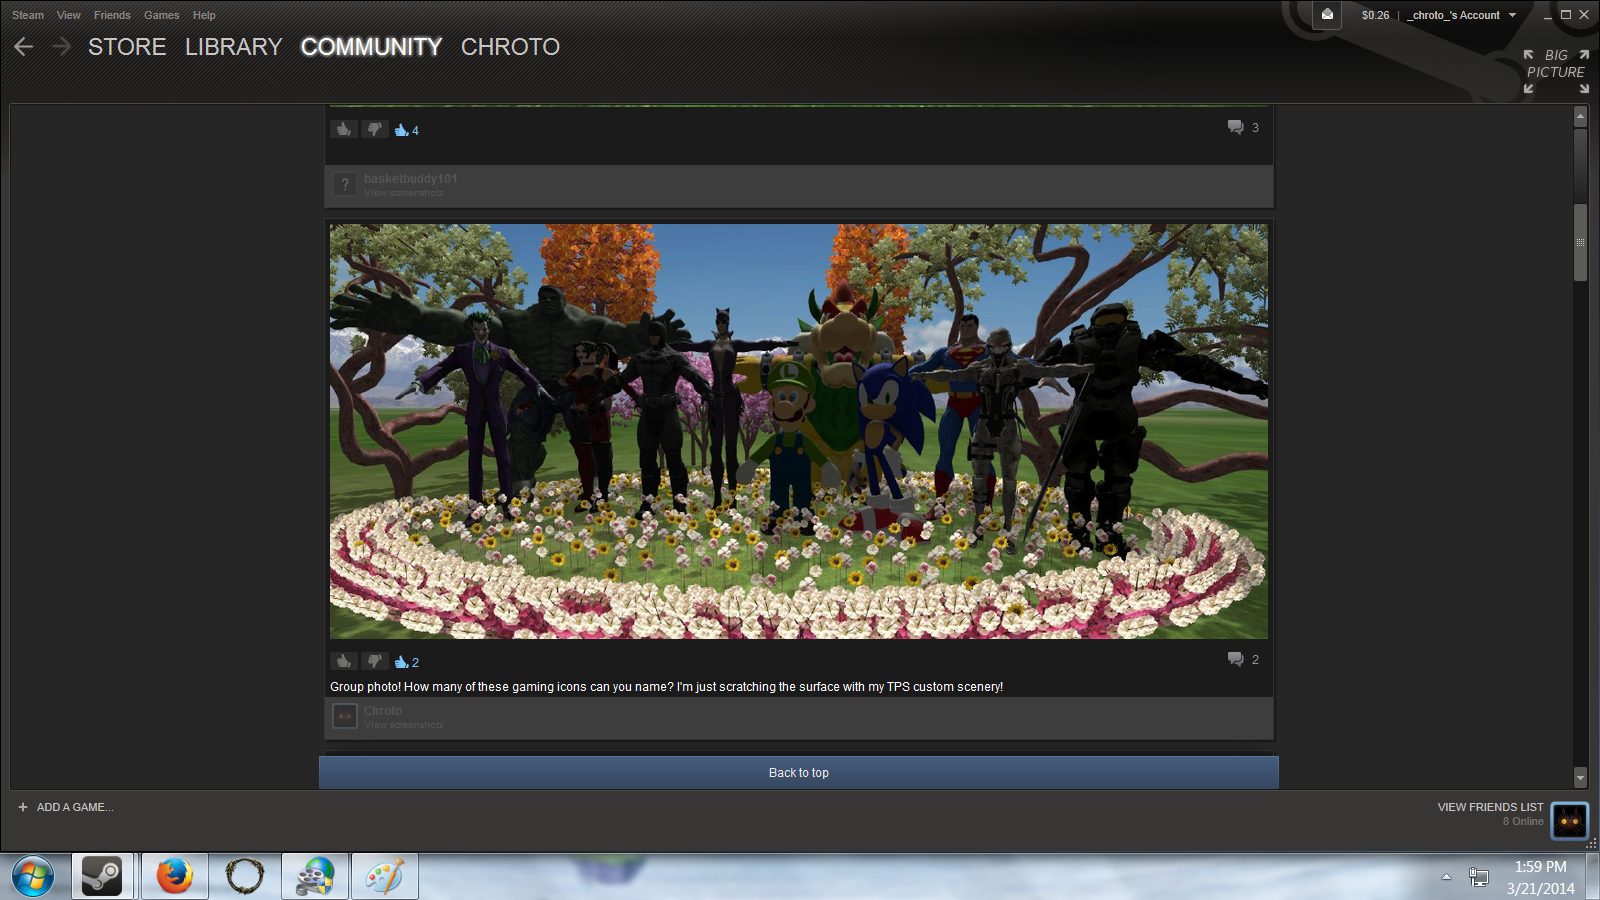
Overview
This guide will teach you the basic rules that must be followed in order to successfully import custom scenery into Theme Park Studio.
Basic Rules to Importing Custom Scenery
Hello everyone! My name is Chris (Chroto) and I will be walking you through the Theme Park Studio importing process. The following is the way that I personally import custom scenery. I had people here on Steam asking me how I was importing my custom scenery so I thought I would share. If there is enough interest, I will go into more advanced processes like converting objects that would not normally work with Theme Park Studio.
Rules That Must be Followed:
1. The custom scenery object you are trying to import must be in the .dae format! This is the format that TPS looks for and will not recognize other formats such as .3ds. There are ways to convert .3ds objects into .dae but that is a more advanced process and will be touched on later.
2. The textures have to be in the same folder as the .dae object you are importing! If not, your object will import but with the default purple color. People claim that you need to convert the textures to .dds if they are .jpeg or other format, but I have not encountered any problems importing .dae objects with a non .dds texture so I recommend this route since it’s much easier on beginners.
Importing Process
So once you have the object you want to import with its textures in the same folder, you can now boot up Theme Park Studio! Once it is opened, go to “File” and click “Import.” Once you click Import, you will get a prompt with two options, click custom scenery. Now you will get a list of import options. To keep things simple for now, keep the default options checked and click “okay.” You will now be greeted with a windows file directory, just navigate to wherever you saved your .dae object. Once you find it, double click it and check the merge with existing scene option. Your custom scenery object should now be in the game!
Troubleshooting
If it’s not importing and you followed all these steps correctly, have no fear for there is usually a simple fix. I have found that by turning off the two import options that are recommended for sketchup imports, it usually uploads. If it still is having trouble importing, then just try different combinations of importing options to see if you get lucky. Usually if it’s not importing an object at all, there is something wrong with the actual object file itself. I have run into plenty of faulty objects in the hundreds I have imported. Just keep trying till you find a real nice one!
Possible Advanced Converting Section
I may go into a process of how to convert non TPS compatible objects into the desired .dae process. This process was introduced to me by a friend of mine, bigdrip681. I will include a video tutorial of his if you are interested in trying this option. I would include the steps here but considering my process is mostly based off of his, I do not wish to steal his thunder. I am happy to help if you have any questions! At first I had a lot of trouble and had to annoy the hell out of bigdrip in trying to figure out the converting process. I am now at the point that he even thinks I put his CS to shame ;). So trust me, just stick with it and things will start to click. I will include the required programs for the process below if you are interested in checking out his tutorial; I highly recommend it if you are trying to get a stronger understanding of the process.
Required Programs:
-Autodesk 3DS Max
-Autodesk FBX Converter x64 2013
Thanks for reading and I hope this could be of help to you!

