Overview
Kerbal Space Program version 1.10 added the Suit Picker, which lets you easily change your kerbal’s space suit, as well as make your own. This guide will show you how to make your own space suit.
Creating Custom Suits
First, you will need:
– Kerbal Space Program
– DLCs (optional)
– An image editor (I recommend paint . NET)
– A text editor (I recommend Notepad++)
– Suit templates[www.kerbalspaceprogram.com]
Next, open KSP’s files by right clicking on KSP in the Steam Library, hover over Manage, and click Browse Local Files. Navigate to Gamedata/Squad, and create a folder named Suits. Inside the suits folder, create three folders: Config, Icons, and Textures, as shown in the picture.

Extract the suit templates you got earlier in the guide. Now, copy the ID map (the colorful image) of the suit type you want to use. There are three types, the default suit, the vintage suit from Making History, and the future suit from Breaking Ground. Open the copied ID map and design your suit in your image editor. The turntable gifs in the template folder can be used to see what colors go where. Also, make an icon that will be used to display the kerbal when they have the custom suit equipped. Once you are done making your suit(s), you can add them to the game.
Take the suit(s) you designed and drag them into the Textures folder that you made earlier, and drag the custom icons into the Icons folder. Now, create a new text document in the Config folder. Open it with your text editor, and paste in the following:
SUITCOMBOS
{
SUITCOMBO
{
displayName = [Name here]
suitType = [Default/Vintage/Future]
gender = [Male/Female]
name = [Name here]
suitTexture = Squad/Suits/Textures/[Suit file name]
sprite = Squad/Suits/Icons/[Icon file name]
primaryColor = #[Hex color code]
secondaryColor = #[Hex color code]
}
}
Paste it for however many times you have suits. Note that you will need to do each suit twice, once for each gender if you want all kerbals to be able to use it.
For the display name, select what you want to name the suit. In-game, it will display as [displayName] [Type] Suit.
For the suit type, type Default, Vintage, or Future depending on which suit you’re using.
For gender, type Male or Female.
For name, you can use pretty much anything.
For the suit texture, replace [Suit file name] with what you named the texture.
For the sprite, do the same but with the icon.
For the primary and secondary colors, type two hexadecimal color codes (6 digits between 0-9 and a-f). This will be the color of the icon you select in the suit editor.
Once the config is set up, select Save As, and save it as SUITCOMBOS.cfg
If it still displays as a text document, save as All Files instead of .txt. Now, you should be able to start up KSP and select your new suit in the Astronaut Complex using the hanger next to the kerbal’s name.

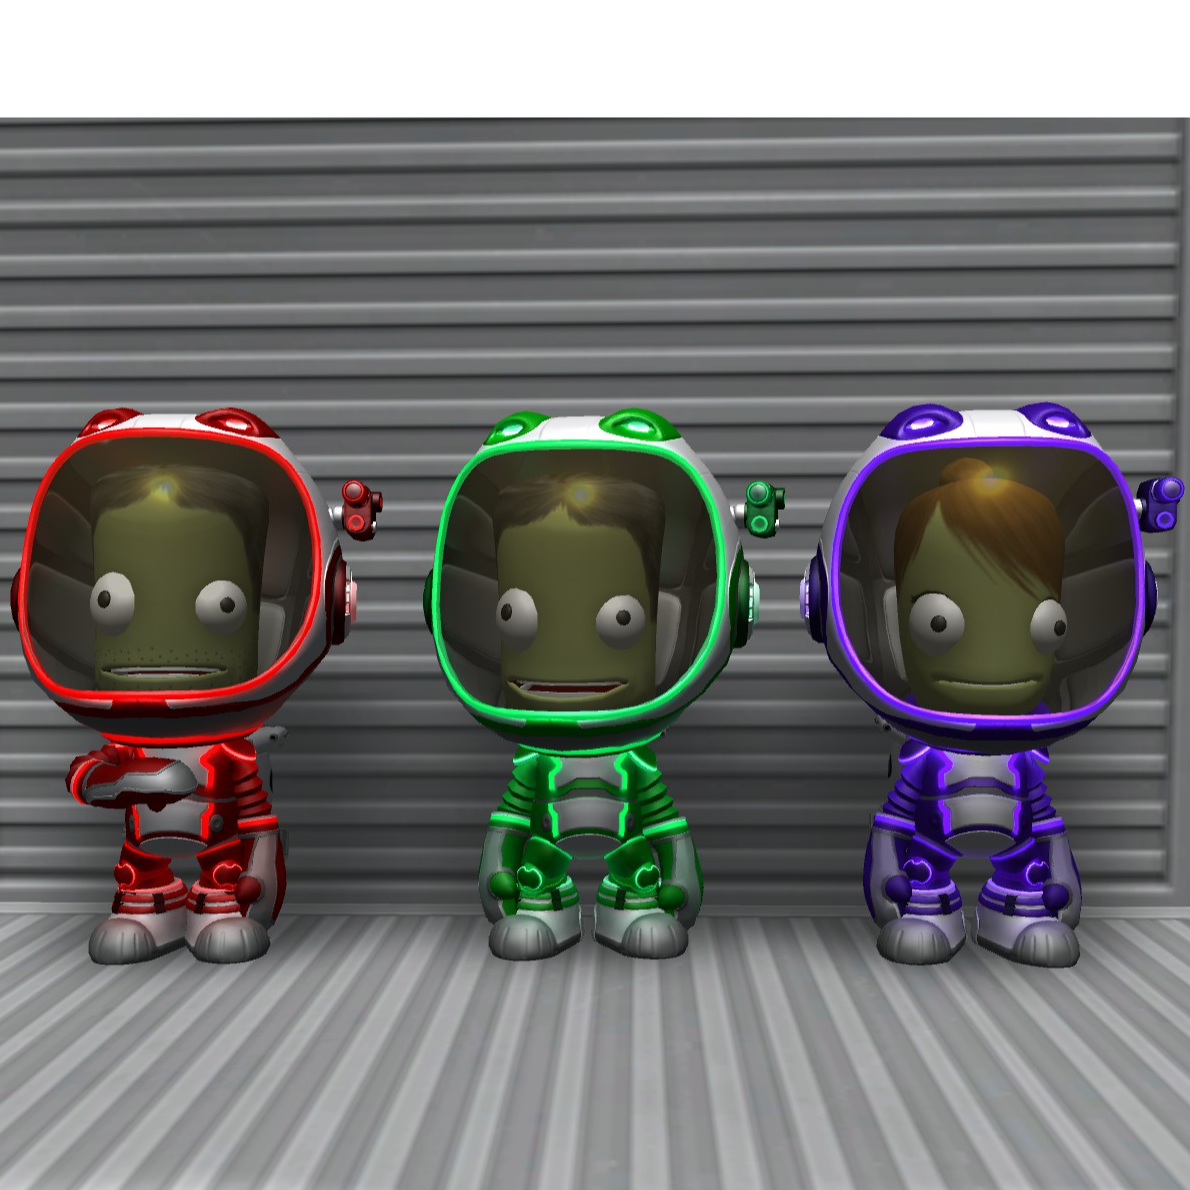
I made colored future suits, as seen in the screenshots above. Here’s an example of what the config should look like.
SUITCOMBOS
{
SUITCOMBO
{
displayName = Red
suitType = Future
gender = Male
name = FutureRed
suitTexture = Squad/Suits/Textures/FutureRed
sprite = Squad/Suits/Icons/icon1
primaryColor = #840000
secondaryColor = #cccccc
}
}
SUITCOMBOS
{
SUITCOMBO
{
displayName = Red
suitType = Future
gender = Female
name = FutureRedF
suitTexture = Squad/Suits/Textures/FutureRed
sprite = Squad/Suits/Icons/icon2
primaryColor = #840000
secondaryColor = #cccccc
}
}


Alternative Method
If you are on an older version of KSP, you can still get custom suits, but it requires the mod TextureReplacer, which you can get here.[forum.kerbalspaceprogram.com]
First, follow the steps in the previous section to create a suit, minus the folder creation steps. Instead, install TextureReplacer by dragging it into KSP/GameData. Go to TextureReplacer’s Suits folder, create individual folders for each suit texture, and drag one texture into each folder. The name of the folder will be the display name for the suit. Rename the image to kerbalMainGrey. Copy and paste the texture, and name it whiteSuite_diffuse. You will also need to mirror the texture vertically for it to work with TextureReplacer. Once in-game, select the TextureReplacer icon on the bottom-right corner of the screen in the KSC view, and select the suit on the kerbal you want to equip the suit on.


*Note that if TextureReplacer is installed, you will need to turn off TR’s custom suits for stock suits to work.