Overview
In this guide we will explore the basics of creating Holographic cards using Shadero and Photoshop. Give your most unique and rare cards amazing effects to really bring the “wow” factor to your game!
Introduction
Do you have a shiny/holographic card you really want to show off? By using Shadero, we can create multiple effects that make the card stand out.
This guide will cover the whole process from a basic image to in-game.
- Shadero – [link]
- An image editor, preferably Photoshop. The tutorial will assume you are using Photoshop.
- Updated Unity and TTS modding project
- Code editor for unity, such as Visual Studio
Basic-moderate knowledge in the following:
- Image editing
- Redrawing
- Unity and assetbundles
- Coding
Editing your card image
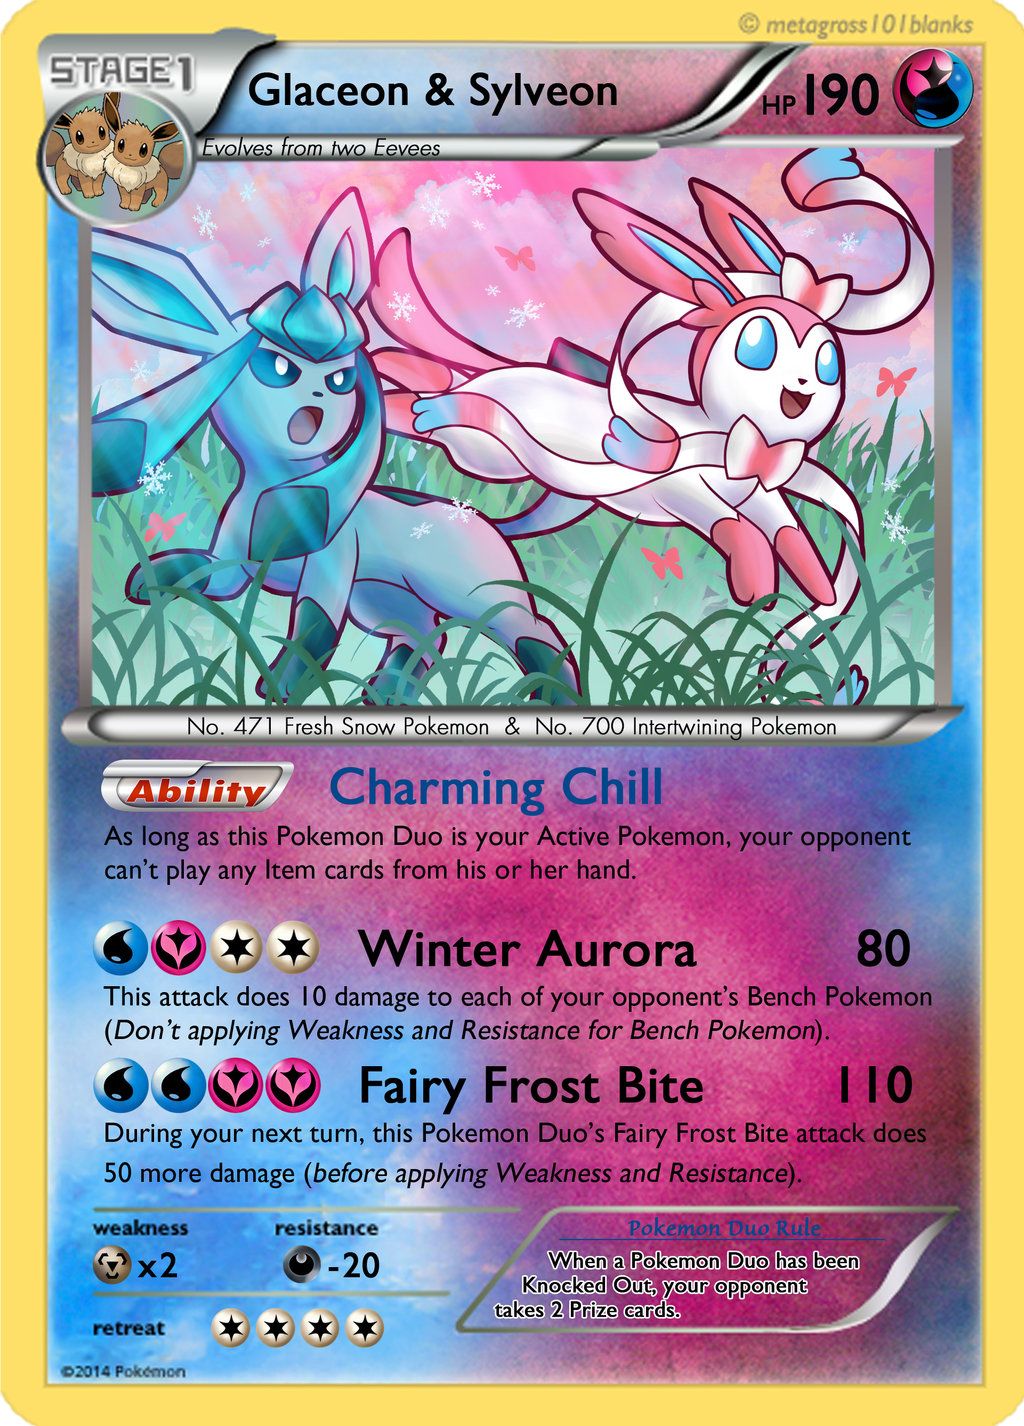
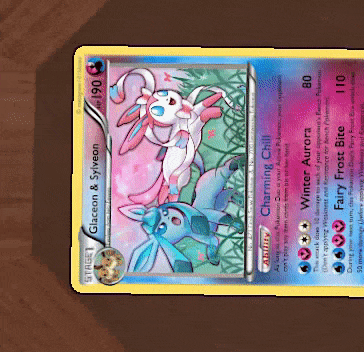
Although you can add any effects and animations to your card, we want to add a parallax effect. This means a foreground layer must be taken from the image. So, the more complex the image and it’s backgrounds, the more difficult it will be for you to animate it.
If you wish to just put animated effects, you can choose to skip this part, instead just cutting out the image.
1. Take the artwork itself and create a new layer:
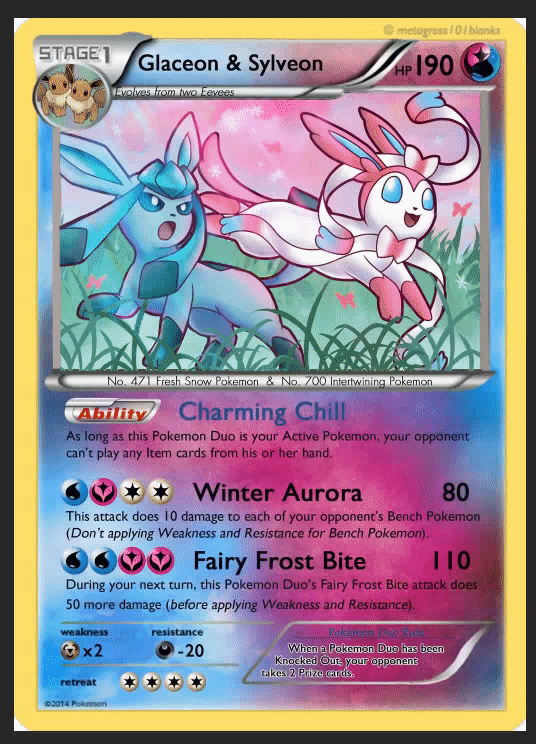
2. Take the artwork layer and split it into as many layers as you want animated. In the case of this image, I want the foreground (grass) the background and the two main subjects. In order to do this, redrawing is required. This is where Photoshop comes in most handy. For backgrounds, you can use photoshops Content Aware Fill [helpx.adobe.com] to fill in any transparent holes. For foreground objects, you’ll have to do it manually!
Don’t overthink it and you should come out with a decent result. It doesn’t have to be perfect!

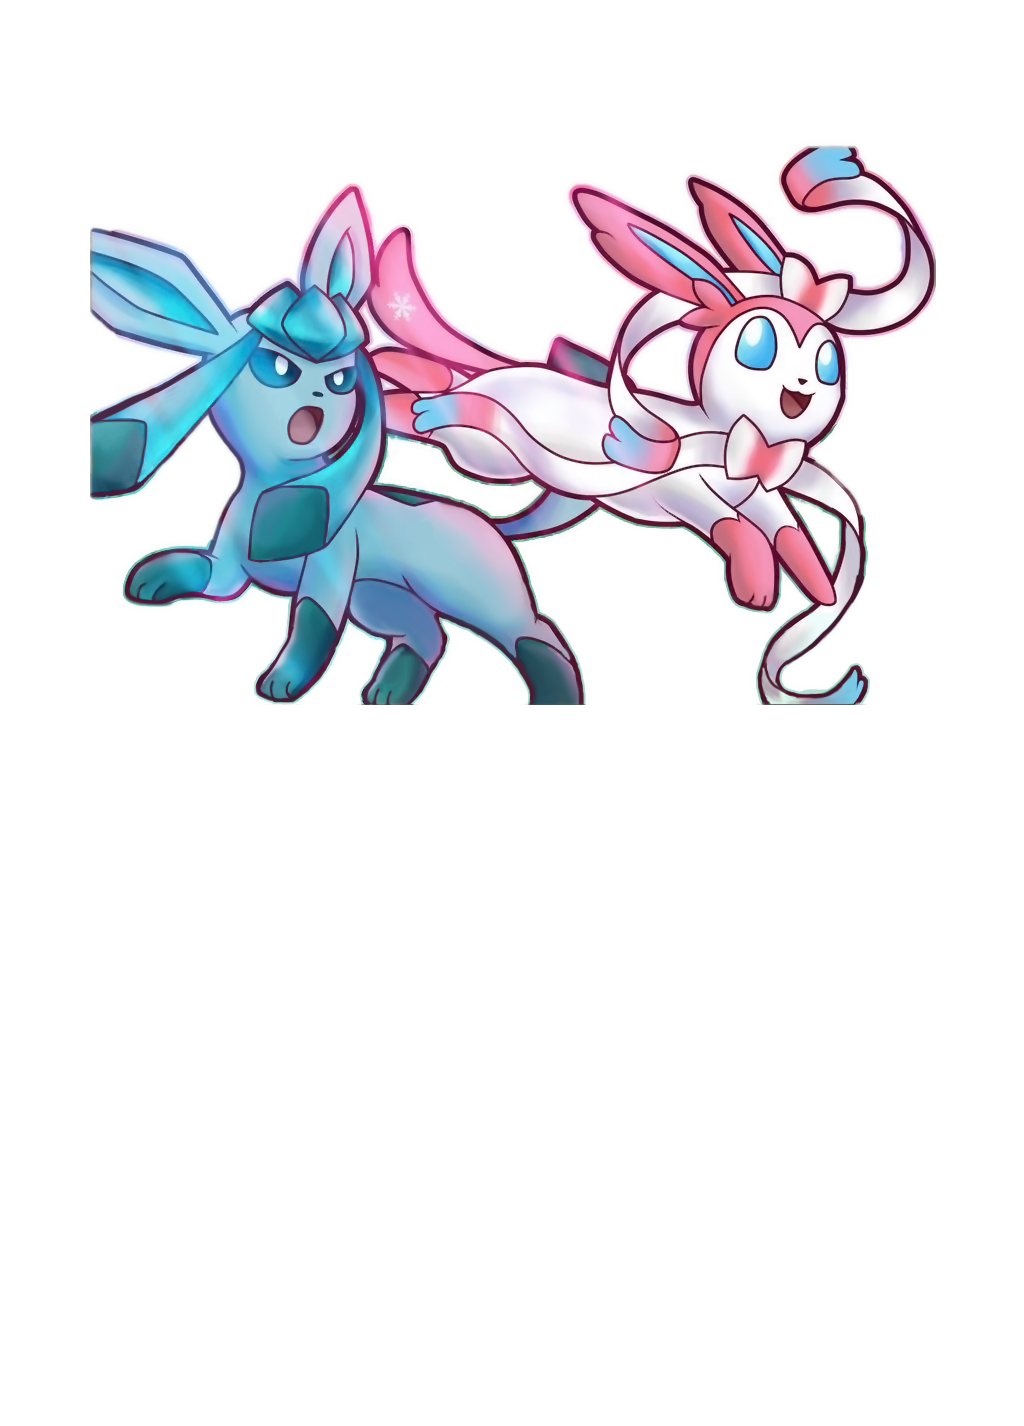
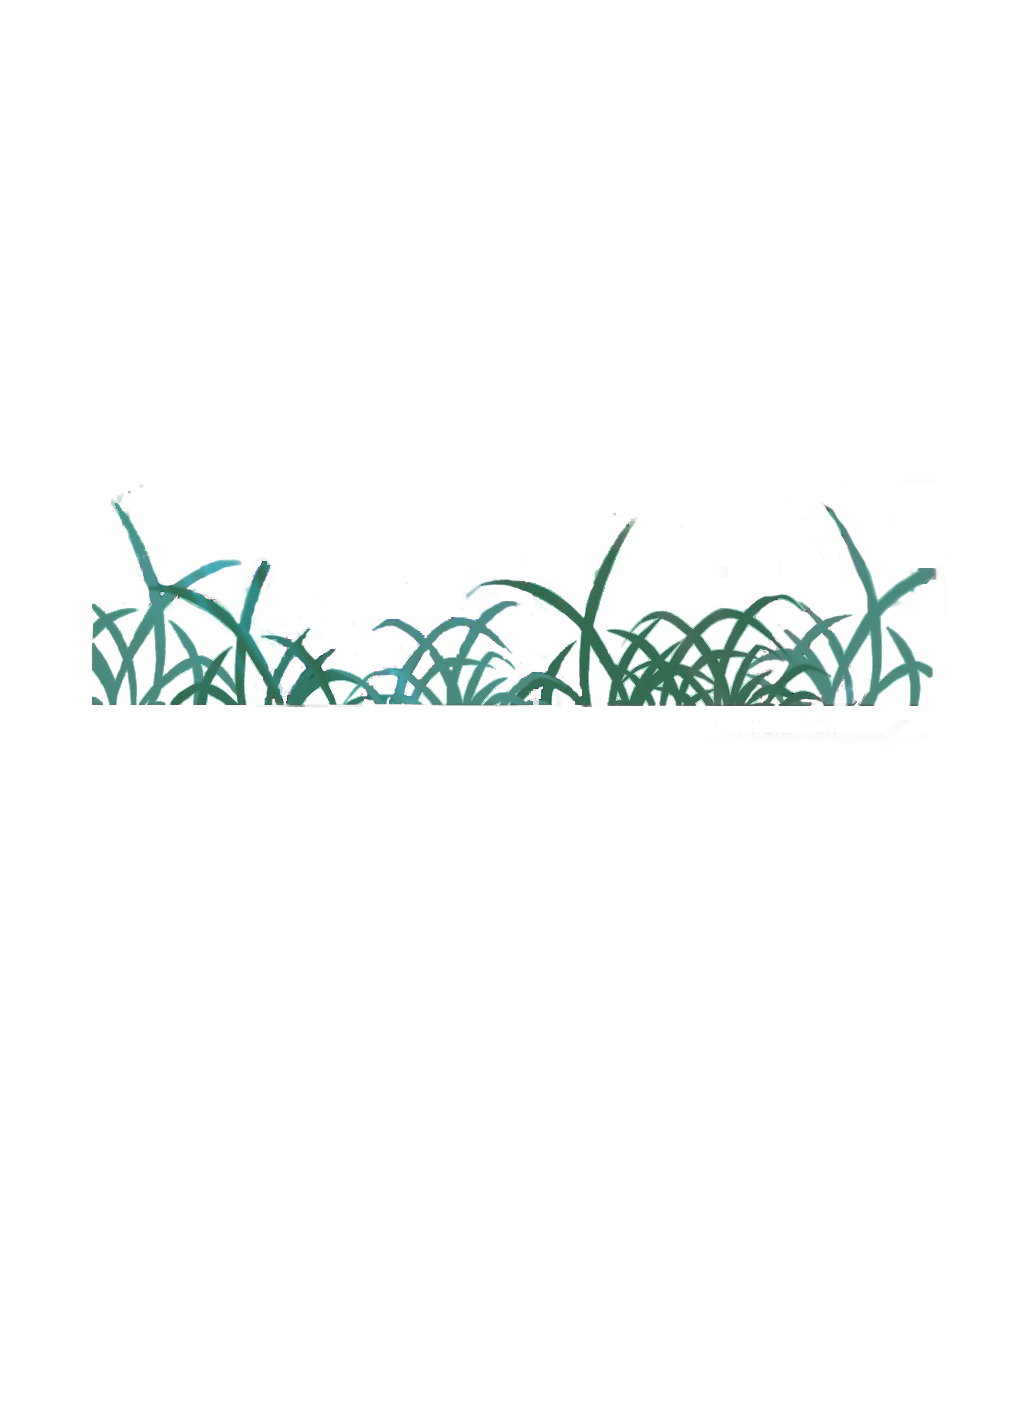
3. Since we are doing a parallax effect, we will need to compensate for the X-width. For this tutorial we will only be adding the effect to the two Pokemon, so we will only need to expand their width. (Although I also did the background to show the power of content aware fill.) So be sure to redraw as far as your width allows. Don’t worry about height.
4. Export the layers to PNG files, keeping transparency. Be sure to NOT CROP OR TRIM THEM: This will make it easier for us to animate them in the future.
Shadero in Unity
You may be asking, why use Shadero? Shadero is basically made for card games. There are a ton of pre-made effects and it’s easy to use. Of course, it’s designed for sprites, so we will have to do some modification to make it work for TTS.
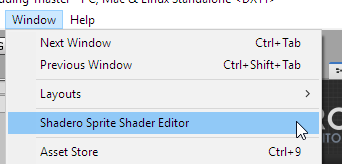
Import all your assets, including your images and Shadero. Setup your workspace so you have the Shadero Sprite editor in an easy place to access.
You will need to create a material and a Shadero Sprite shader in the same folder you placed your images. Once you have done that, you are ready to switch to your Shadero Workspace. Be sure to toggle Use your Own Material after building your shader. Click and drag your material to the new material, and move your Shadero Sprite shader to the used shader.
Before you continue, you may wish to also set your image quality settings in the inspector for your images you created earlier. It is a must that you turn off Non-power of 2. Yes, this will result in a lower quality image, but it is necessary to prevent squishing/streching of the image.
This is a fairly simple graph, and does not do anything too fancy. In order to get a live preview, create an empty cube, place your material on it.

You are now ready to create your first effects. Please note that the image previews may not be accurate to the final product!
There are three types of nodes:
- Source: Direct Texture
- RGBA: Red, Green, Blue, Alpha channel
- UV: Texture coordinates for texture mapping
Starting from the top left:
- Source new texture: This is the two Pokemon we want to add the holographic effect to. To create a new effect, right click anywhere in the graph and go to Initialize > Source New Texture. Then click and drag the layer you created into it.
- Holographic Paralax: The actual calculator for the holographic effect. RGBA > FX
Click and drag the images Source node to it’s Source node. - Blend textures together: Blending the textures together just means what it says on the tin. It doesn’t really matter whether you connect your grass or BG. Although in the image I use world parallax UV on the grass, I don’t really recommend doing it for your first time. As long as the card itself is the final blend, you can just connect to your build shader.
To test your new shader, go back to the scene view and rotate your “card.” You should see the holographic effect!
We have a few problems we need to solve. Effects in Shadero are done based on the objects present position. Futhermore, the positions are on the X coordinate of an object. So, if the face is instead on the Y coordinate, our shader will flip out of control. Cards in TTS are on the Y-coordinate. There is no option in Shadero to change what coordinate it is, so we will have to edit the shader itself.
Be sure to turn off Live Preview in the shader graph before continuing, or it will replace what you save.
First set your unity inspector to debug mode. Select your material and find _MainTex. You may have noticed this texture is the Shadero main logo. Replace it with your original, unedited image – as long as it’s the ratio as your other images. Make sure it has no transparency! If we do not do this, the Shadero logo will show up ingame when we grab the image.
We need to edit the code of our shader. Open up the .shader file in your favourite editor, (or if you have visual studio setup to work with unity, double click the shadero shader.)
You need to find any of the following code:
This is what determines for your parallax what matrix moves it. In this case, it moves it based on the object present rotation. While we are in TTS, this will almost never be visible because the only time we rotate the object is when we flip the card. Instead, replace all instances of it with:
This is unity_ObjectToWorld and our local view space combined. You can switch the table around (between the brackets) for different relations to tilts. In the case above, it is set to move whenever we tilt the camera up and down while facing the side of the shader.
When we do this, it may make our effects too strong as they now have a larger value. Save the code as you have it and preview it in the editor. Just move the editor camera around to see a preview of how it may look in-game. If the effect is too strong, either modify the parallax in the inspector (set back to regular mode) or change and values that may multiply the effect in the code. (In Hologram Parallaxes case, rtx)
Once you are happy with the effect, you are ready to import into TTS!
All you need to do is take your material and create an assetbundle using it. Start up TTS and once ingame, create a custom card. Instead of using an image for the face, use our assetbundle. Presto! Our card is now in-game.
Conclusion
Using this basic tutorial, you now have the tools necessary to create your own effects and animations using Shadero. Experiment with the different options and see what you can create!
Heres some other examples for inspiration:
How big are the files?
Depending on the image size and number of effects, around 5-10mb.
Is it possible to use a deck instead of single cards?
Yes. In fact, it is recommended as it greatly reduces the size of the asset bundles. The workflow may be a bit complicated, as you will need layers for each of the effects you want on the deck image itself. My suggestion is to only have very few cards with FX attached.
Will this affect my FPS?
Possibly. Shaders can be quite expensive.