
Overview
Every main boss battle on Legend difficulty
📌 INFO FROM “J,A” 💬
Originally posted by “J,A”:“I’ve been investigating the Tojo Clan for years now. I know every turn, every move, every place. The real question is if you’re up for the challenge? Here’s everything I’ve gathered so far and make sure to read carefully through my documentation of terms just below this message. I hope to see something special come out of you. I’ll be waiting…”
“Weak Kiryu” / “Weak Majima”
- Assumes that you have some of the basic abilities unlocked
“Strong Kiryu” / “Strong Majima”
- Assumes that you have every basic ability unlocked, including the highest tier abilities
“Encountered”
- Where you can face the boss
“Hostiles”
- How many opponents there are in the boss fight (Including the boss)
“Boss Weapon(s)”
- If the boss is armed in any way
“Stage Name”
- The name of the boss area, it typically uses “certain” as prefix if it’s unknown
“Stage Objects”
- Objects on the ground that you can pick up (Depends on style) from the boss stage
“Quick Time Events”
- The amount of QTE’s that you have to do/can do in the fight
“HealthBars”
- Boss healthbars are shown here alongside which color it represents for easy reference
“Heat Aura”
- Color of the boss character’s heat mode
“Adv Model”
- The 3D model of the boss from the game files
“Has Armor (White)”
- If the boss can fully resist (Most of) your attacks while emitting a white glow
“Can Charge Counter (KI)”
- This is where the boss stands still with a counter stance… attacking them will get you hurt
“Can Evade Multiple Times”
- Can evade more than once
“Can Attack During Evasion”
- The boss can attack while in evasion state, does not count if they evade-neutral-attack
“Can Guard Break”
- Boss is able to break your guard, but their sharp weapons do not count towards this
“Can Attack Low”
- The boss is able to attack low which means that you can’t block it
“Can Stun You”
- They’re able to stun you to the point of having the yellow orb; circle above your head
“Can use ranged attacks”
- This counts for sharp throwing weapons and guns
“Can attack from ground”
- This means that they can recover in mid-air after getting knocked down, then strike back
/J,A
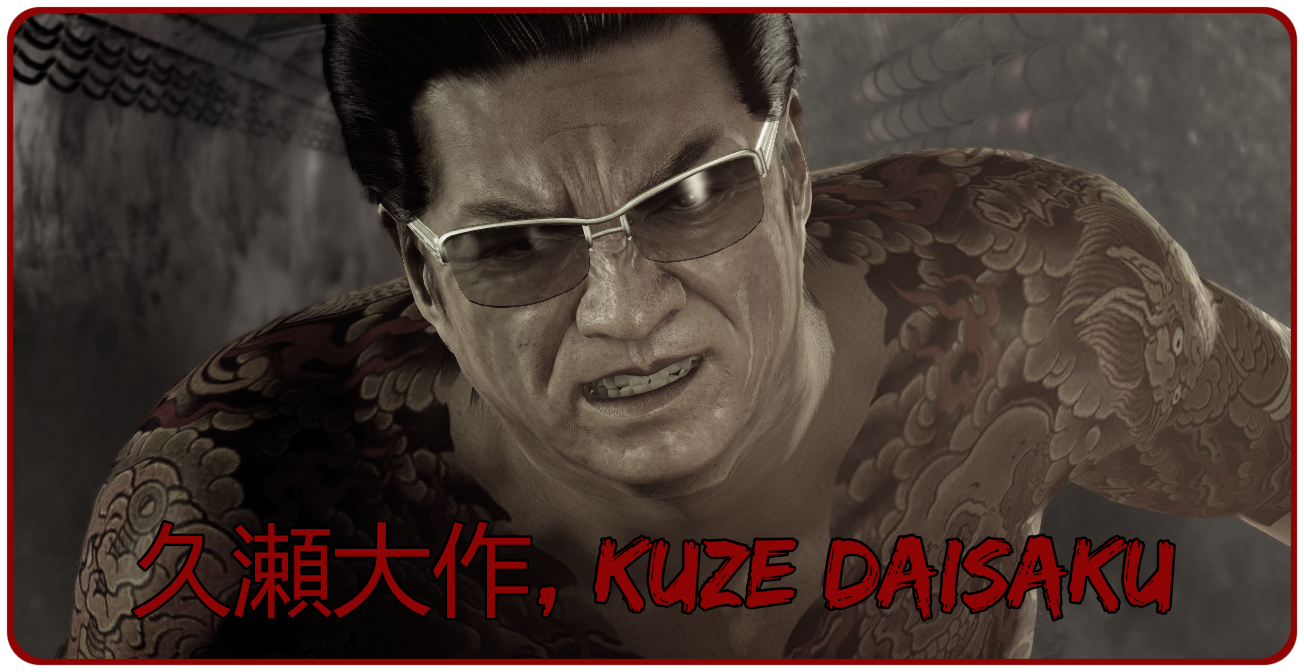
C1 ◾️ KUZE <1> 👹
[link]
Recommended Style: Rush
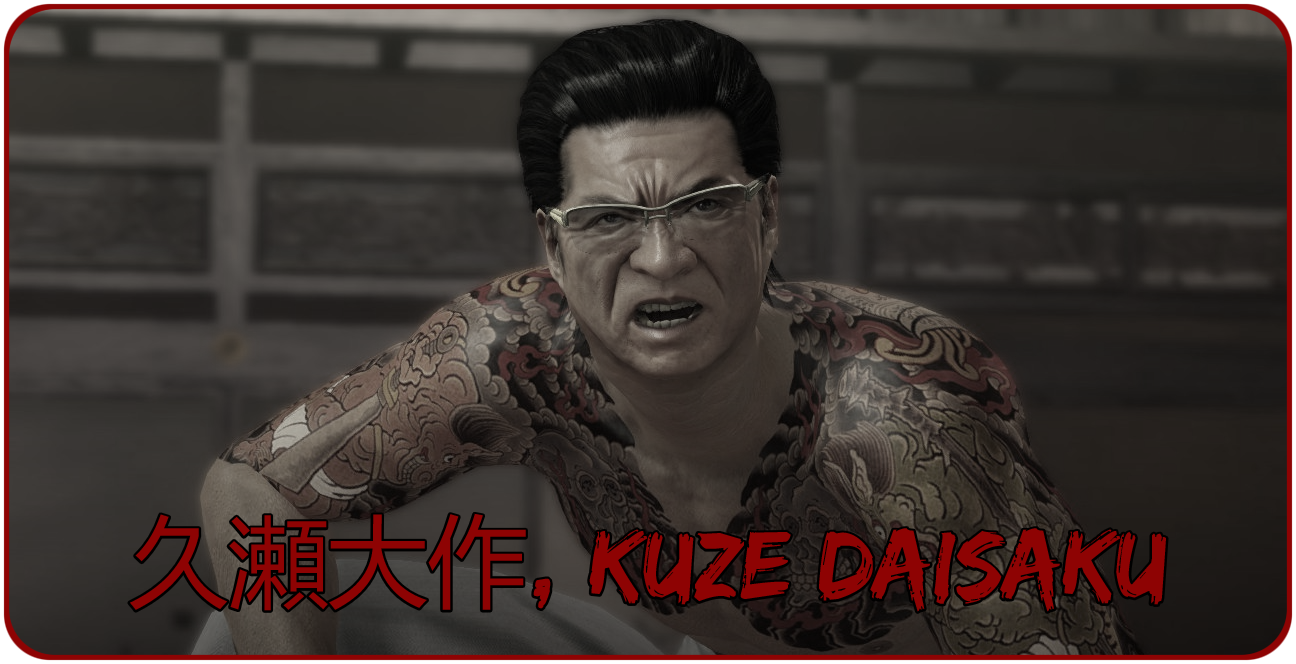


- Kuze won’t pose much of a threat at the very start. You evade to find better openings such as standing behind his back by evading past him as he is about to end his combo (Learn to identify combos). You may also do a short combo on him after he misses his finisher on you but make sure it’s a short one in Rush style as he is a lot more vulnerable to finishers when he tries to strike back, getting a finisher attack on him with Rush style will knock him down. In order to dominate the first part of this Kuze fight, simply find yourself a gap where you can perform the rush combo that ends with a punch (Not a kick): LMB/Square, RMB/Triangle or LMB/Square, LMB/Square, RMB/Triangle or LMB/Square, LMB/Square, LMB/Square, RMB/Triangle or LMB/Square, LMB/Square, LMB/Square, LMB/Square, RMB/Triangle. Once Kuze is knocked down on the ground you should *immediately* perform two kicks on Kuze before he gets back up, then *immediately* perform the following Rush combo: LMB/Square, LMB/Square, LMB/Square, LMB/Square, LMB/Square, LMB/Square, RMB/Triangle (Kick).. the reason why you should do exactly two kicks when he’s on the ground and then immediately go into rush combo is because you will always hit Kuze at the exact time he’s up, forcing him to block. Repeat this process until the next part!
- […]
(A QTE cutscene with TWO prompts) Trigger: 20% Yellow Health


- Now it gets *a little bit* more challenging as Kuze is now able to counter-attack you and is now also evading a lot more often. In order to beat this last part of Kuze, simply keep your Rush combos shorter and be ready to evade with “E”/”X”. If you find yourself caught inside a combo then doing your “SHIFT”/”L1” weave ability might save you from getting knocked down or atleast save you some health.
- […]
C2 ◾️ ODA
Recommended Style: Brawler

- Jun Oda is only a threat if you let yourself get caught in his combo attacks. The room you’ll be fighting in is spacious and filled with enough furniture to defeat Oda. His attacks are very easy to evade. The combo you can rely on is LMB/Square, LMB/Square, LMB/Square, RMB/Triangle then be ready to almost immediately evade Oda if he manages to block you because he then tries to attack you right after your RMB/Triangle. Your evasion can be direction left or right, doesn’t matter. Just make sure to immediately perform the exact same combo once you’ve successfully evaded his attack.
- (Brawler) Immediately throw Oda to the ground (Beast) then grab him by the leg when he’s on the ground and throw him three times to the ground and perform a grounded heat action. Now run to the armchairs and land three hits using one of them to knock Oda down to the ground, now do a heat action using the armchair since it gave you a lot of heat. After he’s knocked to the ground again just grab his leg using Beast and throw him back down three times in a row, (Brawler) then quickly walk up to him after the third throw to kick him on the ground RMB/Triangle to get a full bar of heat gauge. Walk up to the second armchair and hit him three times in a row this time as well then afterwards you should have enough heat to perform another heat action on him using the armchair. (Brawler) Feel free to push your luck but this time I recommend you run up to him and kick him once/twice (He might take two) just to gain a little bit of heat. (Beast) grab the table next and hit him three times to knock him down then perform another heat action using the table.
- This is where Oda will be more likely to counter-attack you. The attacks can be evaded just like before, but your safest bet is to just grab one of the furniture scattered across the room and perform a heat-action takedown with your object until you’re out of Heat gauge. Once you’re out of heat gauge you should be more careful with your combos so that they don’t last too long just in case he counters them. See if you can get any safe grabs (Throws) as well.
- (Beast or Brawler) Avoid grabbing him since he finds it more predictable the more you do it. Instead just walk up to the chairs by the large table and try to land attacks from as far away as you can with the chairs since he won’t be knocked down as easily this time. You should gain a bar of heat that you can most likely finish him off with using the chair heat action (I think the Beast variant has the safest range), if not just grab another chair and repeat taking safety first by staying far away with short combos then finish him off with a chair heat action.
C4 ◾️ MASSIVE MAN <1>
[link]
Recommended Style: Thug & Slugger


- Doing a few basic Thug style combos are well enough to deal with his first phase as he is easily caught inside your combos at the very start. His attacks aren’t that scary, you can easily evade or simply just run away. Do mind the throwing needle attack as it can stop your combo and he will follow up with a charge attack towards you that deals some fairly good damage, be aware of your distance.
- […]
(A QTE cutscene with ONE prompt) Trigger: 50% Orange Health

- No questions asked, one of the greatest combos against the “MASSIVE MAN” is the slugger combo: LMB/Square, LMB/Square, LMB/Square, RMB/Triangle.. also known as the Bat Nunchaku combo which is something the AI will have a really hard time to respond to. It’s also a safe bet for the fact that the bat won’t collide with the walls (Which would normally stop your move) when using Bat Nunchaku. Not to mention that the room you’re fighting in is very small, making it perfect if you manage to corner him. Be sure to block any of his attacks using the special style ability with the “SHIFT”/”L1”, he won’t be able to break through it. Evade with your Thug style and do a few shorter combos until he’s cornered again where you can finish him off with the bat nunchaku combo.
- […]
C6 ◾️ KUZE <2> 👹
[link]
Recommended Style: Beast & Rush

- Similar to his behaviour in the first Kuze fight, but this time, you’re in a much smaller location. Take advantage of not only the small area but also the fact that Kuze is wielding a lead pipe, which ultimately makes him a bit slower.. but not only that.. he blocks your attacks even less than before. The Beast style works outstandingly well in this fight and you can use both LMB/Square, LMB/Square, RMB/Triangle.. and.. LMB/Square, LMB/Square, LMB/Square, RMB/Triangle combos. Evading his attacks is also really simple as he’s usually only going to hit you if you stand in front of him, so evading left or right is your best bet.
- […]
- Now he’s back with his counter-attacks & evasions.. if your Beast style isn’t doing too well then switch to Rush style. You can evade his pipe attacks with “E”/”X” and most of them are coming straight at you, so your evasion should be either to the left or the right. Always evade after doing your attack combo. If you manage to knock him down using your hard punch combo ender in Rush style, then do two hard kicks before he rises then immediately do a full rush combo: LMB/Square, LMB/Square, LMB/Square, LMB/Square, LMB/Square, LMB/Square, RMB/Triangle .. to keep him blocking until he stops blocking and gets knocked down by your hard kick, repeat.
- […]
C7 ◾️ LEE <2>
[link]
Recommended Style: Thug & Breaker & Slugger


- This fight is very similar to the first fight you have with Lee. The location is once again very small and so it’s perfect for the breaker’s breakdancing moves if you manage to corner him. But first things first is that your Thug combos should still be effective, but be sure to evade immediately after each combo. Lee is also able to use a throwing weapon so always beware of that one. If you manage to corner Lee then use LMB/Square, LMB/Square, LMB/Square, RMB/Triangle with Breaker style to deal a good amount of damage to him before the QTE cutscene.
- […]
(A QTE cutscene with TWO prompts) Trigger: 50% Yellow Health


- You can play very similar to the way you did when Lee didn’t have any Heat Mode, but be sure to evade a lot more often and make use of your Heat action attacks using the furniture around or the raw Slugger Heat Action. Breaker is not very recommended in this phase. Also note that Lee is capable of stopping your attacks mid-way with his guard, so be ready to evade if that happens.
- […]
C8 ◾️ NISHITANI <1>
[link]
Recommended Style: Thug & Breaker

- One thing you should immediately notice is that Nishitani evades *a lot* and so you should only really perform your Thug combos if you know that you have him in your grasps. However he won’t evade at the very start so you get free damage as soon as the fight starts, grab him and throw him to the ground and do a heat action on Nishitani using Thug style. After that.. keep your Thug combos short up until that point since you’d also have to be prepared to evade Nishitani a lot. The most sure-shot way to have him caught is if you evade and Nishitani has his back turned against you. Don’t shy away from spending all of your Heat gauge on performing Heat Action moves when you’ve knocked him down since you won’t be needing any of it in the second phase.
- Start it off with Slugger style and immediately do your raw RMB/Triangle Heat action which will knock Nishitani down to the ground. Now switch to Breaker style and do the LMB/Square, LMB/Square, LMB/Square, RMB/Triangle combo which will give you a lot of heat and deal tons of damage. Switch to Slugger style when that combo is over and repeat the process as soon as Nishitani is standing up (Raw heat action).
(A QTE cutscene with TWO prompts) Trigger: 20% Yellow Health

- Now that you’ve successfully completed both QTE’s you should find Nishitani on the ground which is the most perfect opportunity to use Breaker style. Ready yourself up with LMB/Square, LMB/Square, LMB/Square then by the time you hit RMB/Triangle you should see Nishitani on his feet again which is where you’ll start dealing the damage. Now you can switch back to Thug style to take some careful shots/grabs (Throws) at Nishitani and if you ever manage to knock him down just be sure to ready up another LMB/Square, LMB/Square, LMB/Square, RMB/Triangle combo with Breaker style then bring him to a corner/wall as it’s much harder for him to evade you this way.
- Do a LMB/Square, LMB/Square, LMB/Square, RMB/Triangle combo using Breaker style after a successful QTE sequence to build up some heat. Switch back to slugger when he’s standing up again to do the raw heat action once more, repeat this over and over again because he just can’t do anything about it.
C9 ◾️ KUZE <3> 👹
[link]
Recommended Style: Brawler & Beast

- The harder part of this fight is probably the fact that Kuze has backup with him, otherwise he plays very much the same. If you’d like to clear the crowds out quickly then use the Beast style to pick up any of the objects lying around to take care of the henchmen. Then switch to Brawler to take care of Kuze where you can make a few evasions and short Brawler combos.. save your Heat until Kuze is in Heat Mode. You should also have cleared out the henchmen before Kuze is in Heat Mode to make things so much simpler.
- […]
(A QTE cutscene with TWO prompts) Trigger: 50% Yellow Health

- If you want to be extra careful then use nothing but two-hit Brawler combos until you get a great hold of him. You shouldn’t try to go full combo on him at all times since he sometimes stops being stunned in the middle of your combo to try to attack you instead. Keep it short up until you’re absolutely sure that you can do a LMB/Square, LMB/Square, LMB/Square, RMB/Triangle combo on him with Brawler to knock him down to the ground. Feel free to immediately use a Heat action on him when he’s on the ground or save it up for any of the objects lying around for a raw heat action that might deal more damage depending on your abilities.
- […]
C11 ◾️ NISHITANI <2>
[link]
Recommended Style: Thug

- The area is much smaller now which means that Nishitani holds the disadvantage for being a highly evasive boss. You can catch him almost all the time with basic Thug style combos and you don’t have to worry that much about him attacking you too much since the area is very small, you’ll most likely be the first to attack. Still.. you should keep an eye out for his knife, but his evasion move is no longer a threat.
- […]
(A QTE cutscene with TWO prompts) Trigger: 50% Yellow Health

- Nishitani’s Heat mode in the second fight is barely even a thing.. it almost always leads into the next QTE cutscene where you’ll in most cases; deal enough damage to defeat him.
- […]
(A QTE cutscene with ONE prompt) Trigger: Take a hit once (75% Orange Health)

C12 ◾️ SERA
[link]
Recommended Style: Thug / Breaker


- There’s not much to say if you’re going for the safest route.. You should always start the fight by running up and grabbing Sera, then throwing him down to the ground (Follow up with Thug heat action). Evade with Thug style and kick Sera in the back or the front using RMB/Triangle after your evasion as soon as Sera is attacking. If you don’t mind getting a little reckless then the Breaker style combo LMB/Square, LMB/Square, LMB/Square, RMB/Triangle should prove itself very effective when Sera has no heat, not to mention the small area you’re fighting in; makes it perfect for dealing massive amount of damage using Breaker if cornered.
- Run up to Sera and throw him to the ground using Thug style, switch to slugger style and perform the raw heat action once he stands up, (Be sure that the button prompt is there so that you don’t use a regular RMB/Triangle attack because sometimes it’s easy to miss it on Sera) and be sure to keep your distance so that Sera is walking towards you because that is the perfect time to do the heat action. Repeat this until he’s in heat mode and be sure to hit him on the ground with RMB if you don’t have enough heat. If you still don’t have enough heat when he’s standing up then try to avoid grabbing him and use your Thug style RMB/Triangle attack on reaction by the start of his attack or at the end of a short combo (Since he has recovery). With enough heat you just wait for Sera to do his walk towards you, then do another raw Slugger heat action when the prompt appears.
(A QTE cutscene with ONE prompt) Trigger: 75% Yellow Health

- The “No Heat Mode” method should work here as well if you’re using Thug, but try to avoid using Breaker as it’s way too risky when Sera has Heat mode. Also be sure to punish his four hit combo each time since there’s a quick recovery window after his 4th strike that allows you to grab him/hit him. It’s a lot less risky to grab him if you have the escaped grab heat action from Master Komaki.
- Switch to Breaker style and RMB/Triangle counter his four hit combo for big damage when in fighting stance by holding down SPACE/R1, it’s one of the easiest counters to do since the timing is easy to follow. You can recognize the four hit combo if he’s doing three hits and then prepares for the last one. Do this successfully and you’ll have a full heat bar that allows you to do another raw Slugger heat action when he’s walking towards you. Repeat this by simply waiting for his four hit combo again and counter the last hit using Breaker style each time.
- (Breaker) only use evasion, guard, guard evasion and counter attacks (E/X+Q/Circle and RMB/Triangle)
C14 ◾️ KUZE <4> 👹
[link]
Recommended Style: Rush & Beast

- Take care of the henchmen first, no doubt. Grab the objects lying around in Beast style to take care of them, then use your Rush style to take care of the rest if you’re out of objects to pick up. Remember to use your evasion as well. Once they’re all dealt with you can focus on Kuze. He plays.. much the same.. not to mention that Nishikiyama is at your service to distract him. When you attack Kuze with your Rush combos, always be aware of Nishiki’s interferance as he can sometimes cause Kuze to try to counter-attack you. So keep your combos short if Nishiki decides to attack Kuze as well. If you’re lucky you’ll both attack at the right time and knock him down even sooner than what you’d do all by yourself.
- […]
- This is where Nishiki will shine. You don’t have to worry about evading as much as you would in previous fights with Kuze. This time he’s also able to get distracted by none other than Nishikiyama himself! Rush him down him Rush combos that end with a heavy blow (RMB/Triangle) to knock him to the ground. Don’t shy away from doing any Heat action attacks when he’s on the ground as they will deal some good amount of damage to him!
- […]
C15 ◾️ KASHIWAGI
Recommended Style: Thug

- Kashiwagi will pose no big threat as he is weak to your basic Thug combos but beware of him when he gets back up from the ground as he will most likely try to attack. Keep your evasions ready and don’t allow him to breathe too much.
- […]
(A QTE cutscene with ONE prompt) Trigger: 25% Yellow Health

- This is where Kashiwagi will start to evade your attacks more often & will flinch a lot less. The biggest thing to keep in mind is to perform short Thug combos where you’ll have the chance to evade at any given time. Play it patiently and don’t be afraid to spend your Heat gauge on Heat actions if you manage to knock him down.
- […]
C15 ◾️ NISHIKIYAMA
Recommended Style: Thug / Breaker

- What’s unique with Nishiki is that he’s got a few special moves that aren’t exclusive to his Heat mode. He’s able to perform a Beast mode-like grab that uses a deep blue coloring. There’s also a counter move with a deep blue coloring that will only allow Nishiki to attack if you attack him first. These special moves are the ones to keep a ‘lookout’ for. You should be able to perform some full Thug combos when you catch him, but watch out for any of the deep blue colored moves. Evade if you attack Nishiki in his deep blue state as he will start attacking you. If you’re feeling lucky then you can sometimes completely drop Nishiki by spamming LMB/Square, LMB/Square, LMB/Square, RMB/Triangle with Breaker style if you corner him. This should work when he’s both in and out of Heat mode.
- […]
(A QTE cutscene with ONE prompt) Trigger: Nishiki grabs you (20% Yellow Health)

- Nishiki should be using his deep blue colored moves a lot more often and is also more prone to block. But if you got used to the deep blue moves in the first phase then you shouldn’t face any big problems in this one. Just make sure to keep your combos short as you’ll most likely be forced to evade if he manages to block you or counter you. He’s still weak to basic Breaker combos in this state.
- […]
(Another QTE cutscene with ONE prompt) Trigger: Get knocked down

C17 ◾️ KUZE <5> 👹
Recommended Style: Rush & Brawler

- By the time you’re here you should already have a good understanding of how Kuze works. He’s in his usual Heat mode but with more speed. You have to be sure that you know how long your combos should be and how to evade him. Make sure to keep your combos short because he’s in Heat mode by default. Your safest bet is to go for a full Rush combo when he’s got his back turned after you evade him. When you get yourself close to a few objects and you’re somewhat safe from Kuze, switch to Brawler and pick an object up if you have some heat gauge to spend. Perform an object Heat action just for the sake of dealing free damage.
- […]
(A Button-Mash QTE cutscene with ONE prompt) Trigger: 20% Yellow Health

C17 ◾️ AWANO 🍑
Recommended Style: Thug

- You can safely evade his attacks which are really easy to punish him for. Sneak up behind him after every failed attack he does then perform a Thug combo each time. He’s also open for grabs if you come up behind him, so feel free to grab him by his back neck to do any of the grab follow-ups. You can also greatly peel off his health with any of the Thug Heat actions when he’s knocked down.
- […]
(A QTE cutscene with ONE prompt) Trigger: 20% Yellow Health

- His Heat Mode won’t make him differ too much from having no Heat Mode at all. He’s rather punishable after each evaded attack which is something that can be understandable after the QTE cutscene where he’s clearly the hard hitter type. He’s rather reckless but he hits hard. Abuse this by simply evading then doing safe combos as you normally would.
- […]
C17 ◾️ LAO GUI
Recommended Style: Thug & Breaker

Handgun, Unarmed
- Lao Gui is one of the more advanced bosses in terms of variety. He’s able to use throwables, sharp melee weapons and also has the ability to jump from walls. The safe bet is to keep him from using these abilities at all costs. Your evasion must be on-point to dodge his quick throw attacks and jumping claws. But once he whiffs you, simply grab him and try to put him down. If you have heat then this is a good time to perform a Thug Heat action when he’s knocked down, or start a LMB/Square, LMB/Square, LMB/Square, RMB/Triangle combo with Breaker.
- […]
(A QTE cutscene with ONE prompt) Trigger: 50% Green Health

- He’s now dual-wielding a Chinese broadsword with a silenced handgun. You best keep your distance rather short as you really don’t want to get caught by any of his bullets. Keep him busy by doing a short Thug combo then evade behind him to try to grab him by his neck. If you’re able to walk him closer to the corner of the room then drop him right there using your grab. Now start a LMB/Square, LMB/Square, LMB/Square, RMB/Triangle combo with Breaker style to quickly take down his health as he lacks any evasive abilities when being pressured in this first Heat mode.
- […]
(A QTE cutscene with ONE prompt) Trigger: 50% Yellow Health


- In his second Heat Mode phase you’ll notice that he’s a lot more aggressive which should immediately tell you to evade more and use safe combos. Thug is now recommended instead of Breaker simply for the fact that Lao Gui can knock you out of any Breaker combo at this point. Poke him back-and-forth using Thug to keep yourself ready when there’s something to evade.
- […]
C17 ◾️ SHIBUSAWA 🐲
Recommended Style: Rush & Brawler / Beast


- In Rush style you simply evade Shibusawa’s attacks and hit him from behind using the Rush combo LMB/Square, LMB/Square, LMB/Square, LMB/Square, LMB/Square, LMB/Square, RMB/Triangle in order to knock him down. From there you should perform exactly two hard kicks (RMB/Triangle) when he’s on the ground then *immediately* do the Rush combo LMB/Square, LMB/Square, LMB/Square, LMB/Square, LMB/Square, LMB/Square, RMB/Triangle just as he’s standing. This will keep him in blockstun, but interestingly enough.. he usually gets hit by the RMB/Triangle at the end of the blockstun which will knock him down once again. This is where you’ll repeat this, he usually gets hit by this every single time. If not, simply be ready to evade.
- […]
(A QTE cutscene with ONE prompt) Trigger: 75% Blue Health

- This is where a few Heat gauge consumables can come to some really great use. Switch to Brawler style and quickly grab one of the objects lying around to use your Heat action ability with your object. You’re also able to directly counter Shibusawa’s object attacks with the Brawler style’s heat action counter, which is primarily used on object-wielding foes. This will greatly damage Shibusawa and will pretty much negate him from ever being able to do anything to you in this phase. Just get close to him and enter the Heat action state as soon as you see that you’re able to. If you run out of gauge and you have no consumables then do consider Beast style for the last bits of health in this phase where you’re just going to grab any of the other objects with LMB/Square to attack him with.
- […]
(A cutscene without any QTE prompts) Trigger: Yellow Health


- It’s very similar to Heat Mode 1 with the exception of how long your combos can actually be. You’re required to be short and sweet. Don’t stray on for too long or he will counter-attack you without a doubt. Keep evading and keep your Rush combos short. You’re required to be patient since he will use many different moves with different follow-ups.
- […]
(A QTE cutscene with FIVE [Including Mash] prompts) Trigger: 25% Orange Health

