Overview
Guide to external level creation for Marble Skies
Setting Up
This is an official guide set up for users who are willing to learn how to create their own levels to be added to the main Marble Skies game. It is a lengthy process, and all instructions must be followed precisely in order for your level to be accepted.
– Download Blender from here: [link]
– Install Blender
– Download the Level files from here: [link]
– Extract UserPieces.zip
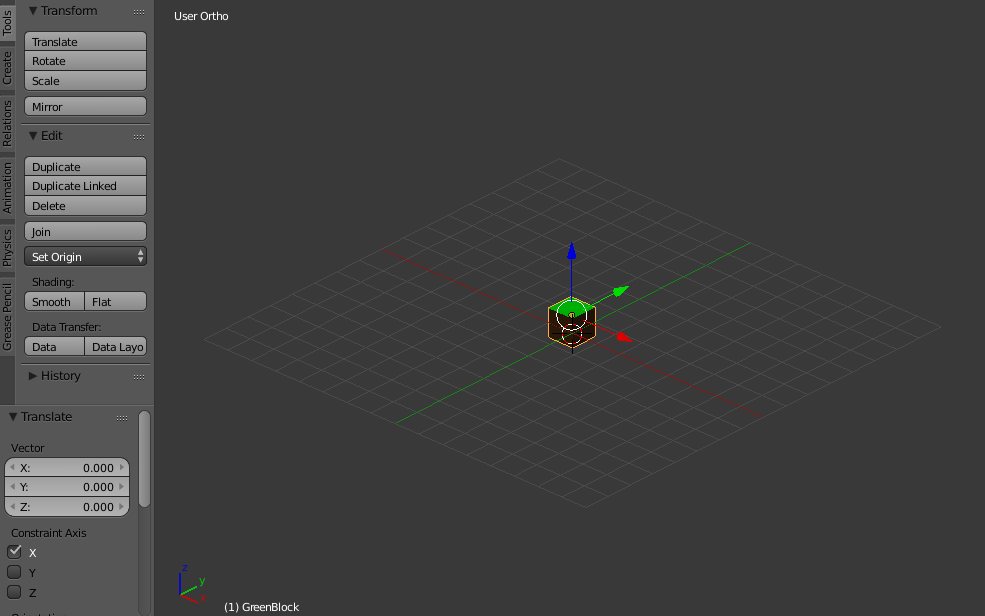
– Open NewLevel.blend with Blender
You now should have something that looks like this

Importing Pieces
The .zip file you extracted has dozens of pieces for you to add to your level. Make sure to check back every now and then for updates that include more custom pieces you can use to get even more creative!
Importing a new piece is simple.
At the top left of Blender click File > Import > FBX (.fbx) > and navigate to the extracted file with all the .fbx models. Once you find the model you want to import, click Import FBX, and it will be placed directly in the center of the editor.
Each piece is described as named, Tile1.fbx is a 1x1m tile, Tile2.fbx is a 2x2m tile, etc. You can see the differences in sizes below. Your in-game marble is approximately 1/4th the size of the 1x1m square, keep this in mind when creating, so that your level is not too small, or not too big.

Camera
A lot of the camera control is done with the Middle Mouse button.
Hold down the MMB to rotate the camera
Hold SHIFT + MMB to pan the camera
Scroll the MMB to zoom in and out
Reset the Camera with SHIFT+C

Alternatively for more precise movement of pieces you can use the Numpad. Make sure Numlock is on, and then set your camera to User Ortho by pressing Numpad 5. After your editor is set to User Ortho, you can change perspectives with Numpad 1, 3, and 7.

Moving pieces
Each piece has been designed for maximum simplicity. Each piece simply snaps together like Lego bricks, making it easy to drag and drop in pieces to make a whole level within minutes.
Please take some time to practise moving the pieces before you attempt to make a level. There are different ways to move the pieces, but they must always be moved exactly as described to avoid issues with edge collisions, overlapping textures, etc.
First of all; make sure movement snapping is ON. You can check if it is on in the lower right of the editor window and making sure the Magnet Icon is coloured, and the snap element is set to Increment.

Once your snapping tool is on, you can move the pieces simply by Right clicking the object(glows yellow), and then manipulating the different X, Y, and Z axis’ in your desired direction. It should look exactly as below. You can also CTRL + Z to undo any changes.

Another method for getting pieces together quickly, is to use the Vertices snap option

With this, you can snap one object to another by selecting one, and pressing G, then moving your mouse to desired location. NOTE: Take precaution when moving piece like this. Make sure they are always flush to the next object if you are attaching them. Levels will not be accepted if not crafted with care.

Duplicating
Without importing each piece over and over again. You can duplicate which ever piece you select by pressing CTRL + D and then pressing Enter.
Holding SHIFT while Right clicking will enable you to select multiple pieces to duplicate at once.

Rotating Pieces
Without creating 4 varients of each object for different rotations, you can simply rotate an object to fit your desired location.
When rotating I would advise only to rotate in increments of 90. 90, 180, 270, 360.
Rotating is very simple and only takes a few button presses. Most of the time you will rotate on the Z axis. So to rotate a piece 90 degrees to the left or right, you can press R, then type 90, and then press Enter.

If you want to cancel the rotation before you press Enter, press Escape, and it will reset it. All rotations must be perfect, and fit flush with the other pieces. Any issues found in the map will not be considered.
Each piece may rotate differently depending on what type of piece it is. There are 3 axis’ to choose from.
X, Y and Z. Get familiar with these before you start.
Fine Adjustments
Currently user created levels only allow for Barrier tile decorations. Because these pieces are smaller than 1x1m it will require some more precise movement to add to the level. These pieces are not required. Alternatively, you can move any other piece like this if you want to create small gaps, or small jumps.
So lets say you want some small jumps without snapping to the 1×1 grid, like the first few beginner levels.
– First make sure you are in User Ortho mode. Do this by pressing Numpad 5, and then either Numpad 1, 3, or 7 depending on the view you need.
– Make sure your snapping tool is set to Increment.
– Zoom into the piece until you see smaller squares appear
– Move the piece on desired axis

Barriers come in 4 sizes. Three are long pieces for the edges of tiles, and one is for the corners. You will need to rotate only the longer pieces to fit some of the sides of the tiles. Snapping to vertices must be used when adding barriers. Read through the guide carefully before attempting.

Sending Your Level for Review
It is extremely important that any level chosen to be put into the live game is of exceptional quality.
– Pieces must be correctly aligned, and fit flush with any other pieces they come in contact with. I do not have time to check the hundreds of pieces you have put together to make sure there are no collision issues or overlapping textures.
– Level should not be incredibly difficult to complete.
– Level must not use camera tricks, or other advanced skills to be completable. Consider casual players when designing.
– No other tools provided by Blender can be used. You MUST not stretch, or cut any pieces provided. If you would like to have a custom piece made, please open a thread in the Level Creation sub-forum and request politely with a sample image created in paint/photoshop/any program you like.
– Once submitted, we have no time frame or requirement to add your level to the game. We will not provide support further than this guide, and reserve any right to remove it at any point if it’s added to the game.
– Once you have finished creating your level make sure that all the pieces are correctly aligned together. The best way to check is to use the Snap Vertices tool.
– Save your level. File > Save as > LEVELNAME.blend
– Upload the .blend file to Google Drive, or Dropbox
– Create a new thread in the Level Creation sub-forums with screenshots of your level and a download link. Only Google Drive or Dropbox links will be accepted.