
Overview
Shows general tips and efficiency comparison from temperature data collected with a CSV logger, presented by charts.
Disclaimer
Patch 1.2.3 Update:
Due to undocumented changes to the pipe system as of 1.2.3 (the second change within 2 weeks), which cut the flow rate from large pumps in half (from 150l/s down to ~65l/s) and who knows what else has been affected, I can no longer guarantee for this guide to be helpful, since I’m no longer playing the game.
Having to test stuff again and again after the developers seem keen on changing core mechanics on an almost weekly basis, this is no longer an enjoyable experience.
I hope the rest of you can still enjoy this game and you might still get something out of this guide.
Preface
I’ve messed about with modular engines since they became available to stable branch and have seen them go through a variety of changes.
They are in a pretty good place right now, if you utilize tremendous amounts of engine power you need tremendous amounts of cooling. Luckily modular engines are extremely powerful, even more so when supercharged and excessive cooling is only needed for the most powerhungry builds.
My only gripe with the cooling (besides bugs) is that the 3×3 and 5×5 radiators are more efficient than the 2×2 and 5×5 Liquid/Liquid heat exchangers, as you will see in the charts provided.
Vehicles that are putting their engines under constant load (boats, generators, aircraft) need more cooling than vehicles with a variance on engine load (land vehicles which don’t have to constantly fight drag from air/water).
I also strongly recommend to use Chucks modular engine temperature controller (link in the last section of this guide), this will help you estimate the final temperature of your cooling setup without the engine having to reach that temperature.
I’ve been using this to great effect, the predicted temperature is always within a few degrees of the actual temperature maximum.
General Tips
Engines generate heat by the amount of fuel burned. RPS don’t play a big role in that, since you can rev an engine to high RPS, if the load is low you won’t need to use much throttle to reach those RPS and in turn not burn that much fuel.
When your engine is powering a generator with gearboxes increasing generator RPS, your engine load will be high, throttle will be sitting at 1 and the fuel consumption will be measured in barrels per second, then you’re in for a warm welcome.
As of 1.1.26 I’ve not seen the coolant scaling to work. It was supposed to slowly reduce cooling efficiency with salt buildup over time, but for some reason this isn’t working properly.
I haven’t made any tests using direct sea water cooling since I expect it to be fixed, and with its intended functionality to harm engines in the long run it’s not a recommended way of cooling.
The most efficient setup in terms of piping has a single heat exchanger per coolant manifold.
If you add multiple heat exchangers to a single coolant manifold, the second in line will have less than 50% flowrate of the first one, which makes running heat exchangers in series a terrible idea.
Flowrate on a single heat exchanger:

Heavily reduced flowrate on the second heat exchanger when piped in series:

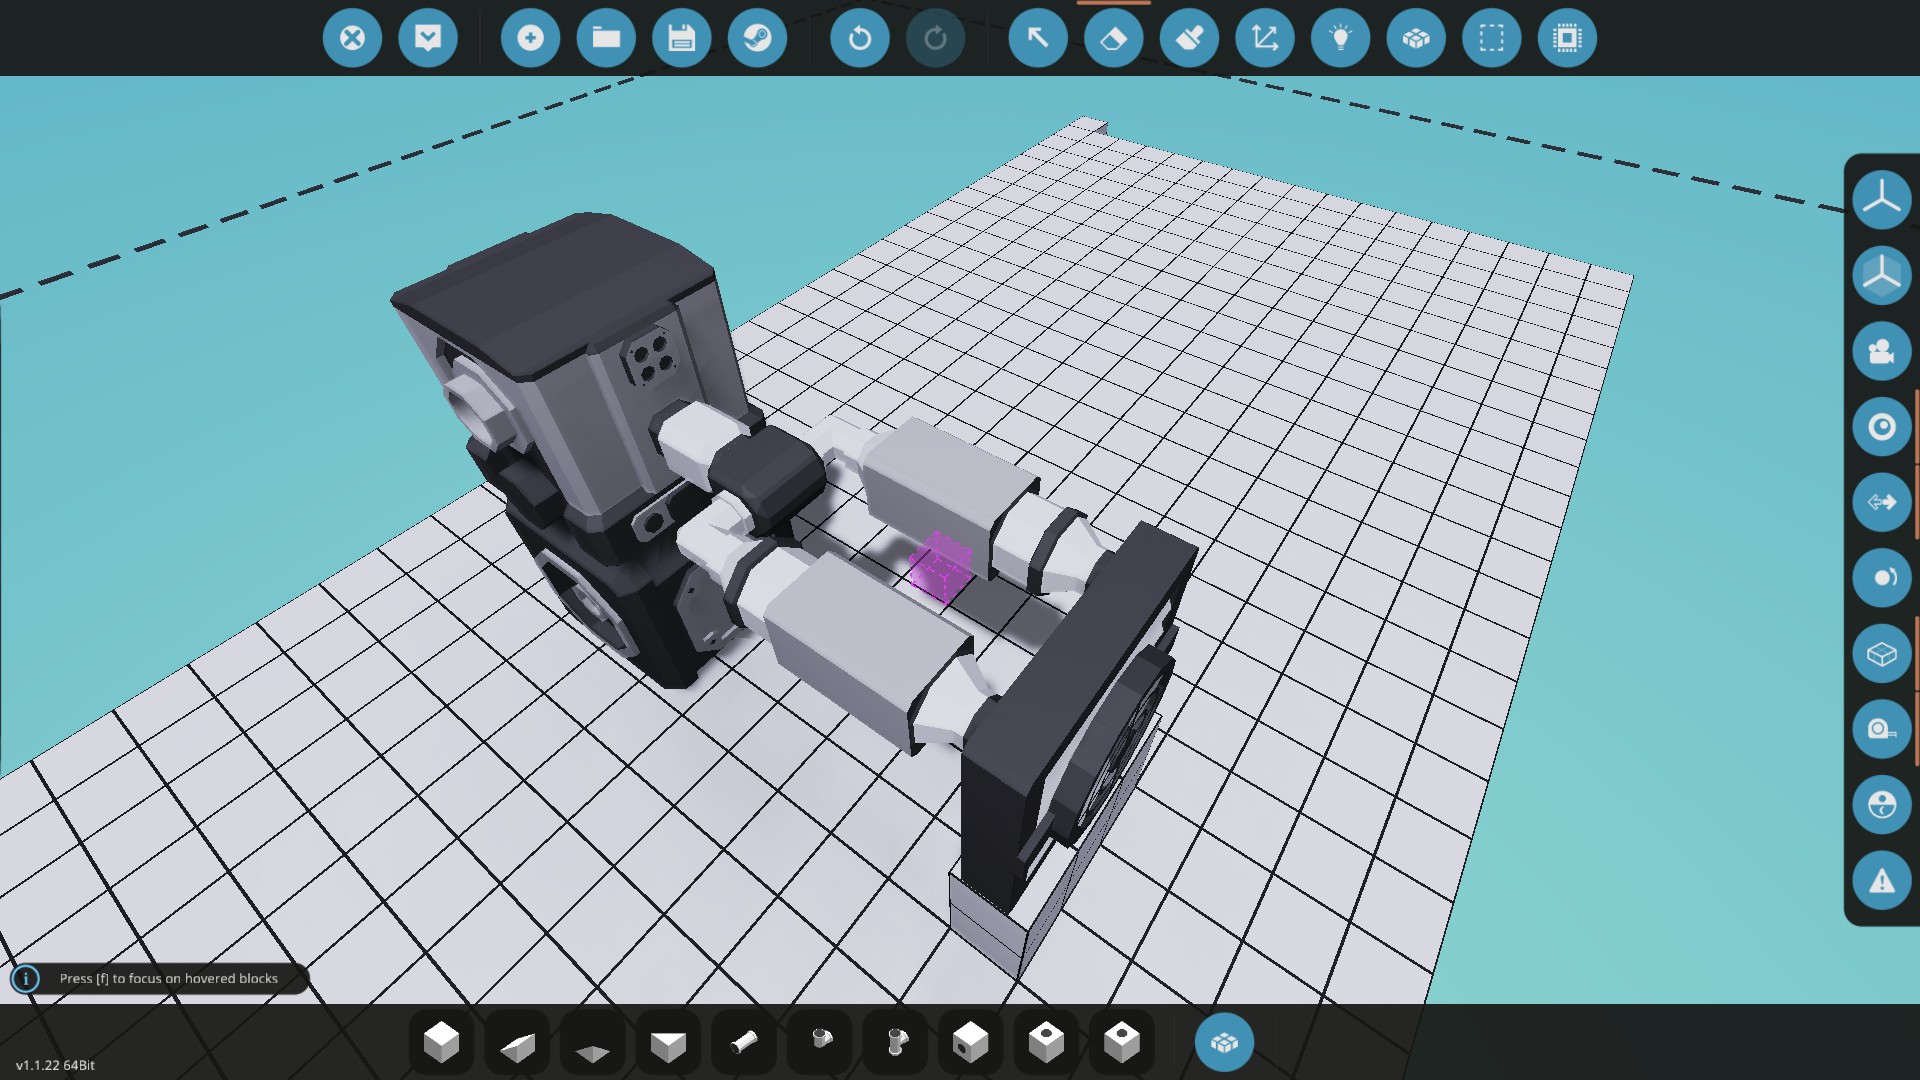
Use engine manifolds to reach your heat exchangers and place coolant manifolds in a way that leaves the least amount of pipes between coolant manifold, pumps and heat exchangers.
This is a basic example of how an optimal layout looks like:
Of course you might need more than one heat exchanger, then you need to place multiple coolant manifolds on your engine manifolds, like so:

These are just examples of the layout, you will of course run into space constraints and can adapt to that, a more compact layout would look like that:
It is important to keep as few pipes between the components as necessary.

You do not need fresh water tanks for radiators.
Air/Liquid and Liquid/Liquid heat exchangers delete coolant upon spawn for some reason, while 3×3 and 5×5 radiators are not affected by this.
Bug ticket:
[link]
This bug is currently being investigated and is the reason why you need to add fresh water tanks to the pipe network.
There does not seem to be a sureshot way to tell where to best place those tanks, I’ve placed them between exchanger outlet and outlet pump and got a stable flow rate when looking at the heat exchanger.
Coolant manifolds act like fluid ports on a custom tank.
The number on coolant manifolds displays the current coolant volume in the entire pipe circuit.
There is no input/output side, both sides can be used to pump in/out. You could use one manifold and pump out from both of its connections.
Liquid/liquid heat exchangers have different sides, named A and B. Make sure the B connectors are connected to the engines coolant manifold and the A side to sea water. Other way around didn’t provide any cooling during my test runs.
When using Liquid/liquid heat exchangers, make sure the seawater outlet is above the waterline. Otherwise the pumps will have to fight outside pressure, leading to pressure fluctuations. Thanks @Captain for bringing that up in the comment section.
For getting an efficient cooling system it is mandatory to have a high flowrate inside the cooling components.
The flowrate can be seen with the advanced tooltip.
If it is heavily fluctuating its usually an indicator that you either don’t have enough coolant (does not apply to radiators) or not enough pumps. Having a single pump on inlet and another pump on the outlet side seems to stabilize the flowrate, so you can see a constant, stable number when looking at the tooltip.
Currently there seems to be a bug with cooling components where maximum flowrate will be at ~107l/s with small pumps on the cooling component in/out connections.
Bug ticket:
[link]
Large pumps and large impeller pumps provide less flow and should not be used if you want to maximize cooling efficiency, this might change depending on how this bug will be fixed.
Ambient temperature also plays into cooling efficiency. Cooling in the arctic doesn’t require as much effort as further south. I’ve observed a maximum temperature of around 40° roughly 20km south of sawyer islands. Note that seasons also are a thing and ambient temperatures are affected by that.
Seeing how new islands are being introduced to the game, and, from the looks of it, seem to be located south of sawyer islands, I suggest as a mere precaution to aim for a stable engine temperature at 90° so the engine won’t overheat even in hot climates. It remains to be seen how far south those islands will be, so take this with a grain of salt.
Naturally aspirated modular engines are rather tame in terms of heat generation. Supercharging them can increase their power output at least by a factor of 2, which increases air and fuel consumption and also results in a bigger heat generation. If you have a supercharged engine then there’s no way around using fan radiators, since these are the most efficient cooling components.
If you have the space it’s always worth going with more cylinders or a bigger engine.
More engine power means you can run the engine with less throttle to reach your desired speeds, which allows for cooler running engines.
Take a look at my Dieselpunk train on the workshop, which is using a 8cyl 5×5, which is absolutely oversized and does not need any cooling at all.
Efficiency comparison
Comparing different cooling setups was done on a hydrofoil testbed with a 6cyl 1×1 supercharged.
With the test setup all different cooling setups were able to prevent the engine from overheating.
I also gathered data running without any cooling components at all, as a reference.
Testing procedure:
Throttle was fixed at 0.75
After starting the engine the boat would move at a constant 92km/h with no steering inputs or other events that might influence RPS to provide a stable heat generation throughout the tests.
Above 25° the cooling components were activated and above 30° I gathered temperature and change in temperature/s by using the CSV logger made by Lupus the Canine (link in the last section of this guide).
The test continued until the temperature reached 100° or the temperature/s dropped below 0.05 with the predicted equilibrium temperature being below overheat temperature of 115°.
I’ve tested the following components:
- 1×2 Air/Liquid
- 5×3 Air/Liquid
- 2×2 Liquid/Liquid
- 5×5 Liquid/Liquid
- Fluid Heat Radiator
- Fluid Heat Sink
- 3×3 Radiator
- 5×5 Radiator
Tests:
The charts show temperature on the x axis and degrees per second on the y axis.


Conclusion
Now for the conclusion, first the chart with all accumulated data:

And the final rankings from most efficient to least efficient, left to right:

Surprisingly the Liquid/Liquid exchangers are less effective than the radiators, with the 3×3 radiator being a very close match to the 5×5 Liquid/Liquid heat exchanger.
You can also notice very prominent noise with the 5×3 Air/Liquid heat exchanger, which was caused by heavily fluctuating air in/out, which was not the case with the smaller 1×2 Air/Liquid heat exchanger.
I also ran another test outside of the test runs made above, using the same test vehicle moving at 92km/h to establish if there was a difference between exposed and sealed radiators and if it’s affecting the cooling efficiency.
It seems that there is a higher efficiency when having exposed radiators, which also gets more prominent the hotter the engine gets.


Overlaying both charts clearly makes the difference visible:

Not that much of a difference, but worth considering if you want to squeeze all the efficiency out of it that you can.
This concludes this guide, if you think I could add to it or have other suggestions feel free to leave them in the comments.
Used Tools
ME Max Temp Controller by Chuck:
[link]
CSV Logger by Lupus the Canine:
[link]