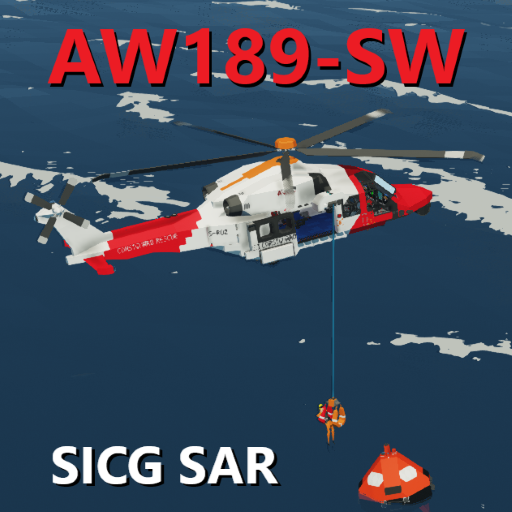
Overview
A quick, screenshot-based guide for the cockpit of the AW189-SW/-Number in brackets for each display is the button no. (from the left) on the MFD menu (bottom of edge of screen) for that display.- ‘2nd tap’ function occurs when the button for that display is tapped while that display is already active (a ‘2nd tap’).
(1) Primary Flight Display (PFD), seat & remote hotkeys & remote control
2nd tap function: Enable Waypoint heading & distance readouts
– Hover mode & Horizontal velocity indicator engage when below 20kts
Seat Hotkeys
1. P: cntrl / H: AP
2. P: spdH / H:altH
3. Radio PTT
4. Take/Release SARcam Cntrl
5. Winch Up
6. Winch down
P: Press/tap. Press the key briefly for this function
H: Hold Press and hold until the function occurs
The cntrl swap system works as a ‘snatch’ rather than a swap. e.g If AP is enabled, just need to tap 1 to take cntrl back, rather than hold 1 to release AP (tapping 1 when in cntrl or releasing AP by holding 1 will return the heli to NCI (no control input). This also means that to swap control the new pilot taps 1 and the current pilot doesn’t do anything (also means current pilot can’t forcefully pass control to the new pilot, current pilot can only release their own control to NCI)
(2) Engine display
2nd tap function: Swap fuel % reads to time
NG, IT & TH metres: Metres bars will rise up each side of the scale in them middle
NR metre: Metre bar will rise up right side
(3) Electrical display
GREEN: Powered on
dark GREEN: Has power but disconnected (batteries only)
WHITE: Powered off.
(4) Navigation & radar display

(5) Body camera views
2nd tap function: Cycle cameras
1. Tail camer
2. Belly Camera
3. FLIR
(6) SkyBlaze Search System

(7) Empty Module
An empty module for the installation of additional systems.
Osprey Beacon Locator

Radio

Belly Hook screen
The central 1×1 display above the osprey locator takes video input straight from the electrical connector on the belly and returns it’s composite output.
Allows for use with plug-and-play attachments (simply include a lua-control MC in your attachment and have the video and composite nodes wired through the connector)
–


