Overview
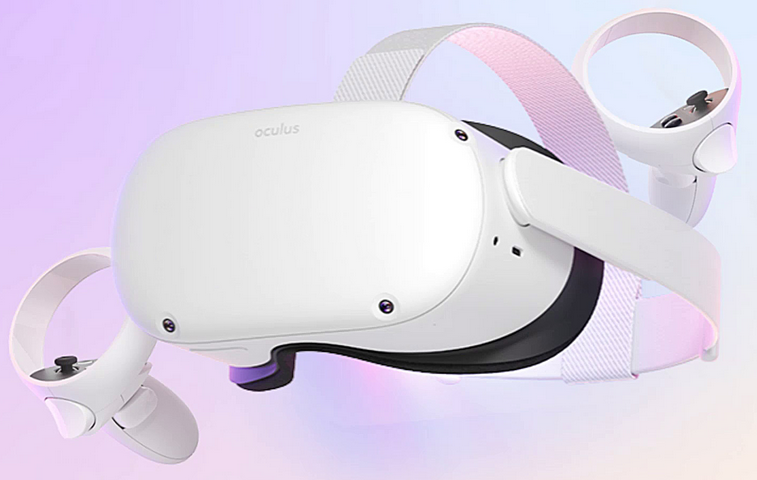
Since no full guide existed for this quite yet, here’s what worked for me pretty effortlessly.Also make your Quest 2 look as good as a Valve Index!This guide assumes you know how virtual desktop works already. If you don’t know, there are plenty of videos that will help you get started.
The steps
1) Start virtual desktop and make sure everything is running and looking how you like it.
2) In Steam, start SteamVR by clicking on the VR icon in the upper right hand corner of Steam (If it gives you a failed no HMD detected message just launch it again) This will launch you into SteamVR Home.
3) Launch TWD from the big menu on the SteamVR Home wall
4) Once loaded into the main menu press the Oculus menu button on your left controller, this will open up steam overlay
5) Click on “Controller Bindings”
6) Change from “Default” to “Custom”
7) Select “Choose another” and select TWD in the following menu
8) Select “TWD Bindings” or any other binding that you would prefer, some are specifically made for Quest controllers.
Return to your game and that’s it!
If you can’t seem to move at first, click in your left control stick.
The controllers you see in the in-game tutorials will not change to quest controllers, so you will need to guess a lot of the controls yourself.
*BONUS* Make the game look amazing on Oculus Link
Okay so you can play the game wirelessly like some kind of future man, big whoop. But let’s say you have a link cable or a much cheaper and smarter alternative to the official link cable and you want the game to look as good as a Valve Index, here’s what you gotta do.
1) Connect your Q2 to your PC
2) Open up the Oculus App
3) Click on “Devices” menu to the left side of the app
4) Select your Quest 2 and a menu will pop up on the right
5) Scroll down and select “Graphics Preferences”
6) Change the Refresh Rate to 90hz and increase the render resolution (how large you want it depends on your PC’s power but maybe don’t go over 1.5x) and click “save and restart”
7) Open up file explorer on your PC and navigate to C:Program FilesOculusSupportoculus-diagnostics (If you installed the Oculus app on a hard drive other than C: just change the letter to that hard drive’s letter)
8) Run “OculusDebugTool.exe”
9) Change the “Encode Bitrate (Mbps)” value from 0 to 250 (or 300 if you have a REALLY good PC) and close the window
10) Open the game and in the video settings make sure your pixel density is set to 100% or lower if you need the extra performance
Bam! Enjoy your new $1000 headset that only cost you $300 🙂
IF YOU ARE EXPERIENCING LAGGING OR HITCHING IN THIS OR ANY OTHER GAME WHEN USING OCULUS LINK PLEASE DO THE FOLLOWING
1) Open up task manager (ctrl+alt+delete) and locate “OVRServer_x64.exe” under the details tab
2) Right-click > Set priority > High (or set it to Realtime if you have a really good PC)
You will need to do this every time you plug in your headset but it only takes a second so it’s not really a big deal.
Oculus link is kind of BS and streaming content to the thing takes a lot of bandwidth, by adjusting this you’re removing the limiter set in place and improving performance big-time. Not every game needs this but it sure does help.

