Overview
This guide studies how different illumination and specular values affect the look of your structures during night time. It’s primarily intended for asset creators and serves as a visual reference only. This is in NOT a 1-2-3 tutorial or how-to! The guide will be updated as we learn how to deal with artifacts and other texturing related elements.
Introduction

This guide shows you how different illumination and specular values affect the look of your structures during night time. It’s primarily intended for asset creators and serves as a visual reference only. This is in NOT a 1-2-3 tutorial or how-to! The guide will be updated as we learn how to deal with artifacts and other texturing related elements. If you’ve encountered anything in particular yourself, please share it with all of us!
What you should know…
To start, I’m going to quote Dev Diary 2 and the Asset Editor wiki pages.
This is all the info that’s already out there.
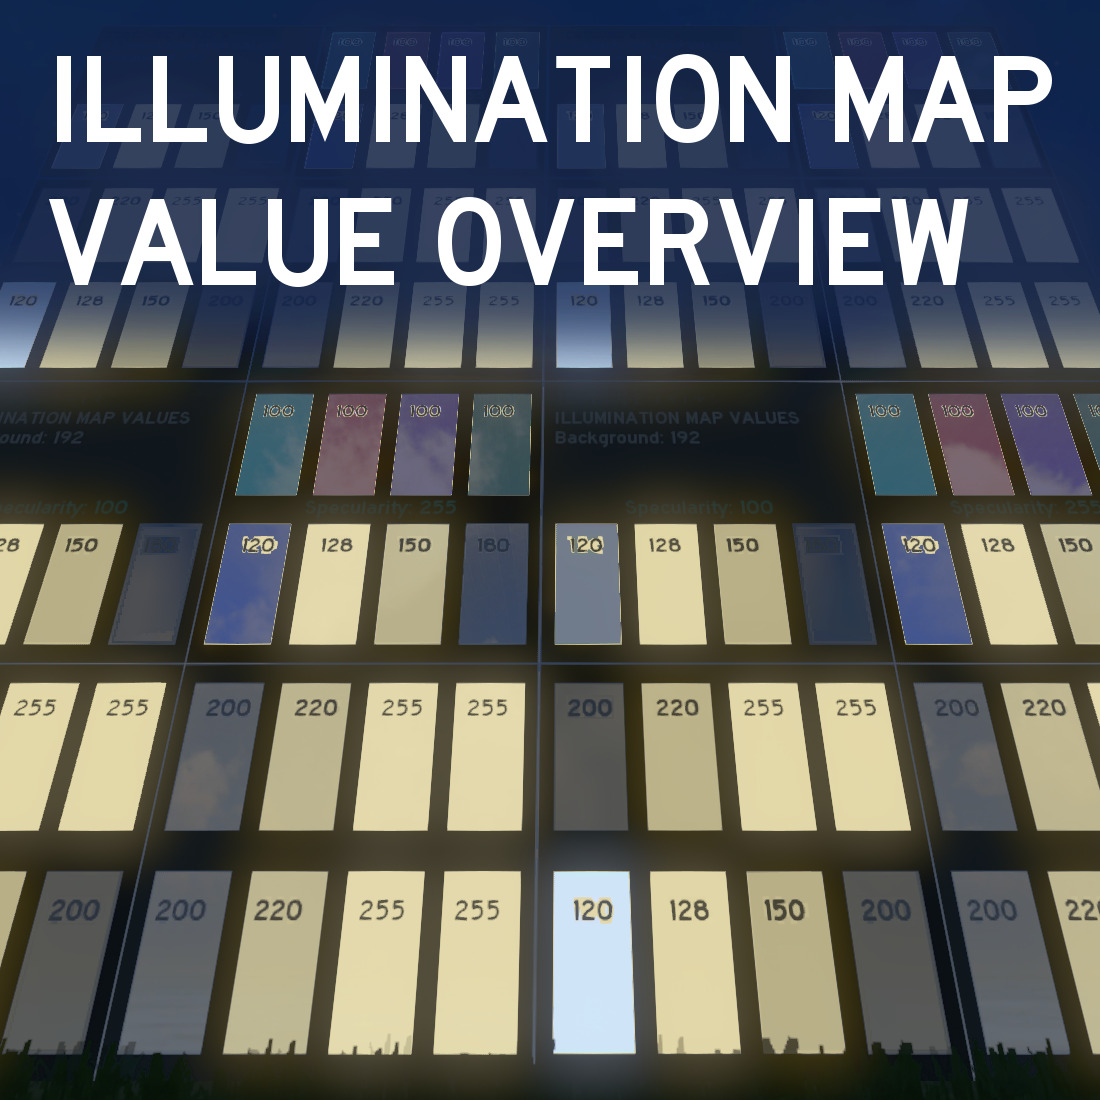
120 = Full illumination
128-255 ( Windows Random Illumination Values)
192 (Neutral illumination value)
”The likelihood of a window to be lit at a given time and its intensity are randomized for values within 128 and 255, the closer the value is to a boundary the more likely it is to be lit and stronger.”
Source: [link]
”It used to be the illumination map acts as a mask where a value of 0 (black) means no illumination and a value of 255 (white) means full illumination using the diffuse texture information.
We preserved this behaviour but squeezed the color value to range between 0 and 120 instead, where 0 still mean no illumination contribution from the diffuse texture and 120 means full contribution. We hereby freed the range 128 to 255 to allow windows to be lit randomly. A value of 192 means neutral, so if you want a building to be unlit at all times, the illumination map needs to be solid 192. The likelihood of a window to be lit at a given time and its intensity are randomized for values within 128 and 255, the closer the value is to a boundary the more likely it is to be lit and stronger.”
Source: [link]
Methodology
This guide originally started out as a quick experiment. But with the incredible amount of possibilities you get with the randomized lighting, as well as existing specularity and illumination during daytime, it can be very hard to predict how assets are going to look in the end.
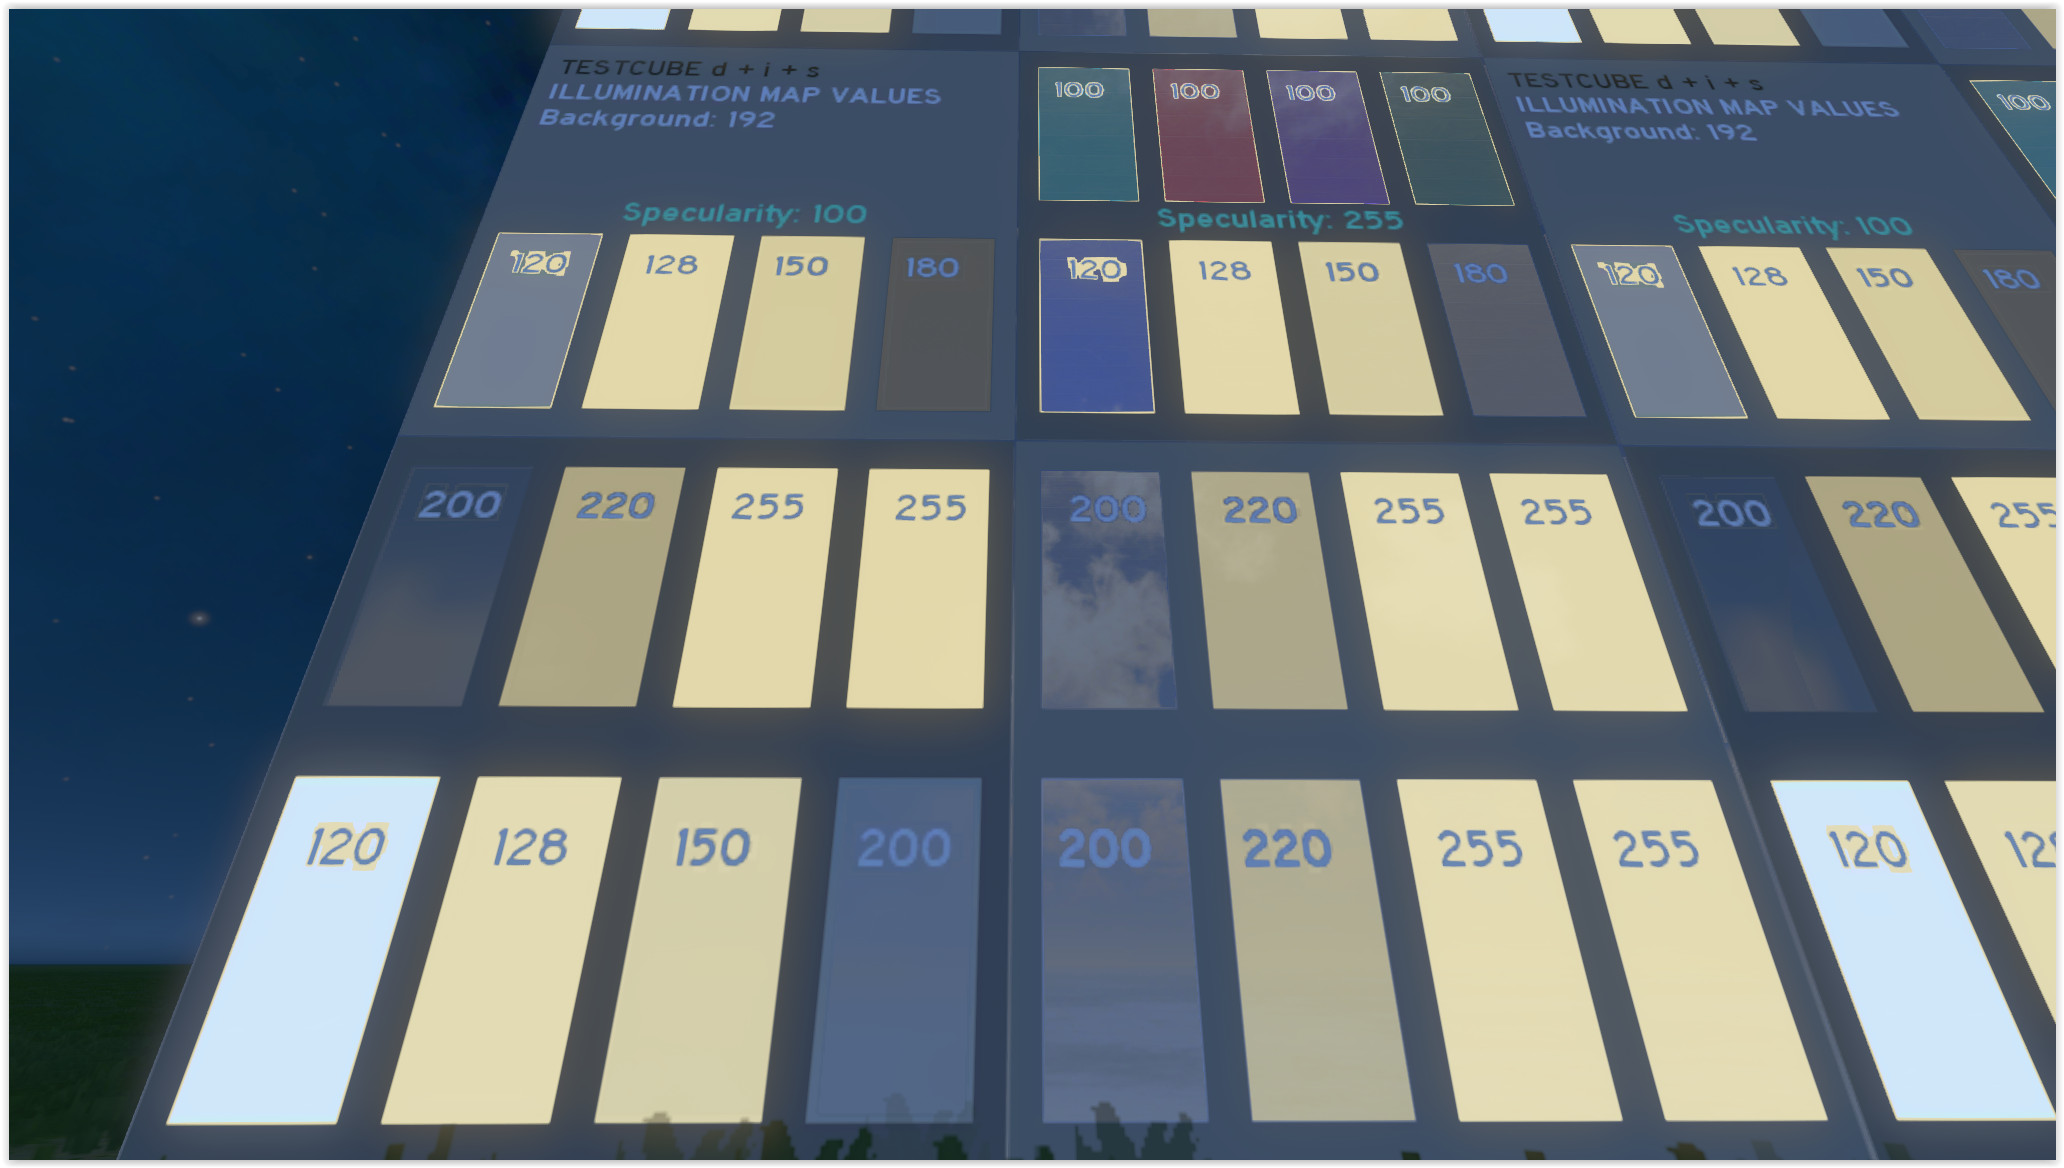
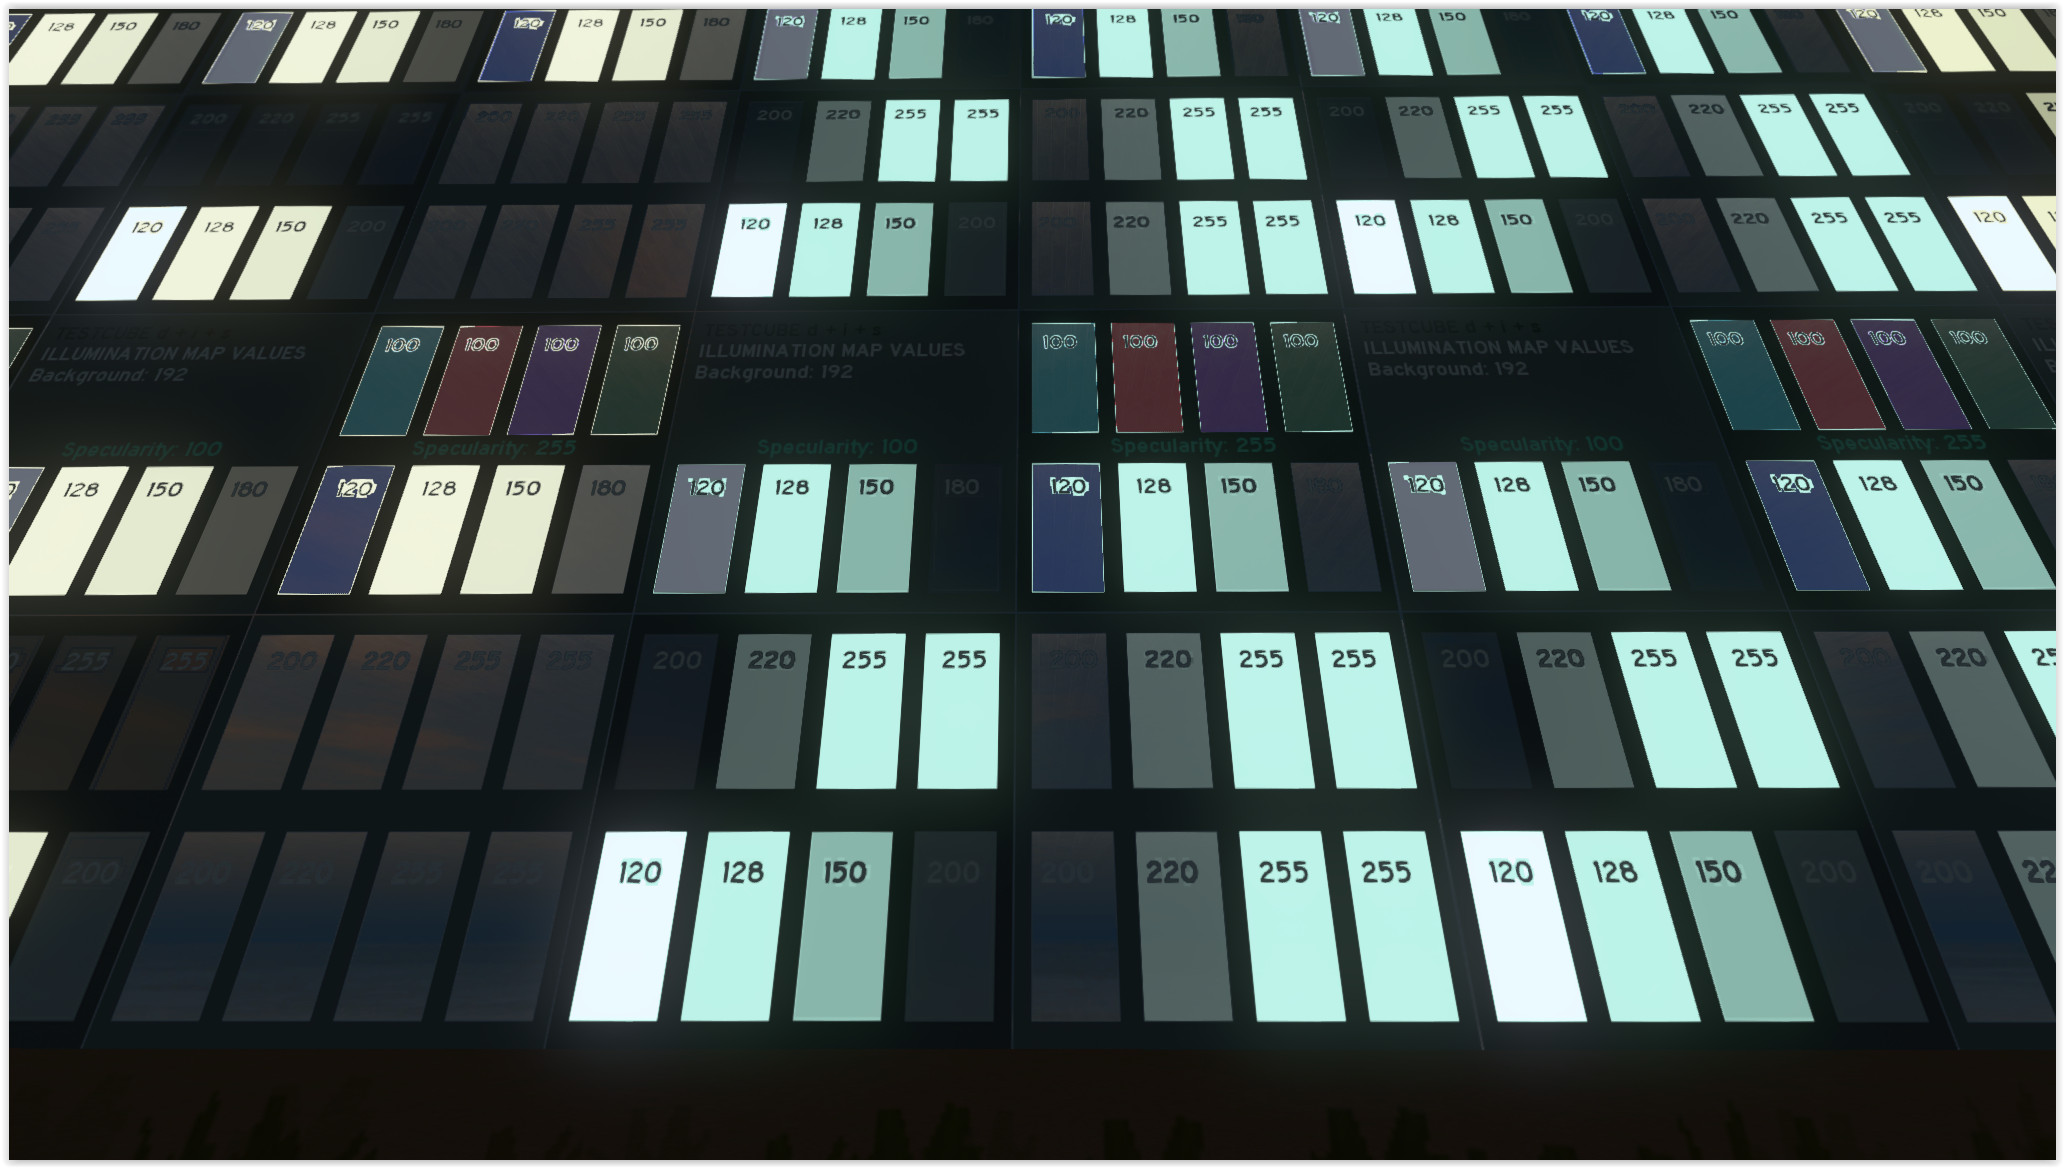
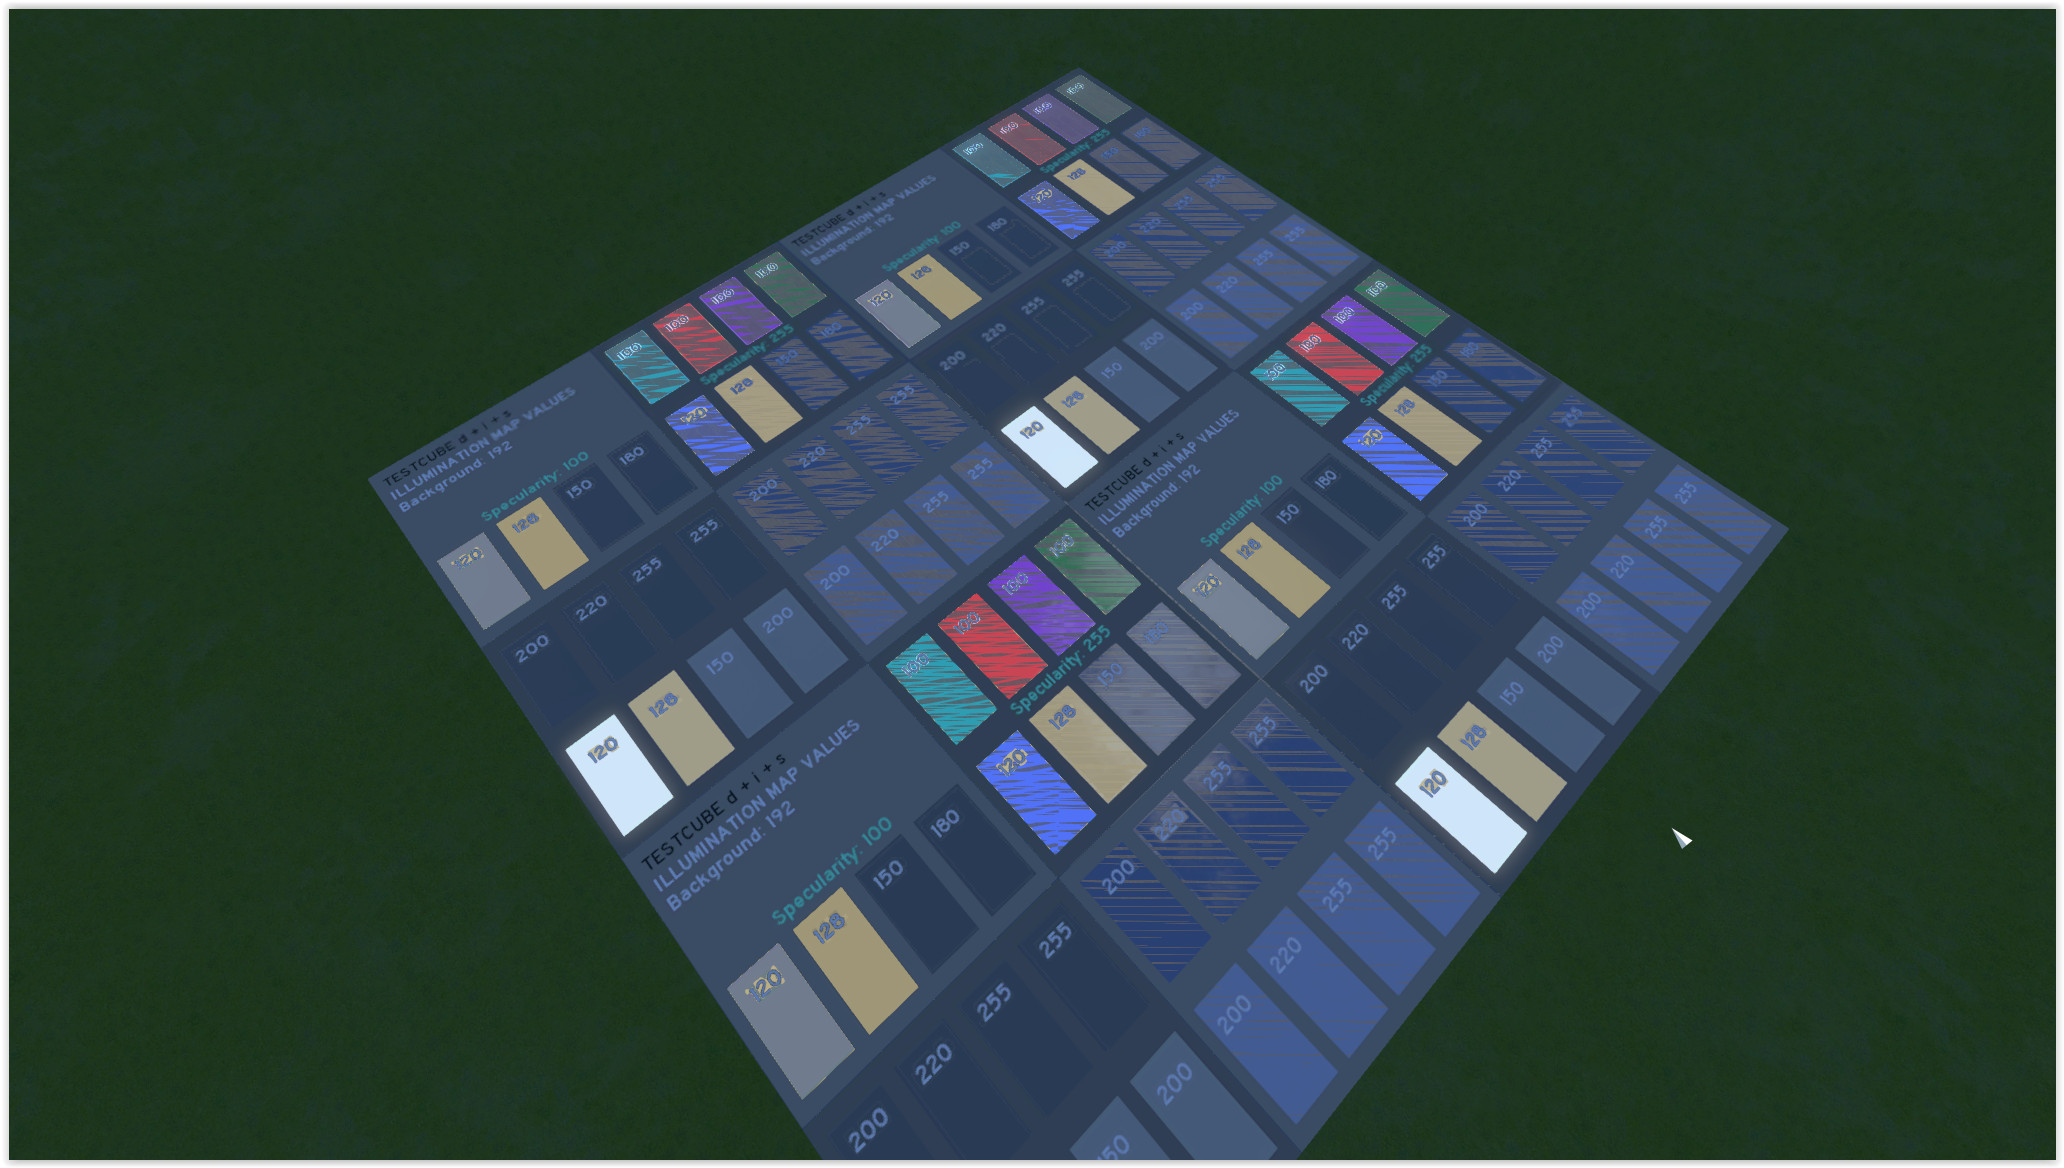
As such, I’ve setup the following textures.


These are applied to a simple 4×4 box. I may add alternative overviews later on.
Due to the unpredictable behavior of the lighting system (which is a good thing!) you can only analyze the final look by placing lots and lots and lots of these. So be prepared for a lot of screenshots on the next pages!
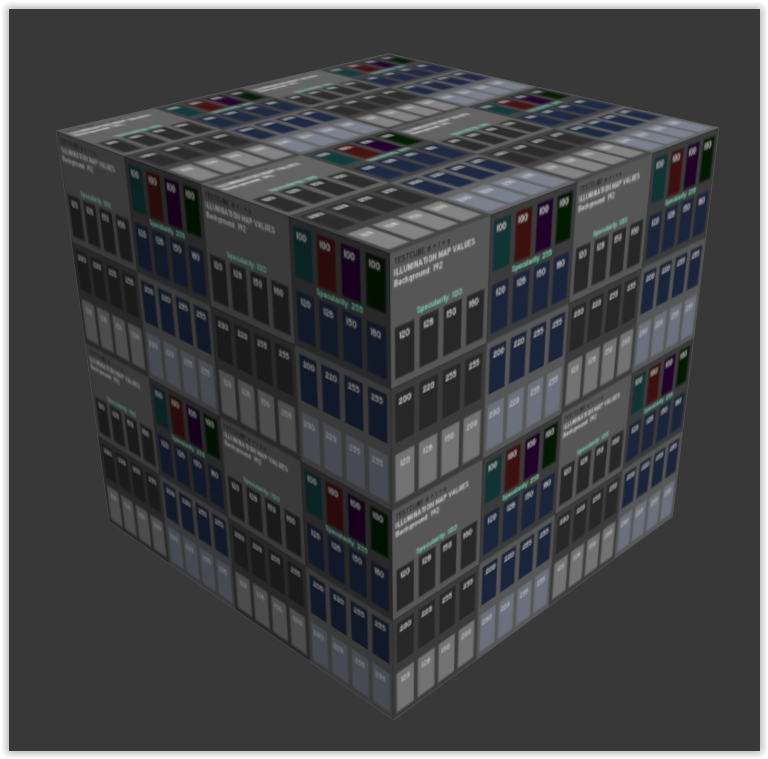
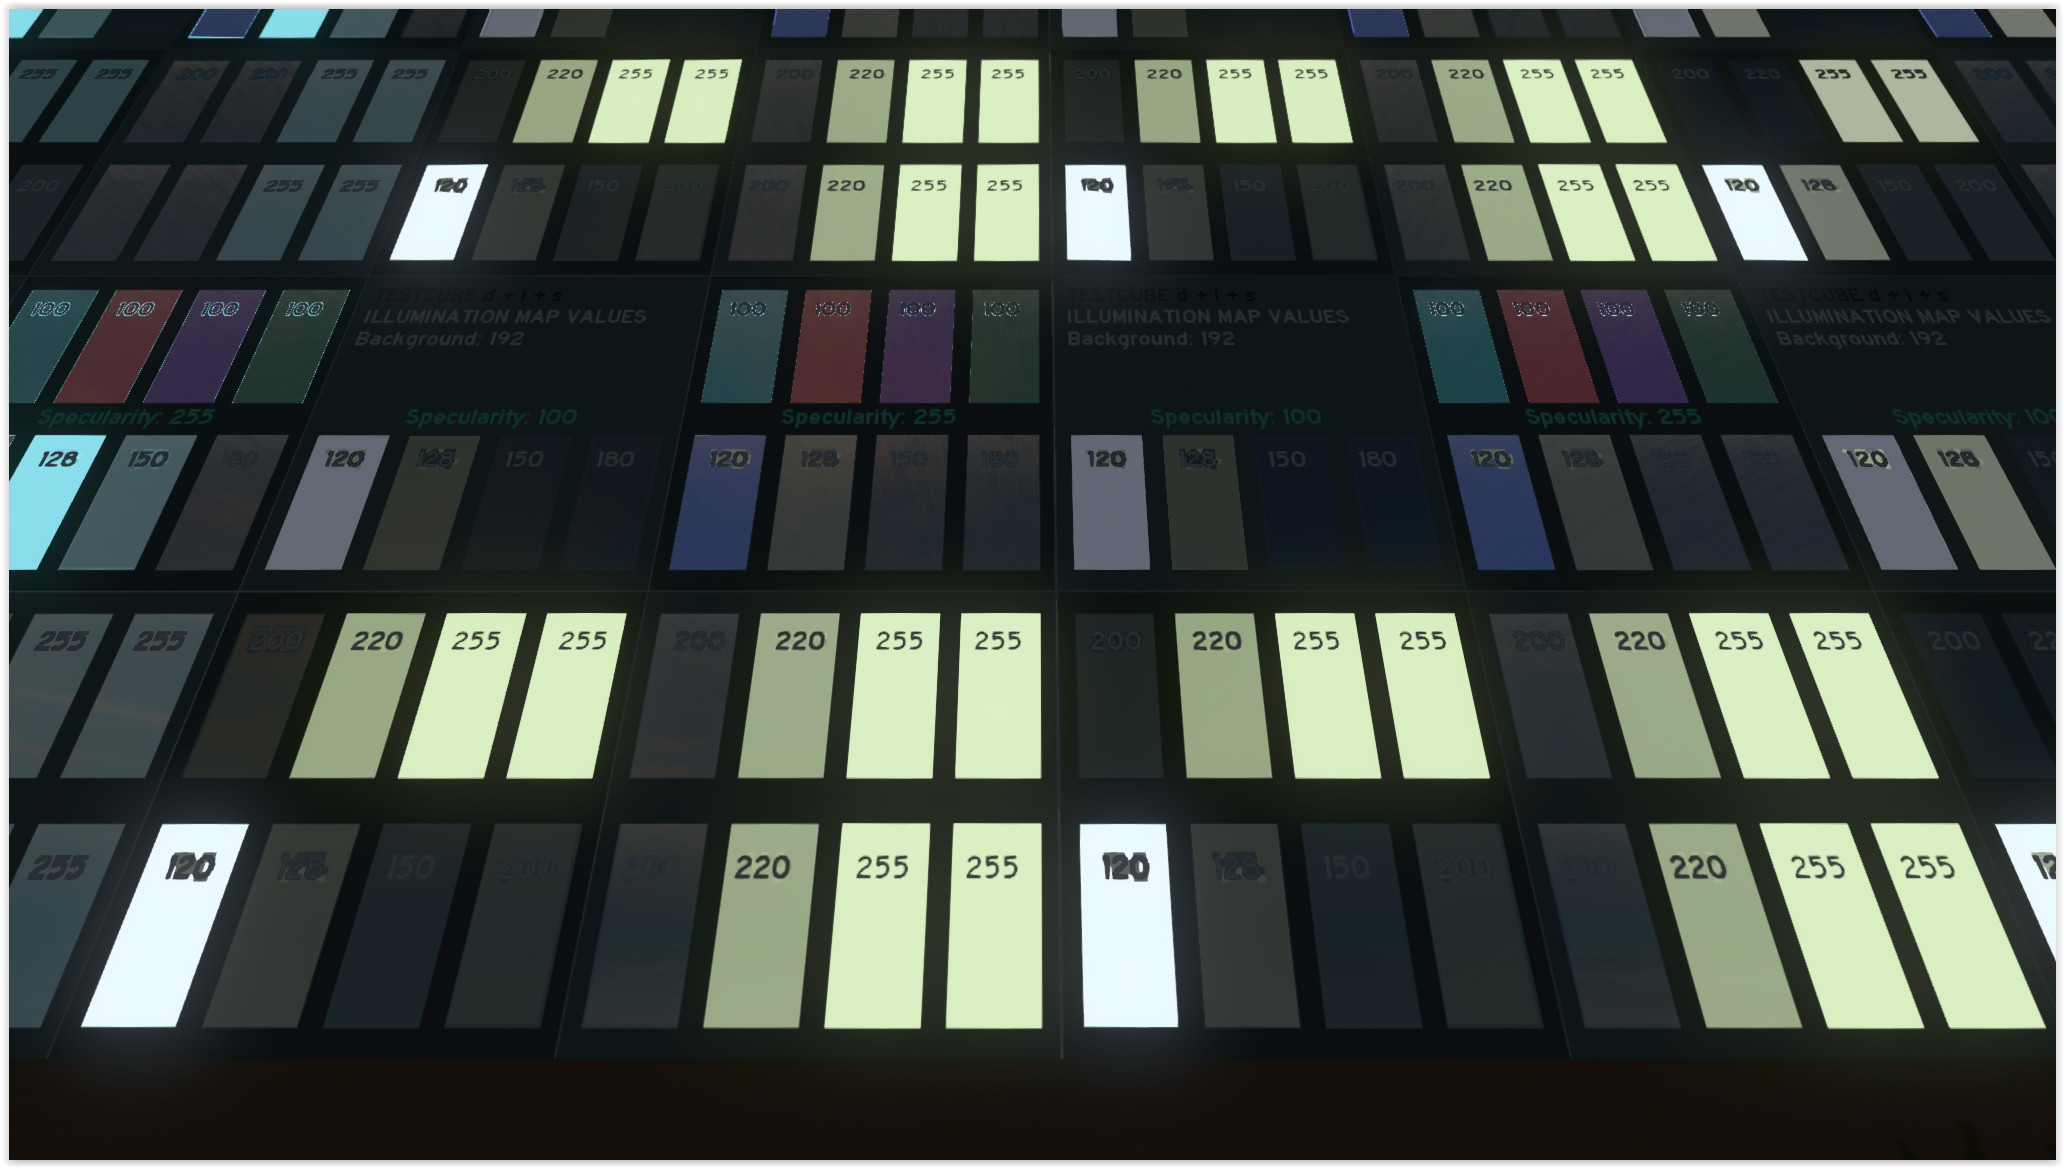
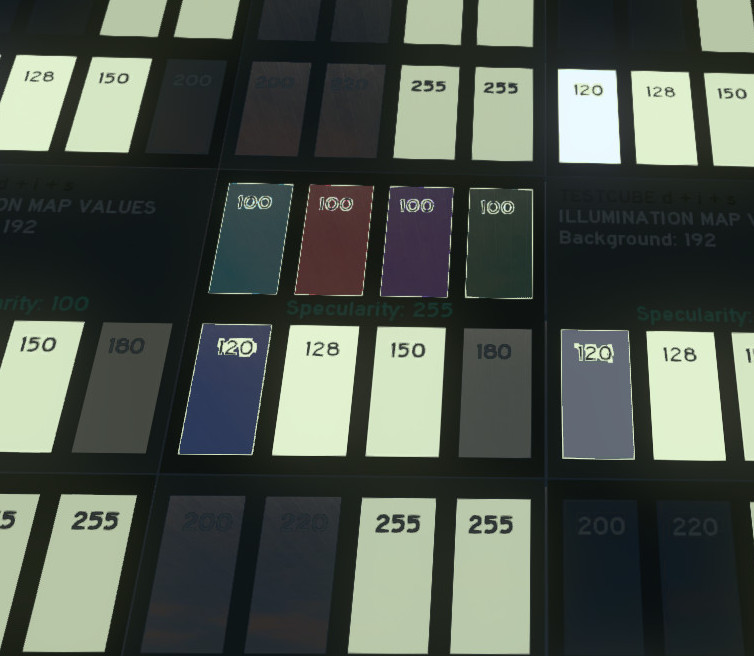
Asset editor
Down below you will find a few screenshots of what this will look like in the asset editor, during different times of day. Again, you will notice the randomness for values 128 to 255. That’s why you will want to test your assets ingame or even reload the editor a few times to see if you’re gaining or losing light at any instance.

- Notice the differences left and right…
Also notice values closer to 128 and 255 don’t guarantee the lights are always on. They seem to have a bigger influence on overall brightness. If you want your windows lit constantly, you will have no choice but to go below 127, which will obviously mean some lighting during daytime.


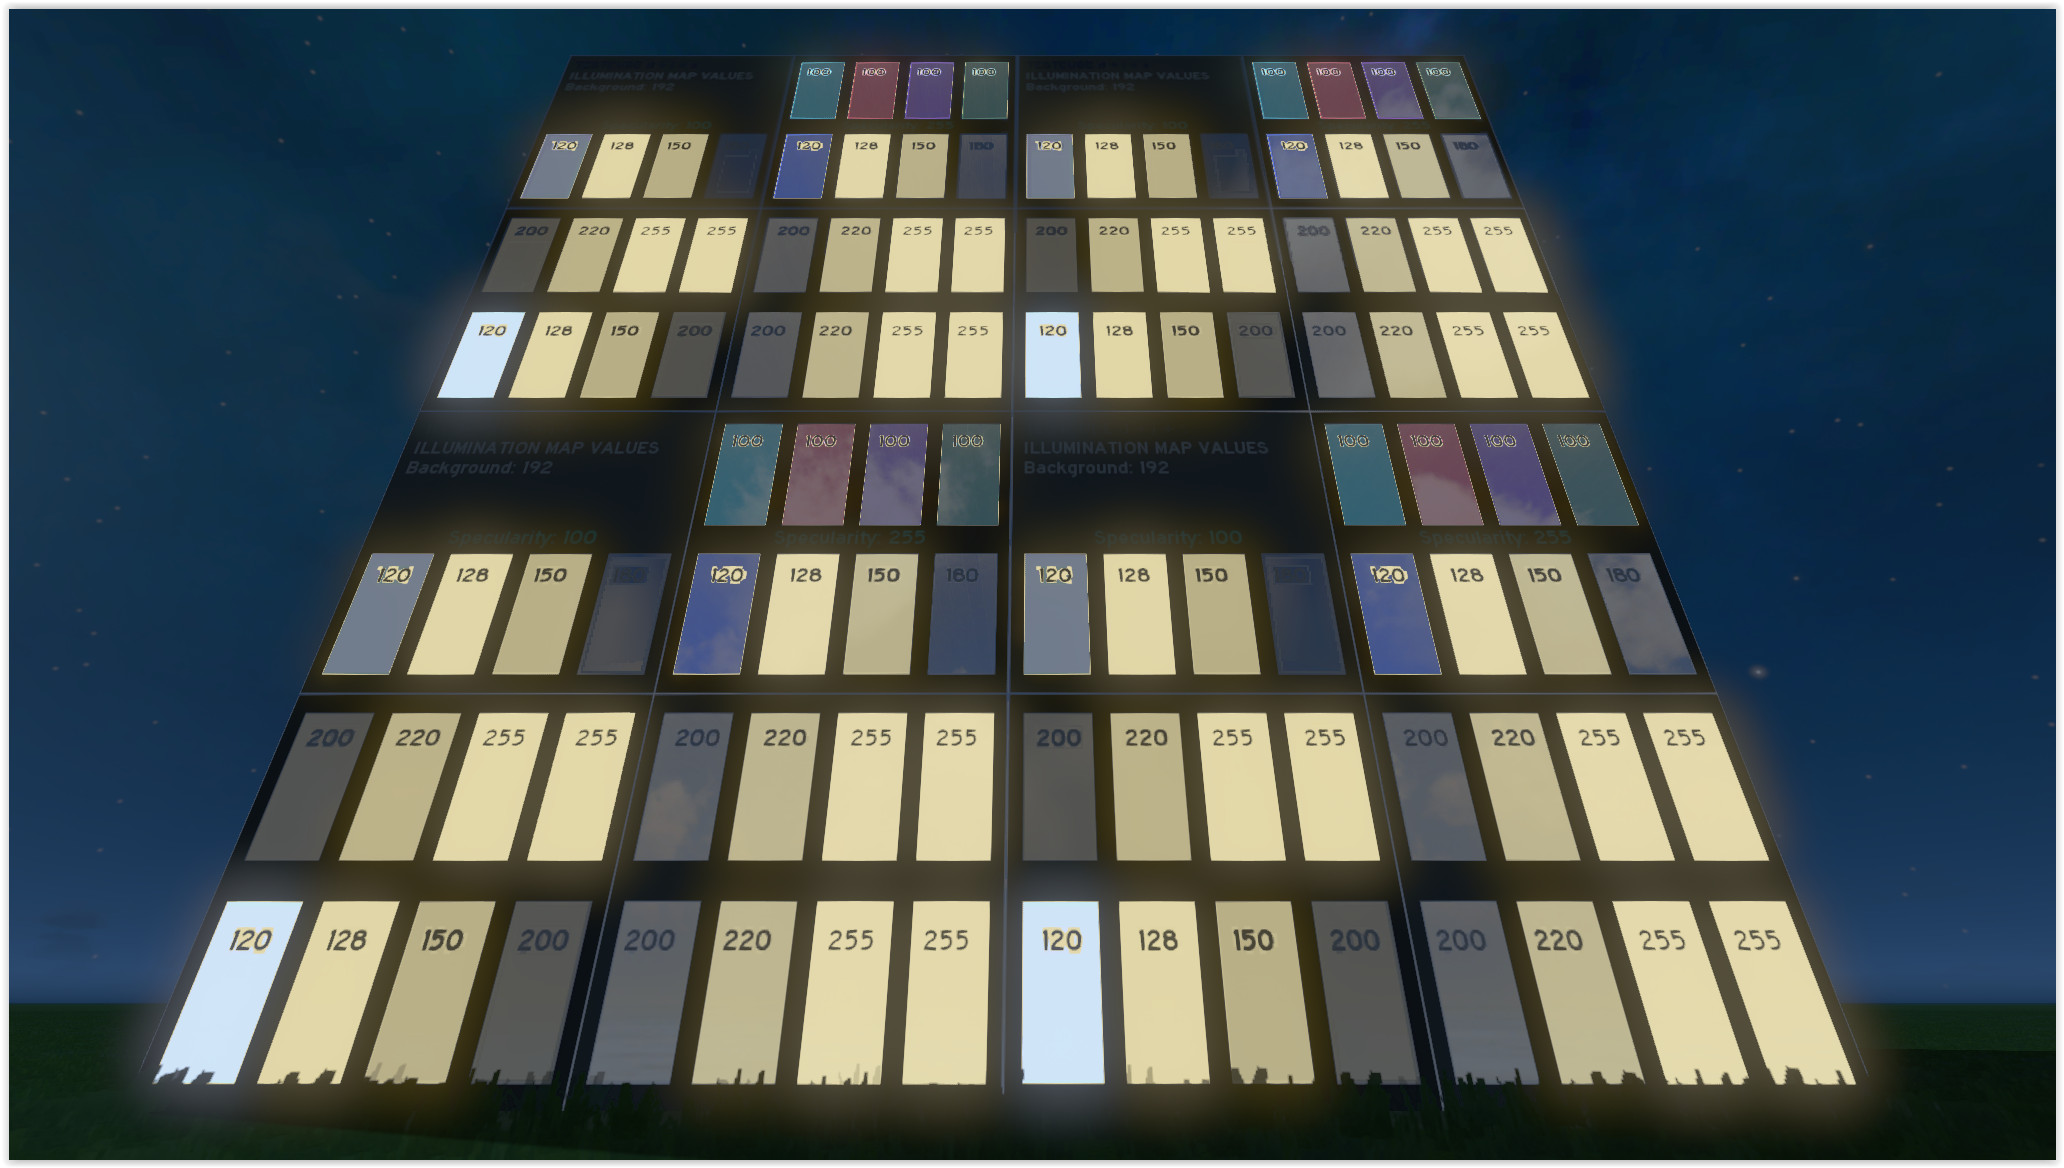
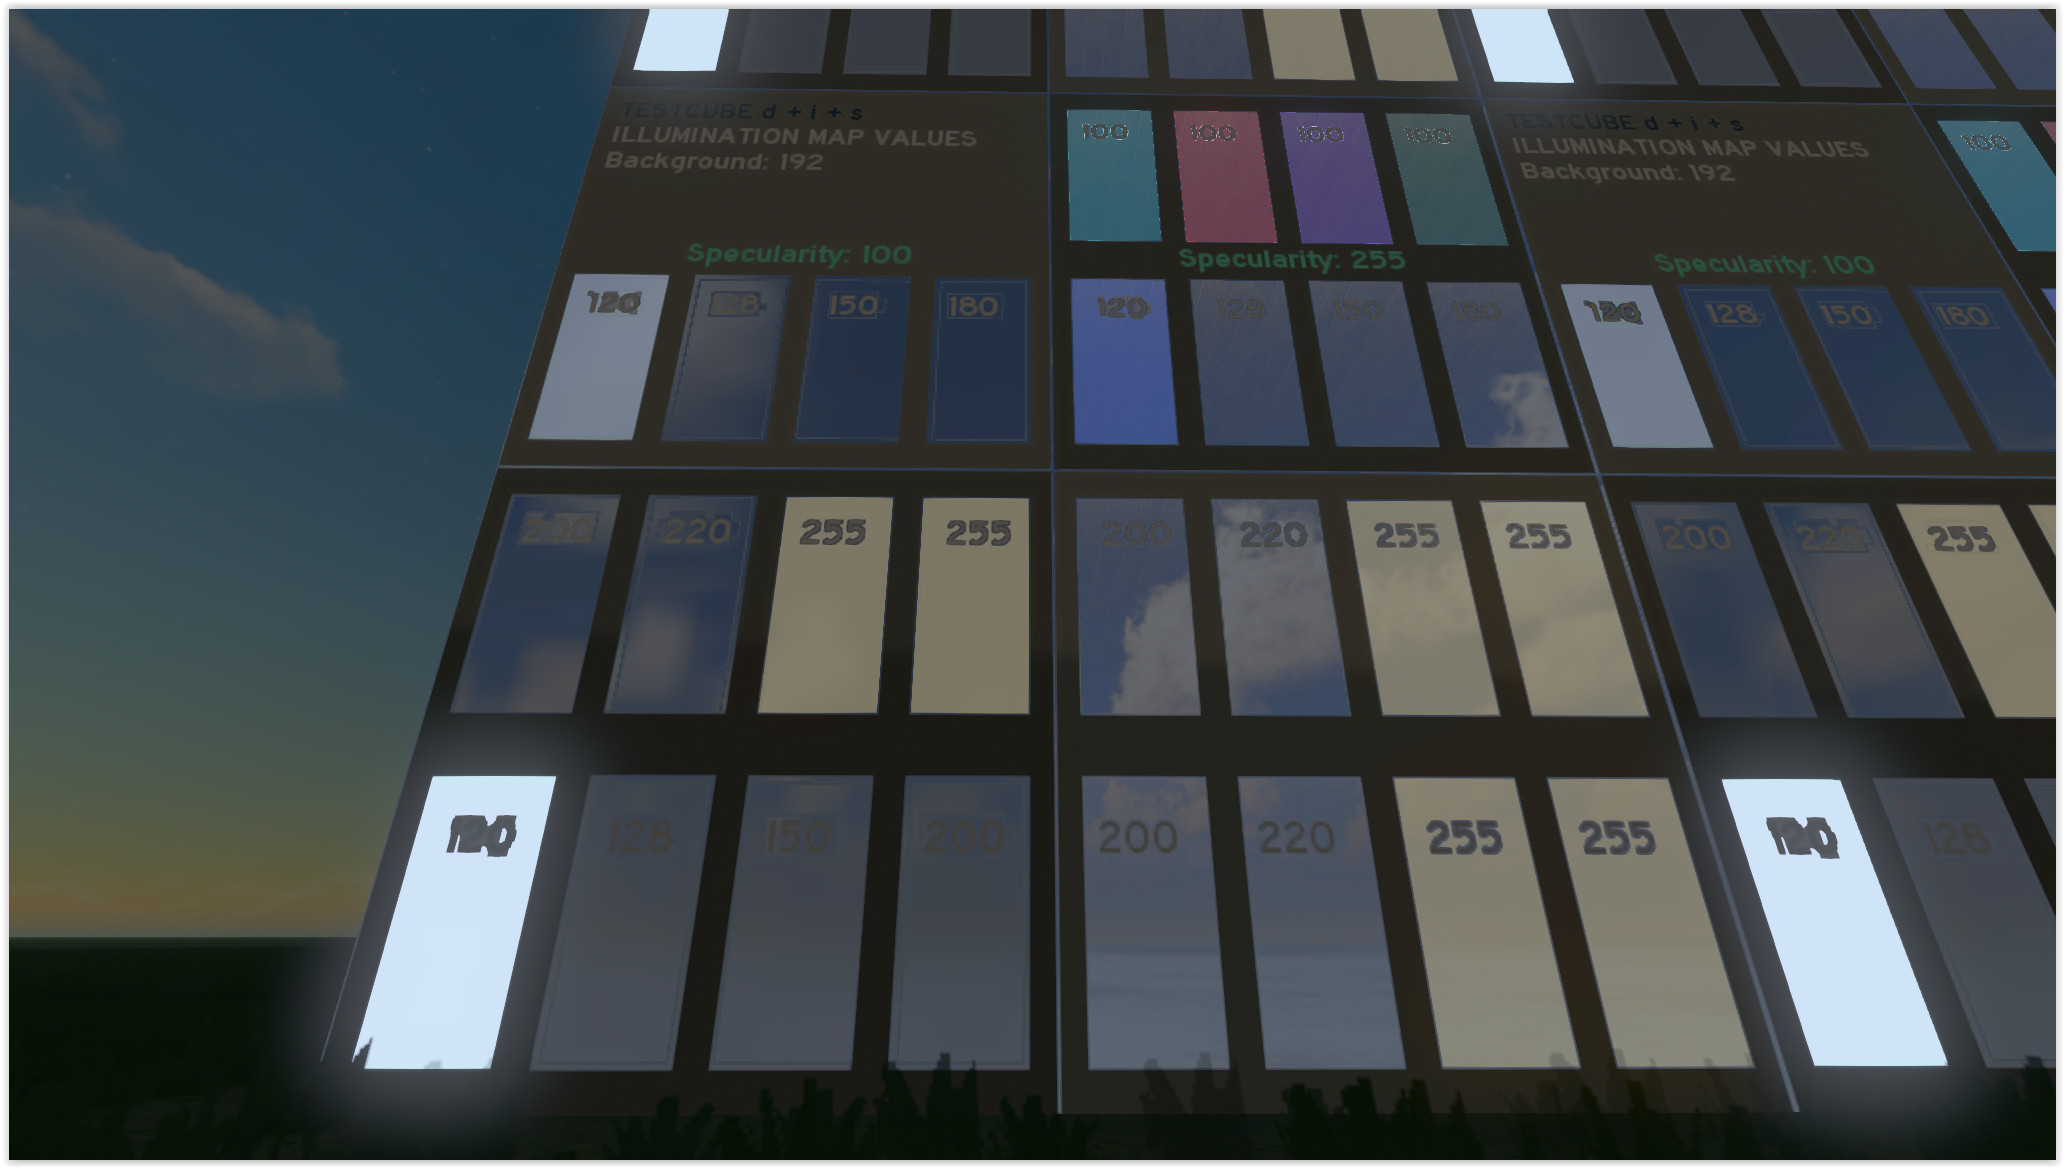
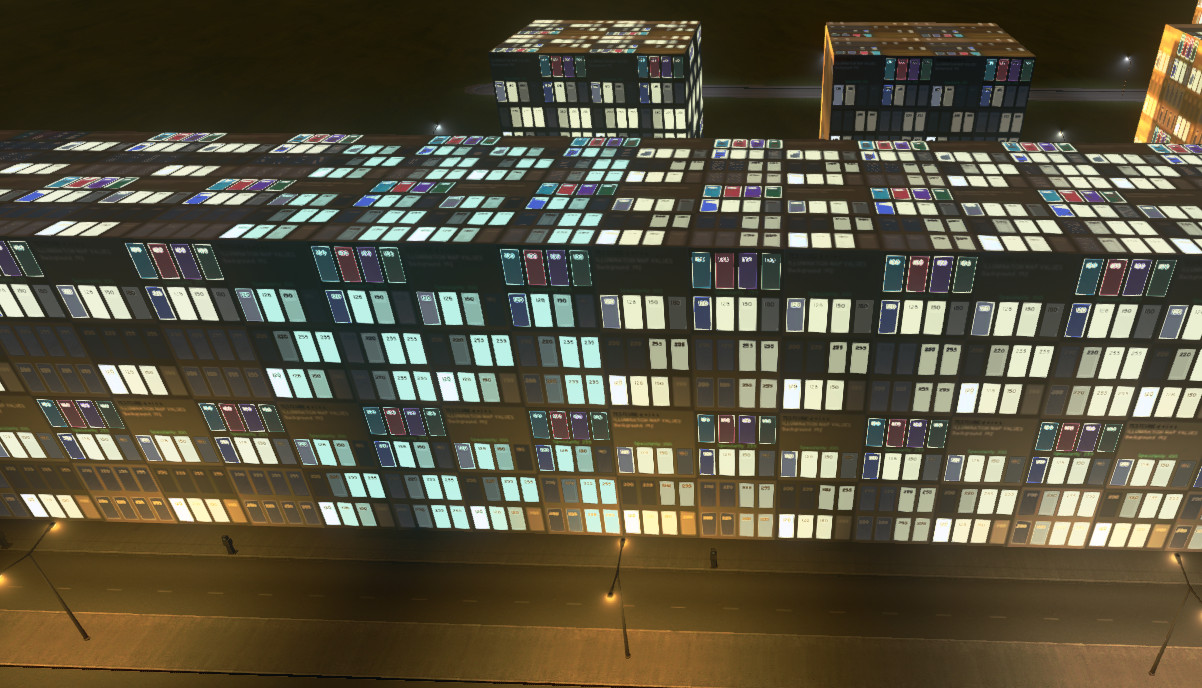
Ingame overview
I’m going to refrain from a lot of text here, because I think the images speak for themselves…
A bunch of them next to each other:
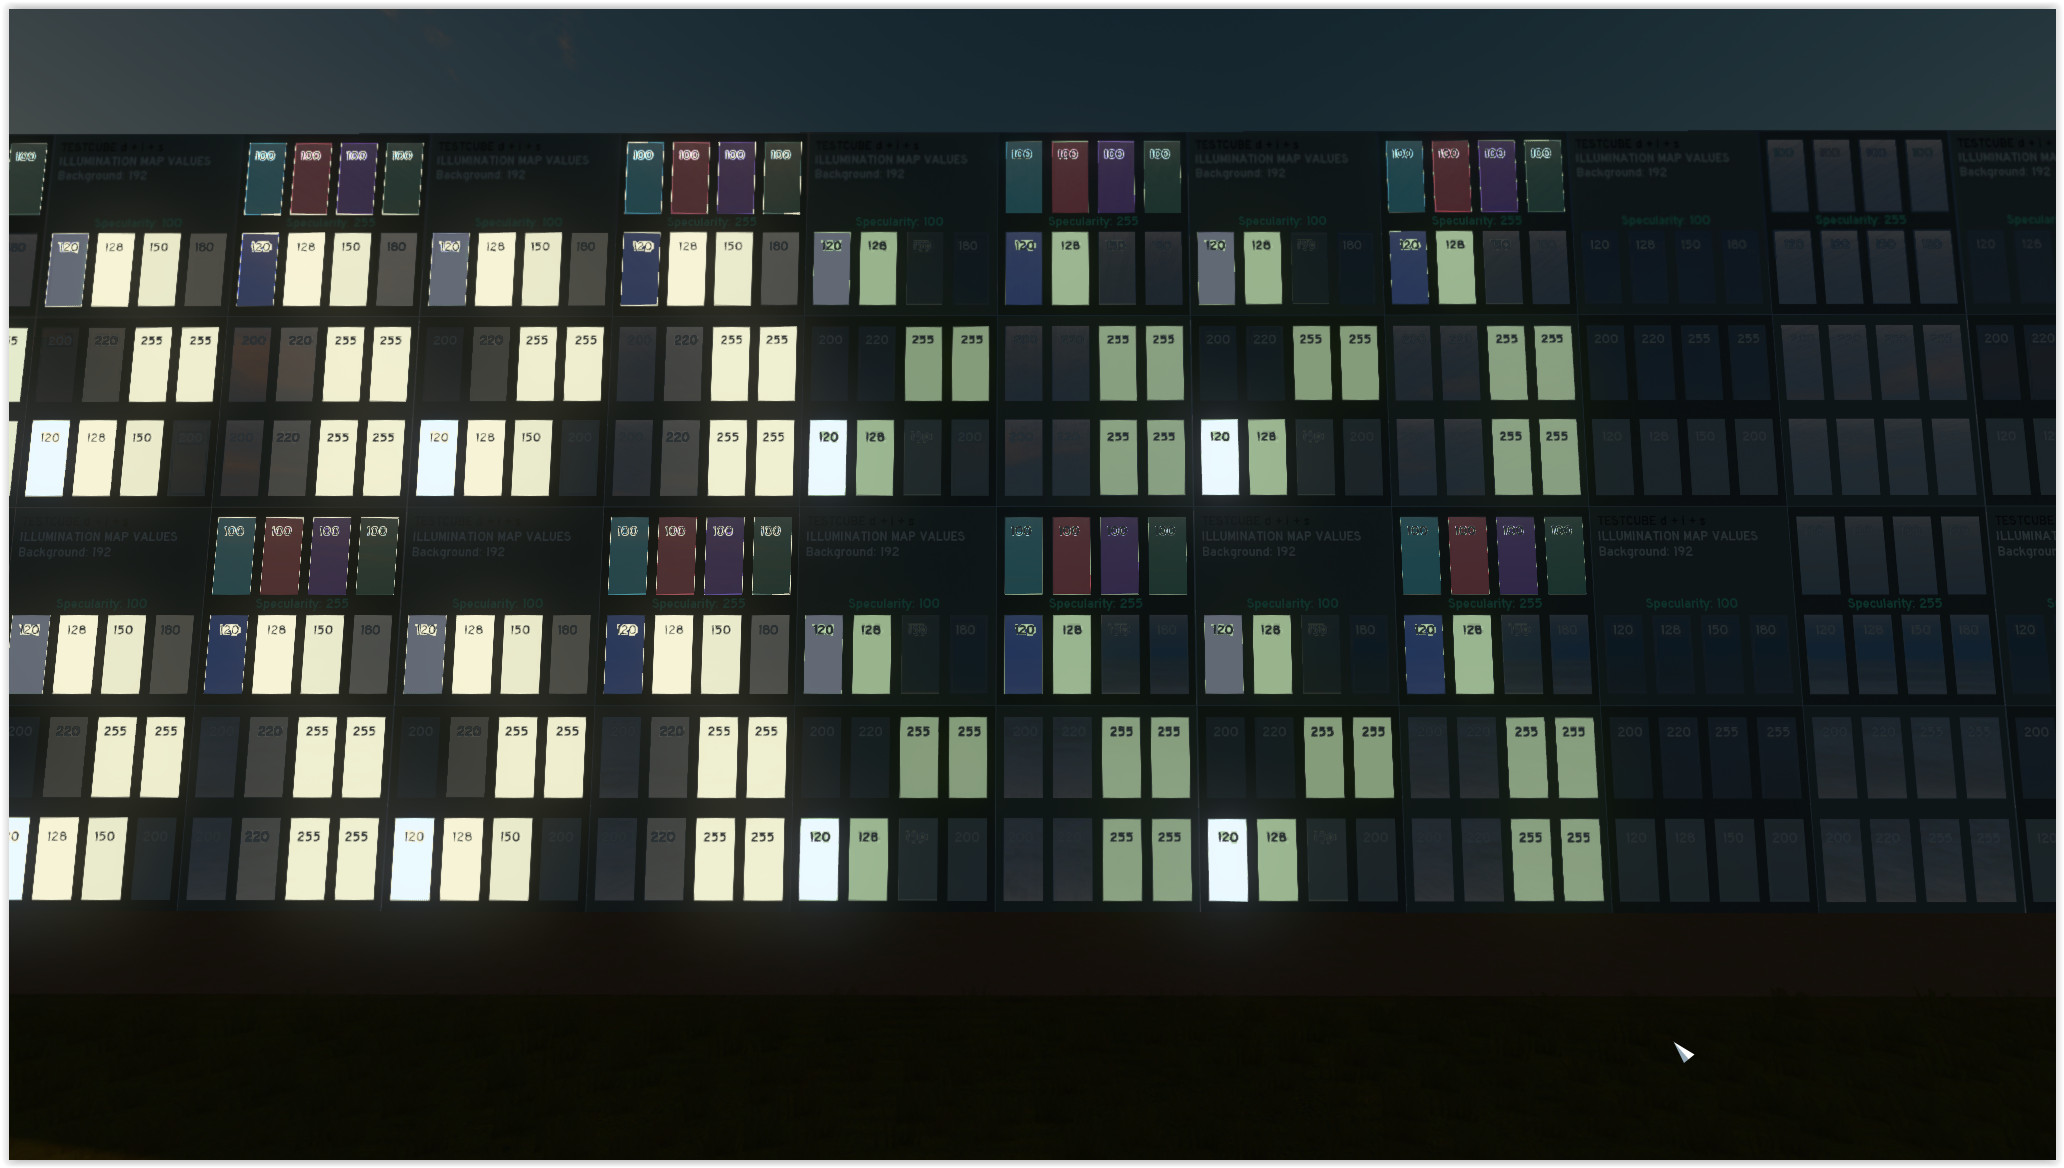
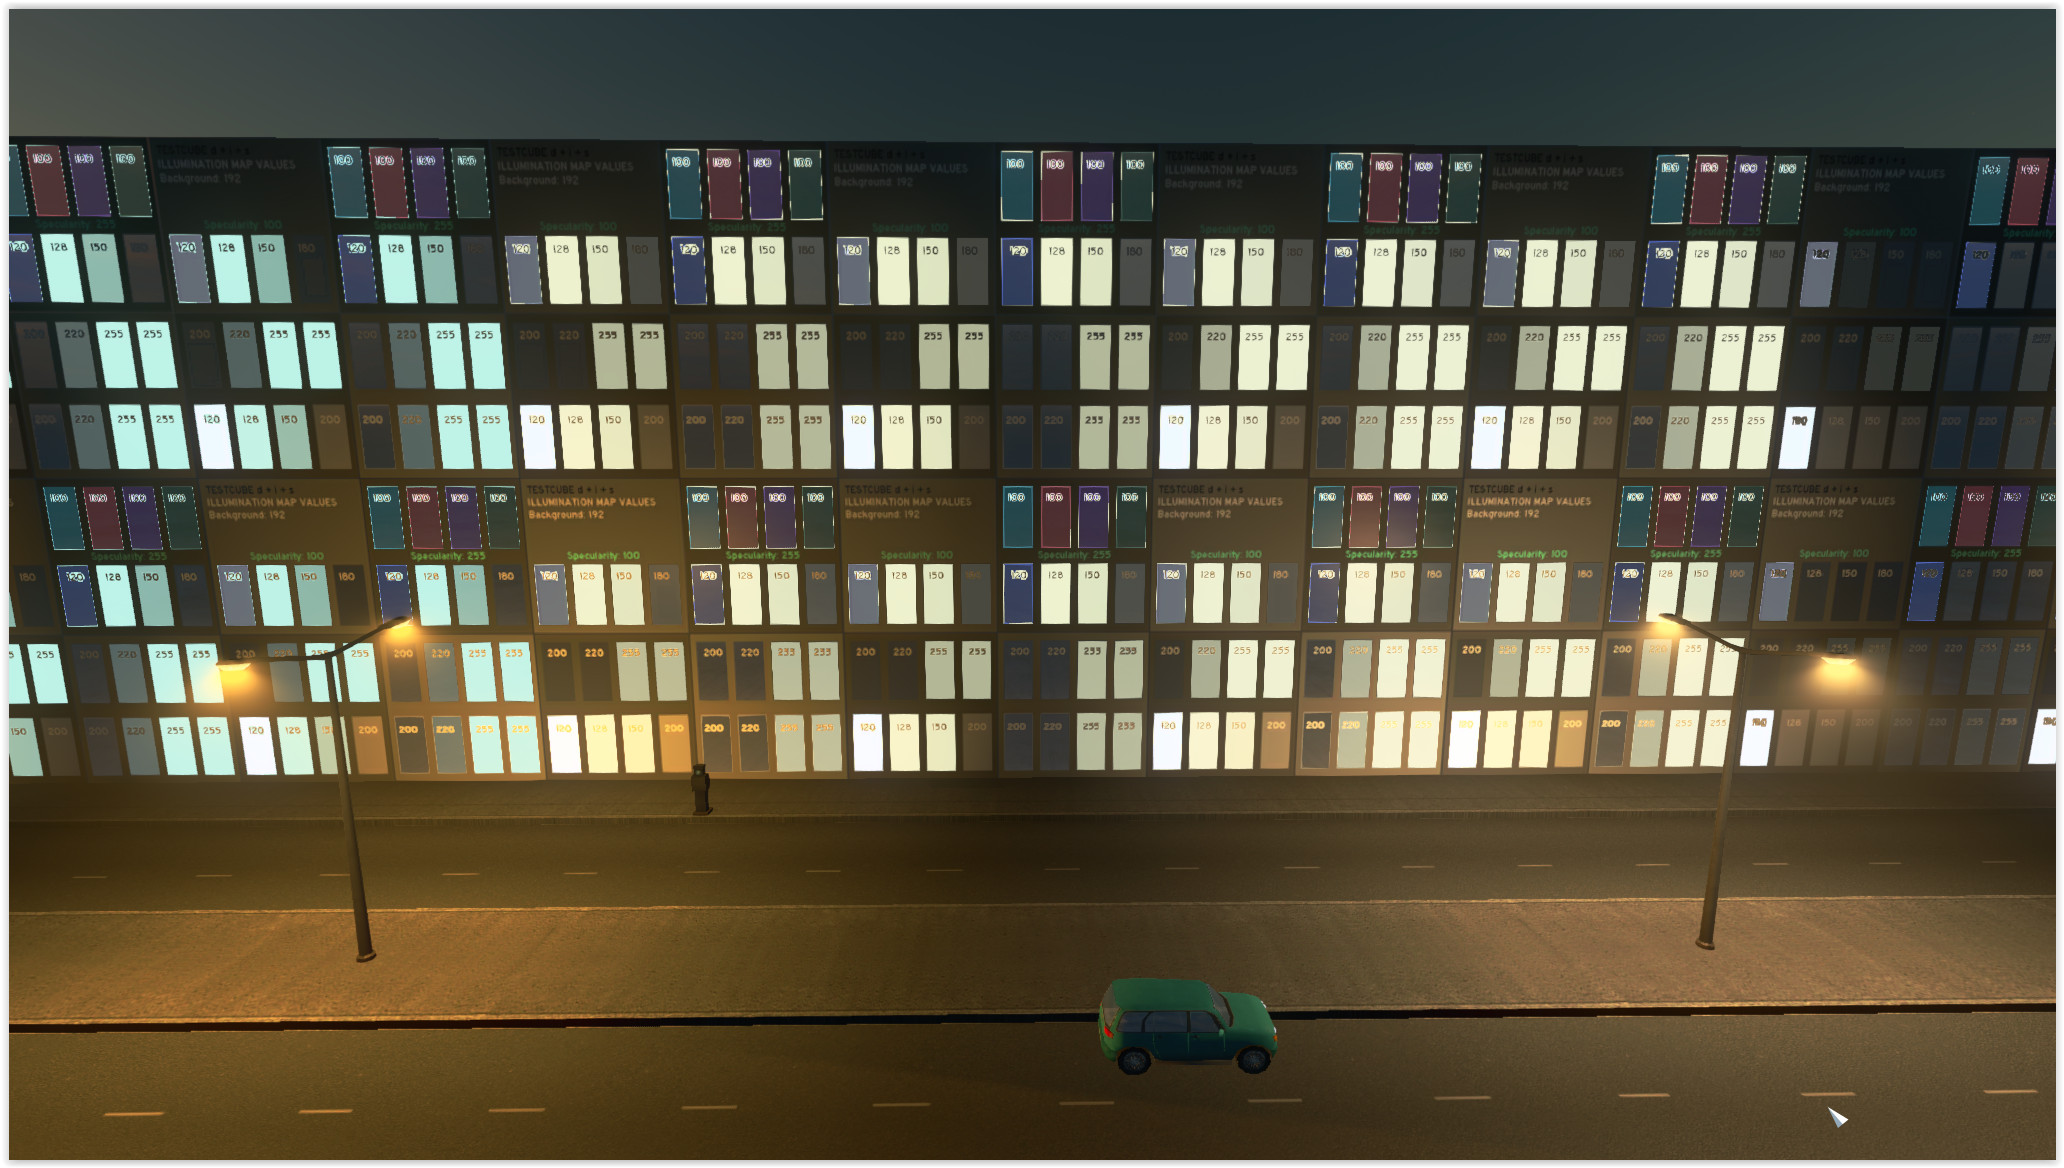
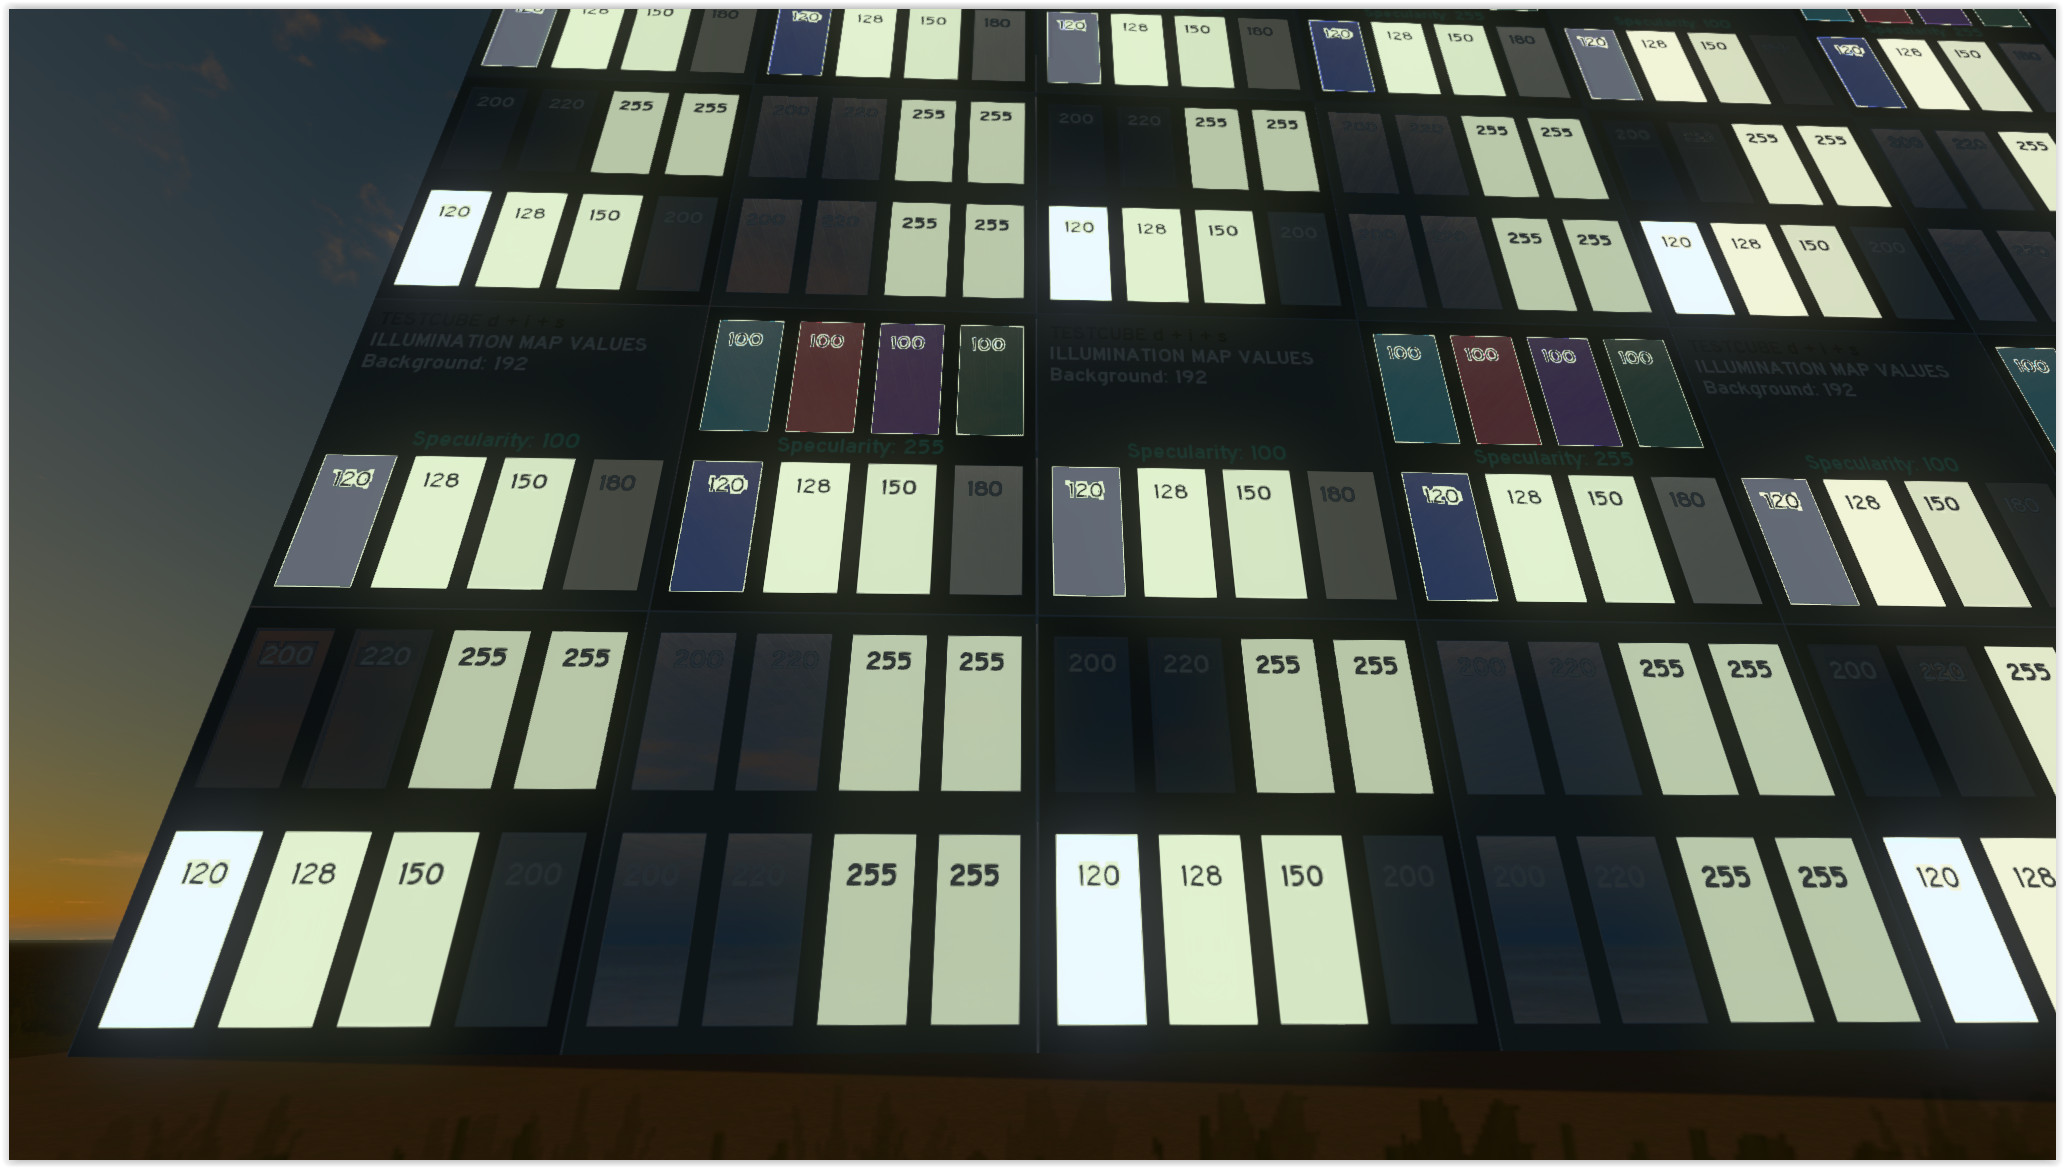
I think we can all agree how amazing this looks, even on a flat polygon! Notice values 128 and 255 look like they are connected to different seeds, so it does matter if you go above or below 192. It’s hard to analyze to what extent though…
Here’s two video comparisons created by stmSantana:
[link]
Artifacts, visual glitches and fixes
-
Combining lights with a strong specular on a horizontal surface results in a kind of z-fighting:
-
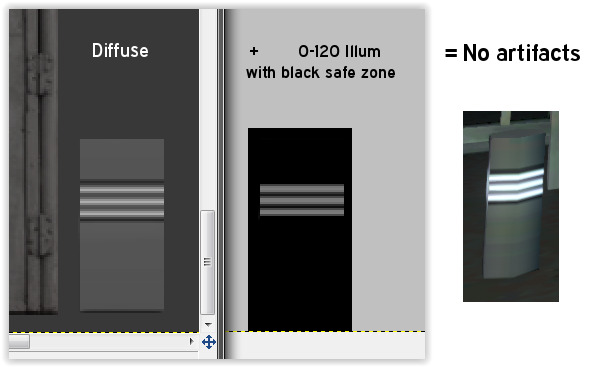
Transition areas will create very obvious artifacts and overlap problems:
This may also occur during daytime when the engine decides certain pixels are inside or outside the illuminated area. Pixel precision does not solve this, and it becomes more and more visible as you zoom away and the texture resolution is lowered to LOD levels (mipmaps). This causes severe aliasing and you will be left with light emitting jaggies and edges around every window.
- + Use separate polygons
- + Use clean and consistent values
- + Keep your seams vertical or horizontal, this will make mipmapping more reliable
- + Use a black background for non-randomly illuminated areas (0-120), a 2 or 3 pixel bevel already does the trick!
- + Don’t use a black blackground for randomly illuminated areas, use 192 grey instead.
- + Don’t go from 0-120 to 128-255 in any visible part of your texture, space out those UVs!
- + Don’t put unneeded stuff on top of your illumination maps (like massive numbers lol)
Final notes
That’s about it for now guys! I’m gonna share this guide as is so people can look into it, I’m sure it’ll grow larger as we learn how to use the illumination properly…
Thanks for checking this out & thank you to CO for implementing this system!