
Overview
With the right strategy SL1 becomes a piece of cake. Main bosses and four optional ones included.
Overview
Hi guys!
This guide will help you to do SL1 run in Salt and Sanctuary. No blocking, parrying or weapon combos needed but you should expect a lot of half-naked rolling. Most parts of the game will feel comparable to and sometimes even easier than some normal runs (e.g. Witch of the Lake) until you meet the final boss. No glitches (like long jump) will be used.
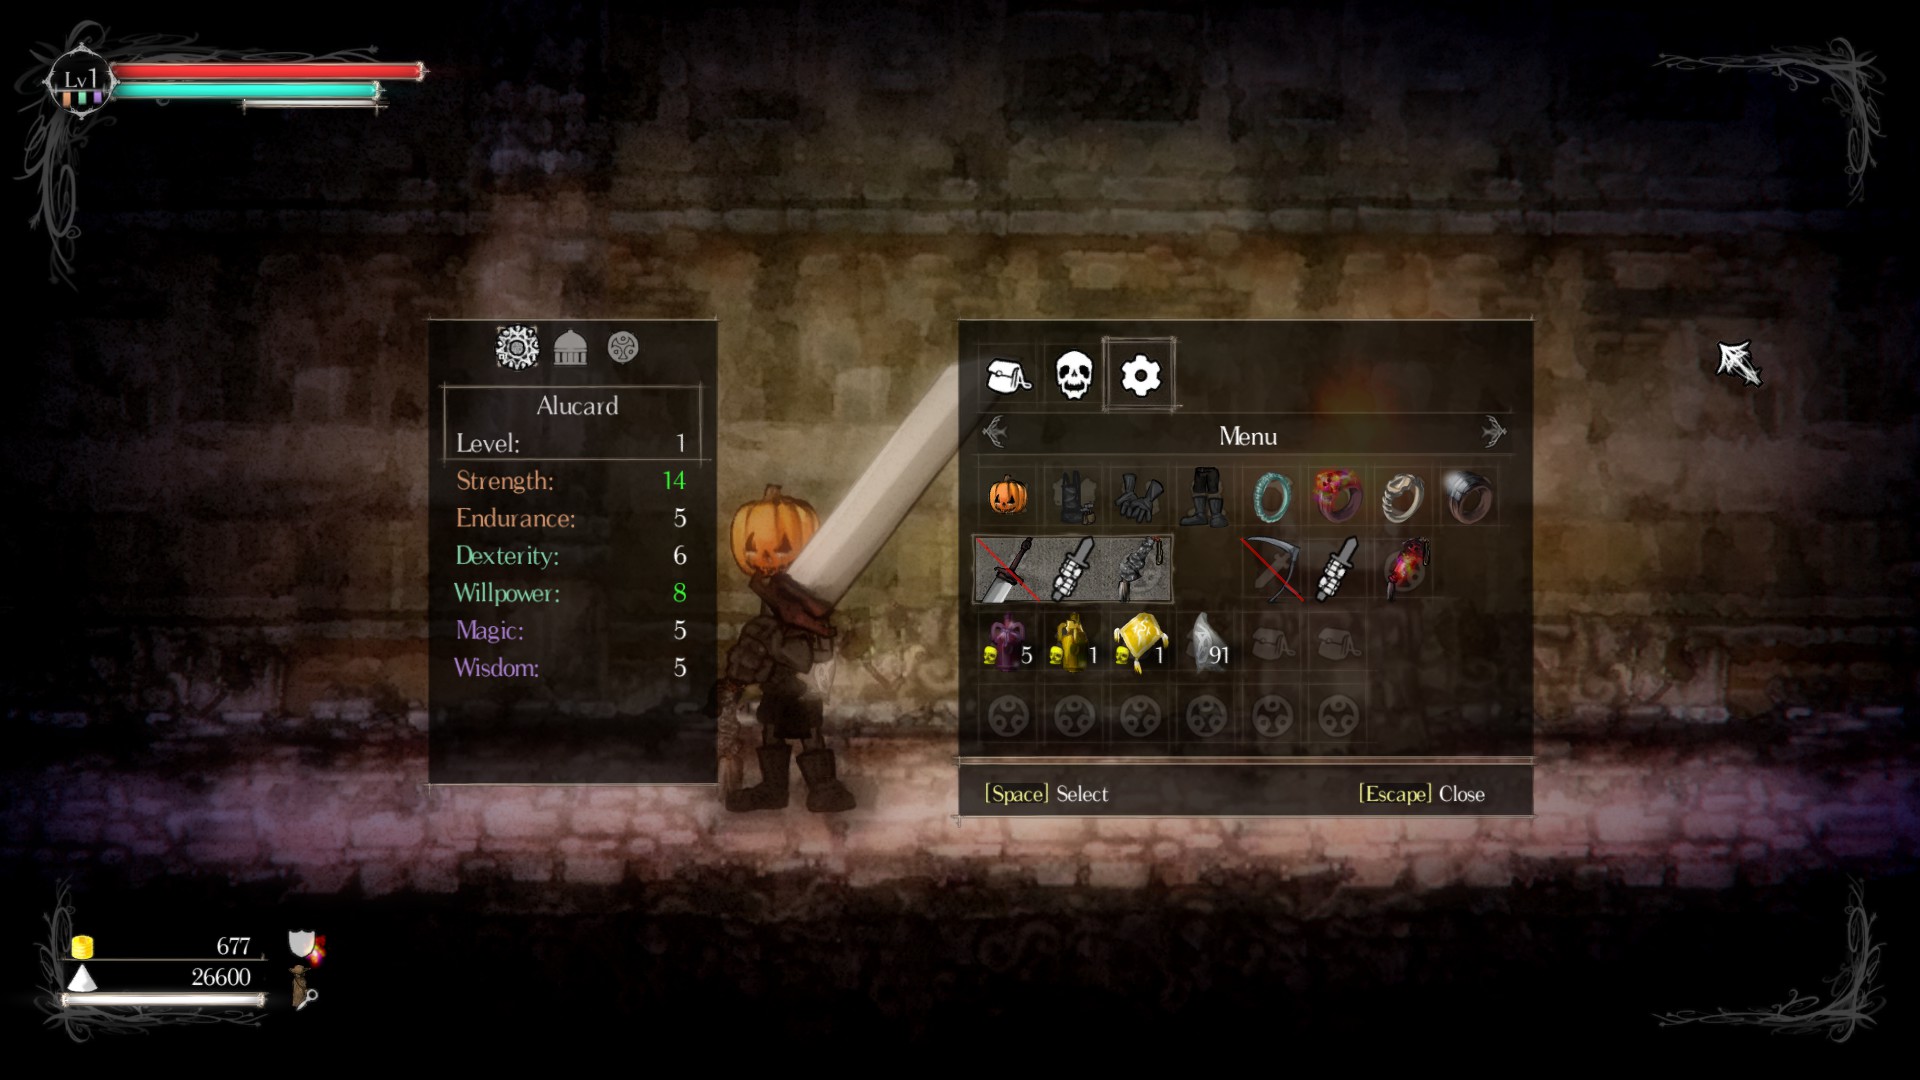
Main weapons:
- Haymaker (Class 1 Reaper)
- Shrouded Bulwark (Class 2 Greatsword)
Most important armor:
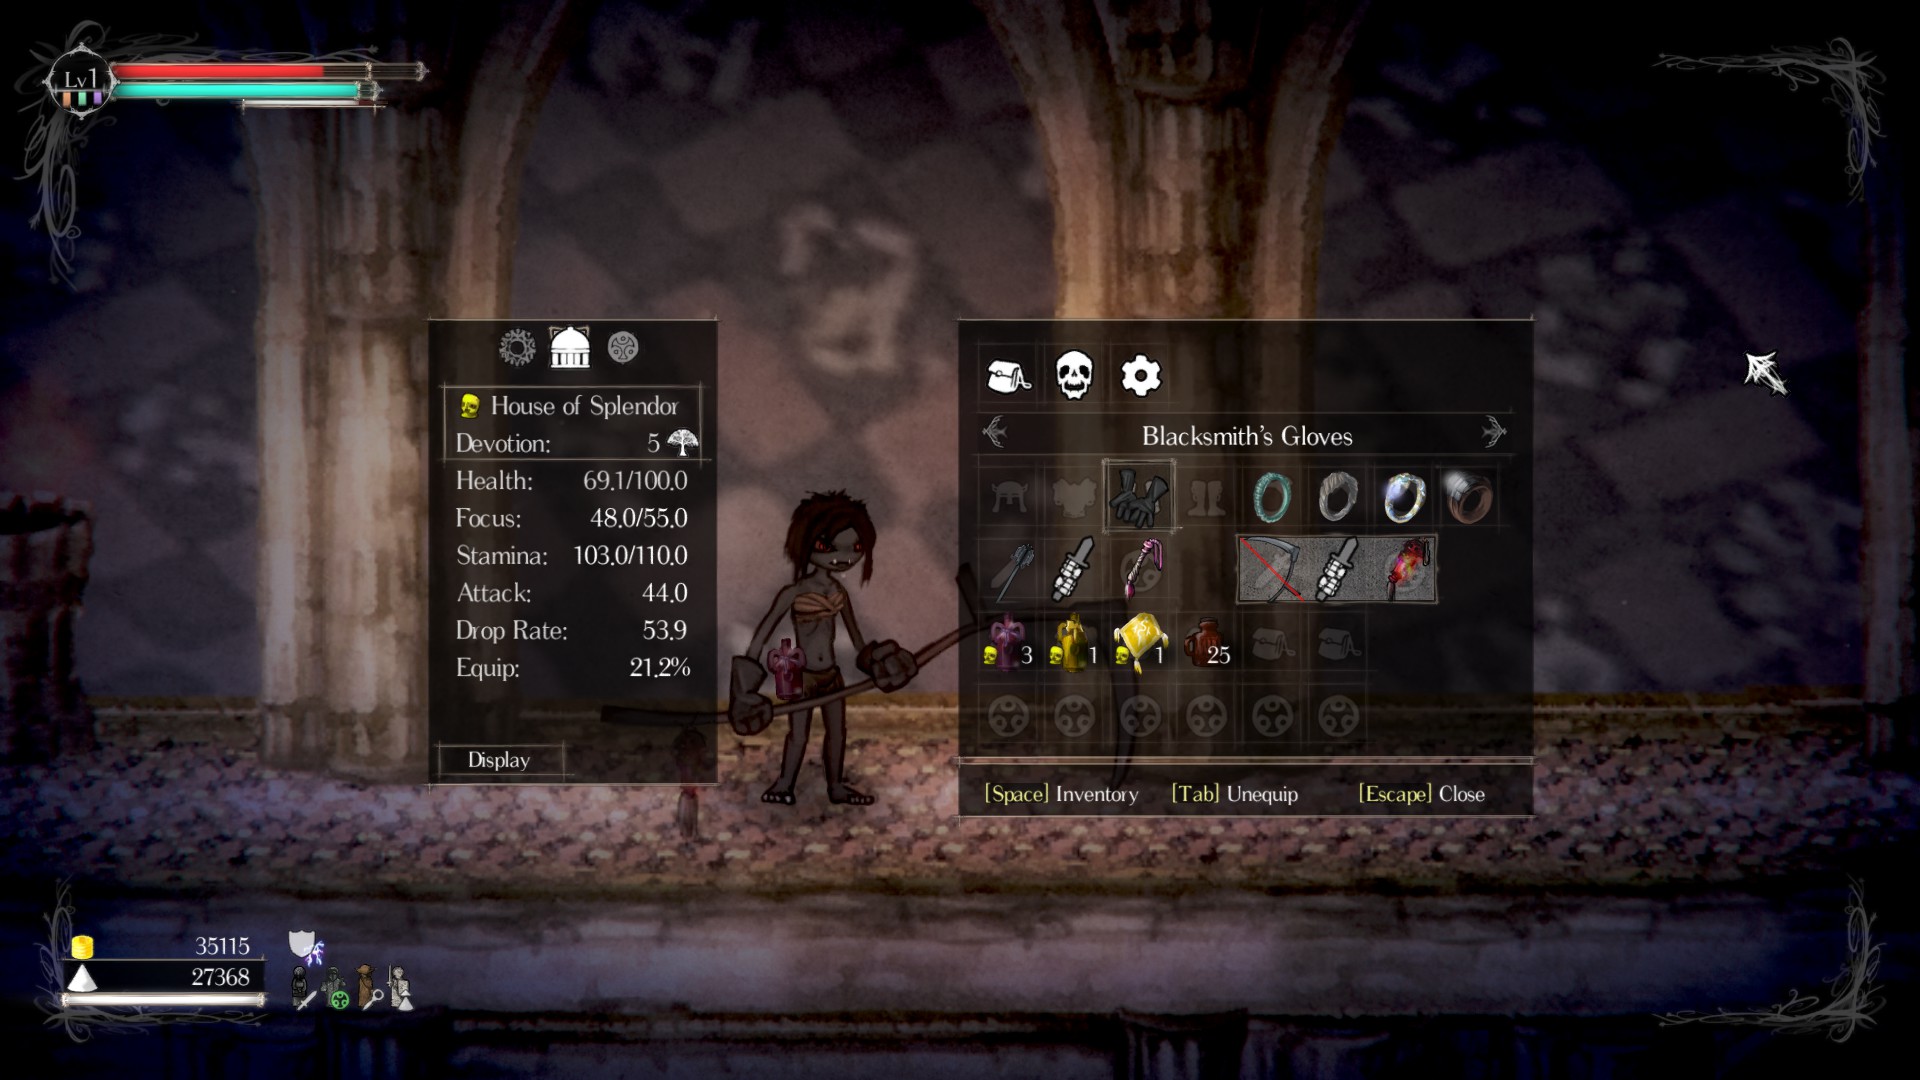
- Blacksmith Gloves (Attack up)
Most important rings:
- Plated Band (Str up)
- Brightcoral Ring (Stamina up)
Most important charms:
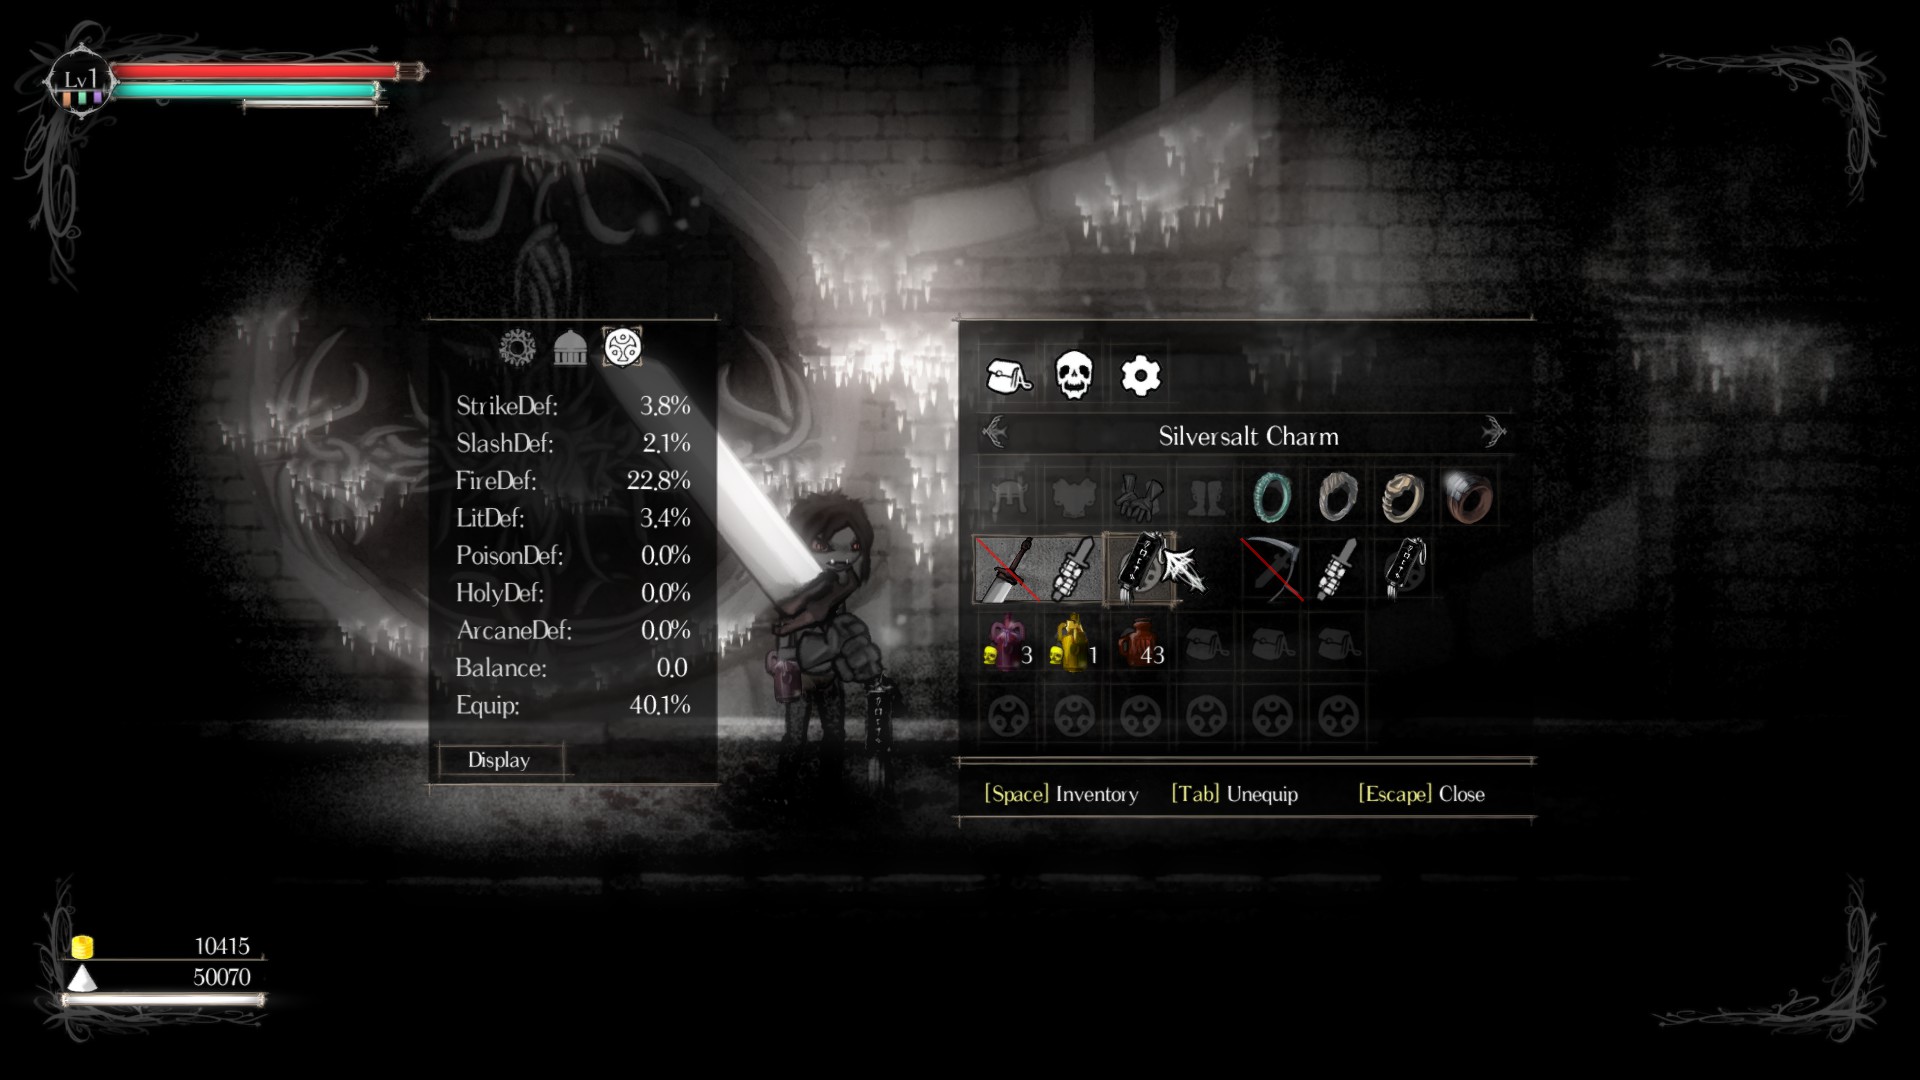
- Silversalt Charm (Attack strongly up)
Creeds:
- Devara’s Light (for Merchant)
- Stone Roots (for Wraithfang)
- The House of Splendor (for Goldenwine – the most OP item in the game)
Bosses:
- Sodden Knight
- Queen of Smiles
- Mad Alchemist
- Kraeken Cyclops
- Kraeken Wyrm
- Tree of Men (optional)
- Untouched Inquisitor
- Third Lamb
- Dried King
- Disemboweled Husk (optional)
- Stench Most Foul (optional)
- Carsejaw the Cruel (optional)
- Witch of the Lake
- The Unskinned & the Architect
- Kraeken Dragon Skourzh
- Nameless God (final)
Bosses skipped in Playthrough:
- Unspeakable Deep
- False Jester
- Bloodless Prince
- The Coveted
- Ronin Cran
- Muriella Mal
- The Forgotten King
Skill Tree:
You will have 5 – 6 black pearls depending on whether you defeated the Unspeakable Deep.
- Class 1 Swords
- Class 2 Swords
- Class 1 Pikeman
- rest optional

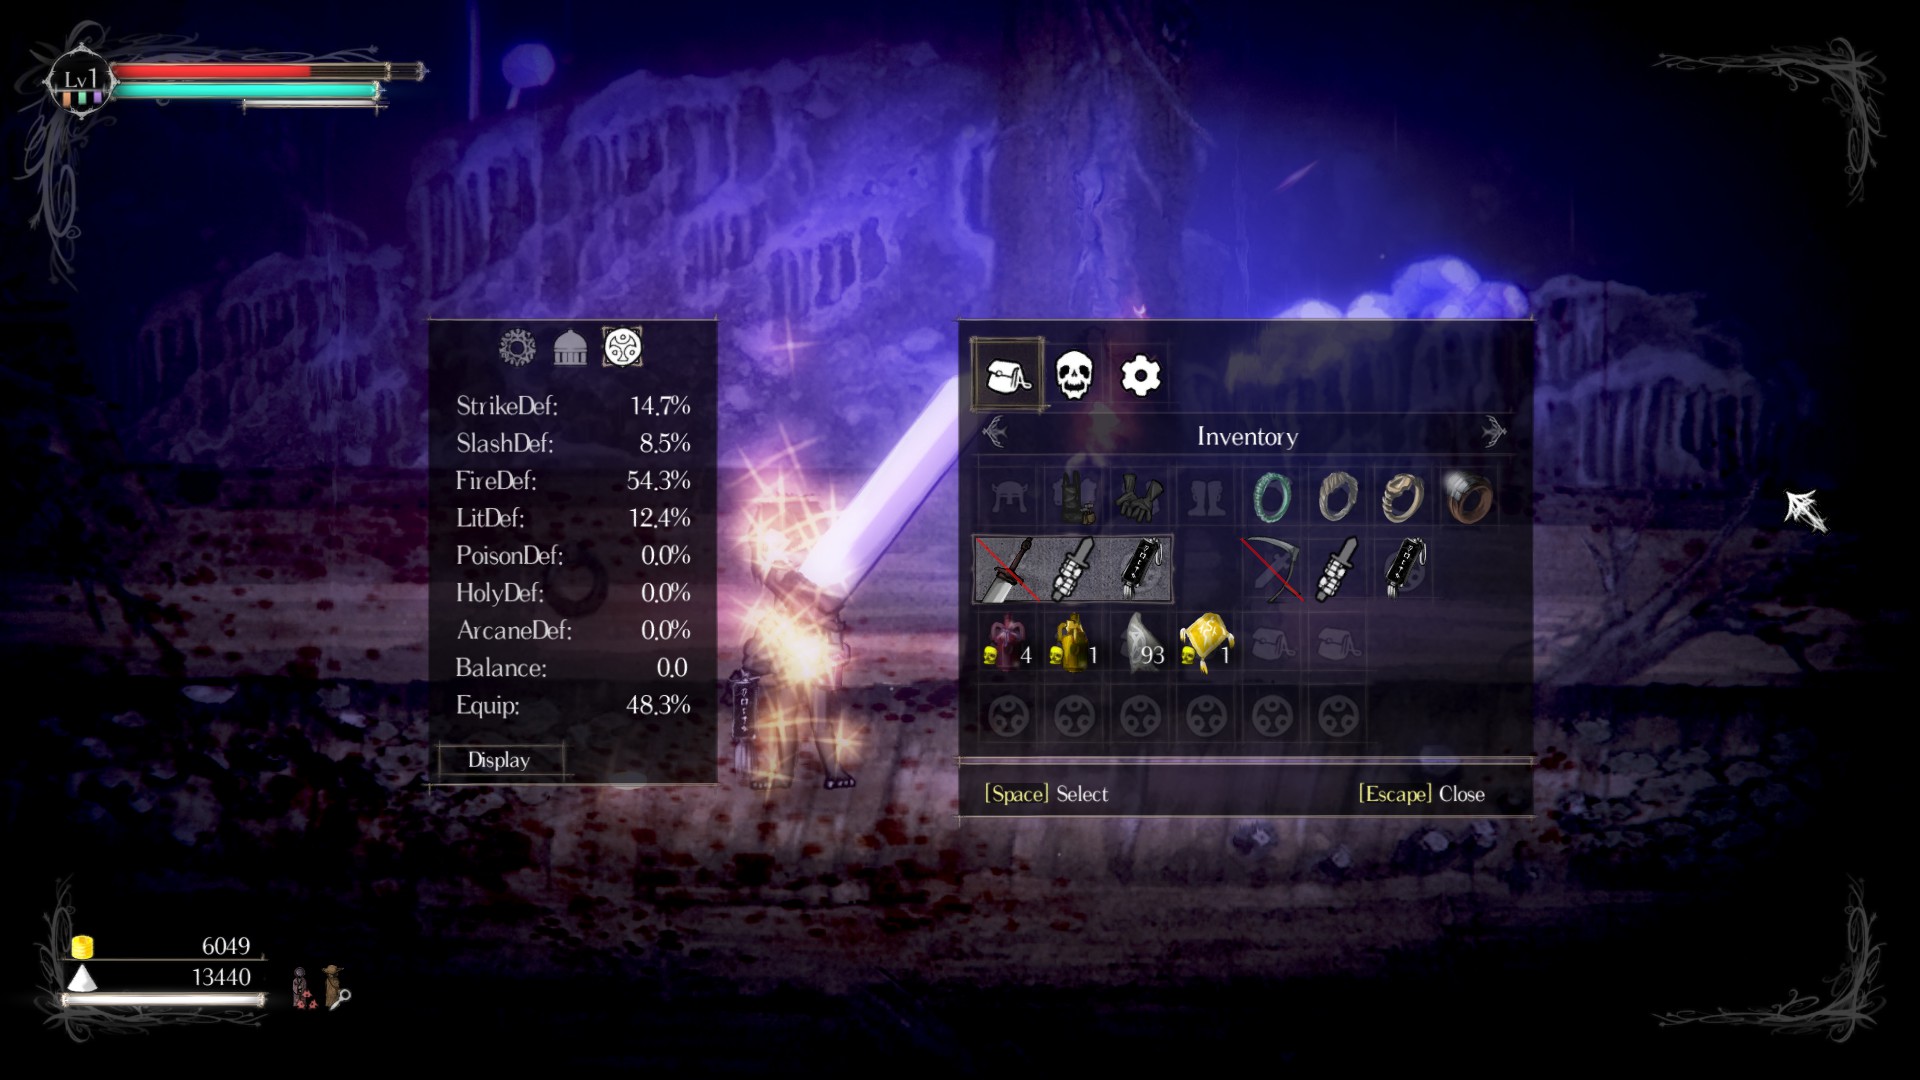
Basic Things to Keep in Mind
Stone Blacksmith ups Attack in area. Stone Alchemist ups Defense against magic. Save those for areas where you really need them.
You fast-roll below 25% equip load and slow-roll above 50%. However, at least your running speed (and possibly rolling too) scales with all values and not just these discrete limits. Stay light – it helps!
This guide expects you to be familiar with all bosses and locations.
Beginning the Game
Start as Pauper. Starting gift doesn’t matter.
———————————————————————————————————————————–
If defeated drops a black pearl and a Drowned Tome which is the final upgrade item for our end-game weapon the Shrouded Bulwark. Completely optional since the Drowned Tome can be found later in game.
———————————————————————————————————————————–
Festering Banquet / Sodden Knight
- Stone Merchant
- Stone Blacksmith
- 5 x Grenado (left upper part of castle)
- Bandaged Ring (reduces wounding)
- Rogue Armor set
- 3 x Rotten Walker Ear (for later)
- 3 x Feral Beast Tooth (for later)
Choose any Creed you want. If you place a merchant here you can always buy their standard sortiment. Our final creed will be the House of Splendor which sells Pitchfire. I chose Devara for Blessed Pages but you can also join them in the next sanctuary.
Devara’s Light:
- Lightvessel
- Blessed Page
- has best healing item (defense up after use)
The Three:
- Officer Armor set (Class 0 Heavy Armor, Lighting defense)
- Pitchfire
- Birian Firepot
Iron Ones:
- Shockstone
- Pitchfire
- Birian Firepot
- Cleric (only usable if you switch back and forth between creeds later on) sells Warhorn (Staminaregen up)
—————————————————————————————————————————————
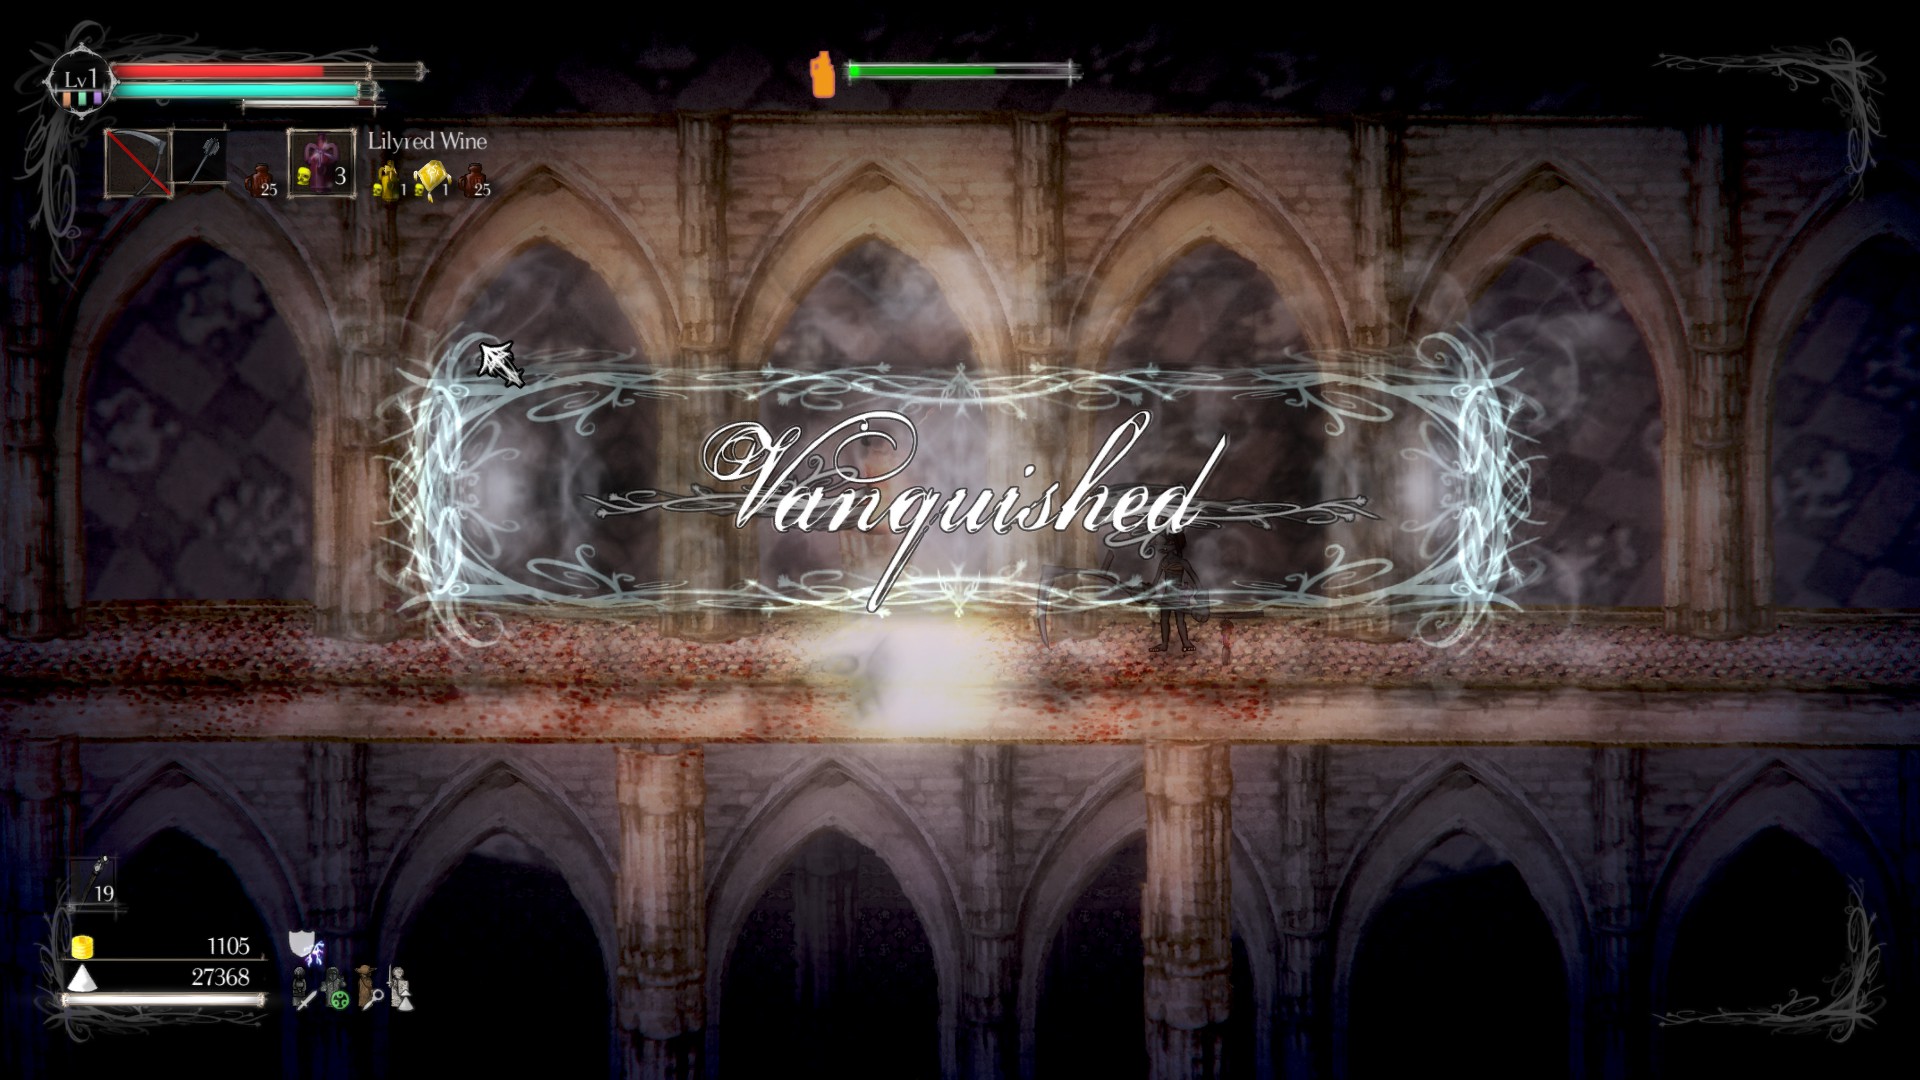
Really easy to kill with the 5 grenados. If you miss and can’t defeat him with your Pitchfork or Axe buy several Lightvessels or Birian Firepots and toss them at him.
—————————————————————————————————————————————
Bandit Pass
- Black Pearl
- Flanged Mace (on top off Bandit Pass sanctuary)
- 20+ Lightvessels (buy if you do not want tpo melee Queen of Smiles)
Proceed from the Festering Banquet to the Devara’s Light sanctuary and pick up the black pearl. Invest pearl in Potion skill.
If you do not have a Devara merchant in the Festering Banquet join the creed here and place a merchant. If the you used thestone merchant previously join and buy items from the cleric instead (no longer possible if creed is left).
Buy 20 – 30 Light vessels as soon as you have the money (possibly proceed to the Watching Woods sanctuary first and collect money).
Village of Smiles / Queen of Smiles
- Kismet Stone (Item discovery slightly up)
- Blacksmith Set
- Wrapped Link (rolling speed up)
- Kureioma (on the right of the The Three sanctuary)
- Stone Leader
- Fused Metal Ring (equip load up)
- Gray Pearl
- Ghastly Gourd (reduces wounding)
- Haymaker
- Black Pearl
————————————————————————————————————————————–
Easy to kill by tossing 20 Lightvessels at her. Alternatively use Blessed Pages and the Pitchfork.
————————————————————————————————————————————–
Proceed through boss room and pick up Haymaker for later. Pick up black pearl and invest in Swords 1. Put on your black smith gloves and never take them off again.
Watching Woods / Mad Alchemist
- 50 Wraithfangs
- Mossy Charm (Attack speed up)
- Stone Blacksmith
- Brightcoral Ring (Stamina up)
- Black Pearl
Pick up Brightcoral Ring in the woods part and never take it off again (30 more Stamina!!).
Join the Stone Roots. Place Stone Leader and exchange monster materials from the Festering banquet for 50 wraithfangs. If you play with mouse and keyboard change Mouse to enabled in the options to aim better.
———————————————————————————————————————————–
Easy to kill by tossing wraithfangs at him. Toss some, dodge attacks while he suffers from posion and repeat. Not all 50 are needed but 25 are not enough because he is easy to miss.
———————————————————————————————————————————–
Pick up black pearl after boss. Invest in Pikeman 1 and use the haymaker with mossy charm from now on –> great range and speed.
Sunken Keep / Kraeken Cyclops
- Plated Band
- Stone Alchemist
- Stone Leader
- Stone Merchant
- Jester’s Crown (Item discovery up)
- Vertigo Brand
- Gray Pearl (with vertigo brand, drop from ledge above sanctuary)
- Stained Pages (buy)
Pick up plated band on the left side of the Sunken Keep sanctuary and never take it off again.
————————————————————————————————————————————–
Use haymaker with blessed page and mossy charm. You can roll through his body and most attacks if you are below 25% equipment load or below 30-35% with the wrapped link ring.
————————————————————————————————————————————–
Avoid Mad Jester room with the key drop from the Kraeken Cyclops and get upside down brand from jester NPC.
Return to Festering Banquet. Buy Lock of Hair upgrade materials and Stained Pages from merchant sitting in lower level. Use Vertigo brand in upper left part to get another black pearl. Invest in strength node above Pikeman 1.
Castle of Storms / Kraeken Wyrm
- Impen Crest Ring
- Stone Guide
- Impen’s Charm
- Shadowflip Brand
- Soldier’s Poems
Be lightweighted and roll past everyting between Festering Banquet and Castle of Storms sanctuary. The Emberskulls are a bit easier to hit with the Flanged Mace than the Haymaker.
—————————————————————————————————————————————
Use Haymaker with mossy charm and Stained Pagesor Blessed page. If you have trouble with the boss place a stone guide (item discovery up) into the sanctuary, put the Jester’s Crown and Kismet Stone on and farm Soldier’s Poems upgrade materials off the Split Swordsman beneath the shrine on the right of the boss. Spice up your Blacksmith set and the Haymaker and try again.
The fight can be really difficult due to the boss landing outside of the screen and other glitchy behavior.
—————————————————————————————————————————————
Get brand, buy more Stained Pages or Soldier’s Poems from the relocated merchant and gtfo.
Red Hall of Cages / Tree of Men (optional)
- Lord’s Orders
- Stone Blacksmith
- Gray Pearl
- Pitchfire (buy)
- 3x Drowned Idol
Put on your best farming gear and farm the Split Swordsman before the Tree of Men for 1 or (much more) Lord’s Orders upgrade material. Make Haymaker spicy plus any armor you want.
—————————————————————————————————————————————
The boss fight is optional changing creeds afterwards is not!
Slap the Hanging Men with your Haymaker and Blessed or Stained buff. Two hits should kill each enemy. It can take a few tries to learn how to survive this phase since the Hanged men’s pretty much one-shot you. Phase 2 gets easier. If you have trouble with wounding wear Ghastly Gourd (careful -heavy!) and Bandaged Ring. After phase 1 stay on the upper and middle plattforms on the left. Only focus on dodging. Whenever you are not in immediate danger toss wraithfangs. The boss is will slowly die from the poison while you dodge. If the boss dies from the poison immediately after you there is a high chance that the game counts it as killed.
—————————————————————————————————————————————
Find the House of Splendor Creed hidden behind a wall next to the three spinning wheels inside the red hall of cages. Change creed! Buy Piychfire at merchant.
Farm three drowned idols of Clay Phantom for later or go into the Hager’s Cavern where they are lying around in the upper area. If you go to Hager’s cavern you can also pick up the Whistlebone charm which reduces stamina cost for attacks but it is not very important to have.
Leave the Red Hall of Cages/ hager’s Cavern and proceed to Dome of the Forgotten.
Dome of the Forgotten / Untouched Inquisitor & Third Lamb
- 2 x Goldenwine
- Amber Idol
- Goldenstone Ring
- Hardlight Brand
Place stone leader in this or the Cran’s pass sanctuary and level devotion up at least twice to get 2 Goldenwine (ups attack and defense). You will have encountered 5 types of enemies that can be looted for devotion up till now. The Goldenwine consumable is insanely good and will more or less replace armor for the rest of the run.
Transmute Amber idol and Kureioma to Shrouded Bulwark for later.
Proceed through area to small shrine. Roll throught the enemies blocking the entrance to the Untouched Inquisitor after using undersight vial. The Whispermen will follow but stay on the very right side of the boss fight and can’t move from there.
—————————————————————————————————————————————
Use Haymaker with Stained page. Not much to the fight.
—————————————————————————————————————————————
The Third Lamb will be the last difficult fight you will have until the Unskinned and the Architect. – feel free to place a blacksmith and alchemist in the sanctuary. I found the easiest way to get to the Third Lamb is going up the ladder in the inquisitor room and using the elevator from there.
—————————————————————————————————————————————
You have to be able to roll through the boss a lot – so take of your clothes (except gloves) and put on the Wrapped Link for more rolling. The boss is weak to slash and fire so your Haymaker with Pitchfire and Impen’s Charm. Use Goldenstone Ring if you want a bit lightning defense (boosted by alchemist).
—————————————————————————————————————————————
Use the newly obtained Hardlight brand to proceed right to the Ziggurat of Dust sanctuary. Leave Ziggurat again to climb over it to unlock the Far Beach sanctuary and then take the boat to the Fort Beyond the Mire.
Fort Beyond the Mire
- Defender’s Ring (defense to strike up)
- Black Pearl
Leave the Iron Smith sanctuary to the right. Pick up Defender’s Ring. Jump on top off the Fort by swining a short, a fast weapon after wall jumping. Pick up final black pearl.
Remove Pikeman 1 skill with Gray Pearl and invest in Swords 2 skill. Then, remove Strength skill and buy Pikeman 1 again. You can now use the Shrouded Bulwark. Return to Ziggurat of Dust.
Ziggurat of Dust / Dried King
- 3 x Drowned Locket
- 1 – 3 x Drowned Censer
- Stone Charm (ups stagger)
- Dart Brand
Farm Lietch for Drowned Lockets and Drowned Censer. If they are to difficult you can also rowned Lockets from the easy Goaler enemy in the Red Hall of Cages. If you do not want to farm all censers now, they can be picked up in the Pitchwoods if you kill Carsejaw the Cruel .
Spice up your Shrouded Bulwark to IV or higher. It deals “extra blunt” damage which the Dried King is weak to.
———————————————————————————————————————————–
Put the Stone Charm on and use Shrouded Bullwark with Blessed Page. The boss staggers so insanely easily that I didn’t even get hit during the fight. Just time your stamina to regenerate enough for one hit and hit him when he is about to attack.
———————————————————————————————————————————–

Grab the dash brand and proceed to Mal’s Floating Castle above the red Hall of cages (Hardlight plattforms lead up to it).
Mal’s Floating Castle
[h1Things to Get][/h1]
- Silversalt Charm (ups Attack A LOT)
- Upgrade items (optional)
Grab the Silversalt Charm close to the lever. Congratulations you now have all equipment to make it to the end of the game.
The Silversalt Charm increases your attack much more than the bloodflower charm while consuming salt per hit. But it only costs 5 measly salt per hit since we are SL 1!
Test with Shrouded Bulwark VII on Crypt Keeper:
Farm Lord’s and King’s Orders from Crypt Keeper or proceed directly to the Far Beach sanctuary.
Travelling to Siam Lake
- Lord’s Orders
- Drowned Tome
From the Far Beach Sanctuary go down the ladder and dart jump to the Pitchwoods. Upon arrival stay away from the Spindlebeasts on the left. Instead, unlock one of the gates between Siam Lake and here for later. Do the jump puzzle to open the gate to the shrine on the right side of the Pitchwoods. Pick up Lord’s orders while running past the Impaled Horses.
When the way to Carsejaw the Cruel is free, ignore him and go to the Spindlebeasts. Use the platforms and dart jums to get over them into the Ruined Temple. Proceed to Siam Lake Sanctuary and claim it.
Now go to the Betrayer’s Creed on the right of the Siam Lake sanctuary. Drop down between the gates and follow the water. Roll on the wood plattforms to the Betrayer guy. When the plattforms are restored dart jumpo to the left to get a Drowned Tome. Use it to max upgrade you Shrouded Bulwark and either engage the Witch of the Lake or go to Hager’s cavern for some optional bosses to get a King’s Orders.
Hager’s Cavern / Disemboweled Husk (optional)
- nothing needed
This and the next area are much easier if you already have the dart jump. Talk to the guy above the sanctuary.
————————————————————————————————————————————–
Completely destroy the Husk with your Shrouded Bulwark VII, Pitchfire, Silversalt Charm and Golenwine. Stay below 50% equip load to roll through him.
————————————————————————————————————————————–
Return to Ruined Temple or go to Mire of Stench.
Mire of Stench / Stench Most Foul (optional)
- Mossy Ring
Dart jump makes the area easy. Lepris doesn’t stand a chance against the Bulwark and Goldenwine. You can use your creeds Cleansing Cloth consumable if poisoned.
With Lepris ears you can max out your Creed Devotion but it is not necessary because you will probably never need more than 4 Lilywine, 2 Goldenwine and 1 Cleansing Cloth (Devotion 4).
————————————————————————————————————————————–
Easily destroy the Stench Most Foul with your Shrouded Bulwark and a Blessed Page.
————————————————————————————————————————————–


Return to Ruined Temple.
Pitchwoods / Carsejaw the Cruel (optional)
- King’s Orders
Before attacking Carsejaw the Cruel talk to the Masterless Knight at the bottom of the Ruined Temple close to Siam Lake.
———————————————————————————————————————————–
He is weak to blunt damage and fire. Easy job for the Bulwark and Pitchfire.
———————————————————————————————————————————–


Meet the Masterless Knight again to get a King’s Orders. If you didn’t farm Drowned Censers earlier you will find them here, too. Use the King’s Orders to upgrade the Haymaker or your Blacksmith Gloves to maximum.
Now it’s time for the Witch of the Lake.
Siam Lake / Witch of the Lake
- nothing
Place a Stone Blacksmith into sanctuary for more Attack. I’m not sure about this but I feel like Stone Mage improves your weapon buffs, so place one, too. The Stone Alchemist buff against magic is probably not necessary.
————————————————————————————————————————————–
The fight is unexpectedly easy. Use Shrouded Bulwark VII with Pitchfire or Blessed Page. Despite her resistance to blunt damage you will kill her in 5, or at most 6 hits. If you wear only the Blacksmith Gloves VII and the Defender’s Ring you are below 50 % equip load so that you can roll through her and still won’t get one-shoted by her melee. Instead, her strike will cause you to fall down which then makes her to miss with the second melee attack. When she does her magic barrage you have enough stamina to get behind her and hit her twice in a row. Do that twice and hit her once when she is in melee mode. Finished.
————————————————————————————————————————————–


Proceed to Salt Alkymancery.
Salt Alkymancery / The Unskinned & the Architect
- King’s Orders
- Stone Alchemist (mimic, pretty central in area)
From the Sanctuary go upwards for a while, jump to the right over platforms. Follow platforms outside and find Mimic with King’s orders in the next area. Upgrade either your Blacksmith Gloves or the Haymaker to maximum.
Place a Stone Alchemist into the sanctuary because the Architect hits hard.
———————————————————————————————————————————–
The first boss who doesn’t immediatley crumble under your Bulwark. The Bulwark is pretty heavy which makes it difficult to roll through the Unskinned attacks so use the Wrapped Link. If you touch one of the Architcts traps you’ll most likely die and the Unskinned loves to kick you right into them. Kill the Architect first to get rid of them. My best tip is to use the Bulwarks range which allows you to often hit the Architect and Unskinned simulatneously for good damage. Both are weak to Arcane so bring Stained pages.

———————————————————————————————————————————–

Proceed to Crypt of Dead Gods.
Crypt of the Dead Gods / Kreaken Dragon Skourzh
- Stone Alchemist
- lots of Salt Pouches (buy)
Place Stone Alchemist and Stone Black Smith into Sanctuary because you will get zapped by lightning and can’t hit very hard.
————————————————————————————————————————————–
Skourzh is really fat so you want to be light and use the Wrapped Link to roll through as best as possible. Use your Haymaker VII with any buff you want. Take off armor except gloves. Stamina regen can be upped by the Mossy ring. Be agile and hit the electric bolts if they block your way to the boss.
————————————————————————————————————————————–


Buy lots of Salt Pouches and proceed onwards to the final stage!
The Still Palace / Nameless God
- nothing
———————————————————————————————————————————–
Sadly, the Nameless God packs quite a punch and is the only boss that makes you really feel that you are SL 1. No other options than to learn all his moves. Use your Bullwark, any buff and wear only your Blacksmith Gloves or the Haymaker with any kind of armor you want to wear. With Goldenwine buff and the Blacksmith gloves alone you cwill survive 1 of his standard sword attacks and the grab but it will wound you.
If you get killed by him use a Salt Pouch to re-enter the fight with the Silversalt Charm buff. The charm only needs 5 salt per hit so the smallest Salt item suffices. While it is possible that the Redhair Charm (Attack up at low heath) adds higher damage but it is annoying to get your character to low health for every attempt and you won’t be ble to take any hits.
Try to stay in the middle of the arena, he seems to do his magic attack less often if you are close to him. You primarily want to attack him when he is projectile casting his sword somewhere into the arena. Run away from the sword and him once. Dodge immediately because he always gets the sword back instantly and then swings forward (even if you are standing behing him).
Your second best option is to hit him after he charged at you. With the Bulwark it is difficult to roll through him though and you have to practice the timing well. He often does 3-4 sword hits in a row and then pauses long enough to be hit. When he is pausing or walking backwards is a good time to reapply your buff.
If he starts casting magic don’t dart jump on the wall until the projectiles start moving or else you have no jumps left to avoid them. When the magic shoots at you wall jump upwards twice to avoid it all and then jump over the Nameless god who will come charging into the wall. Sometimes the boss fight intro will play again if you get too high up but it doesnot stop his attack.
Good luck!
———————————————————————————————————————————–

Buy his armor at the merchant in the Castel of Storms for the looks and enjoy the ending.
Thanks for reading!
