Overview
This is a more advanced guide on how to navigate and manipulate the market for quick and guaranteed profits. I will teach you a few game mechanics that most other traders don’t even know about, and share a few “Schemes” to make the market bend to your will.You will not find any price charts in this guide. The game is designed in such a way that each playthrough has a different economy, so the charts that I have will not be applicable in your world, and will only harm your trading experience. See part 2 in the “Pro Tips” section for more detailsIf you’re absolutely new to the game and you’re looking for some basics instead, there are several excellent guides that I’ve linked below – check them out before reading mine, otherwise this guide might be a bit too much.
A few pro tips
Firstly, a few tips that you should know before starting:
1) Having horses in your inventory can speed up your movement speed and increase carrying capacity.
Party speed, not to be confused with a speed party, is absolutely necessary for any scheme. You need to quickly travel between towns, outrun bandits, carry copious amounts of dank loot, and catch up to caravans. However, it’s a complicated topic, and would be an awkward fit if I discussed it here, so I made party speed into its own separate guide: [link]
2) Each town’s 3 workshops are randomized in each playthrough. The resources that the villages produce are not randomized.
In other words, when you start a new game, the 3 villages that belong to Pen Cannnoc will always be producing clay. However, Pen Cannoc itself will have 3 random workshops; the chances of Pen Cannoc having a pottery shop are increased due to the surplus in clay, but I’ve had playthroughs where it didn’t start with a pottery shop, so in the end it’s random.
This means that any price charts or trade routes that you’ve seen in any guides up until now are likely useless to you. There might be some overlap, but you’re playing in a differently generated world than the guide’s creator, so you can’t rely on their information.
3) Use town tags to make your life easier
Zoom out, hover over one of the towns’ tags, and right-click. This will open an interface with details on that town. From this interface, you’ll see the town’s NPCs on the top-right. Hover over each one, and it’ll tell you what they own in that town – including workshops. This is how you can identify the types of goods that any town produces, from anywhere on the map.
4) If you buy, change, and sell a workshop in a town, it won’t revert back to its original state.
Buy a velvet weavery, change it to a brewery, sell it, and now the town doesn’t have a velvet weavery. How interesting, sounds exploitable! (it is, you’ll see)
5) Brigands are a curse, but can also be a blessing.
If you have a large enough army, they’ll leave you alone, but they will hinder NPC supply chains. If your money scheme relies on goods produced in town, then that town will depend on villagers and caravans to supply those raw resources from nearby villages and towns. Roaming brigands can scare off or even kill villagers/caravans, thereby preventing delivery of raw resources, and thereby limiting its ability to turn raw resources into trade goods.
However, this can be a blessing. – if a town is starved for a specific raw resource, it’ll offer more to buy it from you. If there’s enough banditry in the area, it might even ward off rival NPC caravans, making things even more profitable for you. So next time you see a hefty chunk of looters, maybe consider leaving them to roam the area, as it might be more profitable to you.
6) A few other guides that I used to help me figure stuff out.
I’ll be cannibalizing some of their info for this guide, and i’ll be referencing some of their sections:
[link] – a very comprehensive guide written by One Classy Camel. It outlines the basic layout of the map, the resources, production sites, etc. I highly recommend reading it before reading mine. As you read his guide, keep my second pro tip in mind – he didn’t consider the randomization of town workshops when he made the “Item Production Maps” section, so the maps that indicate workshop sites aren’t really useful to you, but the raw resource production maps (flax, cotton, fish, clay, iron, etc) are actually indicating villages, and therefore reliable and pretty useful.
– Spiffing Brit is a tea-loving youtuber and video game exploitaire! This video has some useful tips, and is fun to watch. Just be sure to prepare a cup of tea before hitting play. Also, note that some of the exploits he shares have already been patched out
[link] – Diliskar made an all-encompassing guide that outlines every basic avenue to make money. It doesn’t go into heavy depth on any one method, but it’s most definitely a jack of all trades that gives an introduction to everything.
Monopolize all the Pot!
(to see the payout of this scheme, see the bottom of this section)
edit: This scheme was written prior to patch e1.1.0, where they decided to nerf pottery shops by halving pottery’s production and demand. Therefore, as of right now, pottery shops are not the ideal choice for this scheme. However, while I used pottery as an example, this scheme is not limited just to pottery; you can do this with beer, wine, oil, linen, or pretty much any trade-goods that have high production and consumption rates, so pick your poison. Onto the scheme:
Workshops used to be so good at launch. You could buy one, dump a load of raw resources into the town, and watch the sweatshop work in overdrive, pumping out massive profits of several thousand denars per day. This has been fixed – there’s now a cap on how many goods each workshop can produce. Makes these workshops a bit underwhelming, right? Well, what if I told you that they can still serve an indirect purpose? Check this out!
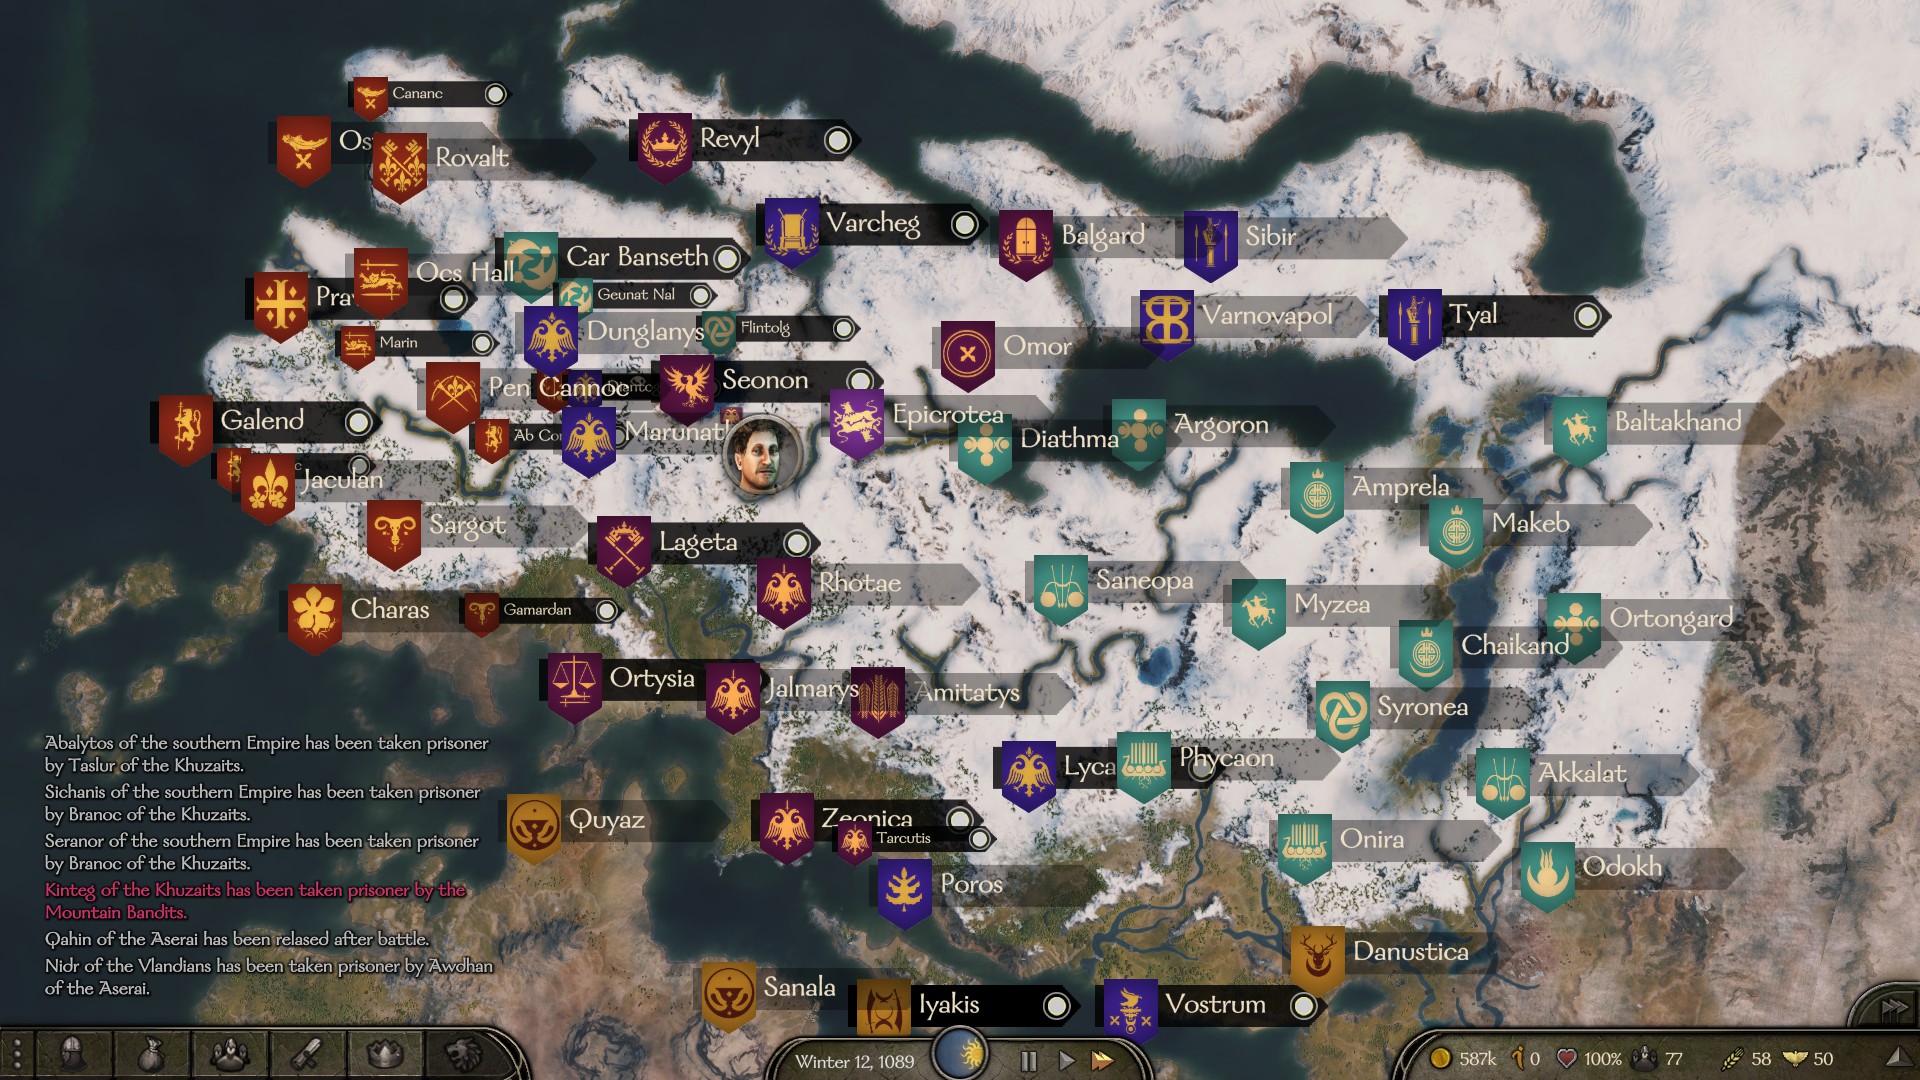
So I found an interesting town called Pen Cannoc, and it has 3 villages; Durn, Gainseth, and Mag Arba. What’s unique about this? Well, all of these villages produce clay! Holy crap! Unless there’s war that gets these villages raided, they will all supply the town with clay for non-stop production! What do we need clay for? We need it to craft containers for growing copious amounts of ganja!

Anyways, if this town has a pottery shop (henceforth referred to as a “dispensaries”), buy it out. If it doesn’t, buy some other one and turn it into a dispensary. Unless there’s war, it will guarantee profits – I’ve seen it go up to 670 profit one day:

Nothing impressive, but much better than any other workshop you can set up, and it’s passive profit. It’s a good start, but we’re aiming for something much more profitable. What’s next?
Well, you need to get your clan to level 1 if you haven’t already done so. At level 0, you are limited to just one workshop, and at level 1, you can have two. You will need that second workshop slot. Come back once you have it.
Our next step is to identify all of the towns that have dispensaries. Check out pro tip 3 in the previous section. Once you find a town that has a dispensary, mark it by clicking on its tag in the world map – it’ll make things easier for the next step.
Go to each town that you found in the last step, click on the dispensary owner (NPC portrait on the top-right), and click “Talk”. This will teleport you to them in town, usually a bit closer to the shop than you’d normally be, saving you some walking time time. Hold Alt to find the dispensary, and talk to a worker:

Buy the workshop out, and replace it with an industry that we plan to never partake in, like brewing:

Hold Tab key to exit the town, press L to open your clan menu, go to “Other”, and sell the Brewery:
If you want to double-check to make sure everything is working properly, go back into town and hold Alt – you shouldn’t see any dispensaries remaining.

You’ve lost 2-3 thousand denars doing this. Bummer. Don’t worry, it’s an investment, and your passive income will recoup you while you get to your next town on the list.
Do this with every dispensary in the world. It takes some time. I know because I did it. Trust me, it’s worth it.
As you’re doing this, you might be checking the profits that your dispensary is making, and you might have noticed that they’re not improving. Don’t worry, you’re still on the right track. The workshop’s profits won’t increase, that’s not the goal. In fact, they’ll get lower before the end.
Anyways, once you’ve eliminated all the competition around the world, it’s time to go back to Pen Cannoc. Check the trade tab. You may have noticed that there’s very few dime-bags of pot in there. This is because each workshop is limited in how much it can produce, and pot is limited to like 6-8 per day. As of writing this, I don’t know of any way to level up workshops, so maybe there will be options to improve this later.
In any case, we want more pot to be grown. Buy out the 2nd and 3rd workshops in the town, and turn them both into dispensaries. This will reduce the amount of profit that each one makes. If you own all 3 of them, you’ll notice that they total to about 1000 per day, and this is fine. We do not care about that. Here’s what we DO care about:

Do you see it? The town is now making 21-22 units of pot per day. This gives you more to stock up on, and lowers its buying price. You can buy it anywhere between 50 and 85 denar per unit, and you can sell it pretty much anywhere else in the world for guaranteed profit – I’ve seen towns buy it for 500 per unit.
Now you just sit in town and harvest your pot. Wait in town until the workshop finishes growing a batch of pot, buy it out before some NPC caravan does (hint: the batch completes right before the “Daily Gold Change” notification). Once you’ve got 200-300 bags of pot, it’s time to make some deliveries. Travel across the map to the furthest towns (the further you go, the less competition you’ll have with NPC caravans), and distribute the pot to 5-10 towns. Alternatively, you can sell it all to one town and still make a good profit. Then come back and repeat.
This will give you a great amount of profit, but also power-level your trading skill, and every tier of that skill gives massive benefits:
– passive renown gained from profitable caravans at level 125. This will speed you through clan levels like nobody’s business
– increased workshop output at level 150, which gives you more pot grown per day
– beefier caravans at level 175. Alternatively, better taxation when waiting in a town that you own is also feasible, as it synergizes with level 225 skill, and you’ll be spending a decent amount of time in town.
– even faster pot growth at level 200
– bartering for settlements at level 225 (♥♥♥♥♥♥♥♥♥ that’s good)
– passive influence gain from caravans and workshops (I hear that influence is very hard to get late-game)
Operation: Milk my Grapes
Just as with my last guide, I will be explaining everything in a step-by-step manner. If you just want to want see the fruit of my labor before committing to it, go to the bottom of this section to see whether it’s worth it. I’m honestly not sure if it is.
Forewarning! What I did this time was so mind-numbing and horrible, that my soul vomited and I had to brew a soothing cup of tea to calm me from the storm of a meltdown. This is going to try your patience, to say the least, so beware. Here we go.
First we need to pick a raw resource that will work for our purposes. We have 3 options:
– Cotton: Grows only in the north, can be processed into velvet
– Olives: Grows in the west, can be processed into oil
– Grapes: Grows in the west, can be processed into wine
If you don’t care why I chose these 3 specifically, skip down to the part that says “skip to here“. For those of you who are curious, here’s my boring process of elimination:
As you know, most raw resources can be processed into other goods via workshops, but there are differences! Salt can’t be processed into anything, livestock gets turned into raw resources (wool, hides, meat) through hidden Artisan shops that we can’t control, and clay exists everywhere on the map so there’s no way to build long distance between the raw resource its workshop.
Also, if you’ve read One Classy Camel’s guide (Link in the pro tips section), you’ll know that some of them have regional preferences. In other words:
– sheep don’t breed down south
– dates don’t grow up north
– olives don’t grow in the east (with the exception of one village that’s by Poros)
– salt can’t be harvested in the north-west.
What we want is a raw resource with a corresponding workshop that will process it, and these must meet the following requirements:
1) raw resource must be limited to one side of the map (no clay, iron, silver, flax or grain)
2) raw resource must be something that we can process via workshop (no salt, dates, fish or horses)
3) raw resource must not come from, or rely on artisan shops (i.e. nothing livestock related)
4) product of workshop must be a singular good (no hardwood)
These requirements are kinda necessary, and you’ll see why later. In any case, thanks for reading, let’s rejoin the rest of them.
Skip to here
As you may have noticed, the title of this section indicates that I chose grapes. You can use either of the other two resources, but for the rest of this scheme I’ll be talking about grapes.
Our to-do list is as follows:
1) Replace all wine presses in the world by buying them and changing what they do and selling them.
2) On the opposite side of the map, go into as many towns as you can, and replace all 3 workshops with wine presses.
3) Profit!
Here’s the longer version with screenshots:
Mark down all the villages that produce grapes, and all towns that have a wine press. This will make the next step easier. You can find all the towns by using pro tip 3, and all the villages by using One Classy Camel’s guide (Link in the pro tips section). Here’s what my game looked like:
Go into each town that you marked, buy their wine press, change it to a Brewery, leave town, sell it, and un-mark the town. Don’t replace wine presses in towns that you plan to use in step 2. For example, I didn’t replace the one in Tyul:

Now go into all the towns on that opposite corner of the map, and start replacing all 3 of their workshops with wine presses:
Every time you finish re-purposing a town, mark it for future reference.

Do this to as many towns as your sanity can suffer, but you need at least 5. These towns are a nightmare to navigate, and unless you’ve spent points on leveling up athletics (what’s wrong with you?), you’ll be spending a long time doing this. Also, I’m not sure if it’s just my playthrough, but one of the workshops in Akkalat never has any workers, so I can’t replace it with a wine press. The result is that I’m getting barely any profit from this town. Replace all 3 workshops, or it’s a pointless exercise.
Anyways, by the end you should have something like this:

Now onto reaping the rewards. Go back and visit all the villages (as well as their nearby towns), and buy all grapes that are priced at 30 or less. You should have almost 1000 on your first pass:

Take your grapes back to your wine press towns, and visit them one by one. Sell the grapes until the asking price is no less than 35, buy all wine that’s priced under 80, and move onto the next town. When you reach the last town, loop back to the first town and continue to do the same. Keep looping through your wine towns until you’re out of grapes to sell. Then go back west, and sell the wine to the towns around the grape villages, which will now be in high demand for wine because you’ve removed all of their wine presses.
This might feel like basic trading, but in reality you’ve just established trade route that wasn’t there before, and it guarantees profits. It’s also scaleable. If you want to generate more profits quicker, set up more wine presses in the eastern towns.
Here’s another pro tip, but only for this scheme, not the pot dispensary one. Get a big enough army that the brigands won’t pester you, but don’t kill them. You know who they’ll bother? NPC caravans. They’ll either delay or destroy some of your competition, which means more profit for you.
Get yo ass back here boy
This scheme, unlike the previous ones, doesn’t really require you to have an existing bank for funding. You can technically do this at the start of the game, but it might be a bit hard as it has a bit of an RNG element.
Also, it’s more profitable than the other two schemes, it doesn’t require you to destroy the world’s economy to work, and it doesn’t hurt my think meats.
Here’s what you need:
– High mobility. Ideally you want to be traveling at speeds of at least 6.2, which you should be able to do at the start of the game.
Here’s what you should work on improving:
– Inventory space. This means cargo horses in your inventory. Get however many you want, but aware of their impact on your travel speed. A good source of these is caravans; they’re usually not too expensive, and caravans can usually sell you over 20 of them
– Maintain your travel speed. This means non-cargo horses in your inventory. Add as many as needed.
– Work on getting an army of at least 25. You don’t want to be interrupted by looters/bandits. Since you need to be very mobile, 100% cavalry composition is pretty much a requirement. Some factions have early-stage cavalry, and these will do. As you progress in clan level and the world devolves into further chaos, you might want to upscale your protection.
Anyways, let’s get this moving. The whole idea is to massively improve profit margins by eliminating the diminishing returns of buying/selling in large quantities. What the hell am I talking about?
I’m not a spreadsheet surgeon, I don’t know the proper financial vocabulary to explain what I’m talking about. Here’s a rough sketch that I threw together in paint to demonstrate it. Yeah, I know it’s inaccurate and I’m a horrible person. Shut up.
It’s self-explanatory. You bought low in town 1 (green), sold high in town 2 (red), and the yellow in between is the profit margin, which diminishes over quantity of peddled items. So in the above screenshot, the profit is around… 600? If you care, pull out a calculator; the graph is a rough guesstimate anyways.

Our goal is to make it look like this:
Yeah, I managed to somehow exert even less effort on that graph. I don’t think that either of us cares at this point. However, we’re now making a profit of approximately 1500. That’s a scroogin’

How do we do this? Well, we stop dealing with towns. To hell with ’em! See this thing?
I hate it! I’ve spent hours walking around these things trying to find workshops! Get it outta here!

What we’re gonna do now is go directly to villages. Like this little guy:
What a cutie! Doesn’t matter what it sells. Whatever it is, if it’s selling it for a green price (below market value), buy it out! Guess what? The price doesn’t get adjusted the more of it you buy. Want proof? Here’s me buying out some village’s supply of fish (click to see full screenshot):
As you can see, starting price is 9, and even when the village’s stock is almost depleted, it remains at 9.


So with that we’ve solidified the green buying line. Where do we sell this resource? Another village? Well, you could, but villages have very little money, so your trades would be small and you’d be running around forever. There’s another way, and this is where the high mobility comes in. What you want to do is start chasing caravans, hence the title of this scheme.
Talk to a caravan, offer to trade, and see if it will buy anything you have for a red price (above market value). Once you find a caravan that’s willing to pay a red price, drop your entire stock on him. Here’s a caravan that really wants the fish that I bought earlier:
As you can see, the starting offer is 31, and it remains 31 even after I’ve given him 317 fish.


The great part about these caravans is that they have over 10,000 denar on them, so as soon as you find one that wants a specific resource of yours, you can sell out your entire stack of that resource at once, making this approach faster than selling goods in towns. From a single successful trade, you can make a lot of money, but more importantly you can get a load of trading experience. Here’s an average trade deal with a caravan:

Tips:
– Caravans are a bit hit/miss – they will only offer red prices for 1-5 potential goods, and some of them don’t offer good prices at all. However, these caravans are abundant, they’re fast, and they’re everywhere on the map. In a single day, you can talk to way more caravans than you can visit cities. I mean, look at this:
And there are 3 more caravans to the right that are out of detection range. These things infest the lands.
– If you see one of your companions’ caravans, trade with them too, as they’ll usually have a bigger stockpile of money.
– If you’ve sold most of your stock, but having trouble finding a caravan that’s willing to offer a red price for one or two specific resources in your inventory, try going to a different part of the map and talking to caravans there. Each caravan is regional, and different regions have different financial needs.
– If you’re having trouble finding green prices in villages, buy stuff for yellow prices. Don’t worry, you’ll find some caravan that will offer to buy it for red. If you can’t find any yellow prices (as often happens in war zones), go to another part of the world that’s under another kingdom’s control, and preferably away from the front lines of its war.
– If you’re having a hard time catching up to caravans, sit outside of a town’s entrance, or in a high-traffic path on the map, and just intercept them as they come to you
– I joked that I’m never touching a town again, but you can still buy stuff there if it exists in copious amounts and priced extremely cheaply. Check them out on occasion to see if anything is worth buying, but try to sell to caravans.

Toll Booth
Special thanks to SkeL for pointing out that something strange is happening with Caravans:
Originally posted by SkeL:I’ve observed that a single Caravan can have multiple inventories, yes that’s right. All the caravan need to do is change regions, simply by travelling the map. (Also their money purse resets)
Now what I really wanted to know is how the hell those regions are draw in the map
Now, I’ve been chasing caravans around for a couple of hours, and I feel like I’ve got somewhat of a grasp on the way their inventories behave. I’ll keep playing around, and if I’m off about anything or if I need to add anything, I’ll fix this guide later. In the meantime, here’s what I’m seeing so far:
1) A caravan’s money purse is restocked every time you talk to them.
This means that if you’ve found a caravan that offers 160 for oil, but doesn’t have enough money to buy your entire stock of oil, sell as much as he can afford, complete the trade, then immediately talk to him again and he’ll have more funds to pay you with
2) The caravan’s pricing of goods and resources will re-adjust every time they cross borders between regions.
Each castle and each town has its own region, and the prices that the caravans have will fluctuate based on that region’s circumstances. To see the region map, click here[forums.taleworlds.com].
It’s worth noting that the fluctuations in price seem to be higher when crossing the border between regions that belong to different kingdoms, and even more so if those two regions are at war.
3) Caravan’s inventory does not change en-route.
The caravan seems to have a persistent inventory until the player performs a trade with it, or until they visit a town to buy/sell goods. However, when they do stop at a town, they’ll usually re-stock on a lot of goods, and offer you a good price on some of them if you talk to them immediately after. In fact, a couple of times when I bought out most of their inventory, they’d return to town to stock up on something else.
That being said, how can we exploit this? Two methods come to mind. The first is a bit stationary, hence its name – Toll Booth. Here’s how you set it up:
(forewarning, I get into way more detail than I need to. If you don’t have patience, just do steps 1 and 2, then go to the bottom of the scheme and read the last paragraph):
1) Identify a caravan routes with high traffic. You want to see a lot of caravans traveling in both directions.
2) Follow the route until you find border between two kingdoms. You can check the map I linked above to identify regions and their borders. Make sure that the border lies between two kingdoms in your game.
3) Start intercepting caravans coming from both directions (henceforth referred to left and right), make sure you intercept each caravan before and after it crosses the border, and take note of the following:
– all the cheap (green/yellow priced) items that you can buy on the left side of the border, take note of the approximate quantity/value of those items. This is called the green left list
– all the cheap (green/yellow priced) items that you can buy on the right side of the border, take note of the approximate quantity/value of those items. This is called the green right list
Again, it doesn’t matter which direction the caravan is coming from. If it’s coming from the right, and it has a green-priced item after it crosses to the left, mark that item down on the green left list
4) buy one of each item that these caravans offer, even if it’s priced red, and keep it in your inventory. Once you have a diverse inventory, take note of the following:
– all of the items in your inventory that have high value (red priced) on the left side of the border. This is called the red left list
– all of the items in your inventory that have high value (red priced) on the left side of the border.. This is called the red right list
5) Once you have the 4 lists, compare them in the following manner:
– green left to red right
– green right to red left
Circle the items on the green list that are also present on the red list that it was compared to. Cross out the items that aren’t on the red list. The more shared items there are, and the higher their quantity is, the more profitable this location is. If the list is short and/or the circled items have a bad quantity/value ratio, go back to step 1.
Once you have your location, and your list of desirable items, just sit there on the border, and intercept all caravans coming from either direction, before and after they cross the border. When a caravan is on the left side, and it has an item from your “green left” list, buy it out, and vice-versa for the right. Sell to the inverse for profit.
Here’s a demo:
Just for the sake of a demonstration, I’ll sit on the border between Tamnuh castle and Shibal Zumr Castle. Normally these belong to the same kingdom, but in my game they don’t anymore:

In the above screenshot I’ve marked some things out. In red I’ve roughly sketched out the borders between regions. Blue is the route of the caravan that I’ll be intercepting twice. In orange I’ve circled the places where I’ll be trading with the caravan. Interception 1 comes before the border, and Interception 2 is after the border.
Here’s what the trade at interception 1 looks like:

Here’s what the trade at interception 2 looks like:

Based on this, I’ve got the following lists:
(every item below the — line can be bought for a “yellow” price. Still profitable, but usually much less profit. The number beside the ~ indicates an approximate number of items)
So based on the above list, I can immediately tell that I can make some profit from Dates, Grapes, and Linen, if I buy them below, and sell them above. In fact, if I were to do that with this caravan, i’d make a profit of 2,545. Now I just keep expanding on the 4 lists by performing the same analysis on the next few caravans, and then I go into full-swing trading.
Honestly, if you don’t want to do these autistic lists and ♥♥♥♥, just buy all commodities that get sold for green and yellow prices, and sell the ones that are offered a red price. Once your inventory fills up with stuff that doesn’t sell well in the region, just go to some other part of the world, find a caravan to sell it for profit, then come back.