Overview
This guide intends to inform readers interested in creating their own / inserting other characters into their Death Road to Canada road trips. I hope this will help people who want to learn how to mod.
Introduction
Welcome to my first guide. If there are errors, please inform me as soon as you can and I will do my best to correct the mistake. This is my first guide ever, so, hopefully this will be a decent explanation.
This guide should hopefully help some of you to create custom characters that look like whatever you want. You will need an image editing software to make this work. I used Gimp, but if you don’t trust free internet downloads, I don’t blame you. Microsoft Paint itself won’t get rid of the extra white in the background though (as far as I know).
Step 1 – Locate the Sprites
The first challenge is navigating to the file destination. Knowing where to look is usually not spelled out for you. I’ll do my best to make navigating to the sprite files as clear as possible. Since I’m using Windows, and others may use other operating systems, translating the information may be difficult for me since I have very little experience with things like Unix, Linux, and Mac. I recommend looking for a guide for your respective operating system to get to the Steam folder.

Steam
–Steamapps
—-common
——DeathRoadToCanada
——–gfx
———-chars
gfx has all of the games sprites in seperate folders. If you also wish to alter the appearance of other assets, explore the gfx folder.
Step 2 – Size Adjustments
Joke all you want, but size matters a lot if you want this to function properly. I actually don’t know the consequences for screwing this up, and I’d rather not take the risk of it potentially breaking something.
After several web searches, I discovered from a forum from the creator themself, (https://steamcommunity.com/app/252610/discussions/0/343787920137489724/) that you must increase the size VERTICALLY and by SET AMOUNTS (Caps lock and underlining intended to grab attention and avoid missing crucial information. Sorry if I came off as rude, aggressive, or patronizing…).
All you need to do is use math for it to work. take the vertical pixel measurement of the sprite sheet and divide by the number of rows.
In the given example image, I used the software to determine the height and counted the number of rows of heads. I know the image is of the sheet after I edited it, but it should still help in illustrating the concept. the amount of pixels needed for the male heads spritesheet is 24 pixels, so the height should increase by 24.

Step 3 – Have Fun Spriting!
Now that you found the spritesheet and got past the pixel measurements, you can now create the sprite! I’ve also done this in Crypt of the Necrodancer. My all characters conversion mod’s a work in progress until I finish the monk’s new outfits.

There are 2 files for adding male faces and bodies, and 2 for females. I recommend just adding all head related things that the game usually has in seperate files (glasses, beards, hats, etc.) onto the sprite of the head just to make sure it all fits right.
Skippable Advice:
-use a select action to select only the pixels in the row you are trying to make.
-a head that’s off-center will look weird. If possible, copy a row and paste it to help get a reference as to what you’re doing. Maybe select all pixels in exactly one row, put a dot in the bottom corner and align the dot with the new row’s bottom corner.
-slight pixel shifting up for the head will allow the character to look taller and the body section to be shown better, but be careful of having the sprite bleed into the above row.
-using the above heads as a reference for eye and mouth placement may help, varying on how non-human the face looks.
-experiment with it until you like it. You’ll get better at sprite creation with practice, and can develop your own style and rules.
Hopefully that advice was helpful. I’m worrying that I’m coming off as patronizing, but I want to help… Am I doing it right?
Complete
All you should have to do now is save your progress, test it, and debug it multiple times until it actually works as intended. If this is your first time modding, Make sure you save your progess with the same name and as the same filetype as the modded file.
Thank you for reading and I hope this guide was helpful!

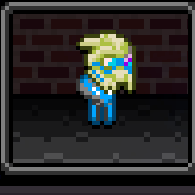
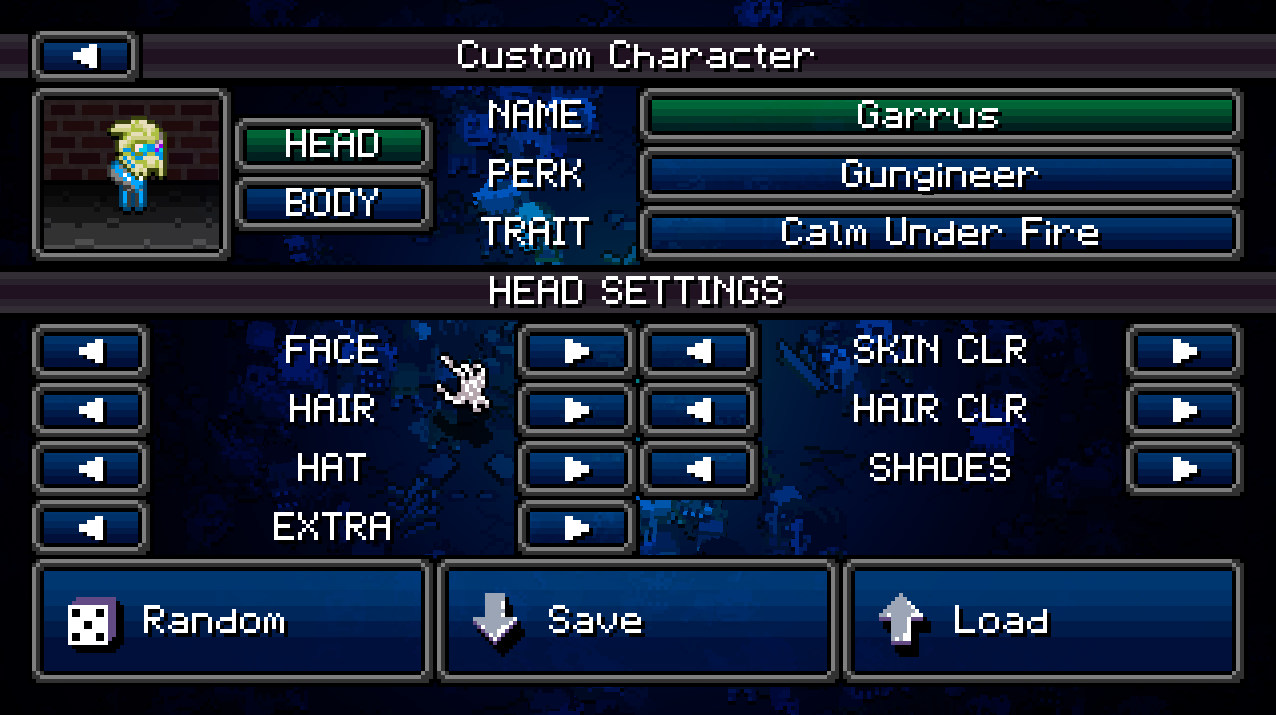
Example character: Garrus
Garrus Vakarian (Mass Effect) is owned by Bioware.