Overview
A simple guide for 1600s European Warfare, now in Japan!
Introduction
While anyone can just play shogun 2 and develop your own setup. It usually leads to just the same boring appearance: Either any formation they would’ve had anyway, but this time with a few guns up front, or just an absurd row of yari across the entire planet with a equally large row of gunners. I decided to look into how they originally did it back in the day, and I saw a few openings for improvement in Shogun from them, so here are two formation that I think people should test out, and perhaps use somewhat in their own campaigns and matches in the future whenever you want some nutmeg and burning rope in your armies.
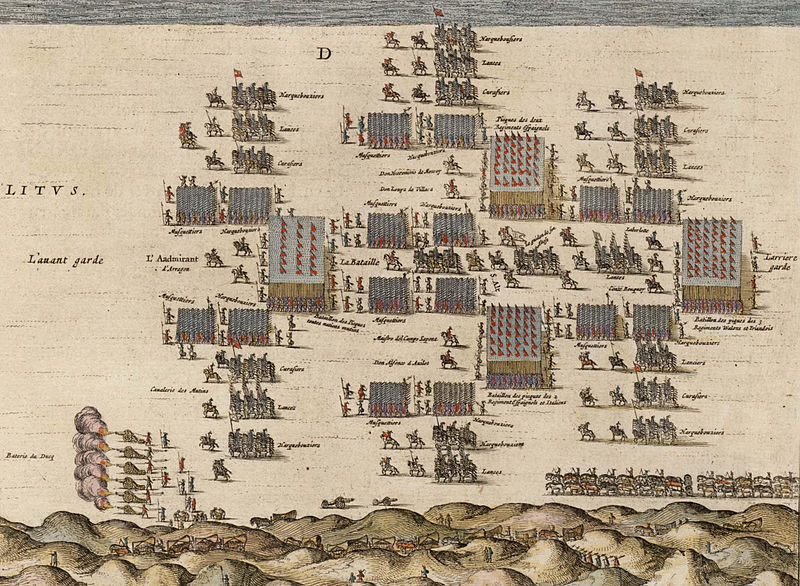
The Spanish Tercio (Early 1500s to early 1600)
This formation was aruagably the first non-medival formation. And uses all the benifits of the three units which are neatly replicated in Shogun 2.
Guns are..any guns.. and can devistate an enemy formation while standing in place, but are weak to cav and honestly..any actual melee pretty much.
Pikes as yari are great against anything and anyone who wants to push forward, but can be flanked and can be devistated by enemy ranged units. Think of ‘4 squares of yari, formed into one rectangle’.
The third is swordsmen, which at the time would be a typical medeval sword and shield unit, a simple katana unit/normal infantry of any type fits fine here. Its essentially a cavalry unit as a footman; flanks well, but cannot last forever in melee like pikes.
These three, used together, can cover the weaknesses extremely well of all others.
Regardless, here’s how to make a tercio:
- 1) Get 4 units of yari. Put em in a rectangle facing forward: All youre yari should fit behind two guns spread as far out as possible.
- 2) Get 4 units of guns. Two spread in front of the 4 yari, and two in blocks on either side.
- 3) Get 2 units of Swords and 2 Units of Bows. Put one sword behind each of the outer guns. Then Bows behind the 4 yari like the guns are up front.
- 4) While perhaps not anouther ‘third’, you’ll then need an even amount of as much cav as you can. Luckily, it’s purely defensive and will be used as much as a mental block to enemy cav as an actual weapon. They’re virtually duct taped to the gun/sword blocks on either side.
- 5/Suplimental) If you can afford it, or happen to have them, Hand mortars/fire rockets are perfect to cover the last weaknesses of the formation in respect to enemy bowmen, Its cannons that move!
With all of this, one benifit is that is has a limited set of actions that are always done. Here’s a list of what you can do, and how/when to do them.
- Movement: Highlight everyone, move em forward with the arrow, and then have the infantry run while the cavalry walks, so they stay at the same speed. Don’t worry about being tired, you’ll mostly be stationary in actual fighting so it won’t be a problem. All units should be in guard mode as well.
- Skirmish: Best used when you first approach the enemy, the enemy is on the defencive, or they decide to just out-range your guns and wither you down. Once your unit stops moving, both bows go forward in loose formation just in front and just within range. Target one bow unit at a time. If you have fire rocket or hand mortars, this could work out, without them this isn’t permanent.
- Shoot: If you were skirmishing, send the rest of your army move forward, running, until it is in gun range, bows go back if their not overlapping your yari yet. Be prepared to immediately put your yari in wall formation if they decide to cash in and charge you down. If they just move back, bring your yari out of wall, and return to skirmishing, all the while moving forward with your block like before.
- Melee: Once they decide to charge, you’ll need to immediately put all guns in melee mode, turn off fire at wile, and run em behind swords/pikes as fast as possible. A quick highlight and drag back motion should make this fast.
Second, toggle yari wall and drag the yari in a wide line, with the swords on either side. Make sure they’re running, and if you have time have the yari overlap each other for the best effect.With practice, all that can be done suprisingly quickly. If you can’t move your flanking infantry fast enough, no worries: This should, all going well, have your pikes doing what they do best, your swords doing what they do best, the flanking guns shooting or safe with your center guns. You now also have a pool of manpower (the ranged units) to fill gaps, stop wavering units, or to help finish the fight with a final charge.
- Square formations: Normally, this is all an army can do, more or less. But we will use those 4 yari to have one last ace up our sleeve, especially when an enemy spams cav, you’re completely surrounded, or you would normally throw up your arms and let your army rout. Bring your yari into a simple overlapping square, bring your general inside along with anyone else alive, and if your cav is alive let em buy time. This is just like normal melee, but on 4 sides: So use non-pikes to plug gaps like before and do whatever you can with your general to prevent a rout.
This is, as it normally was, a last resort or the perfect protection to cavalry. You actually want the enemy rush you, which isn’t hard since it’ll look like your whole army is about to rout. If they carefully move forward or their ranged units get ready, you need to have your guns move slightly forward enough to shoot, and try and have your bows inside target them as well.
Tips and Tricks
General Notes:
*This formation is best treated as an offensive strategy with very defensive tactics. It can move fairly quick, as fast as running, and unless you face a horde or some pretty confident cavarly, you should be fairly safe to get to key building or a good place to anchor yourself nearby.
*The most effectively portion is the gun/sword units; They can flank, run around, support your own flanks, run away. You can basically think ‘napolean’ and your not too far off.
Weaknesses: These resemble arguably any army which relies heavier on infantry:
*If the enemy doesn’t want to fight, then you won’t. Your tercio moves as fast as running, which they can do just as well. Without heavily supirior cavalry, you would be gambling alot to simply anchor the enemy army in place for a while. if at all.
*You can skirmish against bowmen, but you cant skirmish them forever, so you’ll need to be carefull on how to use them, your side-blocks of sword/guns, and perhaps cav as a last resort to stop them, be patient and if you must charge your whole block to force them within range of your guns. It’s not pretty, but it just might force their hand to see a whole row of guns fire.
*Your cavalry is your largest weakness: It’s less a shield, more of a glove to ‘catch’ the enemy cavalry: Ideally you have the enemy cavalry charge, you stop them within range of you’re side/front guns, and they hold the enemy cavalry while you shoot them down. If you fail to do this, or if any point the enemy cavalry just goes around you, or if you suddenly lose your cavalry, then it’s already going badly.
The worst thing that can happen is having a swarm of cavalry flank you while infantry just wait in front of you. I’d go into square but it’s almost over at that point.
*You may like how the pike square can protect you; But you should only use it if you face a well-separated group of cavalry which you know will charge you down, or a massive horde of infantry which would destroy you anyway. It’s a heroic last stand or a very short anti-cav formation, but like any actual fort you can’t remain in one forever.
*You may be tempted to really refine this formation with veterans, samuria units, etc. But I honestly wouldn’t. Ashigaru is pretty average for shooting and being in a yari wall.
Conclusion:
The greatest advantage is that it’s one of the cheapest mid/late game armies possible:
It has all 3 unit types. You can make one in 4-5 turns with 3/4 provinces at worst, and a single ‘tercio’ will probably last that long anyway.
It can run in a very tiny block, or in a sprawling line across a map. It can skirmish (well, kindof), and it can stop cavalry. If the enemy charges right at you, you’ll win, You can form yari, form your flankers line up ‘concave or convex’ to stop them. If the enemy wants to fight in a formation, you’ll still win; you can outgun them, and then outlast them with your denser yari. The only threat is their cavalry outflanking you, their bows out-ranging you, and the fact you fight someone with a human brain.
You need to think of the tercio as a single unit in of iteself, and move it around like one as well. The biggest weakness being that issue of ‘facing’ the enemy quickly and not losing the initiative.