Overview
Guide on how to create custom models and textures for use in besiege.
Finding the Files
The first stage of creating a texture is to find the folders from which Besiege uses skin packs.
First, go onto the file called my pc (or computer) that is marked by a icon of a computer. Then go into Local Disk (C:)

Inside it is a variety of folders, the one you want is Program Files (x86)

Now even more folders will have appeared, the one you need to go on is called steam

Next is called steamapps

Then common

And then Besiege

Now the page will look like this, (don’t worry if you have lots or even no files with the date (such as 2015-12-13_11356) these are game crash reports) the file you need to go on is Besiege_Data

Next folder is Skins

Creating the pack
To create the actual pack that your textures will reside in, firstly make a folder with the name that you want your texture pack to be called (I chose “example”.)

After creating the folder you will need to go into the Template folder, this is where the default models are.

Now a load of folders will have appeared, select the folder of the block you wish to edit and copy it.

Now you will need to paste the folder into your texture pack folder.

Modeling
Modeling the object is the harder part of making a texture pack (depending on what you are modeling.) To do this I used the windows 3D builder, which is not very good, soany 3d modeling program that can export obj files will work perfectly fine.
first you will need to create a model of any kind and any detail. NOTE: Besiege won’t load any models over around 40,000 triangles.

For this guide I made this simple cube to be used as the small wooden block

After saving the model as an obj file in the texture folder it should replace it changing the block model.
Before texturing, the model will not have any set colours so may be black, white or grey.

Texturing
Texturing the model is essentially where you ‘paint’ your model.
This can be acheved by simply editing the texture image (such as woodmetal_png) but I would reccomend using a program such as blender.
Also its best if you save a png image as a basecoat over the original texture

Step by step guide:
1) Import the obj (such as woodblock.obj) from the skins folder
2) Open the image editor in a second tab

3) Import the texture from the same folder
4) Use the paint tools to texture the model
5) save the completed texture as itself and export the model over itself (as obj file)
And thats should be it done!
Example Skins
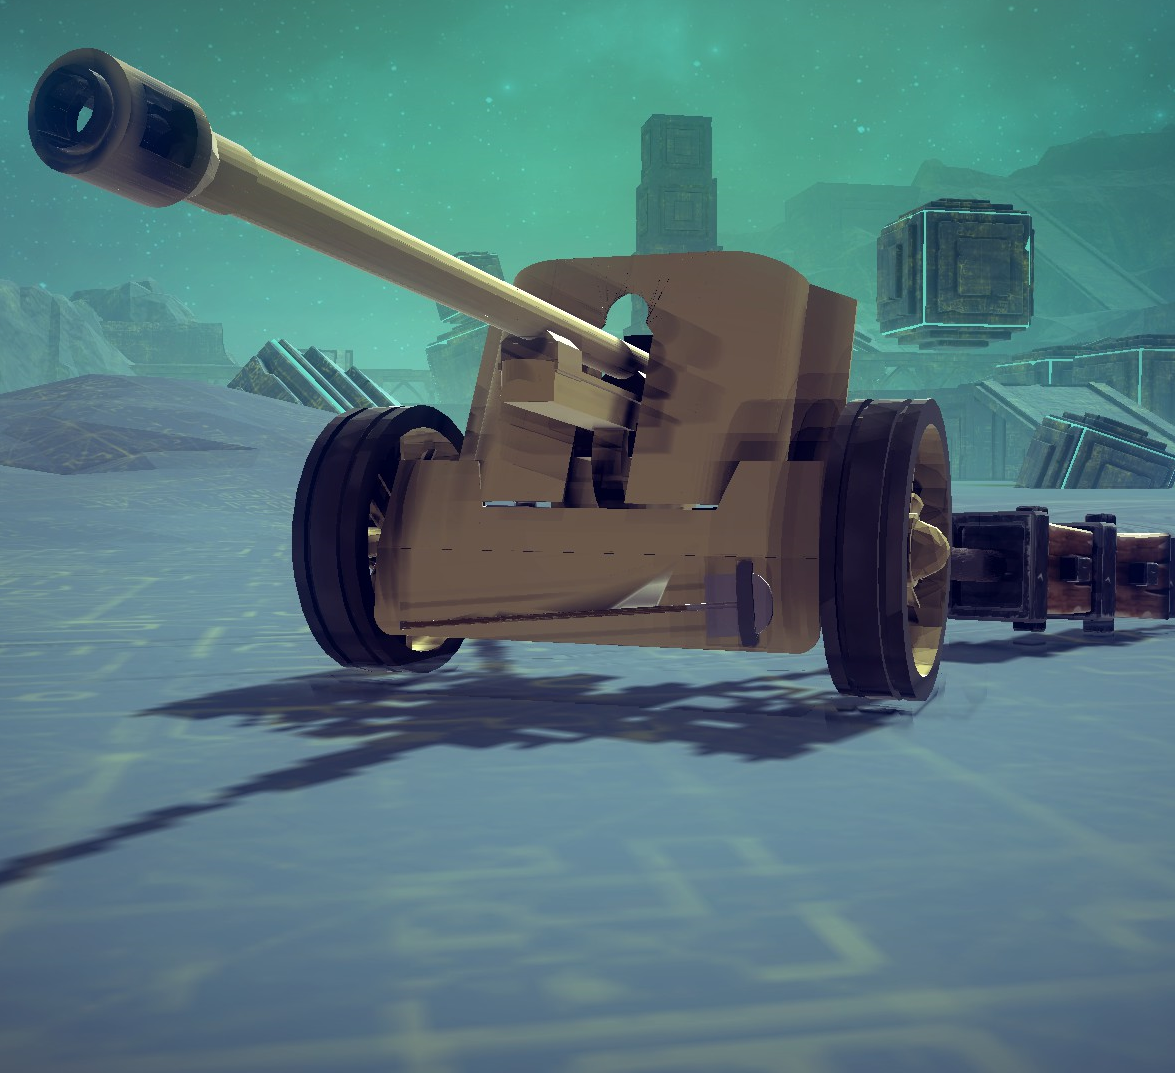
Besiege skins can be anything from touching up a default texture to making completley new parts or even creations!
Here are a few examples of mine:


