Overview
An indepth guide for scrap management.
Preface
Hello Dusker’s players! I’m writing this guide to help all sorts of people with the most important aspect of this game: scrap management. I assume the reader already knows about the four types of enemies in the game. If you do not, be sure to check out: [link]
What is Scrap and Why do I care?
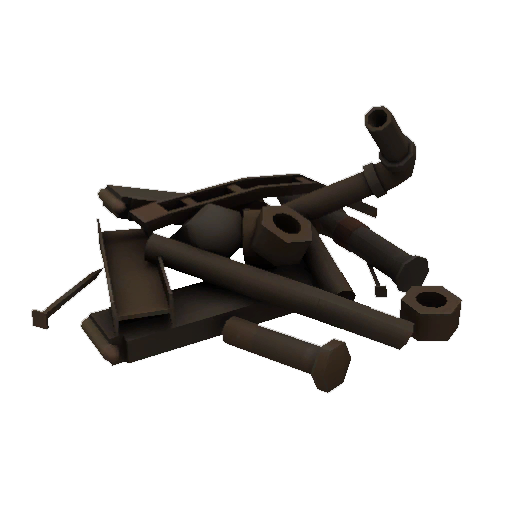
Scrap is the game’s currency. It is used to:
- Repair drones themselves, and repair upgrades, (7-12) a pop
- Repair ship upgrades,
- Buy items from shops
- Upgrade upgrades (ex. Giving shield the ability to protect against radiation)
- Add more disposable “ammo” to upgrades (Motion sensors, Traps, mines, etc.)
- Repair ships video feed/ upgrade slot
Nearly everything is subject wear/tear and needs to be repaired. It is unlikely that you will have enough scrap to fix everything, so you will have to prioritize and plan.
Where do I find scrap?
You can find raw scrap on derelicts. Most rooms won’t contain scrap, and those that do only have a few scrap. A random amount of raw scrap is hidden on the derelict. This hidden scrap can be recovered by scanning. To scan a room simply:
- Use the scan upgrade.
- Send a probe (drone upgrade)
- Scan powered rooms if a terminal allows. (requires interface)
- Some rooms will be automatically scanned
Scanning reveals all items, both hidden and not hidden. Scanning does NOT reveal enemies.
If you are in a time crunch, the most efficient way to scan multiple rooms on a large ship is to use a stealth probe. (Enemies normally attack probes. A stealth probe can even cross a slime infested room). First send the probe into an empty room (prefarable with a sensor), keep your drones in a safe room. Then send the probe into an adjancent room, while keeping the previous room free of enemies. Next, create an open path for your probe to scan, while you explore another part of the derelict. Note that enemies can move between open rooms. A stealth probe will allow you to prioritize which rooms are worth going into.
Scrap is not always found in its raw form, other ways to acquire scrap include:
- Convert a drone upgrade to scrap (3 per upgrade, 1 for broken upgrade)
- Convert a drone to scrap (7 per disabled drone)
- Convert a ship upgrade to scrap (6 upgrade, 4 for broken)
- Sell fuel to an trading post (15 per J fuel, 5 for P fuel)
Getting the most out of Trading Posts
The biggest benefit of trading posts is that they buy J-fuel for 15 scrap, the equivilant of repairing two drone video feeds, or repairing about 1.5 drone upgrades. J and P fuel (reserve) is usually found from Fuel depots, Space stations, and outposts. It can be also found from ships with a significantly lower probability (Not an official value). This makes space stations and fuel depots the most profitable exploration sights. Sometime you get lucky and receive 2 Juel, 2 P fuel from a single depot. Outposts are difficult to explore, and should not be boarded unless properly equiped.
Trading posts allow you to trade worn upgrades for new ones for free, depending on what they have instock. They are a great source of ship upgrades.
You are only likely to board 3 derelicts per system upon the first visitation; priotizing stations/ fuel deports allows you to get the most scrap per system. I recommend using your fuel buy everything from the shop, and scrap certain upgrades. Acquiring upgrades is harder and more necessary than acquiring fuel.
Don’t spend all your J-Fuel at the shop! Make sure you have 3-4 J fuel after you visit a shop. Note where warp gates are, as they allow you to travel to ANY warp gate have discovered, and restore used propulsion fuel (NOT reserve fuel).
Spend your P-fuel (reserve) sparingly. Use it to complete objectives, visit trading posts, go warp gates, and fuel depots. The most important use of P-fuel is find a new a ship commandeer when your current ship is crumbling. For example, if you are spending two reserve P-fuel to travel to a derelict, it is not guarenteed you will recover 10 scrap, let alone profit. However, spending two P-fuel and successfully comandeered the ship, you saved 20 scrap repairing the video feed.
Do I repair this upgrade, or take a chance?
Upgrades only check if they will break upon the first activation. By not using an upgrade, it will not break. Once you have used an upgrade for the first time, you can continue use it without penalty. Upgrades will only break at the end of missions. Ship and drone video feeds deteriorate over time. Ship upgrade slots only deteriorate if they have an upgrade. Here is a short list – in priority order.
1. Stealth (upgrade), turret . Stealth is most cost efficient way to explore rooms. Don’t bump leapers or they will find you. Turret lets you kill leapers, and security drones.
2. Other method of testing rooms. (Sensor/ Motion/ Probe)
3. Video feed for scout drone. Having two drones with good video feeds is nice. Having four is luxury.
4. Scout drone HP. Optimal = 100. 40-50 is the bare minimum for a scout. I recommend 100, if you choose to use a turret.
5. Remote power. Best ship upgrade in the game.
6. Tow, gather, generator, interface. Remember you can scrap tow, gather, generator for 3 scrap, and craft a new one for 8 scrap rather than repair these upgrades. Always keep multiples of these four.
7. Sensor, (Assuming Stealth has been acquired)
8. At least 30 HP on other drones. (Mainly for slimes, escaping pipe rupture.)
9. Motion, probe, (Assuming Stealth has been acquired)
10. trap, mine, teleport
11. Everything else.
Stealth can be swapped for shield on a scout. If you have duplicates, use an upgrade until it breaks or turns yellow. Remember you can bring a damaged upgrade along and not use it until you need it. For smaller derelicts, use generator first and try and preserve remote power. If you don’t have duplicates, repair when it first turns yellow if you really need the upgrade.
Never use remote power until it breaks. Its better to preserve it until you can repair the upgrade.
Sometimes you will have to take a chance that an upgrade will break. Don’t feel bad about doing so. Its usually worth using trap/mine/stun/pry/ until they break if you have to.