Overview
This guide is meant to help new and experienced players up their Beowulf game, featuring explanations for his normals, specials, and blockbusters, as well as showcasing some combos and tech.
Introduction
Beowulf is a very heavy mix-up and set-play character, who relies on pro-wrestling moves and immense strength to defeat his opponents.
His playstyle revolves around his iconic folding chair, the “Hurting.” With it on, many of his heavy attacks have extended range, and he can throw it as a powerful reversal. With it off, some of his heavy attacks turn into hitgrabs, and others use Grendel’s severed arm for powerful, armored versions instead. Beowulf also has a flexible grab stance that can be used for damage, meter, or positioning, as well as a hype mechanic that can be expended for powered-up EX finishers during his grab stance. These EX finishers provide meatier damage, more conversion options, better maneuverability, and more favorable setups.
Many of Beowulf’s strengths lie in his mix-ups. During his forward dash, he hops into the air, allowing him to do any light or medium aerial attack for a lightning-fast overhead. His command grab, Wulf Shoot, allows him to dash across the screen and grab opponents from far away. When it comes to heavy-hitting supers, he can use his two super grabs Airwulf and Wulfamania as anti-air and grounded super grabs respectively.
Despite his strengths, he does have some weaknesses that come to light when he’s without his chair. His only meterless reversal, Hurting Hurl, relies on throwing the chair, but if he doesn’t have the chair, he’s forced to spend meter for a reversal. Additionally, his chairless moves have very long startup, and are extremely un-safe on block. Even his armored moves, like chairless c.HP and c.HK, can be beaten by any move that breaks armor (such as a hitgrab or a sweep).
Overall, Beowulf is a strong character to run on point. His mixups, conversion options, and damage make him a solid part of any team; teams that cater towards his hype gain, such as Big Band and Cerebella, can make him a damage monster.
The guide will use the following notation, for example:
c.LP -> Crouching Light Punch
s.MK -> Standing Medium Kick
j.HP -> Jumping Heavy Punch
It will use numpad (anime) notation:
7 8 9
4 5 6
1 2 3
Notation is taken from the perspective of the first player. 6 is forward, 4 is backward. 8 is up, 2 is down. 1, 3, 7, and 9 are in-betweens. This will mostly be used for writing Wulf Blitzer notation, for example:
L Blitzer, 9, 2 – > Light Wulf Blitzer, followed up by inputting up-forward (9) then down (2).
A Note to Beginners
While this guide is meant to help new and more experienced players learn the ins and outs of Beowulf, a basic understanding of Skullgirls’ mechanics is almost invaluable to understanding the contents of this guide.
You can learn about the mechanics by completing the respective tutorials, or checking out the official Skullgirls Wiki[wiki.gbl.gg], especially the beginner FAQ at the bottom of the page.
For questions not directly resolvable by the wiki, please pose them in the corresponding channels of the official Skullgirls Discord[discord.gg].
Normals: Standing Punches
s.LP
Beowulf’s standing jab.You will generally want to use c.LP as a jab though, since this move comes out one frame slower than c.LP. However, keep in mind that s.LP is one frame safer on hit and block. Its main use comes in the form of building hype, as you can rapidly build 3 bars of hype by holding down s.LP. It’s the second fastest way to build hype.
s.MP
This ranged punch is decent, but is not used as much as c.MP in the beginning of combos, since it does 50 less damage, has less horizontal range, and scales the combo by 2 hits if you drop the mic. However, the second hit of s.MP is an overhead, making for sneaky resets. In a blockstring, it’s safer to drop the mic as soon as possible rather than go for the overhead
Holding and releasing s.MP will drop the mic as a projectile that falls downward and becomes inactive once it hits something or touches the floor. Dropping the mic gives 1/3 hype once per combo. You must release s.MP a quarter of a second after a hit confirm to combo into it, or you can hold it until it drops on its own, which will drop the combo.
s.HP
Chair On
Standing heavy punch can be used as an anti-air, but its slow startup will often leave you very vulnerable to counterhits. This move will mostly be used to optimized combos, since its function is similar to that of s.HK, minus the stagger, and does 50 less damage.
The immense range of s.HP makes it useful for hitting the opponent from far away, which can surprise zoners and allow you to convert into a full combo with LP Hurting Hurl. If the opponent is still too far away to hit them after LP Hurting Hurl, LK Wulf Blitzer is a decent conversion option.
Chair Off
A standing hit grab. This move is very useful in triggering grab stance when you want to, especially when you do not have an OTG. It can grab both grounded and aerial opponents.
Grants 2 actions in grab stance.
Normals: Crouching Punches
c.LP

It is Beowulf’s fastest hitting move, and can easily punish supers such as Double’s Stream Monster if not performed in a blockstring. It is good to use this move to confirm for tick throws, as its speed will often catch opponents off guard.
c.MP
As stated above, it is typically used in the start of combos. This is definitely the best option to link from a light as it moves him a bit closer to the opponent and it does the most damage out of any medium move.
c.HP
Chair On
Beowulf’s standard chair-on launcher. This move is sometimes used in the start of the match, as its large hitbox and good damage will be more threatening as a counterhit.
Chair Off
Beowulf’s chair-off launcher. Its massive hitbox, along with its single hit of armor (be wary against multihitting moves), can be used as a reversal against grounded or aerial opponents. The only way to cancel this move is with a super or by chair canceling, and can be canceled during any frame; see “Chair and Hype Mechanics” for details. You can catch the enemy without wasting OTG with good timing and by using a move with fast startup. The timing becomes stricter as the opponent’s weight increases.
Normals: Jumping Punches
j.LP

This move is a very fast overhead, and is useful for performing high-low mixups via dash hopping.
j.MP
This move’s long hitstun is useful for performing dashhop stagger links into s.HK, Beowulf’s stagger. j.MP is mostly used for this purpose, as dashhop stagger links are a staple of his ground combos.
j.HP
Chair On

This jumping fierce is one of Beo’s most used moves in neutral. Its dislocated hitbox makes this move safe in many situations. In air combos, following up with Wulf Blitzer is useful for extending the combo. Following up j.LP or j.LK with this move when air to air or air to ground can net you a confirm in many cases due to its long range.
Chair Off

This body splash attack is a hit grab, meaning it can be blocked, but if it hits, it’s counted as a grab and will break armor. It will trigger grab stance in the air, but you cannot convert off the ground if you land. If you do not press anything, it’ll default to Canis Major.
Normals: Standing Kicks
s.LK

A standing low. This has less horizontal range than c.LK, but deals slightly more damage.
s.MK

A standard missle kick. Not usually used in the start of combos due to its inferior damage when compared with c.MP, but it moves you forward more than any other medium.
s.HK
The go-to heavy attack for Beowulf combos. This move does 975 damage and is Beowulf’s 2nd most damaging chair-on normal. s.HK is the the only heavy normal that will not change regardless of the chair being on or off. This move staggers when used alone, so it is necessary in performing optimized Beowulf combos, or even in your simple bnbs.
As with all stagger-causing normals, stagger is only applied if it’s used at the start of a chain. Hop j.MP and j.MK allow you to link into s.HK, and because s.HK wasn’t preceded by any grounded lights or mediums, it’s considered part of a new chain and stagger is applied. Additionally, stagger can only be used once per combo; once stagger has been used up, s.HK will cause hitstun instead of stagger.
Once per combo, successively applying a stagger will gain Beowulf 1/3 hype.
Normals: Crouching Kicks
c.LK
Along with coming out fast, this move has decent range, allowing for excellent poke. Aditionally, this move can be easily used to catch enemies to save your OTG.
c.MK
Not only does this attack hit low, it can also be used to trigger grabstance upon an OTG. This move can be used in blockstrings in an attempt to hit confirm.
Grants 2 actions in grab stance.
c.HK
Chair On
This sweep will almost never be used in combos. The only use for it would be if you needed to break armor or using it after an OTG, but as Beowulf you could do much more with that OTG other than sweeping with the chair on.
Chair Off
This sweep is superior to regular c.HK in almost every way, with a few key weaknesses. It has an insane range that covers 3/4 of the screen, has 3 hits of armor, and, being a sweep, it’ll break armor. After using it, you can either tech roll or cancel into a super, although, because it’s a sweep, a super like Gigantic Arm will always whiff unless you land c.HK as an OTG hit. This is Beowulf’s hardest hitting normal, at 1400 unscaled damage. Since you are often going to get counterhits with this move, especially against those with a command run like Cerebella, or Big Band’s Brass Knuckle and ‘A’ Train, it’ll deal 2100 damage. The down side of this attack is that it’s linear, and people can jump over it and attack you. Morever, it doesn’t have armor when Beowulf “bounces” after he puts the arm away, leaving you to be counterhit (this part of the more is considered the recovery, and you can’t super cancel at this point).
Normals: Jumping Kicks
j.LK
While a good move to use while dash hopping, j.LK excels in the air. Its long active frames last the entire time Beowulf is in the air, making it harder to whiff and allowing for tricky crossovers. This move can cross up the opponent if done while jumping over them.
j.MK
Despite looking similar to s.MK, j.MK is quite different. It has long active hitboxes like j.LK and j.HP, it doesn’t move you forward like s.MK does, and it deals more damage than j.MP. Compared to j.MP, it has a more generous hitbox, and is more likely to be able to hit opponents on their way down.
Because j.MK and s.MK look almost identical, a good reset is to do j.MK, and once you reach the ground, do another hop j.MK for a surprise overhead. j.MK looks very similar to s.MK, a mid-hitting move, which can trick your opponent into thinking they don’t have to be blocking high.
j.HK

This move will propel your opponent towards the ground. This allows you to continue your combo on the ground, but you must have OTG available.
What is unique about this move is that, if used in conjunction with holding down, you can jump off the chair mid-air. This can be useful for trying to cross up your opponent or avoiding projectiles. The chair itself acts as a projectile until it reaches the ground, at which point it becomes inactive.
Hop-Dash

One of Beowulf’s important abilities is what he can do while dashing. His dash, done by inputting a forward motion twice or two punch buttons, allows him to hop for a short distance and use jumping light and medium normals.
j.LP is the one of the fastest instant-overheads in the game, coming out at 14 frames. j.LK’s notoriously low hitbox confuses enemies into thinking that they need to block low. j.MP is a fundamental move in Beowulf’s s.HK links to stagger. j.MK, a less used move, may be used for the same purpose and while it does more damage, it places the enemy in a shorter duration of hitstun making it harder to confirm with a s.HK. j.MK can also be used to make a double overhead mix-up. Jumping in the air and using j.MK, then land canceling into a dash hop j.MK is very good, since the dash hop version bares so much resemblance to s.MK, a mid-hitting move.
You won’t be considered airborne while hopping unless you attack, so moves like Big Band’s “A” train won’t hit you. Additionally, he can whiff his heavy air normals to deceive the opponent. This is especially tricky when doing it on an okizeme[skullgirls.wikia.com] set up, where you can set up a 50/50 chance of opening up your opponent.
Advanced technique: Air throwing in hop dash. As mentioned above, Beowulf will not be considered airborne until you perform an attack. One can an achieve an air throw by exploting the game’s input leniency and inputting a throw (LP and LK) a few frames apart. The game registers one button and starts the animation. When the data for the second input is received a couple frames later, it corrects itself into a throw. And since Beowulf performed an attack, he is now airborne, letting him get an air throw. The general technique for inputting buttons small amounts of frames apart is known as plinking.
To do this, perform a hopdash. Then, when he is about halfway through his animation, plink LP ~ LK, or LK ~ LP (order does not matter. do which is easier). When done right, you will do an extremely low to the ground air throw. This takes lots of practice, and is often overshadowed by just doing a low, but it is an option nonetheless.
Specials
Hurting Hurl
Hurting Hurl, to put all 3 versions in simple words, is Beowulf’s DP. However, it is a QCF move, meaning it does not have the standard Z motion like most DP moves do. It is also referred to as “chair toss.”
Light
The light version is a sweep with good range, easily able to hit enemies at a distance. In combos, this move is used to perform the j.MP > s.HK link, which works on every single character in every part of the screen. This generates a stagger, which opens up multiple possibilities with Wulfshoot, chairless c.HP, or even Wulfamania. Additonally, you can use this in a combo if you have enough meter for his level 3, Three Wulf Moonsault, to get that extra damage when landing on the chair. You will be using the light and heavy versions of Hurting Hurl the most.
Medium
In the medium version, Beowulf tosses his chair straight up, causing it to land right in front of him. While not necessarily the most useful in terms of combos or reversals, it has great mixup potential. The first hit of this move, when Beowulf initially throws the chair, can be blocked either high or low. When the chair comes back down, it is an overhead move, meaning the opponent has to be blocking high. Since there is a delay between the initial throw and the chair landing, it allows Beowulf to either go high, low, grab, or even just wait; if the opponent thinks it’s safe to try and attack you, the chair will hit them as a counterhit and allow you to continue into a combo.
Heavy

Heavy Hurting Hurl is the only move where Beowulf is strike invincible during startup (excluding supers). However, he can be grabbed out of it, since the invulnerability only covers hits. On block, this move is +1, meaning that if you jab with c.LP, you will always have advantage unless the enemy mashes out a super with very short startup, or has a move that is equal in frames and will trade.

That being said, this move is great for performing reversals. If the enemy has good enough timing and reflexes, however, they will be able to grab you. The best and safest way to perform H Hurting Hurl then is to PBGC[wiki.shoryuken.com] into it, allowing for you to pass through the enemy’s attack unharmed due to your invincibility, and hit the enemy with a counterhit. The chair will send the opponent up and back, giving you quite a large space to work with. You can grendel sweep into gigantic arm, use a raw gigantic arm, or just simply follow up with Wulf Blitzer. In all of these cases, you will likely have to use your OTG.
Due to its long invulnerabiltiy period (30 frames), H Hurl can be used to counter, consistently, every other DP in the game (including H hurl itself and given that you properly delay it to pass through longer DPs like Parasoul’s Napalm Pillar).
Wulf Blitzer
Wulf Blitzer is similar to Jon Talbian’s Beast Cannon in Darkstalkers. It’s an omnidirectional movement ability that lets you “boost” in one of 8 directions. When initiating Wulf Blitzer from the ground, you get 3 boosts; in the air, 2. The Light, Medium, and Heavy all travel in different directions, allowing Beo to combo off of different chains and hit at different angles (for example, launcher into H Blitzer to combo, and even launcher into L Blitzer to crossunder!). Furthermore, you can change the direction in which you travel after the first predetermined trajectory. It does not matter what punch button you press; all you have to do is input the direction.
It’s worth noting that the hitbox closely resembles a square. This enables the move to easily cross up and under enemies. The damage changes depending on the angle; Blitzering down will give the least damage, while Blitzering up will give the highest damage. The last hit of Blitzer will deal increased damage.
Light
The light version will shoot you horizontally across the screen for the first hit in the chain. You travel at the same trajectory when activated in the air.
Medium
The medium version will shoot up diagonally. In the air, it will shoot you down diagonally. Due to the grounded version being disjointed at the tip, it can function as an anti-air.
Heavy

The heavy version will shoot you straight up. In the air, it will shoot you up diagonally similar to the grounded medium version.
Take a Seat
By inputting any two kick buttons near Beowulf’s chair, he will quicky grab it back after a miniscule delay. Very important is the fact that he can cancel the recovery of his moves, allowing for him to cancel his heavier normals into his lighter ones. If you have one hype, you can cancel chairless c.HP and c.HK, too.
Ground Throw / Air Throw
These are the two most basic means of entering grab stance and offer the most options for a follow that you will use. There isn’t much to take note of, but his air throw has a high hitbox, which can be useful if you’re jumping at your opponent. However, if your opponent is jumping at you, they will often low profile your air throw.
Grants 4 actions in grab stance.
Wulf Shoot
Wulf Shoot is a risky but rewarding command grab where Beowulf will leap towards an enemy. It’s completely grab invincible from frame 1 until he stops. He will travel roughly 3/4’s of the screen and will grab a non-airborne point character if he makes contact during the move. It’s a fairly slow move, having 24 frames of start up, but it can be a useful approach tool if used with the pressure of an assist or as a mixup, as well as being comboable with the stagger caused by s.HK.
Grants 5 actions in grab stance.
Grab Stance
Grab Stance is Beowulf’s most versatile tool. After clinching up by successfully performing a grab, air grab or grapple attack, Beowulf will then enter grab stance where he has a myriad of ways to follow up or finish his combo depending on the situation.
Beowulf’s means of entering grab stance include:
- Chairless j.HP (1 finisher)
- Airwulf (1 finisher)
- OTG c.MK (2 actions)
- Chairless s.HP (2 actions)
- Down + two punch buttons with at least two bars of hype after Three Wulf Moonsault (4 actions)
- His grab (4 actions; 1 finisher if done at the start of a jump)
- Wulfamania (5 actions)
- Wulf Shoot (5 actions)
Beowulf can only enter grab stance twice in one combo before the opponent is dropped from the combo and allowed to recover. The exceptions to this are if you convert off a grab stance finisher using external sources, such as an assist, or if you use EX Da Grendel Killa. Additionally, if OTG hasn’t been used and the opponent doesn’t recover, they can be picked up off the ground and the combo can be continued.
Example of 3 grab stances in one combo:
Grab Stance Options
What to do after a successful Grab Stance:
After entering grab stance, Beowulf has many options for follow ups depending on how he entered grab stance.
The first moves Beowulf should use upon entering grab stance are either his knee or headbutt attacks, which are done by inputting a neutral kick or punch during grab stance.
Kneeing will deal roughly twice as much damage as a headbutt, but a Headbutt will provide much more meter to Beowulf while also depriving meter from the opponent. Making the decision to use either knees or headbutts can be crucial in a match. Using headbutt at the end of grab stance can also be used to continue a combo, as it leaves you (+) on hit and puts the opponent in the air in front of you long enough to follow up. Thus, whenever you’re not ending grab stance with a finisher, you should end it with a headbutt.
When in a grounded grab stance, Beowulf can walk while carrying his opponent. How far he can move before defaulting to Wulf Press Slam or Da Grendel Killa in Wulfamania is dependent on how he entered grab stance. On a regular grab, he can move roughly 2 siddles of distance. Wulf Shoot can make him move a little longer; roughly 4 siddles. Wulfamania is about the same distance. Chairless s.HP and OTG c.MK only move him about 1.5 siddles.
It should be noted that you cannot walk after performing a knee or headbutt without the grab stance ending. Wulfamania is an exception to this.
Besides just knees and headbutts, Beowulf has multiple finisher moves which can be used to end grab stance. Note that all of these finishers can damage the assist.
It’s worth keeping in mind that the aerial versions of Da Grendel Killa and Diving Wulfdog deal less damage than the grounded versions. This includes the super versions which can be performed during Airwulf and Wulfamania. Additionally, landing on the chair will always deal extra damage and grant 1 level of hype, picking up the chair in the process (unlesss an EX throw has been used).
Wulf Press Slam
This does the least damage in terms of ground finishers, but it leaves you with more space advantage than the opponent. In order to do this finisher, input: Back or Forward + any punch button.
Diving Wulfdog
This is a fairly decent finisher. It gives you a mix of damage and space advantage. It lunges you forward to give yourself distance. Diving Wulfdog can also be performed in the air. To do this finisher, input forward + any kick button, or forward + any punch button while in the air.
Da Grendel Killa

This finisher does the most damage out of all the other finishers. Beowulf puts the opponent on his back and falls to deliver a devastating attack on the opponent’s head. Da Grendel Killa can also be performed in the air. In order to perform this finisher, simply input back + any kick button, or back + any punch button while in the air.
Geatish Trepak (Chair Dance)

Also known as “chair dance” or “jazz hands,” this finisher does more damage than Dog Star Press and Wulf Press Slam and sends your opponent flying away from you. At maximum scaling, it does more damage than any of the other grounded finishers. In order to do this finisher, you must have your chair and input down + any kick button.
Note that this move doesn’t count as being part of grab stance, so it can be interrupted by your assist calls and scaling starts taking place.
Canis Major (Dog Star) Press
This does the least damage out of all the finishers, but it gives a lot of space control. You have to jump in order to do this finisher. You can go either forward, back, or simply stand still and jump up. You can control where the opponent is going to land. This move results in an okizeme setup; it gives less time for your opponent to prepare for your mix ups, and it also gives them less time to think about what they’re going to block. To do this finisher, simply jump whichever direction you’re going and input down + any punch or kick. If you don’t input anything while in the air, this move will be chosen automatically.
Chair and Hype Mechanics
Chair
Beowulf can either play with his chair on, or chair off. As you have probably observed or witnessed yourself, the properties of most of his heavy attacks will change. As for the chair just lying about, what is its purpose? You can either land on your chair to get hype, or you can grab your chair back, canceling the recovery of your moves, allowing you to chain a heavier move into a lighter one (H to M, H to L, or M to L).
After using a move with a chair, the chair will be in a cooldown mode. You cannot grab your chair until it begins flashing (you don’t have to wait for it to return to a solid color). An exception to this is Beowulf’s Chair Recall, which will be described later.
The total cool-down will differ depending on the chair move used. L hurl has the shortest cooldown, M a bit longer, and H hurl being the longest.
Hype
To begin the discussion of hype, we’ll start with how to gain it in the first place. The max amount of hype is 3, and there are several ways to attain it:
- If you have no hype, you can perform any grab stance finisher and gain 1 hype.
- If you land on the chair, you can gain 1 hype (doesn’t stack with the 0-hype bonus).
- Mic drop will gain you 1/3 hype once per combo.
- Staggering with s.HK will gain you 1/3 hype once per combo.
- Holding s.LP will quickly gain you 1 hype every 35 frames.
- Holding the KK input when performing Chair Recall will grant you 1 hype when he catches the chair
- Connecting with the Wulfamania super gives you 3 hype
- Beowulf’s taunt gives you 3 hype. The inputs are as follows: s.LP > s.MP > Forward > s.LK > s.MK.
Beowulf’s hype mechanic is an integral part of his playstyle. With it, you can do additional damage and conversions with your grabs that you could not do before.
EX and Grab Stance
Beowulf’s EX Throws can be activated by pressing the normal directions, but you must input two punches or two kicks as opposed to just one. Each EX move uses 1 hype, and the same EX move can’t be used multiple time in a combo (exception being Wulfamania, details below). EX throws will also consume one action that you have.
For example, Wulf Shooting (5 actions) then using an EX Press Slam will allow you to perform 4 actions after. Note that, using an EX version of the move and then finishing with the non-EX version of the move will add an additional 50% scaling to the already 55% (which means an immediate 27.5%, which is the minimum scaling for hit-grab/command-throw style moves) you have from converting or finishing with after an EX.
On top of this scaling, using hype gained mid-combo on EX finishers will cause a forced 70% scaling on that move. Note, if there is a mix of hype gained before the combo, and during it, it will first spend the “before-combo” hype for full damage, and finishers used “mid-combo” hype will be scaled. Hype gained mid-combo with mic drop and s.HK stagger ignores this. This scaling is also not applied when using hype in Beowulf’s Airwulf or Wulfamania supers.
EX Grendel killa: EX Grendel Killa sends your opponent into the air, and, unlike the regular version, does not use OTG. This is typically used at the end of a series of EX chains. Due to the fact that regular Grendel Killa can stagger the assist, using EX Grendel Killa can actually lead to happy birthdays. https://twitter.com/Rabbleflaggers/status/1022238474500534272
EX Diving Wulfdog: EX Diving Wulfdog allows you to follow up after performing an aerial grab. It will always side switch.
EX Wulf Press Slam: Similar to Diving Wulfdog, allows for a follow up. Side switches based on the direction you input.
EX Geatish Trepak: This enhanced version causes wallsplat, which can allow for decent corner carries. The main purpose of this move is to get a double snap off a grab and to get a safe taunt set up. Simply activate after pummeling both the point and the assist, then immediately using snap on OTG.
EX Canis Major: Causes Hard knockdown, gives you a frame advantage of +34, and deals more damage. However, an obscure option that is a result of this is known as the “Penguin.” If you have 3 hype and the opponent is under a certain HP threshold, doing an EX Canis Major will perform an “execute,” triggering an embarrassing (for the opponent) finish. Note that this only works on the last character alive on the enemy team. Additionally, you can still Penguin even if you used your other two hype as long as it is all in the same combo.
Please see by a top Japanese player, Penpen, on Beowulf’s options after both the non-EXand EX Canis Major knockdown.
EX and Specials
Armor-cancels: If you have 1 level of hype available, you can cancel your armor in Grendel Flex and Sweep if you use Take a Seat (grabbing Beowulf’s chair by pressing any two kicks.)
EX Wulf Blitzer: Inputting two kicks when performing a follow-up blitzer will perform an EX Blitzer for 1 hype. These blitzers have the same damage as the final blitzer, but the frame advantage of a non-final, which means you are much safer on block. You can perform EX Blitzers consecutively provided you have the corresponding amount of hype.
Chair Recall: For the cost of 3 hype, Beowulf can summon his chair back by inputting 22KK (down down, and any two kicks). There are a few properties:
- The chair will have a hitbox and launch the opponent towards Beowulf on hit.
- There are two versions of chair recall. Pressing KK and releasing will have a short recovery, allowing Beowulf to follow up. Holding it and catching the chair will give you 1 hype back.
- Chair recall ignores the status of the chair. This means you can perform a recall when a chair is airborne, or even in its lockout state.
EX and Supers
Three Wulf Moonsault: If you have 2 levels of hype, you can press down + any two kicks after the dropkick for a follow up. Details in the “Supers” section.
Wulfamania: On hit, gives you 3 levels of hype. Details in the “Supers” section.
Supers
Beowulf has four supers. Two level ones, and two level threes.
Gigantic Arm (Level 1)
Gigantic Arm is Beowulf’s first level 1. It is a single hitting move, meaning that it does a very large amount of counterhit damage. Its huge vertical hit box allows you to use this move to bruise opponents in the air, and follow up with a conversion. When struck with this move, enemies will be sent back, collide with the wall, then land on the ground, with an OTG available. This move does a hefty amount of damage both as a finisher and a combo starter.
Airwulf (Level 1)
Airwulf is Beowulf’s anti-air super. Depending on which aerial throw you choose, damage will vary. You can either use Diving Wulfdog, Da Grendel Killa, or Canis Major Press. If you have 1 hype, you can use an EX finisher to activate the second part of the super. Note that if you land on your chair with this super, you will gain one level of hype. Also used to get away from the corner for free, unless the opponent knows how to punish it (it may also be used as a “safe” DHC).
Three Wulf Moonsault (Level 3)
In this super Beo uppercuts the opponent two times, before delivering a devastating final uppercut that sends the enemy in the air, offscreen. He will then jump into air, followed by an image of a moon and three wolves howling, and Beowulf will land on the enemy as soon as they land on the ground. If you land on your chair, you will get your chair back and get a damage bonus from landing on it (you will not, however, gain a hype from landing on the chair). This super does decent damage, most often used when you know you are going to kill. Try doing L chair toss on combo string ender, if possible, to ensure that you’ll land on the chair after level 3 is done.
If you have 2 levels of hype, you can press down + any two punches after the dropkick for a follow up! Important to note is that you do not have OTG after performing this hype-enchanced version, even if you didn’t use OTG prior in a combo. You can still perform it regardless of having the OTG or not.
Wulfamania (Level 3)
Beowulf’s level 3 command grab super. It maxes out your hype at 3, and gives you an opportunity to damage your opponent with a variety of options. In this specal state, you can use a specific EX throw more than once (except Grendel Killa, since it will take you out of the super-state).
Not only are you not limited to doing one EX type per combo, but you can perform the same EX throws you used after Wulfamania has ended (for example, Wulfamania > EX Press Slam > EX Grendel Killa, then c.MK OTG > EX Press Slam). This is good to note if you have assists that allow you to gain hype after spending all of it in Wulfamania, or just conserving hype from Wulfamania.
You are also allowed to perform 5 pummel actions, similar to Wulf Shoot. Additionally, when doing berserker headbutts in this super-state (just as in Airwulf), Beowulf will perform 3 headbutts, doing more damage than Knee. Since you always leave Wulfamania with 55% of your current scaling, there is nearly no reason to use knees when you can headbutt. (However, some conversions off of Wulfamania with assists require the extra knockback from knees to connect, so it’s not completely useless.)
Additionally, you can kara s.HK to extend your range sizeably. Be careful when doing this since the heavy start-up can leave you vulnerable.
Combos
Beowulf’s combos can be stylish as you want them to be and are easy to pull off. Note that some of these may end in grab stance and you can choose what to end them with, i.e Grendel Killa, Diving Wulf Dog, Canis Major, and Chair Dance. Saving your OTG is vital to getting his grab stance at the end of combos with c.MK.
Here are a couple of beginner combos:
(Chair On) c.LK > c.MP > s.HK > L Hurl > Dash j.MP > s.HK (stagger) > Wulf Shoot > 5 Actions > Finisher on chair
While some may have trouble with the dash j.MP, it is one of the most fundamental strings Beowulf has, and it absolutely imperative to know how to do it successfully. Plus, this combo does modest damage and can give you hype if you do a Grendel Killa onto the chair.
(Chair Off) c.LK > c.MP > c.HP > c.LP > c.MP > c.HP > s.LK > c.MP > c.HP > Airwulf
or c.MK after s.LK (Grab Stance and 2 actions)
Good combo to start knowing the timing of Grendel Flex (c.HP). This can go two ways to end it, c.MK if you don’t have any meter and want to cut the combo short or continue the combo and end it with more damage. The timing of comboing off of c.HP gets more difficult as the weight increases.
(Chair On) H Chair Toss > L Blitzer, 6, 2 > c.LP > c.MP > s.HP (Grab Stance and 2 actions)
If you need a starter combo to know about H chair conversion, then this is a good combo to get the idea. Pretty universal on everyone but comboing after blitzer gets more difficult as the weight increases.
Intermediate Combos:
(Chair On) c.LK > c.MP > c.HP > j.MK > j.HP > Hop MP > s.HK > Wulf Shoot (Grab Stance and 5 Actions)
You can actually continue comboing after wulf shoot if you do Headbutt at the end and do c.MK to get another grab stance. This combo helps you understand the timing of Hop attacks and knowing to link it with another attack. The timing of connecting Hop MP to s.HK gets difficult as the weight decreases.
(Chair On) c.LK > c.MP > c.HP > j.LP > j.LK > j.MP > L Blitzer, 2 > c.LP > s.MP (Mic drop optional) > s.HK > L Blitzer, 8, 2 > c.MK (Grab Stance and 2 actions)
Good combo to know the timing of Wulf Blitzer and when to utilize it.
(Chair On) c.LK > c.MP > c.HP > j .MK > j.HP > Land > Gigantic Arm > c.MP > s.HK > H Hurting Hurl > s.MK > c.HP > s.LK > s.MP (x2) > s.HK > Take a Seat > s.LP > s.LK > s.MP (x2) > s.HK > L Hurting Hurl > s.HP (Grab Stance and 2 actions)
A somewhat simple corner carry combo that utilizes Beo’s basic level 1 Blockbuster.
(Chair Off) c.LK > s.MP (Mic drop optional) > s.HK > L Blitzer, 6, 2 > c.LK > s.MP (Mic drop optional) > s.HK > L Blitzer, 6, 2 > c.LP > c.MP > c.HP > c.MK (Grab Stance and 2 actions)
This combo is a bit tricky depending on the weight of the character. For lights, after hitting them with s.HK, try doing L Blitzer, 9, 2 and convert with c.LK.
Expert combos:
(Chair on) c.LK > c.MP > c.HP > j.MK > j.HP > s.MK > s.HP > L chair toss > Hop jump j.LP > j.LK > j.MP (land) > s.HK (stagger) > j.HK > c.LP > c.MP > c.HP > c.MK (Grab stance and 2 actions)
This combo works on Big Band and Double only, but it looks stylish to pull off. Timing of the L chair toss into Hop jump j.LP is a little difficult to pull off. (Since L Hurl > Dash j.MP > s.HK works on everybody, it is not necessary to learn character specific combos for Big Band and Double anymore.)
(Chair on) c.LP > c.MP > s.HP > L chair toss > Hop MP > s.HK > c.MP > c.HP > j.LK > j.HK > (restand) s.LK > s.MK > s.HK (KK or grabbing the chair) Hop LP > c.LP > c.MP. c.HP > M chair toss > c.MP
One of the more harder Beowulf combos to pull off and it looks really cool doing it. This combo only works Lights and Mediums. The j.LK > j.HK restand is a bit tricky to get used to. With lighter characters, you have to delay your jump for a bit after the Chairless c.HP.
(Chair On) c.LK > c.MP > c.HP > j.MK > j.HP > Hop MP > s.HK > Wulf Shoot (Grab Stance and 5 Actions) > c.LP > c.MP > c.HP > j.LP > j.LK > j.MP > L Blitzer, 2 > c.MK. (Grab Stance and 2 actions)
Remember when I said you can continue comboing after Wulf shoot? This is the same combo in the intermediate section, but more to it. This combo will leave the opponent with full undizzy and gives you a knockdown. You have to do headbutt at the end of Wulf Shoot to do this combo.
EX
Due to the fact that EX throws many things into the mix, it is your call when to use EX in some of these combos.
But, EX moves are best used as soon as you get your first grab stance to maximize your damage (the recommended EX combo would start with either diving wulfdog/press slam, do the one you didn’t use for the 1st one as your 2nd attack, then end with ex grendel to continue the combo). For example, after doing the dash jump stagger link (dash j.MP.j.MK , s.HK) you can do 4 pummels and EX moves forget big damage. Press slam would be better if you only plan on using 1 hype, since you can control what side you are on.
It is a good idea to save at least one hype at the end for EX grendel killa, as this will allow you to do supers at points where you normally shouldn’t during a grab stance. And don’t ignore the fact that you may need hype to get more conversions (such as off of chairless j.HP), depending on what type of team you have. It is better to conserve hype when you don’t have assists that let you gain hype mid-combo.
More combos at the wiki[wiki.gbl.gg]
Resets and Burst Baits
Beowulf can get 50/50, and even 33/33/33 off of almost anything. By jabbing, and the opponent blocks it, you can set-up another low, or you can throw or do a dash hop overhead. Interrupting combos with a low, throw, or high is a big part of Beowulf’s mixups.
However, the most definitive “reset” setup that Beowulf has is off his EX Canis Major, giving him tried and true okizeme, or wakeup game. With well-timed hop moves, or c.MK into H hurl, Beowulf can perform mixups that are guaranteed safe against a great majority of reversal options. Please see for more information on this.
Blitzer is good for cross up resets. A good example would be doing: (Chair on) c.HP, blitzer forward, up and then down. What’s great about this is you can choose to let it be a cross up or not. Same thing applies on incoming characters from the corner, from there, just do the heavy version of Blitzer, you can either wait for the opponent to be on-screen for a second and do blitzer for a cross up or do it before they appear on-screen as a way to mix your opponent.
If possible, try doing a combo that involves blitzer in the air and do s.LP, or another button you haven’t used, to get the opponent to restand. Drop the combo and go for a low, hop attack or simply a grab.
Coming up with Burst baits for Beowulf can be tricky. Try doing something like: (Chair on) Hop MP > s.HK (Stagger) c.MP > c.HP > j.MK > j.HP > s.MP. This will cause a Blue burst bait (which allows for you to punish the opponent with a counterhit). This burst bait isn’t the best of options but it’s a start. Another way to do one is to have the opponent in the corner and having full undizzy and do a regular combo that ends with a launcher, but let IPS system to trigger so you can do j.MK > j.HP while jumping back to make use of the disjointed hitbox of j.HP.
In continuation of the paragraph above, you can do a combo but make sure to launch the opponent in the end. You can start a combo and c.HP > H chair toss > j.MK > j.HP > Diving Wulfdog. The j.MK will trigger the burst sparks, and if they don’t burst, j.HP will cause them to enter a grab state. Then they hit the ground, they can burst, but since Beo is still considered in grab stance, he is invulnerable. This works as long as opponent doesn’t burst on the j.MK attack. If they do, you risk losing your chair and going back into neutral.
Otherwise, if you or your assist gets hit by the burst, it will be a Gold burst bait, which means that the opponent can block after the burst (making itunpunishable). You can tell whether or not it is blue or gold by looking at the burst animation itself, which will have little effects colored blue or gold accordingly.
Here’s another burst bait combo. (Chair on) c.LK > c.MP > s.HK > L Blitzer, 8, 2, > c.LP > c.HP j.MK > j.HP, and as you land, do c.HP. Sometimes, if the opponent is too low for you to stay out of the burst range, you can do H Hurl to completely pass through the burst and get a decent combo.
In the corner, Beowulf has some interesting burst baits. Starting with a simple one is jump back j.LP after already using j.LP in a previous chain. Pushing this further, you can delay the jump back just a bit and either use grab or the j.LP. This works great for some people who pre-emptively try to tech your air grab.
More resets at the wiki[wiki.gbl.gg]
Double Snapping
Beowulf is a bit odd in that he can only double snap with his chair on. He can outtake without his chair, but he needs to be in grab stance first, which can only lead to a happy birthday with an assist like Beat Extend. It can be performed midscreen, as shown in the following video:
Corner
Beowulf, along with everyone else, has a very easy birthday combo in the corner. All he ever has to do is: Snap, c.LK > c.HP > j.HK > c.LK and repeat. You can differentiate however you like, but it must uncombo other wise the damage scaling will still apply and you have to continue with the gruesomely long infinite which gives the opponent a large amount of meter, as well as regenerating a very sizeable portion of their HP, if any of their characters had red HP.
Midscreen
For midscreen, it’s still fairly easy to do. Simply do a combo that kills the point character, then do launcher > L Blitzer (once) > c.LK > launcher > L Blitzer, and so on. If it’s still unclear, here’s a video demonstrating it:
“What if I’m chairless?” Fortunately, chairless c.HP has a special property where it’ll automatically uncombo the assist during happy birthdays. This means that you can simply keep ending each combo with c.HP, and keep catching the assist on the way down. Because the assist is being uncombo’d, they’ll drop out of the happy birthday the moment they touch the ground, so strict timing is key.
This also applies in the corner.
Out of Grab
There are two interesting things about Beowulf’s grabs in regards to hype. Firstly, Beowulf’s grab snap (done by performed the snap input in the grab) will force incoming in all situations, even if the character is a solo. Beowulf is the only character in the game with this capability.
Secondly, Beowulf can get happy birthday combos from grabs. If you happen to grab the opponent while their assist is out, you can use pummels to put the assist in hitstun. After, you can use EX Grendel Killa and it will stagger the assist then position it on the same side as the enemy you grabbed. Take note that if the assist drops out, you cannot use OTG to pick it back up; only the point character has the OTG. For this reason, focus on timing your buttons (most generally a standing or crouching jab) to hit the assist, then use c.LK or c.MP to hit the point character. Additionally, you cannot stagger the assist later in the combo (they are staggered during the EX Grendel animation), so using the stagger to extend the corner will not work.
An alternative way to get a happy birthday from a grab and pummel is to use EX Chair Dance, which is useful when you are facing the corner.
Tech
Here are a few examples of Beowulf tech:
- L Hurting Hurl crosses up on incoming. Every character has different timing. Using M chair on incoming is a good way to keep yourself safe from incoming attacks and provide a mix up if they try to block.
- Chairless c.HK doesn’t combo into anything, but by using your OTG, you can follow it up with Gigantic Arm. This deals a lot of damage at low scaling, which makes it an appealing conversion after hitting your opponent with H Hurting Hurl.
- Despite chairless c.HP being very unsafe on block, you have a large window to cancel into a super during recovery. This allows you to hit them with Gigantic Arm if you think they’re going to attack, Airwulf if you think they’re going to jump, or even Wulfamania if you think they’re blocking in anticipation of Gigantic Arm.
- During an okizeme setup, Beowulf can actually hop over some characters without even doing a normal jump. Hop j.LP puts him far enough in the air to jump over Cerebella, Painwheel, and Parasoul.
- H Hurting Hurl has enough invincibility to make it an effective counter to some supers, especially if canceled into Gigantic Arm. This works well against Parasoul’s level 3, Big Band’s SSJ (as long as you do arm or wulfamania immediately after, since SSJ has 1 hit of armor), and many more supers.
- Doing Canis Major earlier in a jump will cause you to travel farther than if it was done later in a jump, so you should do it manually instead of waiting for it to happen automatically to achieve maximum distance. The opposite is true if you are doing a Canis Major while traveling backwards: leave it alone to achieve maximum distance, and input it manually to travel less distance. In both cases, the difference in how far you travel is minimal.
Beowulf tech thread on Skullheart[skullheart.com]
Team Composition
Beo is most commonly used as a point character, due to the fact that he can build large amounts of meter and does not necessarily need meter to deal heavy damage. He is also very resource dependent, and the right assists will allow him to maintain max hype. If you choose to run him solo, make sure that your neutral is strong and that you know your match ups.
Solo Beowulf can be really tough for some players, but after knowing Beowulf’s ins and outs, you can be a monster in matches. Beowulf does big damage when solo, easily wiping out a character in a trio with only two resets. You’ll have to rely heavily on your neutral game, being patient and using tricky resets to get in on your opponent. As a solo Beowulf, you’ll have trouble dealing with pressure; H Hurting Hurl is a great reversal, but it’s grab vulnerable, some characters can fly past it (like Filia and Valentine), and it severely weakens your options once it’s gone. Airwulf can be a good escape plan, but knowledgeable opponents will know how to punish it. You will also need to understand when you are able to gain hype with 5LP or with taunt. Using these fullscreen will pressure the opponent to respond, and if they have no projectile, they may come towards you.
Beowulf, with the right assists, can be a tough character to play against. Lock-down assists, such as Cerebella’s Cerecopter, Eliza’s Butcher’s Blade, and Double’s Hornet Bomber can make it easy for Beowulf to get in with his mixups and sustrain his quick high/low/throw game. Additionally, it can make his slower normals safer, like chairless c.HP. Armored assists, such as Big Band’s H Brass Knuckles, will help you keep enemy assists at bay while also applying pressure; they help in doing some conversions as well, such as doing chairless j.HP into brass assist.
Because of Beowulf’s limited meterless reversals, he benefits somewhat from DP assists. They can help him stay safe while he retrieves his chair, hit the opponent and set them up for a combo while he blocks, and make his slower normals like chairless c.HP safer. However, it is much better advised to run assists that help you “get in”, not “get out.”
But above all, the most important thing to Beowulf is a way to gain 3 hype mid-combo through a variety of situations. For this reason, Big Band’s H train is most often seen, as it allows for conversions after knee/headbutt, most of his normals, and especially grendel killa after an airthrow or jHP. Other assists, like Cerebella’s Excellebella, and F ukua’s M Shadow (they censored ♥♥♥♥♥ for some reason), can achieve these to some degree, but none other offers, simultaneously, (1) neutral control, (2) consistent taunts from conversions, and (3) damage.
Matchups
Beowulf (mirror)
Beo v Beo is kind of wonky. You can punish Airwulf with your Airwulf or Arm super, you can also punish a retreating blitzer with Arm super. j.HP will be flown around in neutral and can easily be punished by Arm super while also granting a full conversion off of it. Since Beowulf can do good damage off grabs, it is a good idea to grab a lot, since all his meterless reversals can be beaten by grab. On the same note, be wary of getting grabbed.
Big Band
Beowulf generally wants to keep his chair off in this matchup. Big Band can easily Beat Extend out of Beo’s mixups. Beowulf can counter Big Band’s armored normals with Grendel Sweep or Danger Position. Be careful being chairless near Big Band, though, since he can beat out Beowulf’s armored normals with j.LK. Another thing to worry about is his multi-hit jab, hitting 6 times and being +2 on block. This means that Big Band can safely chip you out if you let him get close you while having no chair.
Cerebella
Cerebella needs to get in in order to do damage; with Beowulf’s disjointed normals, he can easily keep her out. Beowulf can Wulf Shoot and Grendel Sweep her armored run. Bella has many throw resets, so Beowulf cannot DP out of it.
Double
Against Double, Beo wants to keep his chair on, since she has numerous multihitting moves and she has safe pressure strings that can cause chip damage which will add up. Her projectiles can keep Beowulf at bay, so you have to be careful when getting it. Grendel Sweep will help you get in, but if she puts down a puddle, you have to wait it out. If you have your chair off, she can use catheads to deal massive chip damage to you. It is much easier for Beowulf to pressure Double than many other characters due to her high standing hitbox. j.LK > j.HP is amazing to really put her on the spot.
Eliza
This matchup depends on each players knowledge. It will go either way in the air, Eliza has big hurtboxes when she does an attack in the air. Say she does j.LK in neutral, you can blitzer her and get a full conversion. Beowulf has j.HP with chair and Eliza has Sekhmet to counter. If the Eliza knows how to counter Beo in the air, you will need to realy on Beowulf’s strong ground game to get in. With his strong mix-ups and Eliza’s weak DP, it will go in Beo’s favor on the ground, as you can easily punish Sekhmet form without your chair, or with chain on, Airwulf. j.LK > j.HP can beat Eliza’s DP on wakeup. The small DP hitboxes won’t touch you as long as you’re above her. However she has an amazing s.MP anti-air. Grabbing her will beat both.
Filia
Since Filia relies on IADs for her mix-ups, Beo can easily use good anti-air moves such as wulf blitzer and s.HP with chair, or take the risk of using meter with Airwulf. Do not let her get too close without your chair, since it will be hard to get her away once you cannot use your DP. Also beware when under pressure by Filia, she can easily IAD over Beowulf to get over H chair toss.
F ukua
F ukua has space-control with both her clones and her fireballs. Be careful around her if you try to deal with her zoning with Grendel Flex or Sweep, as her M clone is a command grab and will easily give F ukua a free conversion. Her clones can also hit you out of Airwulf if they were summoned before you supered. Thus, it is best to keep your chair on. It will allow you to escape confusing layered mix-ups (however, keep in mind that H Hurl is still not grab invulnerable) and hit her from a distance with c.HP if she tries to zone. A good way to deal with zoning from afar, similar to other zoners, is to make a good read with Gigantic Arm.
Matchups (cont.)
Ms. Fortune
Fiber will beat most of Beowulf’s jump-in options. Fortune will want to be careful with her head off, since Beowulf can easily destroy Fortune’s health bar by using j.HP chair on against her head. Doing c.HP or c.HK while chairless, Fortune can, with head off, use the Bite attack she has to cancel your chairless armored moves. She will often run towards you to hit you in order to get her head back, but you can easily read her and position yourself to hit her with j.HP or use Wulf Blitzer.
Painwheel
A lot of Painwheel players will fly around the screen, making it difficult to get a hit on them. But Beowulf has ways to get her down. First is Blitzer: blitzering in will be helpful fighting against Painwheel, assuming they aren’t baiting you, Painwheel has armor in her normals, fortunately, Beowulf can break her armor with Blitzer if you’re quick enough. Second, is by doing Airwulf. Airwulf can beat whatever Painwheel has to offer in the air, it can get through her armor and it can beat out her level 1 super in the air. Third is by baiting out her attack and doing H chair toss. Painwheel doesn’t have armor during her attack in the air, so baiting one out is your best bet. If you try do armor your way through, Painwheel can easily break his armor.
Parasoul
In the air, it will generally be in Parasoul’s favor, as she can easily hit you out of the air with tears, and can use Take the Shot against Wulf Blitzer and whiffed Airwulfs do good counterhit damage and keep you in place. You can do Arm super at mid range to hit Parasoul while she’s doing L tear shots if you have quick reactions (a tip for this is to wait for the tear to pass the midpoint between you and Parasoul, as this will allow you to use the arm invincibility to pass through the tear and still strike Parasoul during her recovery frames, giving you a counterhit). You can arm super at fullscreen to hit Parasoul while she’s doing H tear shots. H tear shots will lock you in place at fullscreen very well, but they have a lot more recovery than L tear shots.
Peacock
Using c.HK chairless is a must. This will allow you to easily counterhit Peacock and tech forward to close the distance. Be careful when overusing it, if you’re using it from fullscreen, she can easily do Argus Agony and do counterhit damage. You can also punish Argus Agony with Gigantic Arm if you’re close enough. After the first stage of argus, use arm to deal effective counterhit damage and get a conversion. Once you get Peacock in the corner, you are free to mix her up. Just be wary of her DPs, one being throw invincible and the other strike invincible (you can avoid by jumping forward and doing j.HP to punish her),
Robo Fortune
Robo fortune will spend most of the match chipping you from the air with her beams. As Beo, your goal should be to back Robo into a corner and punish her when she tries to escape. The best way to beat her zoning is making a good read with Gigantic Arm, as it goes through beam and will deal massive counter hit damage to Robo, sometimes netting you a full combo. As Beo, dash jump forward and block her beams, pushing her into the corner. Either super jump j.HK out of the corner or dash forward if she sees you jump. If you make a bad read, simply try to push her into the corner again. As for the time when you actually do land the hit, try to look out for Robo’s s.HP. It’s her only reversal and has one hit armor. It can easily go through some of Beo’s set-ups because of his lack of multi-hit moves. Try to jab into c.LK when you go low in order to beat the armor and try to time your overhead set-ups so that Robo’s s.HP will attack on one side while you land on the other. But, if you have an assist, you can call the assist the same time you attack as Beo and go through her s.HP.
Squigly
Beowulf will want to stay close to Squigly, since Beowulf’s ranged tools can easily be beaten by Silver Chord, Battle Opera, and Daisy Pusher. Try to not get her stance charges as she can easily put you in a mix up that lasts forever. The only decent reversal she has is Daisy Pusher, which can easily be read. If she is in the air, Beowulf’s j.HP can easily beat her j.HP. You can’t really mash out her resets as she can Daisy Pusher Arm super, she can also low profile Arm super with c.LK. She can also punish a retreating blitzer with Center Stage into opera. SBO can easily beat your well spaced j.HP. Chairless j.HP and Airwulf can grab Squigly’s outstretched j.HP.
Valentine
Valentine can easily upback and zone, so you will want to keep the chair for its quick and disjointed normals and M and H chair toss to get her out of the air. Also, most of her moves are multihitting, so you cannot armor through them. While it can be a nuisance to get in, the key is to be patient and slowly get in. Blitzering in when she’s zoning isn’t a good idea as she can use her scapel super to hit you. Using Airwulf is also not good since she can use her flatline super to beat it out. Although when she doesn’t have any meter, Beowulf can get pretty much mix her up to death. She doesn’t have much of a reversal outside of meter.
Afterword (plus Discord link!)
It’s been a long time. After 8 months in the making (thanks to the 2017 beta delay!!!) we are finally proud to release this guide. To my friends who helped me write, we had our memes. I appreciate all of you who had taken time out of your day to help write this piece. Even those who just chilled in the Discord server giving advice (thank you Sage!), your auspice helped the guide be better.
As for the discord server in which discussed the guide as we wrote it, it shall now be public for anyone’s use! It will be a server dedicated to Beowulf, so feel free to hang out and ask any questions you may have!
Link: [link]
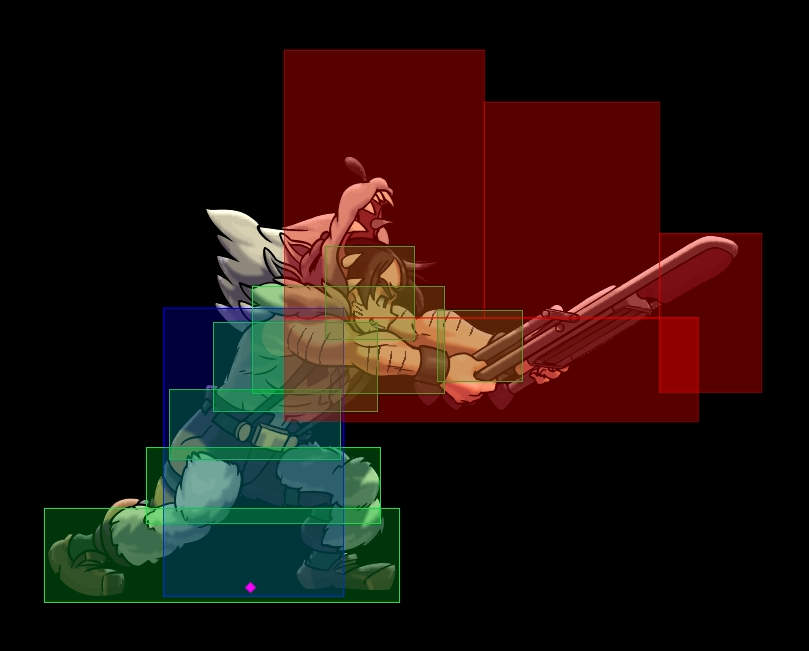
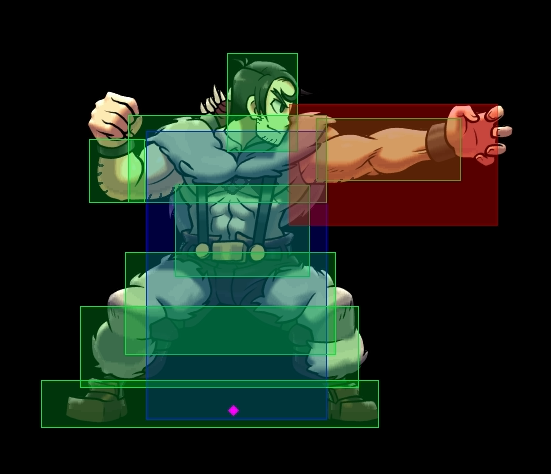
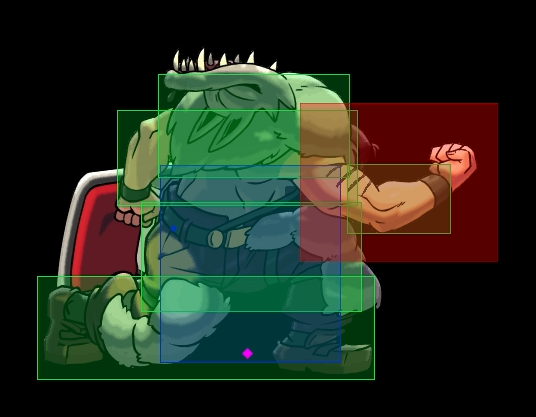
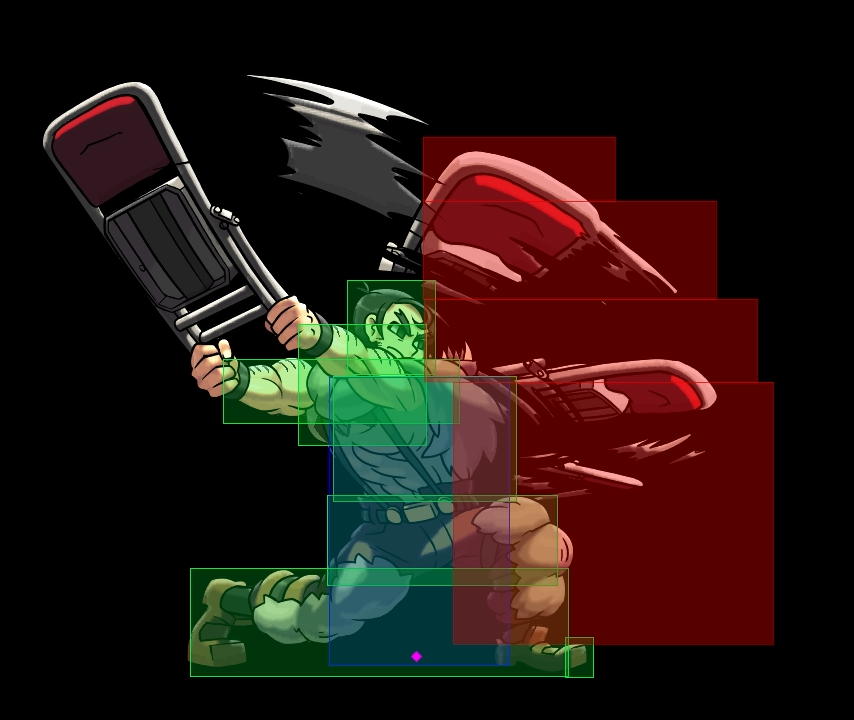
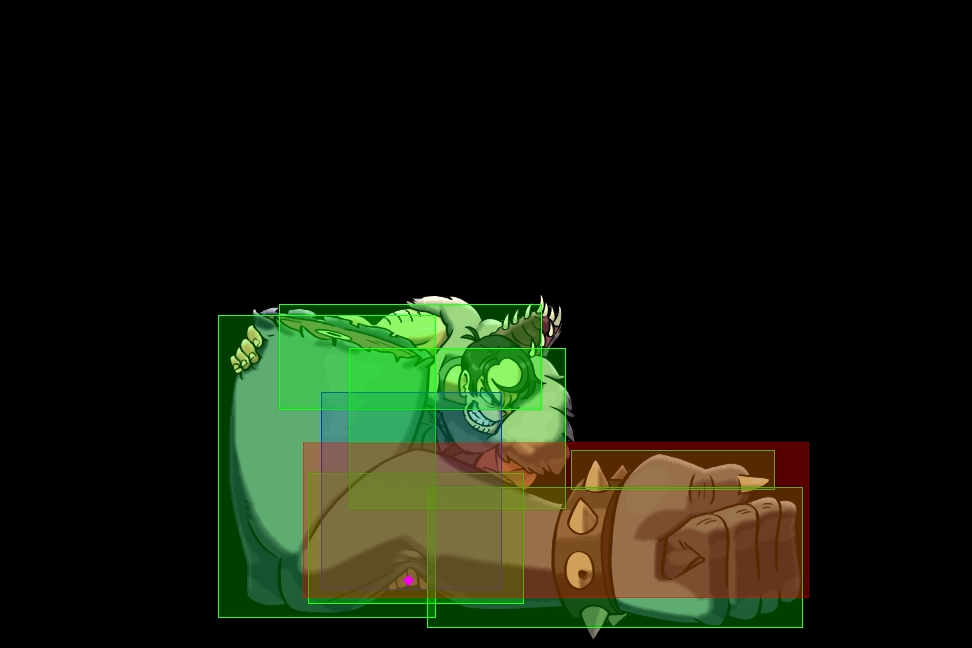
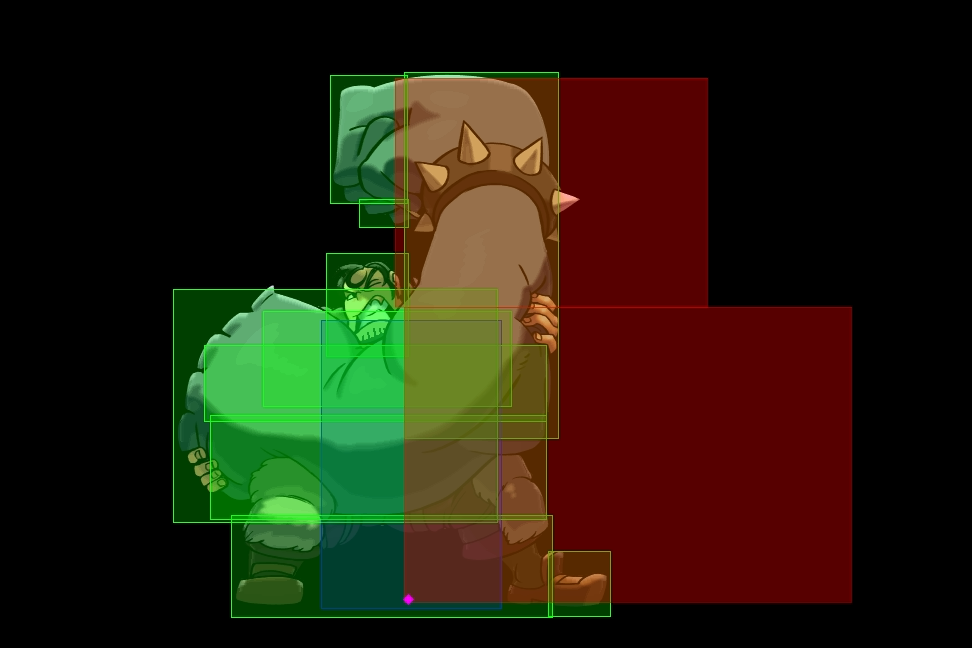
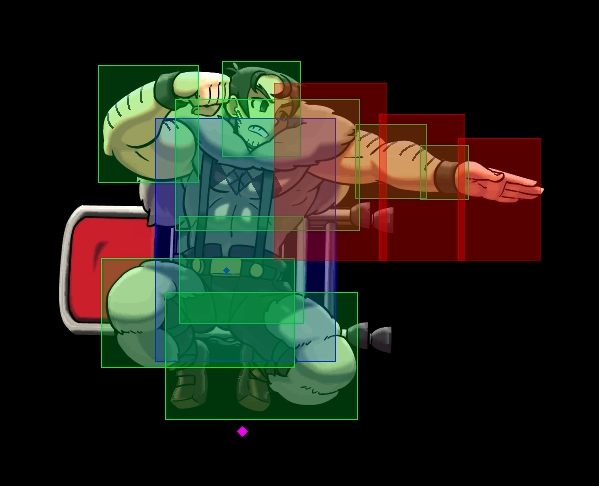
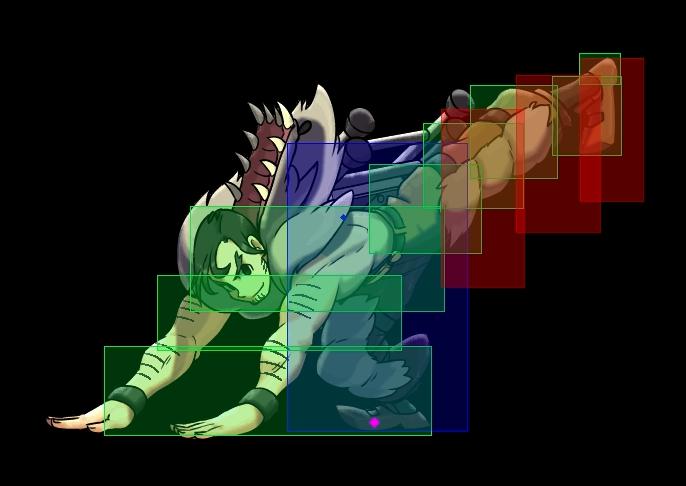
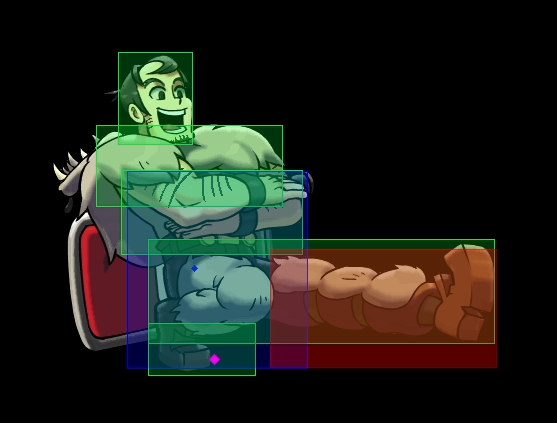
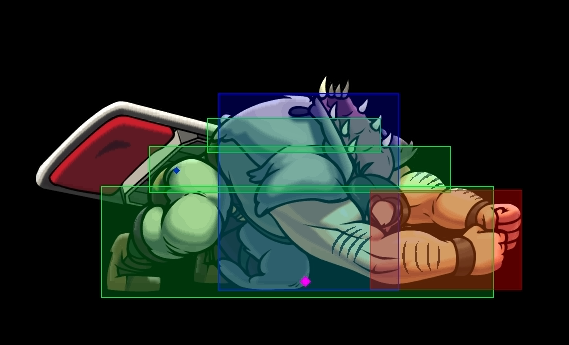
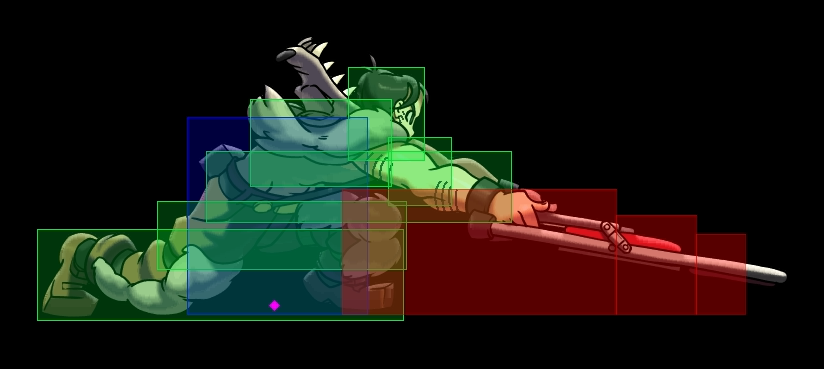
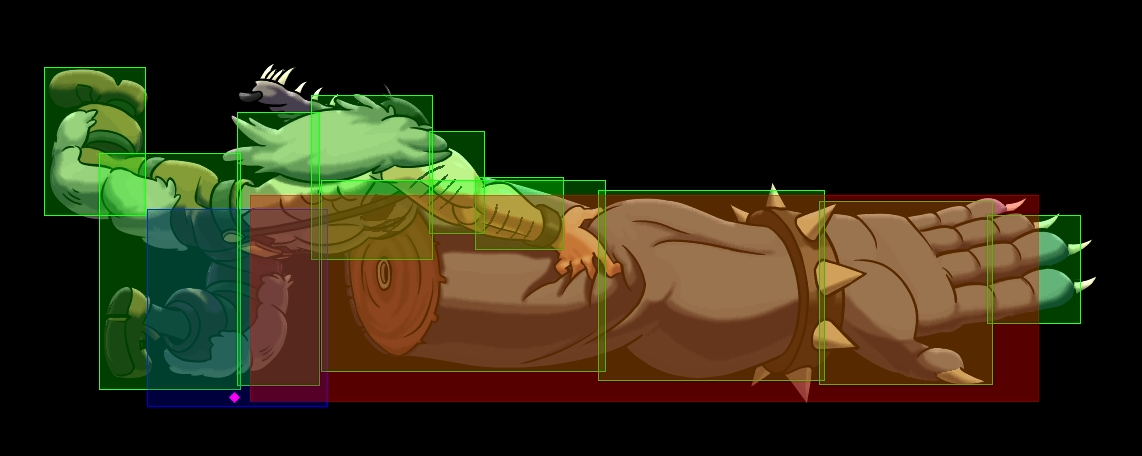
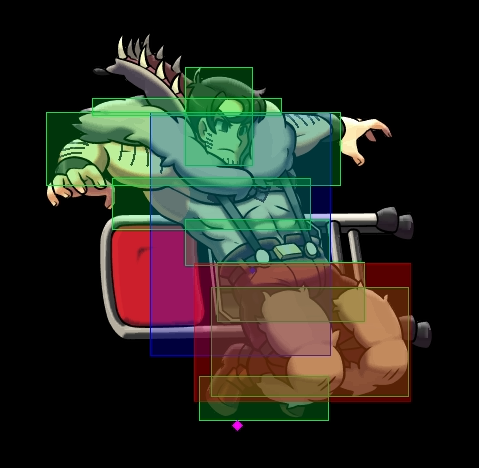
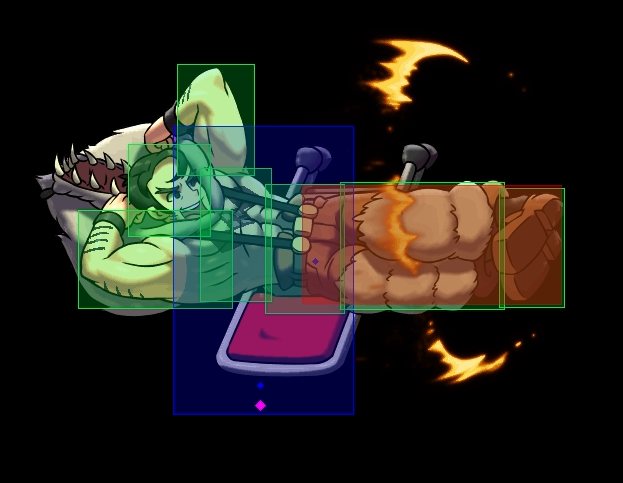
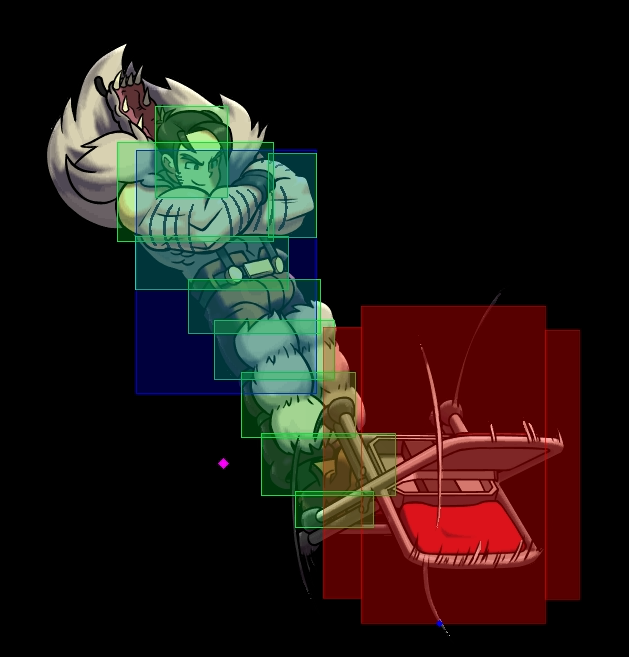
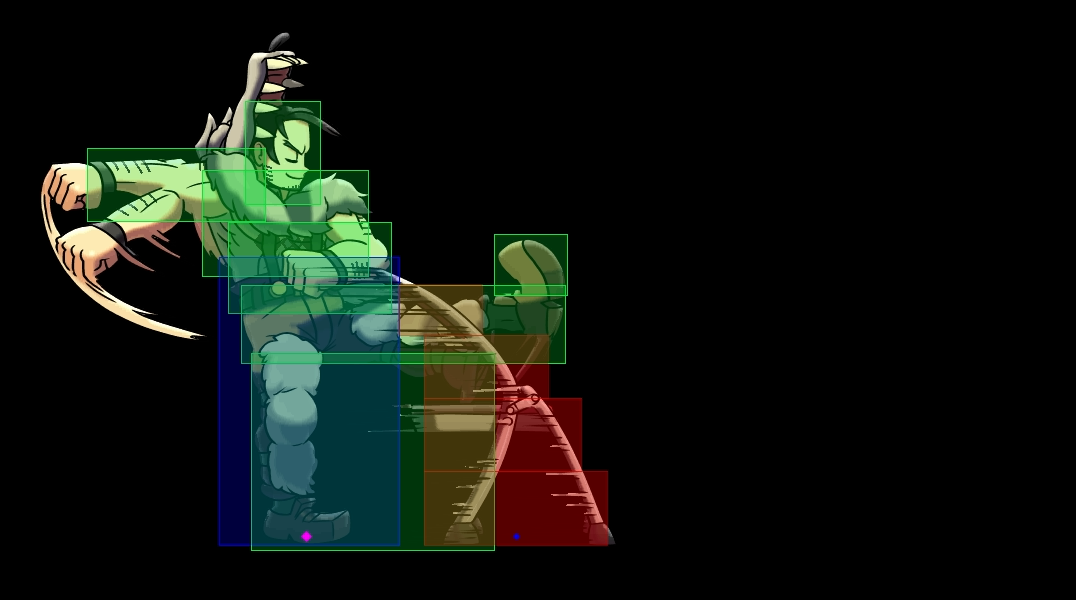
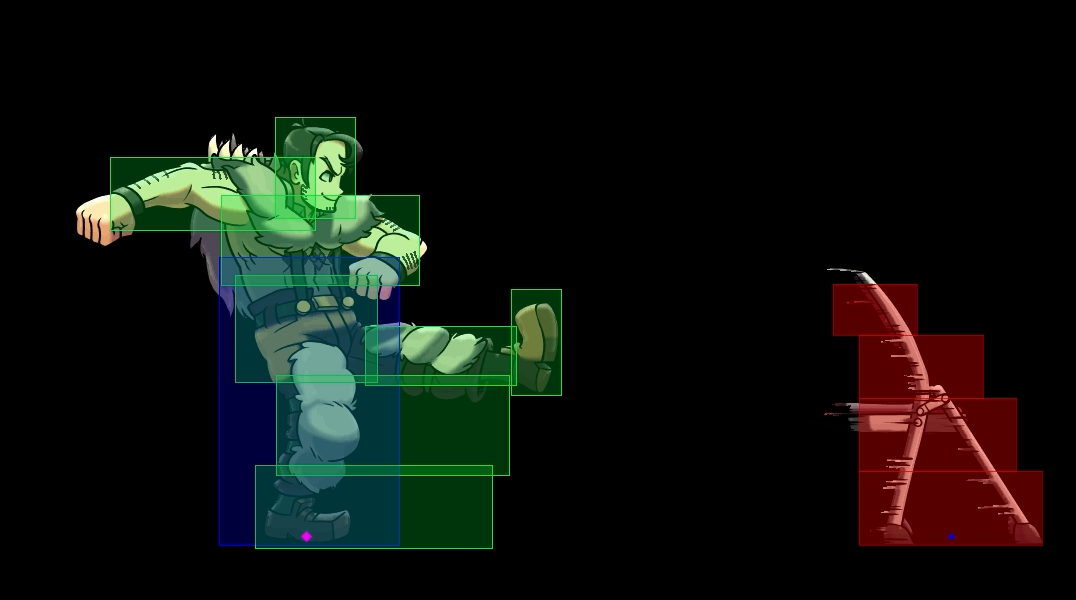
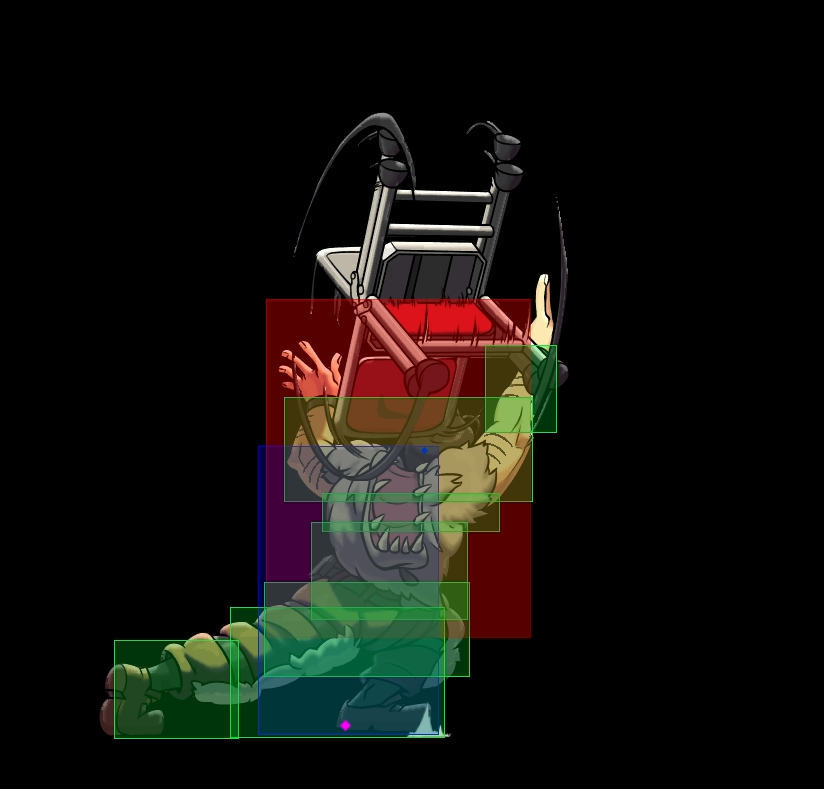
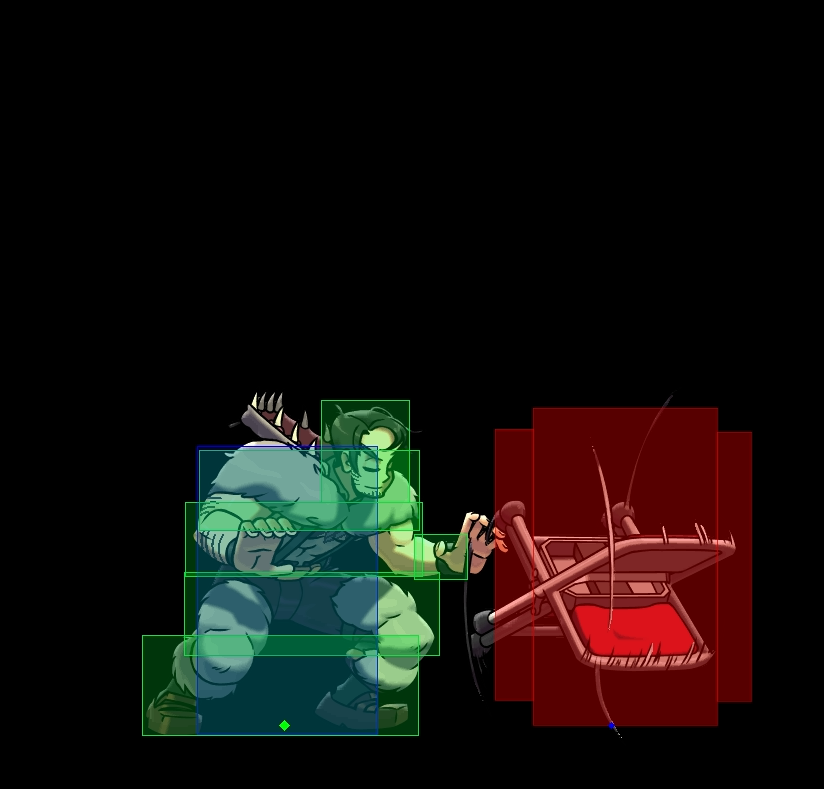
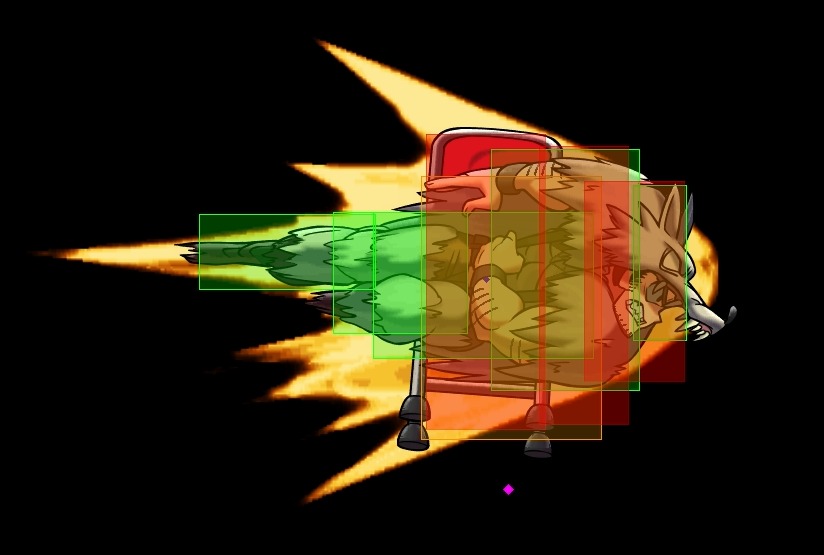
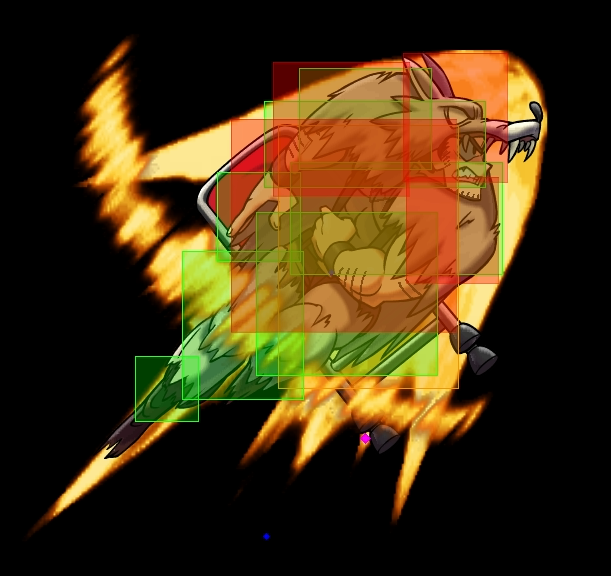
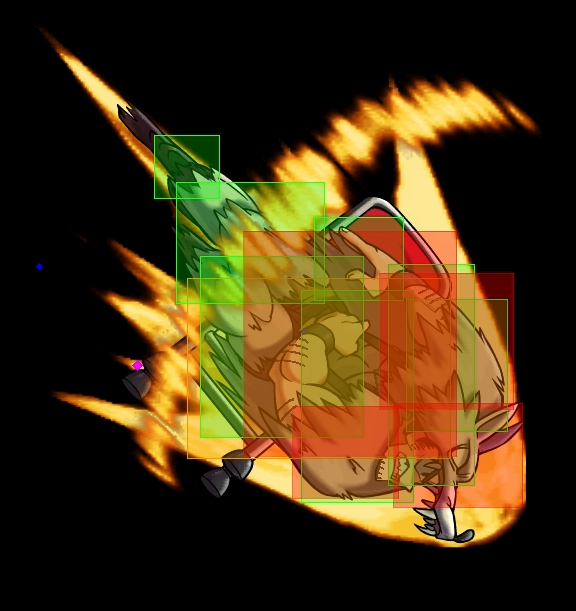
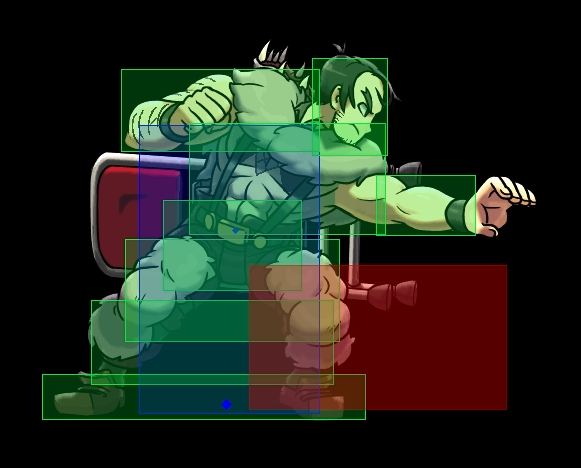
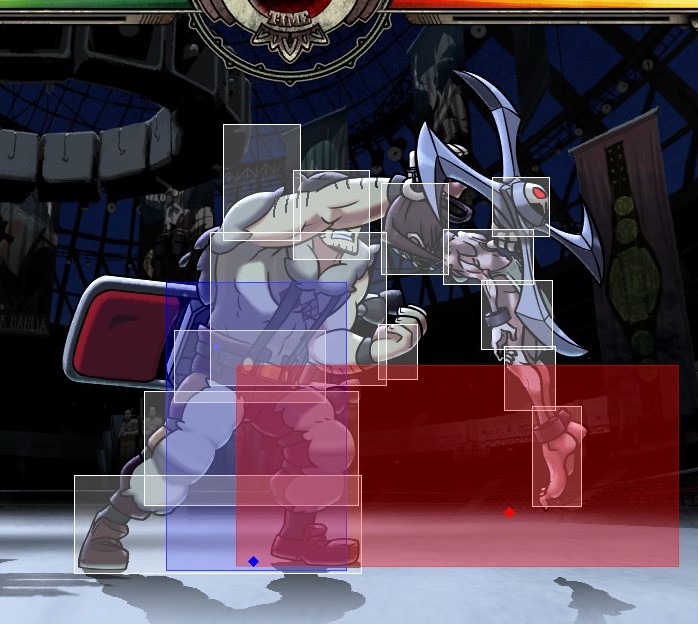
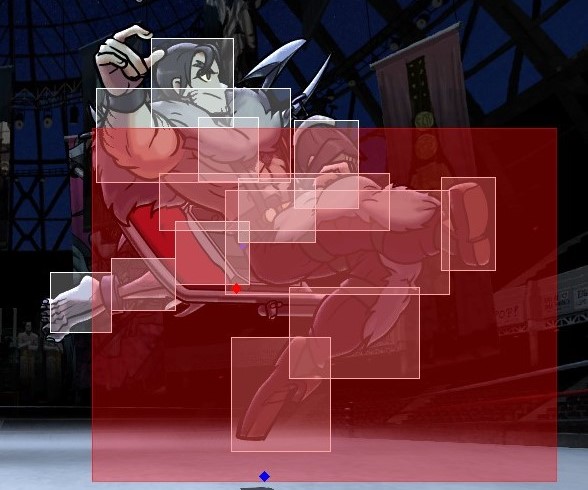
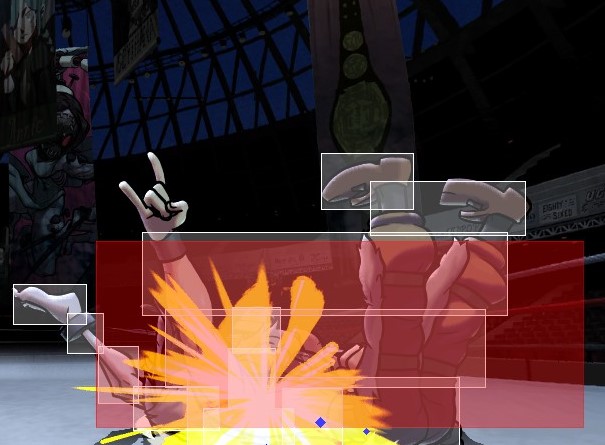
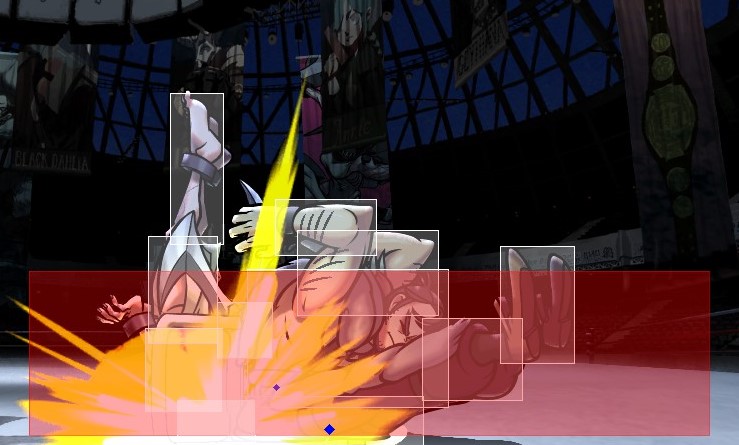
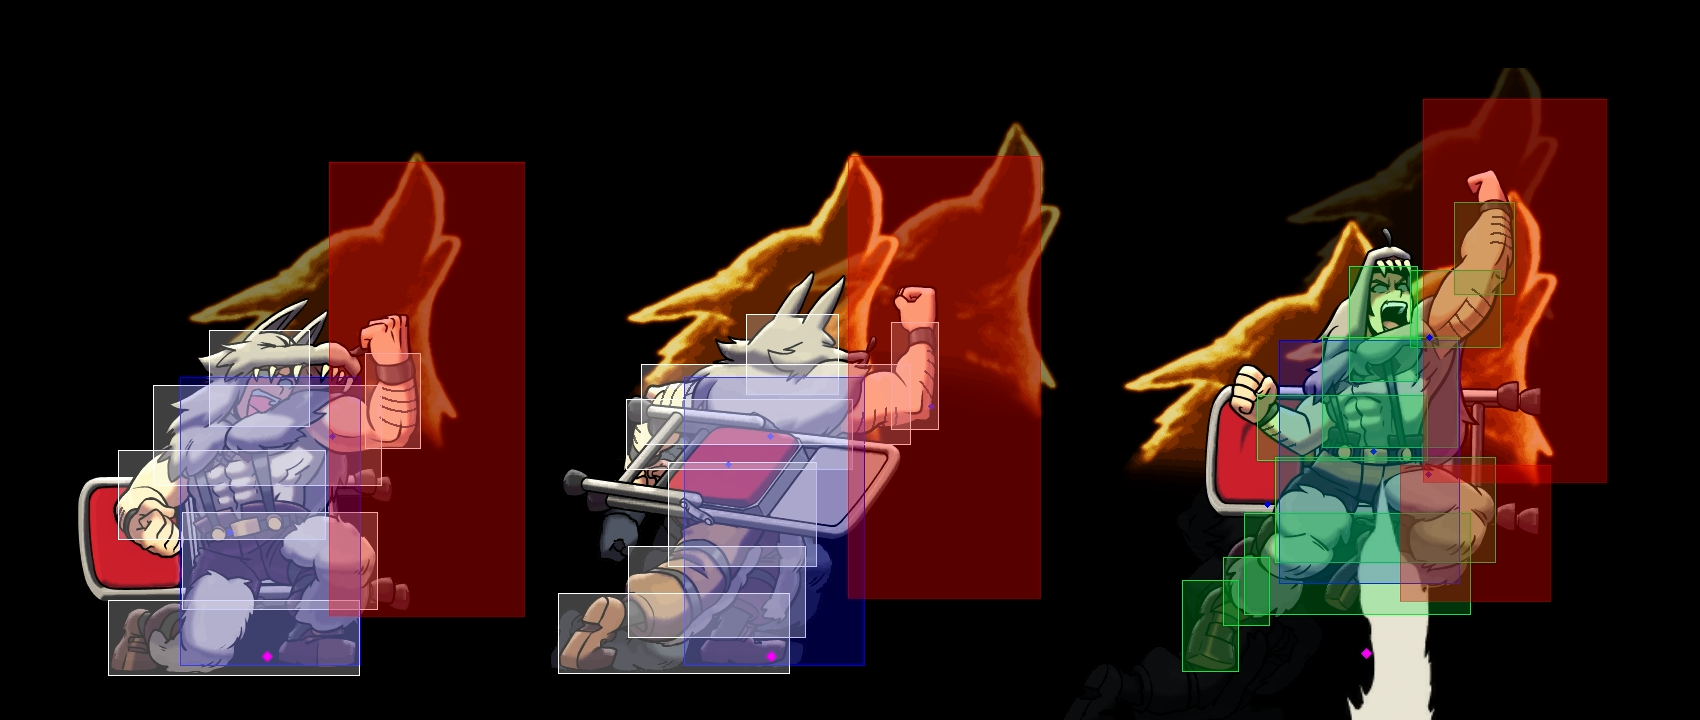
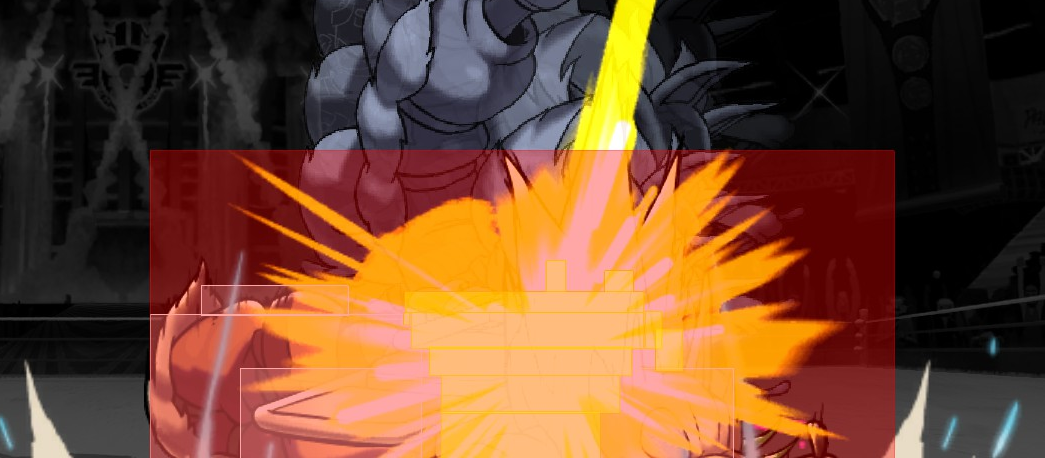
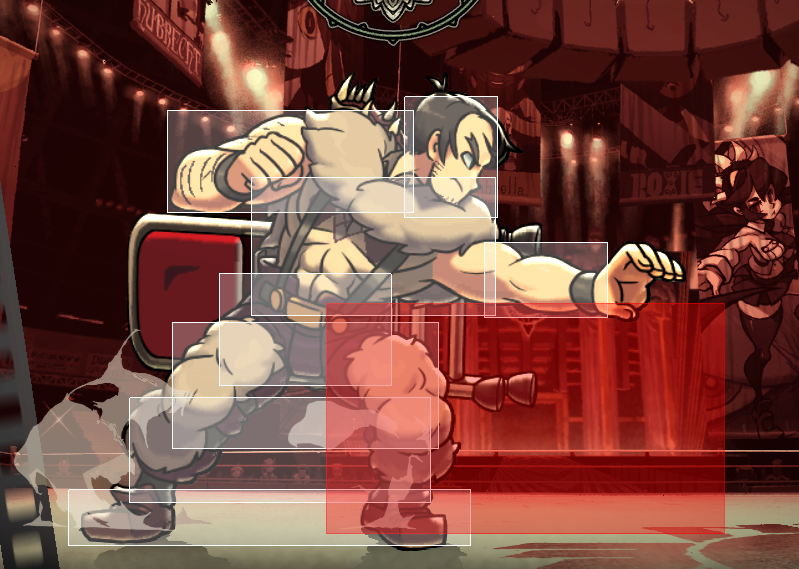
Credit to Stuff for providing all of Beo’s hitboxes and posting it on Skullheart: [link]
Again, I want to thank all of you who helped write this. We put a lot of effort into this, and I’m glad that it’s finally come to this point. And as for the reader, thank you for reading our guide!!! (Feel free to suggest anything in the comments. Grammatical errors, something not necessarily correct, etc.)