Overview
If you need a help to find stars, here I can help you. Or if you don’t know how to get secret achievements, that’s your place.P.S.: I’m so stupid and I lost every screenshot of the game. Maybe in 4 days I will repair it. (11 – 26 – 2018)P.P.S.: All the images recovered and reuploaded. Sorry for the people who only sees text. =P (11 – 27 – 2018)
Introduction
So let’s begin this guide.
This list of achievements are part of the story, so we mentioned them and start for the stars’ seek.
-
And We’re Off!
Complete the first level. -
Serpent Slayer
Defeat the World 1 Boss -
Wyrm Wringer
Defeat the World 2 Boss -
Behemoth Basher
Defeat the World 3 Boss -
Dragon Destroyer
Defeat the World 4 Boss -
My hero!
Defeat the World 5 Boss
World 1
Continue your fate since you arrive at a pit. So at the base of this pit will be a teleport in right. It takes you to a place that you have to climb it in 5 seconds. (Left below)
And the last one is above the final port. (Right above)
(I’ll baptise that green ring as final port =P)
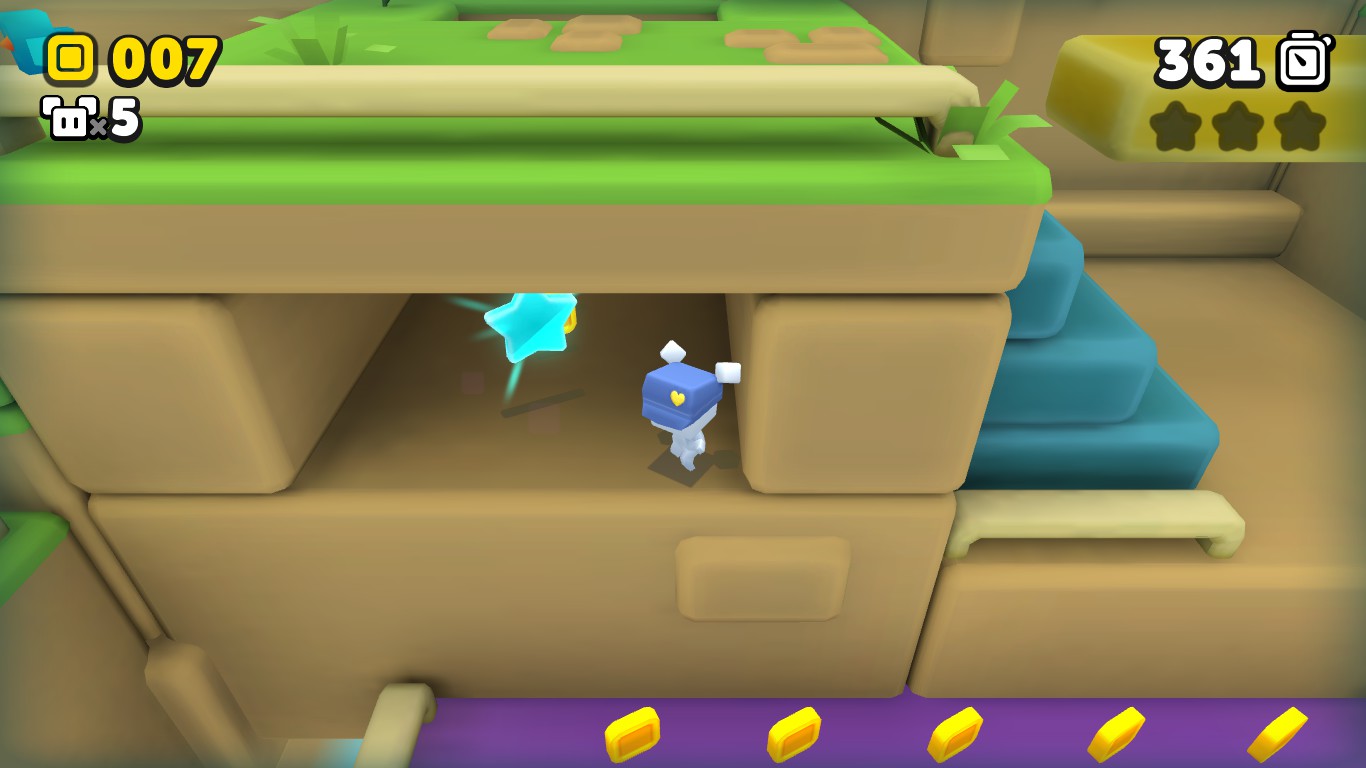
The second one is on a overhang above the place where are purple platforms. (Left below)
And you will see the last one if you continue your fate. If you need help to reach this overhang, jump to the top and then throw yourself to the left at the left below corner. (right below)


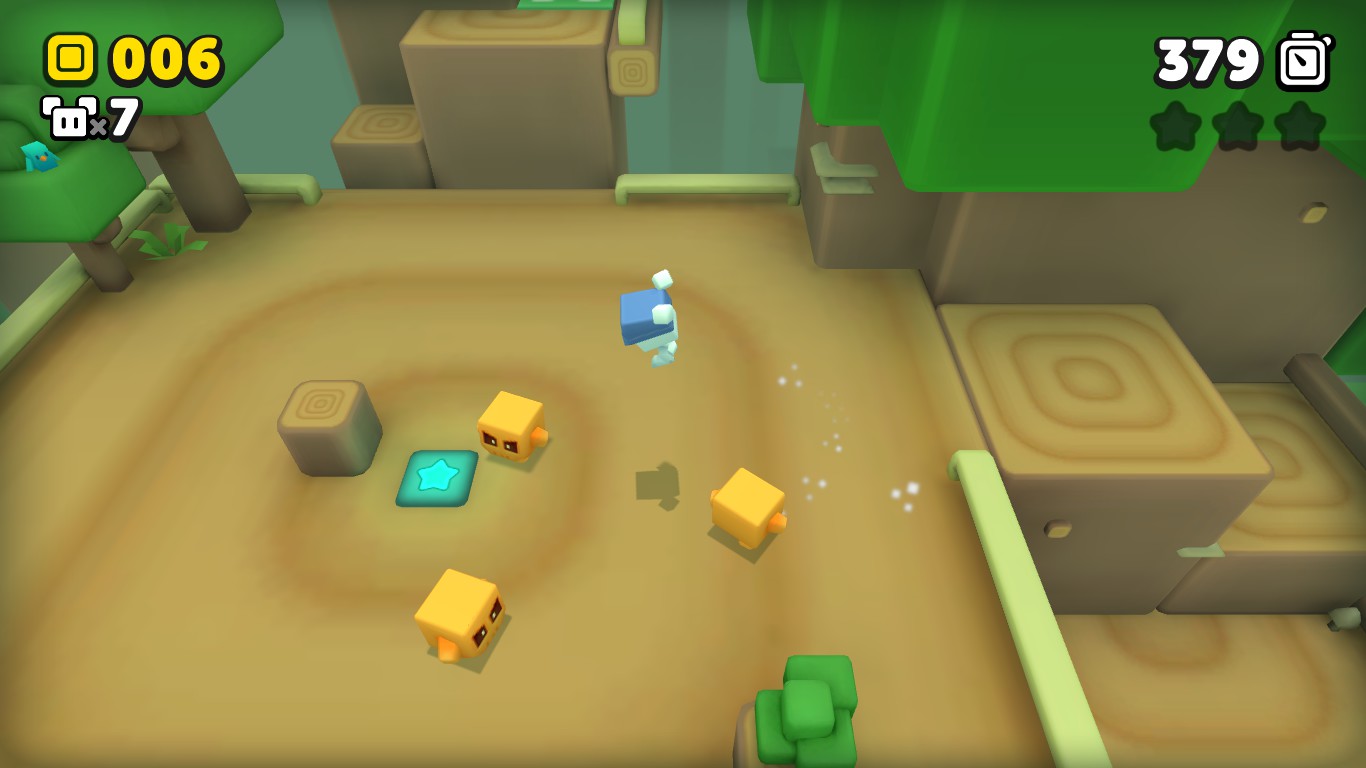
The second one is at the falling platforms, on one moving platform. At first sight it’s difficult to see, so if you notice that one travels out of your sight, think about it. (Left below)
The last one is just next to the second. You will see an isolated cliff with a cyan platform, above it will be a teleport that takes you to a place that you have to collect 8 blue coins in 10 seconds. (Right below)

Start the level and reach that bifurcation (Left below) and go for the overhang and you will arrive to a rotating cave where the star lives. (Right below)

Move forward this adventure to arrive that ice skating place. Jump the cyan squared ring and catch 8 blue coins in 10 seconds to make the star appear. (Left below)
And the last one is easy to see but not reach. You have to ski to that snowy platform and jump near to the edge and then do the same to incorporate to the main road. (Right below)


The second one is on the first disappearing stairs. If you have nice timing, jump from the third of fourth step, or try to catch the flying cap for the random buff. (Left above)
And the last one is easy to find, but if you go slowly, water will catch you so run seconds before. (Right above)
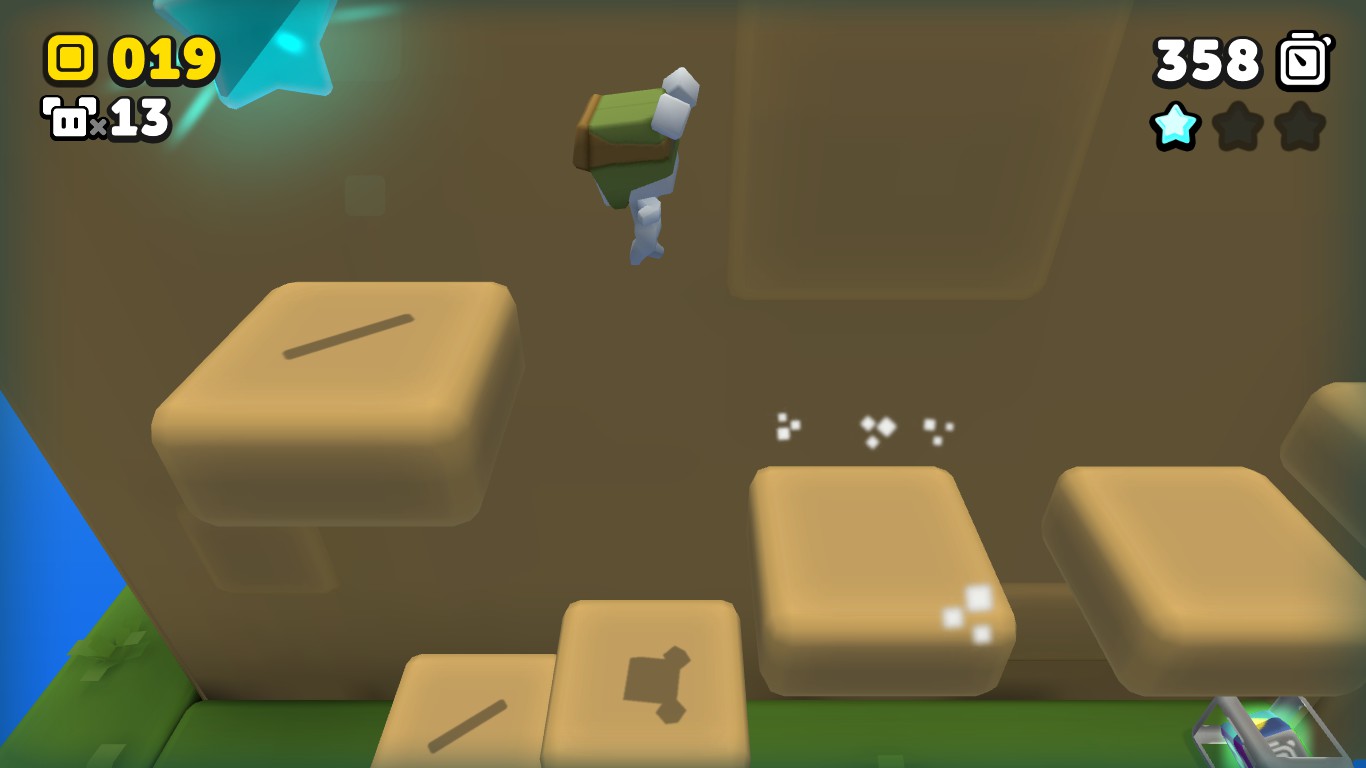

After catching this star, dodge 2 orange sweeping platforms and jump the next long thin orange one that takes you to the sky, or a not seen platforms, where the second one is. (Left below)
And the last one is hidden from our sight. The last platform has a green jumper as slope. Jump on it and go to right as much as you can, after 3 coins the last one is. (Right below)

And for it, you will get:
Star Stuff 1
Find all stars in World 1
World 2


The second one is, from the intersection, going 3 rooms to right and it will be a fire cannon targeting you and 4 torches off. What myster we have. (Left below)
And the last one is going up from intersection and you will reach a room with 2 mummies, if you press one switch, two rows of fire will appear. What a surprise! If you kill them, the last one will appear. (Right below)


The second one is at the end of this long cyan roll on the left of (Left below) (it’s difficult to see because I’ve catched it before).
And the last one is right next to the second star, but you have to catch 8 blue coins in 10 seconds on that blue mini-rolls and the last star will appear on the first green rolling dish. (Right below)

Continue travelling and you will reach the last part of the level that is jumping on the abyss. At the beginning you will see a switch that creates a way to the sky and guides you to a teleport. There will be a place with rocket lauchers. In few seconds you have to try to destroy the rock in middle and you will find the star.
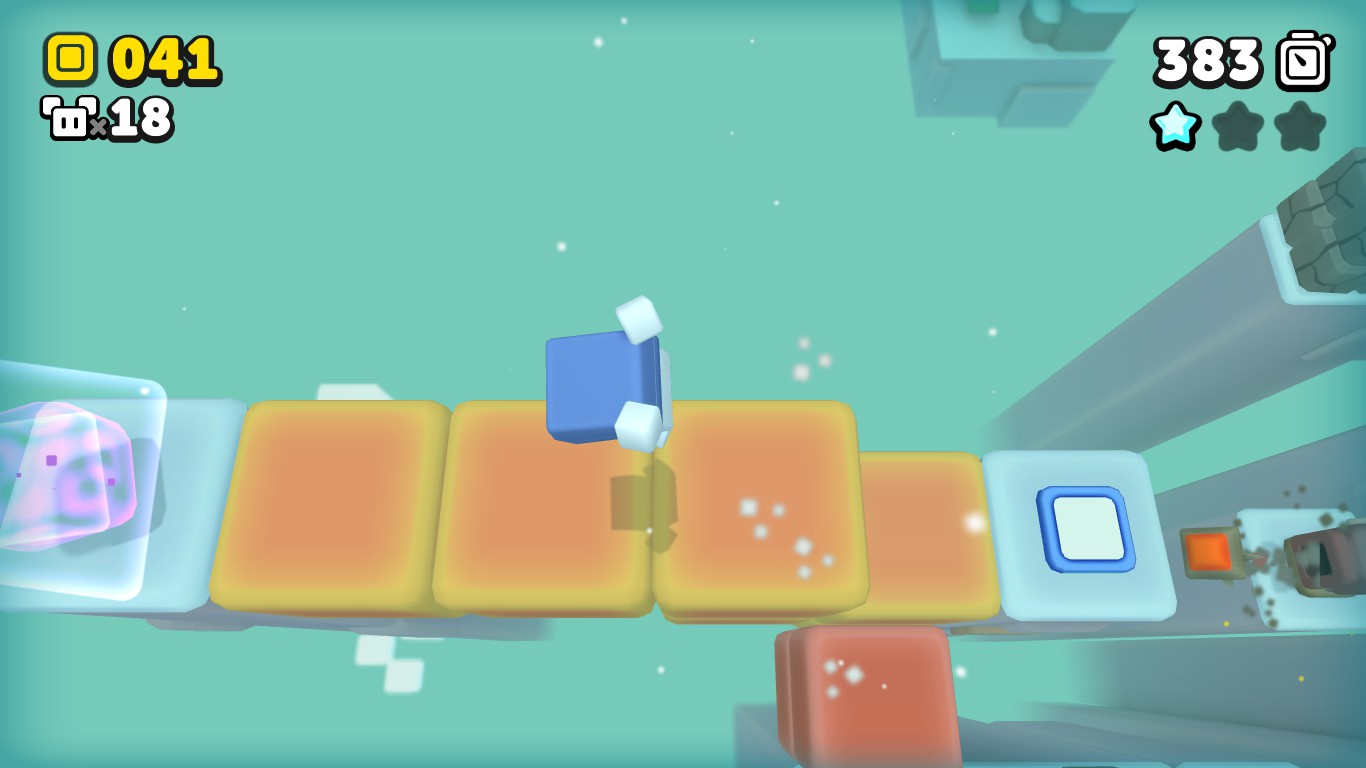
At the very end of the level you will see an isolated switch, so you press it and follow the yellow road if you don’t want to fall into the abyss. At the middle of the way you will see the last star.

The second one is defeat that monster (Left below). Try to know the way, because you will throw more like it.
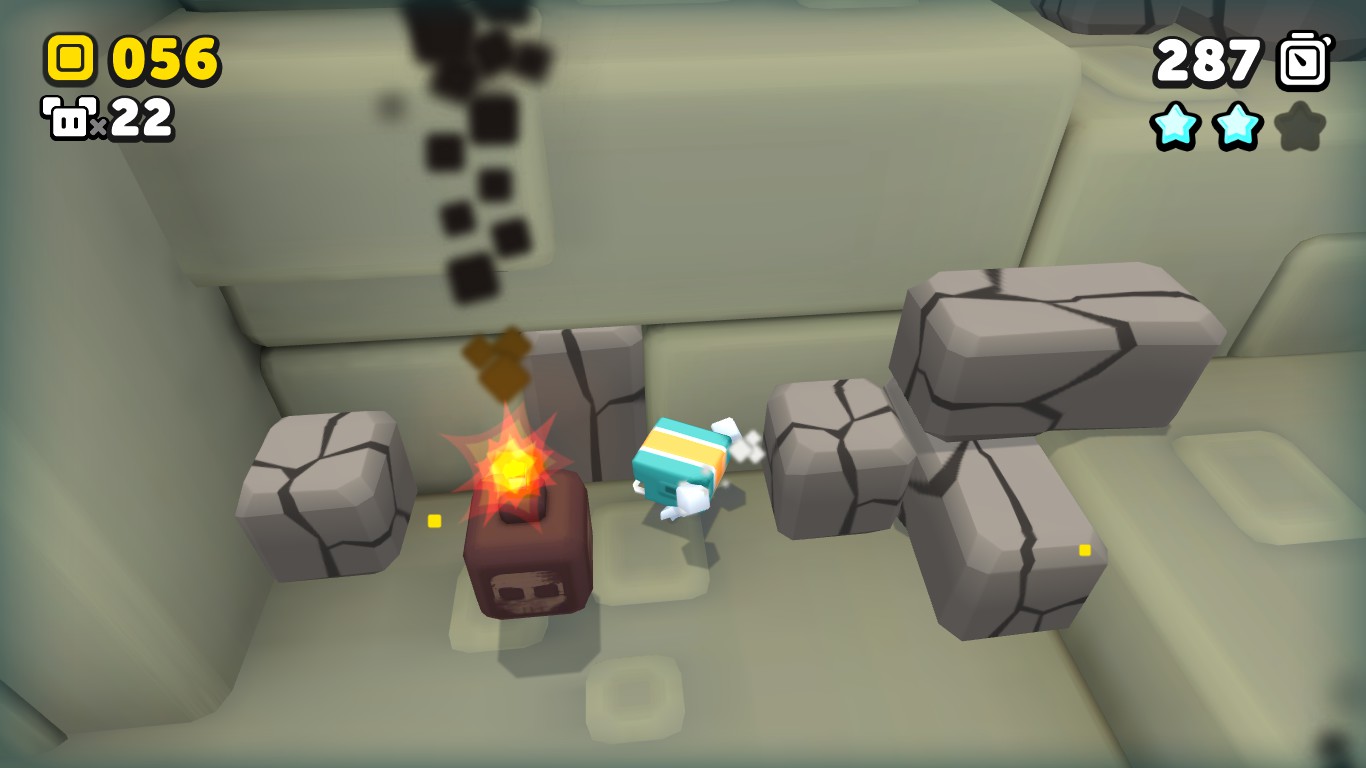
The last one needs to break this rock, but the only way is trying to direct a bomb near it. (Right below)


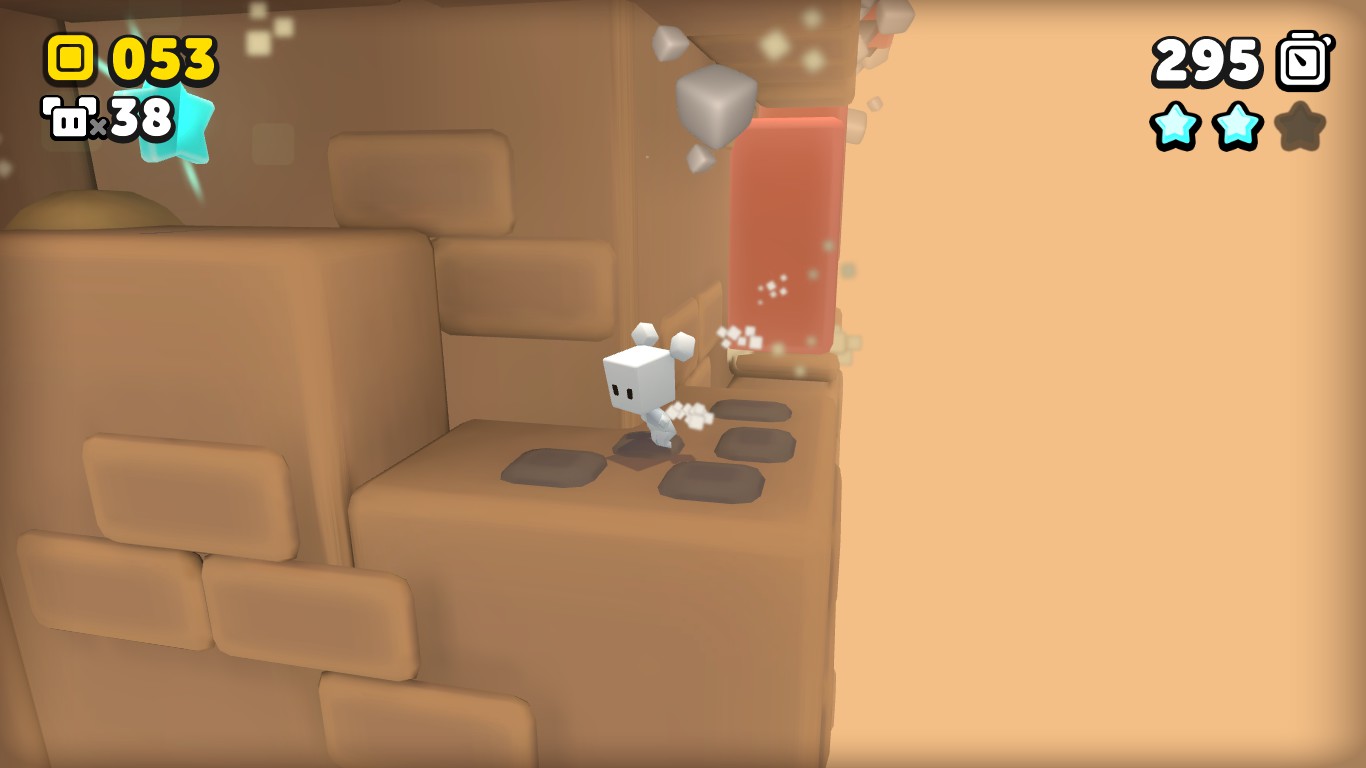
The second one is nearly before the battle, but sand can catch you if you go slowly (Left below).
The last one is after the battle, in a corner of the final pyramid. (Right below)
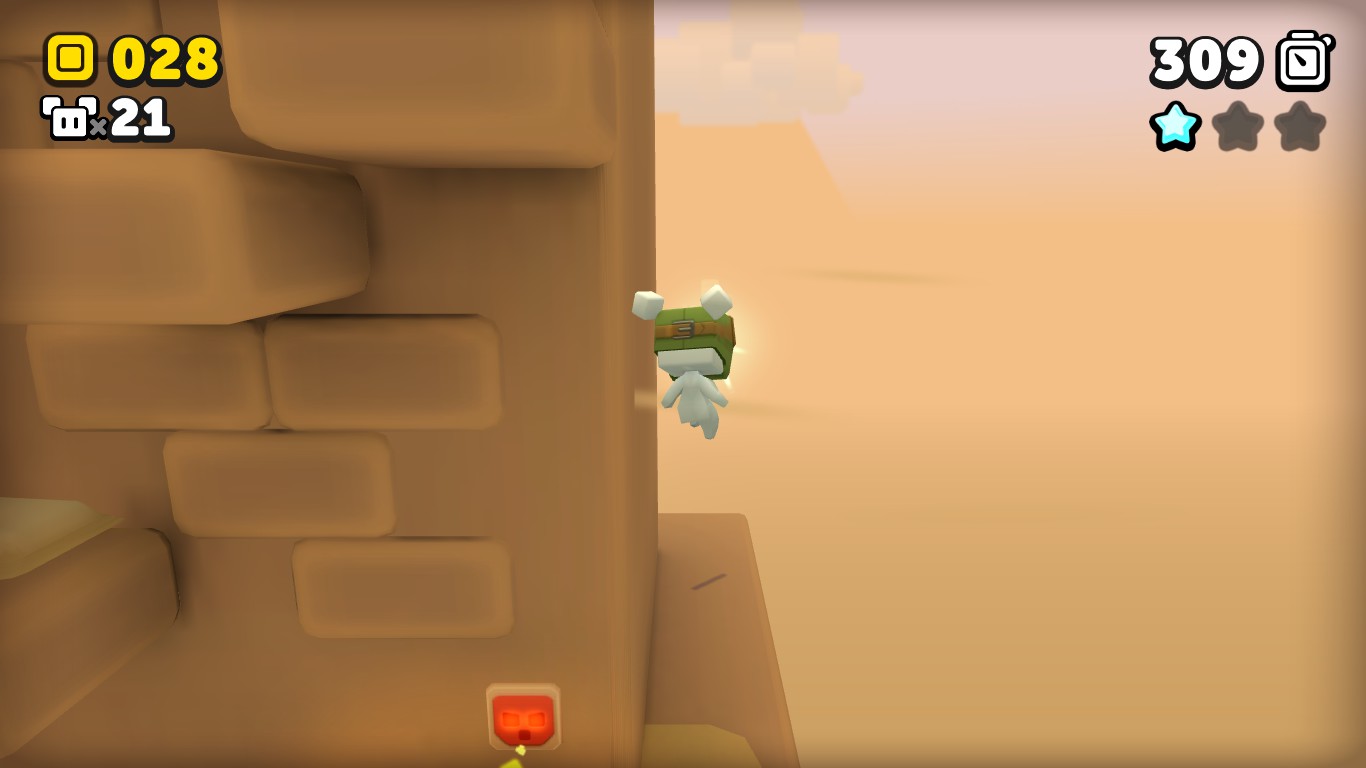
To finish this level, you have to collect the 3 stars. So, they are no missable. The perspective in this level is important and curious. Anyways, after you complete this level (and the previous ones), you will get:
-
Star Stuff 2.
Find all Stars in World 2
World 3
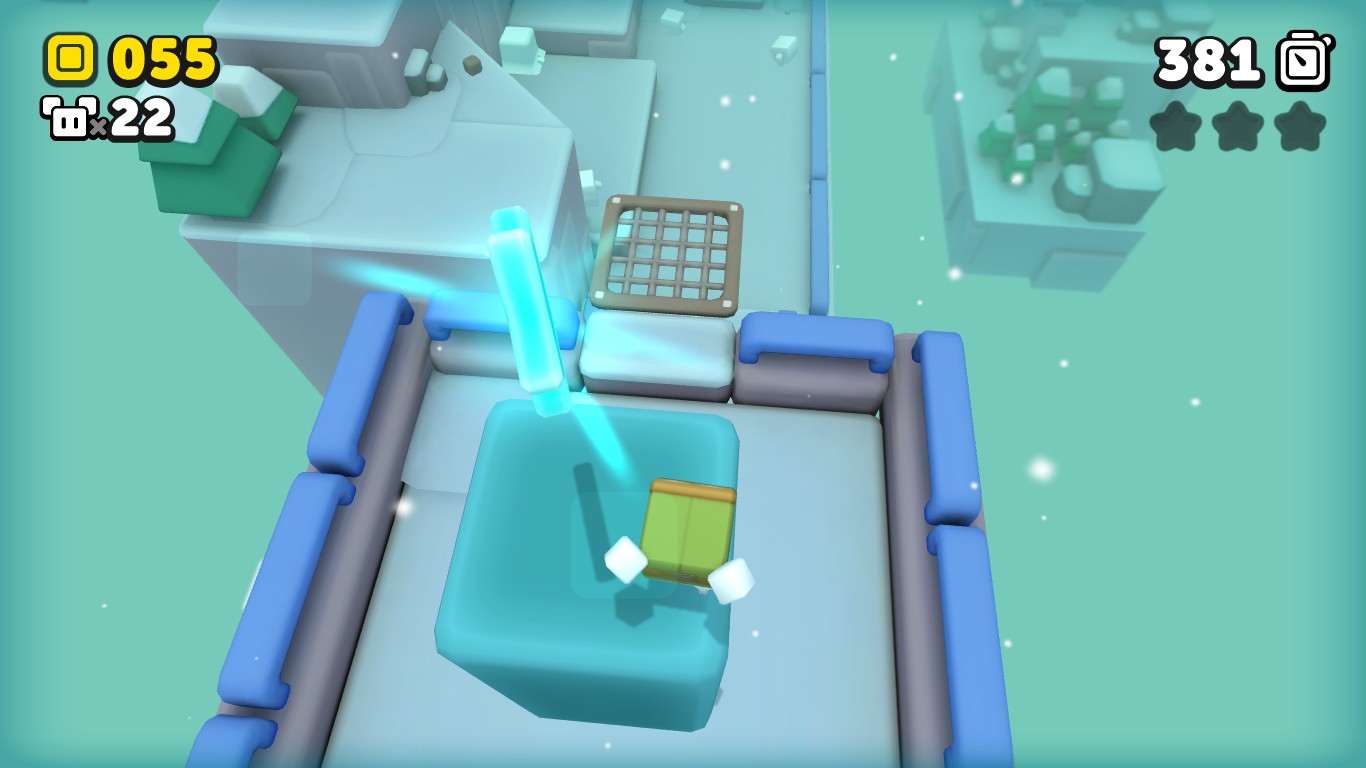
The second one is more forward as you can see a mini-tower of presents. Then climb to snowman’s head and jump on the cliff. There you will see a teleport that takes you to a place with presents as floor. On one of them brings you a star. I don’t know if it’s random, but always I got it chasing the outlying presents on below left. (Left below)
(forgiving the repetition). The last one is on the left above of the moving platforms. (Right below)


The second one is going right. Swap the map and go left. Swap again and there is it. (Left below)
The last one is staying on this road and, after you press the first switch, you will see an abyss with a spiked road. It’s on the other side. (Right below)


The second one is difficult to see. After you cross the mountain and break the floor, just the next blinky zone, go below from the second platform, the orange one and you will see a breaking way with the second star in the middle. (Left below)
The last one is right before the final port, on the top of the last blinky place. (Right below)


The second one is at the final part of the first lifeboat journey. You have to climb fast to not lose the carrier of your survival. (Left below)
The last and is after the final port, but you have to wait the lifeboat to make you a land to get it. Then turn around and jump to reach your salvation. (Right below)

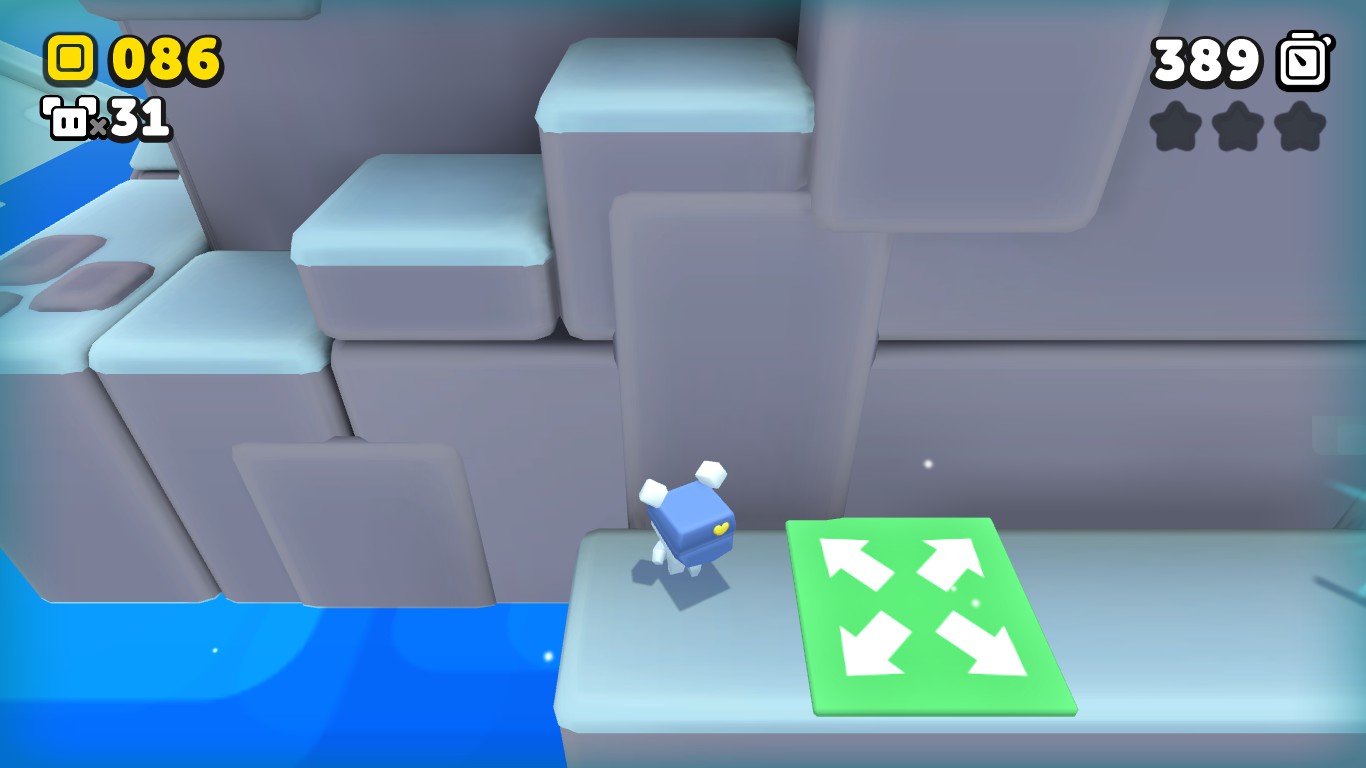
The second one is under a broken floor. If you go well timed, you will see it easily. (Left below)
The last one is on the same level as the boss fight. Don’t forget it before the battle, because you won’t be able to get it. (Right below)

This level is very short. And to catch the 3 stars is very easy: from left to right, destroy always the second rock column.
This level, by the way, is a nice option to farm lifes, but the strategy is explained at ‘extra achievements’ section, in ‘Immortal’ subsection.
After you complete this level (and the previous ones), you will get:
-
Star Stuff 3.
Find all Stars in World 3
World 4
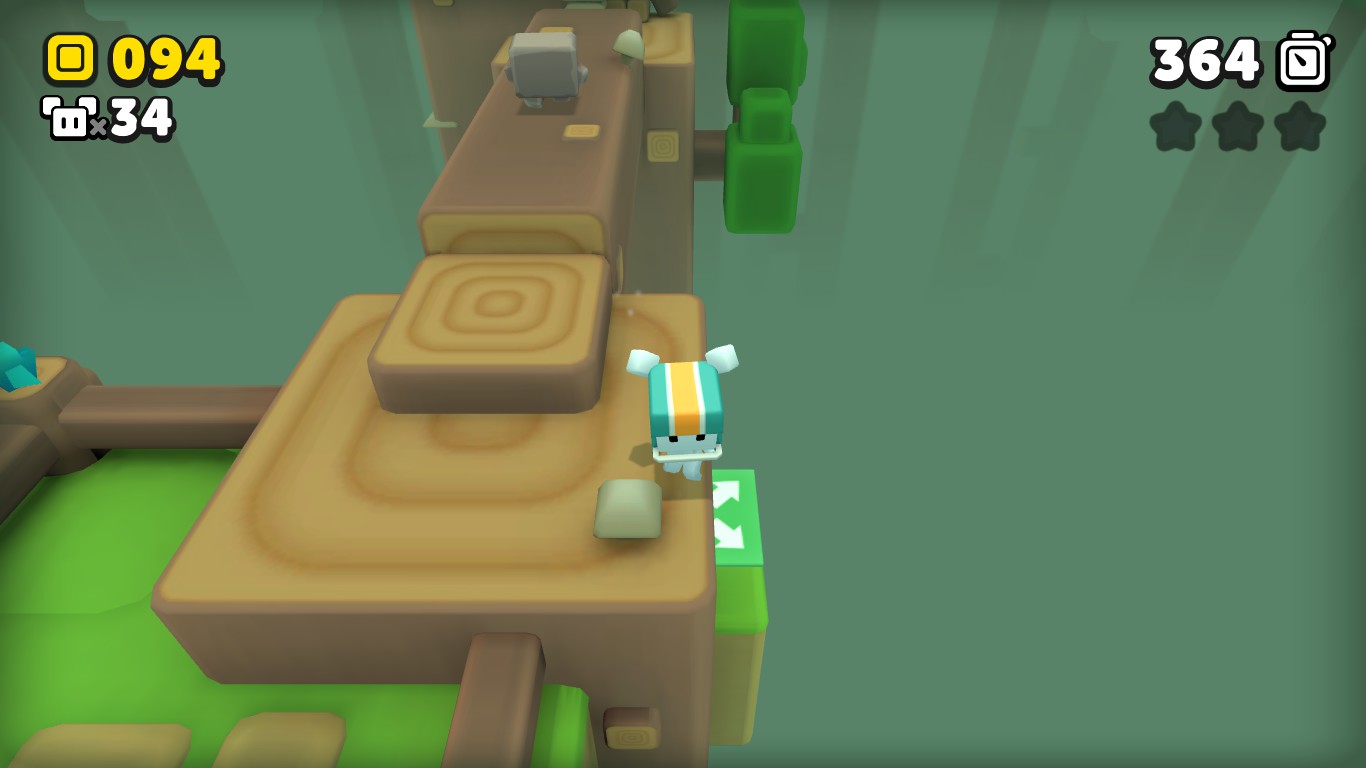
The second one is easy to find, you have to collect 8 blue coins in 15 seconds. Then the star will appear. (Left below)
The last one is hidden too. Before the 2 ogres and the timed footbridge, there is a cave blocked by a broken rock. Continue exploring that hole on the wall and you will see a pressure platform. If you press it with a destroyer cap, before the bounce, go right and you will travel for a secret route. After the star that will wait to you, there is a teleport that returns you to the last pressure platform to make your exit easier. (Right below)
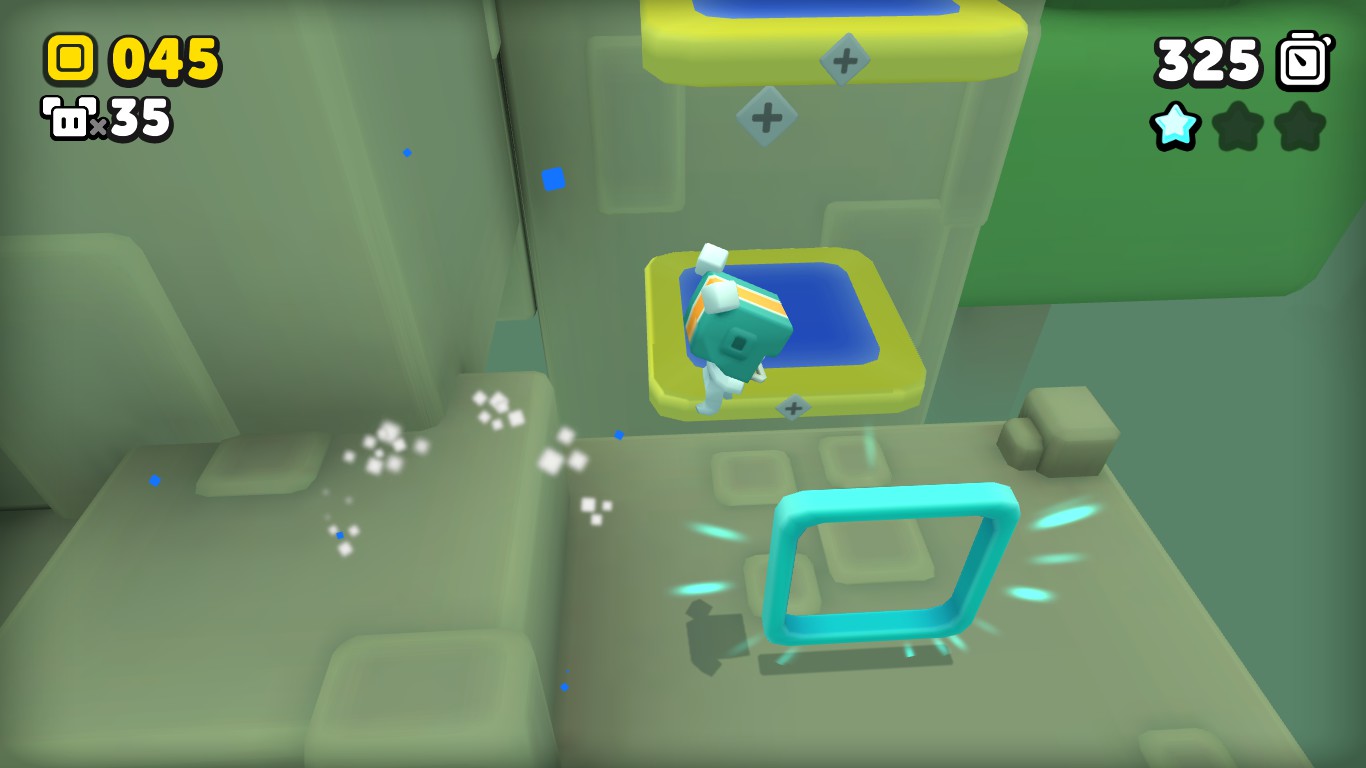

The second one is just before the end, at the left side of the moving platforms sequence. In particular, the star is at left from the orange platform. (Left below)
The last one is on the final port. You have to go fast because the moving platforms that makes a way to the sky doesn’t return unless you die. (Right below)


The second one after you reach the place as (Left before), drop yourself to left and try to orient yourself on the coins columns. At the base there will be the star.
The last one is on a place easy to find because you will reach an intersection and you have to decide if you go left or below. On left will see the star. The problem is only timing. If you don’t have time, you can reach to it. (Right below)


The second one is near to the first star. Reach the place of the 2 green rotating L platforms and, on the first one, be aware below to see the place with a teleport. There, kill mobs and the star will appear. (Left below)
The last one is just before the final port. You can see nicely the platform. And the way to reach it is up to you. (Right below)


The second one is right next to the first star, following the way. The star is hidden in right above broken rock. Get the timing to not being killed or damaged by spikes and proceed to get the star. (Left below)
The last one is much difficult, if you don’t know that impacting the ground with the crushing helmet reflects the projectile as a “round mirror” barrier around you. (Right below)

To finalize this level, you must collect the stars.There are not missable.
But if you don’t get the achievement “Mud Wrestling”, you can obtain it there.
After you complete this level (and the previous ones), you will get:
-
Star Stuff 4.
Find all Stars in World 4
World 5

The second one is next to the first, at a place over lava and where the consecutive platforms end this useful life. (Left below)
The last one is going right from the intersection of consecutive platform roads. You will see it on a ‘not even’ safe place. Following the way your soul senses you can return to the main road. (Right below)


In middle of the third section, you can find easily a cave where the second star is jumping between slopes. Then you will be teleported to the beginning of the forth section. (Left below)
In middle of the forth, where the yellow roads of the coins are, there is a hidden platform left to the last change of direction of the second yellow road. On this hidden platform, the last star is. (Right below)


With the second one, you need flying cap to catch it. It’s a little forward from the previous one. Just drop yourself a little and then do the air jump to return to your favourite overhang in that situation. (Left below)
The last one is on the second reversal flower raining, on a flower that will appear (with the star) in mid of this section. (Right below)


The second one is at end of the second section, jump on the green jumper and you will reach a teleport. In this place, you have to kill all bees, then the star will appear. (Left below)
The last one is, indeed, at the third section. When you arrive the place, its shadow and a green jumper will greet you. Then the next is up to you. You have time to jump two times, so don’t worry about it. (Right below)
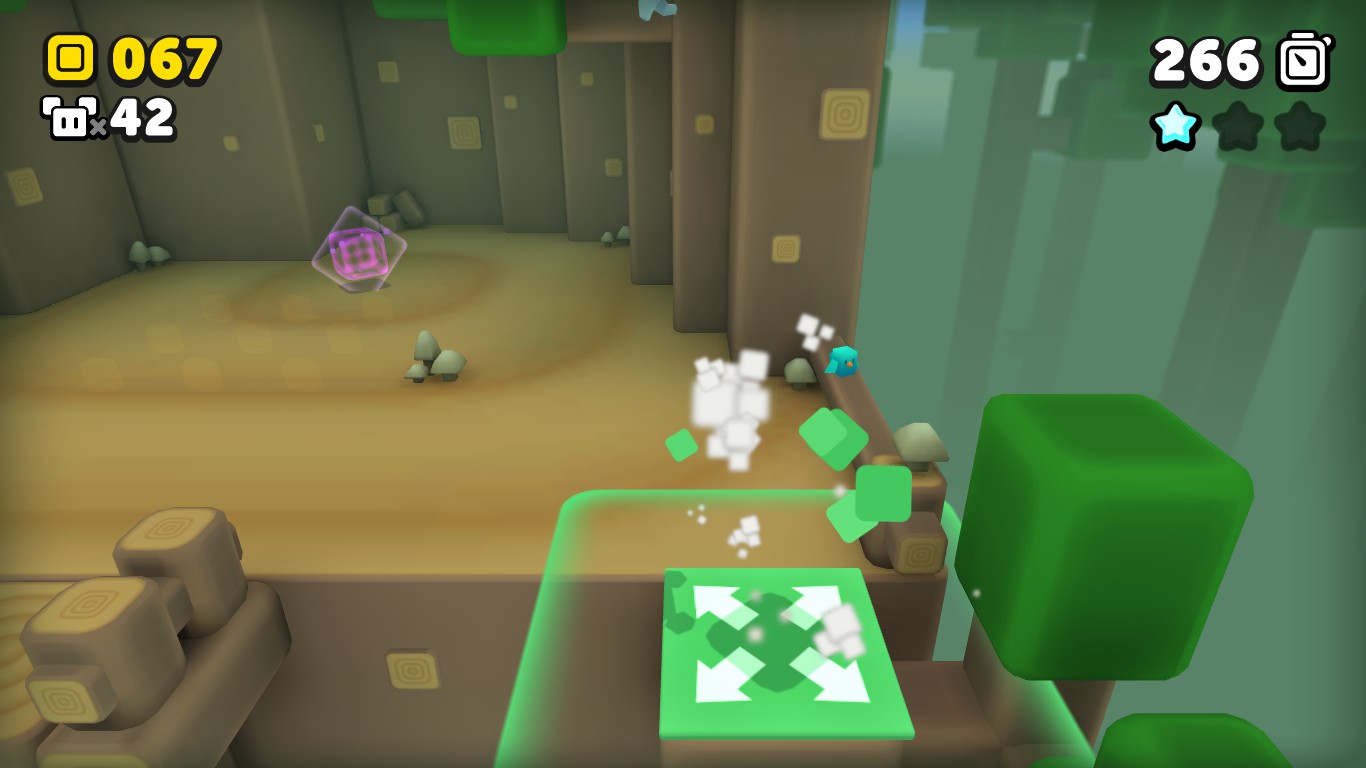

The second one is at the end of this tidal zone. The way to get it is kill the rocky mobs. If you have smash helmet it’s very easy, but the usual way is make they kill between them. (Left below)
The last one is after the last battle, on an overhang from right slope. (Right below)

This level is (too) very short. If you don’t have enough time to get the 3 stars, you can retry the level. The map doesn’t change.
After you complete this level (and the previous ones), you will get:
-
Star Stuff 5.
Find all Stars in World 5
Special World (First half)

The second one is easy to find, only kill four snowy mobs. (Left below)
The last one is as easier as the previous one. In fact, the coins collection helps you to show the way in middle of the falling to the abyss, but that not always hit the deepest ground. (Right below)


The second one is straight to right from the beginning since you find a teleport. It’s difficult to reach the star in this hidden place, you have to chain jumps on big bees. You have 5 seconds and one chance. Hint: Take a flying cap from other level. (Left below)
The last one is following a hidden road at left side of the first savepoint. Continue on this way and at the end will be a cyan jumper. Only jump on it and the start will be obtained if you don’t move. If it fails, return at the beginning of this hidden road and retry. (Right below)


The second one is after the first savepoint in the cave, where the spiked snake is rotating. Behind the wall, will be a secret room where you have to catch blue coins. Don’t meditate too much because you have very low seconds. (Left below)
The last one can be seen at the beginning of the level. There is near to the end. (Right below)


The last one is before the last bee falling. You can see easily a place with a flame-thrower, try to arrive to it and continue to this way to find a teleport. There you have to collect 8 coins in less than 10 seconds. But spikes are the problem It’s easy to see that spikes appear as waves from left to right. (Right below)


The second one is right next to the previous star and, on the spinning platform, jump on left to see a large place with a star in middle. (Left below)
The last one is hitting the glowing cyan pig that you will find further on. (Right below)


The second one is flying away the camera sight, at the third phase. At second phase, there is a mob with a flying cap that if you kill it, it will drop you. With a double jump you can reach it. (Left below)
The last one is in the last (eighth) phase, you need to maintain the smash helmet obtained from a mob with it at fifth phase, and survive with no hit in sixh and seventh phase without having a hit. (Right below)

Special World (Last half)

The second and last ones is collecting 8 coins for 10~15 seconds each one in different places hard to miss by sight. (Left and right below respectively)

The second one is on a long way round of broken rocks as road, meanwhile you are running in horizontal. (Left below)
The last one is behind the final port, so it’s perfectly missable if you are not alert. (Right below)


The second one is behind the wall with two spiked snakes. There are 3 holes that are connected between them with no more mistery than having an 8 form. Second star is between the second and third hole (from left to right). (Left below)
The last one is going through a false ceiling, no more comments. It’s easy to see. (Right below)


The second one is on third phase, you have to rush because at the end of it there is a remote platform where the star is. But this place will disappear too when the time passes. (Left below)
The last one is on the forth (and last) phase. At the beginning, you have to kill these 4 mobs and then the star will appear near. And continue running. (Right below)

* -> What a hint if you can look at it by screenshots.
To unlock the next level, you must have 120 stars.

The second one is very hidden. On the last rock road, one standed out rock has another rock below. Over there is the star. (Left below)
The last one is hard to miss, enter the cyan square and run to collect 9 cyan coins in 15 seconds meanwhile empty cubes are rolling around you. (Right below)

After you complete this level (because to access to this level you must have 120 stars) and catch all the stars, you will get:
-
Special Star Stuff.
Find all Stars in Special World.
Extra Achievements
Here you have an illustrative explanation of how to obtain them:
-
Sprinter.
Run during 20 seconds.
If you are a rusher, anytime you will unlock it. But if you want an advice, try to get it in level Secret-10, because is a level for rushers.
-
Mud Wrestling
Catch a pig.
The first pig you see is a golden one in level 3-4. Exacty next to the beginning. Only run toward them since it seems to be confused by hits (2 or 3 hits). Then jump on it and the pig (sadly) will demise. And then the achievement will be unlocked.
-
Immortal!
It’s getting 100 lifes. And below I can explain a nice way to farm lifes (obviously it has not to be the best way =D ):A nice level to farm lifes is 3-Secret. In 30~45 seconds, you can obtain 1’5~1’75 lifes. The strategy is (always left to right):
- Start the level and catch the destroyer cap.
- Destroy the second one but at the edge to not fall. Then jump and destroy the third one. There catch money in this first basement.
- To reach second basement do the same: destroy but not fall the second one and do it in the third one. Then catch the money.
- To third basement, destroy one the middle one (the second). The next one is up to you.
- To forth basement, destroy the second and third one. You know how to do this.
- And to the last basement, destroy the third one and you will be reward with a life.
- End the level and repeat.
-
Meow!
It’s getting 9 lives, but maybe it can be bugged.
-
Flames On!
As we can supect, in level 2-1, if you try to lit the four torches with the flame foe and then go up to complete the puzzle there, this achievement appears.
If anyone knows if is possible to unlock the bugged achievements (or if my explanations lack sense or necessary information), I’m pleased to express my gratitude to you for your information and I will cite you to help our community and this game.
In this thread you can obtain some answers about achievements bugged:
[link]


