Overview
Here you will learn how to make a beautiful gem easily.
Step 1: Add an Icosphere
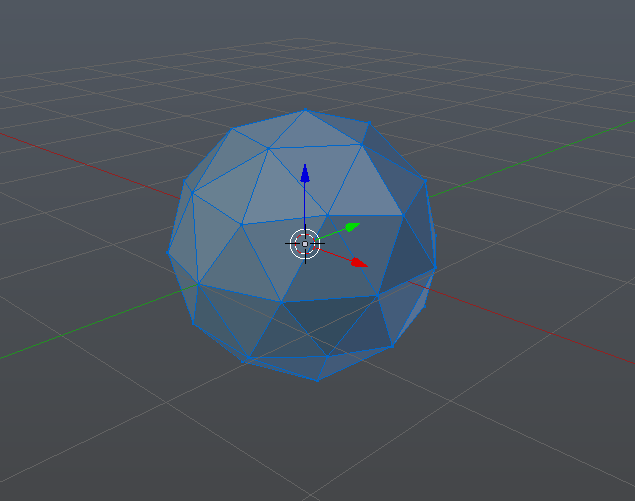
Spawn an icosphere from the “Create”. Make sure you keep the default number of faces.
Step 2: Viewing the Icosphere
Switch to edit mode when the icosphere is selected. Next, press “1” on your numberpad (NOT the numbers above the letters). You should now be looking at the sphere in the front. Now, press “5” on the keypad to switch to orthographic view. And then, press “z” on your keyboard to switch to wireframe view, and then “a” to deselect. It should now look something like this.
Step 3: Creating a Point
Now, you want to make the bottom a shrink to a point. To do this, select all of the vertices on the bottom half of the sphere by pressing “b”, then dragging to to make a selection box. It should then look something like this.
Once you’ve dont that, press “s” to scale the selection and type the number “0” from the top of your keyboard. You should now have a point on the bottom half of the sphere, where you can then ajust the position of it.
Step 4: Creating a Flat Top
Select the top half of the sphere the same way you did on step 4 as shown here.
Now, press “s” again, then press “z”, then press “0”. This should now make the top flat, where you need to shrink it and ajust the postion to your prefrence.
Congradulations! You’ve made a gem shape! Now you can press “5” on the numberpad to go back to prespective, switch back to object mode, press “z” to turn off wireframe, and change your view angle to start making the material.
Step 5: Material
Now that you have your gem shape, now you need to make it clear like one. First, switch to Cycles render.

Step 6: Congratz!
You have now created yourself a gem, now it’s up to you to decide how to use it.
Closing
Thank you for reading this guide. Leave your questions and comments below, and if you like it please rate!


