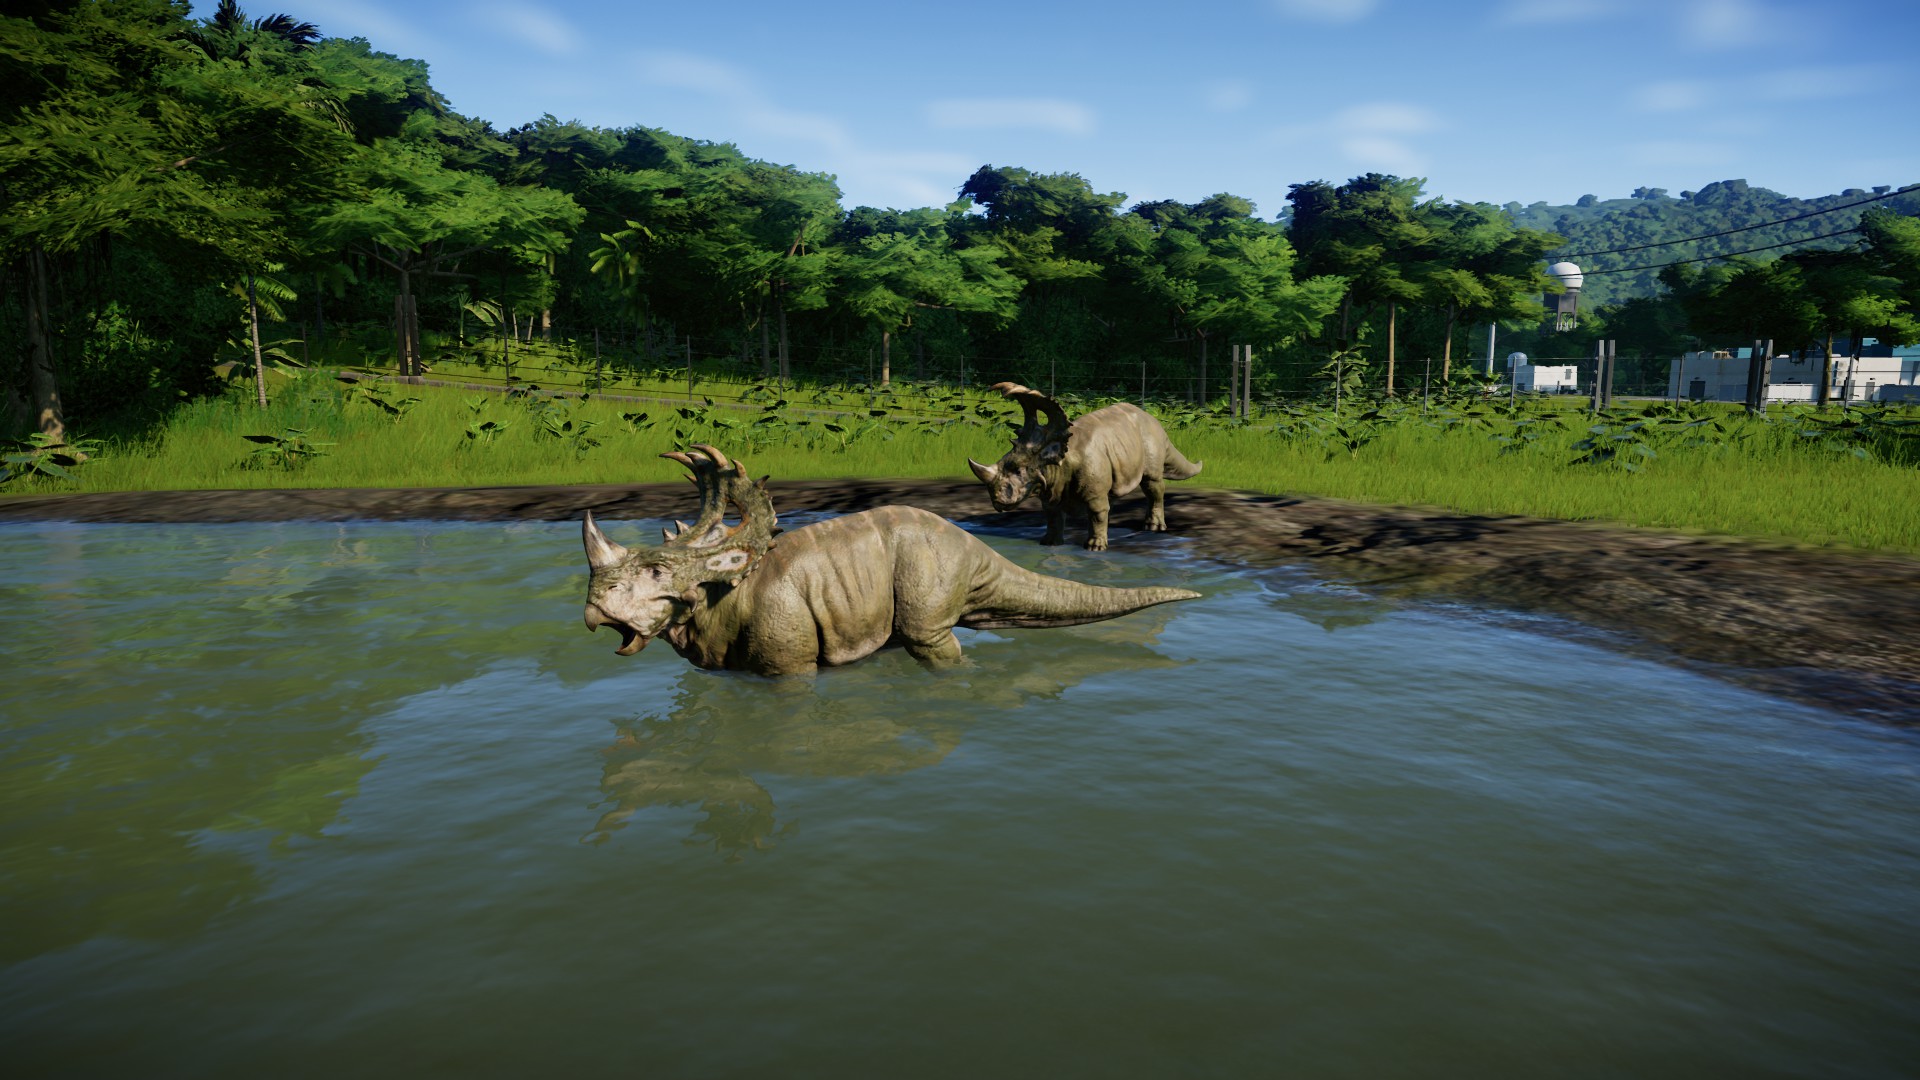
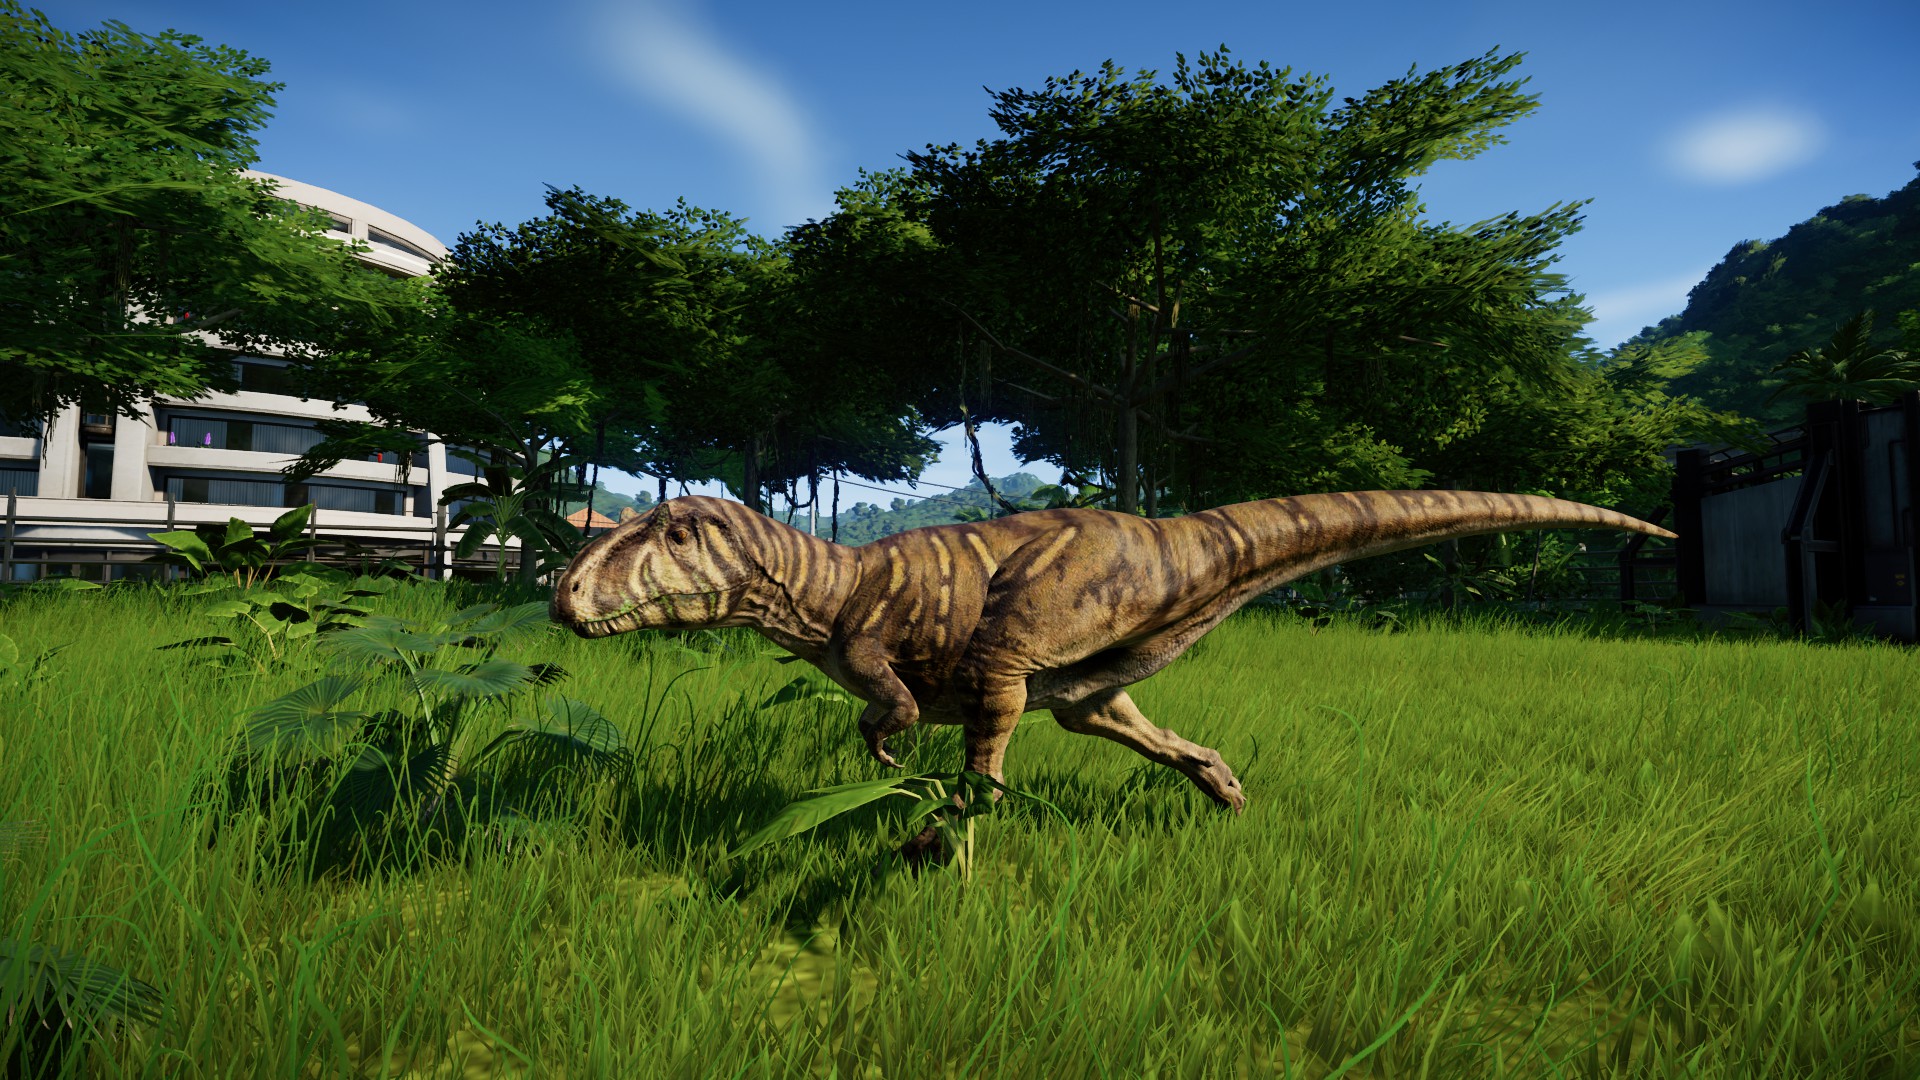
Overview
Tips and Tricks for Jurassic Difficulty in Challenge Mode. Advice on the fastest and easiest way to 5 star your park on any map. Acquire that achievement or cool dinosaur skin you’ve been wanting!
Intro
Below is a step-by-step guide for how to complete Jurassic challenge mode!
- This guide can be used to five star Jurassic Challenge mode on any island
- This guide will allow you to complete any challenge mode under the par time
- This challenge guide will help complete any time-based achievement
Here is a big clarification: you do not need to beat the par time in order to unlock a skin
The challenge mode skins considered the best are:
The Wetland T-Rex Skin, Jungle Ceratosaurus, Vivid Brachiosaurus, and Coastal Indominus

Here are some important gameplay tips that alter challenge mode strategies:
- Dinosaur Visibility does not affect Star Rating
Only a single viewing vent is required on the first exhibit to get guests into the park, and no other viewing vents, towers or gyrosphere rides are needed to 5 Star and complete challenge mode
- Transportation Rating does not affect Star Rating
The transportation rating does not contribute to star rating for guest satisfaction, so the monorail or strategic placement regarding long paths are not needed to 5 Star and complete challenge mode
- Only three buildings are needed for guest satisfaction
Only the Restaurant, Clothes Shop, and Arcade are needed to fulfill guest satisfaction for Food, Drink, Shopping, and Fun. This is the best combination and other buildings are not needed
- Save Often
You never know when disaster will strike. Storms and breakouts can ruin an entire game
It is also a good idea to save before hatching a dinosaur that is not a 100% genome completeSAVE EVERY STORM WARNING AND RISKY DINOSAUR HATCHING
Getting Started
The timer for challenge mode does not officially begin until the first building is placed
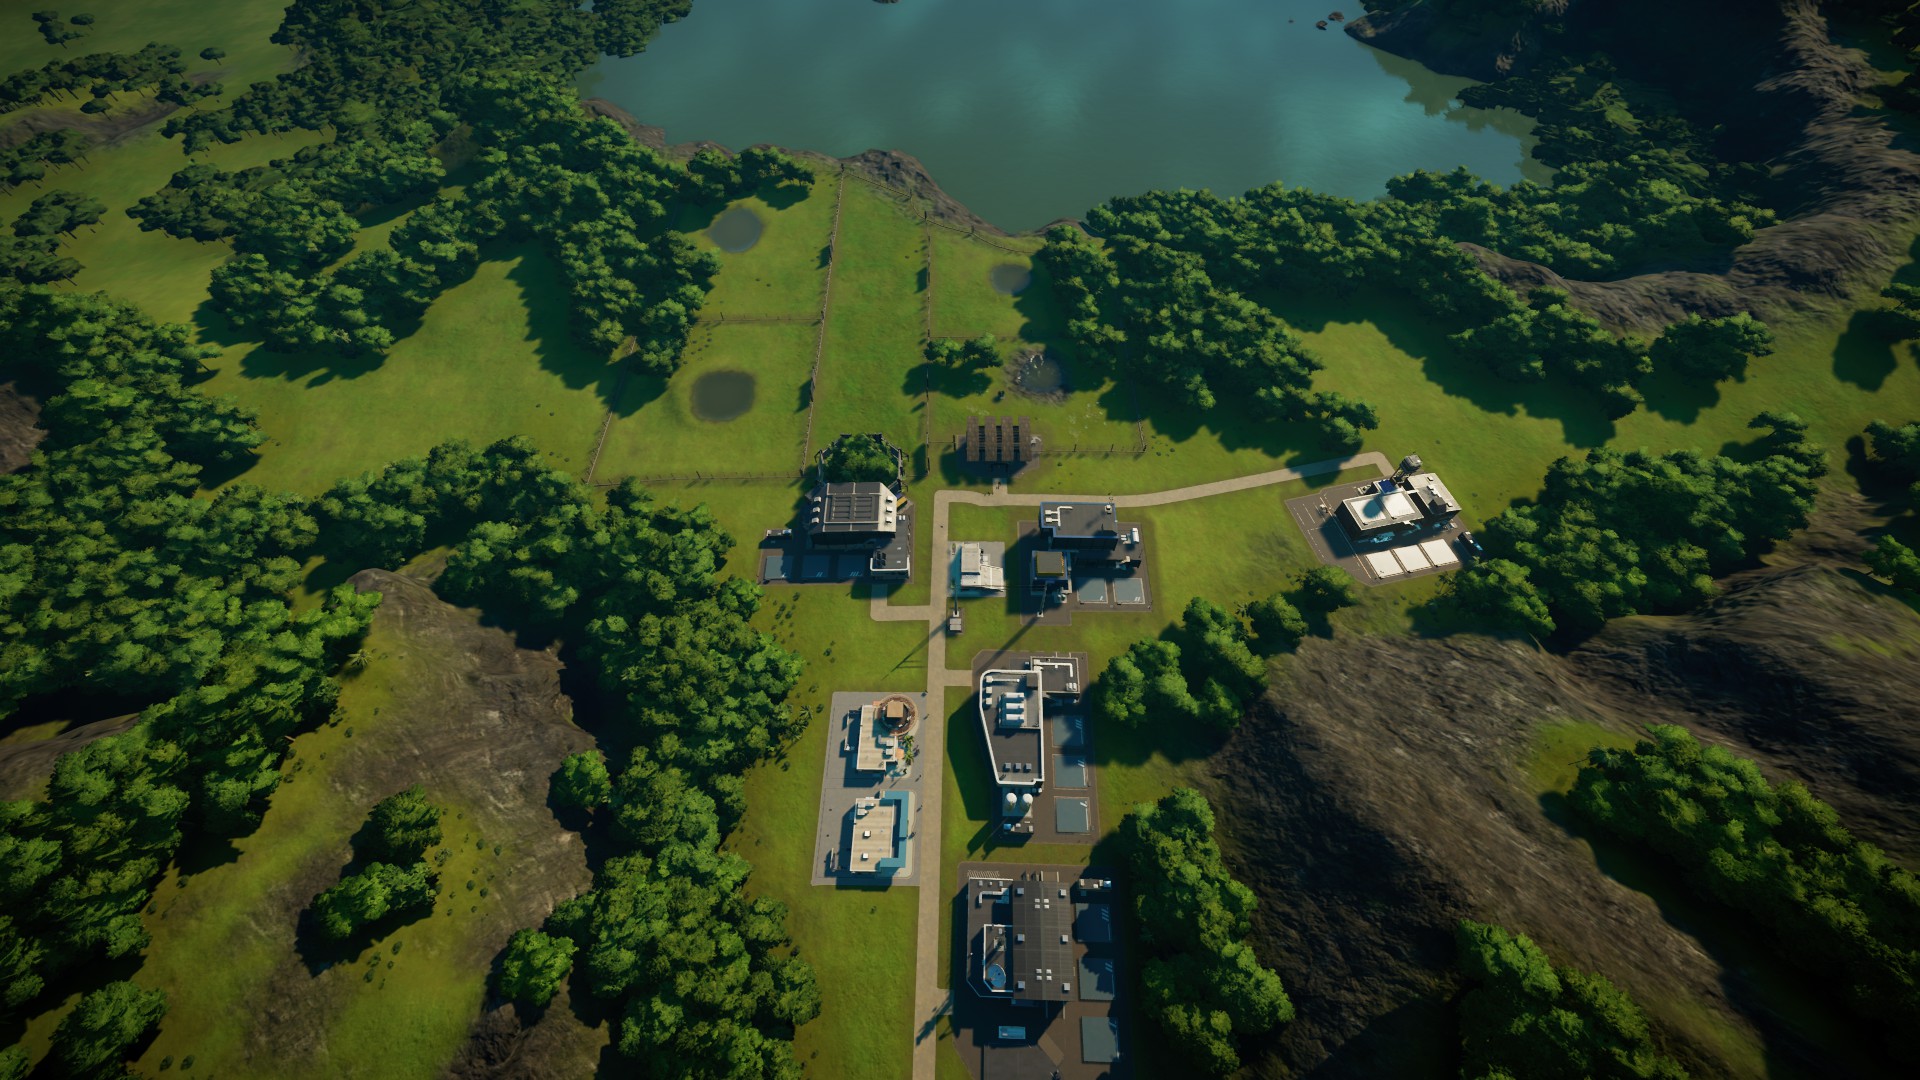
Players can feel free to look at the map and determine the park layout them deem fit.
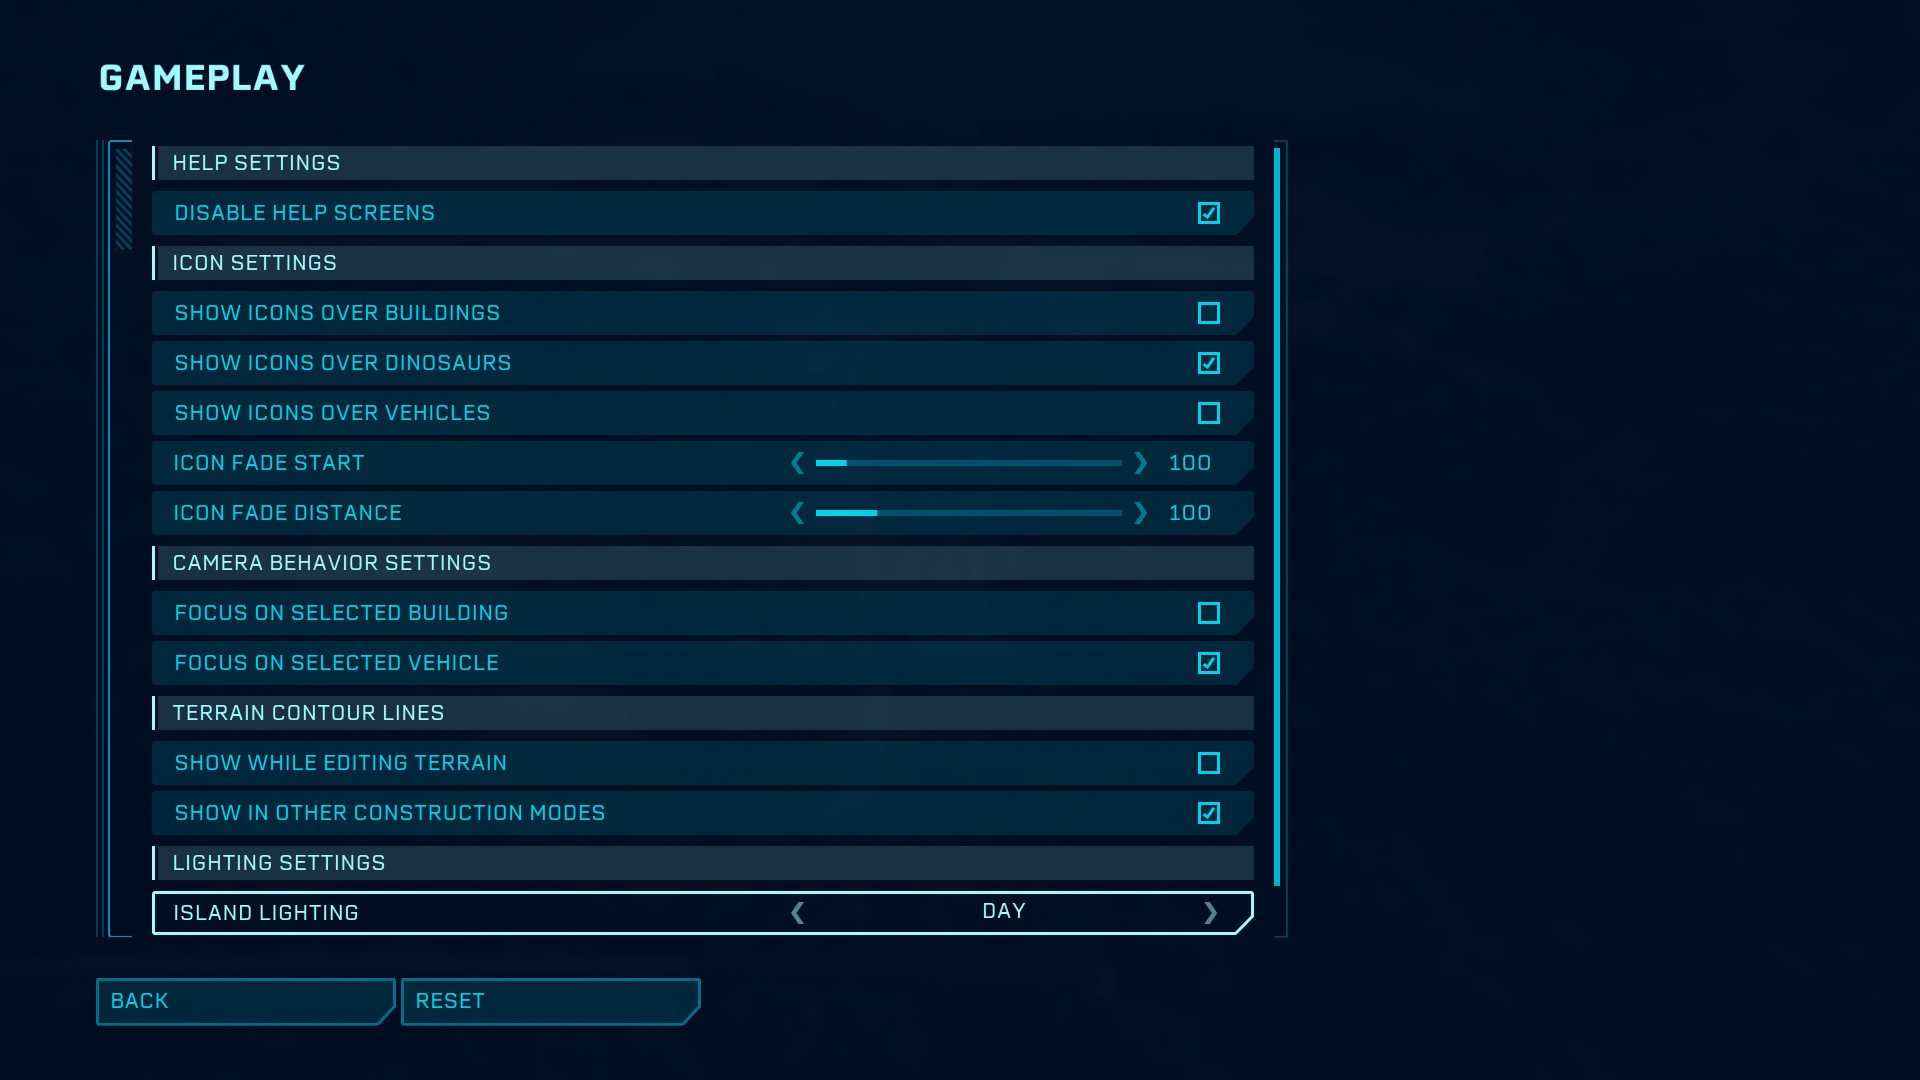
In the menu, players can change the lighting of the island to their choice.
Players can switch Isla Pena to Day or any island to a Day/Night cycle, whatever is easier/wanted.
The only buildings needed are a Power Station, Expedition Center, Fossil Center, and Creation Lab.
A Research Center is not needed at this time and is a waste of money!
The Small Power Station takes the longest to build, so place the power station first!
Then place the Expedition Center and Fossil Center, connect a path, and place a substation.
Leave room to replace the small power station with a medium power station later on
Place the substation in a spot that can also power the Creation Lab or other buildings later
Remember that the park does not have to be pretty, it just has to work!
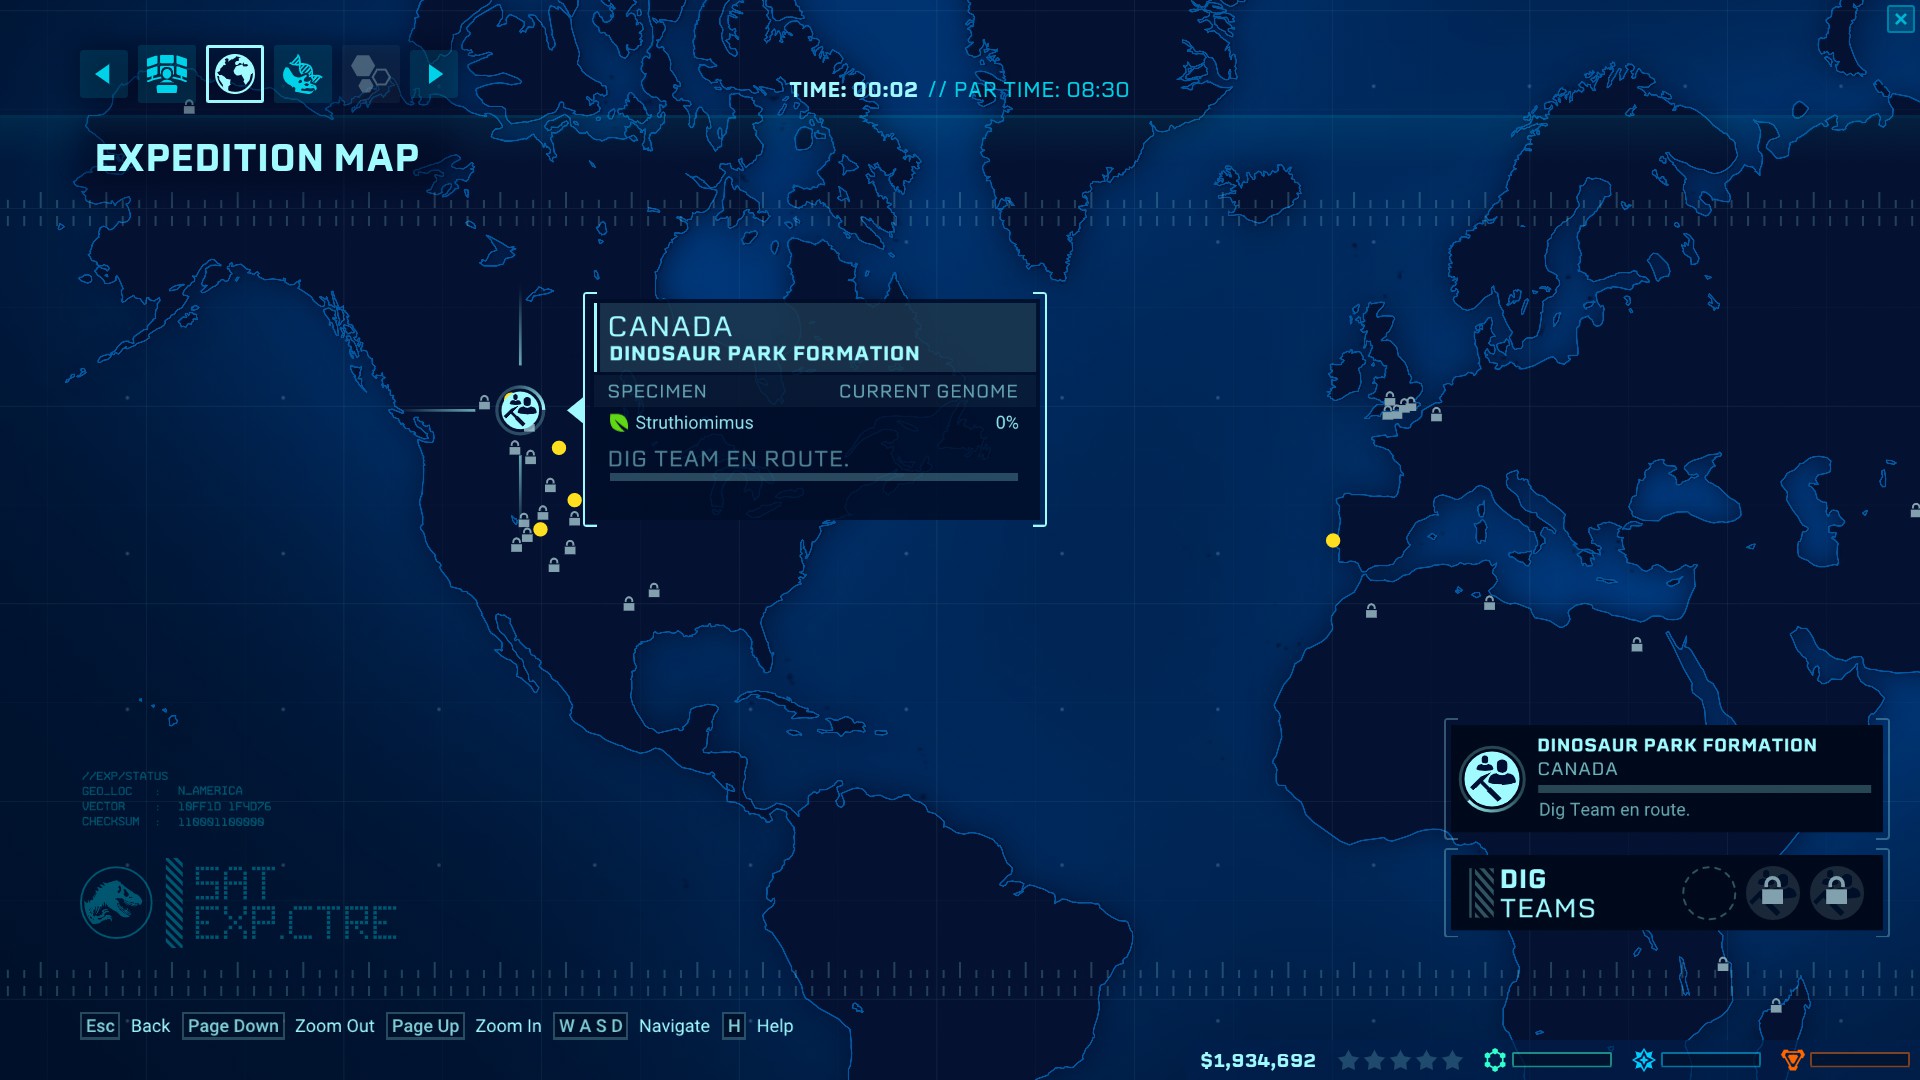
Once the Expedition Center is online, send out a dig team immediately for Struthiomimus Fossils!
Money is being lost every second a dinosaur is not in the park. Get a Struthiomumus ASAP!
While waiting for their return, place a Hammond Creation Lab and build a medium enclosure.
Place some water and a small herbivore feeder, but do not get caught up in exhibit design!
Make a Struthiomimus the second it is viable (50% DNA)
The first dinosaur will never fail.
Always remember to watch out for and frequently check to see if a dig team has returned
Strategic Placement
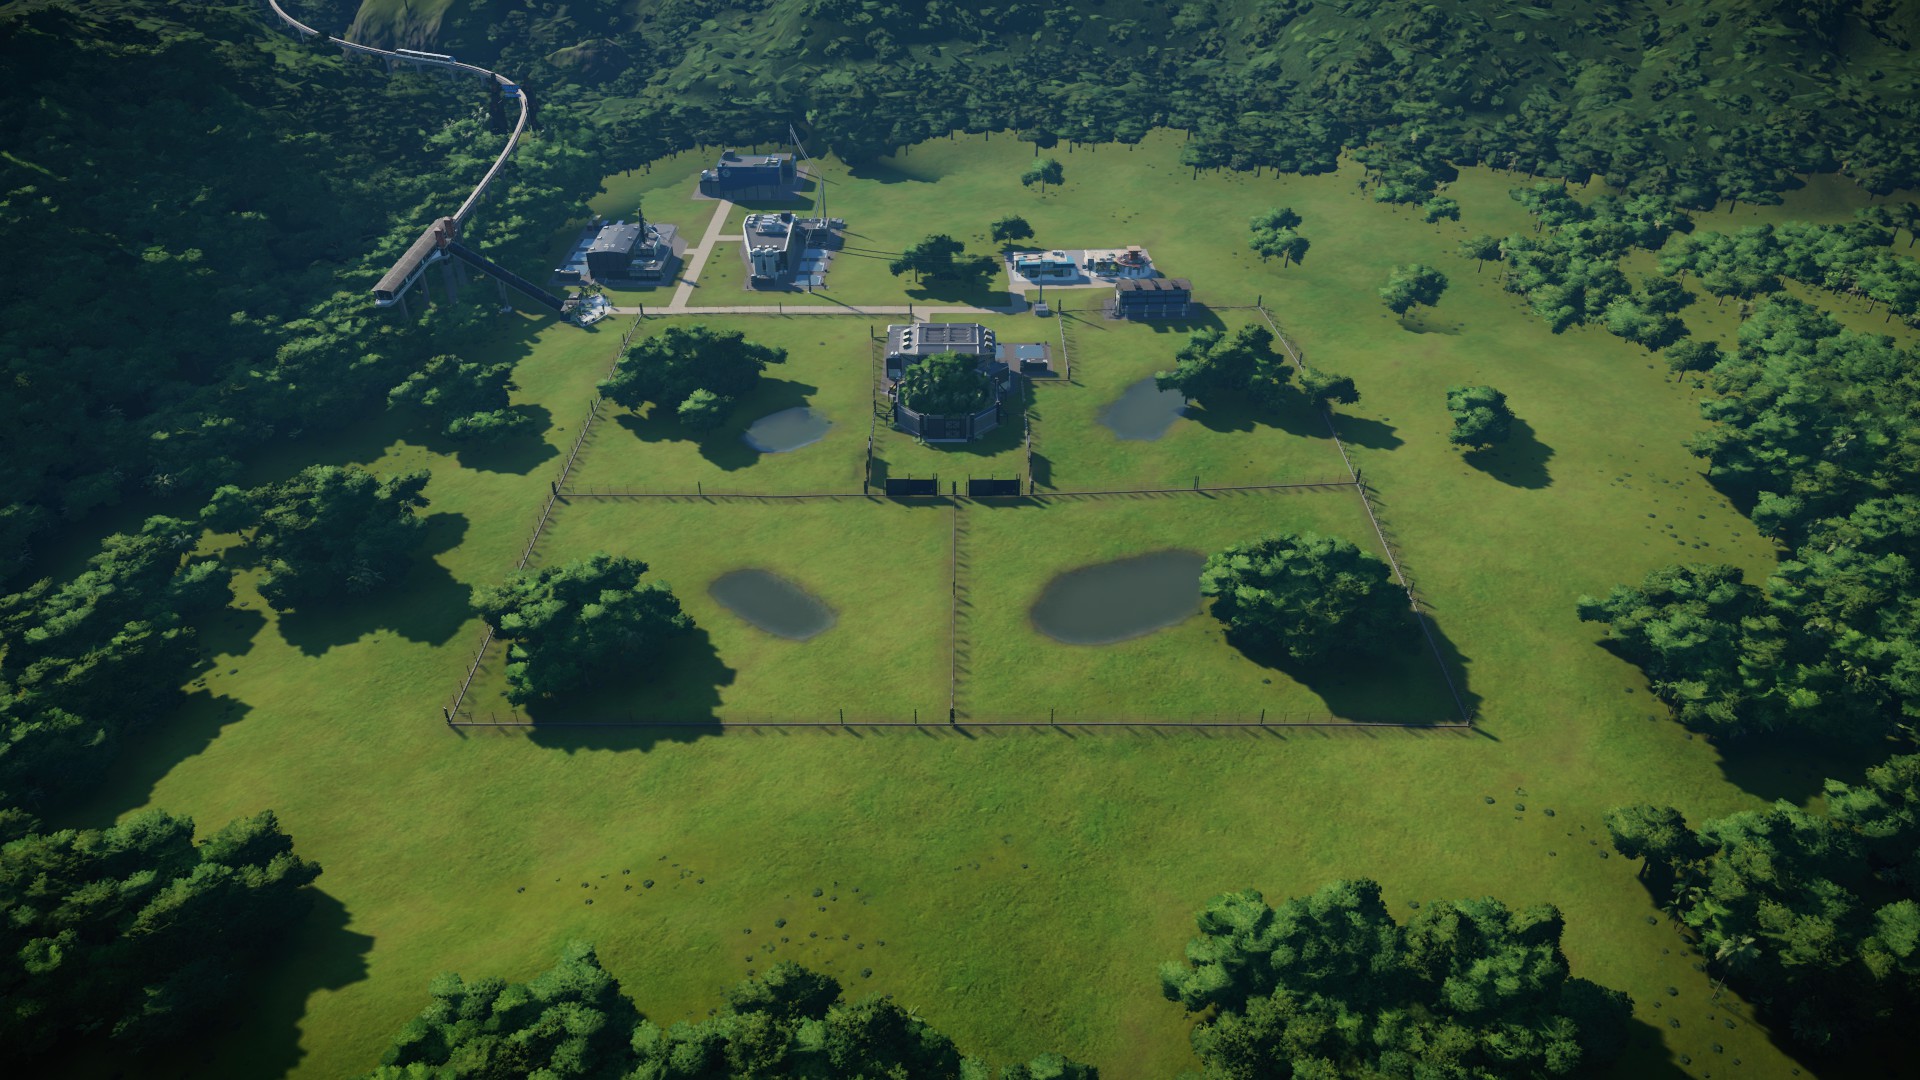
Players can strategically design their park so a single Hammond Creation Lab connects to several different exhibits, allowing players to put off buying another Creation Lab or an early ACU Center.
It doesn’t have to be four, but the higher number of exhibits to one hatchery the better!
The first Struthi will turn the park profitable, but barely. Income will be taxed.
The Hammond Foundation Fee takes a percentage of income based on difficulty.
In difficulties like Jurassic Difficulty, contracts are the only source of income. (until the first star)
Many contracts are impossible, and may even need to be paid to cancel in favor of a do-able one.
If all three contracts are very difficult or impossible at the start, the game may have to be restarted.
Getting to First Star
The best early game dinosaurs to collect DNA for are:
Struthiomimus, Triceratops, and Edmontosaurus
They can live in the same enclosure and have higher social limits.
The Ceratosaurus is expensive in early game and must live with other Ceratos.
Always watch out for the expedition center to return for fossils. Do not get distracted!
There is no particular magic number in order to obtain one star, each island and player is different

3-4 Triceratops
8-10 Struthiomimus
2-4 Edmontosaurus
This combo will achieve One Star rating
DO NOT PUT TOO MANY DINOSAURS IN ONE ENCLOSURE
Disease is rampant on harder difficulties and becomes impossible to contain
Some exhibits will be expanded with new dinosaurs later, some room must be saved
Dinosaurs do not have to be 100% DNA to hatch (remember to save before just in case!)
Higher DNA genome completion gives dinos better rating and better stats
Certain buildings should be constructed before hitting One Star rating
Recommendations:
- A Research Center is needed in preparation for the unlocks from One Star
- A Ranger Station is needed for disease control and when storms begin to hit the park (One Star)
- A Gift Shop and Fast-Food building also helps park rating and income level
Do not spend money on other buildings. All other buildings are a waste of money!
There are times leading up to the First Star in which the game becomes a slow grind
The first few buildings and dinosaurs cost all the starting money on high difficulties
High foundation fees results in sitting around waiting for money to build things and make dinos
Use this time to plan future exhibits, take ranger photos, unlock skins, and use terrarain tools
It is essential to try to complete contracts during this time for income and fast completion time
The First Star should take around 45 mins. Longer than an hour is too long, game may need restart
One Star Rating
Each Star unlocks more dig sites and research options, and also the ability for storms to strike
Every Star corresponds to the order of content unlocked on each island in the main campaign
Star One unlocks many important upgrades needing to be researched:
Dig Yield
Dig Yield upgrade to the Expedition Center is the most important in Challenge Mode
It boosts the number and quality of non-fossil valuables to sell from dig sites
Research this upgrade immediately and use Dig Yield on all three upgrades slots
Also research Dig Team Bravo so as to double the number of fossil expeditions
This will replace contracts as the primary source of revenue from here on out!
________________________________________________________________________________
-Research can be done in any order and only when players have the money to spend
- Restaurant
- Clothes Shop
- Medium Power Station
Optional
- Storm Defense Station
Fossil Access
The following dinosaurs need to be researched:
- Sinoceratops
- Baryoynx
- Crichtonsaurus (DLC)
- Iguanadon (DLC)
- Euoplocephalus (DLC)
Many DLC dinosaurs are good to use, but not required if not owned by the player
Improved Output 1.0 + 2.0
This increases the electricity output of a power station
Outage Protection 1.0 + 2.0
This protects the power station for outages caused by Improved Output upgrades
Extraction Speed
This increases the speed of DNA extraction from Fossil Centers
Research Team Bravo
Double the research teams allows an extra team for emergency medical research
Research Speed
Increases the speed of research at the Research Center
Disease
Disease will start to hit the park, and can get out of control fast with high numbers of dinosaurs
Preemptively researching disease treatments as they unlock helps keep disease under control
Most Research Items are optional, but extremely beneficial for speed and efficiency (except stores)
One Star rating increases the need for park capacity and guest satisfaction
Hotels and guest satisfaction buildings are needed to keep guest rating at Five Stars
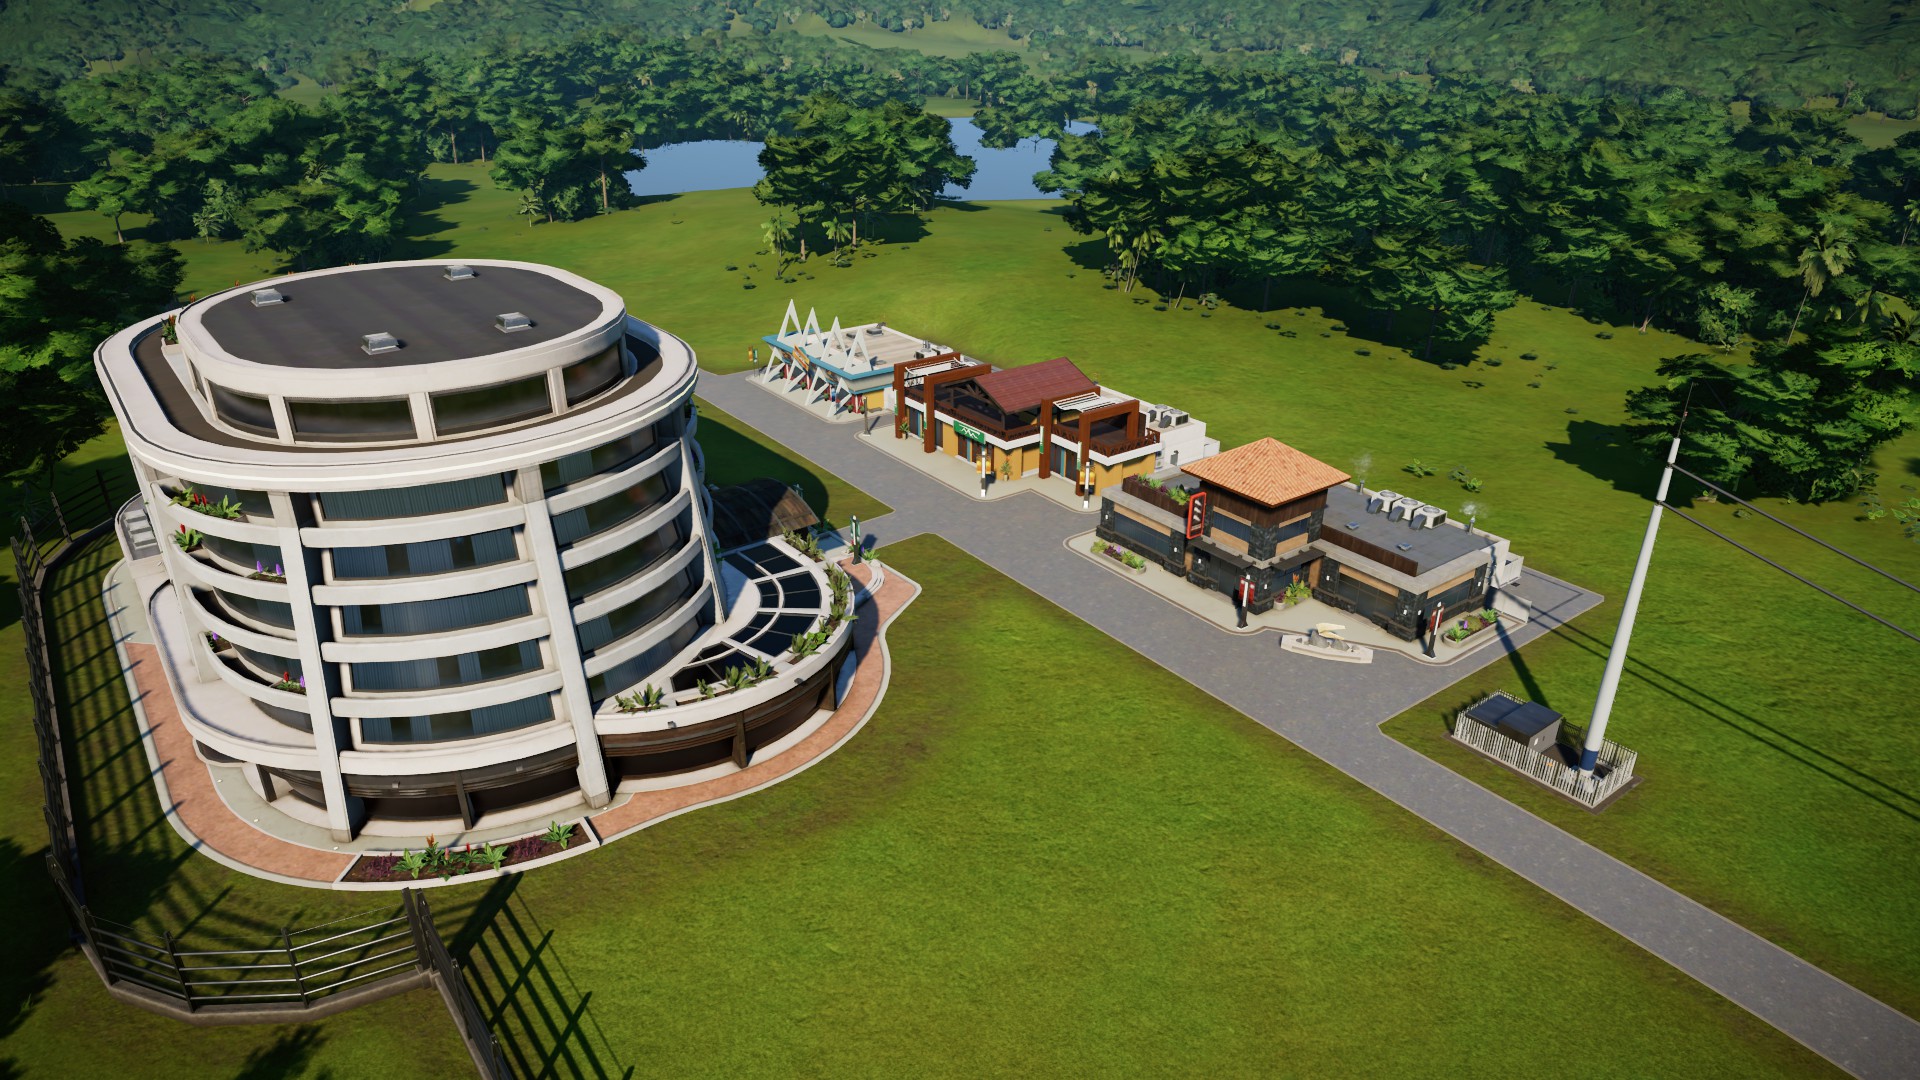
The Hotel and Restaurant-Clothes Shop-Arcade combo is the perfect Five Star combo
While Restaurant (Food/Drink) and Clothes Shop (Shopping) are unlocked at One Star,
The Arcade (Fun) is unlocked at Two Star rating. Be sure to leave room for an arcade!
Satisfaction has to be between 90%-100%
DOES NOT EFFECT GUEST RATING
- Transportation Rating
- Dinosaur Visibility
Monorail is not required, entire park can be path
Only one viewing gallery is needed on first exhibit
It is now time to construct an ACU Center to transport dinosaurs
Genetic Modifications
Not all dinosaurs have to be at 100% DNA, but the closer the better for rating/success
Genetic Modifications are risky and not needed, only skin patterns are worth researching
AVOID SMALL CARNIVORES
Many small carnivores like raptors are hard to contain and break out often
Dilophosaurus, Proceratosaurus (DLC) and Toodon (DLC) have lower comfort
AVOID LARGE CARNIVORES
Many late game carnivores like T-Rex live alone, need lots of space, and have high comfort limits
Medium Carnivores live in pairs and have lower comfort (Baryoynx, Ceratosaurus, Metricanthosaurus)
Enclosure Spacing
Larger exhibits allow for multiple carnivore or herbivore species to live together
Place multiple feeders or decrease the dispense time to keep many dinosaurs fed
Dinosaur Enclosures
Here is a list of various exhibit plans to get to Two Stars:
- Sturthiomimus x8
- Triceratops x4
- Sinoceratops x4
Exhibit Two
Exhibit Three
- Ankylosaurus x4
- Crichtonsaurus x4
Exhibit Four
Exhibit Five
- Ceratosaurus x3
Exhibit Six
- Baryoynx x2
- Dilophosaurus x6
Remember that these enclosures do not need any sort of dinosaur visibility!
Two Star Rating
Buildings:
- Arcade (Fun)
The arcade is the third building (w/ Restaurant and Clothes Shop) to complete guest satisfaction
- Metriacantosaurus
Optional:
- Troodon (DLC)
- Proceratosaurus (DLC)
Building Upgrades
- Incubation Speed 3.0 and 4.0
- Heavy Steel Fence (non-electric)
- Dig Team Charlie
- Research Speed
- Ranger Team Scheduling
Building upgrades speed up completion time, add storm protection, and increase dig team income
New exhibits should be pretty large and with a new Hammond Creation Lab to save time
Sauropods
Brachiosaurus and Diplodocus are now unlocked in dig sites
Camarasaurus will be unlocked at dig sites at Three Stars
Sauropods are the best dinosaurs in Challenge Mode, they have:
They are also easy to contain during storms
Sauropods can live in large numbers in the same enclosure and with other species of sauropod
Can also live with Large and Small Carnivores
or other species of Herbivore like Hadrosaurs

Diplodocus x8
Brachiosaurus x5
Camarasaurus x4 (3 Stars)
Repeat this exhibit several times to increase dinosaur rating instead of large carnivores
Other dinos may be added later to increase variety
Remember that these exhibits do not need visibility and may be placed wherever room is left
At Two Stars storms will start to hit the park pretty regularly
On higher difficulties this will often be a tornado rather than light storm
DO NOT PANIC! Remember to save whenever there is a storm warning just in case!
There are a few tips to deal with storms:
- Driving the Jeep is faster than AI
- A fence can be deleted and replaced
(Faster than repairing a broken fence) - Storm Defense Stations give early warning
- SAVE SAVE SAVE
Three – Five Stars
Most of the research needed is complete by a Three Star park, and none is required
The rest of Challenge Mode is mostly a repeat of getting to Three Stars
This consists of making and filling exhibits with sauropods and the hotel-guest building combo
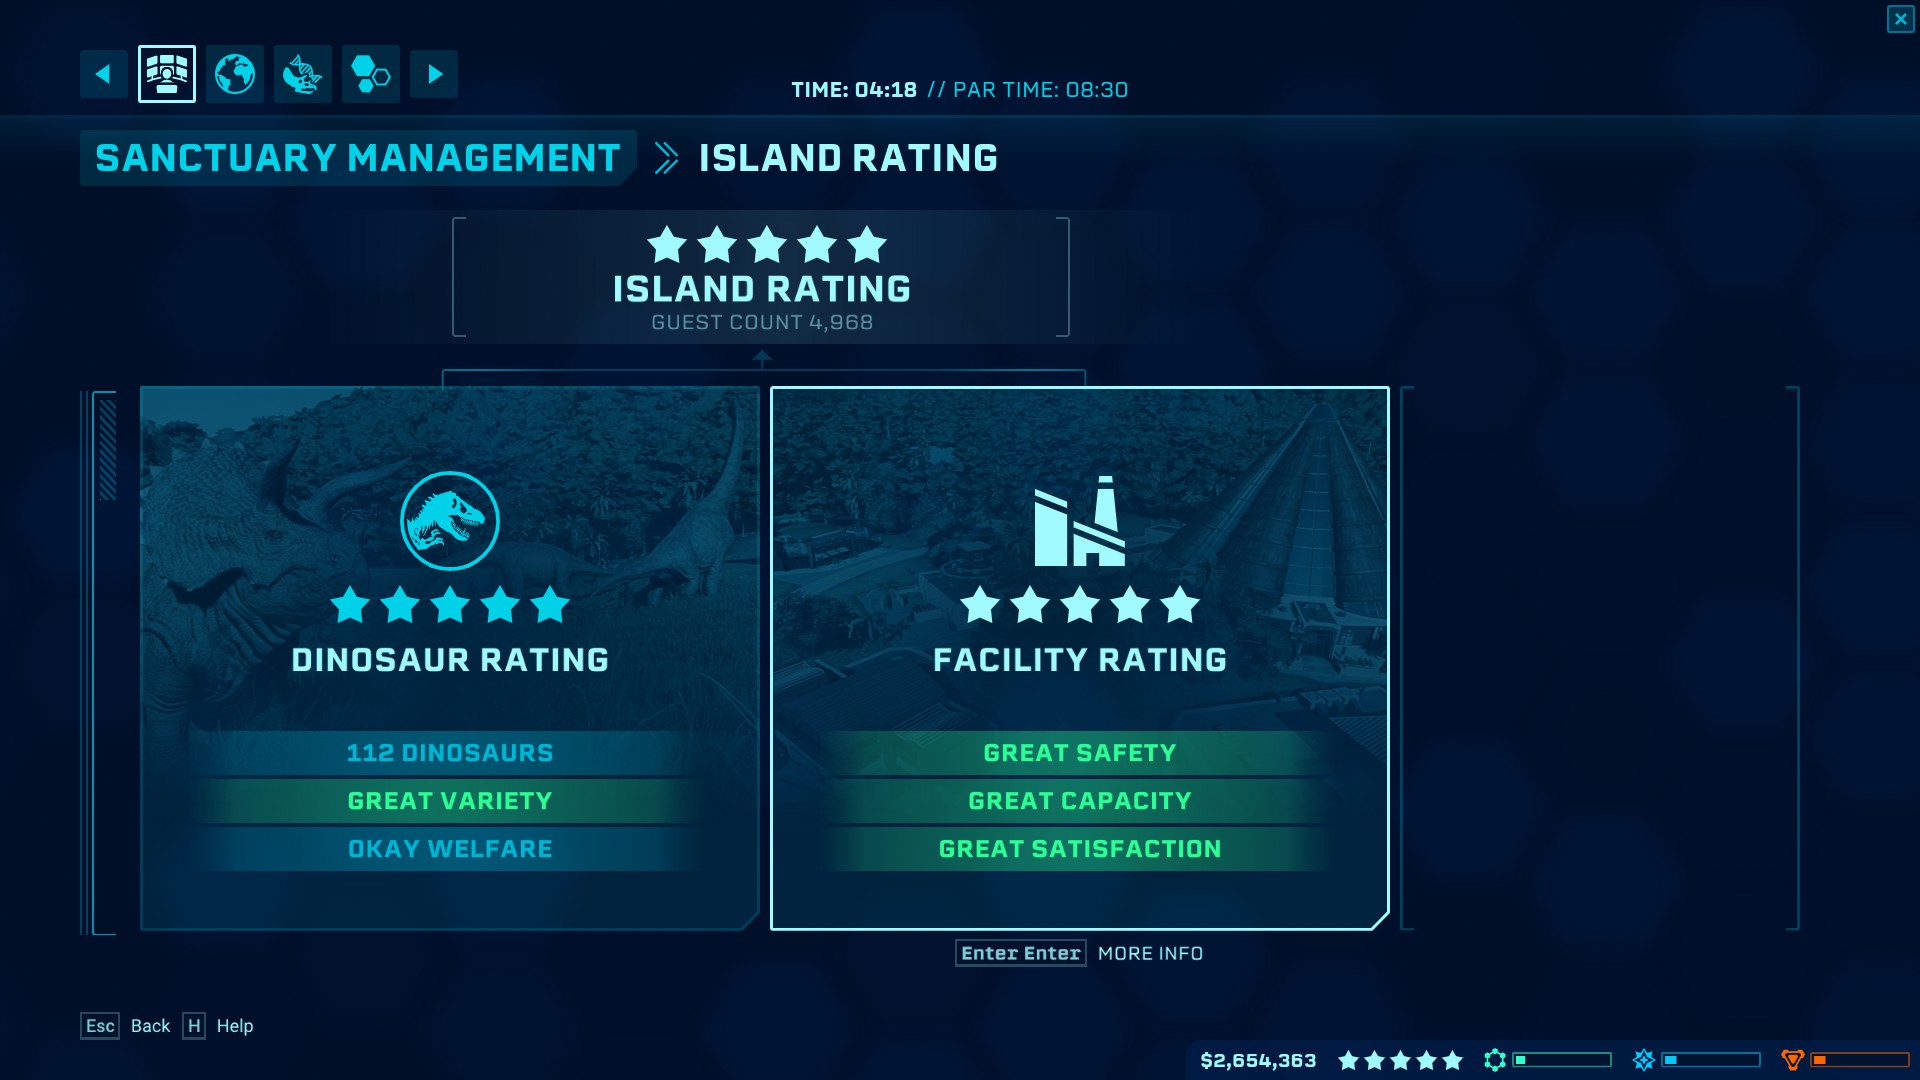
Be sure to check the requirements for FIve Stars for guests and dinosaurs frequently
KEEP DIGGING FOR FOSSILS TO MAKE MONEY, EVEN FOR UNUSED DINOSAURS
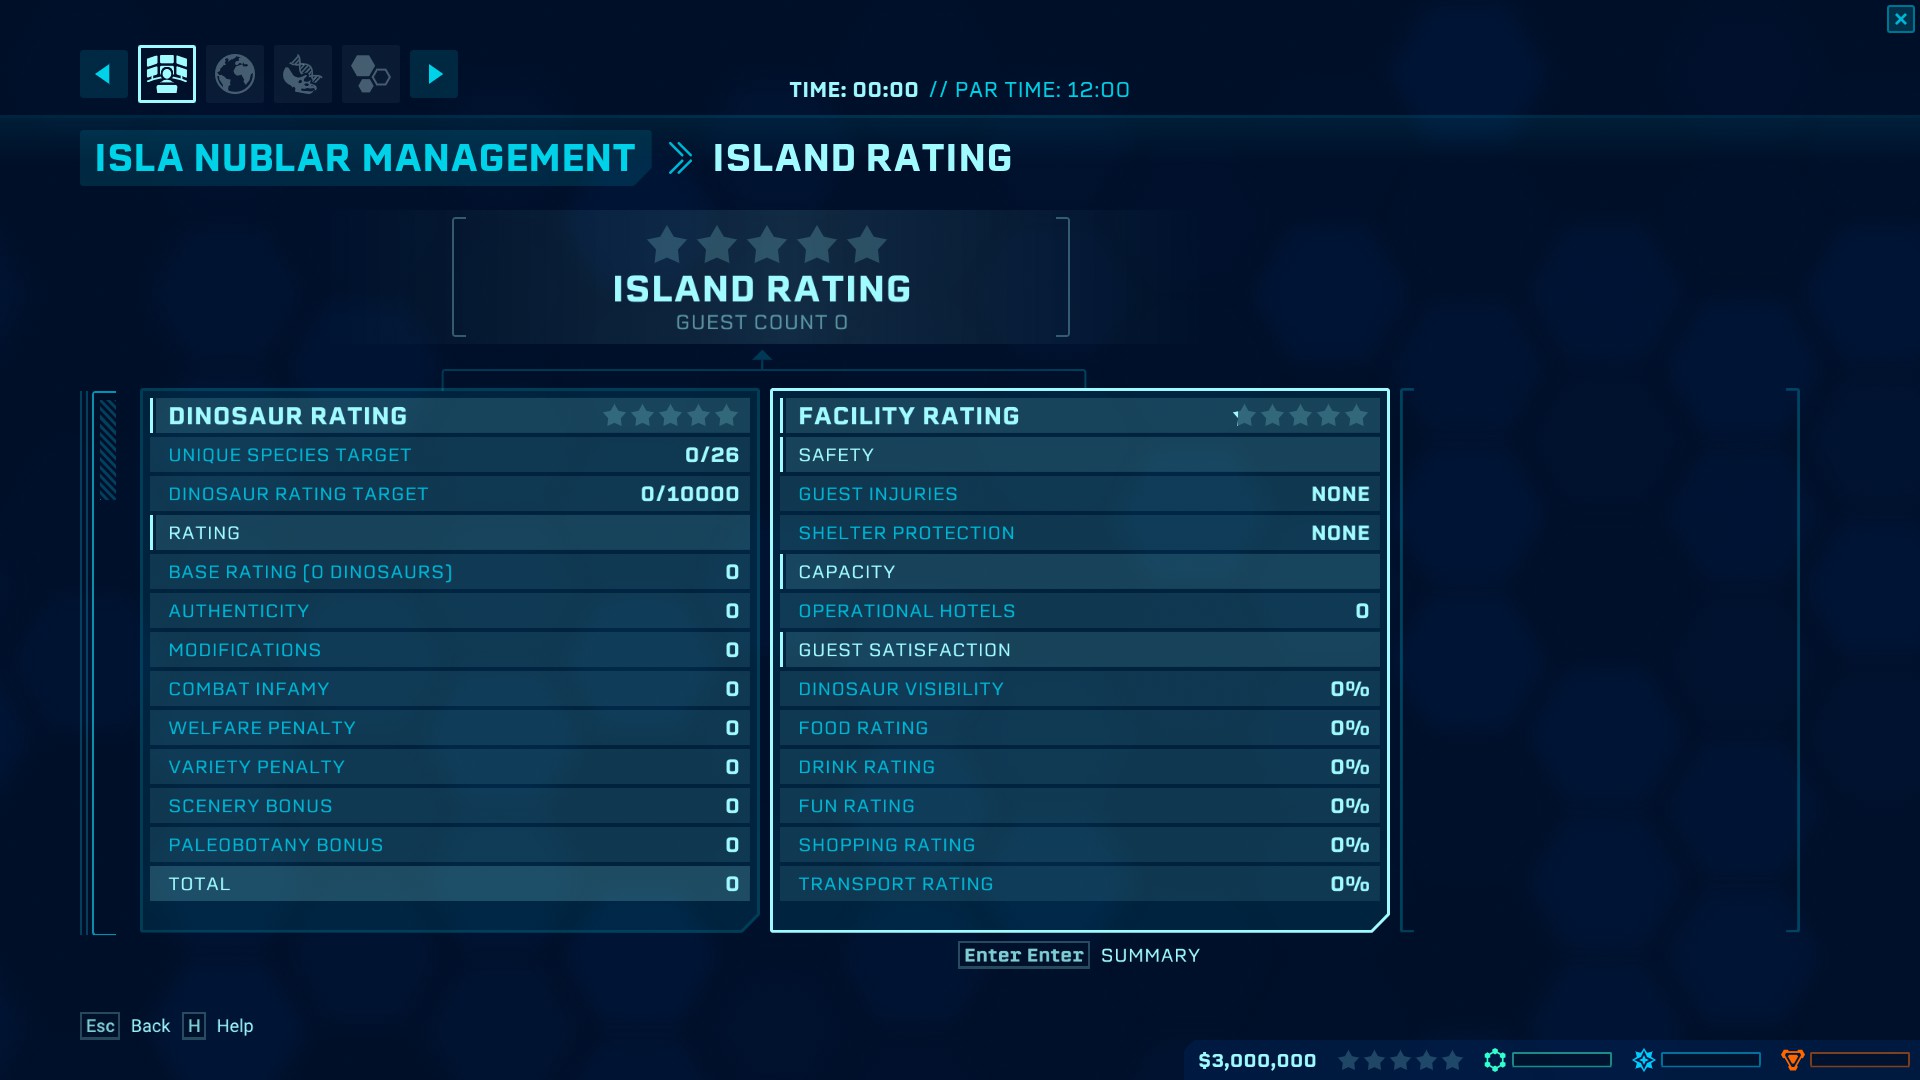
Dinosaur Rating is a 0/0000 score while guest satisfaction for food/drink/shopping/fun must be >90%
Jurassic Difficulty has extremely high dinosaur rating requirements
The hardest part of Challenge Mode is dinosaur rating and variety
Rating
Dinosaur rating requirements is determined by map size and difficulty
The high rating requirement is most easily met with Sauropod exhibits
Add the Camarasaurus unlocked at Three Stars to the previous sauropod enclosures
Variety
Dinosaurs Variety should be close to met by Three Stars, but there are tips to increase:
- Add a Gallimimus to an Enclosure
- Add an Archaeornithomimus
- Add Toodon or Proceratosaurus
- Add a Hadrosaur species
- Add some Dreadnoughtus
- Add some Apatosaurus

Any of these can live with Sauropods
Some can live in older enclosures
These are easier ways to increase variety without adding hard-to-contain large or small carnivores
Guest satisfaction is easier to meet, especially on smaller maps
Good Capacity (Hotels) and each category of food-drink, shopping, and fun must be met.
The Hotel + Restaurant-Clothes Shop-Arcade combo is all that is needed for 100% Satisfaction
Repeat these four buildings if on “okay capacity” or any of the categories is below 90% rating
Remember that transportation rating and dinosaur visibility DO NOT EFFECT PARK RATING
The hardest part of challenge mode is making it to a Two Star rating, especially for speed
After Three Stars, the game becomes easier with money and upgrades except for the storms
Once Sauropods are unlocked, that is all the player has to make unless more variety is needed
All guest satisfaction can be met with a hotel and restaurant, clothes shop, and arcade combo
In order to reach Five Stars simply repeat:
- Brachiosaurus, Dipoldocus, Camarasaurus enclosures
- Build Hotel + Restaurant, Clothes Shop, Arcade Combo
Repeating these two will get Five Stars the fastest and easiest
It is always nice to end a Challenge Mode by creating a dinosaur with the new unlocked skin
Text Summary
This is a simple text-based summary of how to complete Challenge Mode
- Switch the island to good lighting and plan out the park
- Place a power station, expedition center, and fossil center
- Use the Expedition Center to get Struthiomimus Fossils ASAP
- Place a Hammond Creation Lab and build a medium enclosure with Viewing Gallery
- Make a Struthiomimus as soon as possible (50% DNA Complete)
- Build a Fast-Food and Gift Shop building near the Viewing Gallery
- Get to One Star by producing Struthiomimus (x8), Triceratops (x4), and Edmontosaurus (x2-x4)
- Build a Research Center and Ranger Station before hitting One Star
- Use Contracts to make money before reaching One Star
REMEMBER TO SAVE OFTEN!
- Research Dig Yield immediately and place it on all three upgrade slots on Expedition Center
- Sell non-extractable items from the Fossil Center to make money instead of contracts now
- Research Restaurants and Clothes Shop buildings, replace Fast-Food and Gift Shop
- Research Storm Defense Station for early storm warnings (SAVE BEFORE STORMS)
- Research Medium Power Station and Power Output and Protection Upgrades
- Research Fossil Access for needed dinosaurs and DLC dinosaurs if available
- Research Research Center Speed and Research Team Bravo upgrades
- Research Dig Team Bravo upgrade
- Place an ACU Center and start building smaller and medium sized enclosures
- Build Hotels when “okay capacity” and place Restaurants and Clothes Shops for satisfaction
DO NOT RESEARCH MONORAIL | DO NOT RESEARCH VIEWING-RELATED ITEMS
Dinosaurs to reach Two Stars:
- Corythosaurus x4
- Ceratosaurus x3
- Hyuangosaurus x5
- Chungkingosaurus x4
- Ankylosaurus x4
- Dilophosaurus x6
- Baryoynx x2
- Sinoceratops x4
DLC Dinos
- Iguanodon x4
- Crichtonsaurus x4
- Euoplocephalus x4
- Proceratosaurus X6
- Troodon X6
GENETIC MODIFICATIONS NOT NEEDED | CLOSE TO 100% DNA AS POSSIBLE
- Research Arcade and add to Clothes Shop and Restaurant near Hotels
- Research Dig Team Charlie for Expedition Center
- Research Metriacanthosaurus Fossil Access
- Research Large Steel Fence and replace carnivore fences
- Research Incubation Speed upgrades for Hammond Creation Lab
- Research other building upgrades deemed important to the player
- Send out Expeditions for Brachiosaurus and Diplodocus Fossils
- Build new large enclosure with new Hammond Creation Lab
Sauropod Enclosures:
- Diplodocus x8
- Brachiosaurus x5
Repeat the Enclosure
- Build another Sauropod enclosure with another new Hammond Creation Lab
- Add Camarasaurus x4 to Sauropod Enclosures
- Build Hotels with Restaurant-Clothes-Arcade combo as needed
- Extract Gallimimus, Archaeornithomimus, or Hadrosaur DNA for Dino Variety score
- Add easy dinosaurs of different species in old enclosures to remove variety penalty
- Repeat Sauropod Exhibit to increase Dinosaur Rating
- Keep digging for fossil to make money
- SAVE OFTEN – ESPECIALLY FOR STORMS AND DINOSAUR HATCHING
- AVOID LARGE CARNIVORES (EXCEPT EARLY FEW)
- AVOID SMALL CANIVORES (Especially Raptors)
- AVOID HYBRIDS
- Baryoynx, Metriacanthosaurus and Ceratosaurus can be added to Sauropod enclosures
- Dilopohosaurus, Proceratosaurus, and Troodon can live with Sauropods and Large Carnivores
- Sauropod Exhibits can be flooded with small carnivores for a last minute rating boost at the end
This is an example of all exhibits in a Five Star Park at the completion of Jurassic Challenge Mode:
Bigger Islands on Jurassic Difficulty require ~20 dinosaurs for variety and ~10,000 dinosaur rating
This exhibit plan is a master plan that will guarantee the easiest, fastest Five Star park
Player should reach Five Star Rating before all of these exhibits are finished
First Enclosure
- Struthiomimus x8
- Triceratops x4
- Sinoceratops x4
- Gallimimus x1
- Archaeornithomimus x1
Second Enclosure
- Edmontosaurus x2-x4
- Corythosaurus x4
- Iguanodon x4
- Euoplocephalus x4
Third Enclosure
- Baryoynx x2
- Dilophosaurus x6-x12
Fourth Enclosure
- Ceratosaurus x3
- Troodon x6
Fifth Enclosure
- Metriacanthosaurus x2
- Proceratosaurus x6
Sixth and Seventh Enclosure
- Diplodocus x8
- Brachiosaurus x5
- Camarasaurus x4
- Apatosaurus x4 or Dreadnoughtus x4
Players can add several other species to Sauropod exhibits during late game to save time and room
- Possible: Ceratosaurus x3, Baryoynx x2, Metriacanthosaurus x2
- Possible: Hardrosaur species like Parasaurolophus x4
- Possible: Dilophosaurus x12, Proceratosaurus x8, Toodon x12


