
Overview
Inheritance DLC came out 2 days ago on August 2nd, 2016. Most of your questions and answers reside inside here. 🙂
Overview
First, this is specifically for Inheritance DLC only. This is not a walkthrough/achievement/secret guide for the regular Layers of Fear storymode.
UPDATE:
Everything is completed and ensured in this guide. Also a quick note, if you can’t seem to finish “this could be important” achievement, all of the note locations ARE included in this guide. You may have to randomly play it a couple times again and try picking random ones up to get the achievement. It’s what happened to me.
This DLC is pretty short. Take about 45 minutes to an hour to finish the storymode if you look and gather everything needed to progress.
Anyway…without further ado. Let’s get to it.
Walkthrough Pt. 1
I’ve combined all of them because while going through the game, obviously we’re going to come across memories, drawings, and notes along the way. So why not just compile it all into one thing. Two birds with one stone.
UPDATE:
(Note 1) – There is a note right when you start the game and turn on your flashlight, look right behind you on the floor next to the door and pick it up.
Part 1:
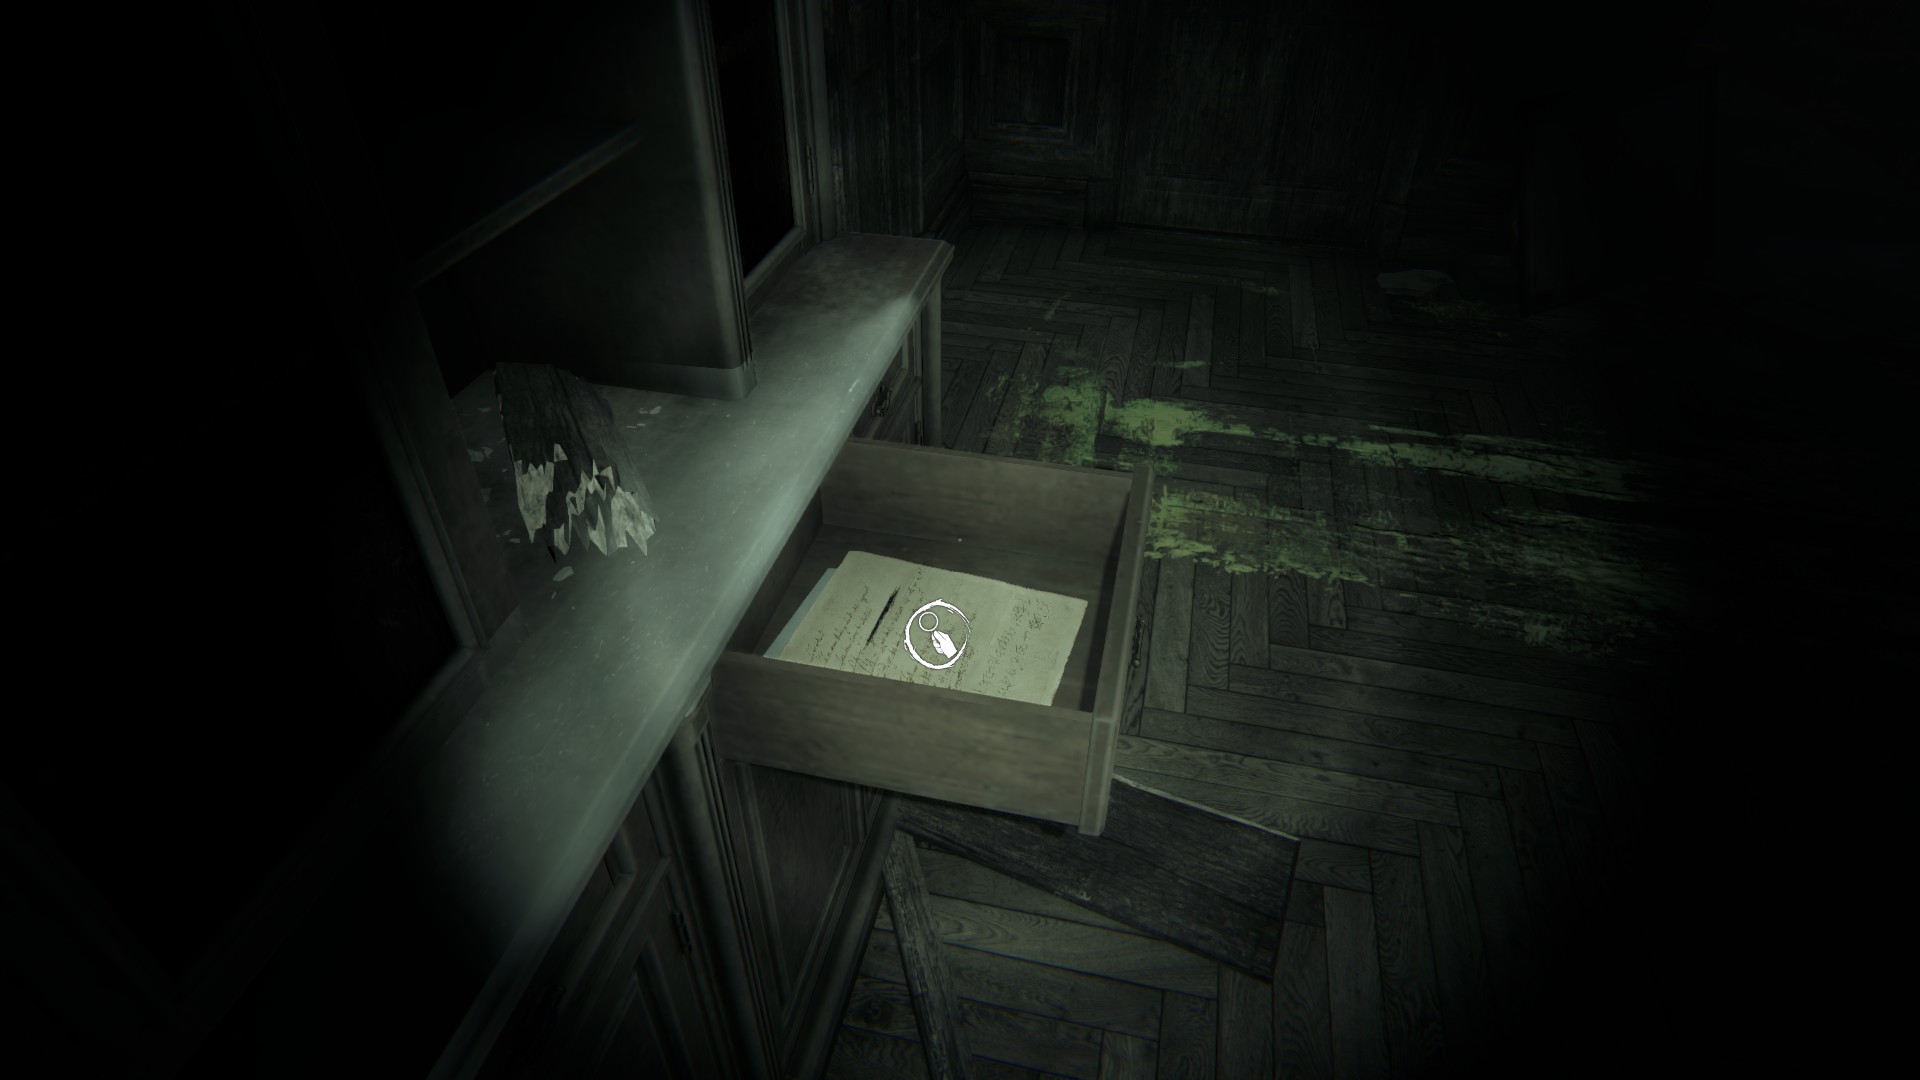
(Note 2) – when you walk through the opening doors you’ll come across a dresser with some drawers. Open up the second to the right top drawer.
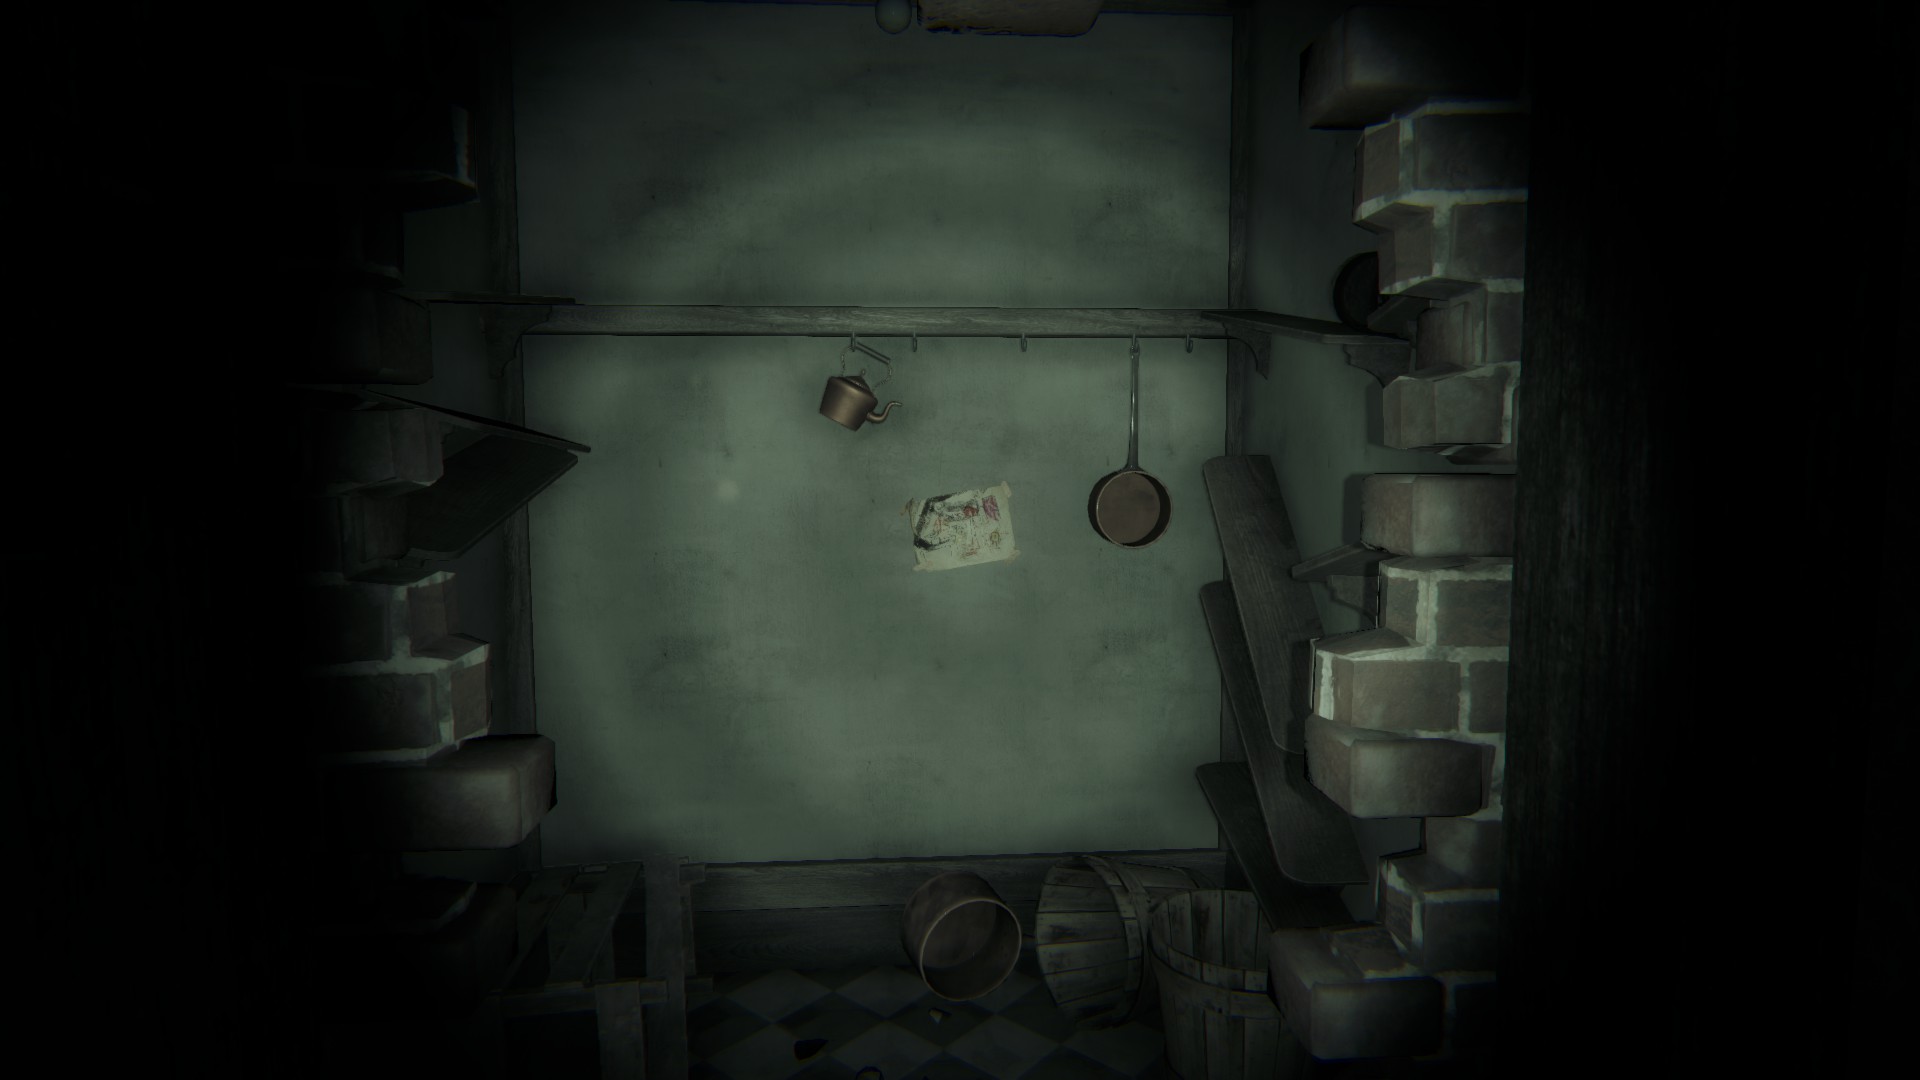
(Memory/Drawing 1) – Go into the kitchen and walk towards the back door with the bricks. You’ll recall a memory of your dog and your dad. (You do have a choice to open the door or not which affects an ending. Not sure which yet.) After it’s done you’ll find a drawing inside on the wall.
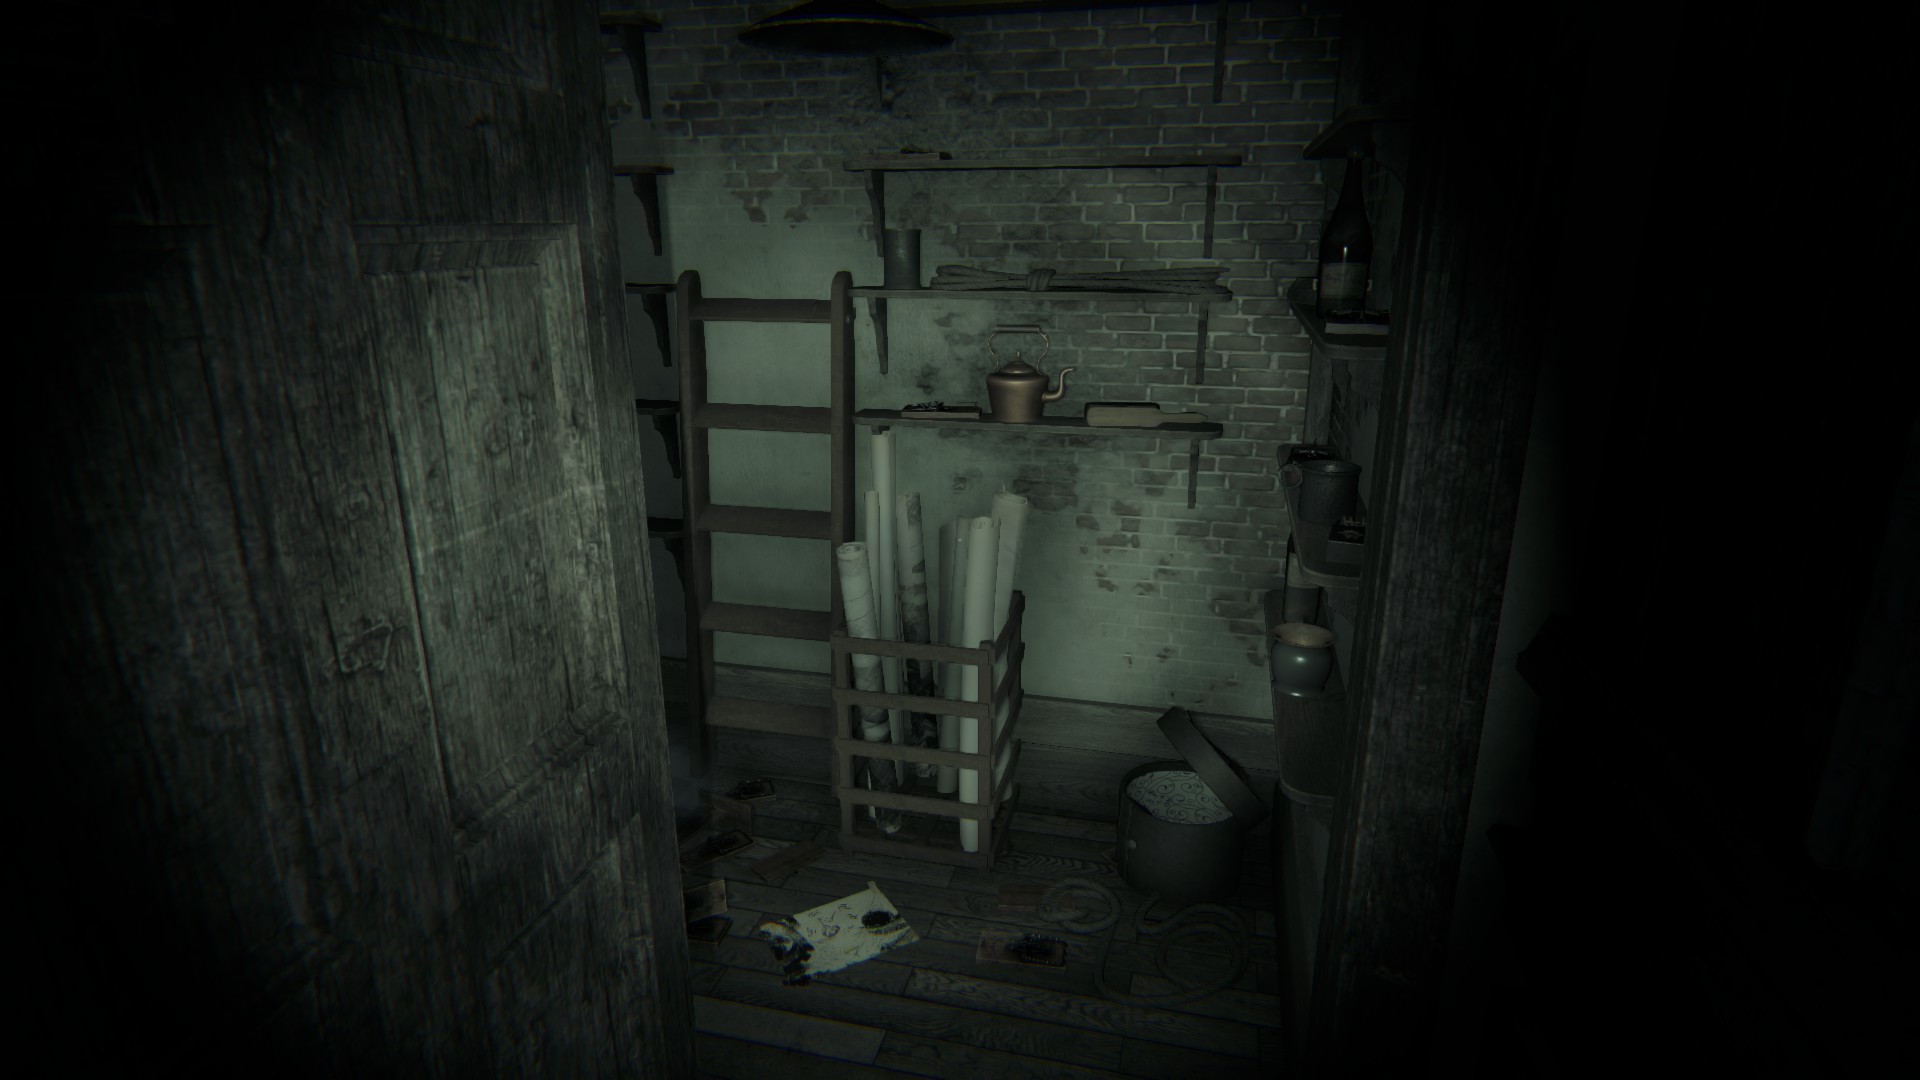
(Memory/Drawing 2) – Next go into the utility closet underneath the staircase and you will recall a memory and find a drawing on the floor.
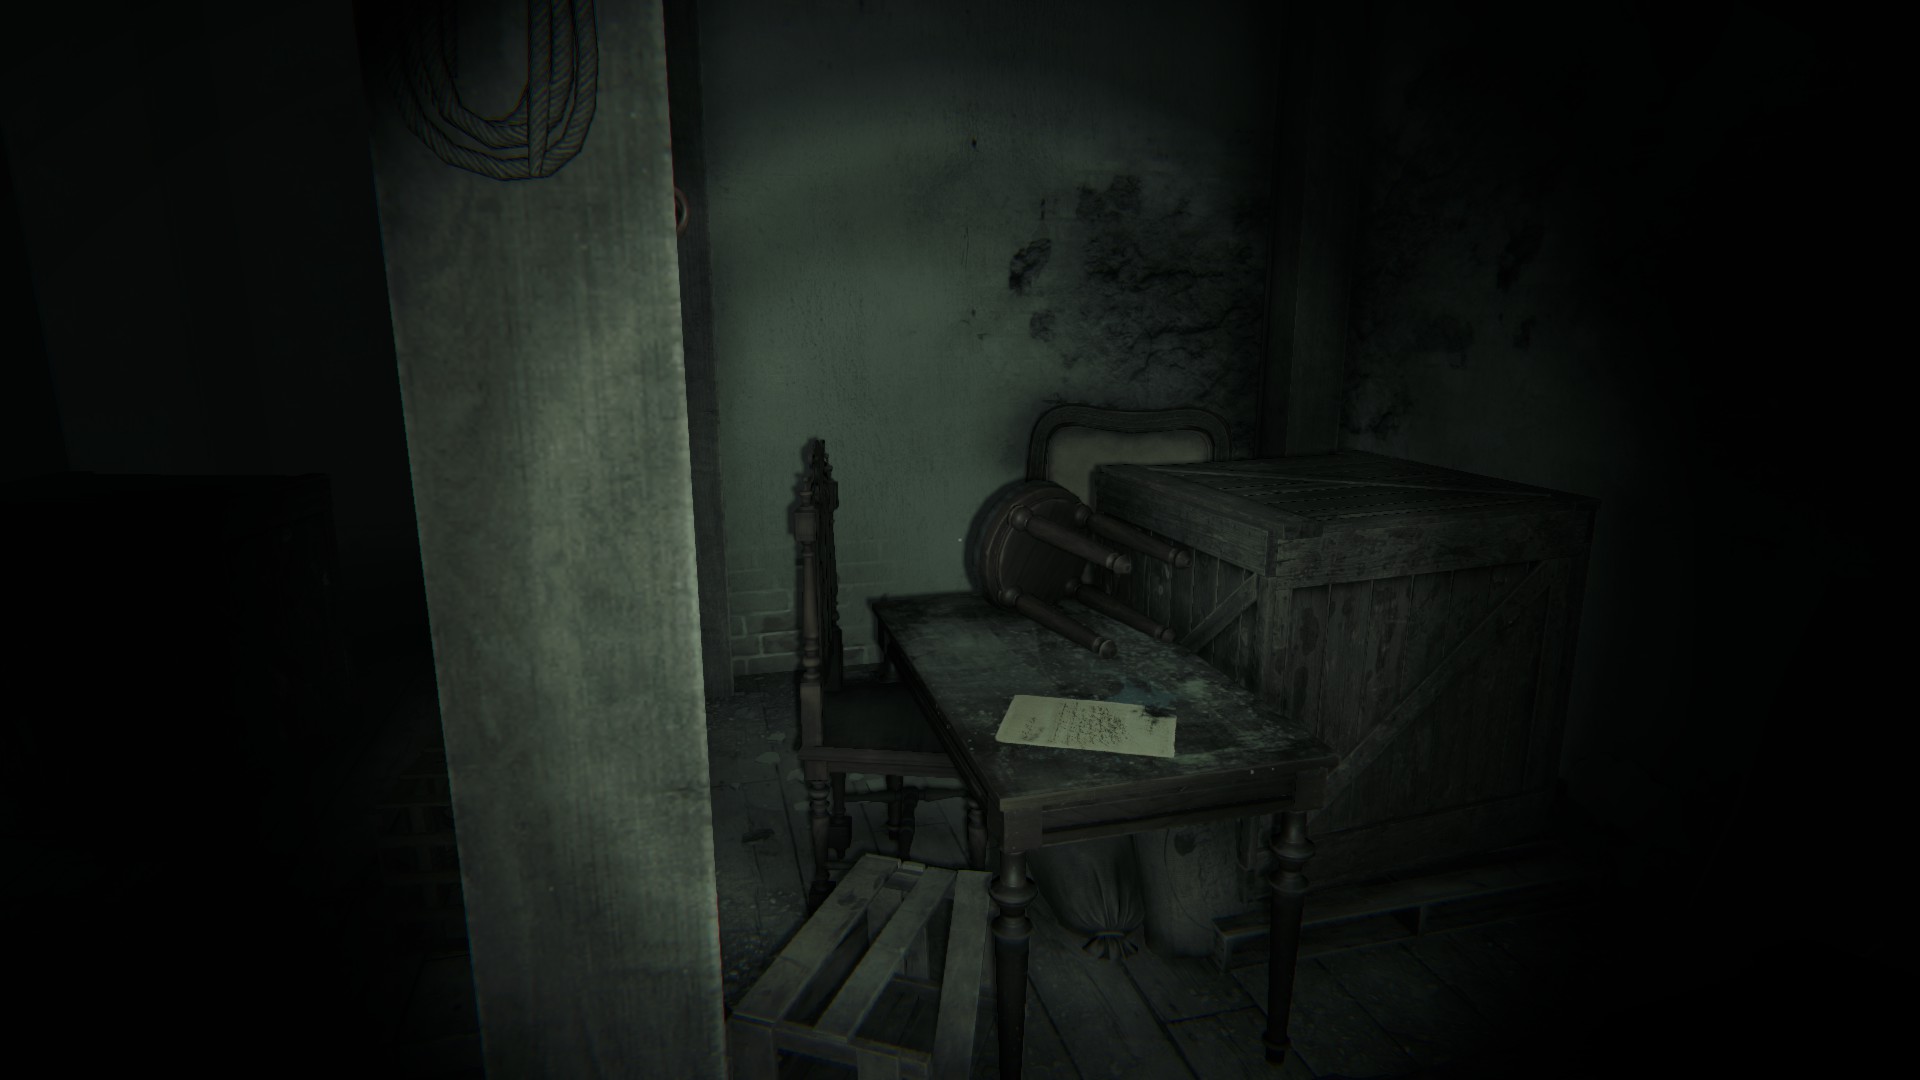
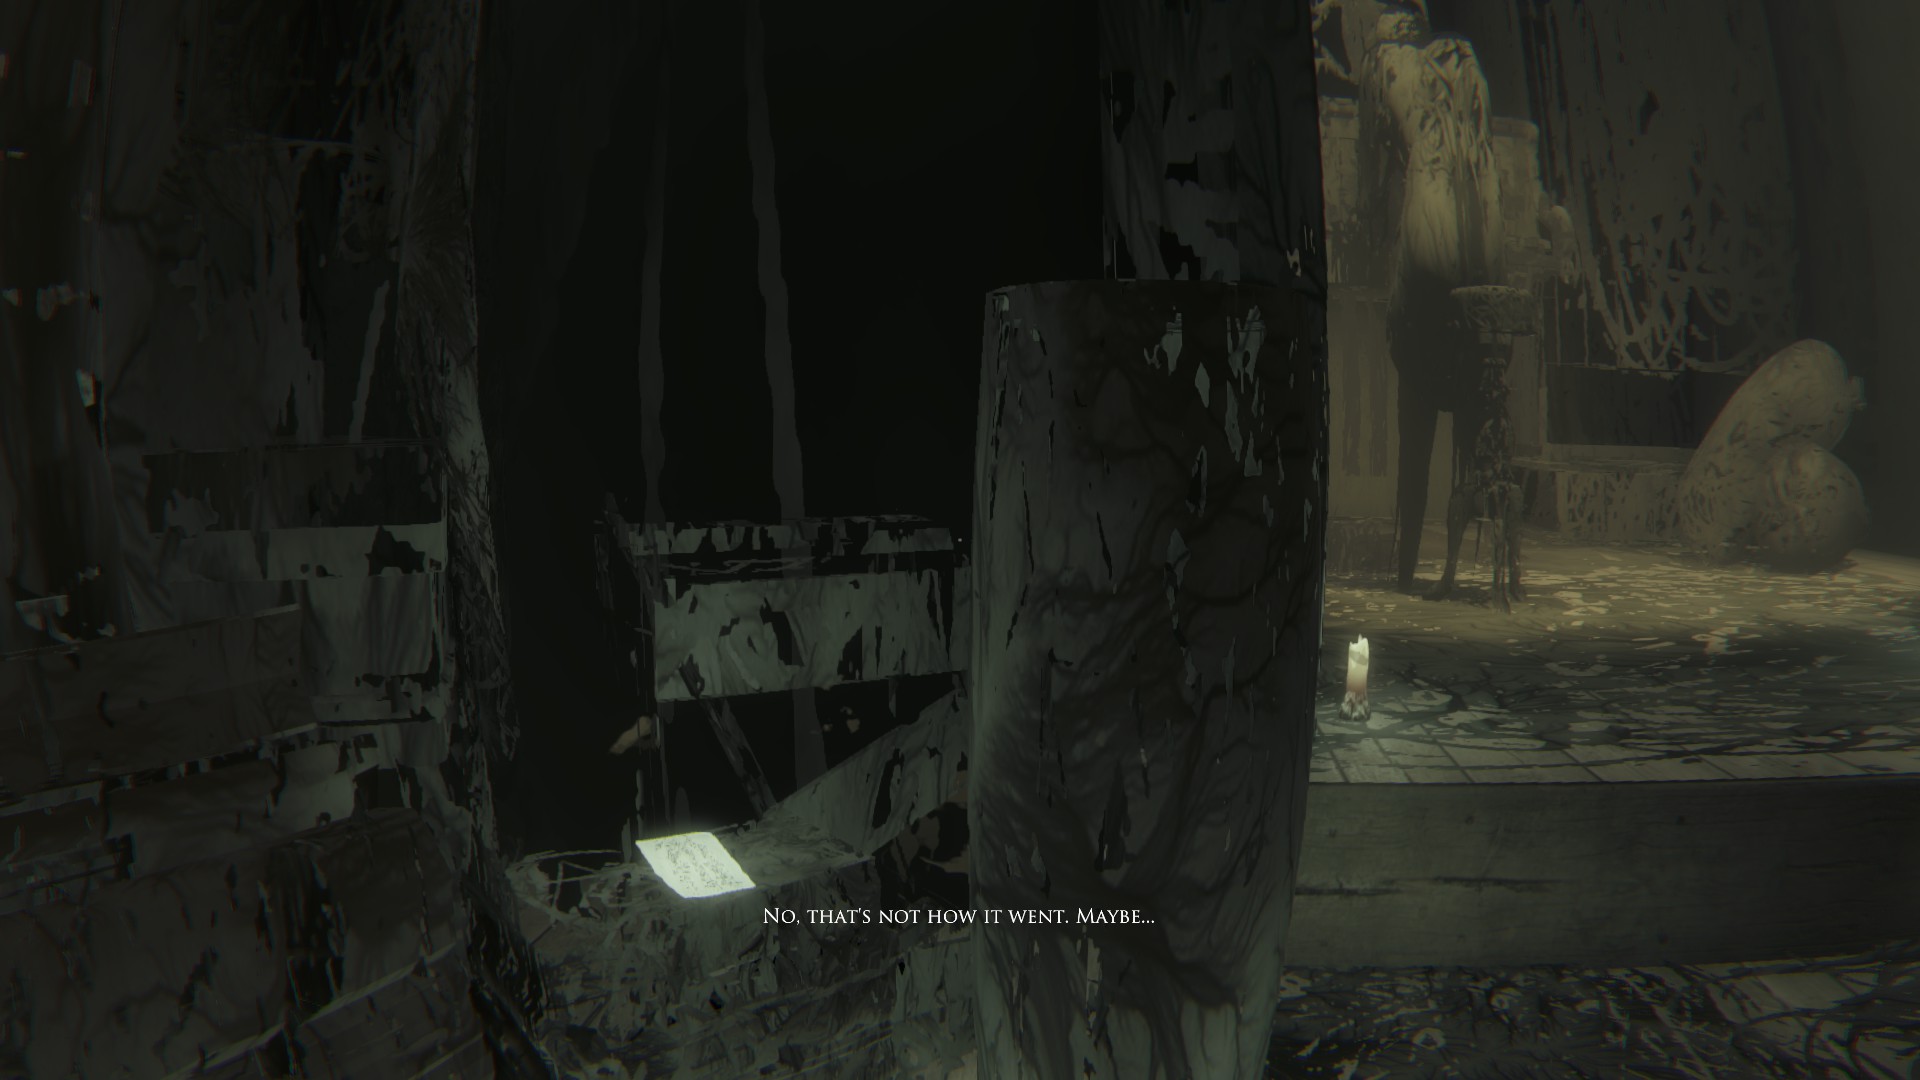
(Note 3/ Memory/Drawing 3) – Go down the basement and you will find a note to your left on a table. A little bit behind it is a drawing on a stack of papers behind a crate. (easier to find when you turn around after the memory) Keep going further in down that hallway corridor and you will recall a memory. During the memory of the dad playing piano, there is a note to the left on some gray stringy mess.

(Note 4) – Go into the bathroom and next to the toilet there is a hawaii magazine.
(Drawing 4) – Go upstairs and take an immediate right. Down the hall infront of a door is a table with a drawing.
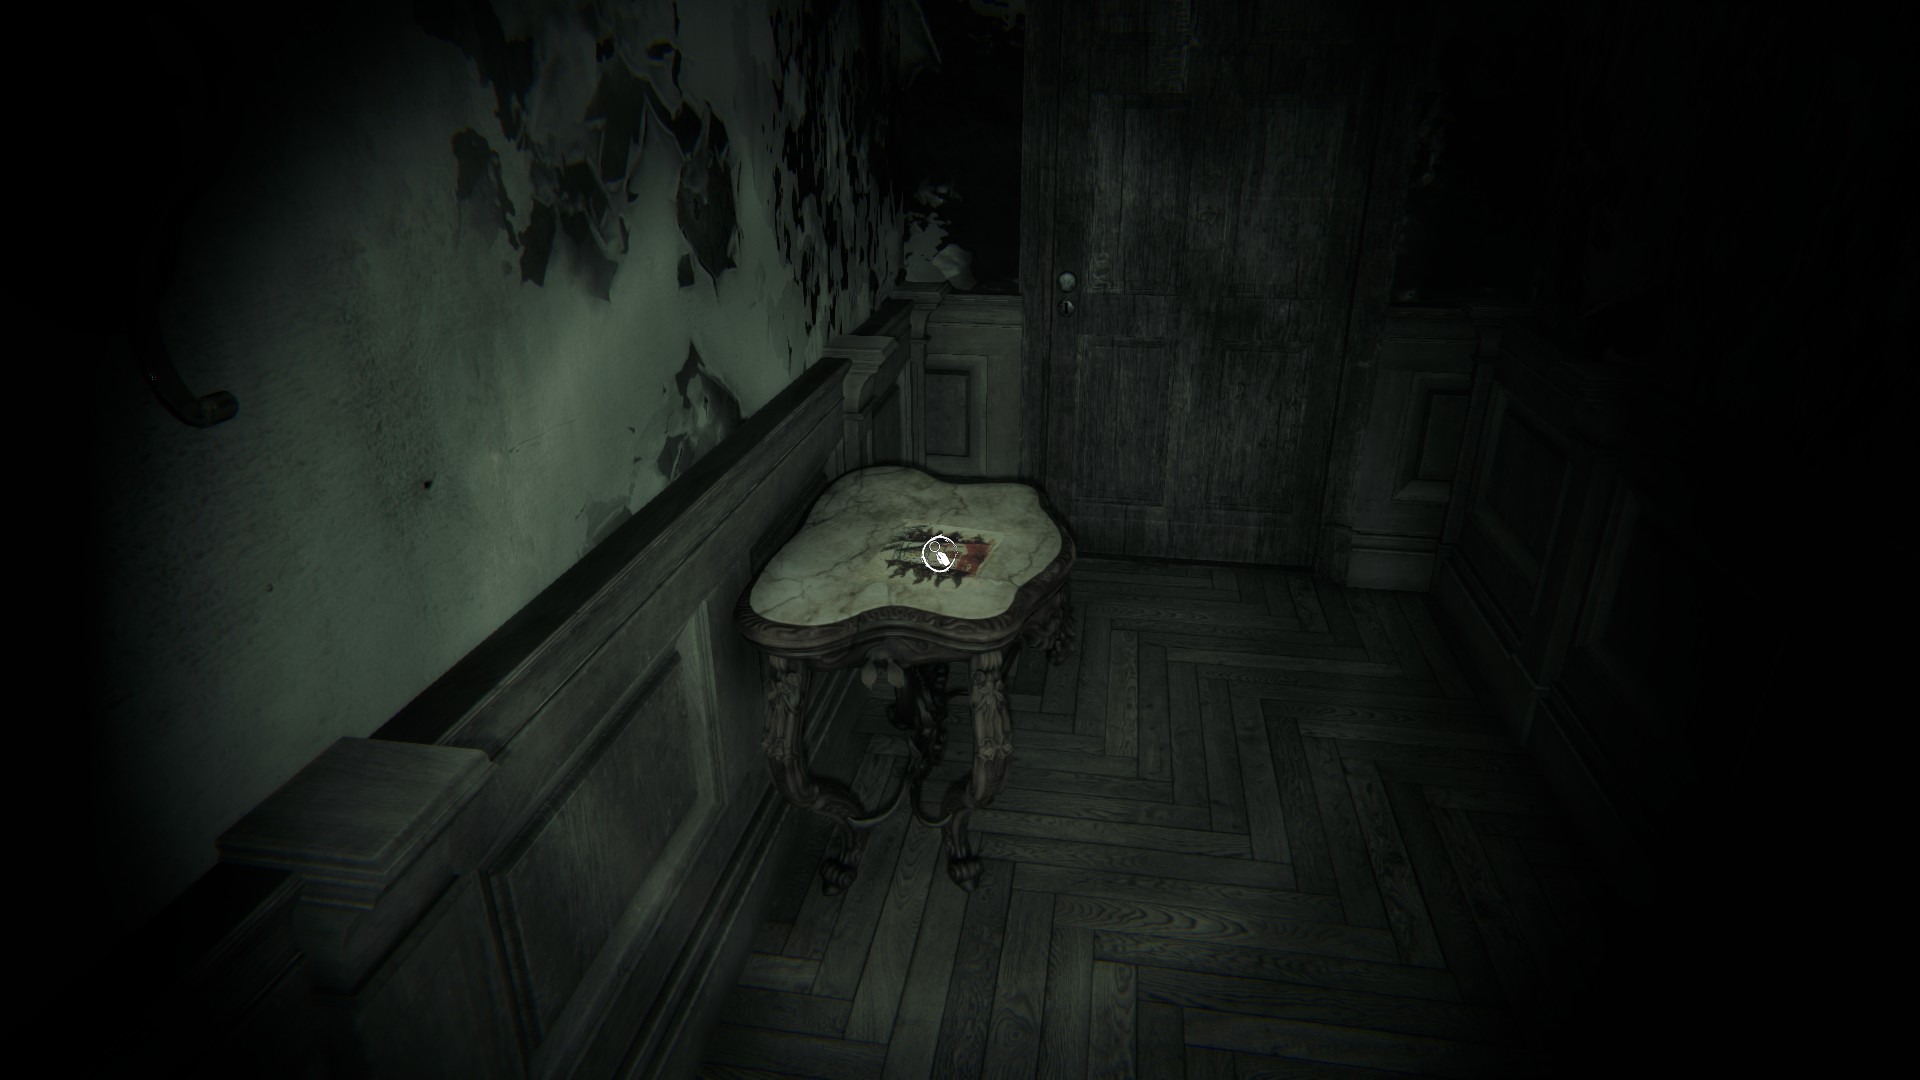
(Memory 4 / Drawing 5) – Just after the 4th drawing, turn around and go into the mother’s bedroom. Drawing 5 will be in the closet when you first enter the room. Walk up to the bed and recall another memory.
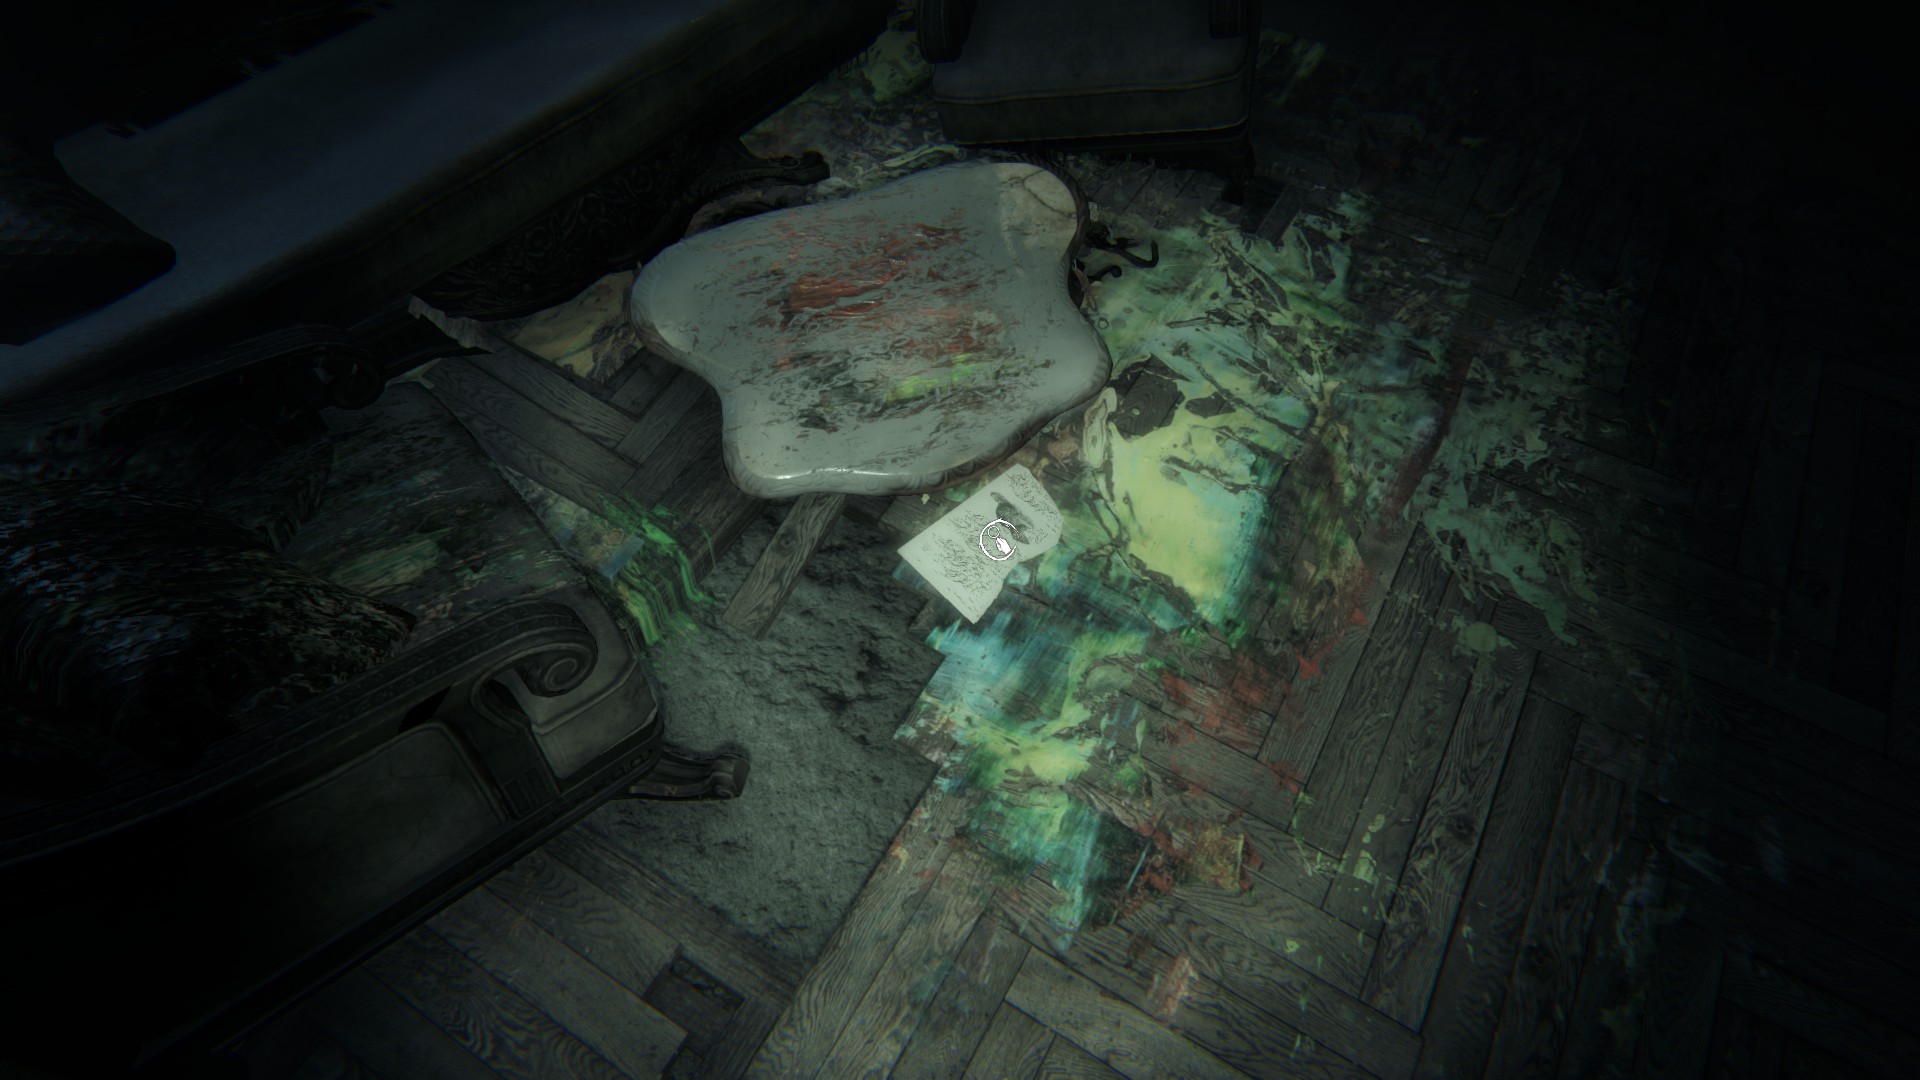
(Note 5) – There is a rat picture under the broken table near the sofas and furniture.
(Drawing 6) – Go into the closet near the daughter’s bedroom where all of the portraits of the mother are kept. To the very right corner will be the drawing.
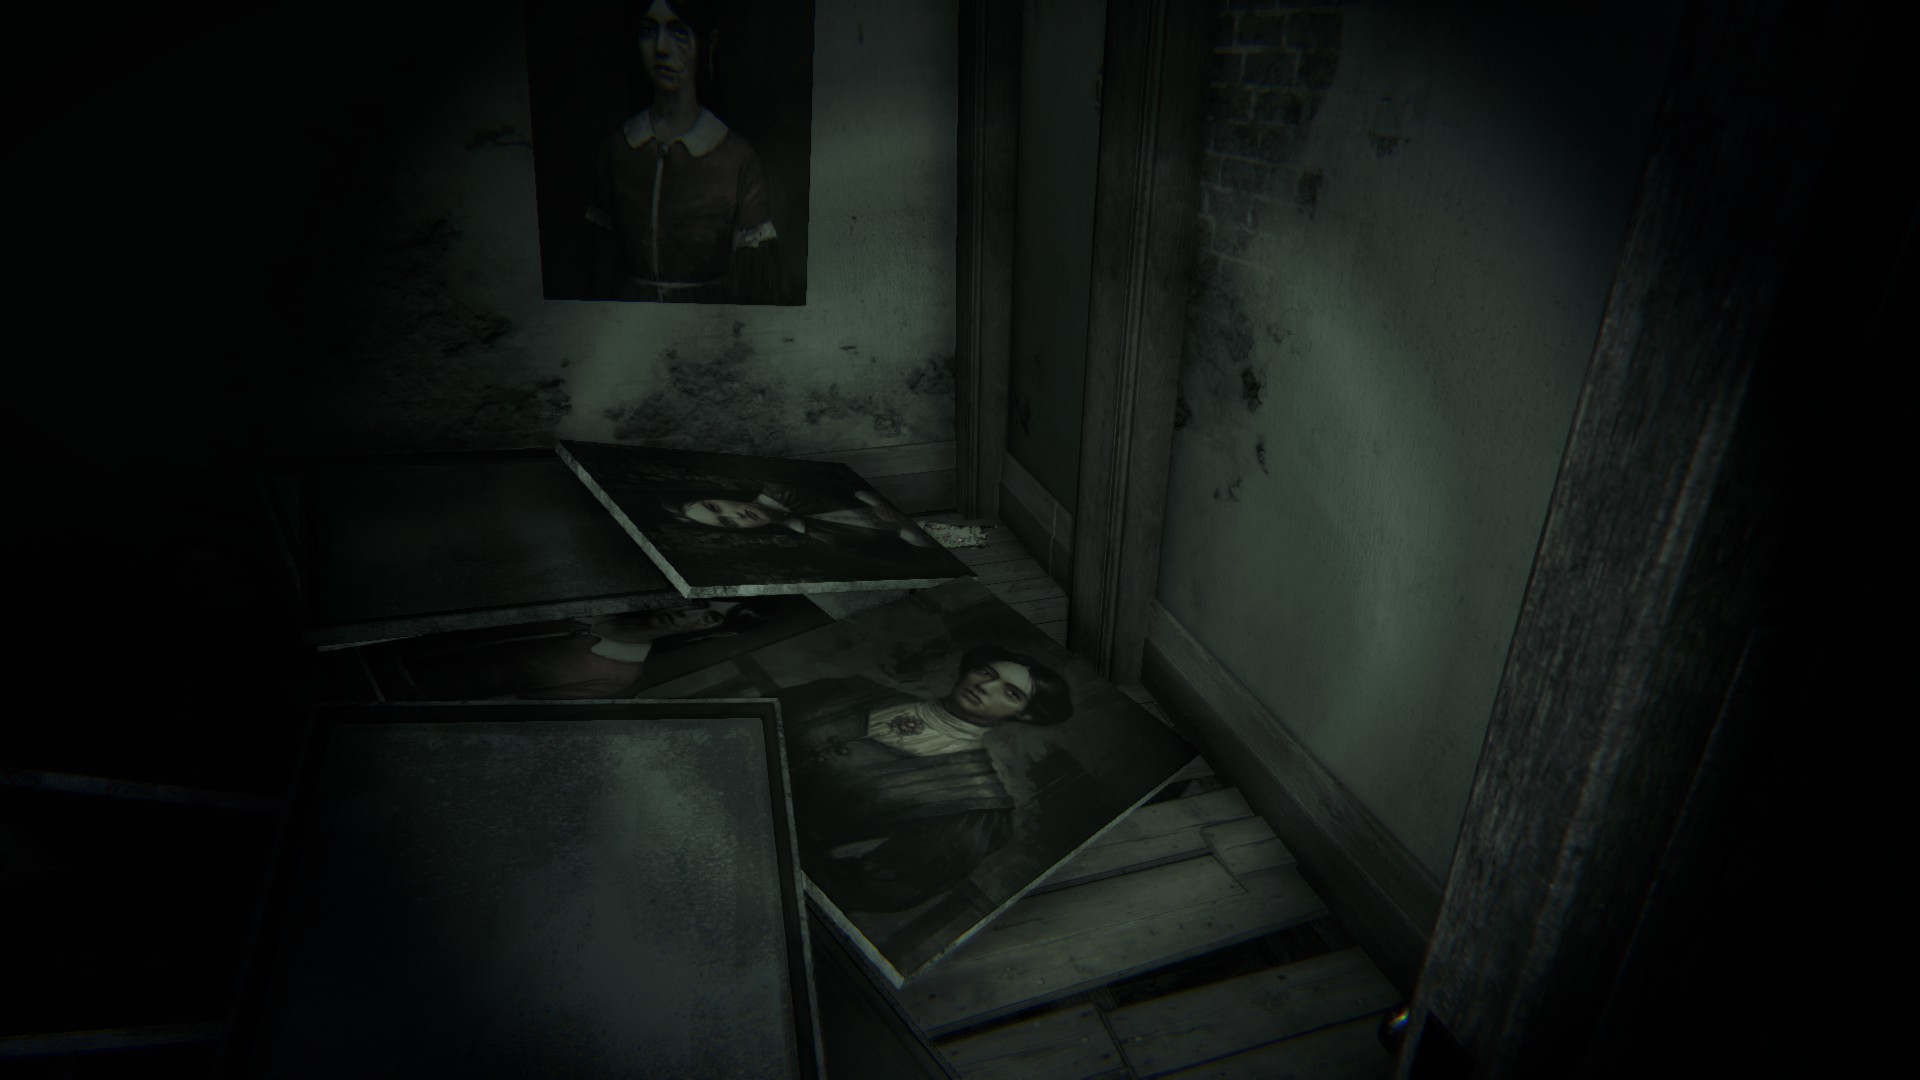
(Memory 5/ Drawing 7) – Go into the daughter’s room and to the corner there will be a very blurry painting. Walk up to it and recall the memory. (If you want to get done with it quickly, just look away from the dad while he’s painting and he’ll finish his story quicker from being upset. Affects ending.) The drawing will be right under the now clear painting.

Since the door to the painting room is locked, we now go to the father’s office. However, before grabbing anything, you will be transfered into a memory sequence for a bit.
Walkthrough Pt. 2
As a baby, you will get to choose which parent to believe, respect, and love more. Every choice affects the end result in the game. In this walkthrough I chose my mother because I already have done the father in a previous trial. Both go through the same levels and have the same notes/drawings/memories, it’s just the speech and dialogue are different.
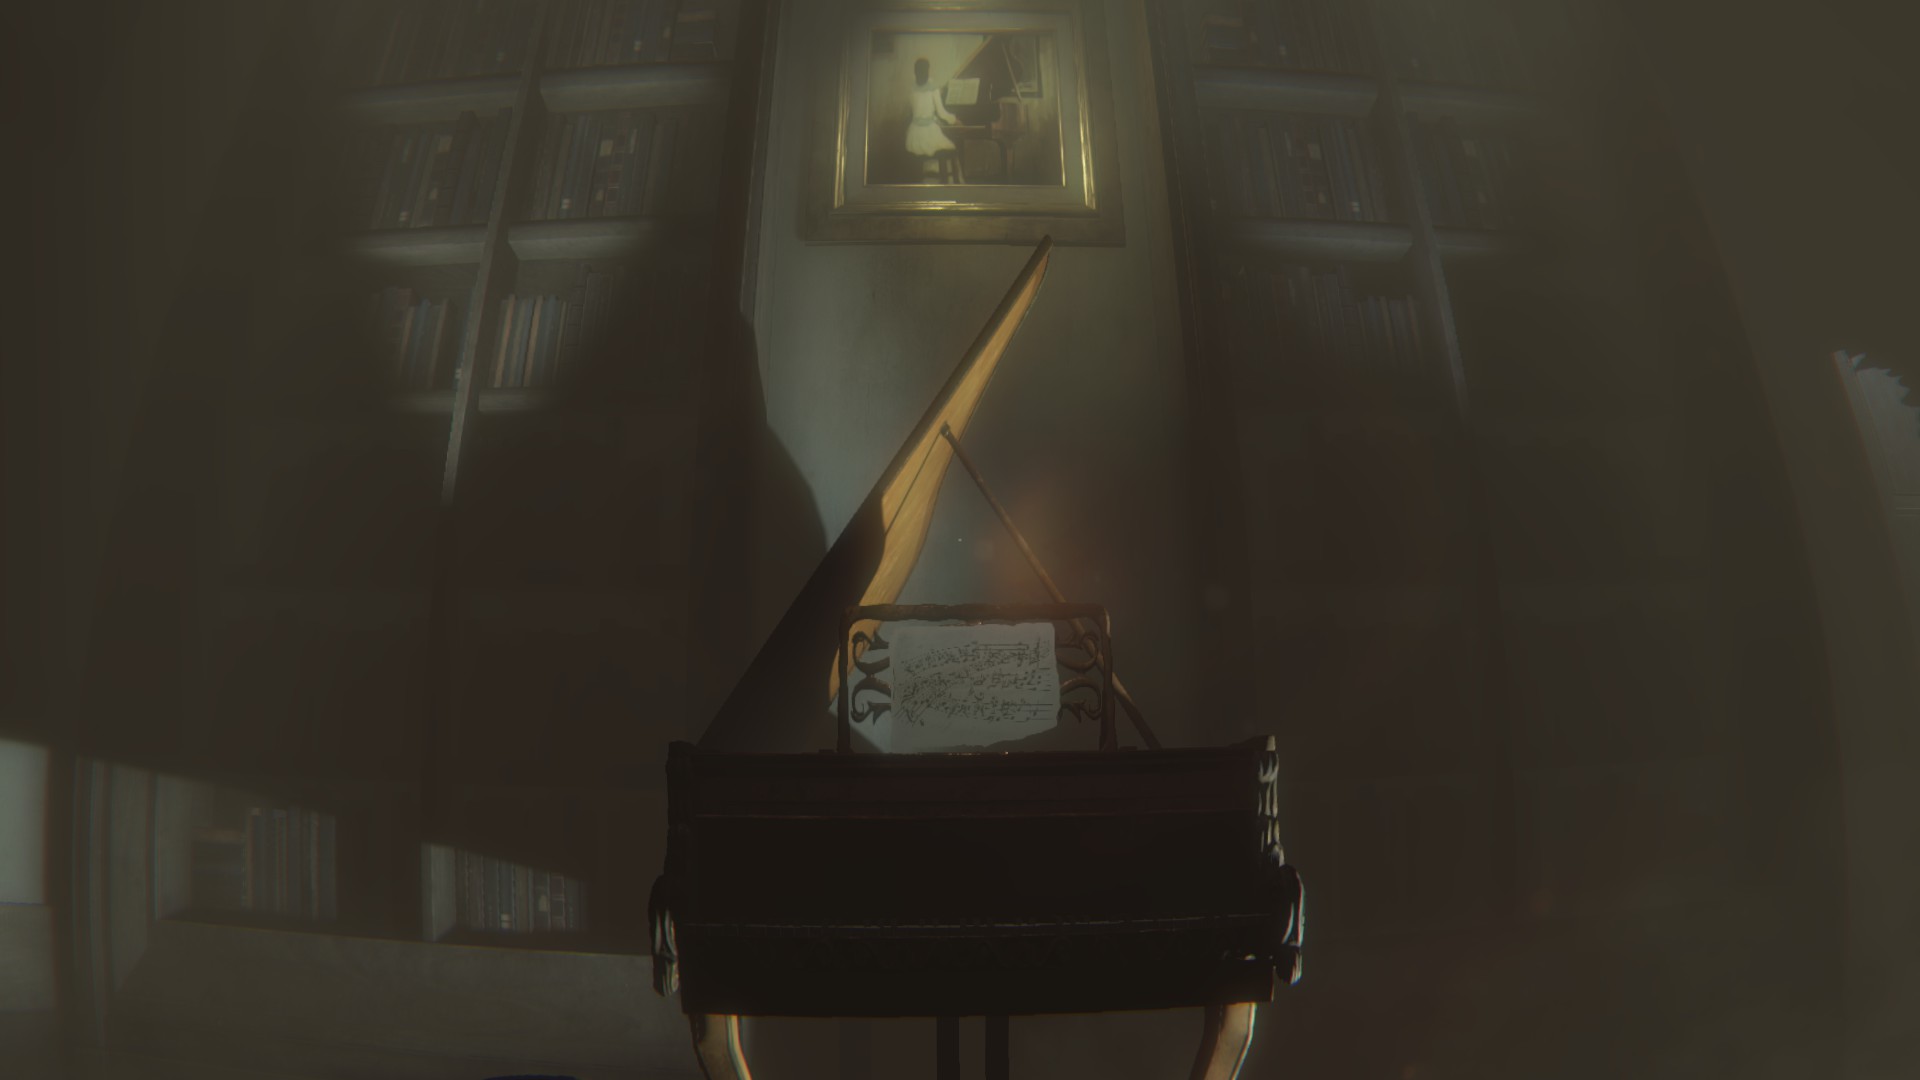
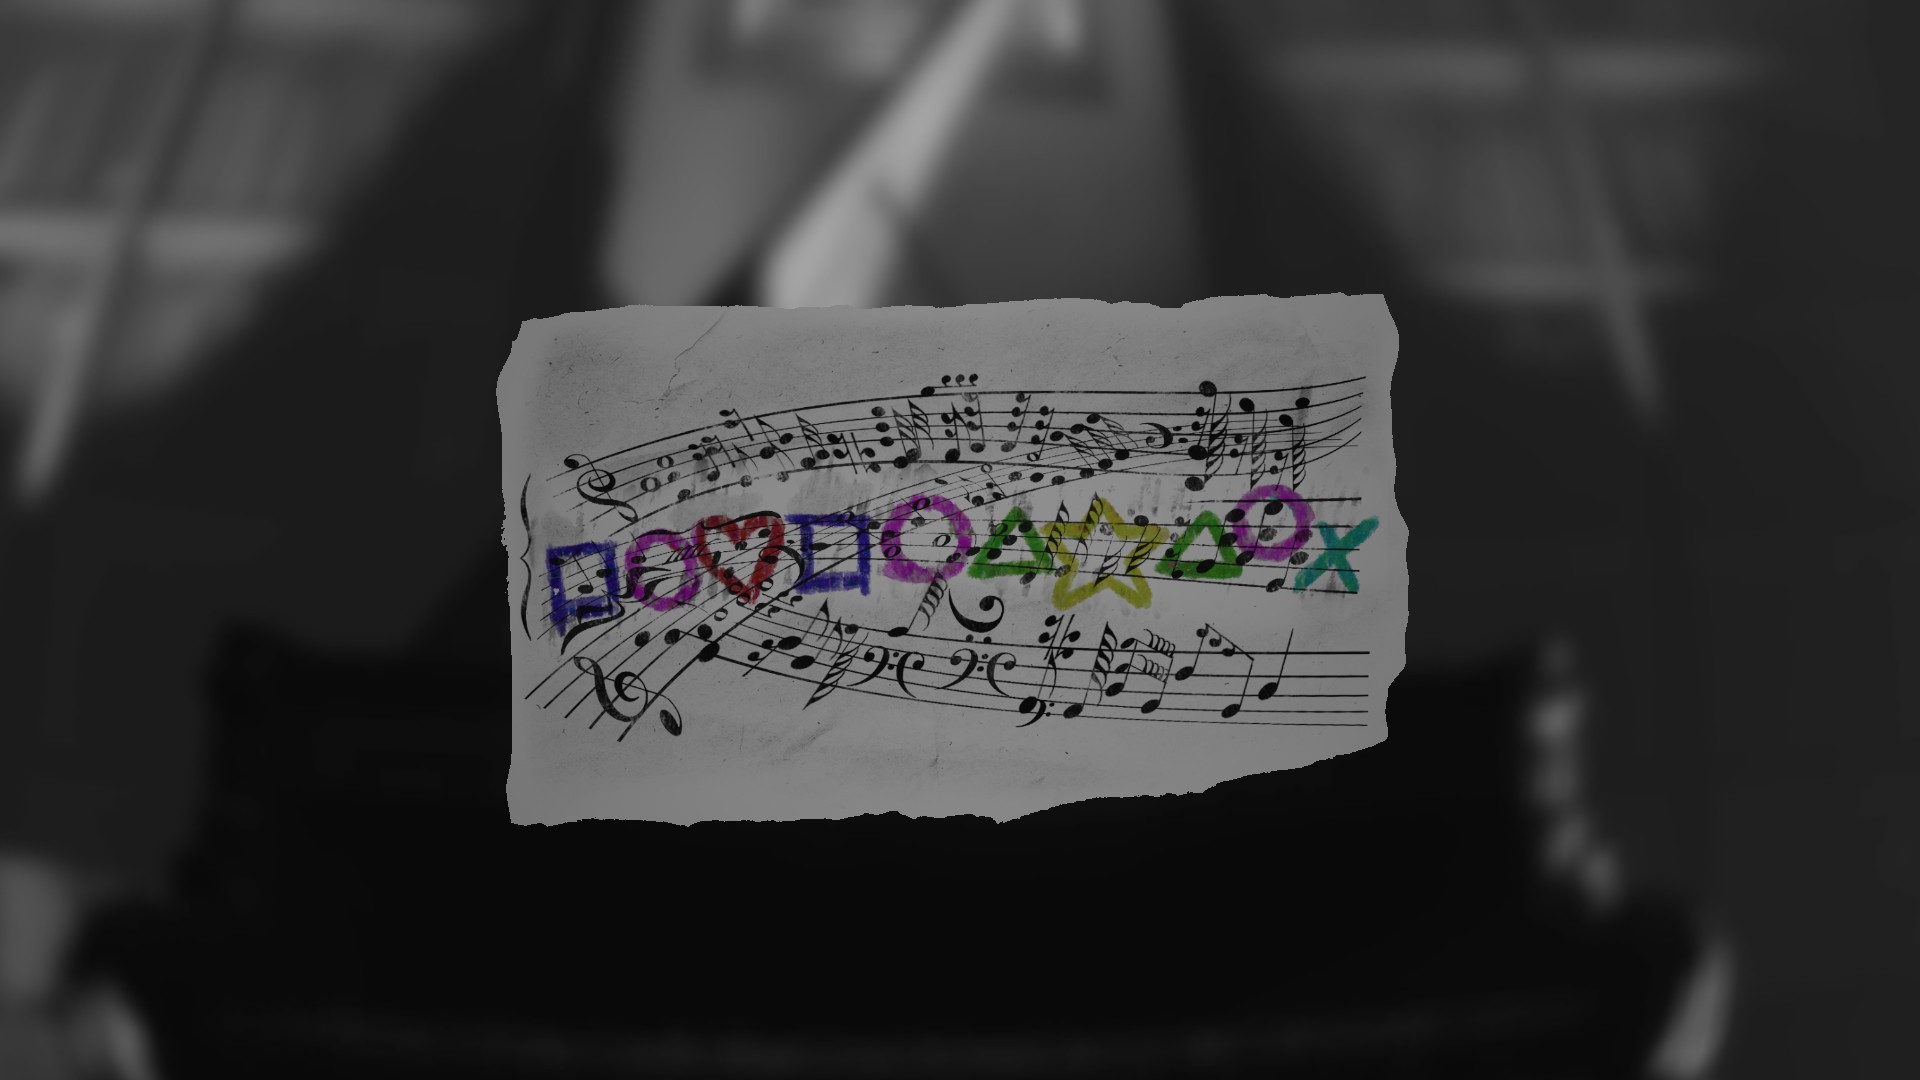
(Note 6) – After you walk through the first door and down the hallway, you come across a piano room. There’s a music sheet on the stand of the piano. After playing and getting yelled at by the father, you will have to get your crayons from a cubbard behind the chair. Once done, go back to the music sheet and play the correct shapes and colors for the piano.
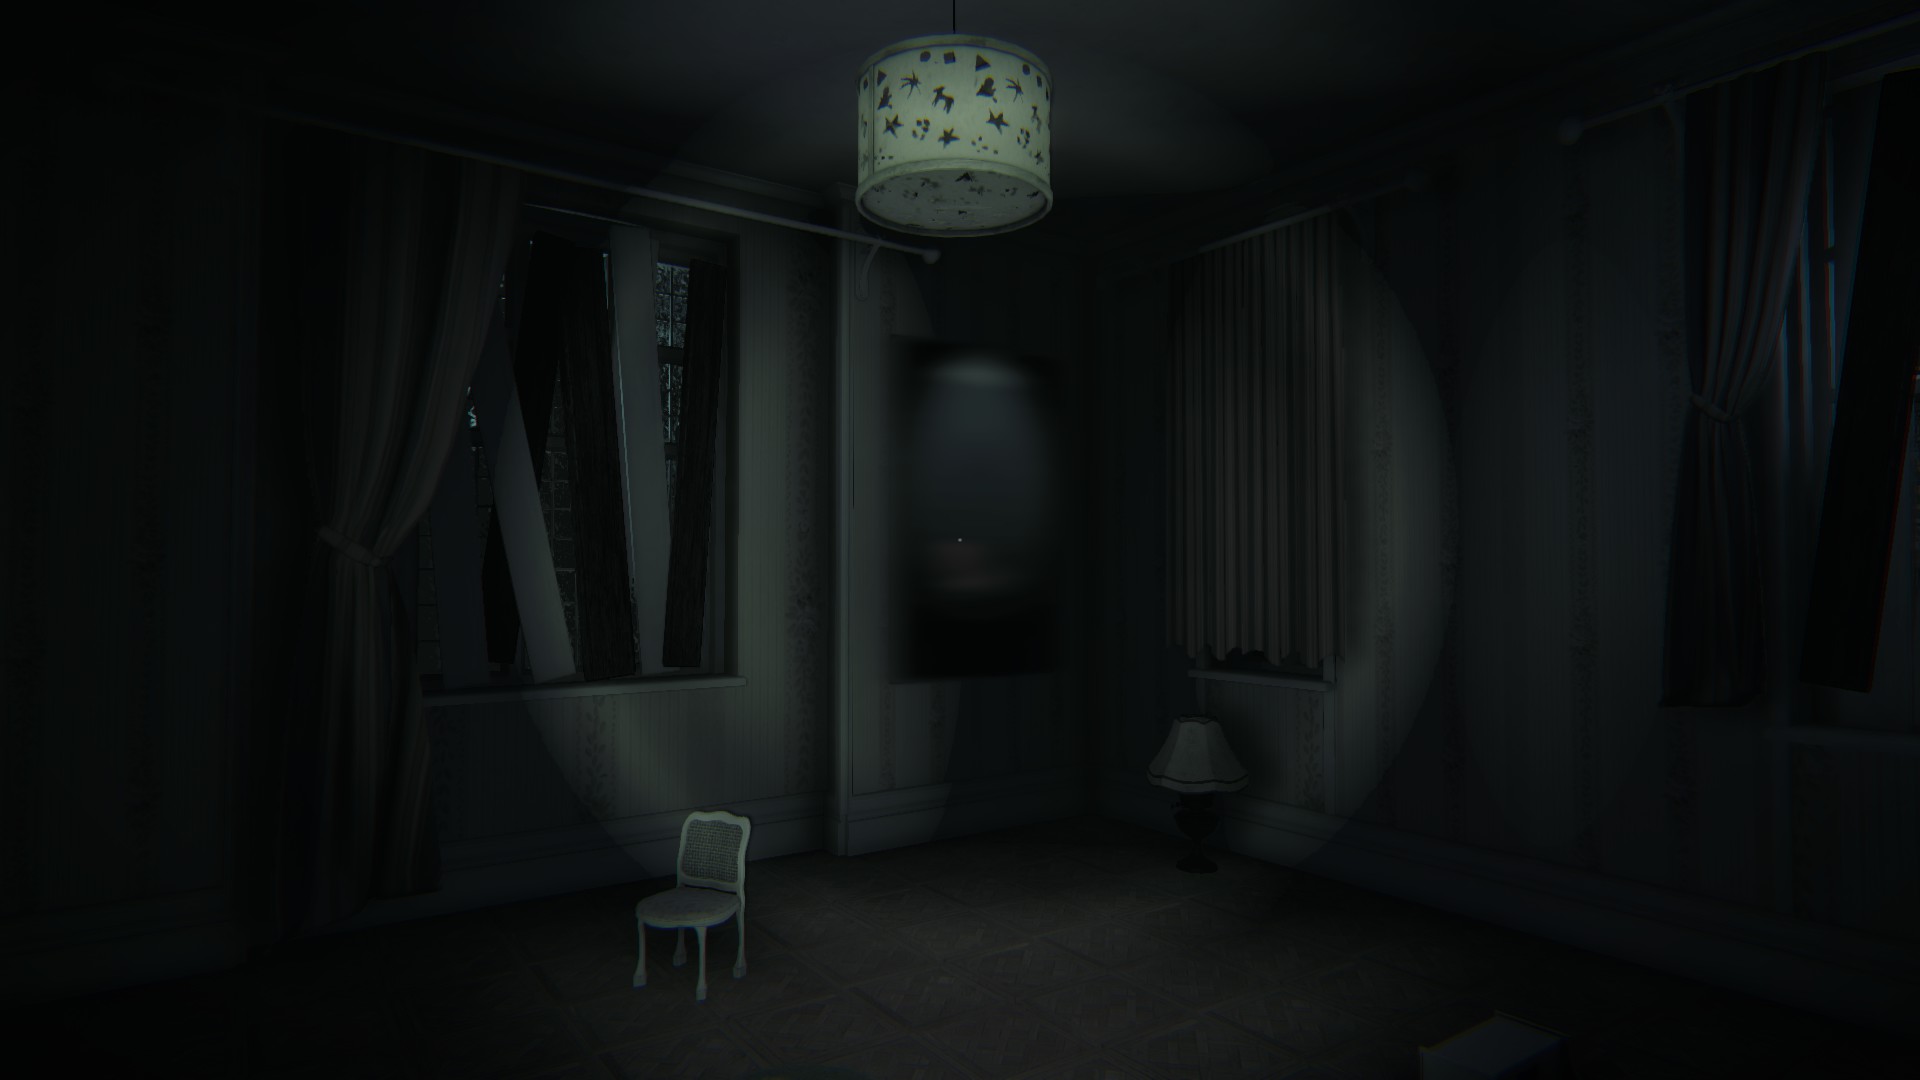
Now out the door you go. Continue down until you reach a room with broken tables and a chandelier.
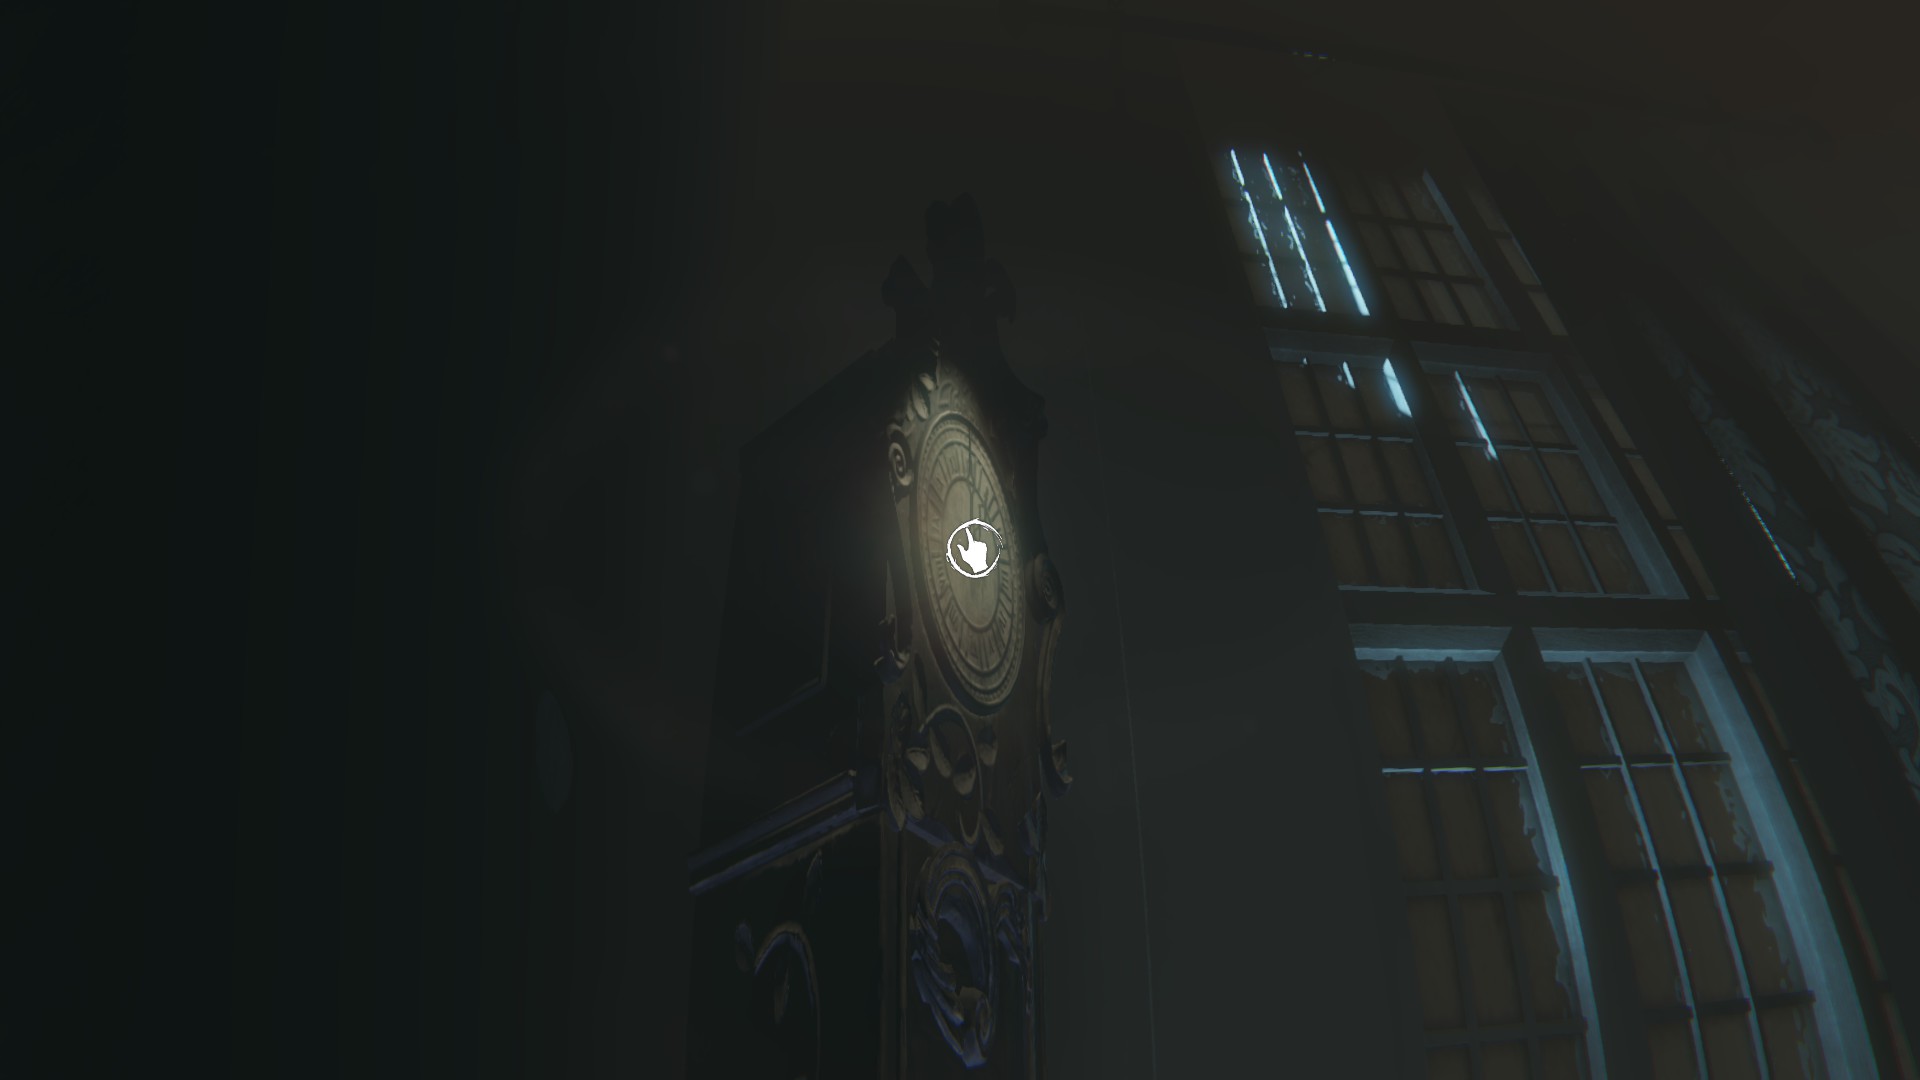
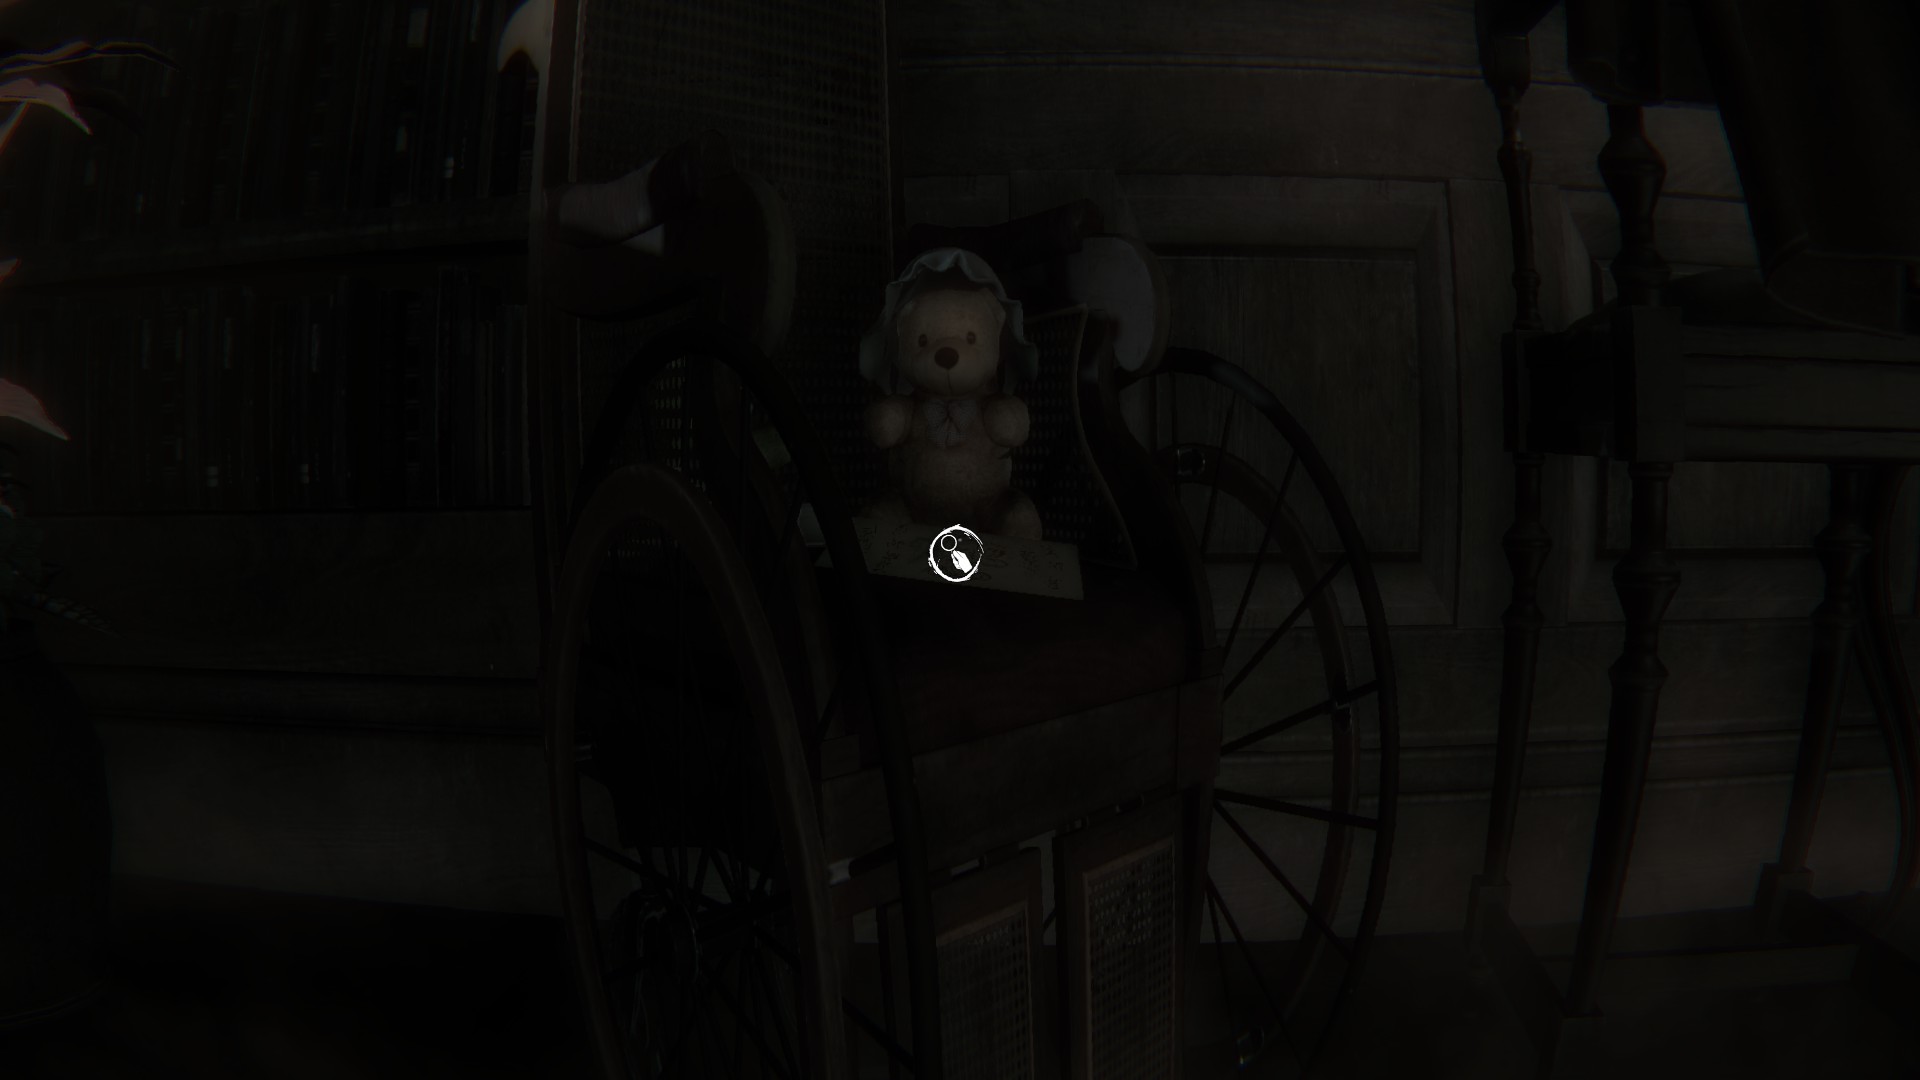
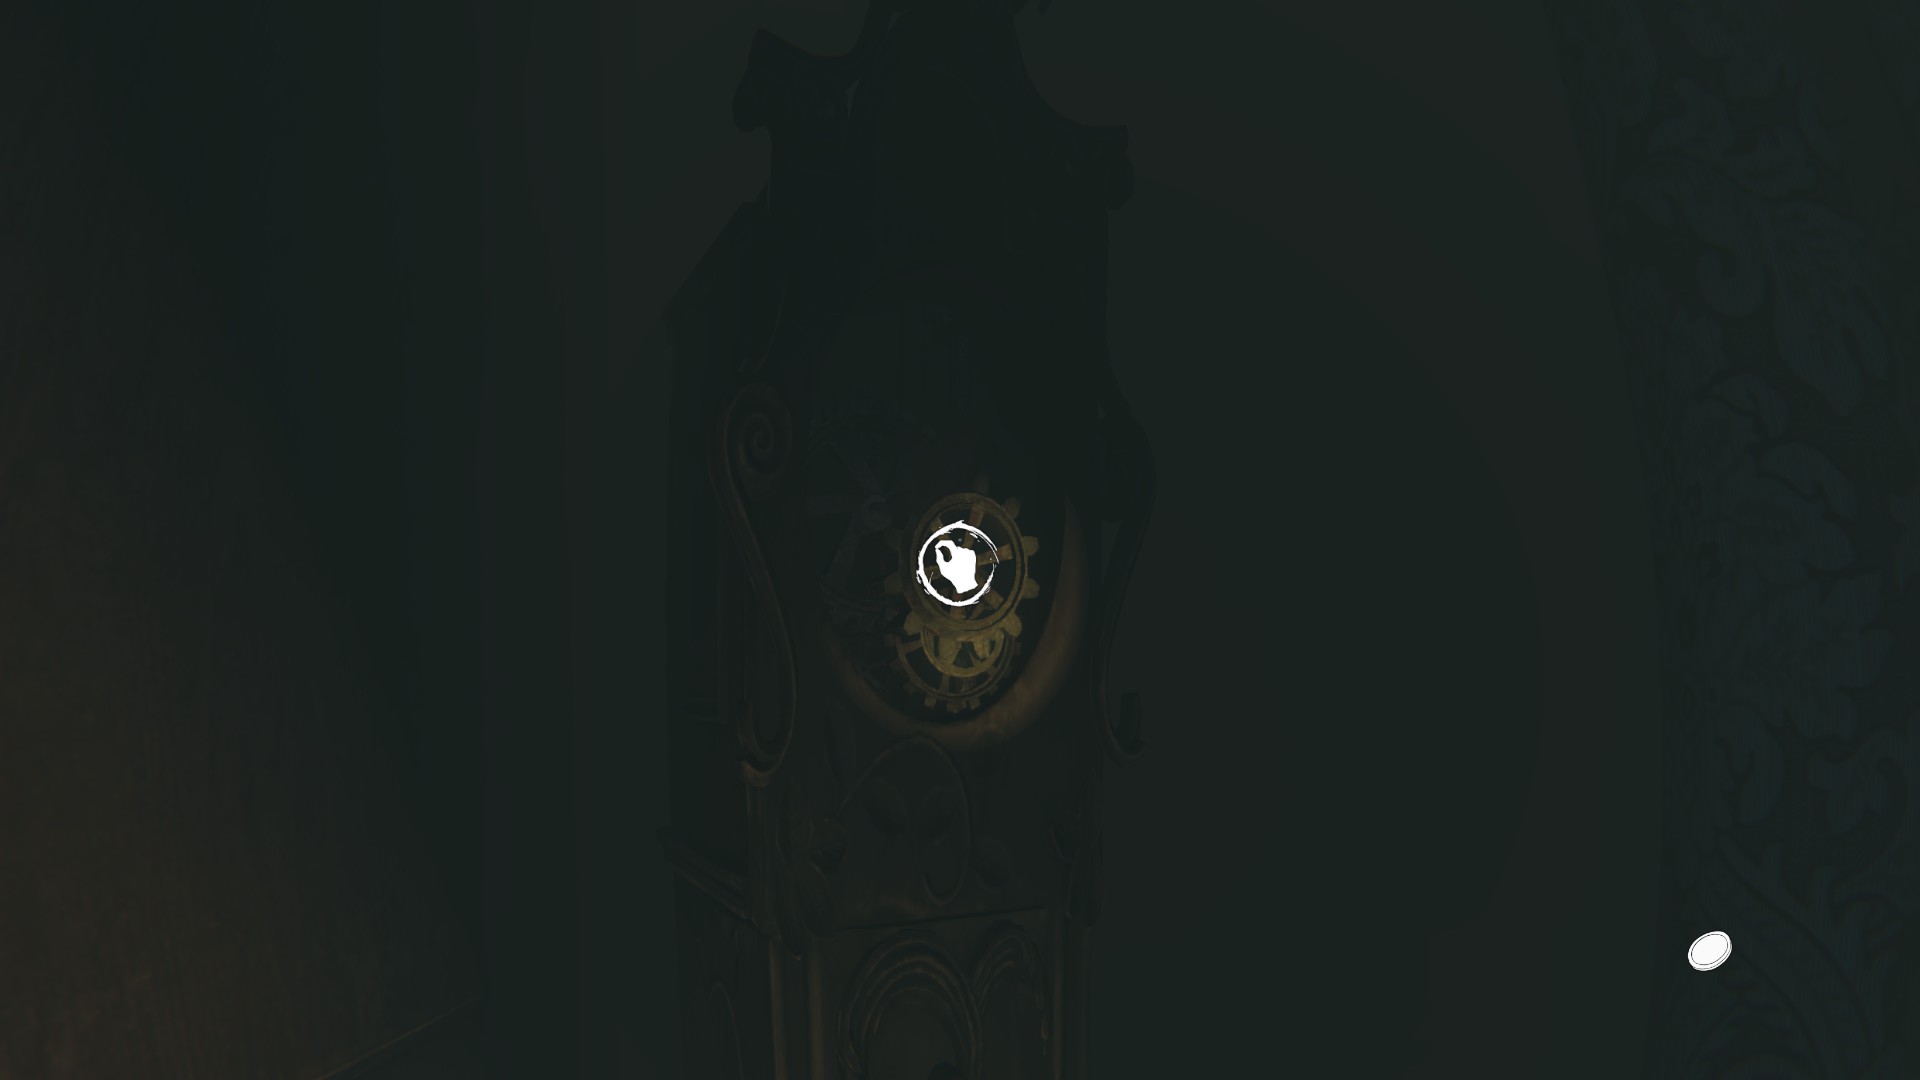
(Drawing 8) – When in the messy broken room, look for the clock tower in the back corner next to a dresser. Pull the dressers drawers to make a staircase and walk up to the top. Click on the clock and enter an alternate version of the room. The drawing will be on a wheelchair next to some stuffed bears.
UPDATE:
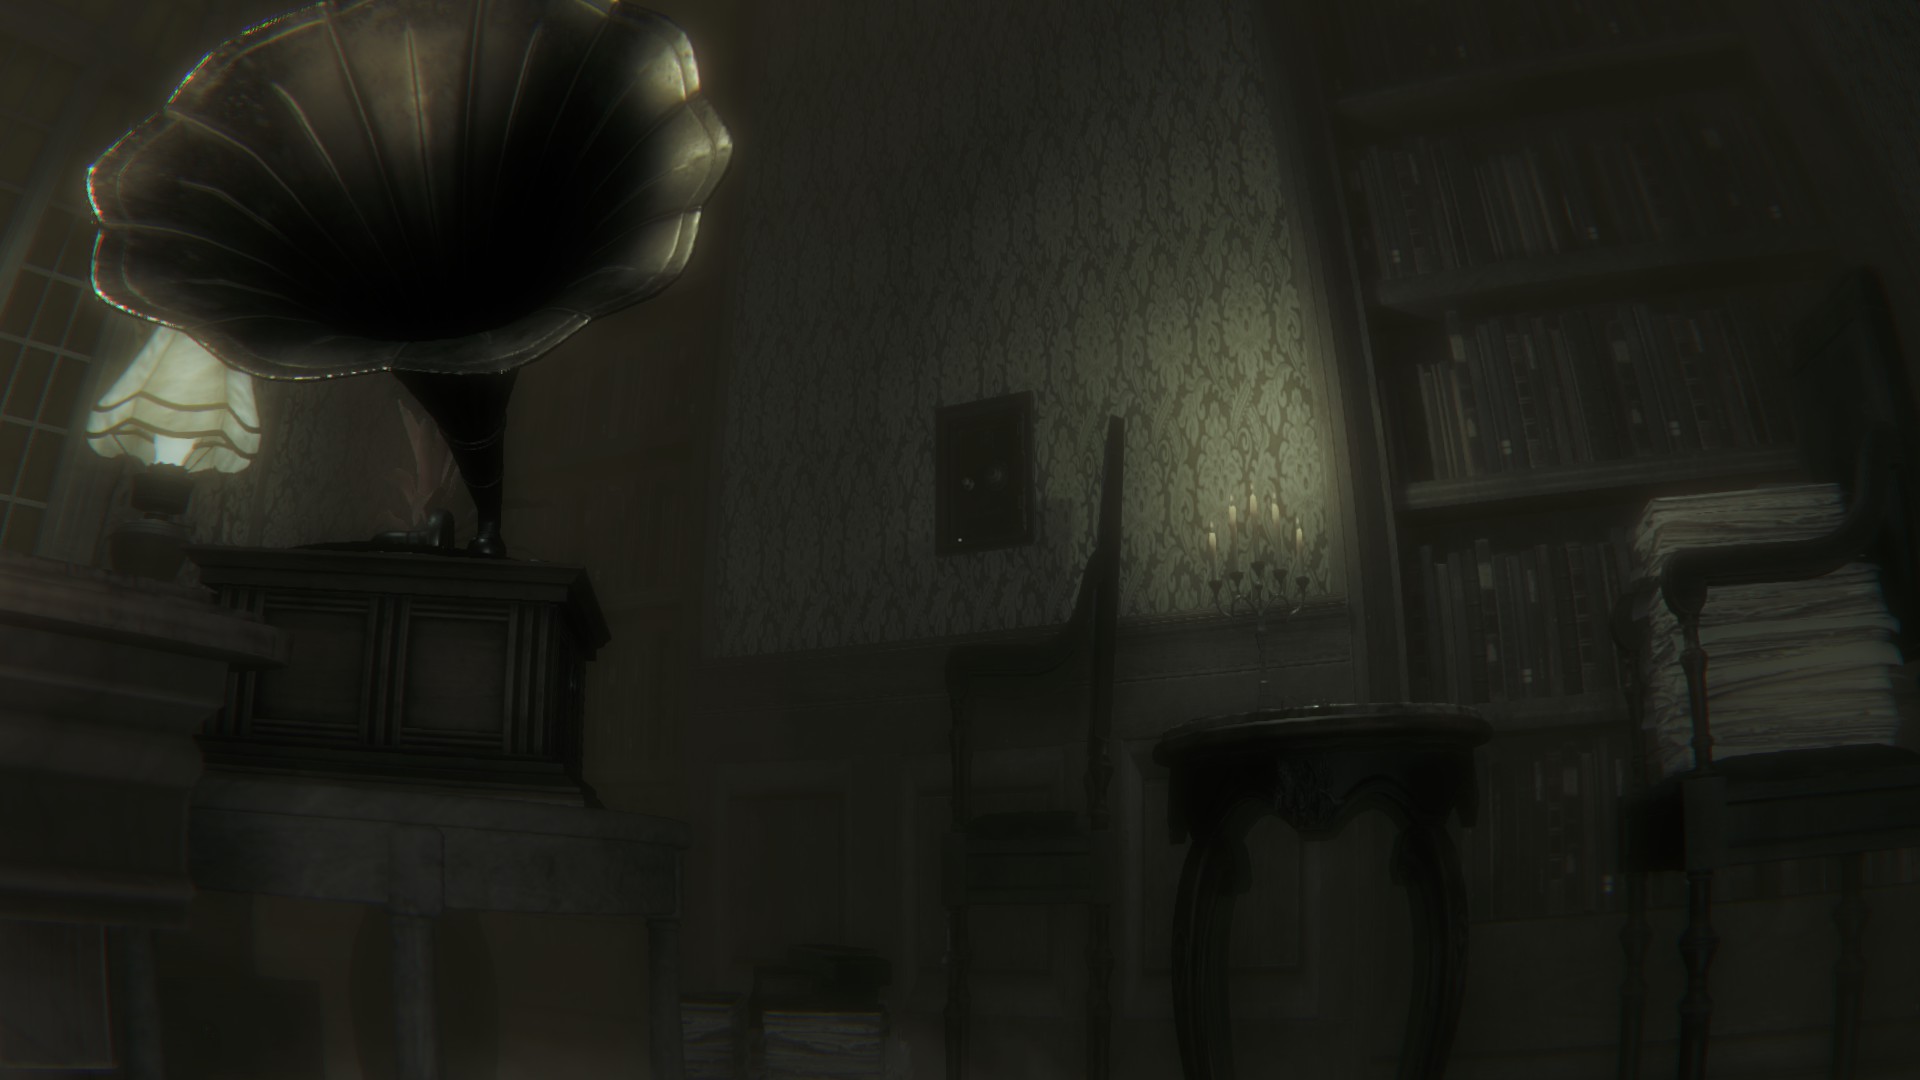
Click on the clock and filter through 2 different alterations. There will be one with the wheelchair and the drawing, and there will be one with the safe and a gramophone playing. Find the code combination either in the dresser with the wheelchair, ontop of the dining table with the gramophone, or stuck between the books on the bookshelf. Walk up the safe and enter the code and receive the knife flashback.
(Code: 314/719)
Don’t fiddle with the gramophone handle; if you break it, you can’t turn the clock back to any other alterations.
Also!
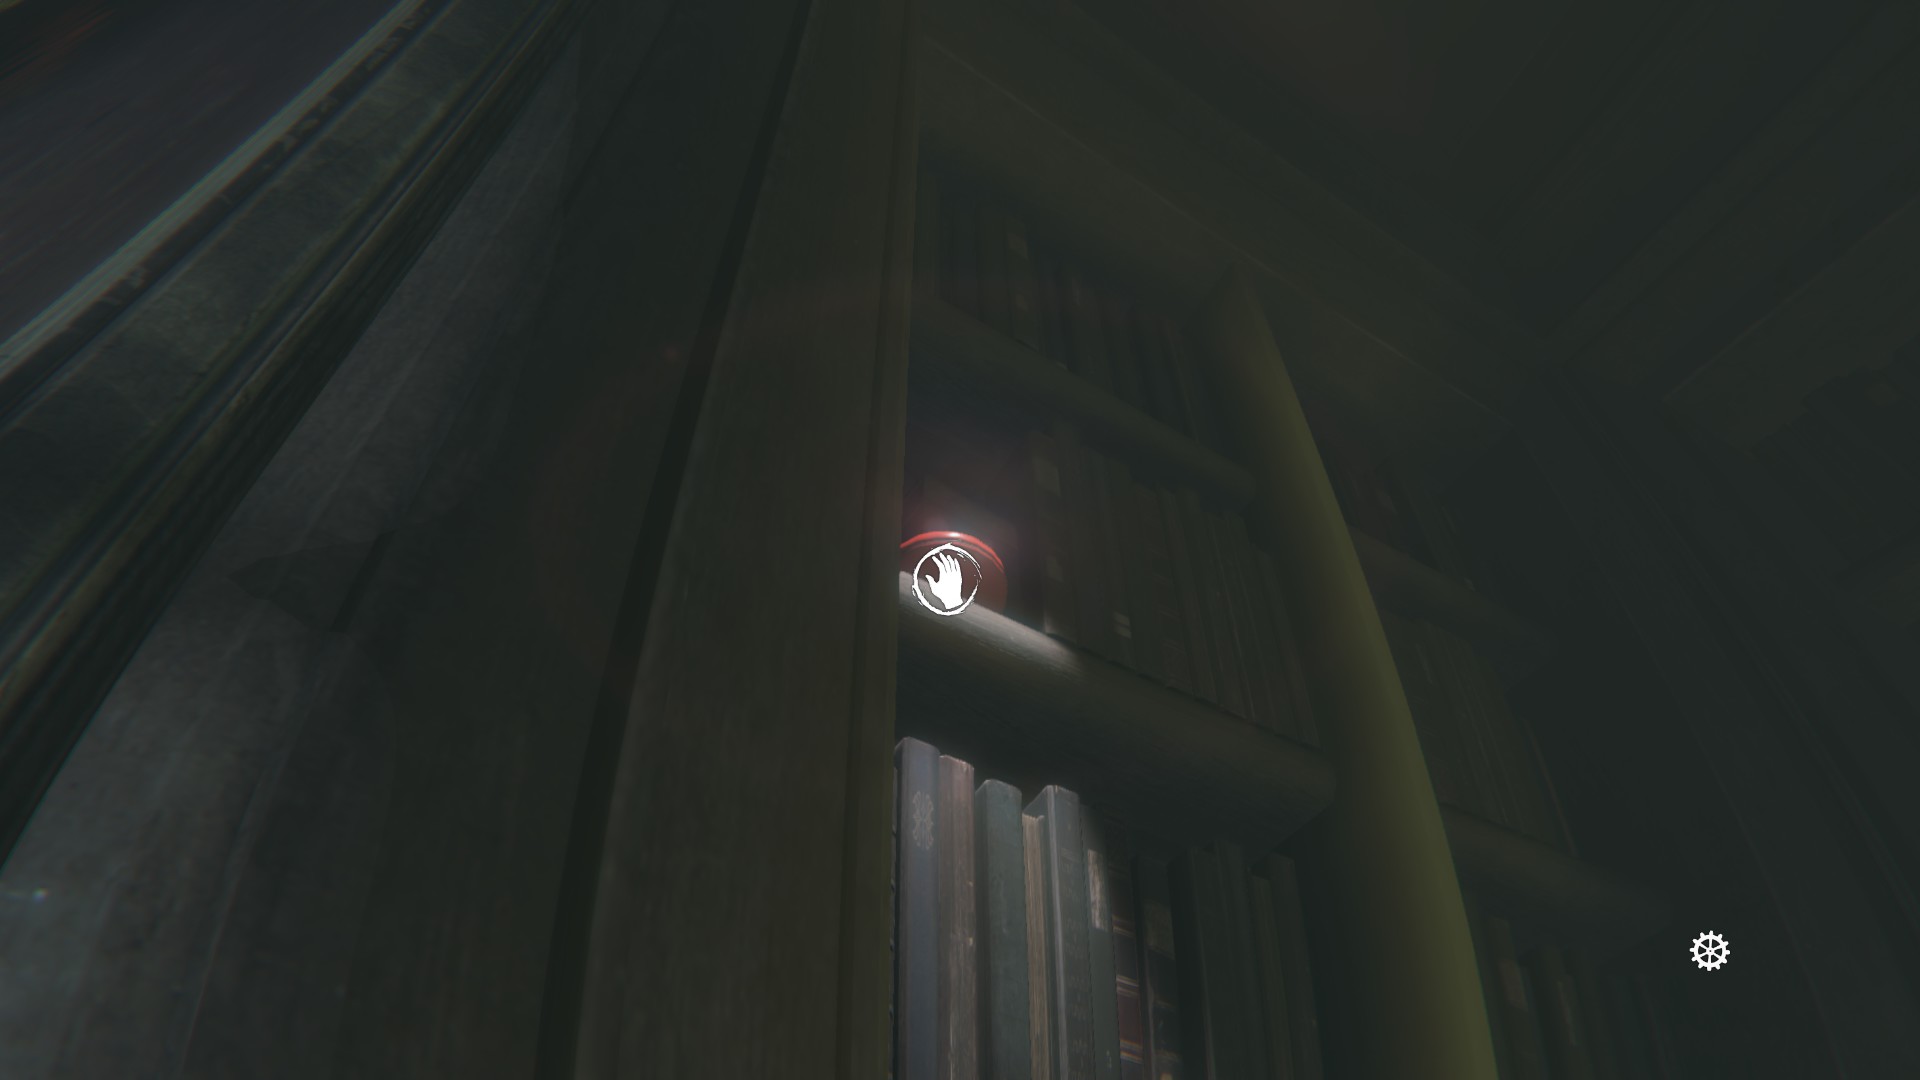
(Note 7) – There is a note in the bookshelf when you go back to the dark chandelier room WITH the table still intact. Not the broken one.
Go and enter the next room.
Walkthrough Pt. 3
Once again you enter the familiar room. Choose what you will, but I still went fully Mom mode.
Keep going down the hallway until a baby runs away from you and a cabinet falls right infront of you. Go left and enter an office with a toychest in it.
(Note 8) – Inside the toychest with an X on it, walk up the tiny stairs and you will find a children’s time chart. To the right of the chest, there is a tad hidden blue door that blends in well with the dark room.

(Flashback 1) – Enter the door and witness a baby running at you full speed of terror. A train like scenario will commence, aswell as shadow figures at the end of the hall. Keep walking until a wall randomly appears, blocking you in 4 sides. After the whole show, you will find a little toy train set on the ground. Pick it up and remember the good times with your pal, dad.


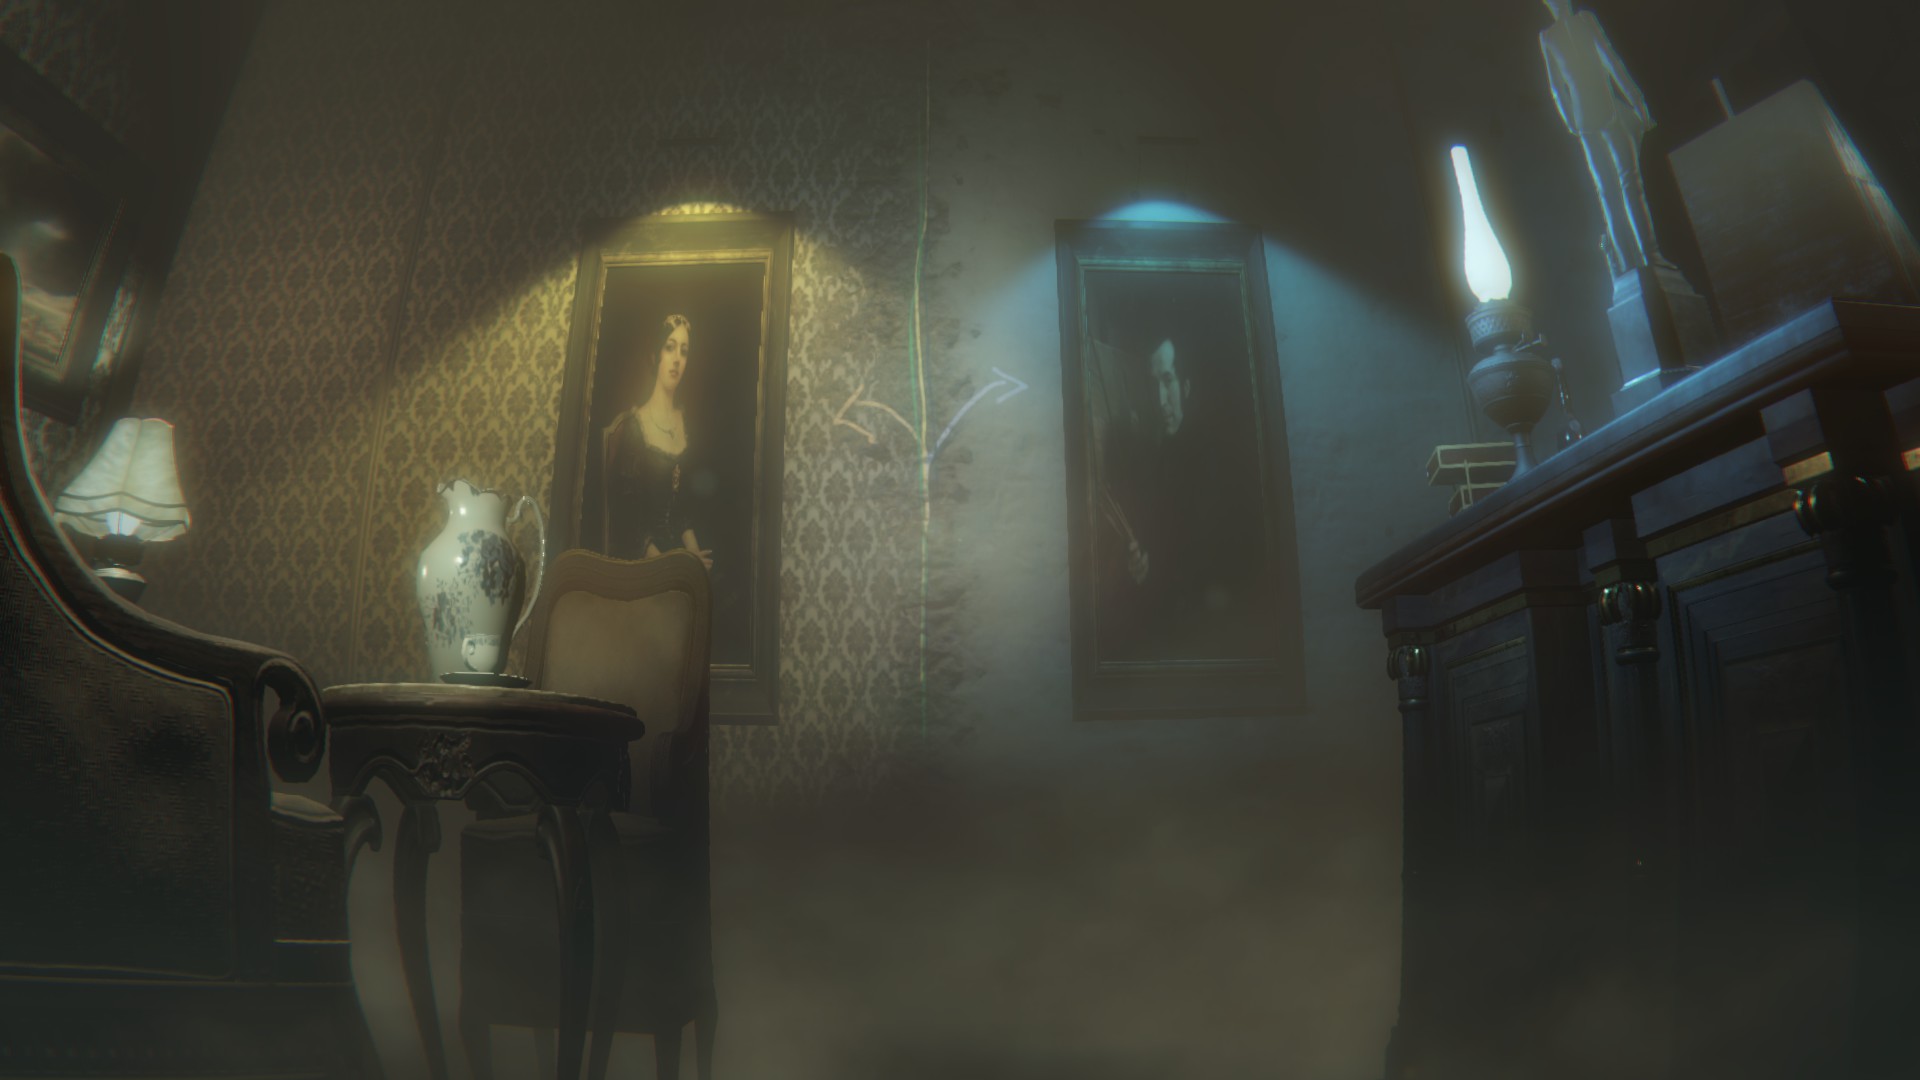
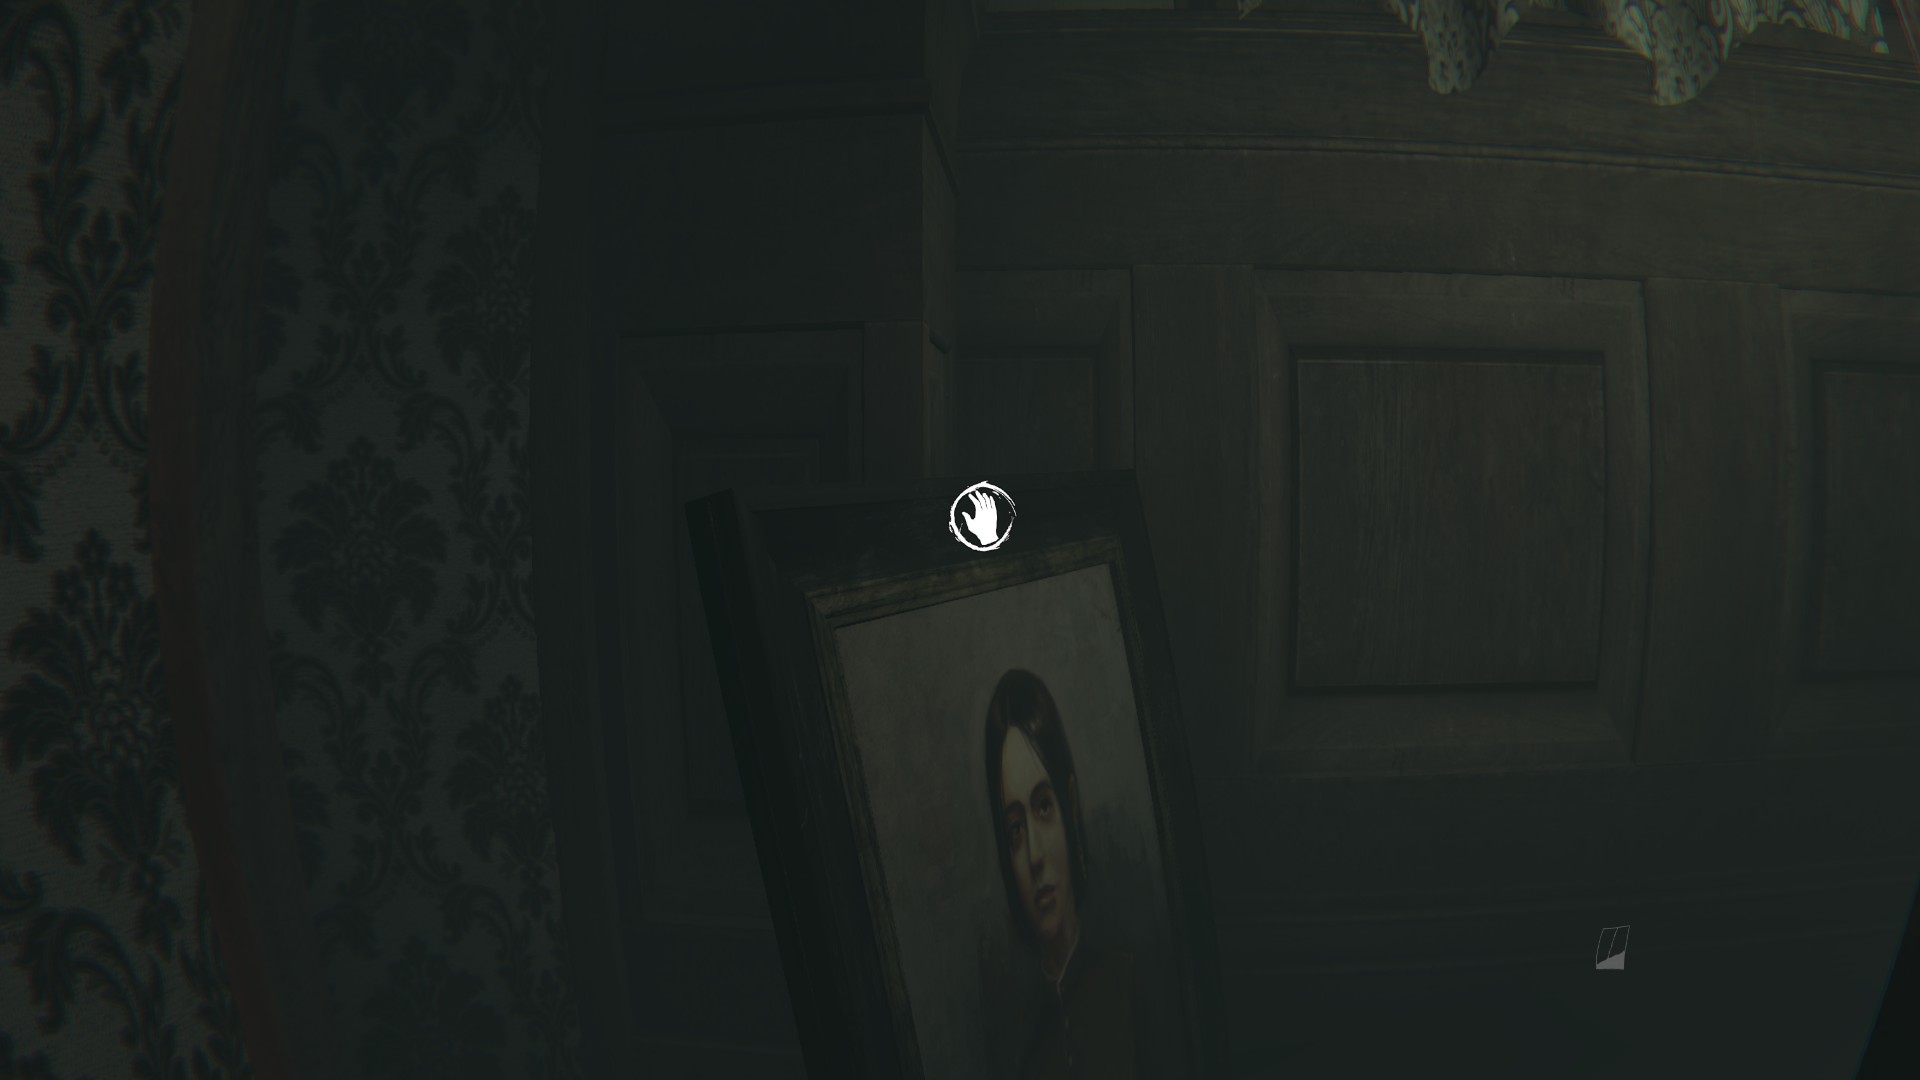
(Note 9) – Enter a room where you will see a drawing of your mother’s face on a frame tear off. You have to find all 3 pieces, which i’ll show you in a sec. The end result of the completed picture is note 6. The first piece is in a drawer near the dining table. Don’t go up or down the stairs, just look at the room and grab it, then go up the stairs for all other pieces. Second piece is behind a portrait of your mom that you have to move. And the third is ontop of a broken dresser that you have to push over a fire. Continue up stairs one last time and find the whole picture on the wall.


UPDATE:
(Note 9) – After you get the third picture of the wife, go DOWNSTAIRS and go through the closed door. Go to the left all the way to the back and find an old black and white picture of the daughter and dog.
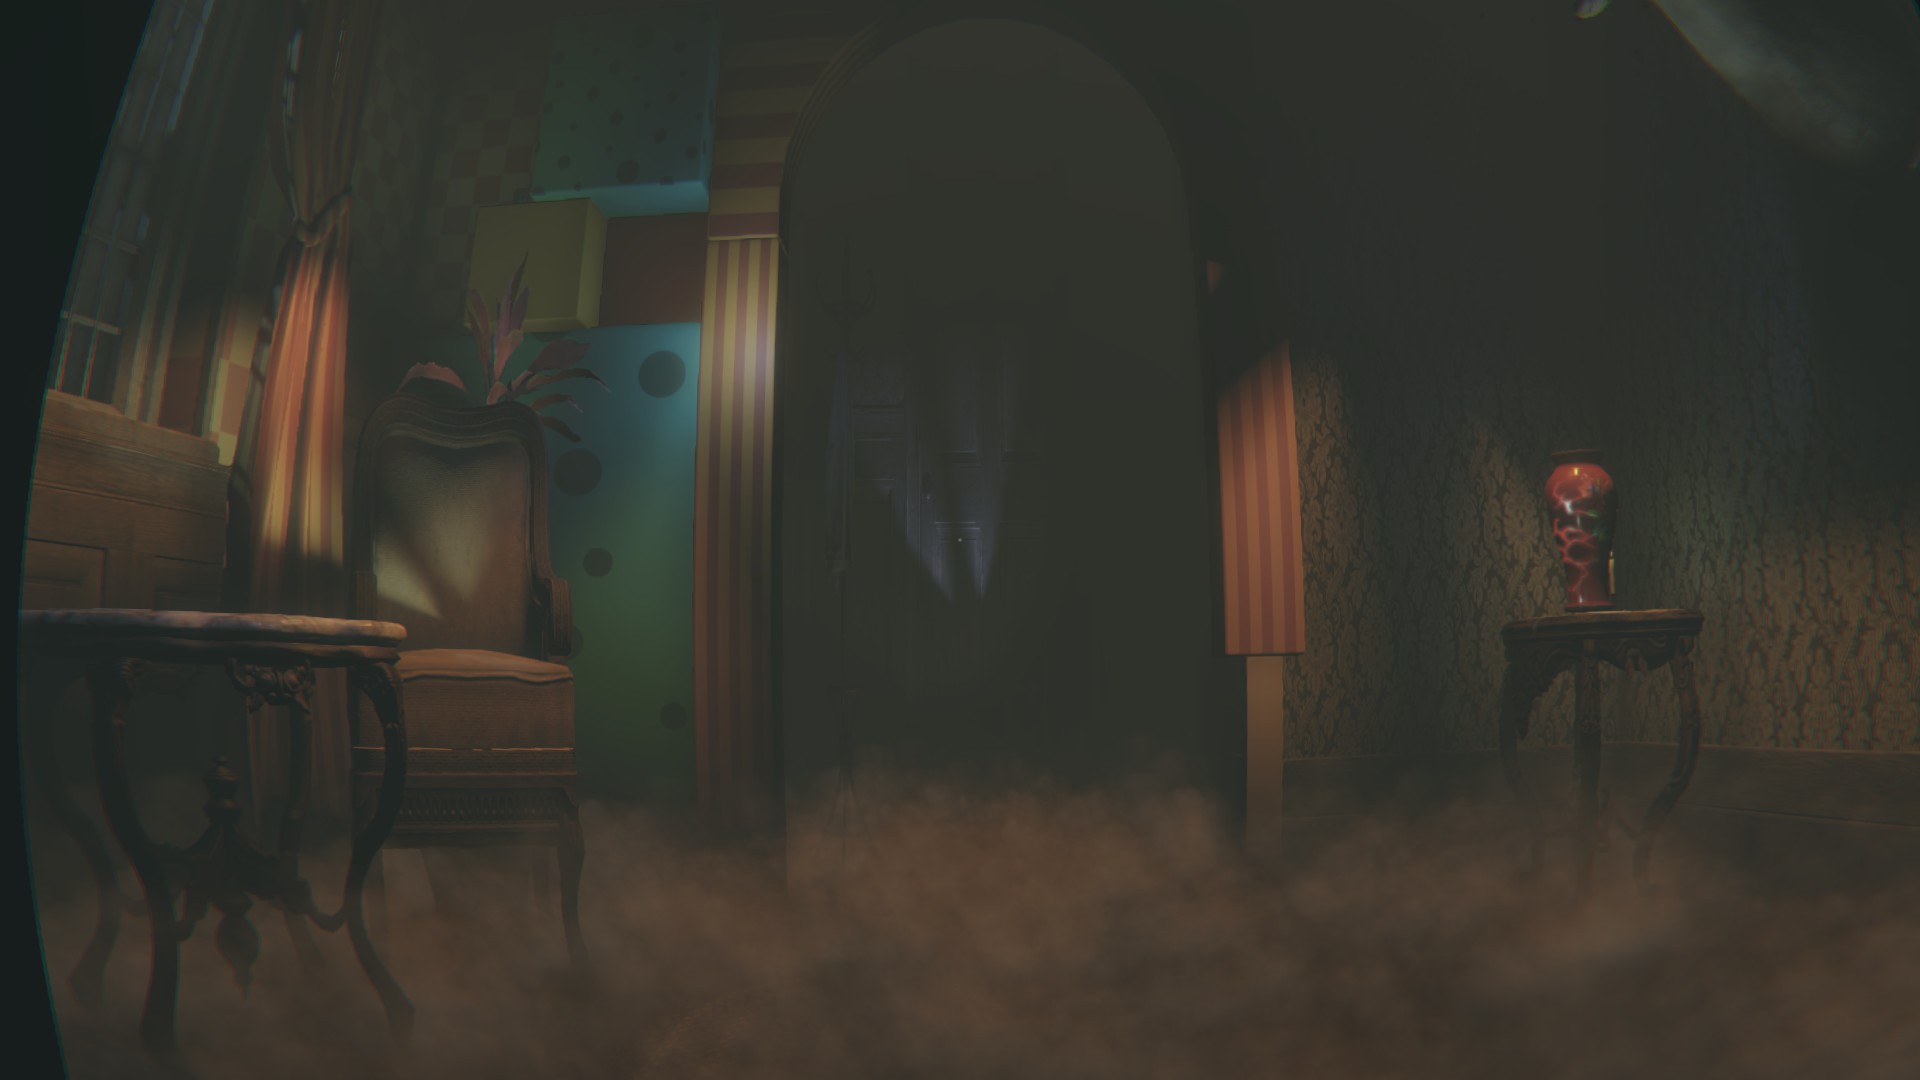
(Drawing 9) – The next room is a seemingly harmless colorful room with a nice deer mantle. To the left is a drawer with a locked box inside. The key is in the vase. Break it and open it to find another drawing.
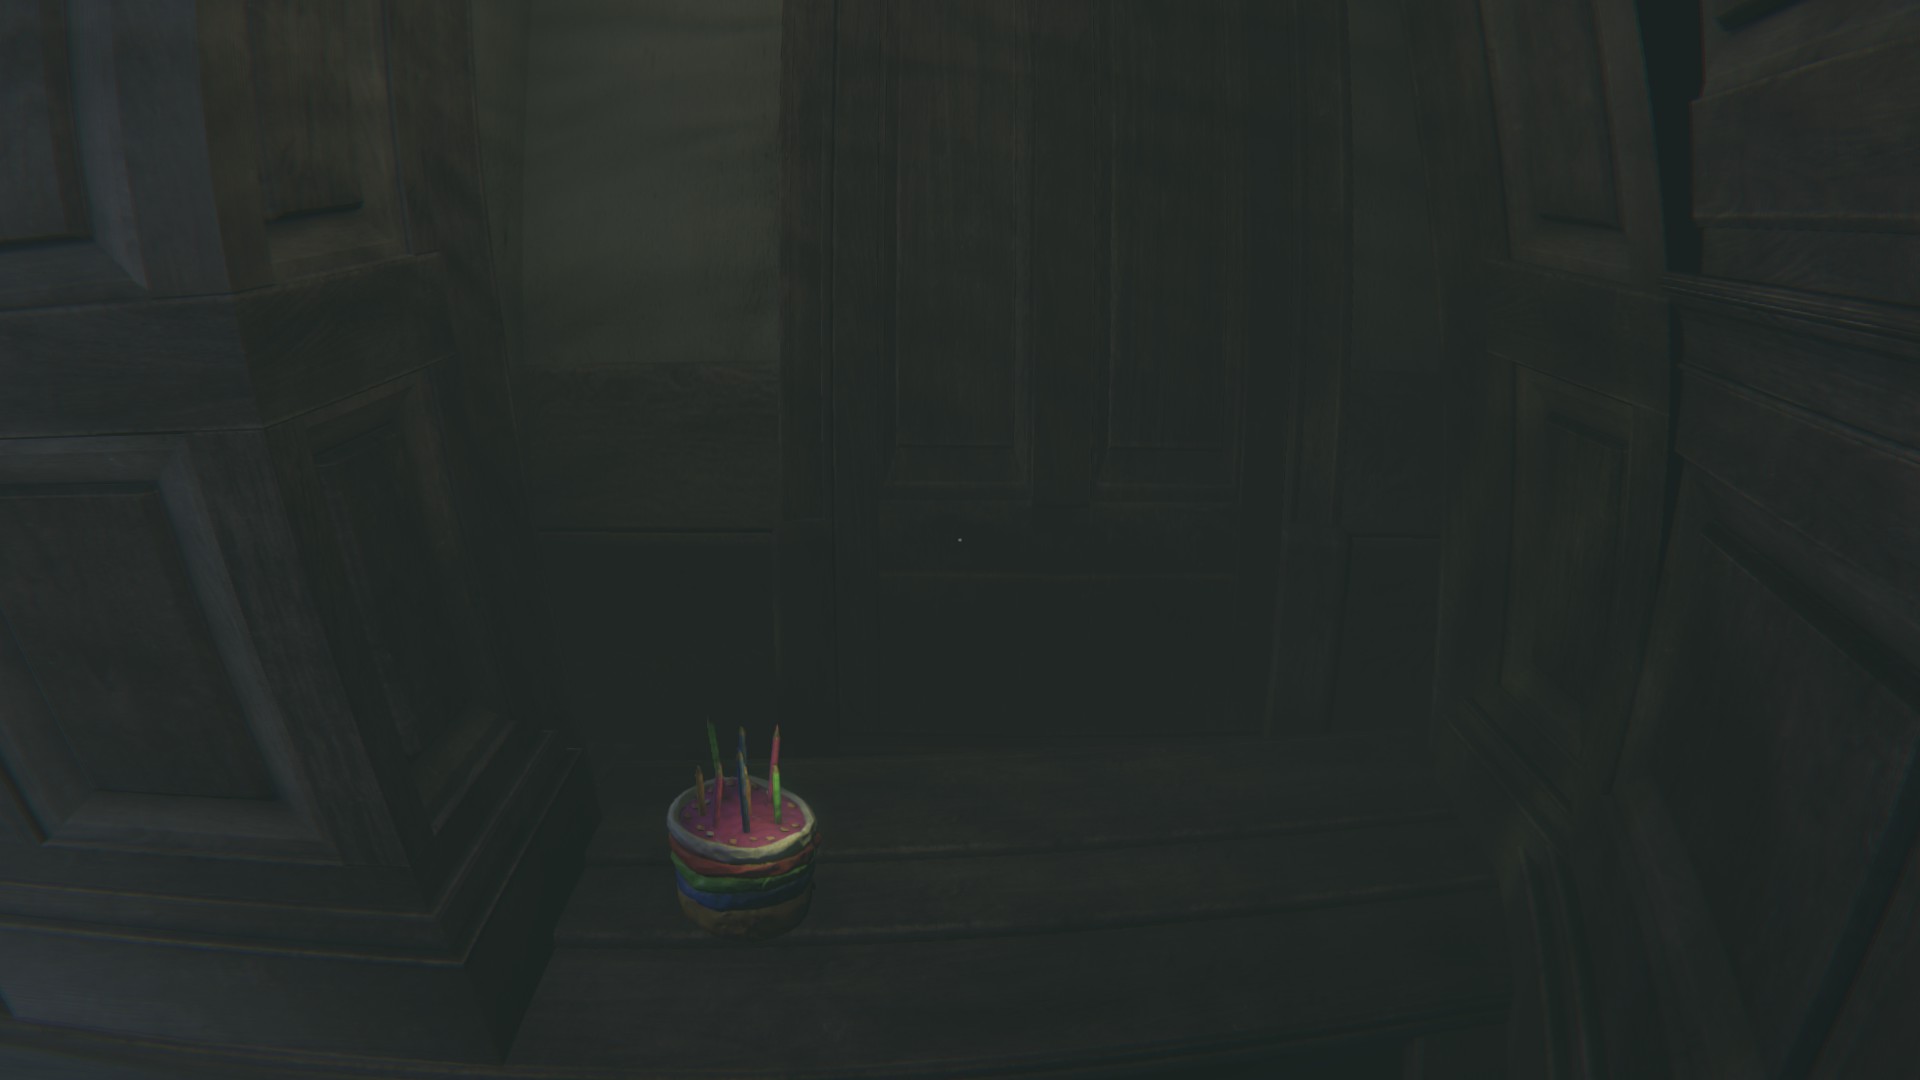
(Note 10/ Flashback 2,3,4) – After you wake up after being swarmed by vicious flies, you’ll come across a long hallway of dressers and books and cake. Before going up the plank, go to the left behind everything and find a newspaper clipping on a stack of papers. You’ll follow the creepy child and find a beautiful pink decorated cake. That’s flashback 2. Continue along, pulling dressers down to make stairs and pathways to find a less pretty brown cake. Flashback 3. Keep moving to the end of the hall, (mind you it gets shaky so stay left) and find a play-doh looking cake. Flashback 4.

Next you will enter a room that sounds completely different for a change. Birds. Almost like nature. There is a locked dresser that I am unsure if it can be opened or not, but nevertheless keep walking to the door with the big monster shadow.

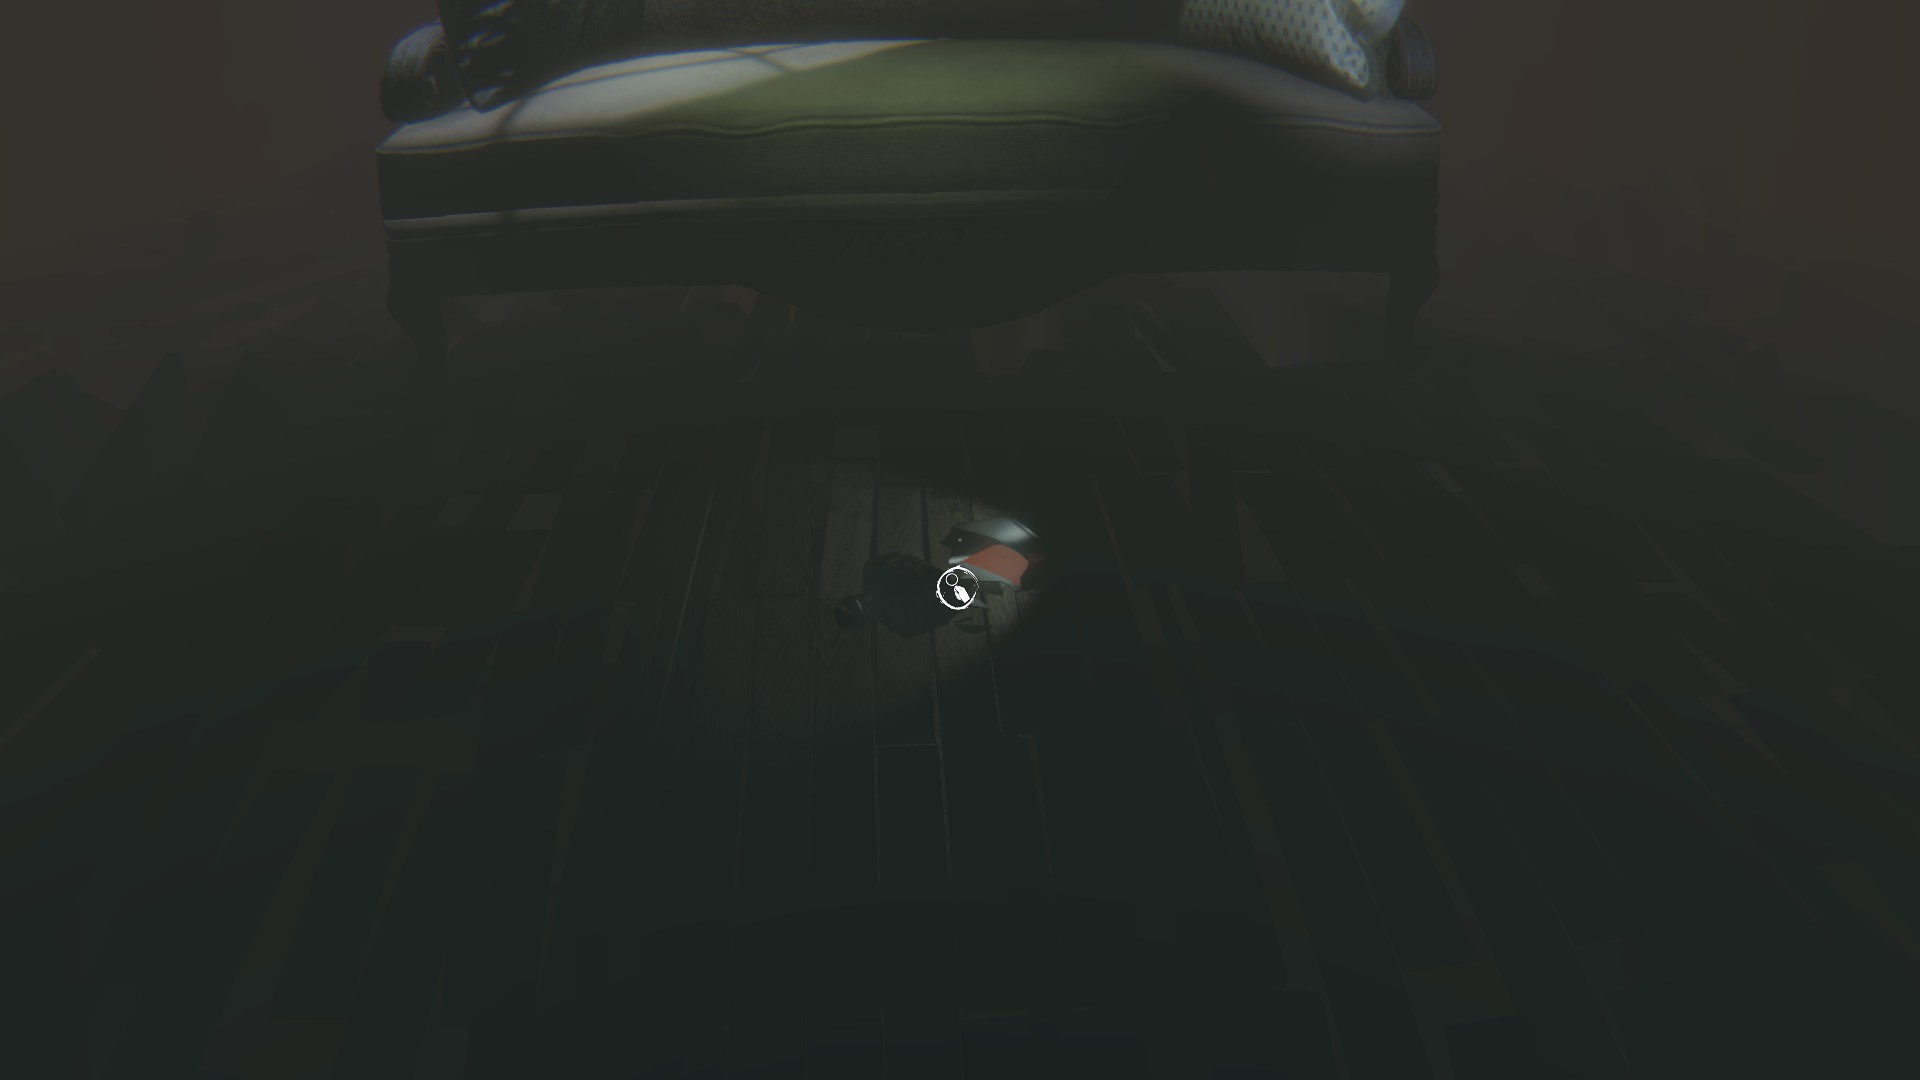
Flashback 5 / Memory 8) – You will come through the door and find yourself falling floor after floor as a baby is being chased by your dog. After it finished, there will be a broken bottle of bourbon on the floor (flashback 5) and walk up to the couch to engage in a memory.
Enter the next room.
Walkthrough Pt. 4
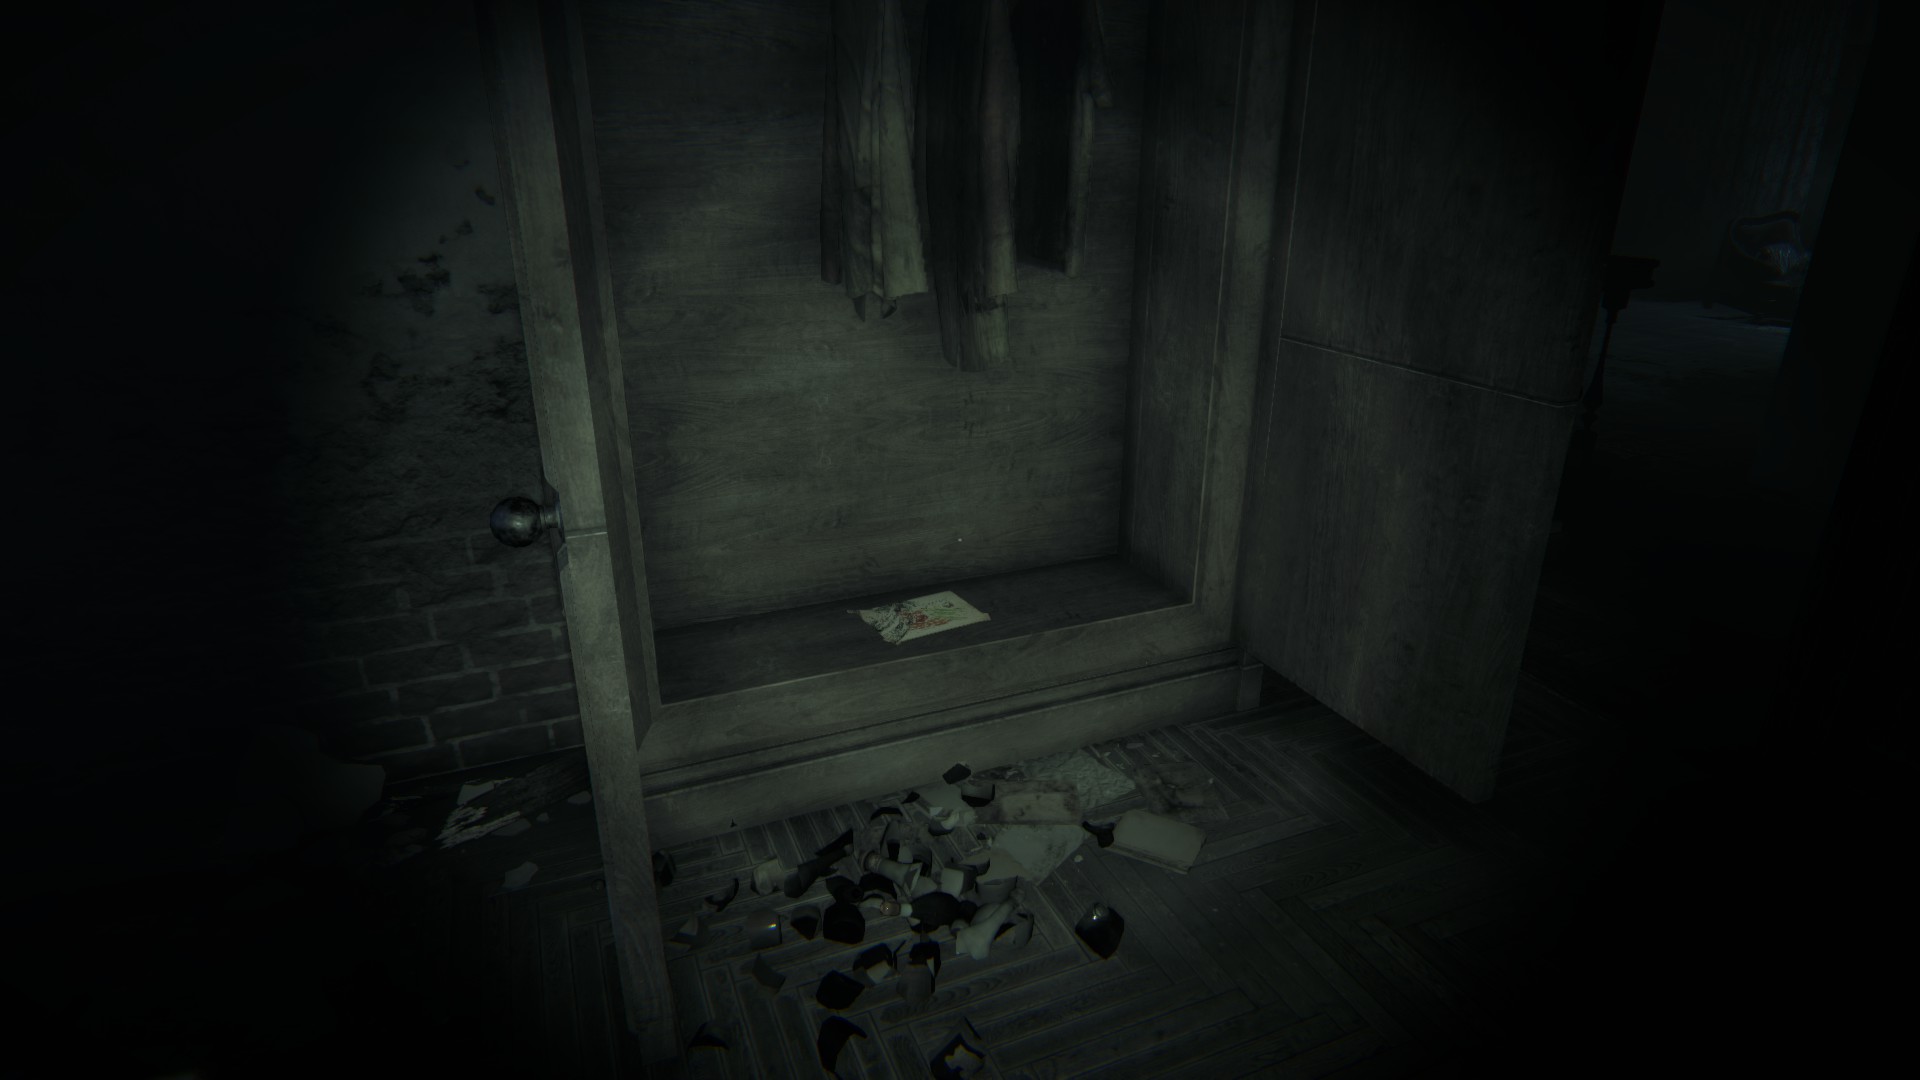
(Drawing 10) – When you enter a three-way hallway, keep going straight and open the door to find a closet full of toys and a drawing on the floor.

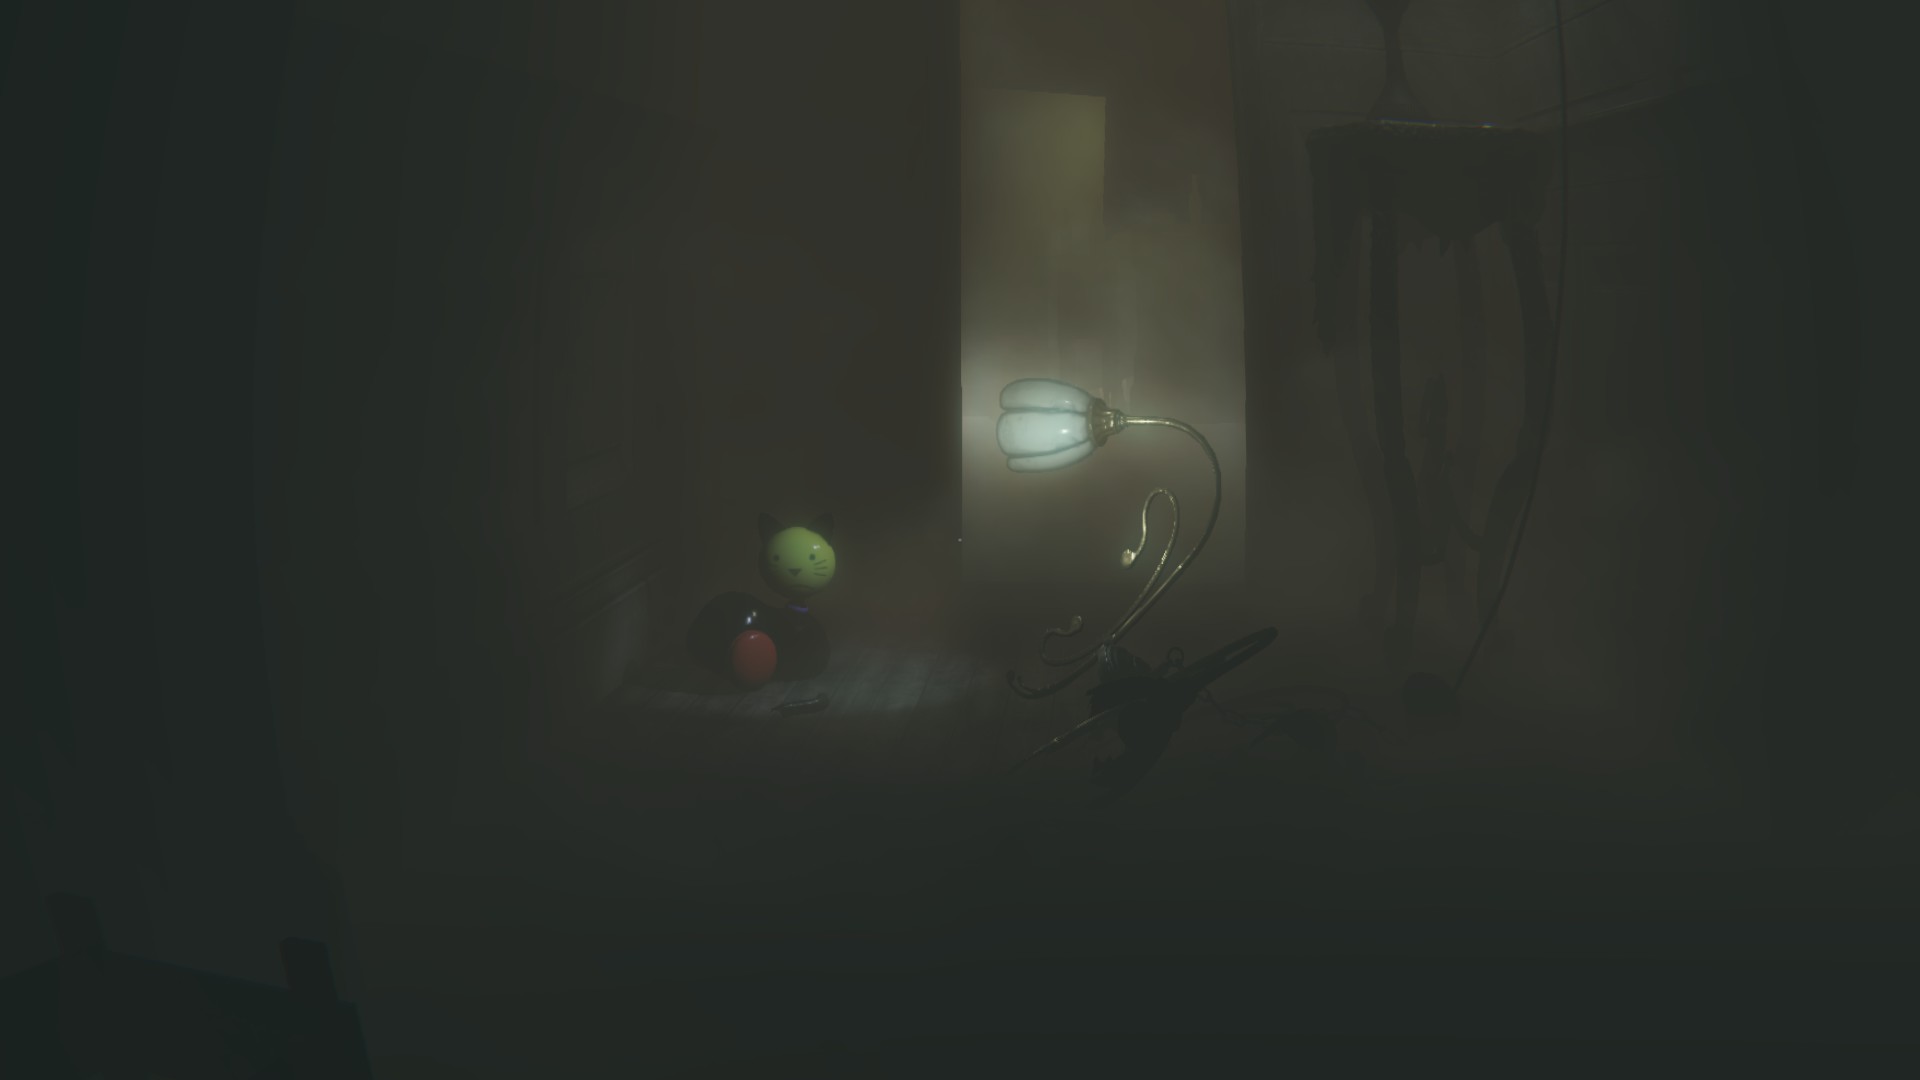
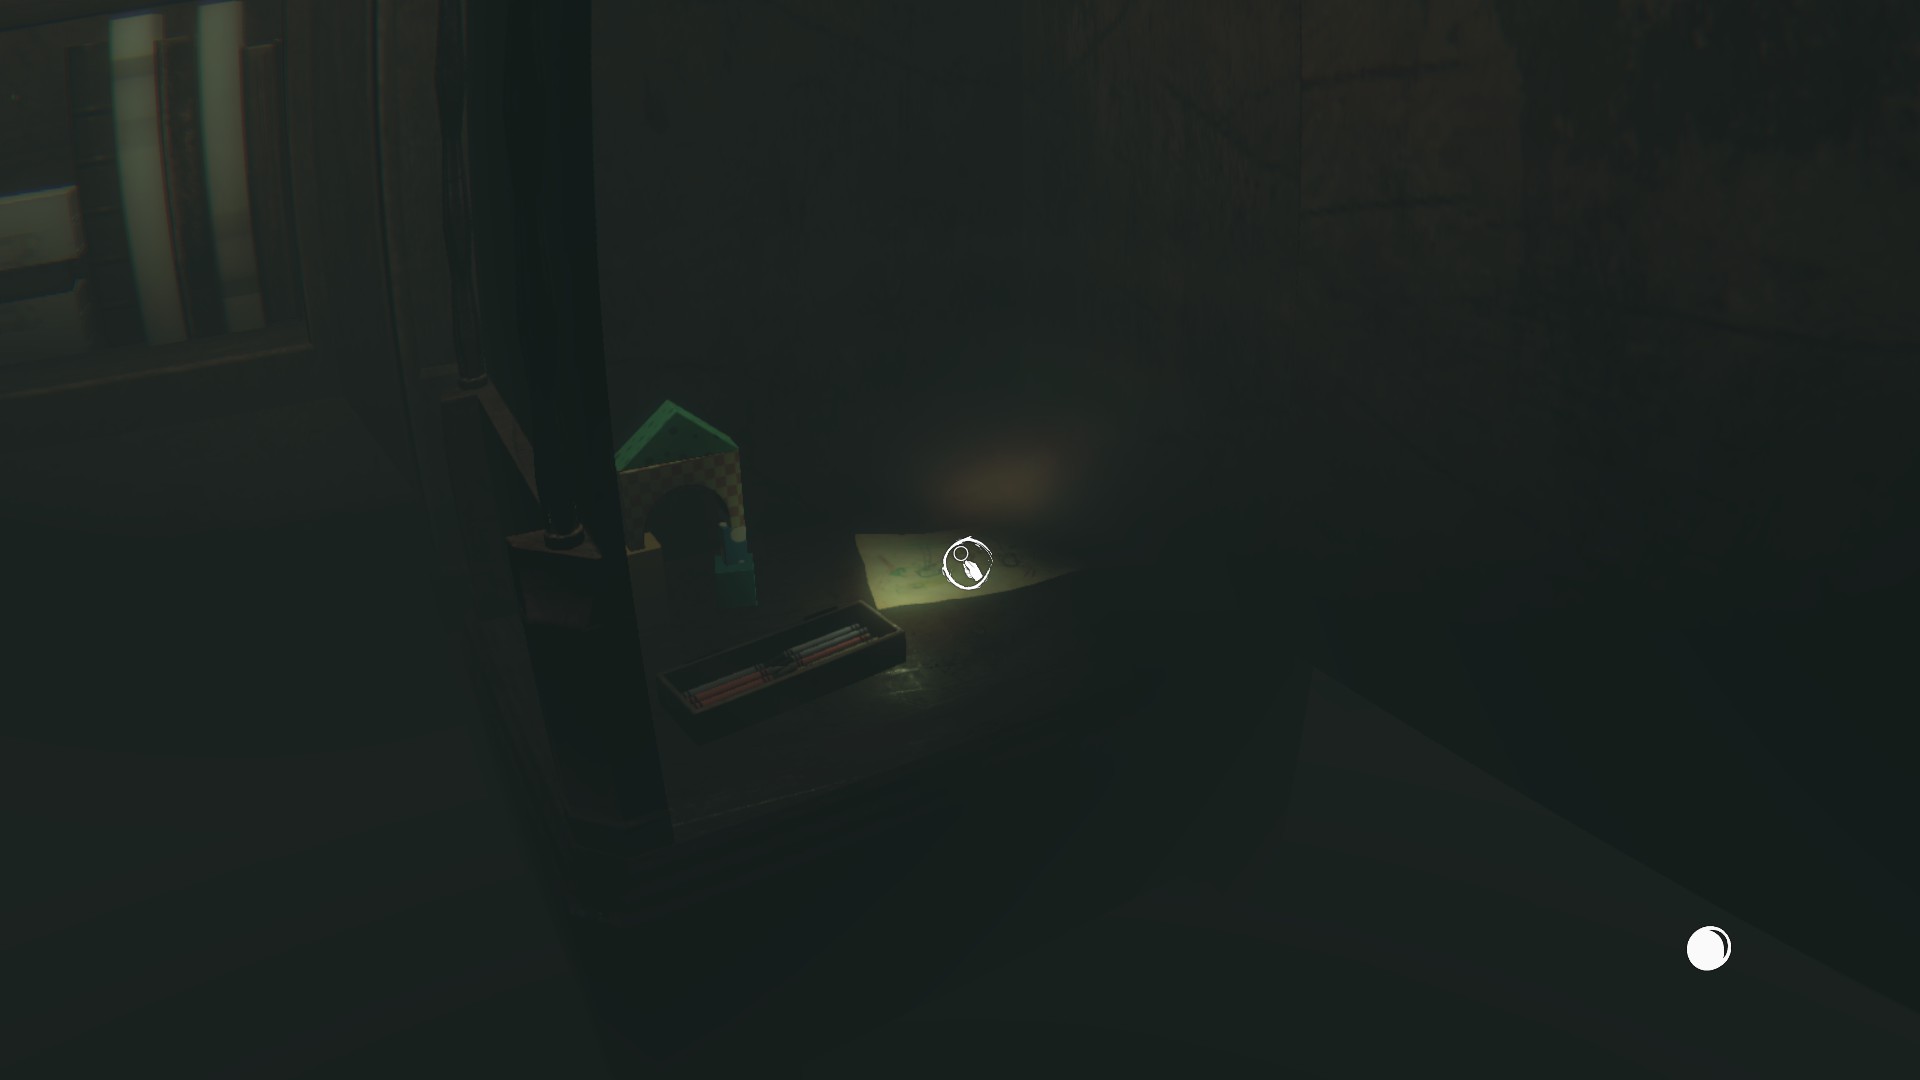
(Drawing 11) – You will come across a broken cat toy with a flickering light. Needless to say you have to put it back together. First, go into the room with the table and clock and right next to the clock, open the drawer and find a drawing. After that, climb up the little stars to the sofa and onto the table, grab the lid from the jar, go to the clock, replace the cog with the lid, go down to the sofa again and climb on the arm rest, look up and find a red wheel and pull it down, replace the wheel with the cog. The tail will be right by the cat if it wasn’t apparent enough.
Walk with the cat and do NOT get out of its light circle. I’ve randomly died from not being in it.
So stay close.
Enter the room, talk with your mom (or dad) on the wall, and wake up from the memory sequence.
Walkthrough Pt. 5
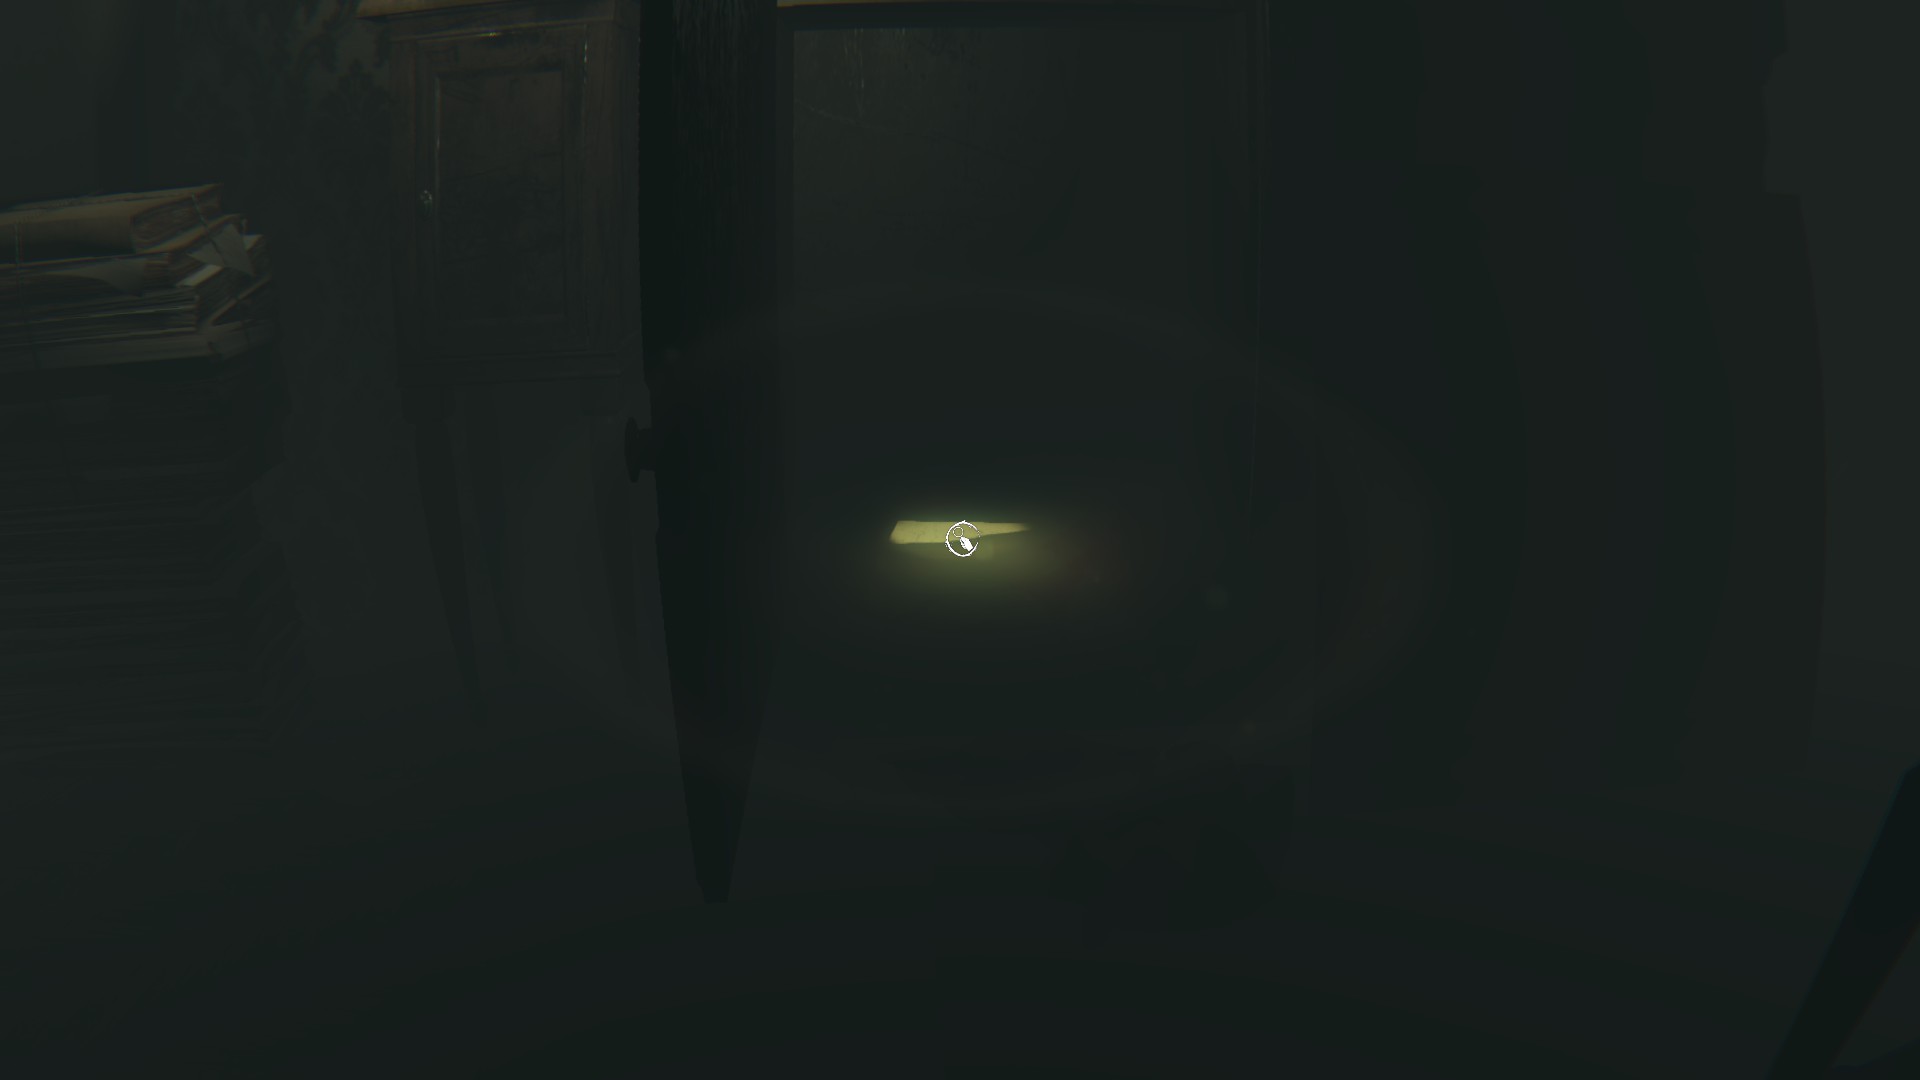
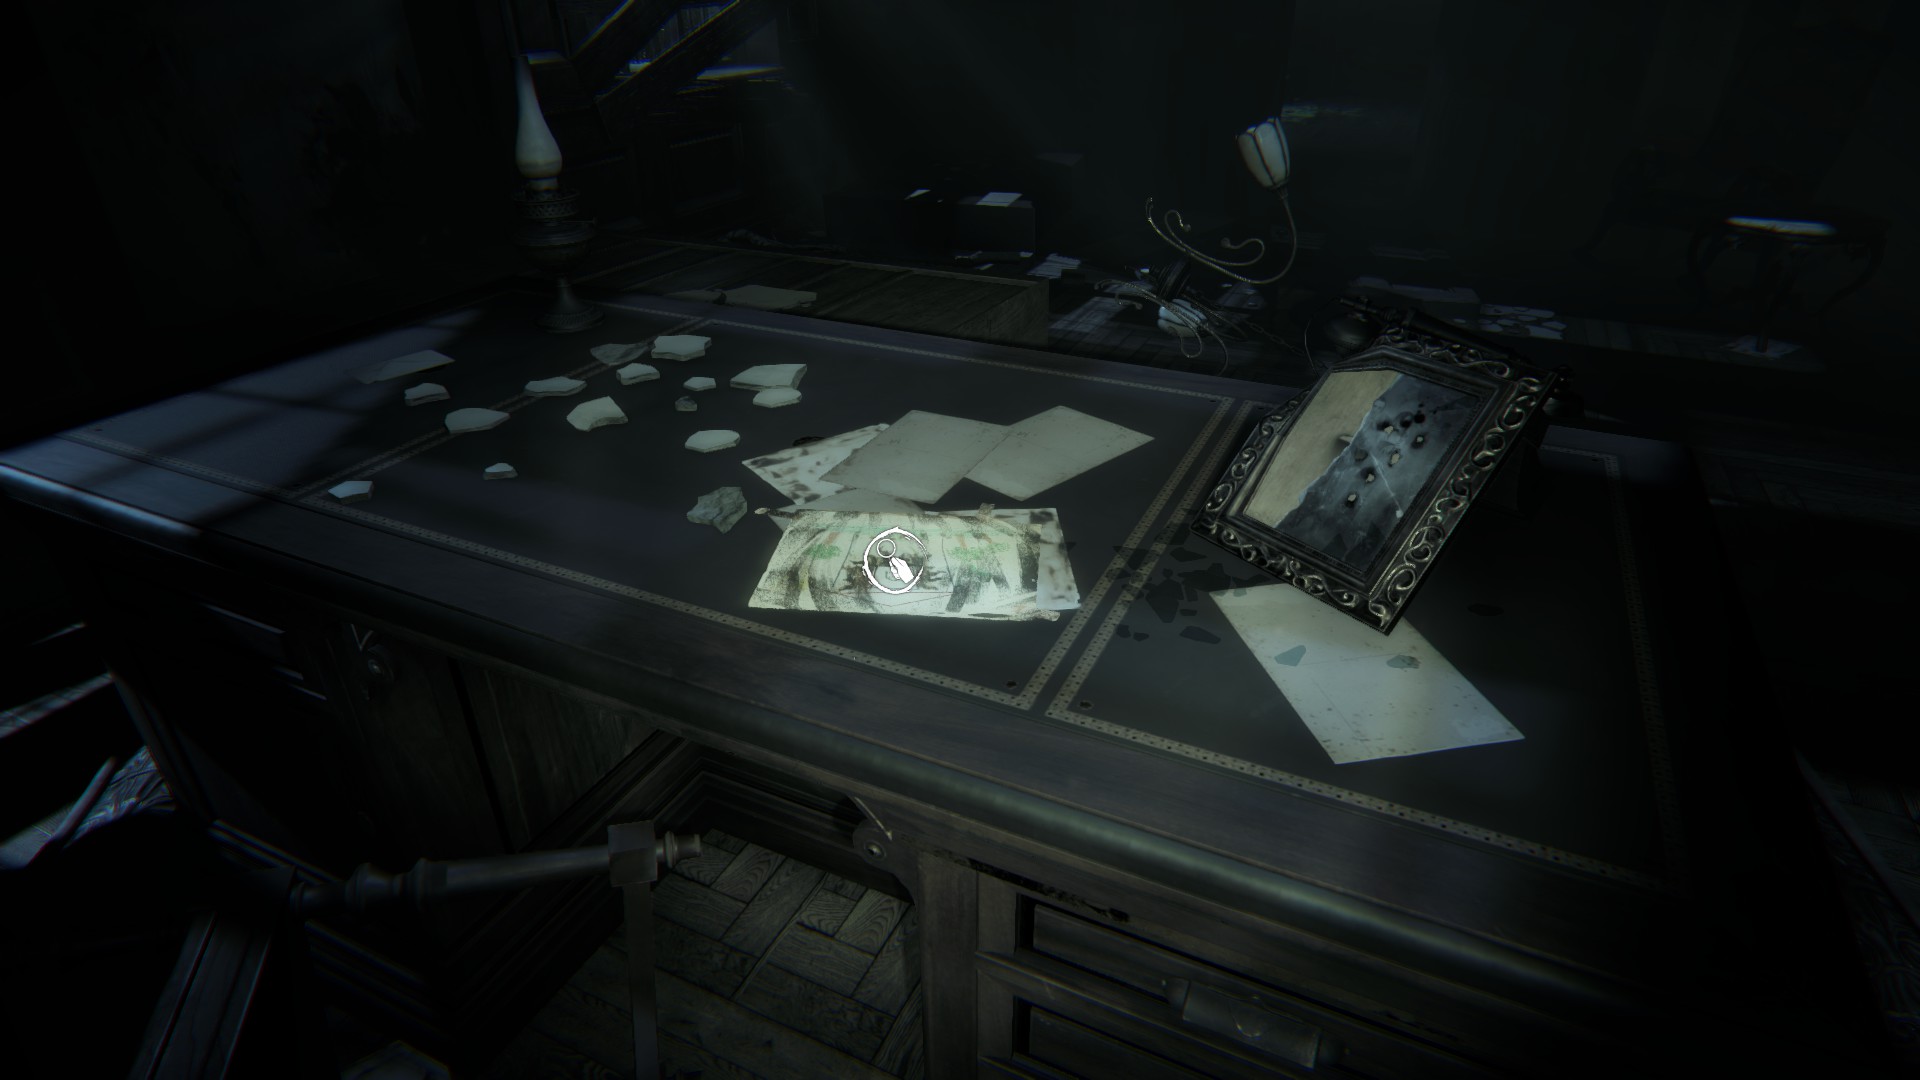
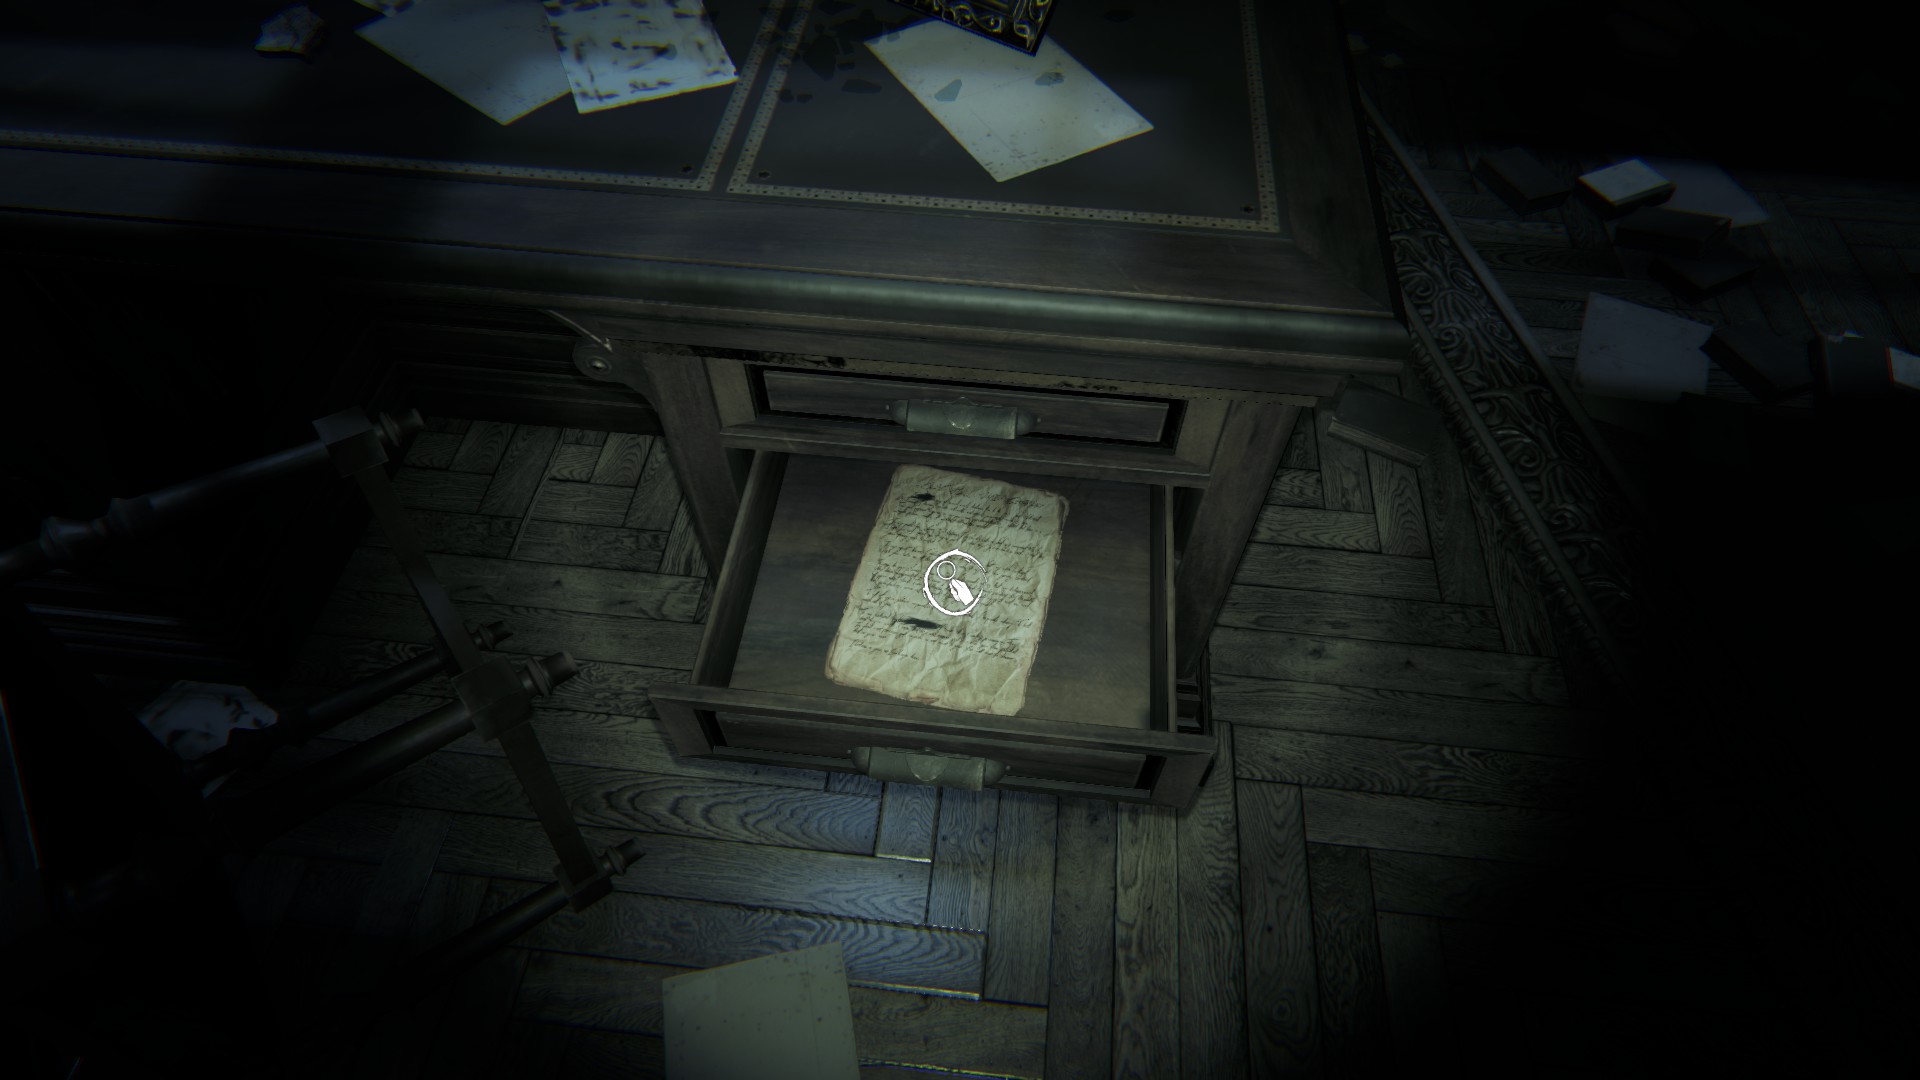
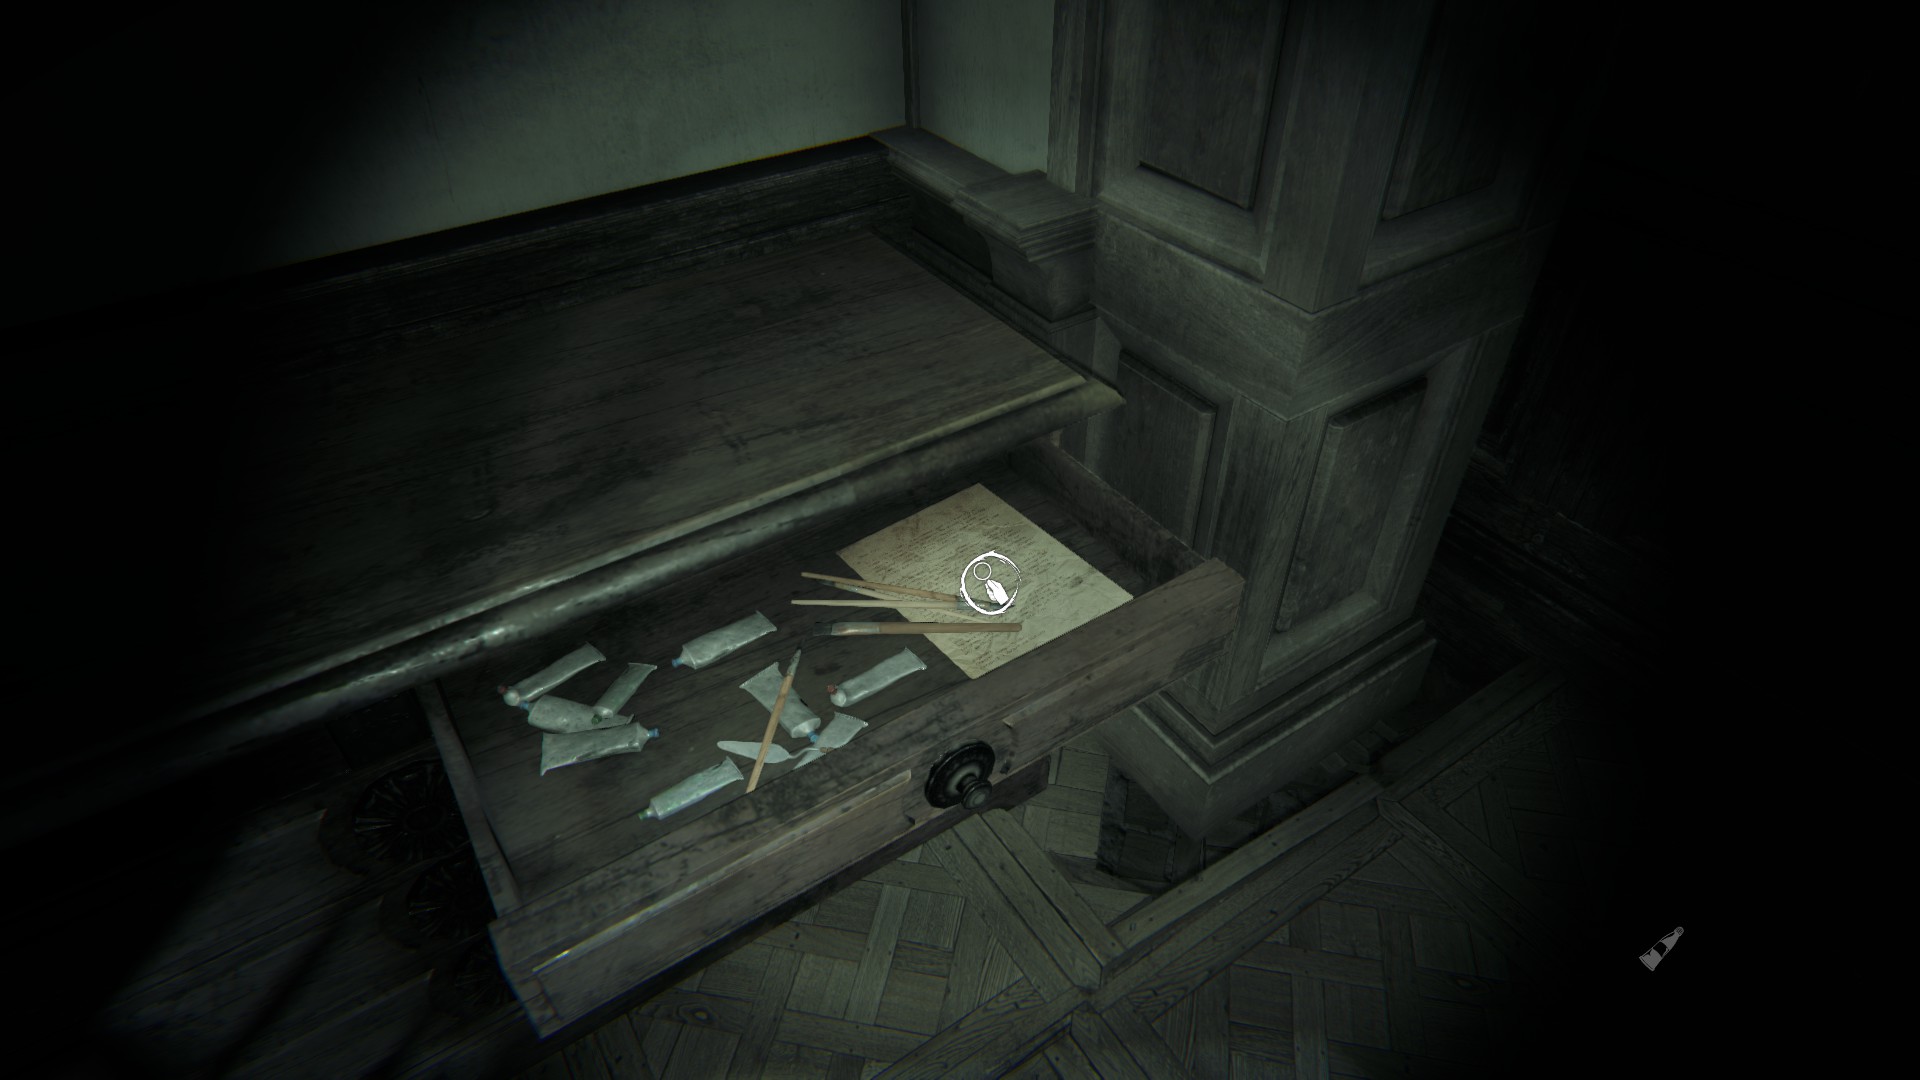
(Drawing 12 / Notes 11 + 12) – You will reawaken back into the office from where you started. Grab the drawing on the desk. Look in the right second from the top drawer and find a note. Go to the left drawer on the other side and pull it all the way out, and there will be a tiny card note in the back.

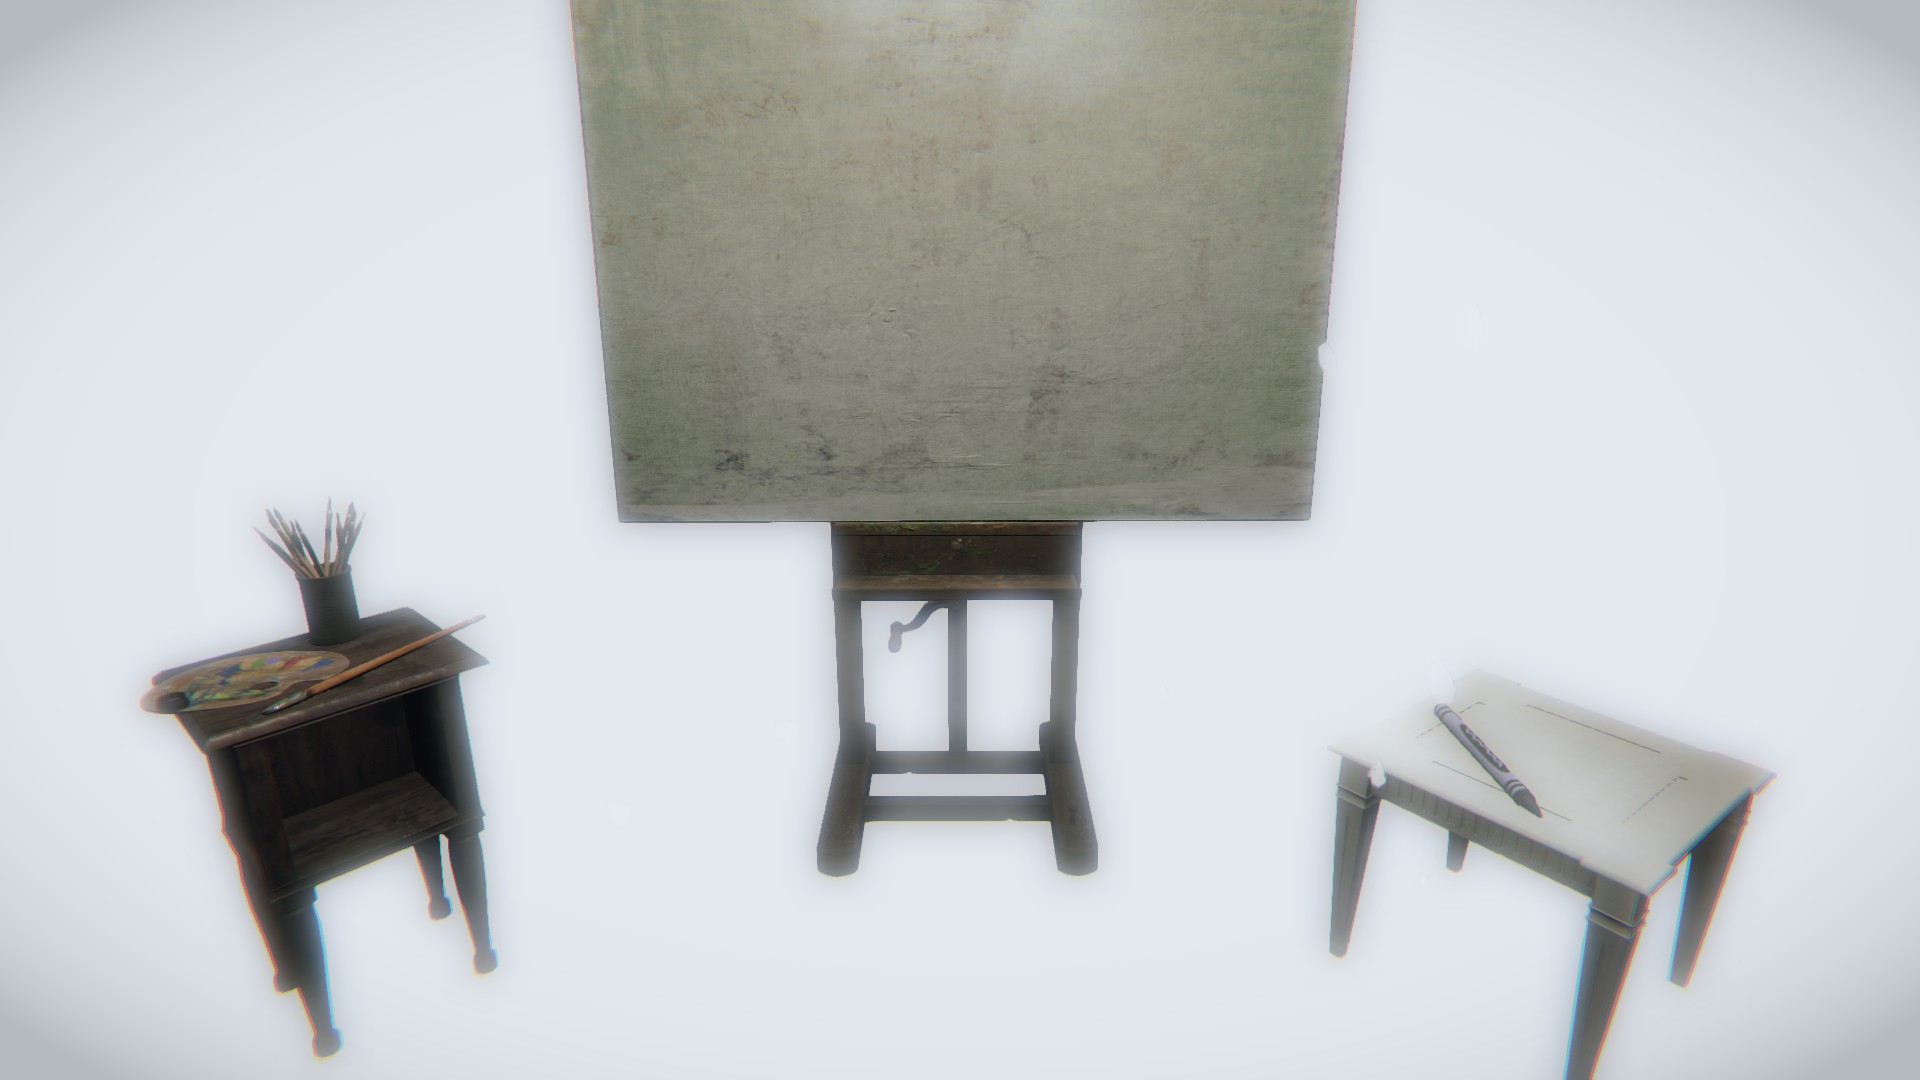
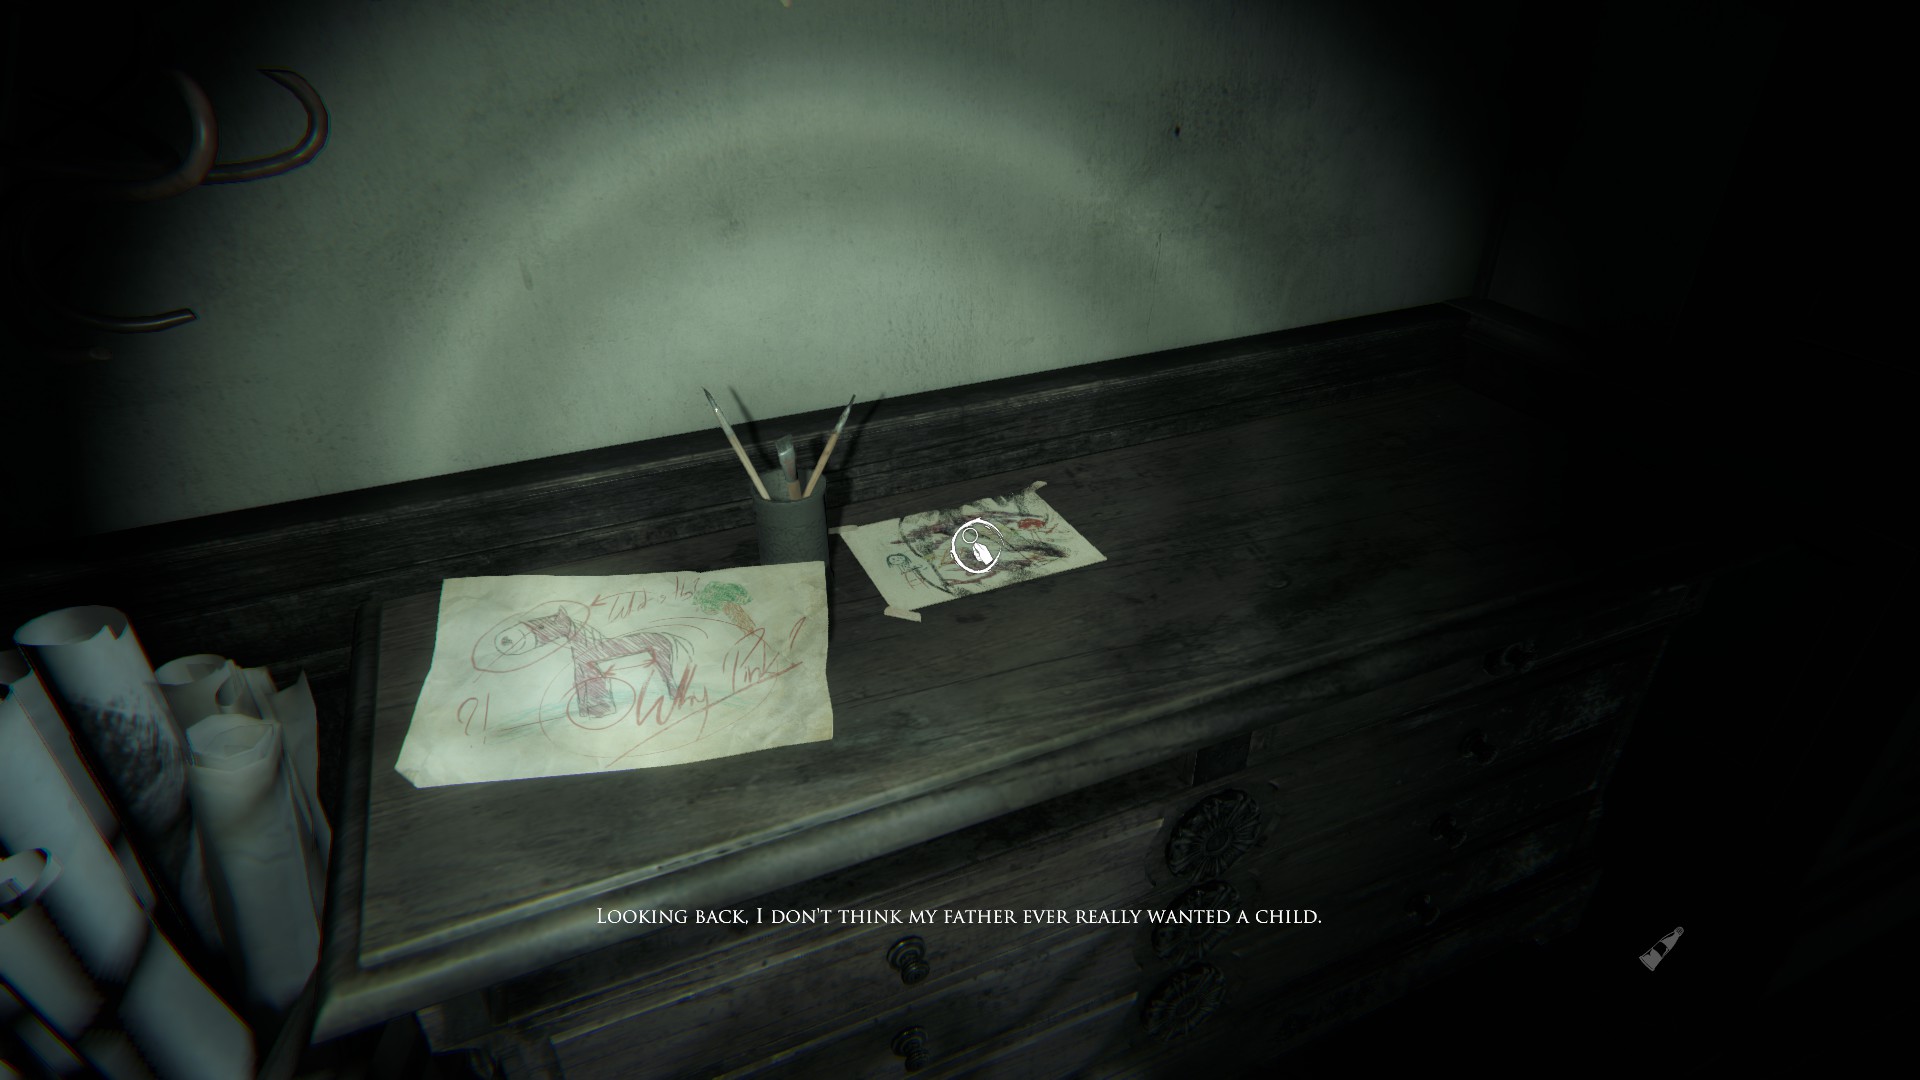
(Memory 9 / Drawing 13) – Now you can finally enter the painter’s room. Pick up the PINK?! pony drawing and quickly recall another memory. Before that though, you can look at the wall above the dresser and put the puzzle drawings you’ve collected on the wall. You should have 8 pieces with one missing.
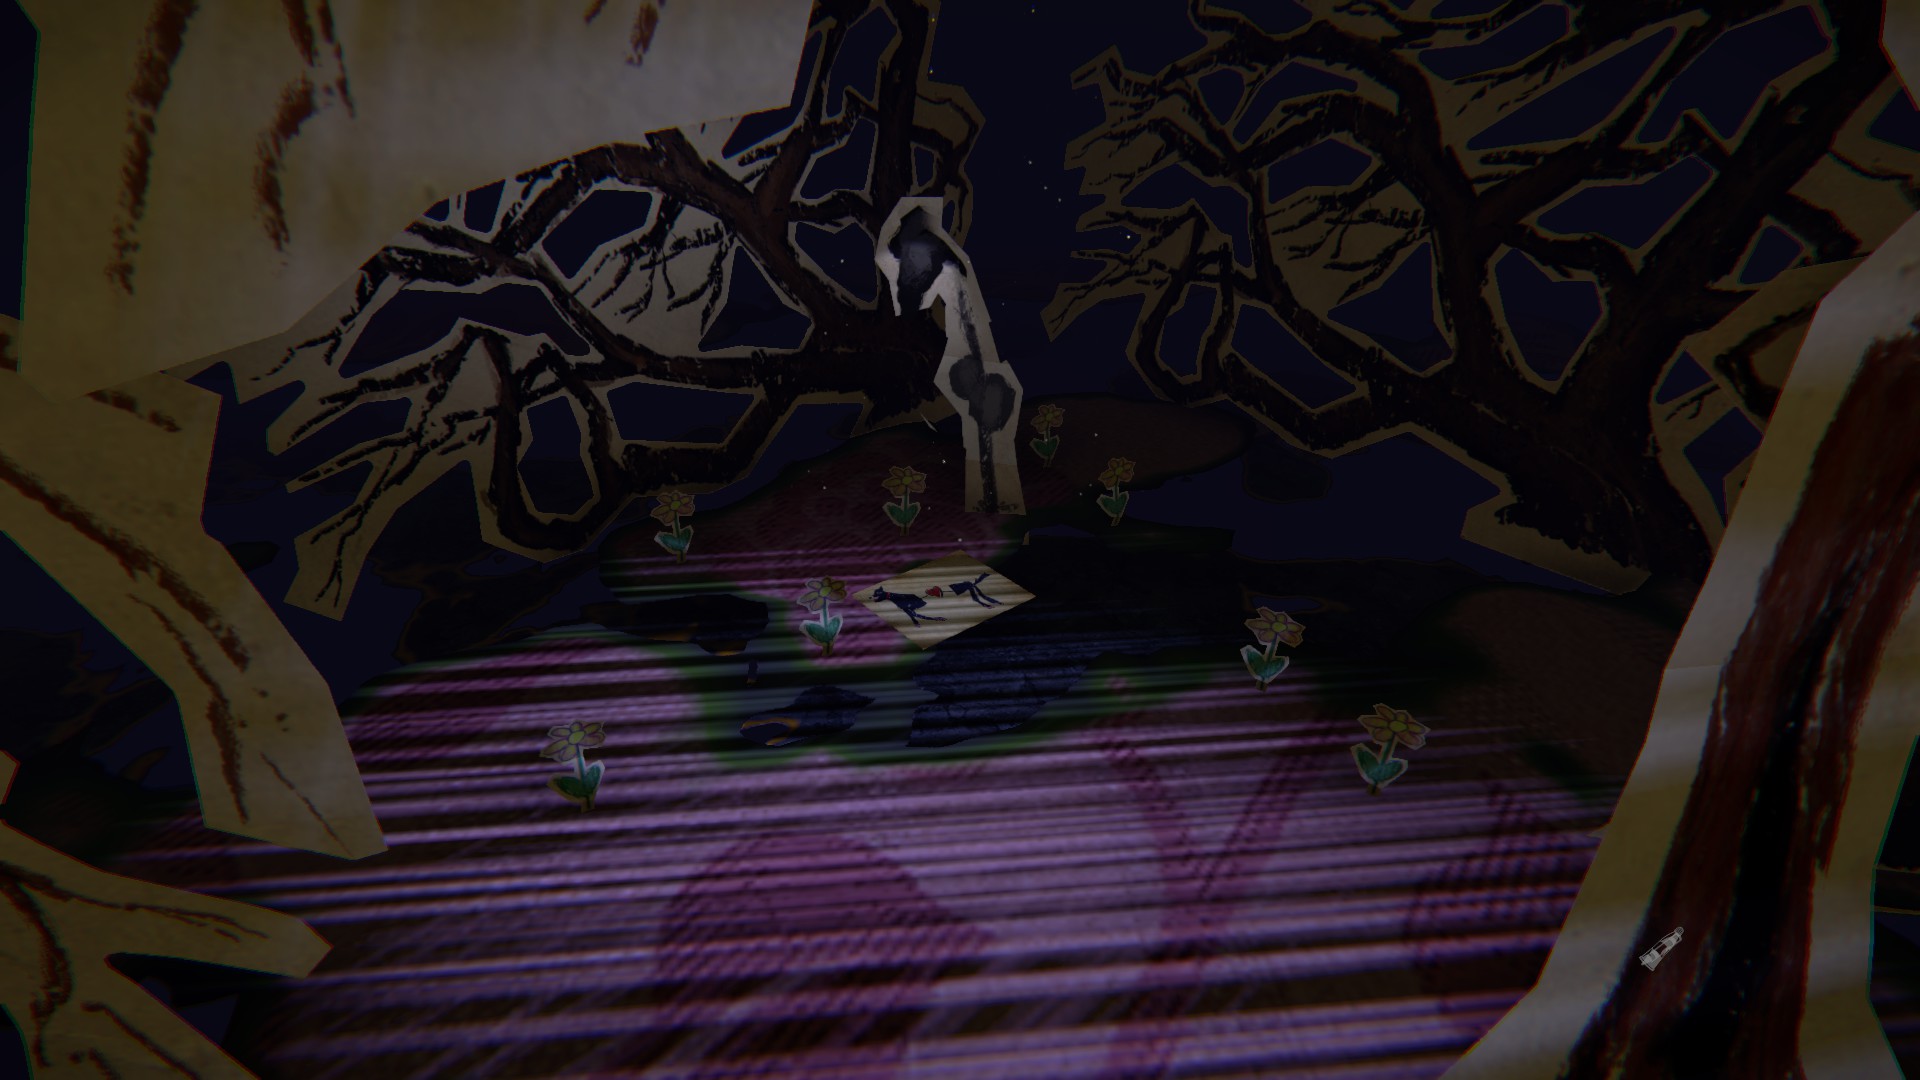
(Drawing 14 + 15) – In the memory sequence, you can choose between painting the portrait for your dad or drawing you’re own piece with a crayon. I’ve semi done both. I’ve mainly chosen crayon because I feel it offers more, but I will try only painting next trial.
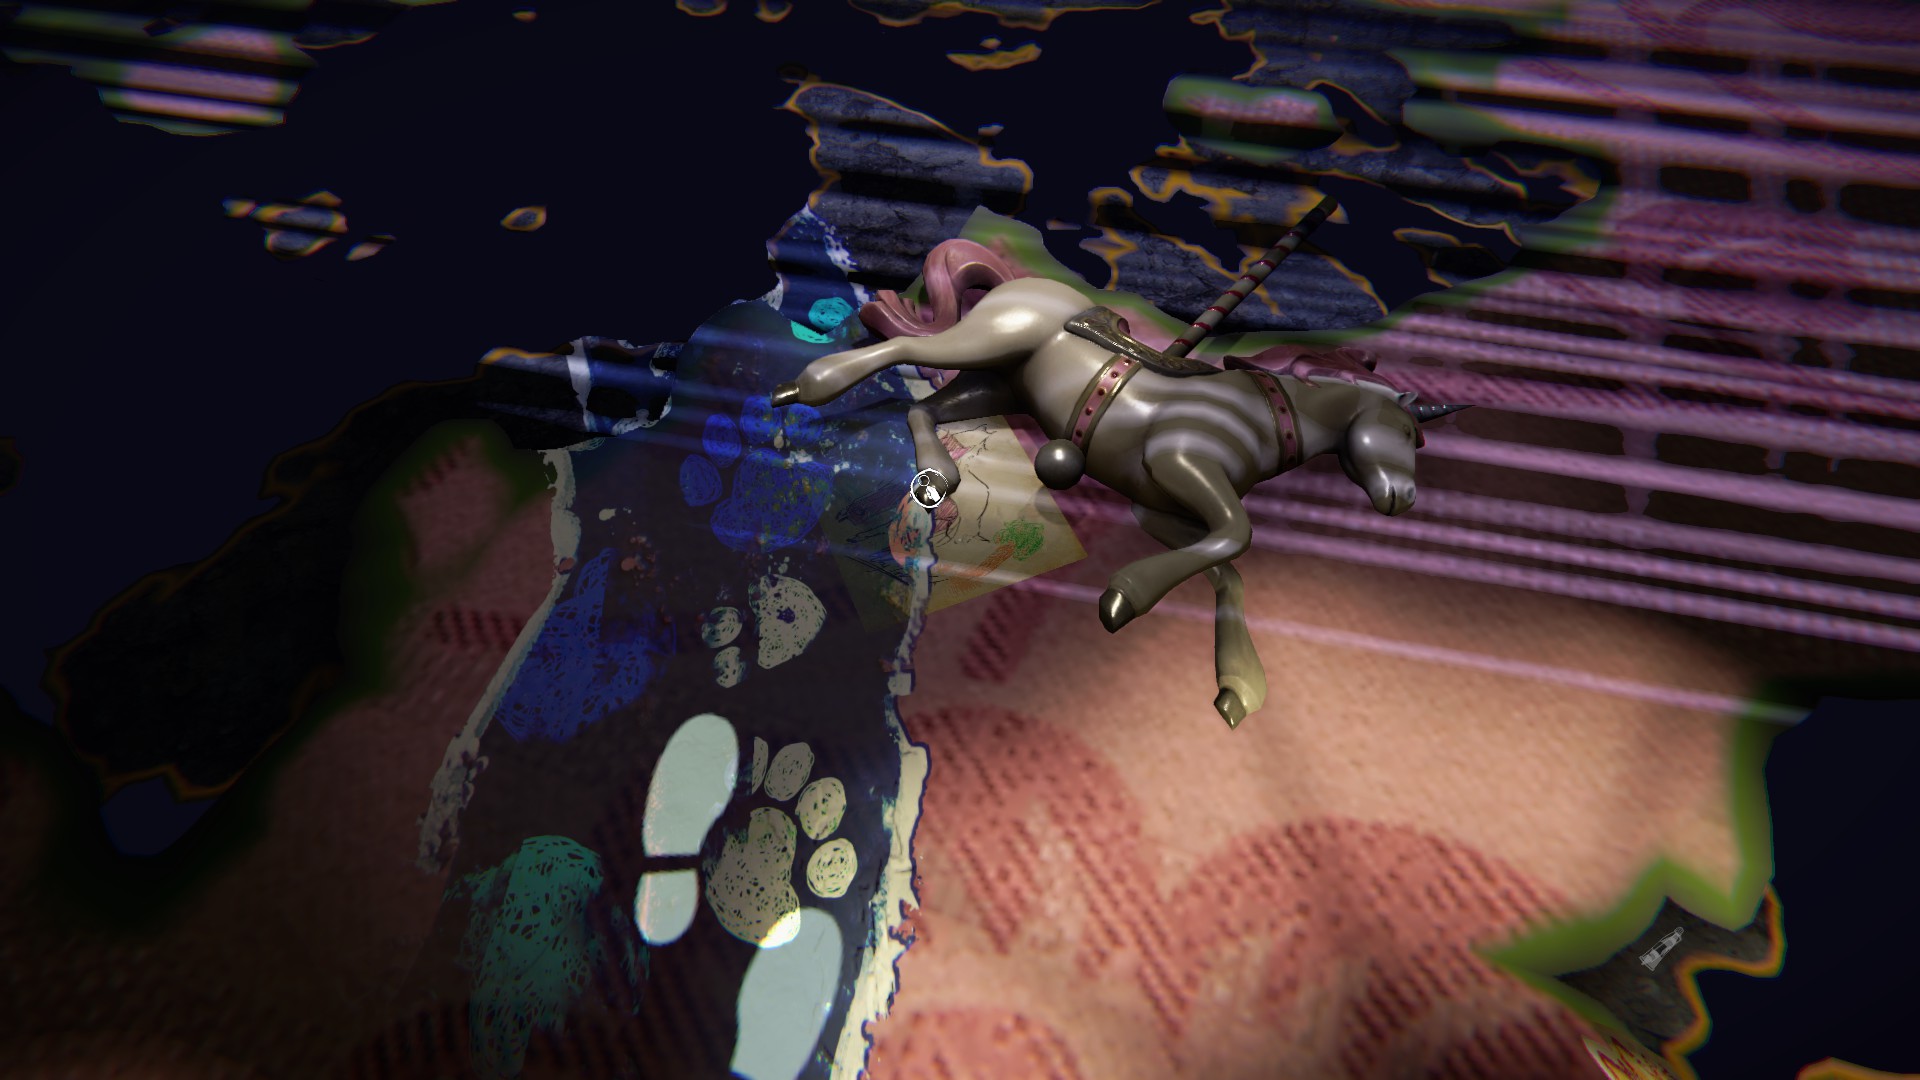
Anyway, this part really needs no guide. You have to pick up crayons to keep drawing. There will be trails with lanterns and footprints of different colors. Honestly, follow all of them before painting each time. You will come across 2 more drawings, one of a dead horse and another of a happy horse. I know this part of the guide is a little bland and unhelpful, but honestly just go to every path and you will find atleast one thing that will help you progress in this story. Also, beware the giant creepy snake that circles the map. Wait for him to leave the trail you want to pursue.
(Drawing 16) – After you thoroughly piss of your pops, you will be reawoken in the painter’s room. There is the final piece of the puzzle ontop of the dresser.
(Note 13) – Look in the right top drawer in the dresser to find another note with some paint and brushes.
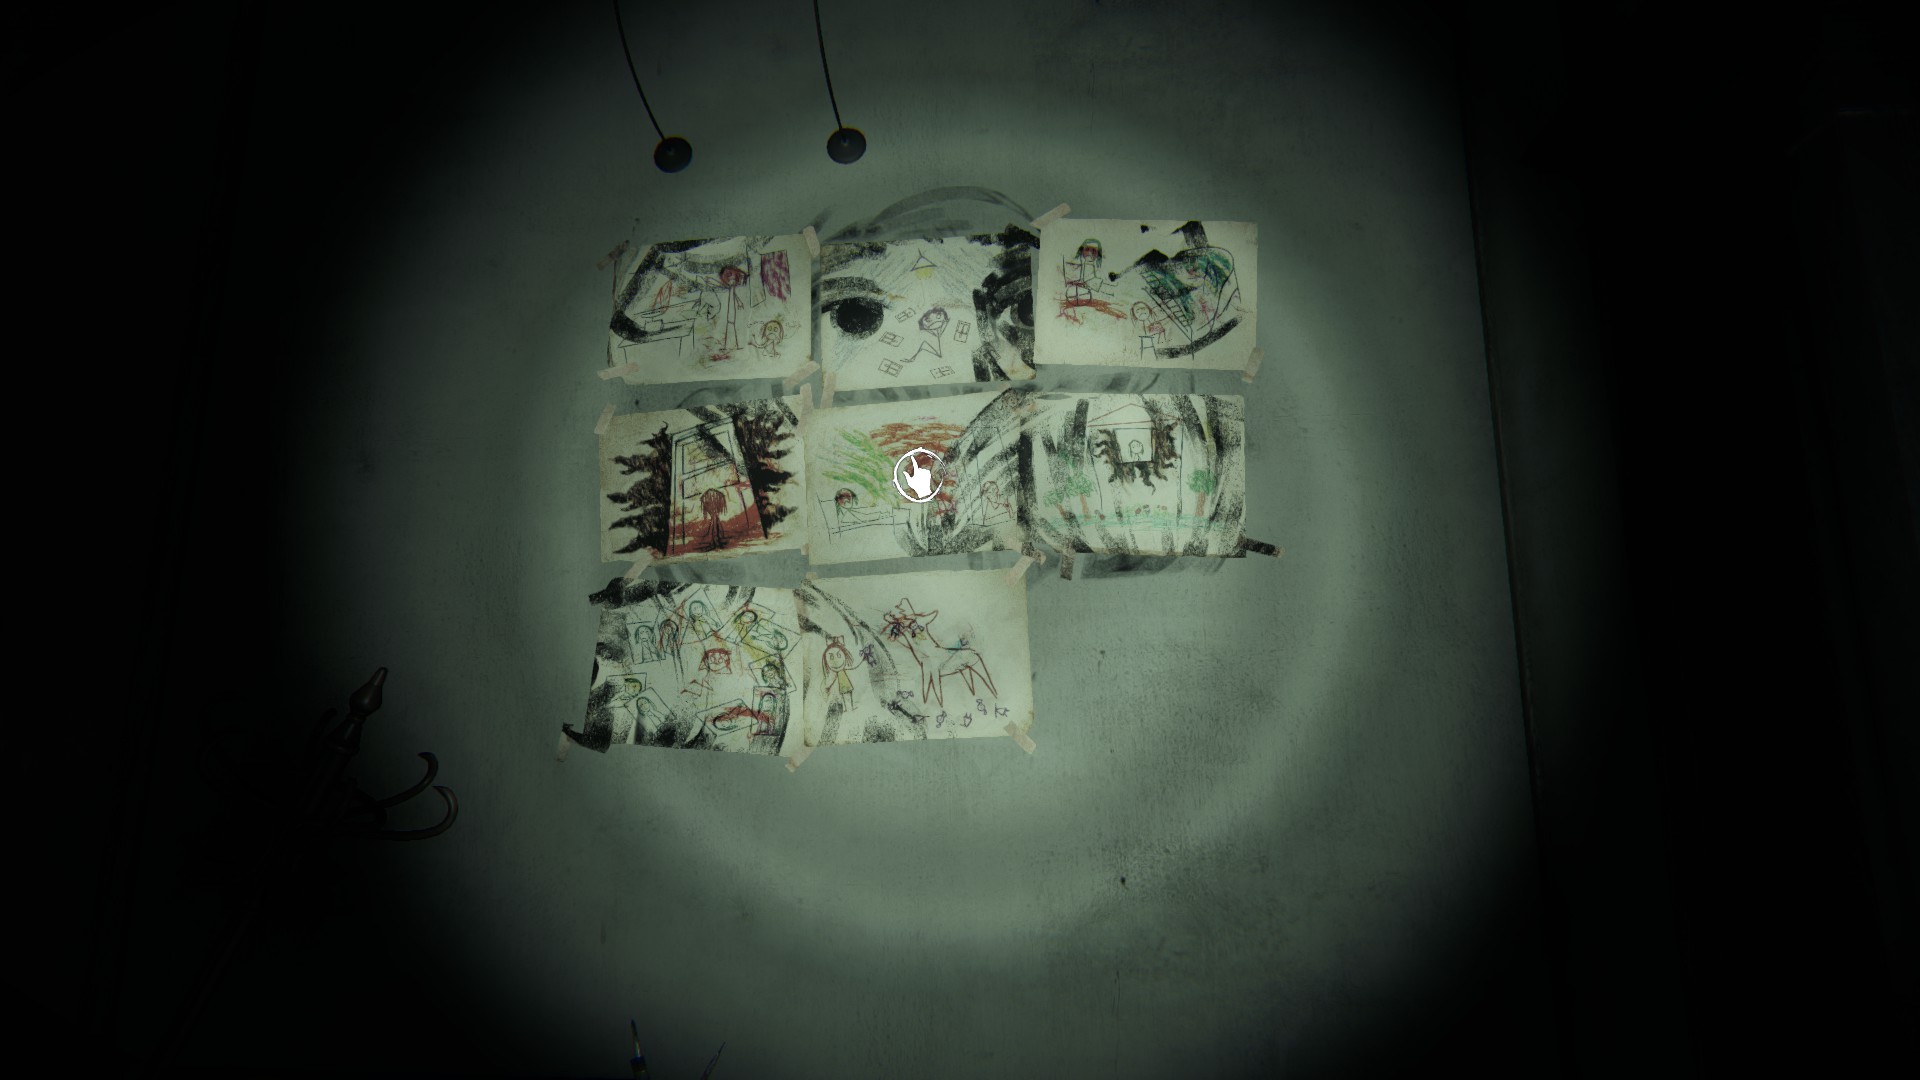
Completing the Puzzle
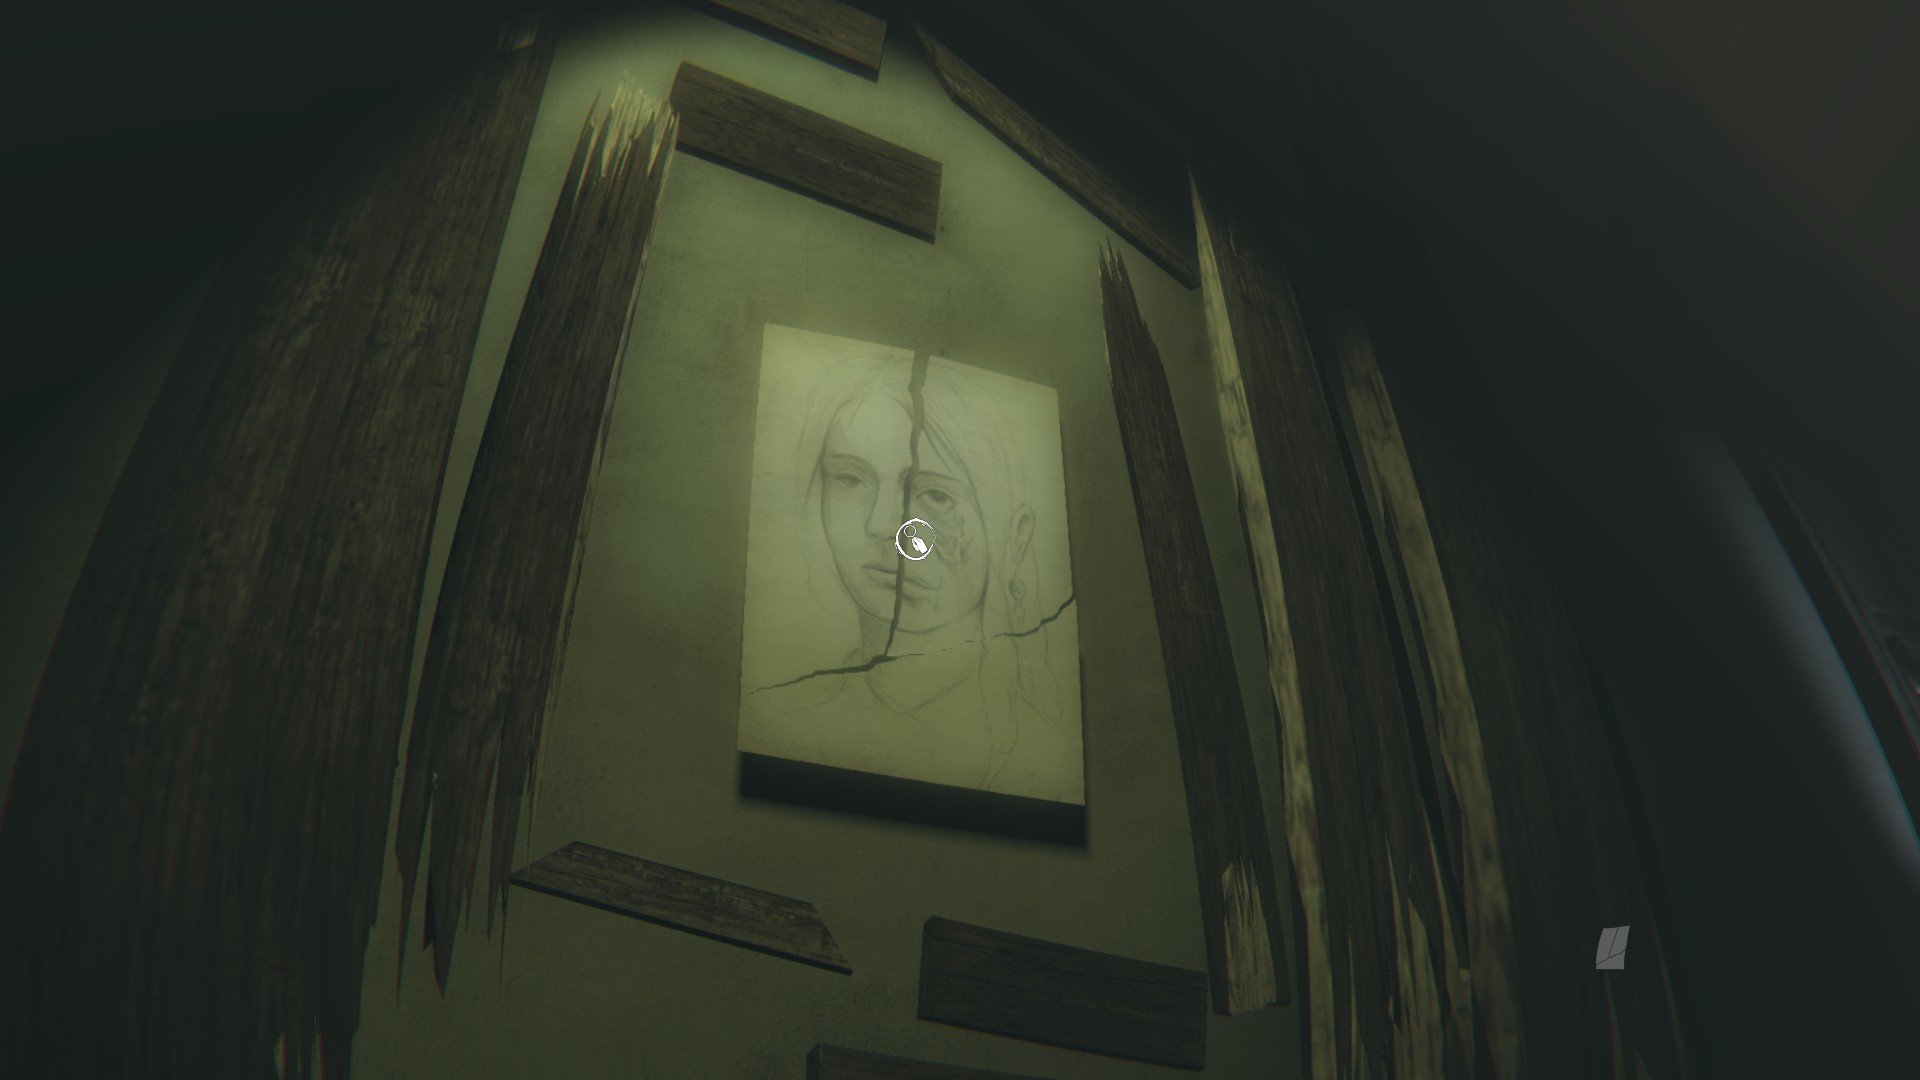
So by now you should have all 9 drawings on the wall. Rearrange them to fit the bigger picture. The black smudges and lines represent a hidden message (Picture at best) of yourself.
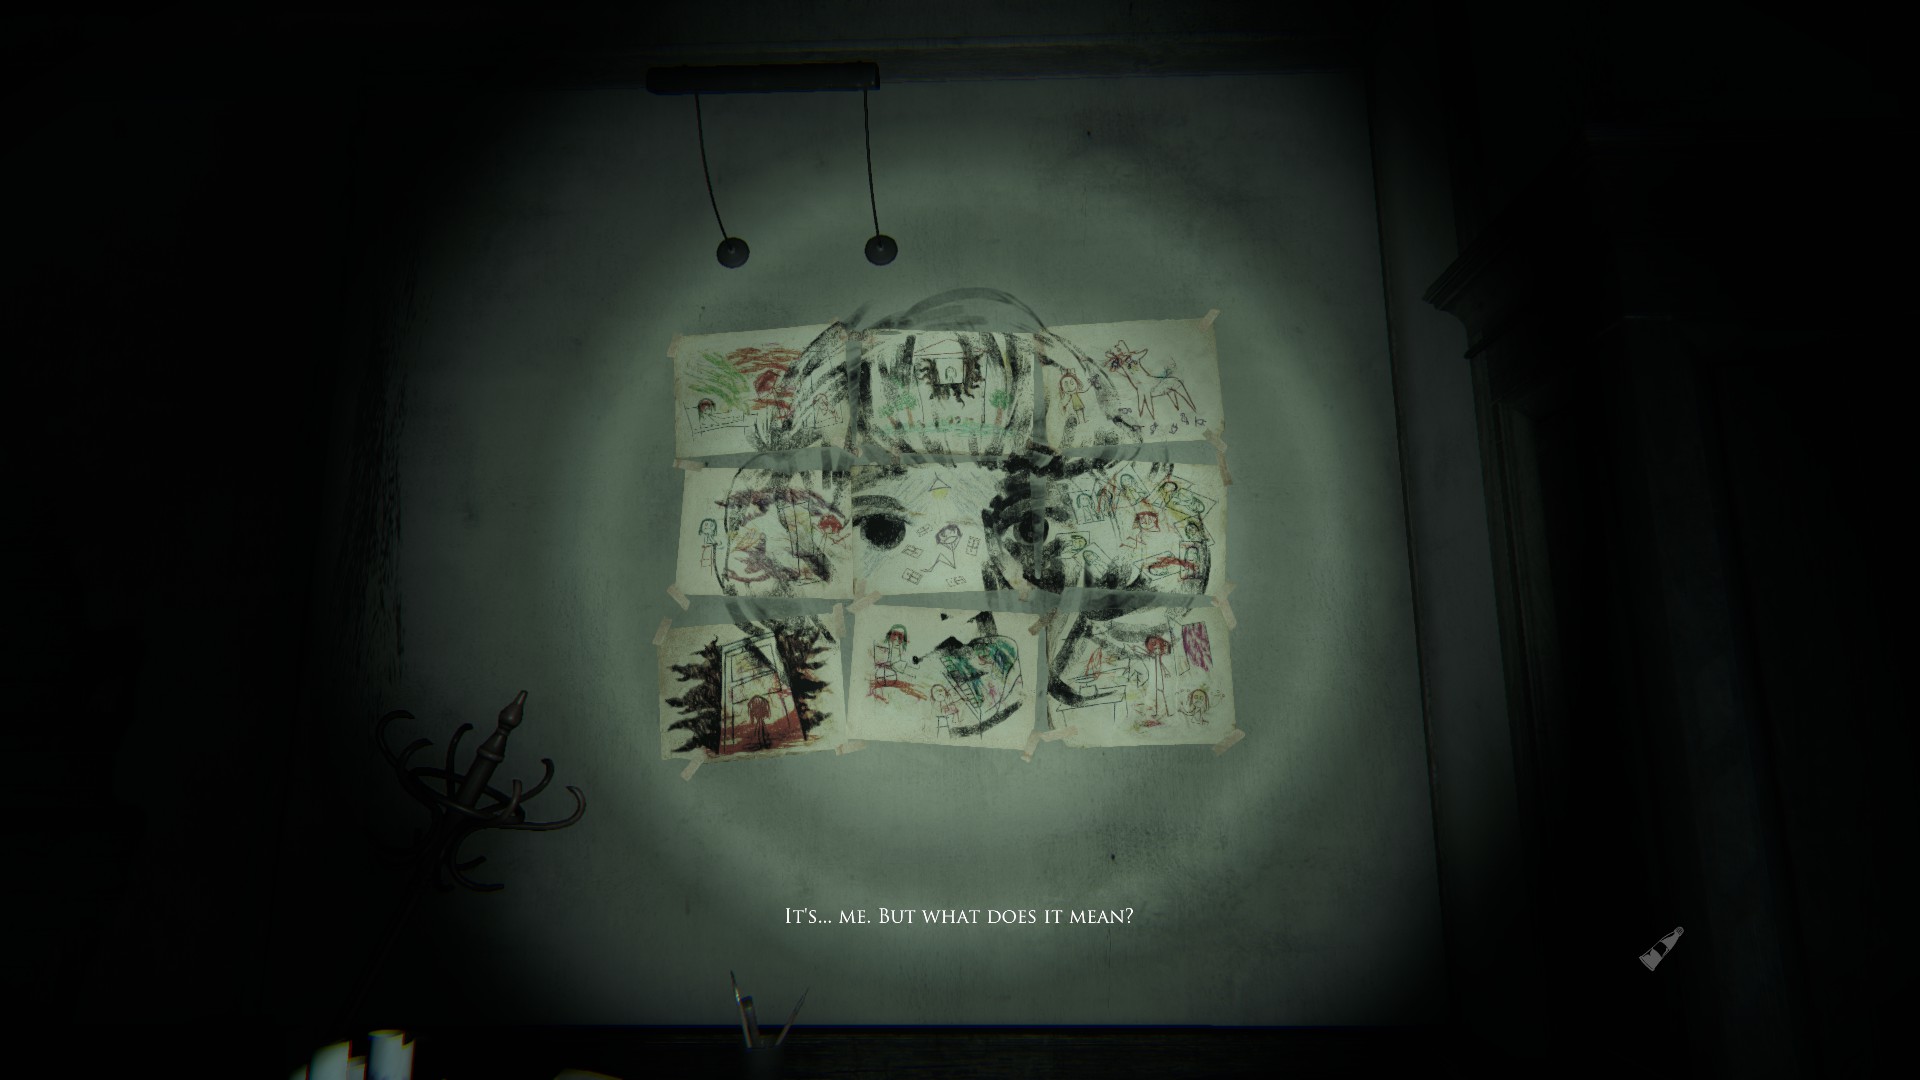
After you complete the puzzle, you can still roam around freely saying “That can’t be it.” In order to get the “Apple and the Tree” Achievement, shine your flashling on the drawings for about 30 seconds and then turn it off. There will be glow in the dark blue paint that morphs into a map showing the location of the cubbard behind you.
And there you have it. You should have Recalling All Memories, Stuck to One Parent, Putting the Pieces Together, and any ending achievement you got. Don’t worry though, I am still in the midst of figuring out all other note locations and achievements.
Hope I helped and happy hunting. 😉
Achievements
1.)
– Accept your father’s apology. (Go on your father’s side by, play the piano tune nicely from the crayons, pick up the toy train, all the birthday cakes, tap the dog off the sofa, lock the utility closet, keep looking at him when he’s telling the story in the painter’s room, paint the canvas with paint, let the dog out of the kitchen)
2.)
– Refuse to forgive in the end. (Go on your mother’s side of the story, play the gramaphone, pick up the cakes, look away from the father when he’s telling the story, paint the canvas with crayon, play the piano nicely from the crayons)
3.)
– Discover your true inheritance. (Choose your father’s side like completing Let Bygones be Bygones. Find all of the 9 memory drawings at the end of the game, put them all together. Flash your flashlight on all of the pictures for 30 seconds and then turn off your flashlight for a hidden blue painted map. Go to the back cubbard in the same room and interact. And there you will find your true inheritance.
4.)
– Assemble all of the puzzle pieces. The Locations are found…
-after the scene in the mouse trap closet
-after the scene in the kitchen (search the pantry behind the door afterwards)
-after the piano scene in the basement (search for a stack of papers to your left)
-after the painting puzzle in the studio
-after the scene with your mother in her room (search the closet at the back of the room)
-after the whole choose-the-parent scene in the office
-after the stay still puzzle in the child’s room
-in the room with all the discarded paintings (behind door on route to child’s room and in SE corner as you enter)
-finally, the last one is on the side table just before the locked door leading to your “inheritance”
5.)
– Watch the entire Little Red Riding Hood story. (When you go in the painter’s shop and enter the memory where you have to paint on the canvas, choose the crayon and enter the crayola world.
1. You need to find a small stage with curtains and interact. This is the first part of the riding hood story. Then you need to find another crayon in the room and use it on the easel. The crayon is north of your easel (if looking at the easel)
2. In the new room, do the exact same again. Find the stage and then the crayon. This is the second part of riding hood story. Crayon is south of your easel (if looking at it) You need to interact with the treehouse and then use the crayon on the easel.
3. The final thing you’ll need to find is a section in the room with red lights on the floor and chairs everywhere. To find this, look at your easel and go left. Follow the brown path. After you have seen this, the achievement will pop.
6.)
– Recall all of your childhood memories. Pretty simple and not really difficult to miss when doing the story. Look above for details and locations.
7.)
– Slay the evil serpent roaming the land of fables.
Here’s a video:
But basically, when you get to the canvas choice again, choose the crayon at first.
-Head north and pick up the crayon; use it.
-Pick up the brush and use it
-Find the red paint in the house which should be in a back corner
-Paint it red.
-After it changes, walk left and go through a narrow corrider until you reach a painting, look behind you, then back again and go through until you find a pile of toys.
-Push the basketball all the way up and get the green paint
-Go back and use it
-Look to the right and find a drawing and a crayon on a chair. Look at drawing then pick up crayon and use it.
-Back in land of fables, go to the sword and pick it up (It will take some time and you might die from the serpent at least once)
-After the sword is out, go find the little nuisance and walk into him.
8.)
– Stick to one parent’s story the whole time. Self explanatory.
9.)
– Find every note in the game.