Overview
The locations for all the keys and in what order you can obtain them in. Spoilers are tagged, so feel free to check it out!
Section 1 – Prologue
A – In the grass near a stump.
This one is the easiest, of course. The first one you can find. Follow the red steps near the stump and you’ll find the key.
[i.imgur.com]
B – On a shrouded old bridge.
While you are looking for Basil, you’ll come across a large bridge that connects the forest to the train station. On the middle of this bridge (straight) you’ll come across the key.
[i.imgur.com]
C – Between giant pinwheels.
In the forest on the right side’s first transition, up in the top right location there is a ladder that heads up to where Kite Kid is. The key is up there next to him.
[i.imgur.com]
D – Near a castoff cartridge.
After acquiring the cartridge for Capt. S Space Boyfriend, you need to enter a bin near the location and go up the ladder and back outside to acquire it to collect this key.
[i.imgur.com]
E – Underneath a wet pillow.
You will get this key during the story. After fighting Capt. Spaceboy look underneath his pillow.
[i.imgur.com]
F – Within a large frame.
You will get this key during the story while trying to catch up with the sillouhette of Basil.
[i.imgur.com]
Section 2 – Three Days Left
H – In a lost pyre’s flame.
On the right of the waterfall, you need to navigate a very small path to find your way through the spider puzzle and lost wood puzzle to get it.
[imgur.com]
I – Lying in a dark cell.
While escaping the Dungeon, you’ll eventually find a button that unlocks spikes in front of a cell. In that cell there is the key.
[imgur.com]
J – Trapped in a pink cage.
While solving everything in the castle to disperse the crowd, you must enter the kitchen. Above the minigame in this room, you can enter the bedroom area. The key is in a cage in this area.
[imgur.com]
K – In a hall of framed faces.
While solving everything in the castle to disperse the crowd, you must enter the art gallery. The key is inside this room on the top right.
[i.imgur.com]
L – Far below a big stage.
You will collect this key during the story.
After defeating Sweetheart, jump into the pit on the stage to continue the story. It will be toward the end of the Lost Library that you end up in.
[i.imgur.com]
Section 3 – Two Days Left
M – Spending time with a frog.
You will collect this key during the story.
After overcoming your fear of drowning, the key will be inside of the wormhole that Mari leaves when she disappears into the window/curtain.
[i.imgur.com]
N – Near a game of roulette.
This one is simple. Once you enter the casino for the first time, it’s on the left side of the room next to the machines.
[i.imgur.com]
O – Amongst other O’s.
Outside of the casino on the right side, there is a haunted pool (underwater??? yes.) Enter the pool to be transported to the ghost party.
You can pick up the ghost quest here too, which you have probably seen things for around the world already.
The key will be in the bottom left of this area, amongst the several other floating O’s.
[i.imgur.com]
P – In a water closet.
On the first floor of the casino enter the Men’s toilet on the first floor.
[i.imgur.com]
Q – In a small moving room.
You will collect this key during the story.
It is in the elevator going to the boss.
[i.imgur.com]
R – At the end of a plank.
After re-acquiring Aubrey, go to the 4th floor and enter the room on the right. Continue forward by going behind the mustached ghost. From here, go up as far as you can, using Aubrey’s ability as you go up higher and higher. Eventually, you will climb a ladder to acquire the key.
[i.imgur.com]
S – Within a live shell.
You will see this key during the story. To acquire it, make you way across the highway (through either paying ~7500 clams or going around each section) and it is inside the clam at the end.
[i.imgur.com]
Sublocation – Top Tunnel/Marina’s Section
T – In a bubbly tank.
You will have the chance to collect this key during the story through either a challenge or time.
Challenge: During the chase sequence with her 667th experiment progress normally and then hit the tank with Aubrey. Afterwards, quickly switch to Omori and collect the key. You do not have to outrun the experiment, as after you collect they key and respawn you will keep it.
Time: At the end of the Humphrey section, he will spit the key out with you.
[i.imgur.com]
Sublocation – Right Tunnel
U – Surrounded by Goo
Found on the water slide to acquire it, take the path going left, twice.
[i.imgur.com]
Sublocation – Left Tunnel
V – Caught in a steel trap.
Found on the conveyer belt bomb puzzle. This is the third puzzle and is found on the left path.
[i.imgur.com]
W – In the gut of a whale.
You will acquire this key during the story.
Will be acquired after killing Humphrey.
[i.imgur.com]
X – At the end of a map.
Found on the third floor in-front of the wishbone in the bottom right corner of this floor.
[i.imgur.com]
Section 4 – One Day Left
You must be on a Hikikomori Route to get these keys! To do this, do not answer the door any day as SUNNY.
G – Beneath a trap door.
To get this key, you must acquire batteries from Space Boyfriend’s father. Then, take the batteries to the fish in the Igloo.
[i.imgur.com]
Y – In a field of winter snow.
After acquiring the G key, go to the top right of the map. The key will be right before you enter the snowglobe area.
[i.imgur.com]
Z – Past the end of the road.
Near the end of the road by Deeper Well, talk to the Hitchhiker to acquire this key.
[i.imgur.com]
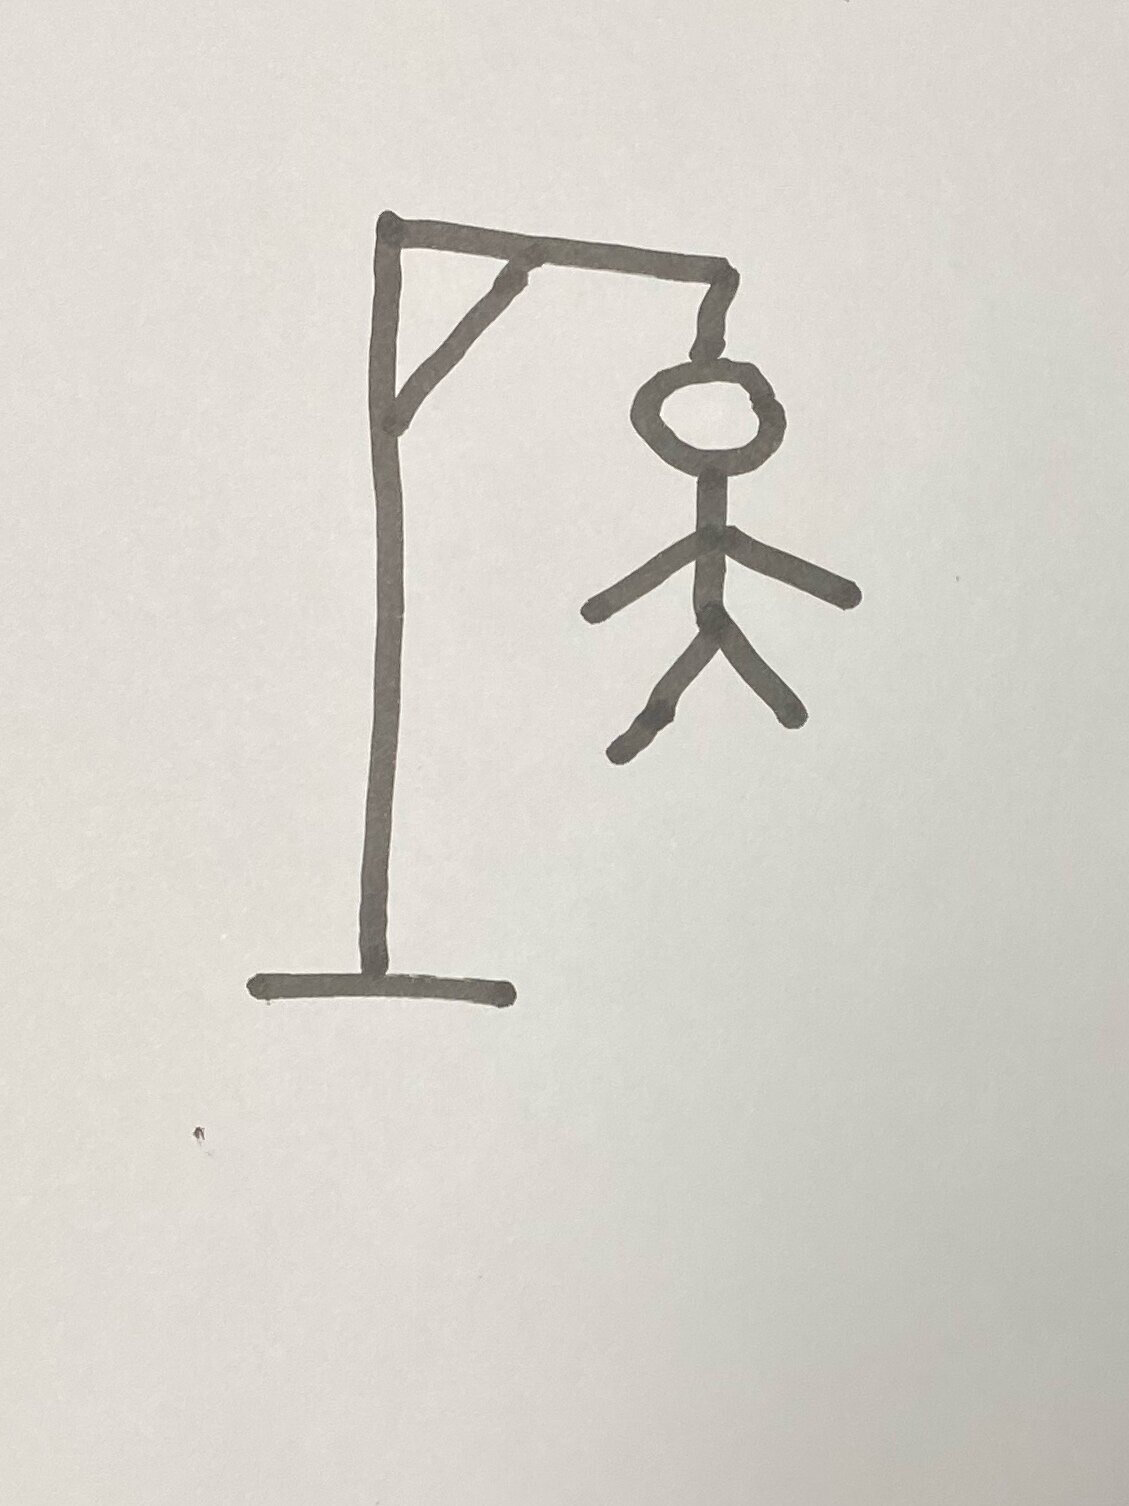
What Keys Are Required? (Spoilers!)
If you want to know what keys are the only ones required to solve the puzzle to avoid getting any marks on your hangman, here they are:
Prologue: A, B, C, E
Three days left…: K, L
Two days left…: M, O, P, S, T, W
Special Thanks!
Thanks to:
- wired for the E key’s location.
- Pikablooo for the pictures of the I key’s location!
- Samshine for the J key’s location with pictures!
- Idranoid for the H key’s location.
- mafikuu for the P key’s location.
- The Pigeon Lord for Hikikomori information!
HUGE INCREDIBLE THANK YOU TO SNAGGYTOOTHY! They sent the locations for the G, Y, and Z keys, along with pictures for EVERY single key!