
Overview
Welcome to Cave Story+ Weapons & Items Guide! You’ll find here basic information about every weapon and item obtainable (and unobtainable, but more about that later) in CS+.
Introduction

Cave Story+ is one of my favorite games, if not the most favorite platformer. I decided to make this guide, because I didn’t see any good guide describing items in inventory.
Maybe someday I’ll upgrade this guide from only ‘weapons and items’ to ‘ultimate guide for everything’ (achievements, weapons, items, tactics, walkthrough etc.), but I’m now too lazy to do it

Enjoy!
Important things:
- There are 10 unique weapons, but you are only able to hold 5 of them in your backpack.
- There are 38 collectible items.
Weapon / Polar Star

Description:
“Your very first gun.
It carries the mark of the Northern Star.”

Location:
First Cave – Hermit Gunsmith’s abode
Ammo:
Unlimited
- Damage: 1
- To level up: 10 xp
- Gun shoots a single bullet on short range.

- Damage: 2
- To level up: 20 xp
- Gun shoots a dual bullet on slightly longer range.

- Damage: 4
- To MAX: 10 xp
- Gun shoots a big bullet on even longer range.
Max. 2 shots on screen.

Tips:
- It’s your first weapon in the game, not very powerful, so try to keep it on 3 lvl.
- It can be traded/upgraded further in the game.
Weapon / Missile Launcher

Description:
“Long range arm dealing BIG damage.
The downside: Limited ammunition.”

Location:
Egg Corridor – Egg Observation Room
Ammo:
10, up to 62 (missile upgrades)
- Damage: 8-12
- To level up: 10 xp
- Launches a small missile.

- Damage: 12-20
- To level up: 20 xp
- Launches a medium missile on longer range.

- Damage: 20-30
- To MAX: 10 xp
- Launches 3 big missiles per one shot.
Max. 2 shots on screen.

Tips:
- Very powerful, but ammo is limited. Watch out for ammo and use it wisely.
- Always look for missile upgrades, which will increase ammo.
- Missile Launcher has blast radius, so you don’t need to be accurate, but accuracy equals to damage dealt.
Weapon / Fireball

Description:
“It’s projectiles bounce on the ground.
Quite useful on slopes.”

Location:
Bushlands – Santa’s House
Ammo:
Unlimited
- Damage: 2 * 2 (4)
- To level up: 10 xp
- Fires a small yellow/orange fireball.
Max. 2 shots on screen.

- Damage: 3 * 2 (6)
- To level up: 20 xp
- Fires a red fireball. Now it leaves trail.
Max. 3 shots on screen.

- Damage: 3 * 2 (6)
- To MAX: 20 xp
- Fires a blue fireball.
Max. 4 shots on screen.

Tips:
- Fireball is the only weapon whose shots are affected by gravity, so it’s useful against enemies that are below you or on a small slopes.
- Remember, that fireballs are bouncing from walls. Use this to fight effectively.
- Fireball can penetrate weaker enemies, dealing half damage to them.
Weapon / Bubbline

Description:
“Found in the Assembly Hall fireplace.
Use it as you like.”

Location:
Mimiga Village – Assembly Hall
Ammo:
100 (regenerates automatically)
- Damage: 1
- To level up: 10 xp
- Gun shoots small bubbles.
Max. 4 shots on screen.

- Damage: 2
- To level up: 20 xp
- Gun shoots bubbles automatically (hold button) with added spread. Increased range and ammo regeneration rate. No limit for bubbles on screen.

- Damage: 3
- To MAX: 5 xp
- Gun shoots bubbles which floats around Quote as long as ‘Fire’ button is held. Release it, to shoot them all. Max. 14 bubbles on screen.

Tips:
- Bubbline is useless on 1 lvl, so keep it on 2 lvl at least.
- On 3 lvl Bubbline gets special ability: bubble shield. Hold the ‘Fire’ button to make bubble shield, it’s very effective against enemy’s projectiles.
- Bubbline is also good against swarm of weak enemies (like a bats).
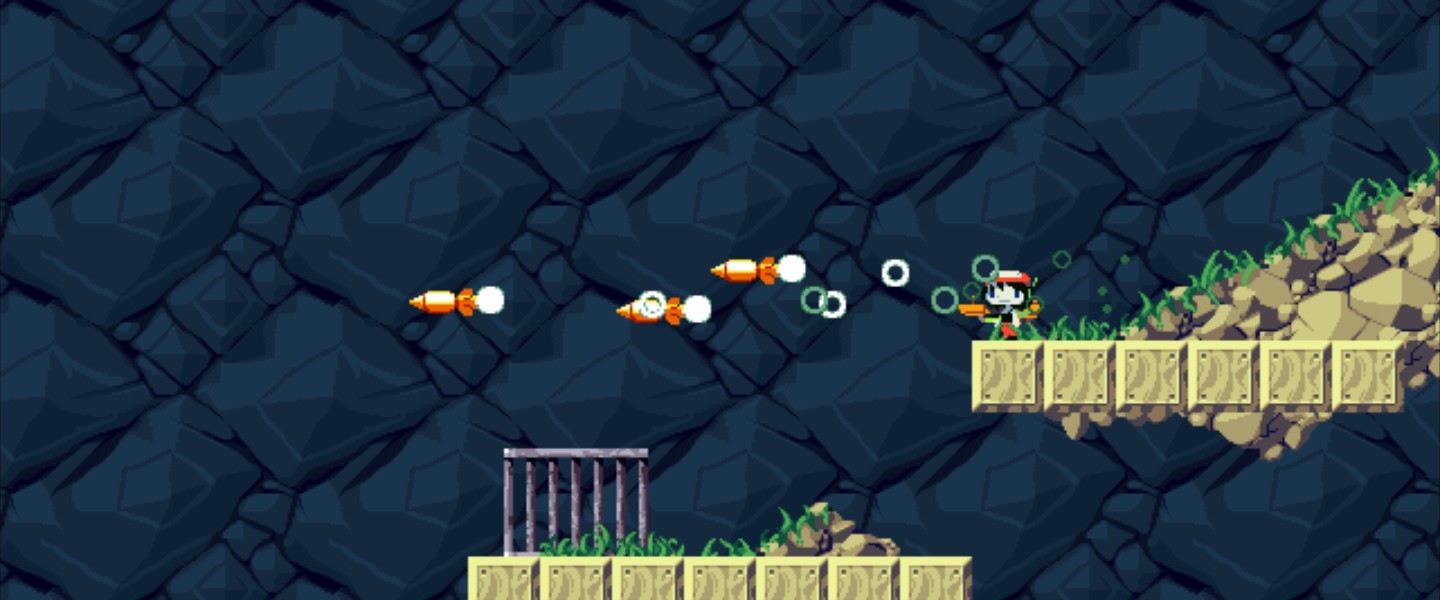
Weapon / Machine Gun

Description:
“A very high-speed firearm.
It’s ammo recharges gradually.”

Location:
Sand Zone – Sand Zone Residence
Ammo:
100 (regenerates automatically)
- Damage: 2
- To level up: 30 xp
- Gun shoots small, white bullets.

- Damage: 4
- To level up: 40 xp
- Gun shoots small, thin bullets, which looks like Polar Star 1 lvl, but with better range. Also ammo regenerates faster.

- Damage: 6
- To MAX: 10 xp
- Gun shoots large bullets, gives ability to fly, when shooting down.

Tips:
-
It fires quickly, but ammo isn’t unlimited, so you need sometimes to recharge your weapon. Get Turbocharger from Chaba’s Shop to increase time of unstoppable shooting.
- Machine Gun on 3 lvl gives ability to fly.
Just hold ‘Fire’ and ‘Down’ buttons to hover,
so you can get anywhere you want. - Machine Gun is the one of three weapons,
which you can get by exchanging Polar Star.
Avoid it, if you want to get Snake or Spur.
Weapon / Blade

Description:
“A one-hit projectile.
It contains the spirit of King.”

Location:
Sand Zone – Warehouse
Ammo:
Unlimited
- Damage: 15
- To level up: 30 xp
- Throws small sword, has medium range.
Max. 1 on screen.

- Damage: 18 (6 * 3)
- To level up: 60 xp
- Throws bigger sword, but has shorter range.
Max. 1 on screen.

- Damage: 18-80
- To MAX: 0 xp
- Summons King’s soul, if it hits, it will be struck many times, dealing massive damage.

Tips:
- Each level of Blade has benefits: 1 lvl gives you nice range, 2 lvl gives you high damage and 3 lvl gives you something between 1 and 2.
- Remember, that you go instantly to max when you reach 3 lvl, so even one hit will downgrade you to 2 lvl.
- It’s better to keep Blade on 2 lvl for bosses, because it can be fired immediately after landing a hit. Just mash ‘Fire’ button to kill every boss very quickly.
Weapon / Snake

Description:
“It shoots through walls!
Built by Chaba in the Labyrinth Shop.”

Location:
Labyrinth – Labyrinth Shop
Ammo:
Unlimited
- Damage: 4
- To level up: 30 xp
- Gun shoots rotating squares.
It fires through walls.

- Damage: 6
- To level up: 40 xp
- Gun shoots red fireball, which moves like a snake.
Increased range, goes through walls.

- Damage: 8
- To MAX: 16 xp
- Gun shoots blue fireball, which also moves like a snake. Max. 4 shots on screen, longer range, goes through walls.

Tips:
- It’s the only weapon with ability to shoot through walls. It’s very helpful in speedruns or situations when you have low HP.
- Snake is the one of three weapons, which you can get by exchanging Polar Star. Avoid it, if you want to get Machine Gun or Spur.
Weapon / Super Missile Launcher

Description:
“A serious missile upgrade.
Fast and deadly.”

Location:
Labyrinth – Boulder Chamber
Ammo:
10, up to 54 (missile upgrades)
- Damage: 15-18 (3*5 ; 3*6)
- To level up: 30 xp
- Launches a small missile.

- Damage: 27-30 (3*9 ; 3*10)
- To level up: 60 xp
- Launches a medium missile on longer range.
Max. 2 shots on screen.

- Damage: 45-54 (3*5*3 ; 3*6*3)
- To MAX: 10 xp
- Launches 3 big missiles per one shot.
Max. 2 shots on screen.
Tips:
- It’s stronger version of Missile Launcher, it accelerate faster and it has the best DPS in game.
- Like in Missile Launcher, SML has blast radius, so you don’t need to be accurate, but accuracy equals to damage dealt.
Weapon / Spur

Description:
“Hold the fire button to increase the potency of this modified Polar Star.”

Location:
First Cave – Hermit Gunsmith’s abode
Ammo:
Unlimited
- Damage: 4
- To level up: N/A
- Gun shoots Polar Star 3 lvl bullets. Unlike it,
there is no limit for bullets on screen.
- Damage: 15
- To level up: N/A
- Gun shoots a thin laser. It penetrate enemies.

- Damage: 50+
- To MAX: N/A
- Gun shoots dual thin lasers. It also penetrate enemies.

- Damage: 50-100
- Gun shoots thick laser beam. It kills every monster in one hit and deals HUGE damage to bosses.

Tips:
- Spur is the only weapon in game, which levels up when you hold ‘Fire’ button. Collecting experience with Spur is worthless.
- If you want to avoid losing exp on other weapons, just switch to Spur when you are close to get hit.
- Always charge it up when you are out of combat. You never know, when enemy will show up.
- Spur is the one of three weapons, which you can get by exchanging Polar Star.
Avoid it, if you want to get Machine Gun or Snake.
Weapon / Nemesis

Description:
“Lightning of the Goddess.
Level 1 deals the most damage.”

Location:
Outer Wall – Little House
Ammo:
Unlimited
- Damage: 12
- To level up: 1
- Gun shoots 2 bolts in a row with high speed and good range.
Max. 2 shots on screen.

- Damage: 6
- To level up: 1
- Gun shoots thin, bright blue bolt. Same range, normal speed. Max. 3 shots on screen.

- Damage: 1
- To MAX: 1
- Gun shoots rubber duck.
Similar to Bubbline 1 lvl.

Tips:
- Nemesis is the only weapon in the game, which gets weaker as it levels up. Just DON’T collect any exp.
- It has high DPS, which can be useful against bosses.
- Damage yourself, if you are on 2 or 3 lvl.
Item / Map System

So long as you always maintain a sense of exploration, you will someday find the way out. This is my hope.

Mimiga Village
Can be avoided?:
Yes
Needed for Best Ending?:
No
Notes:
Map System is useful item, which gives you ability to see the map layout of any area you are in. It’s located above the shack, where the first boss battle is.
Item / Silver Locket

A silver locket in the shape of a fish. From the wear on it, the locket must’ve been dear to someone for many years.

Mimiga Village – Reservoir
Can be avoided?:
No
Needed for Best Ending?:
Can’t be avoided.
Notes:
Silver Locket is the first item connected with plot in game. Silver Locket was a gift from Sue Sakamoto to Toroko as a symbol of their friendship. It’s located underwater in Reservoir.
Item / Arthur’s Key

One of two keys to Arthur’s house. It was found near Arthur’s gravestone.

Mimiga Village – Cemetery
Can be avoided?:
No
Needed for Best Ending?:
Can’t be avoided.
Notes:
Arthur’s Key is the second item connected with plot in game and first key in game. It’s used to open door to Arthur’s House. It’s located on Arthur’s grave in Cemetery. Description acknowledges the existence of two of Arthur’s keys – the second one has Toroko.
Item / ID Card

An ID Card found inside Egg No. 06.

Egg Corridor – Egg No. 06
Can be avoided?:
No
Needed for Best Ending?:
Can’t be avoided.
Notes:
ID Card is used at computer in Egg No. 01 to deactivates the shield to Egg No. 00’s room.
Item / Santa’s Key

Santa’s house key.

Bushlands
Can be avoided?:
No
Needed for Best Ending?:
Can’t be avoided.
Notes:
Santa’s Key is used to open door to Santa’s House. It’s located near the place where Santa stands. After giving key to Santa, he will invite you to his house and he will give to you weapon – Fireball.
Item / Chako’s Rouge

Red lipstick from Chako. It has no use.

Bushlands – Chako’s House
Can be avoided?:
Yes
Needed for Best Ending?:
No
Notes:

Item / Jellyfish Juice

A fluid that can extinguish fires.

Bushlands
Can be avoided?:
No
Needed for Best Ending?:
Can’t be avoided.
Notes:
Jellyfish Juice is used to extinguish fireplaces. There are 3 fireplaces in game:
Fireplace contains “Bubbline”

Fireplace contains “Charcoal”

Fireplace let you to go deeper in Bushlands

Item / Charcoal

Removed from a fireplace.
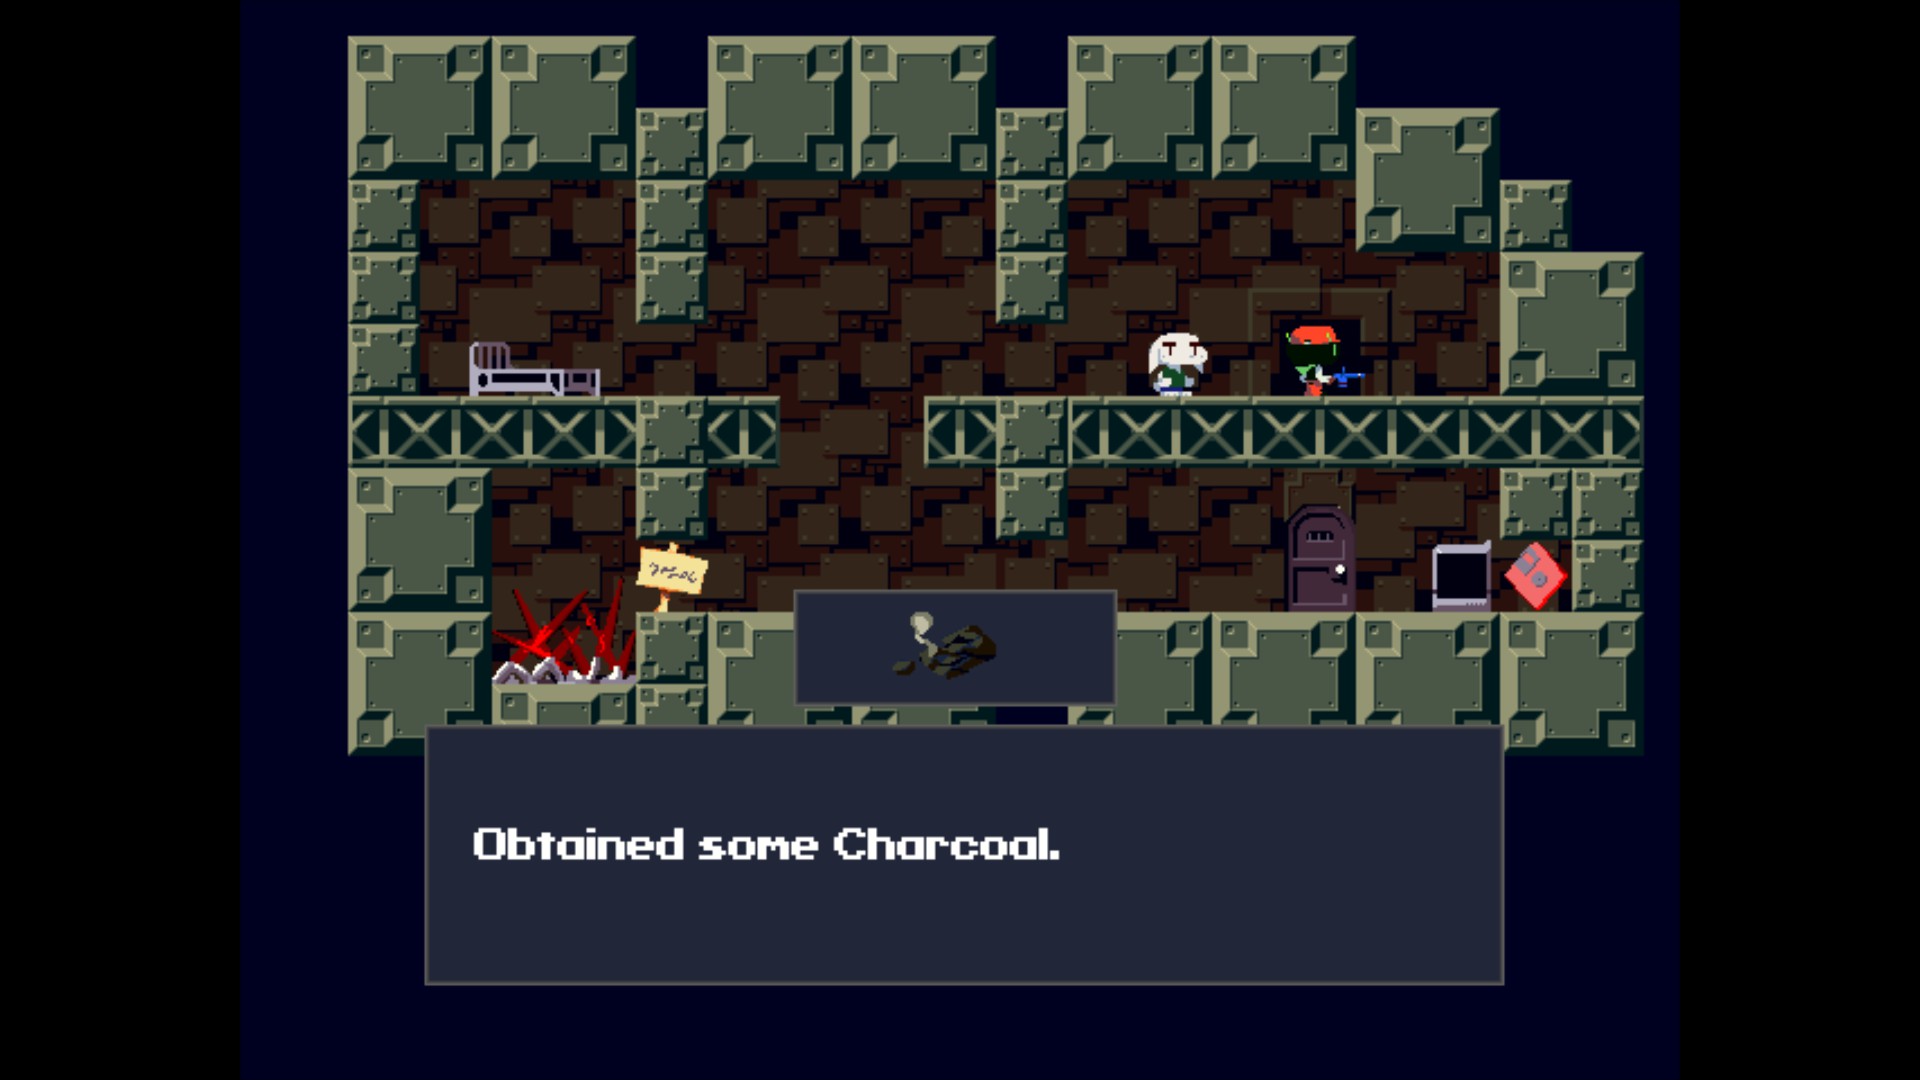
Bushlands – Santa’s House
Can be avoided?:
No
Needed for Best Ending?:
Can’t be avoided.
Notes:
Charcoal is used to make a “Bomb” later in game. It’s located in fireplace in Santa’s House.
Item / Rusty Key

A rusty key.

Bushlands
Can be avoided?:
No
Needed for Best Ending?:
Can’t be avoided.
Notes:
Rusty Key is received from Kazuma Sakamoto and it’s used to open Power Supply Room.
Item / Gum Key

It has the word, “Gum”.

Bushlands
Can be avoided?:
No
Needed for Best Ending?:
Can’t be avoided.
Notes:
Gum Key is another key received from Kazuma Sakamoto and it’s used to open G.U.M. Room.
Item / Gum Base

A piece of gum.
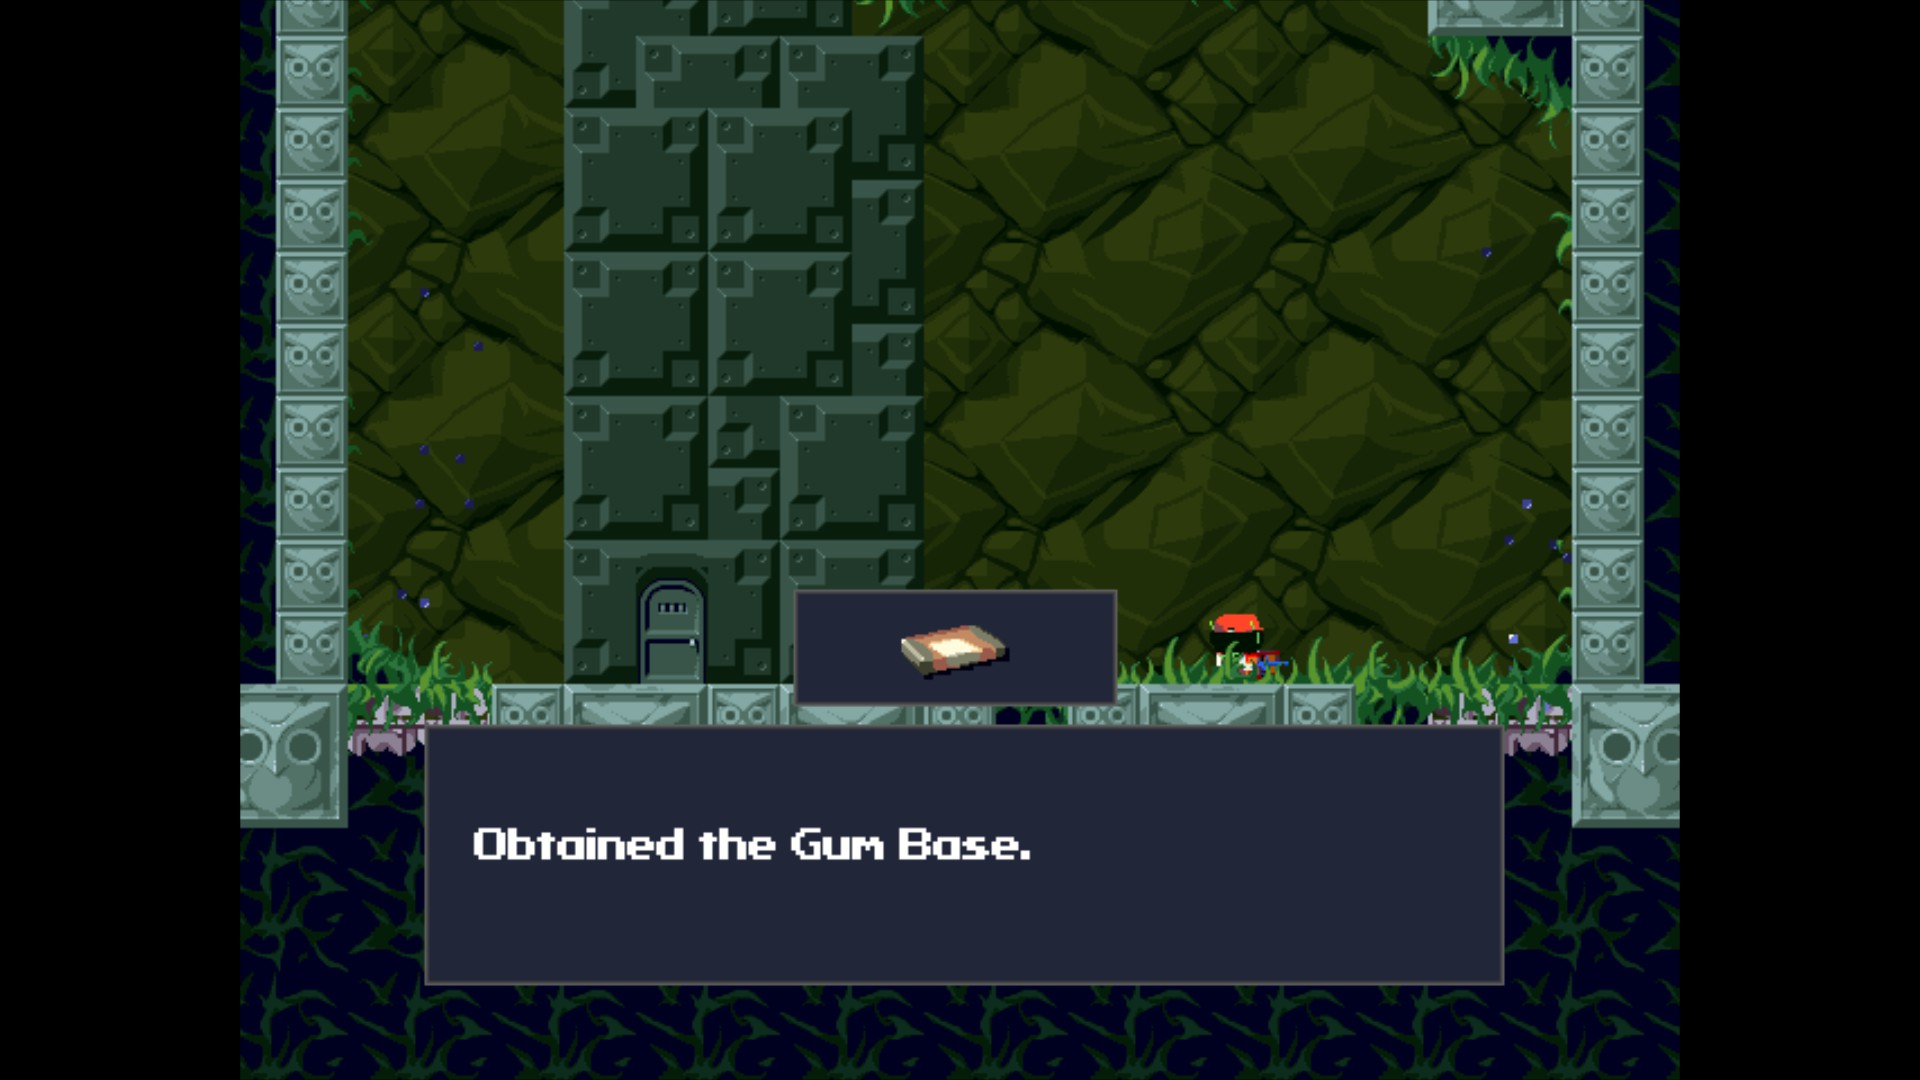
Bushlands – G.U.M. Room
Can be avoided?:
No
Needed for Best Ending?:
Can’t be avoided.
Notes:
Gum Base is found in a chest in G.U.M. Room. It’s one of three ingredients needed to make bomb. Upon picking up item, boss battle appears.
Item / Bomb

A bomb for blowing up doors.

Bushlands – Power Supply Room
Can be avoided?:
No
Needed for Best Ending?:
Can’t be avoided.
Notes:
Bomb made by Malco is used to blow up Shelter’s door, where Kazuma is prisoned.
Item / Curly’s Panties

Found behind a wall. Green panties with a cute little red insignia. They have no use.

Sand Zone – Sand Zone Residence
Can be avoided?:
Yes
Needed for Best Ending?:
No
Notes:
Curly’s Panties are another hidden special item, which can be found in Sand Zone Residence inside a wall. Using the Map System allows the player to see the hidden passageway. Finding Curly’s Panties unlocks “Curly Story” mode.
Item / Dog

Woof woof!

Sand Zone
Can be avoided?:
No
Needed for Best Ending?:
Can’t be avoided.
Notes:
Dogs belong to Jenka, she asks you to find them. There are five Jenka’s dogs to be found in the Sand Zone:
Jenka’s pet dog and leader of the bunch. Lost while looking for his siblings, he likes Curly’s place.
- Hajime is found in the Sand Zone Residence, after defeating Curly Brace.

Jenka’s pet and an adept treasure hunter who loves chests. He loves sleeping inside any chest he can find.
- Mick is found in the chest, behind concealed passage underneath the upper area with the Polishes and Sun Stones.

Another of Jenka’s lovable puppies. This poor little one suffers from bad vision, so he sticks to dark places.
- Shinobi is found in the Deserted House, use the Map System to navigate through the dark passageways and reach the dog.

Best with a bone. Jenka’s pet hides so many bones in so many places it’s hard to keep track of them.
- Kakeru is found in the lower area of the Sand Zone, he starts running, if you will get closer to him.

A beautiful dog belonging to Jenka. This one dreams the days away with long, long naps.
- Nene is found sleeping next to the Sand Zone Warehouse.
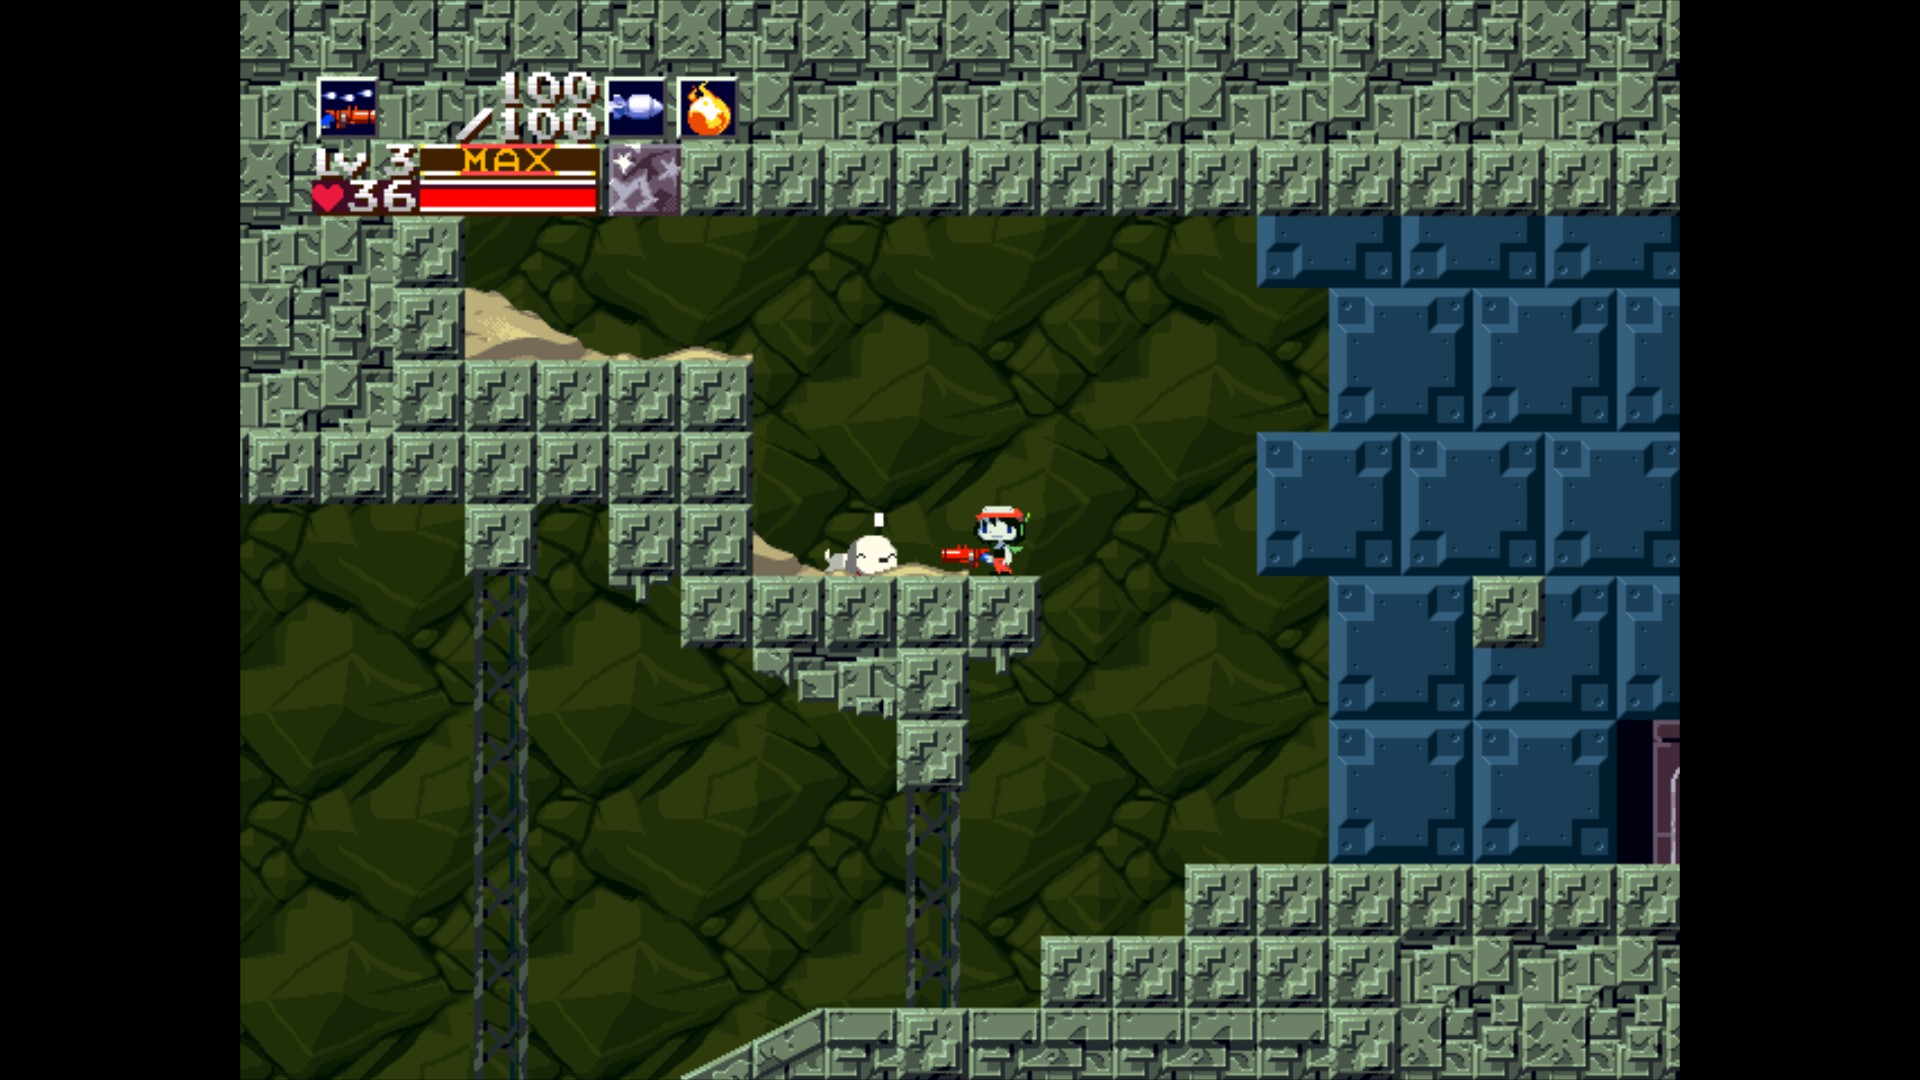
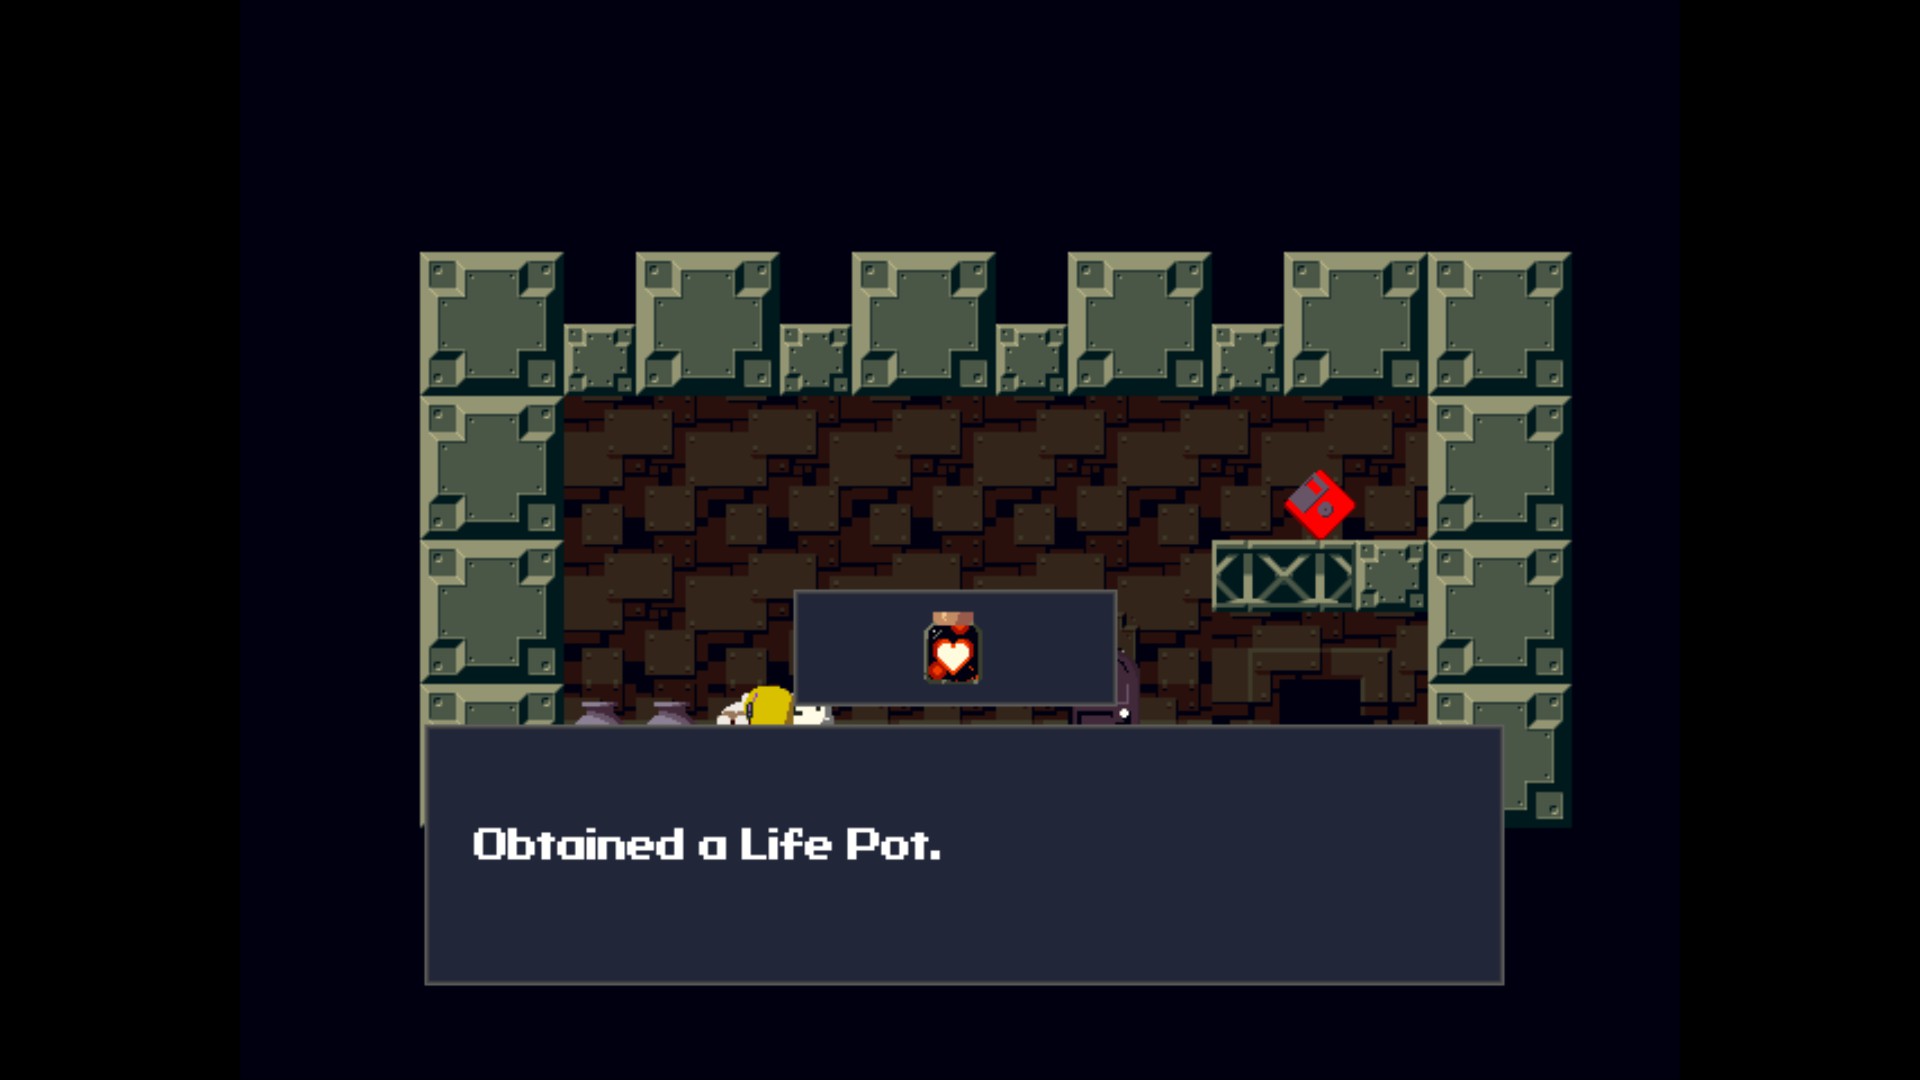
Item / Life Pot

This will restore life, but just one time.
Sand Zone – Jenka’s House
Can be avoided?:
Yes
Needed for Best Ending?:
No
Notes:
Life Pot can be obtained from Jenka, after delivering last dog. Alternatively, you can exit her house without giving to her dog. Later, you still can receive Life Pot from Jenka or dog, which appears in Plantation. Life Pot restores your health to its maximum. It disappears from the inventory upon being used.
Item / Turbocharge

Speeds up the rate of ammo recovery from the machine gun.

Labyrinth – Labyrinth Shop
Can be avoided?:
Yes
Needed for Best Ending?:
No
Notes:
Turbocharge can be obtained from Chaba in Labyrinth Shop only, if player has Machine Gun is his inventory. Turbocharge increases the rate at which the weapon regenerates lost ammunition.
Item / Clinic Key

It reads, “Labyrinth Clinic”.
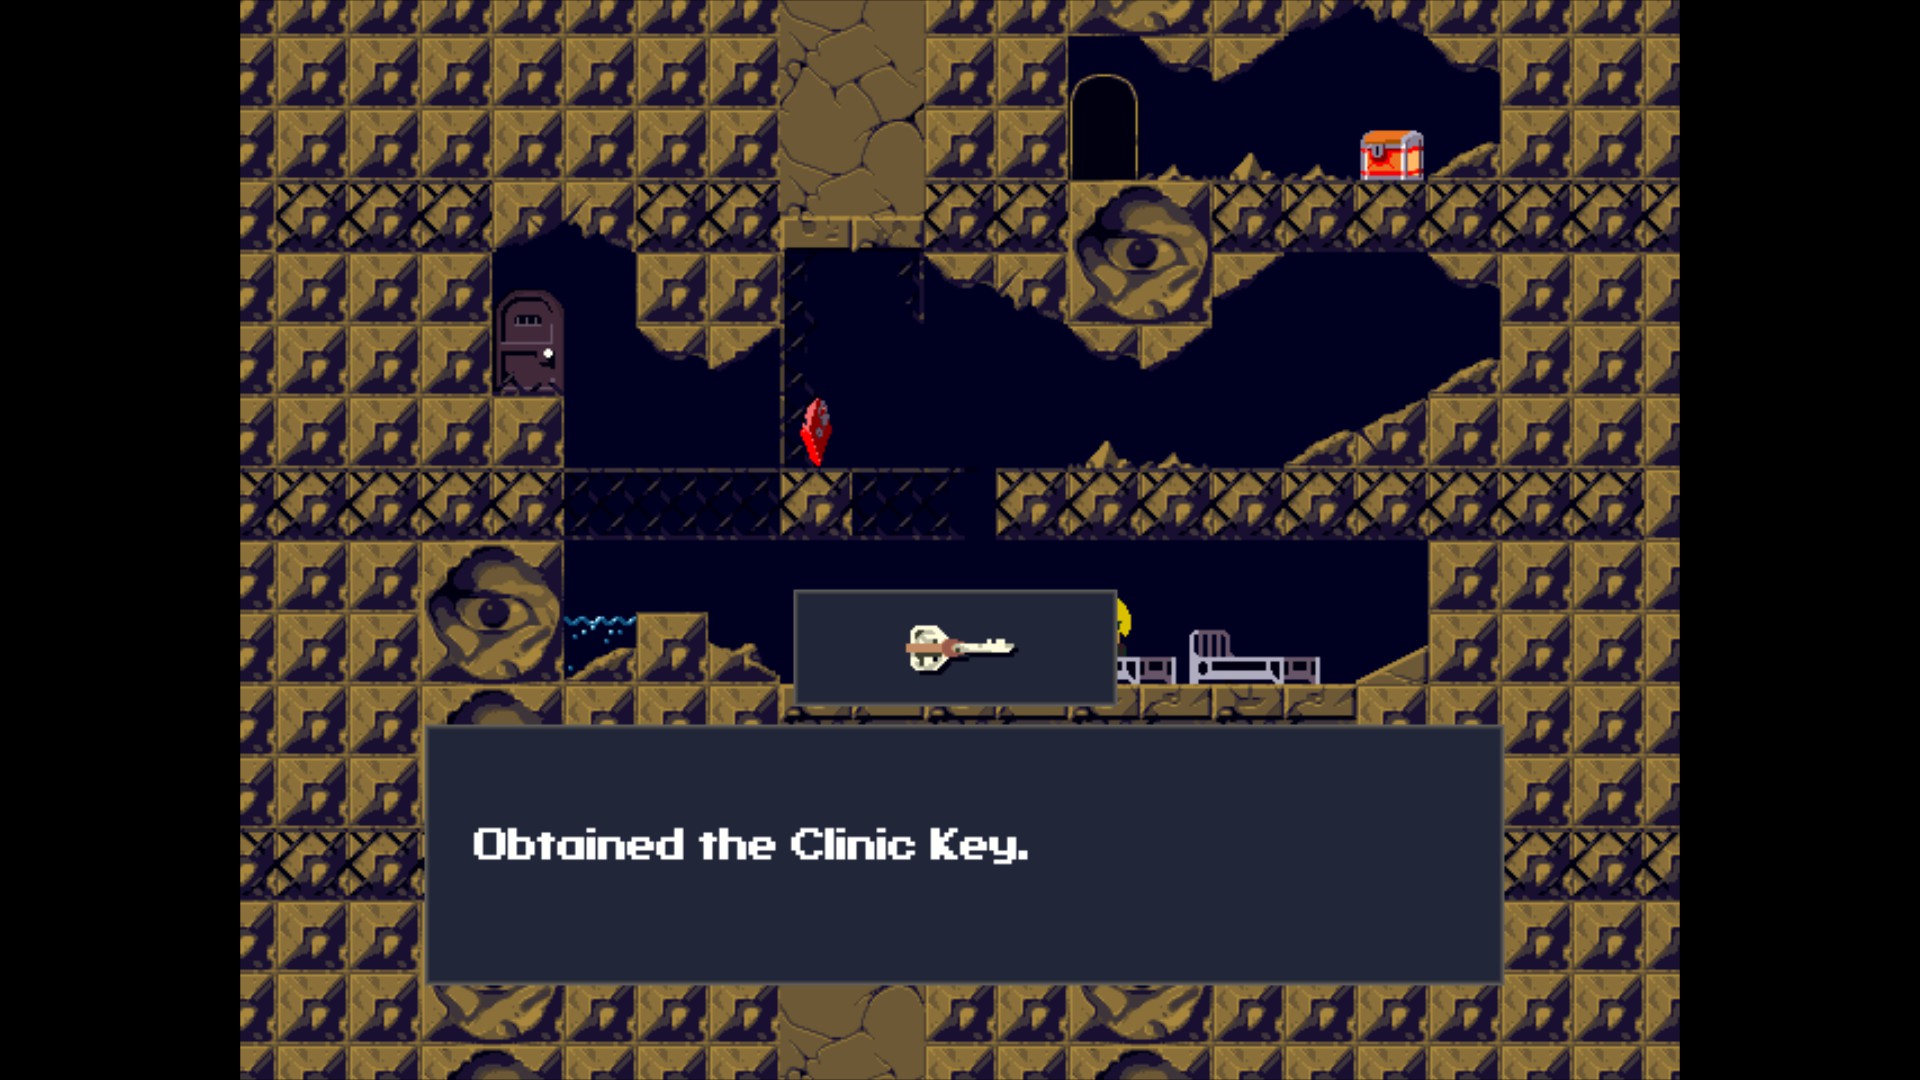
Labyrinth – Labyrinth Camp
Can be avoided?:
No
Needed for Best Ending?:
Can’t be avoided.
Notes:
Clinic Key is received from Dr. Gero in the Labyrinth Camp and it’s used to open Clinic Ruins.
Item / Cure-All

A medicine that cures anything?
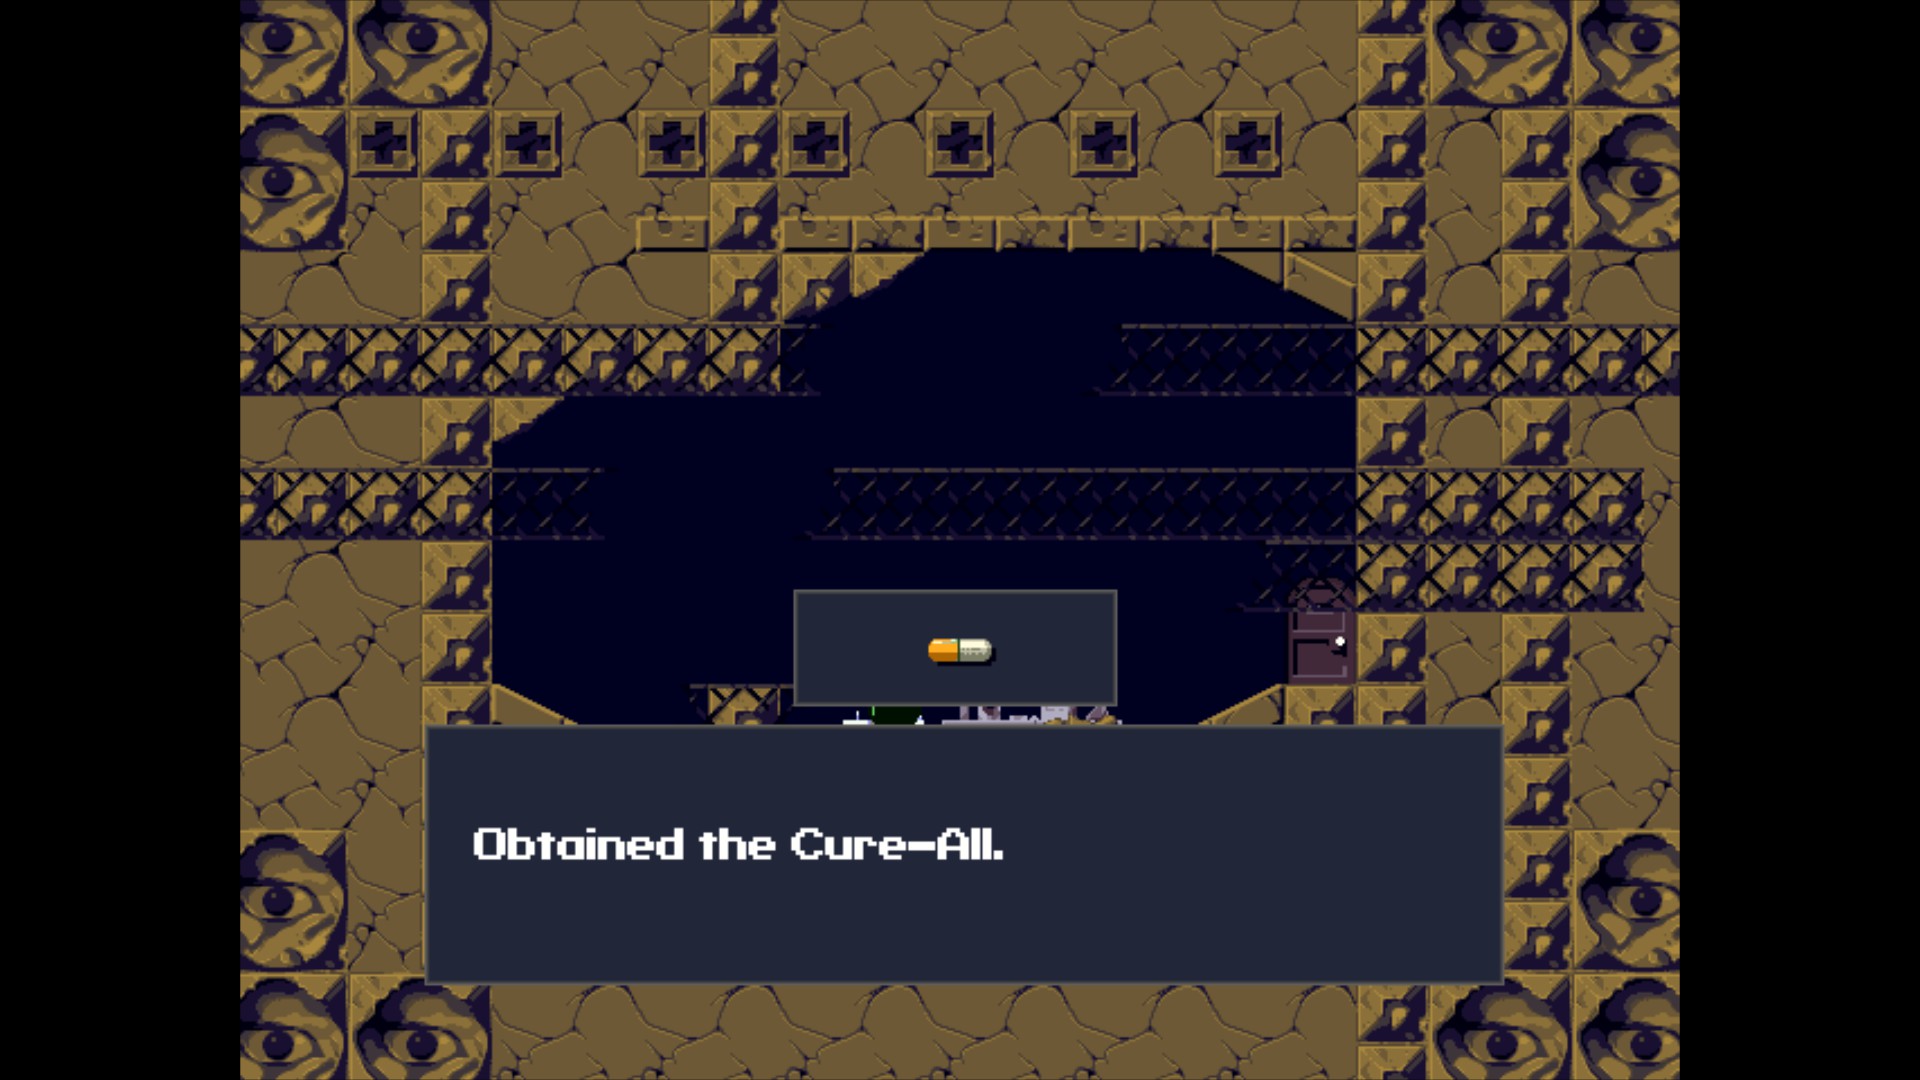
Labyrinth – Clinic Ruins
Can be avoided?:
No
Needed for Best Ending?:
Can’t be avoided.
Notes:
Cure-All is used to heal Curly Brace. Upon picking up item, boss battle appears.
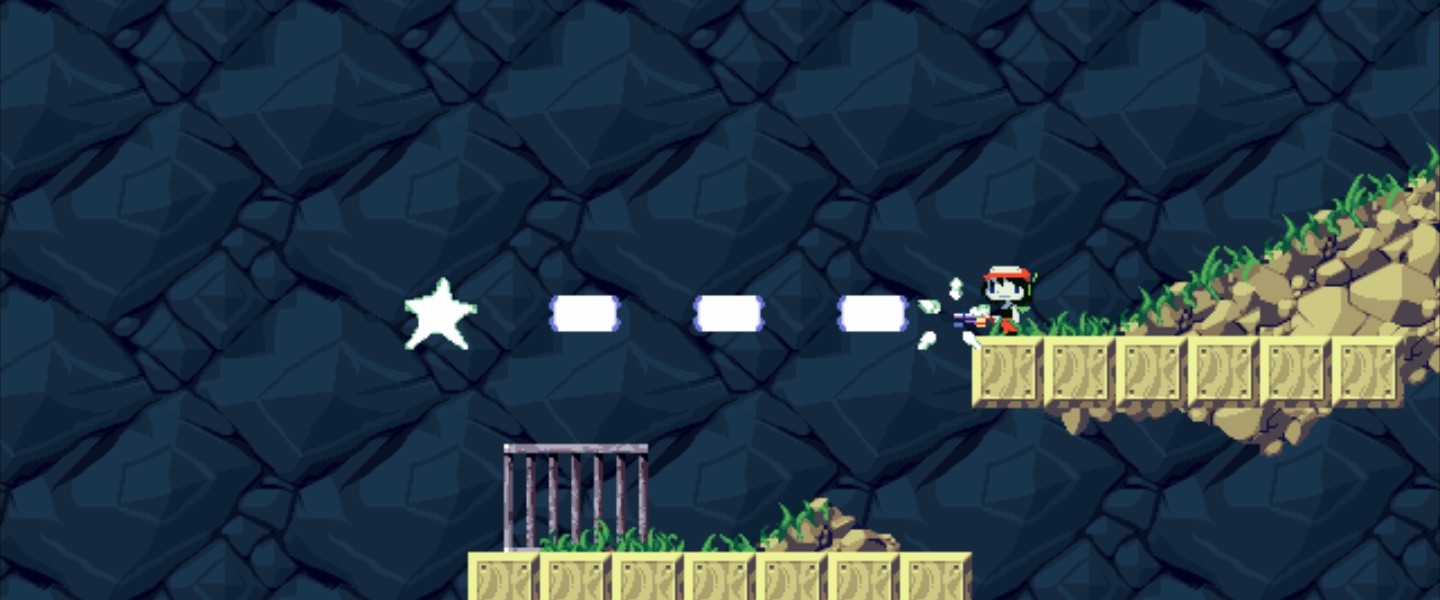
Item / Arms Barrier

Weapon energy lost from sustaining damage is halved.

Labyrinth – Labyrinth Camp
Can be avoided?:
Yes
Needed for Best Ending?:
No
Notes:
Arms Barrier is useful item, which halves weapon energy loss when you receive damage. To obtain it, you need to reach to the far right at the top in Labyrinth W, where a star block is visible. You can get there either by using Booster, a Machine Gun or by bouncing off a jumping critter.
Item / Booster v0.8

Push the jump button while airborne to boost for a limited time.

Labyrinth – Labyrinth B
Can be avoided?:
Yes
Needed for Best Ending?:
Avoid it, it prevents to get Best Ending.
Notes:
Booster v0.8 gives you ability to fly for a very short period of time (1 second). It allows to fly only upwards. Booster v0.8 is received from Professor Booster in Labyrinth B.
IMPORTANT: If you obtain this item,Professor Booster dies and theBooster v2.0 (which is required to get Best Ending) will be unobtainable.
Item / Tow Rope

A tow rope for robots.

Labyrinth – Core
Can be avoided?:
Yes
Needed for Best Ending?:
Yes
Notes:
Tow Rope is a first item required for Best Ending. It’s located underwater on right side in Core. It’s recommended to get it, before boss fight (talking with Curly activates it). If you have Booster v0.8, Tow Rope doesn’t appear in room.
Item / Curly’s Air Tank

Allows for underwater breathing. Curly gave it to you.

Labyrinth – Core
Can be avoided?:
No
Needed for Best Ending?:
Can’t be avoided.
Notes:
Curly’s Air Tank is received from Curly Brace after defeating The Core. Item creates clear bubble encases Quote, allowing him to breathe while submerged underwater.
Item / Alien Medal

Engraved with the image of a space alien. It has no use, Ika…

Waterway – Main Artery
Can be avoided?:
Yes
Needed for Best Ending?:
No
Notes:
Alien Medal is hidden special item, which can be obtained if the player defeats Ironhead without taking any damage. Item refers to Ikachan – game made by Pixel, author of Cave Story.
Item / Booster v2.0

Press the jump button while airborne and boost in one of four directions.

Mimiga Village – Arthur’s House
Can be avoided?:
Yes, if player took Booster v0.8
Needed for Best Ending?:
Yes
Notes:
Booster v2.0 is the completed version of the Booster v0.8, which also gives ability to fly, but in every direction. Booster v2.0 is the second item requied to get Best Ending.
Item / Whimsical Star

A little item from Chaba in the labyrinth, a whimsical star.

Labyrinth – Labyrinth Shop
Can be avoided?:
Yes
Needed for Best Ending?:
No
Notes:
Whimsical Star can be obtained from Chaba in Labyrinth Shop only, if player has Spur in his inventory. When Whimsical Star is equipped, three stars show up and move around Quote, if Spur is charged to its maximum level. When Quote takes damage, he loses a star. These stars are able to travel through walls, and deal 1-5 damage to enemies they touch.
Item / 290 Counter

A fully automatic timer. It has no buttons.

Outer Wall – Clock Room
Can be avoided?:
Yes
Needed for Best Ending?:
No
Notes:
290 Counter is only possible to obtain when the player has the Booster v2.0 and if the player has saved Curly. 290 Counter keeps track of running time in certain areas.
Item / Mushroom Badge

A mushroom badge obtained from Ma Pignon. It serves no purpose.

Mimiga Village – Storage Room (Cemetery)
Can be avoided?:
Yes
Needed for Best Ending?:
Yes, it takes part to obtain Iron Bond
Notes:
Mushroom Badge is received from Ma Pignon. Mushroom Badge serves no formal use to the player. Once obtained, the player is to examine it from the inventory so that Quote realizes the badge is worthless and is not the item he is searching for.
Item / Ma Pignon

It is said to have the power to restore memories…

Mimiga Village – Storage Room (Cemetery)
Can be avoided?:
Yes
Needed for Best Ending?:
Yes, it takes part to obtain Iron Bond
Notes:
Ma Pignon is obtained as an item when Quote defeats it. It’s used to restore Curly Brace memory.
Item / Mister Little

We there yet?

Mimiga Village – Cemetery
Can be avoided?:
Yes
Needed for Best Ending?:
No
Notes:

Item / Iron Bond

Your connection to Curly Brace, the only person you trust. You’ll see each other again…

Plantation
Can be avoided?:
Yes
Needed for Best Ending?:
Yes
Notes:
Iron Bond is another item required for Best Ending. It’s received from Curly Brace after reviving Curly’s memories with Ma Pignon.
Item / Teleporter Room Key

A key fished out by a friendly Mimiga named Kanpachi.

Plantation
Can be avoided?:
No
Needed for Best Ending?:
Can’t be avoided.
Notes:
Teleporter Room Key is the last key obtainable in game. It’s used to open door to Teleporter Room, which is necessary for the game’s main plot to proceed.
Item / Sue’s Letter

Will you read it?

Plantation – Jail No. 1
Can be avoided?:
No
Needed for Best Ending?:
Can’t be avoided.
Notes:

“Will you read it?”
Hey, it’s me, Sue.
I don’t remember telling you anything about us. We came to the island as a research group.
It was me, my Mom, Kazuma, Professor Booster and a few assistants. …The Doctor was with us, too.
He was supposed to take care of our medical needs and did, I guess…
But that all changed when he found the Demon Crown…
That Crown used to belong to the master of this island– and grants immense magical powers to the person who dons it.
The Doctor knew about it well before coming to the island. It’s the reason he forced himself onto our group.
After he grabbed hold of the crown that was pretty much it, we couldn’t do anything about it.
The only thing we could do was continue the research of the island under his command.
He seeks to rule the surface using the island as a flying fortress.
From what I can tell, he plans on attacking the surface with the enraged Mimiga army.
I was able to escape, however, the other researchers are probably…
Of course, he’s using the innocent Mimiga to grow a large quantity of the red flowers.
And once he’s ready to attack… He’s gonna send the Mimiga into a state of insane rage by feeding them red flowers.
With his powers from the crown he’ll control them and me, too.
If you can get out of the jail, please look for a hidden safe house somewhere within the Plantation.
If my Mom is still alive then she’ll be there working on a plan of her own to beat the Doctor.
Please, help her as much as you can.
Before I forget, the password to get into the safe house is “yrotS evaC”.
Item / Mimiga Mask

A mask made by Momorin Sakamoto. It’s kinda big for you…

Plantation – Hideout
Can be avoided?:
No
Needed for Best Ending?:
Can’t be avoided.
Notes:
Mimiga Mask is obtained from Momorin Sakamoto before she sends you to collect parts for the rocket. She also takes away Booster v2.0, until you will get all needed parts. Mask serves as a disguise, allows Quote to talk with other Mimigas.
You can talk to Momorin to exchange Mimiga Mask for your Booster v2.0. However, you can keep Mimiga Mask by launching rocket without talking with Momorin, but you will lose Booster and possibility to get Best Ending.
Item / Broken Sprinkler

A broken water sprinkler.

Plantation
Can be avoided?:
No
Needed for Best Ending?:
Can’t be avoided.
Notes:
Broken Sprinkler is needed to exchange it for Sprinkler, which is part of a rocket.
Item / Sprinkler

It’s new. …Isn’t it?

Plantation – Rest Area
Can be avoided?:
No
Needed for Best Ending?:
Can’t be avoided.
Notes:
Sprinkler is obtained from Megane in Rest Area. It’s a part of rocket, needed to continue game’s plot.
Item / Controller

Required to make a rocket. Pride of Itoh, the big fat coward.

Plantation – Storehouse
Can be avoided?:
No
Needed for Best Ending?:
Can’t be avoided.
Notes:
Controller is the last part of rocket, given by Itoh.
Item / Medal of the Red Ogre

Small and incredibly heavy. It has no use.

Last Cave (Hidden)
Can be avoided?:
Yes
Needed for Best Ending?:
No
Notes:
Medal of the Red Ogre is a reward for beating Red Ogre in Last Cave (Hidden). When Red Ogre dies, chest containing medal appears in front of him.
Bonus Item / Beast Fang

You’re not supposed to find this. How’d you do it?

Mimiga Village – Yamashita Farm
Can be avoided?:
It’s unobtainable without cheats.
Needed for Best Ending?:
Can’t be obtained.
Notes:

In original game, Beast Fang was placed one block under Life Capsule in Yamashita Farm. It was possible to change block with map editor, which should reveal the Beast Fang entity.
You can obtain Beast Fang by editing save file with hex editor – more information here.[strategywiki.org]
The End

Thanks for reading, I hope you enjoyed it, if you have any questions/suggestions, please leave comment below and I’ll answer ASAP.
Also if you liked it, please rate guide or add it to favorites

See ya!
~NesManiac