Overview
So. Here I show how to make a skybox without those disgusting, demonic, cringeworthy texture seams, without tedious and rage-inducing texture aligning.
Downloading the static mesh(es) and importing them in Killing Floor SDK.
Download this Static Mesh pack. [link]
Once downloaded, you can unpack the .ASE files anywhere you want, but I unpacked them to KF’s Static Meshes folder just because I could. Start up Killing Floor SDK, and once it’s opened, go to Static Meshes Browser.
Then, lets import the static meshes. From the Browser you’ve opened, in top left corner, press ”file” and in dropdown menu, ”Import…”


Making the Skybox.
So, now you got the static mesh pieces imported. Alright. Subtract a room large enough to contain the 3 pieces of the skybox, then place the pieces in their intended places. In static mesh browser, pick bottom piece, in the skybox room, place it as the bottom-most side of the skybox. Then do the same for the 4 walls piece and top piece. After that, place a ”SkyZoneInfo” actor in the middle, or depending on how you want the sky to be oriented, so that the players appear to be high up on mountains or on ground level, at a suitable elevation. But it should be in the middle of the skybox in left and right directions.
Last step(s)
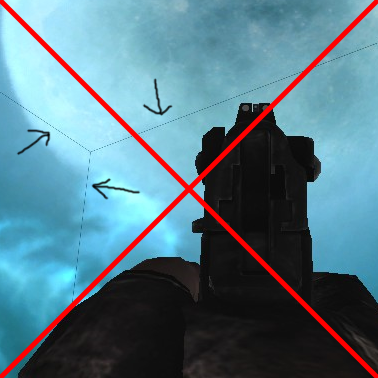
Here is how it should look once your skybox anymore needs textures applied.
Now, we apply the sky textures. They must be separate textures. The bottom texture is useless however, if in the map players can’t see the skybox’s bottom. Right click on for example first, the top piece of skybox and go to it’s properties. Go to ”Display” part in the properties window. In there, find ”Skins” section, click ”Add” and then in texture browser, left click on the sky top texture so it’s selected and in the Skins section told of earlier, press ”Use” button now to set the texture to be used.
Next up, you do the same thing for the walls piece and bottom piece of the skybox. For the walls piece, you need to add 4 skins however. And you need to simply test which texture is supposed to go to what skin slot. And you may need to rotate the walls piece to fit the textures correctly to each other. Now you should have a nice old skybox without annoying texture seams. Yay!

