
Overview
Welcome to the Game of Life and Death!Whether you’re new to the game and feel overwhelmed by the possibilities, or 90% done but can’t get those last few tokens, you’re in the right place. This guide is meant as a compendium of tips to help you for your playthrough of this awesome game, regarding combats, challenges, but also deck building and achievements. Still a Work In Progress though.Post any typos, questions, comments, clarification, or suggestions for formatting or content in the comments below. Thank you for reading!Thanks to LE_MALM for weapon shards
COMBAT: Counteract bad RNG by never getting hit!
In Hand of Fate 2, mastering combat defense and the behavior patterns of the various enemies in the game will allow you to counteract/brush off most Chance Gambit failures. Swift and efficent combat will save you life and time, and as you often have to fight with time constraints it’s an important skill. Let’s break it down :
You now have 3 types of weapons :
- Dual Wielding (DW) weapons have low damage but good dps potential provided you’re not fighting enemies with damage reduction such as any Steel unit or an Ogre. With a lot of fast, low-damage attacks, they are somewhat useful against Greed opponents who have the ability to dodge attacks every once in a while, which won’t mess with your dps too much.
- Sword & Board (S&B) weapons are the masters of riposte and especially efficient against Northerners who will combo Light Attacks (2 for the basic unit and 3 for Berserkers), all of which you can riposte with extra damage. They also have the huge advantage to let you use a shield, with its own defence rating and passive, and the ability to block (or even deflect) some ranged attacks.
- 2-Handers (2H) are slow but high damage, making them the best to tackle enemies with damage reduction and (marginally) less efficient against dodging enemies. Your Block Breaks will also deal damage as you break an opponent’s guard, and also deal more damage to armoured units. If you have trouble with Phalanx or Knights, they’re probably the best choice.
⠀⠀
There are 2 types of attacks to watch out for:
Light Attacks (LA) warn you with a green cue to block, (and then riposte!).
Heavy Attacks (HA) warn you with a red cue. They must be dodged, they cannot be blocked.
⠀⠀Most Light Attacks can be riposted, whereas Heavy Attacks must be dodged. Dodging a LA can sometimes be beneficial. So a Northerner is combo attacking you and you don’t have a weapon that can riposte? Dodge the first/second swing or block and then dodge, and hack away while he finishes his long slow combo. Against most regular light attacks this strategy will occasionally get you hit, and it’s more consistent to just block.
⠀⠀Enemies can now also Counter-Attack (CA) so fights are now (a bit) less of a lmb spam-fest ; some opponents will keep you on your toes with the eventuality of a light CA or a heavy CA. Those CA can not be interrupted so you have to be prepared to block or dodge them. The more knowledge of the unit types you’ll have and the easier it’ll get.
⠀⠀You have to always keep in mind that, no matter how many opponents you’re facing (and towards the end, you’ll face hordes of them), only ever one of them will target you at a time, plus the eventual Counter Attack of the guy you’re currently whaling on. This means the only situations when you are attacked by two opponents at the same time is of your own doing and you should sometimes switch target during the fight to reduce the risk of proc’ing a CA.
⠀⠀In your arsenal of moves, you also have Block Breaks (BB) and Weapon Ability (WA). BB are used to break an enemy’s guard – thus stunning him (Phalanx or basic Steel units) – or his armor (Captain of Steel, Knight of Steel, Black Knight, Necromancer, Champion of Frost, Corrupted Abomination and so on…). Beware of Phalanx units initiating a LA while you are doing a bash, because you won’t interrupt them ! Always be ready to block when fighting those.
⠀⠀You can unleash your WA when you have filled your combo requirements. Depending on your weapon, they will have different effects, along with some sweet invulnerability frames (more on this later).
⠀⠀Just as you’re blocking a LA, input an attack of your own to score a riposte. This attack will do (1.25x damage? need confirm) and is indicated by a yellow damage number. You can not riposte while wielding a heavy weapon, and you can not riposte attacks which knock you back when Dual Wielding (again, northener’s and ogre’s LA). You also can’t riposte through a block, or deal damage to enemies through armor, ex. Champion of Frost, Knight of Steel or Phalanx of Steel
Ripostes can still be executed but they will have no effect as long as the enemy’s armor/shield is up.
⠀⠀I’m not a fan of DW ; while the dps can be really high, it also feels more likely to proc Counter-Attacks and thus is “more dangerous” in a way, at least for me. S&B feels like the best all-around weapon, basically making Northerner encounters trivial while holding their own against all types of opponents. 2H with a dodge-heavy playstyle can also be incredibly rewarding while easily filling the combo bar for your Special Attack.
⠀⠀Although it is the only way to evade HA (besides walking/running away), dodging is not always the be-all end-all of defense in this game. Against fast LA (looking at you Greed units) you often get punished when trying to roll away instead of blocking/riposting. Some dangerous attacks to try and roll include all Greed LA, the first LA of an Ogre (dodging the second one, however, will break his combo and allow you to attack immediately) and most “running” LA (Black Knight’s especially). Always prefer dodging sideways, except Northerners HA which are, for some reason, incredibly easy to evade if you roll into them. It would seem the invulnerability frames kick in pretty late in the roll animation, however spamming rolls to get to your downed companion to revive them is still fairly safe.
⠀⠀The most reliable invulnerability frames happen, surprisingly, while doing your Weapon Ability : even after seeing the red or green cue from an enemy attack you can use your WA to completely nullify it, making filling your combo bar all the more crucial.
⠀⠀Beware of executing downed opponents, because while the animation will protect you from any attack initiated after your input, it won’t shield you from attacks whose cues were visible before you started it (especially important to keep in mind while fighting Corrupted units).
Companions


Gambits: Tweaking RNG in your Favor
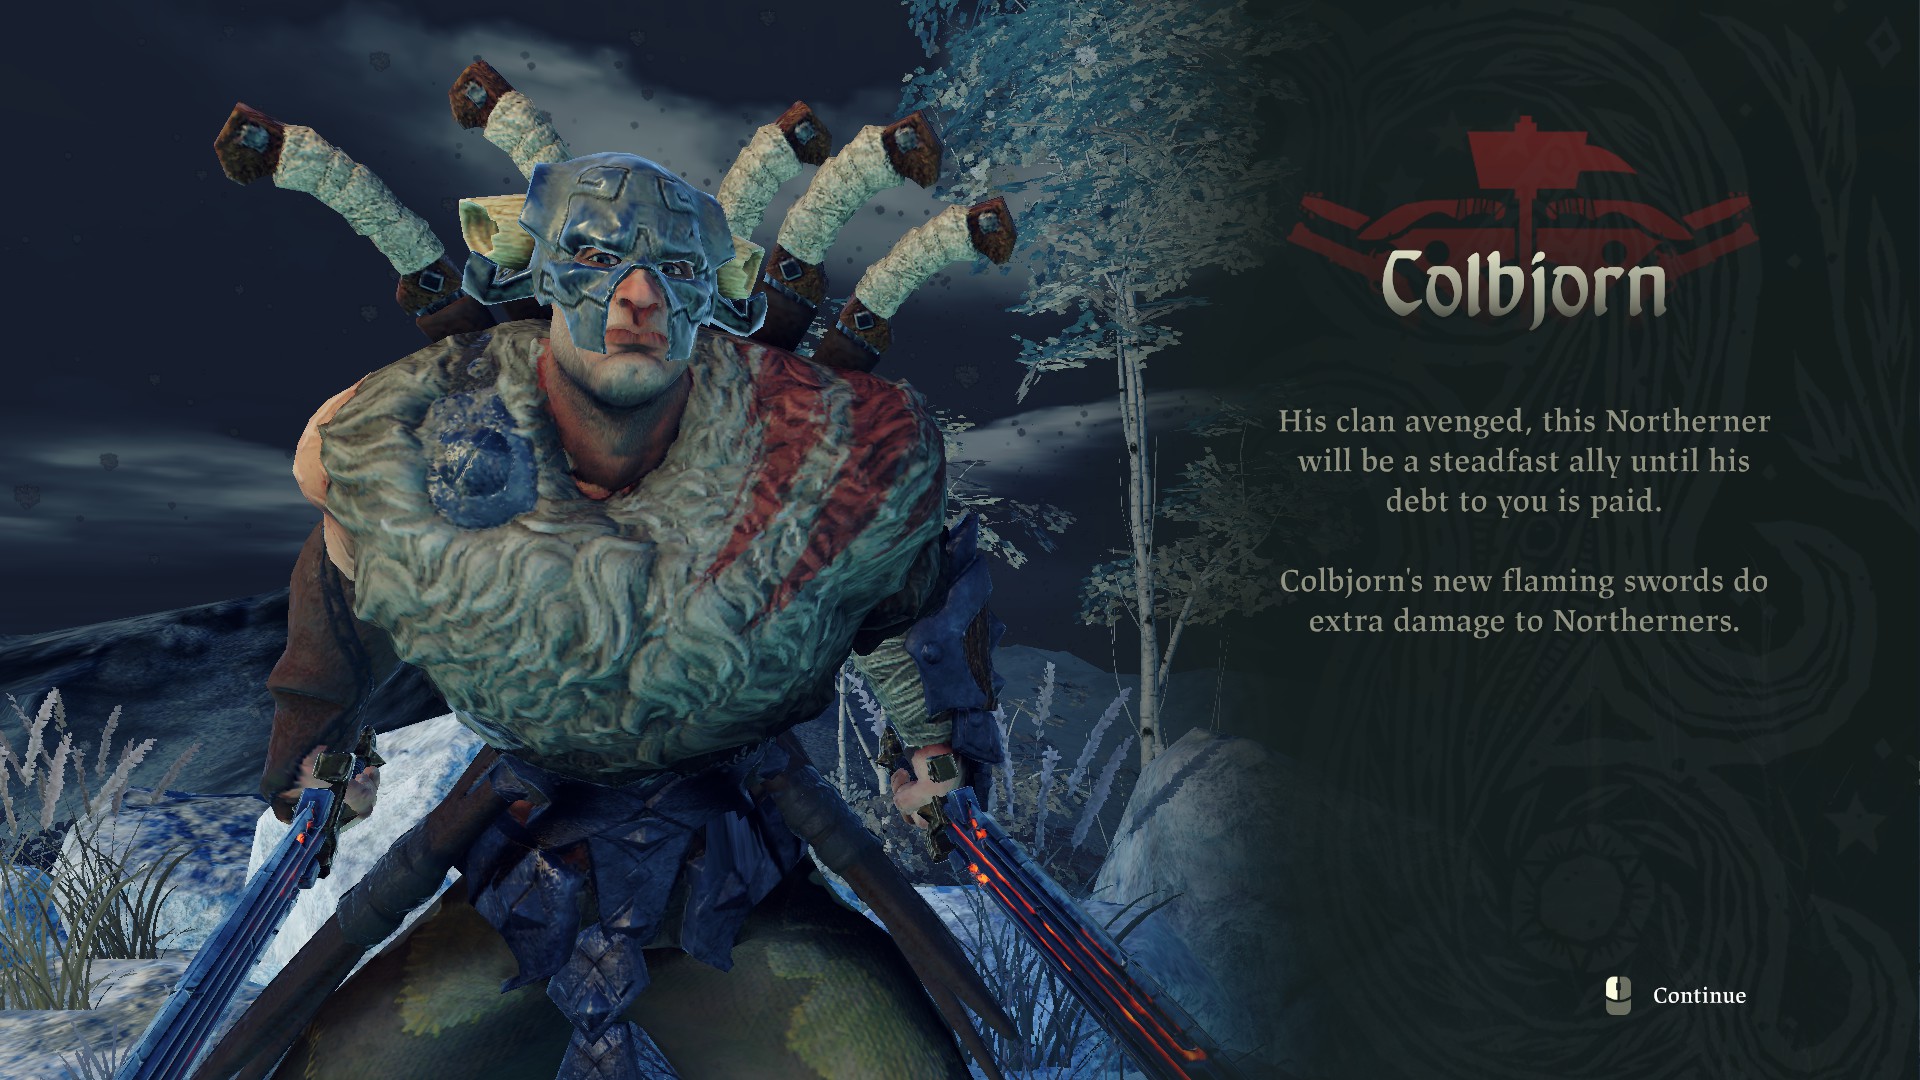
⠀⠀Now, for Chance Gambits, it is up to you to choose which companion is best to make up for the gambit you feel less comfortable with. However, since the Dice Rolls are pure RNG, I’ve found more use for Colbjorn’s ability than any of the others.
⠀⠀Pendulum is mostly based on patience and rhythm, with less equipment to ease it up than other gambits, so I suppose Estrella could be nice if you have trouble with that, though to me it is the less rng-dependant of all the Gambits. Most of the pendulum challenges are periodic (if not all of them, with some having longer periods) so if you notice one moment when you feel you can get the Success, it will come back eventually. A basic advice would be to wait for the Success/Huge Success bar or dot to be going in the same direction as your pendulum, since the relative speed will be lesser. In the same spirit, be wary that, although the pendulum slows down before changing direction, the coloured bars do not, making it just as tricky to get a Success on a fast bar at the extremities of the pendulum as it is in its center. However if the dots/bars are moving slowly it will be the ideal moment.
⠀⠀Some encounters always have the same pendulum pattern, making them muscle memory but very consistently winnable (I’m thinking about the Fallen Treasure encounter for example, nets you a free piece of equipment and you can win the pendulum gambit in the first 5 seconds every single time).
⠀⠀ The list of equipment to lessen RNG on Precision are, by subjective order of usefulness :
- Lord’s Diadem for reduced speed (from my testing, this means pendulum speed, not bar speed) (9 fame)
- Bullseye Ring for wider pendulum beam (5 fame)
- Jousting Armor to retry a failed precision gambit with increased difficulty (14 fame)
I don’t remember any blessing associated with Precision gambits, but I may be wrong.
⠀⠀Then come Card Gambits, which can be tricky without the proper equipment and blessings, and Ariadne can really help with that. Although it is theorically possible to know which card is which by following closely the order in which they leave and enter the stack, it gets really hard when the Dealer decides to shuffle like a maniac. Focus on the one card you want when they are getting stacked : if it goes in the third position from the top it will leave in third position from the top. If there is only one failure card (or rather, only one whose cardback you can’t identify using the Mask of Holy Fortunes), obviously you should focus on that one to ensure a Success.
⠀⠀The list of equipments to lessen RNG on Chance Cards are, by subjective order of usefulness :
- Mask of Holy Fortunes to identify one Failure card from its cardback (12 fame)
- Ring of Concentration for slower shuffles (5 fame)
- Imperial Armor for one less shuffle (8 fame)
⠀⠀ Whenever possible, I actually include all 3 in my deck, that’s how much I dread Chance Card Gambits ! I also get the Guardian’s Angel blessing whenever possible.
⠀⠀Completely random but there are a lot of blessings and equipment to help with that. There is one trick you can try to get better results : if the dice in your hand before you throw them have a favorable configuration you should just drop them, if the configuration is unfavorable throw them with some momentum. It’s not much, but it can help.
⠀⠀ The list of equipment to get better results in Dice Rolls are, by subjective order of usefulness :
- Gambler’s Jewel for +2 to dice score (no requirement)
- Weave of the Protector for an extra reroll (4 fame)
- Gambler’s Hood to optionally reroll all 2’s and 5’s after the first roll (8 fame)
⠀⠀ I always take the Gambler’s Jewel in my loadout. The two others aren’t that great, plus if I mess it up I usually rely on Colbjorn. There are also two blessings that add respectively +1 and +2 (Divine Providence) to each of your dice after a roll, effectively lowering the dice roll threshold by 3 or 6 (3 dice). Unrelated to RNG, but the blessing that gives +4 Food for each dice roll (not the rerolls) is extremely useful in most challenges.
⠀⠀And finally the Wheel Gambit ! They can get completely trivialized if you have the Grifter’s Companion ring in your deck, which I strongly advise you to do if you want to include encounters with Wheels for your challenge (they have, for the most part, better-than-average rewards, like Fate’s Dealing or Mystical Island).
⠀⠀Another way to do those is to try and get a feel for the speed of the wheel. Imagine that the wheel is a clock, with markings from 1 to 12. If it is really fast, then stop the wheel when the card you want is roughly between 6′-9′. If it is fast, it will be between 10′ and 11′. If it is medium, do it between 1′ and 2′. If it is slow, stop it at 4′. You’ll get your own feel for it, but it really worked great for me.
⠀⠀The list of equipment to lessen RNG on Wheel gambits are, by subjective order of usefulness :
- Grifter’s Companion to optionally nudge the wheel left or right. Sure, it takes up a platinum card spot, but the only other platinum equipment you might want to consider are Lion’s Heart and Platinum Suit anyway, and even then it’s for specific challenges (no fame requirement either !)
- Felvin’s Favour to optionally remove a card from the wheel (6 fame)
- Dead King Scales to optionally duplicate a card from the wheel (16 fame)
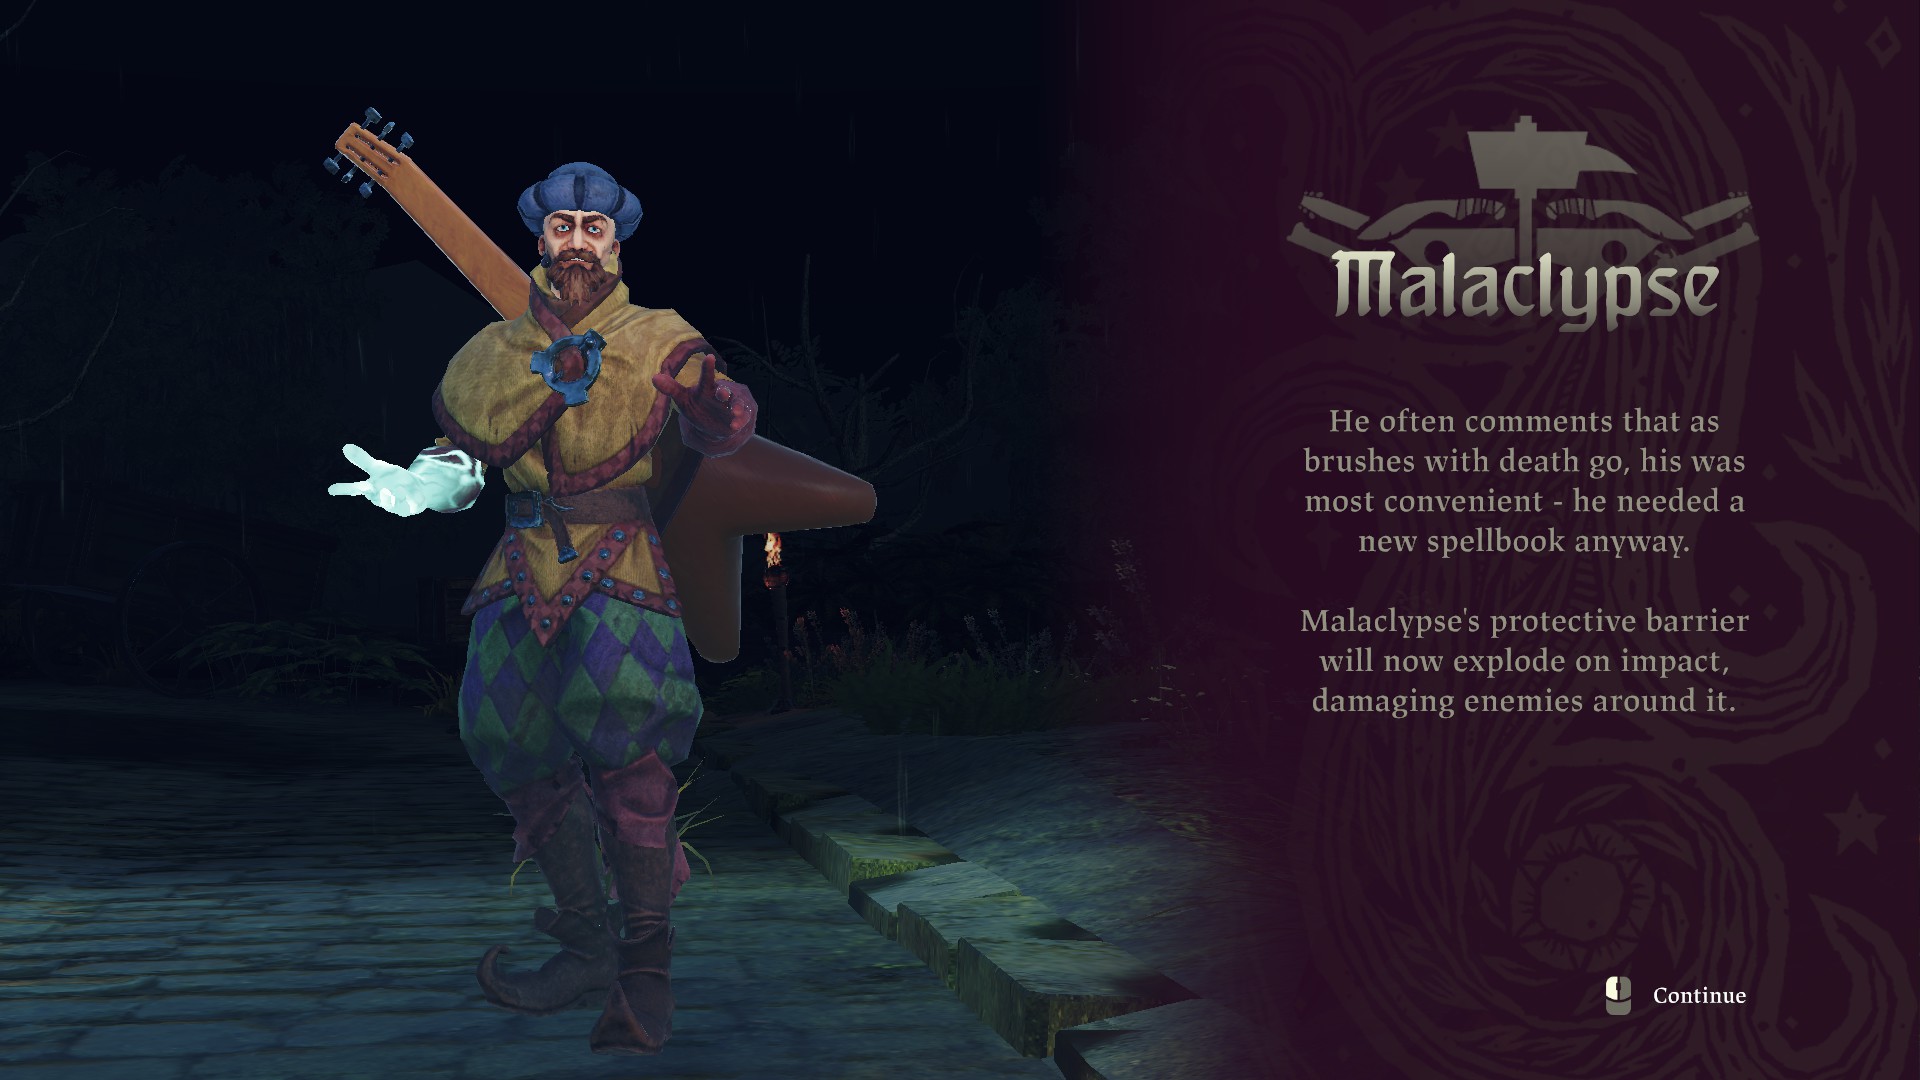
⠀⠀ The Grifter’s Companion is usually more than enough to get what you want in every Wheel encounter as long as you get a feel for its speed. If you want to save the platinum card spot, I suggest using Malaclypse as a companion for its ability ; on the first try you’ll see just how fast the wheel stops which will then help you win the gambit on the second try. With some luck you can also get the Deft Eye blessing which reduces the speed of the wheel.
Challenge Tokens – The Hierophant, The Lovers
⠀⠀The first tricky gold token to get is, in my opinion, the Hierophant’s. You will need to learn how to fight the Greed units without losing too much HP, balance your food input and most importantly collect gold. You will need 90g in the final encounter to unlock the gold token, provided you don’t lose your Gambits.
⠀⠀You have to collect 19 clues total to get the token. Father Galfri will give you 7 clues right off the bat, and then later on another one telling you that no matter his personality, the assassin will lie to you. Those first clues are always the same : Borden and Rowena have been working for Galfri for a long time unlike Grindan, Borden will tell the truth when drunk if innocent, Rowena will tell the truth for gold if innocent and Grindan will make wild accusations when drunk. On top of that, you learn that Rowena used to be in the 3rd Legion.
⠀⠀The next three clues will be given to you by the 3 apprentices after each of their mission, and with those alone you have enough to know which is the assassin.


⠀⠀The last 8 clues are collected on the last encounter : bribe each of the apprentices twice (three times 30 gold) and then drink with both Borden and Grindan.
⠀⠀If you’re like me, you hate this potato farmer’s stupid wimpy guts for getting abducted as often as he does during this mission. Make sure to stack your deck with every possible opportunity for food gain, and then heal Oswin at your campsite whenever possible.
In a pinch you can roll into him in combat to push him out of harm’s way, but if at all possible just stand in front of him to soak damage instead. Neither one of these strategies is better than just killing all enemies as fast as possible
Challenge Tokens – Strength, Justice, The Hanged Man
⠀⠀Strength is another tricky one, and progressing on other challenges before you tackle this one could be beneficial : without the right cards (equipment and life gain) and supplies you’ll have a really hard time. Getting the Healing Spirits supply and the platinum artefact Lion’s Heart will go a long way. You’ll need some “gain equipment” encounter cards to make sure you find a helmet, an armor and eventually a better shield than the default one.
⠀⠀Beating this challenge a second time with the Jousting Armor in your deck will make the Blacksmith unable to help you get your defence up but will reward you with the platinum armor !
⠀⠀One of the last for which I unlocked the gold token. You need to have 500+ empire soldiers when launching the final attack on the Northerners and use the Greyfell tunnel road to get there.
⠀⠀For this, you’ll need to plan for having the less timewastes possible. There are probably several ways to do it, but I started with harvesting 100 wood from the Light Forest, building the lowest defense structure, then harvesting enough stone from The Quarry to build the bridge, take the long road while the bridge is being built and then harvest wood from the Dense Forest. After a while you’ll be familiar with the pendulum patterns and consistently collect 30 wood per try. Some equipment or encounter to keep you filled in food will help to waste as less time as possible. In total, you’ll need 380 wood and 55 stone to build the fort defenses, plus 30 wood / 4 stone for the bridge and 20 wood / 20 stone for the tunnel. Build the tunnel as soon as possible to spare some soldiers’ lives. Fighting the Northerners yourself does very little to reduce the Empire casualties, but can be useful if you’re using the Harvest Blade or Gladiator’s Visage.
⠀⠀Just make sure that you won’t have two villages being attacked at the same time, because you won’t be able to save both. If your gambits are failing, complete other encounters so that you can travel the map freely later on without having the hordes progressing, then return to the village when it is under attack.
⠀⠀Tricky, this one ! The way I did it was to add the Trek Across the Desert card in my deck, along with Forgotten Dreams (The Wheel gold token) in case I encountered Trek before the last level. To get the golden token, you have to save both Theophilus (the hooded mistery man) and your four companions. So do the Theophilus quests and rely on Apollyon for the first three companions, then let Theophilus drink the remedy and use the Trek to fill the map on the last level so that you are able to cross to the Imperial Prison without having to ask for Apollyon’s help. Unlocking this token will later on enable you to get the “Miracle” achievement (which I suggest to do on the Emperor Challenge).
⠀⠀⠀⠀Right, so when making your deck for this gold token, you will need to pick every piece of gear that helps you in the Dice Roll gambit and some for the Chance Card gambit (see guide section about gambits). Some equipment and encounters to deal with curses will be welcome too.
⠀⠀The first two conspirators you will get are on the first level of the challenge, during the A Pageant Wagon encounter. Agree to perform, greet the hag with a kiss, eat the cake and propose to the boar (releasing it works too but with higher risks of life loss at the end). Then denounce the Empire to get the first conspirator (1). Get your reward in the Wheel gambit and leave, you get a second conspirator (2).
⠀⠀I hope you’ve been searching for spoils after every Corrupted City encounter because on the second level you will need 50 gold and Dice Roll equipment. There are 2 conspirator encounters there : The Apothecary and The Cemetery. You can leave either of those at the beginning, which you should if you don’t have 50g (apothecary) or Dice Roll gear/blessings (cemetery). For the Apothecary : find another way in, greet the bird-like woman (3), pay 50 gold (4, 5 and 6). For the Cemetery : accompany Hild to her husband’s grave, follow her into the tomb, head East (you get cursed unless you have the spiked boneguard/king’s crown), head South for a free chest, go back North, then North again and finally West. Place the flowers, doesn’t matter where (7) then head back out. You have 4 tries to get a 18 at Dice Roll, do not squander the dice Colbjorn can give you if he’s with you (use it only if you’re 2 or 3 points shy at worst). Call for help first (no life loss). (8)
⠀⠀On the third level, you’ll need to search for The Corrupted Borough encounter to get the final 4 conspirators. Agree to go in the borough, head to the source of the groaning then fight the monsters (9). Explore the borough, win the Precision gambit (10), explore and win the gambit again. What you do inside the building won’t matter for the token, but winning the supplies gambit nets you food, and the source of the laughter gambit rewards you with a weapon. As you leave you get the (11)th conspirator. Now escape the borough, sneak Lenna and Feren over the wall and fight the corrupted : it’s only one boss but you have to destroy his armor 3 times under 2 minutes, laughably easy with a 2H weapon. You get the (12)th and final conspirator afterwards. Good luck !
⠀⠀You need to have all four companions platinum in order to save them all. At the end of each level, choose respectively : Estrella, Ariadne, Colbjorn and Malaclypse.
Bronze Tokens
⠀⠀Your goal here is to craft the Elixir of Life. To succeed, choose any red ingredient all three wheel gambits. Based on the speed of the wheel you generally want to hit it when the desired card is at 12 o’clock.
earning this token will unlock Lion’s (???). If you choose only one or two red ingredients you will still draw life gain cards, but some combinations may result in loss of life. If you’re really struggling, make sure you bring Malaclypse and Grifter’s Companion
In order to progress this encounter to the second stage and get the token, you must give the farmer 8 food. (can it be 4? need confirmation) When you encounter the Harvest Card later in the quest the token is yours.
The trick here is that you must save all the civilians yourself to earn the token. If your companion saves anyone, you won’t earn the token even if you save the rest. The wheel gambit may have two or even three of toil on there allowing you to save multiple people at once, so keep a sharp eye out.
Just keep following the goblin, pick up all the food and gold you can along the way. When you revisit the card enough you’ll catch him. Ask where you are, and then ask for gold.
Encounter Shards
Arm Wresling: Beat the Gambit Dice of 22+. Colbjorn helps, as does the dice ring. High Priestess is perfect to finish this challenge)
Bitter Winter: Give 8 Food then get a Huge Success in the Harvest encounter (Better be done in Endless Mode)
Cunning Man: Make sure you have 2 Curses and 2 Blessings. Ask to remove a Specific Curse and pay with 2 Blessings (Emperor Map is amazing for this).
Duel: Keep winning the Duel until you fight a Brimstone Knight of Steel.
Empire Contracts: Depends on the map and the challenge (For example if you’re in the Emperor Map, request a Vs Thieves equipment)
Fabled Beast: Get a Huge Success and then spare the beast. At this point, winning the Dice Gambit is just the cherry on top !
Fallen Treasure: Take the treasure and succeed in the Pendulum Check.
Fetid Fens: Succeed in the Pendulum Check.
Forgotten Dreams: Include a Platinum Encounter in your deck ; your goal here will be to find it first and then at the actual Forgotten Dreams encounter you’ll have to select it again.
Healer: Get yourself 2 Curses and have 20+ Fame. Ask for Specific Curse removal.
Hired Hand: Choose an EQUIPMENT that forces you to take the Gold, not the Gold itself then help him by winning the fight.
Interception: Drop all your gold (max 50g, don’t worry you’ll get it back) and succeed in the Pendulum check.
Joust: Keep winning the jousts until you fight the jousting champion, in the same fashion as the Duel Token Shard.
Little Devil: Give him a Curse.
Lost Boy: Save him then win the Dice Gambit.
Mage Workshop: Also depends on the challenge (For example if you’re on The Tower, request a Food equipment since Tower is Food-based)
Mystery Chest: Guess correctly twice.
Mystical Island: Pay the cartographer and earn a Success in the Wheel Gambit.
One Drunken Night: Don’t take any damage. You don’t have to loot all the chests inside.
Pauper Dilemma: Help the Villagers.
Purgatory: Garner some courage and bite the bullet on this one… accept to go through purgatory.
Raider Prevention: Kill all 10 Notherners in 45 Seconds. You’re going to need a strong artifact (I used Rethgar’s Quake, the knockdown bomb) and/or a companion who pulls his weight in a fight, platinum Colbjorn being the best choice.
Soothsayer: Pay the fortune teller.
Spyglass: Try not to explore too much of the map and give him the helmet permanently (Emperor Map)
The Arae Demon: Get 3 Curses then win the Gambit Dice (Emperor Map)
The Black Cauldron: Trade, just trade.
Toshers: Just succeed in all gambits.
Wandering Tracker: Ask for everything then pay her for the last one.
Watch Tower: You must reveal at least one card to the north/south and one card to the east/west
Wine of the Gods: Win the prize ; stop the wheel when the Gold Gain card is at about 8 o’clock.
Winter Solstice: Give her multiple blessings.
Enemy types [WIP]
Disclaimer : I don’t pretend to know all the numbers of behaviours concerning enemy types in this game, but here is a compendium on what I’ve picked up on them after beating the game once.
All of the Steel units have a special damage reduction of 3, which favors heavy weapons to deal with them. They use swords, spears, shields and muskets.
- The Basic units wield swords and shields. After a few attacks in a row, they will raise their shield (as evidenced by a deep-blue hue) and you will need a Bash Attack to stun them and keep damaging them. Their Counter Attack will be a Light Attack.
- The Phalanx are equipped with spears and tower shields, and can be a nasty bunch. They are able to Counter Attack as you’re bashing them so don’t let your finger stray too far from your counter key while fighting those. If you keep on wailing them after they’re stunned, they will CA with a Heavy Attack with long delay and reach : dodge sideways. My favored way of dealing with them is to bash one with a 2H while watching out for a LA and then switching target. As of patch 1.0.8, you can now stun these guys during their HA with a Block Breaker.
- The Muskets have a rifle and a bayonet, they attack at range and should be prioritized at the start of fight. You can deflect their shot with the Basic Shield or the Ward of the Innocent. When fighting them in melee, they will occasionally CA with a slow LA.
- The Captain has a saber, a pistol and armor. His running attacks are Heavy Attacks, and his stationary attacks are either LA (saber) or HA (pistol). The running attacks can be disruptive if you don’t deal with him early in the fight. Watch out for the pistol attack, you don’t want to roll into that ! You can riposte his LA.
- The General has a saber, a pistol and a horn. The horn calls for an AoE ranged attack which can be annoying but easily dodgeable. He has no armor so he’s actually more fragile than a Captain. He uses the same heavy running attack, and the same saber (light) / pistol (heavy) counter attacks.
- The Knight is dual-wielding long swords and has a massive armor. His running attack will either be a regular LA, or a chain of 3 LA, similar to a Berserker of Frost, except riposte won’t be of use against that armor. When spamming Block Breaks on him, he will mostly answer with 2 HA with deceptive range so be sure to dodge those sideways. When his armor is broken it will basically be the same, although he can also CA with a LA that you can riposte.
[WIP]