Overview
These are the locations of the items that upgrade the player character in ZX and ZXA.
Introduction
The goal of this guide is to help players locate the various item upgrades that can be found in the ZX series. To begin, I will go over a brief summary over what each item is, and then there will be sections dedicated to how to obtain them in each game.


Item B Chip: These are special items given to you by certain NPC’s when certain conditions are met. When you first receive them, they are inactive in your inventory. You can activate and deactivate them individually as you see fit once you have them. Each one has a different effect, from sliding down walls slower to reducing knockback and etc.


Note: Upgrades are not hidden in the overworld on hard/expert difficulty. You can still receive items from NPC’s that give them normally, but many upgrades will be unavailable due to not having an NPC or sidequest attached to them. Instead in their place, you will find life/energy pickups or E-Crystals.
Mega Man ZX

Mega Man ZX: Life Up Locations
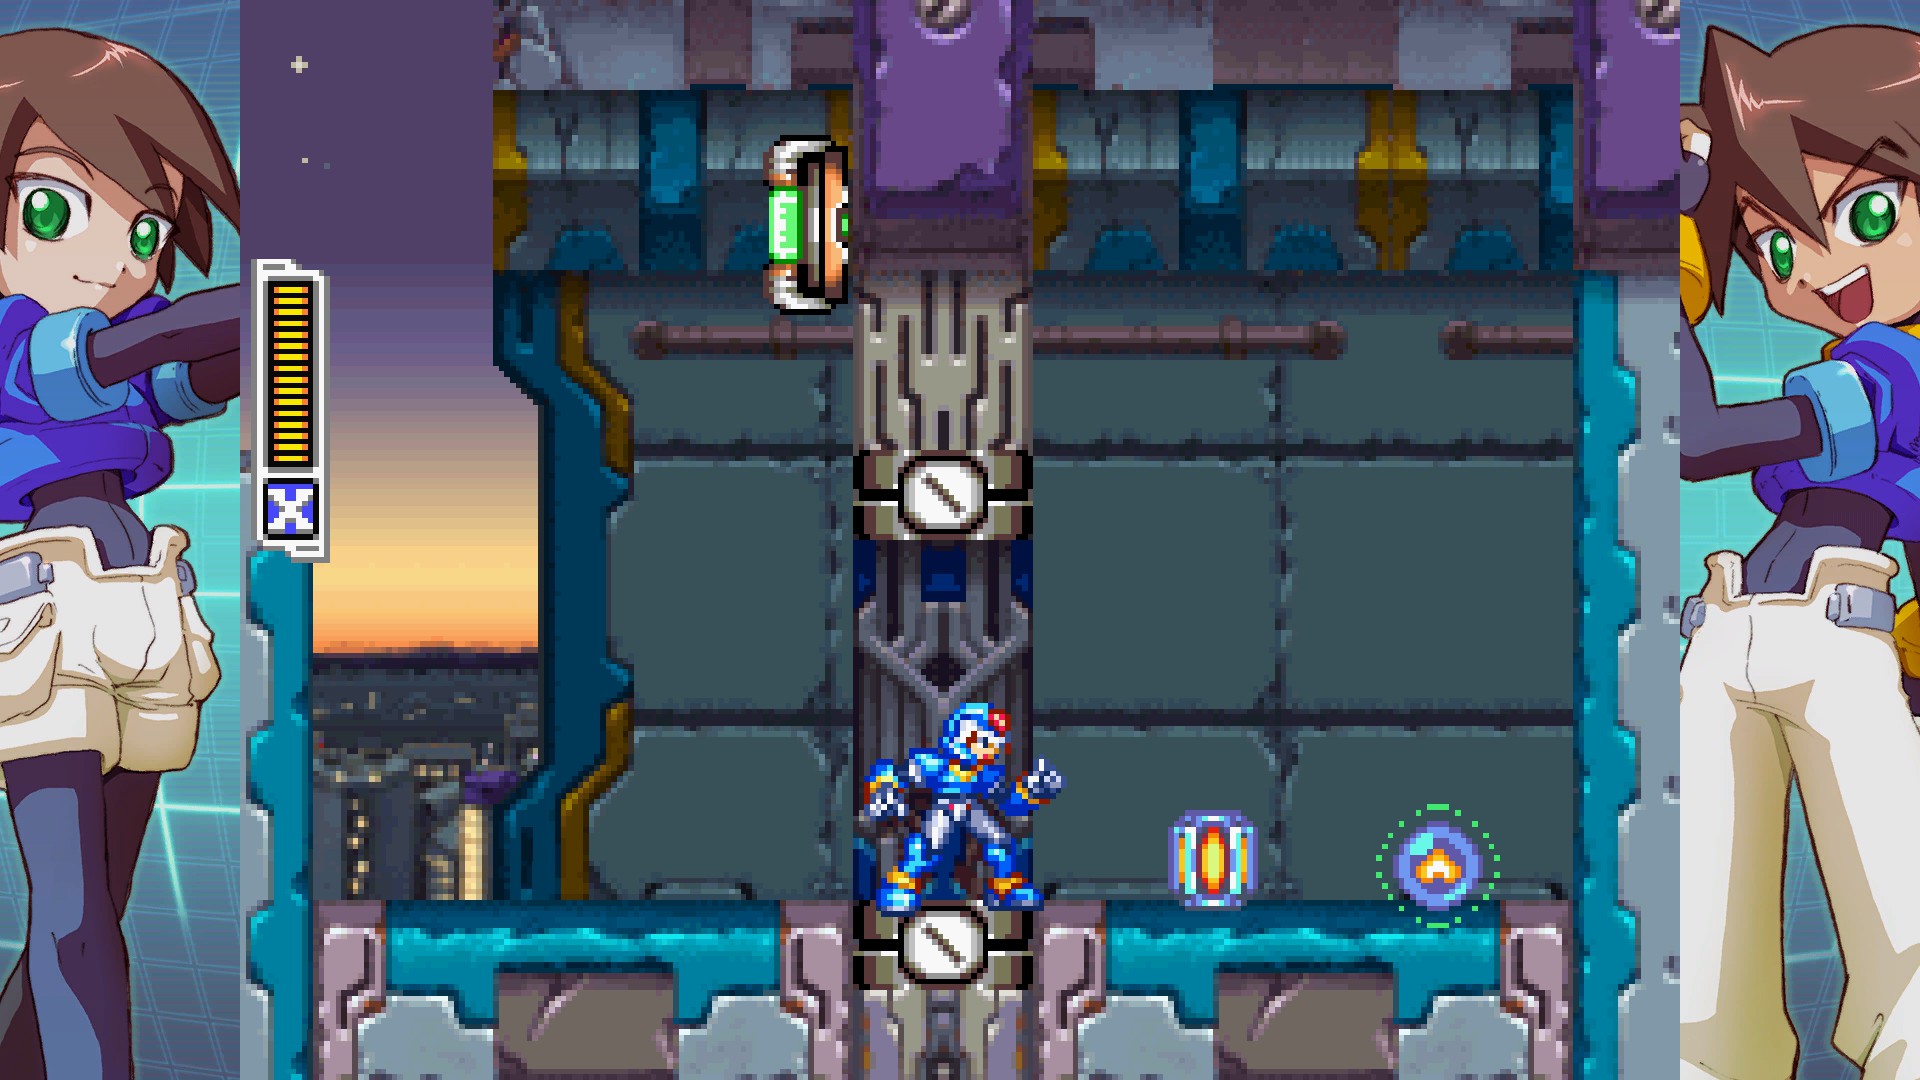
First Life Up
Need: Any transformation
Location: Area D-1
This Life Up is perhaps the easiest to obtain. Pay attention to the area under the road, accessible only through sections of the road that have holes in them. What you are looking for is a big red glowing button above a locked door. Attack the button to unlock the door, and the Life Up is inside, as well as a Large Life Pickup to fully restore your health. The button to unlock the door is not in a very deep hole, so if you have to slide down very far, you are in the wrong place. You should be able to see it without having to drop down.
Second Life Up
Need: Hx, Fx
Location: Area F-2
You want to get to the upper portion of the area to find this one. You will have to break ice blocks with Fx or Ox to get to the right place. Look for an area where there’s a row of ground spikes just barely underwater that you have to approach from the right. Switch to your Hx form and jump up out of the water. Do an upward air dash and then activate your slow fall while holding left. If done correctly, you should fall safely into the spot the Life Up is hiding.
Third Life Up
Need: Hx both halves
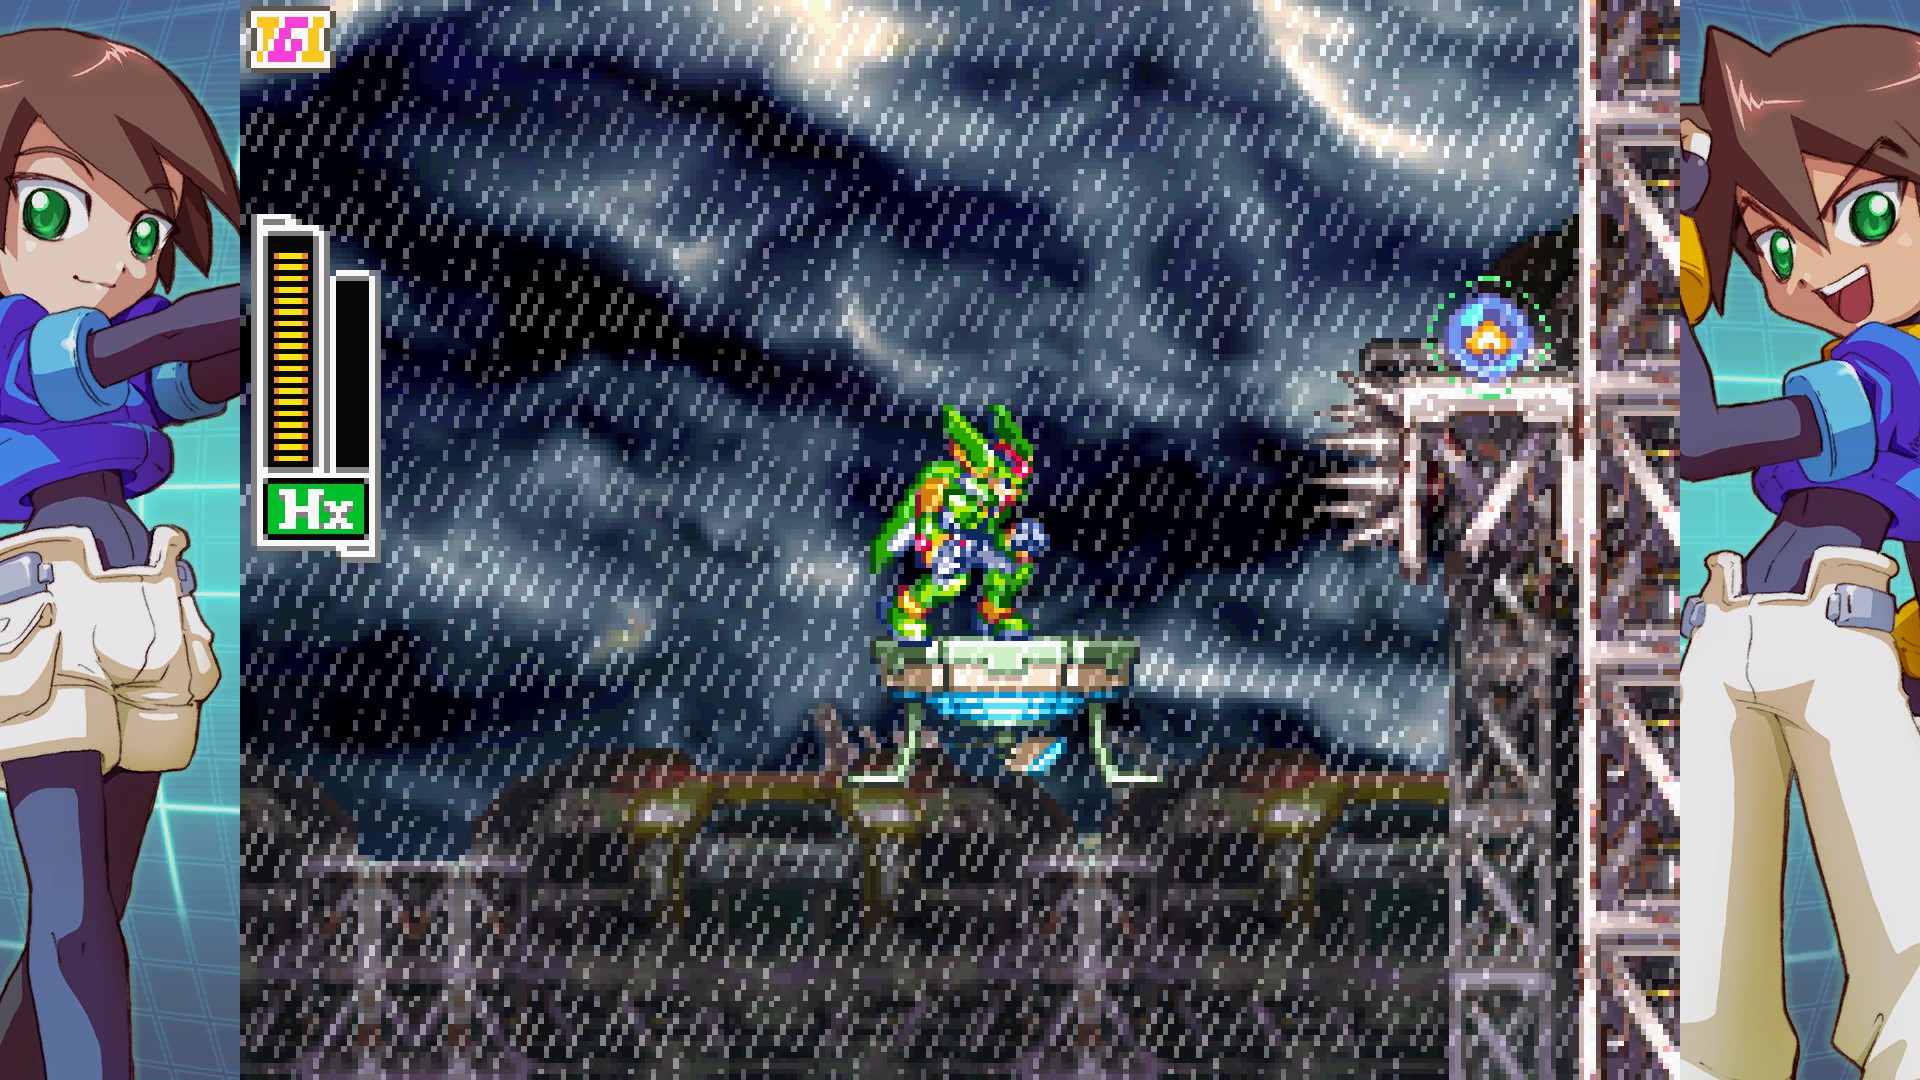
Location: Area I-5
When you reach the split path in the level, continue forward through the door into the upper path of the level instead of going down the ladder. Eventually after clearing through this path some more, you will have to fight a miniboss. When that is done, keep progressing to the right, looking for one of the platforms that is usually floating up and down, but is lacking power and so is sitting on the ground. Using your Hx form, create a tornado to lift the platform to the upper ground platform, then create another to lift it even higher and jump on top of it. Do an upward air dash and then slow fall to avoid the spikes to the right, and if done correctly you should land down on top of the Life Up.
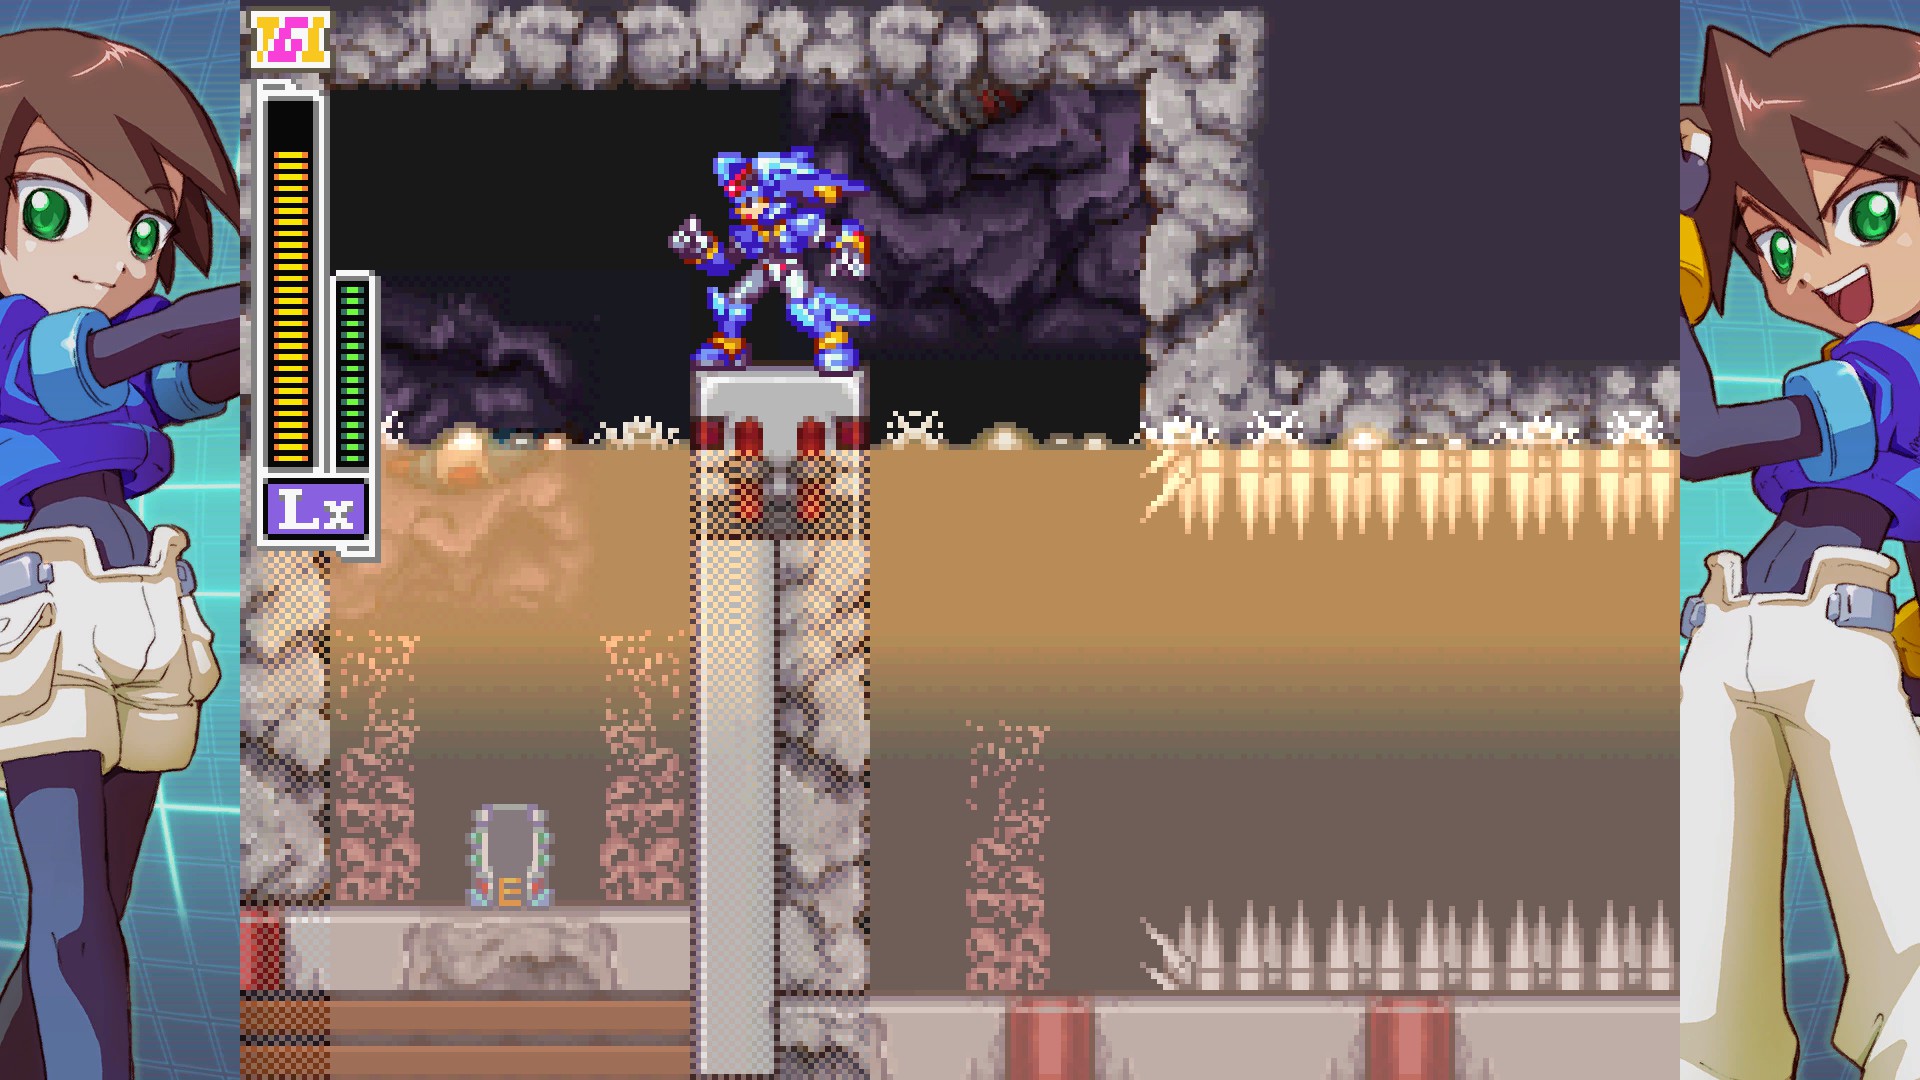
Fourth Life Up
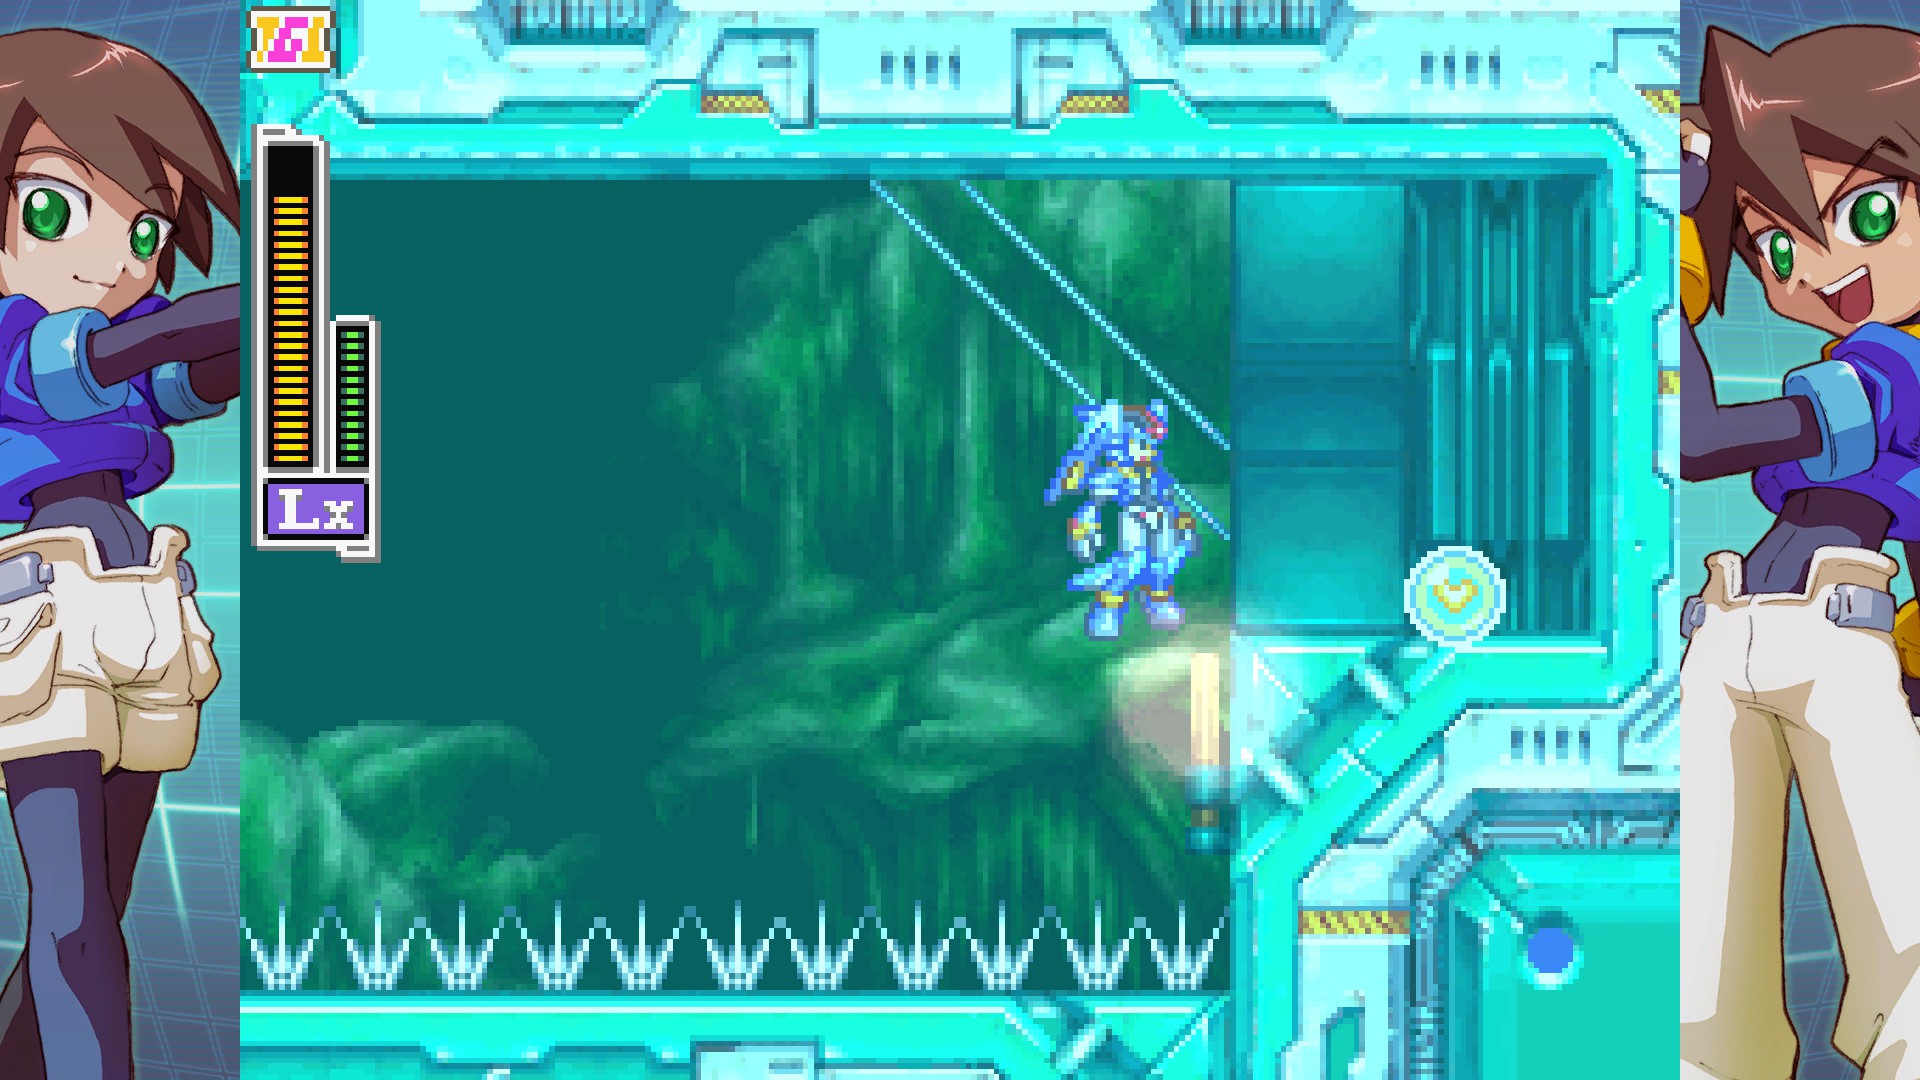
Need: Lx
Location: Area J-1
Switch to your Lx form and locate the Data Transerver Room. It’s up to you whether you want to actually save your data at this point. If you are an inexperienced player and aren’t confident around spikes, and are not using save assist, I would recommend saving. From here, make your way down and you should find a room you can enter to the left of the first underwater enemy you encounter. Inside the room, on your right, there’s a line of spikes that you have to swim across. Do so, but be careful of the enemy as taking a hit will cancel your swim state and you might fall down into the spikes below. The Life Up is sitting just past the spikes at the end of the room. Feel free to go back to the data room and save your game once you have it if you want to.
Mega Man ZX: Subtank Locations
First Subtank
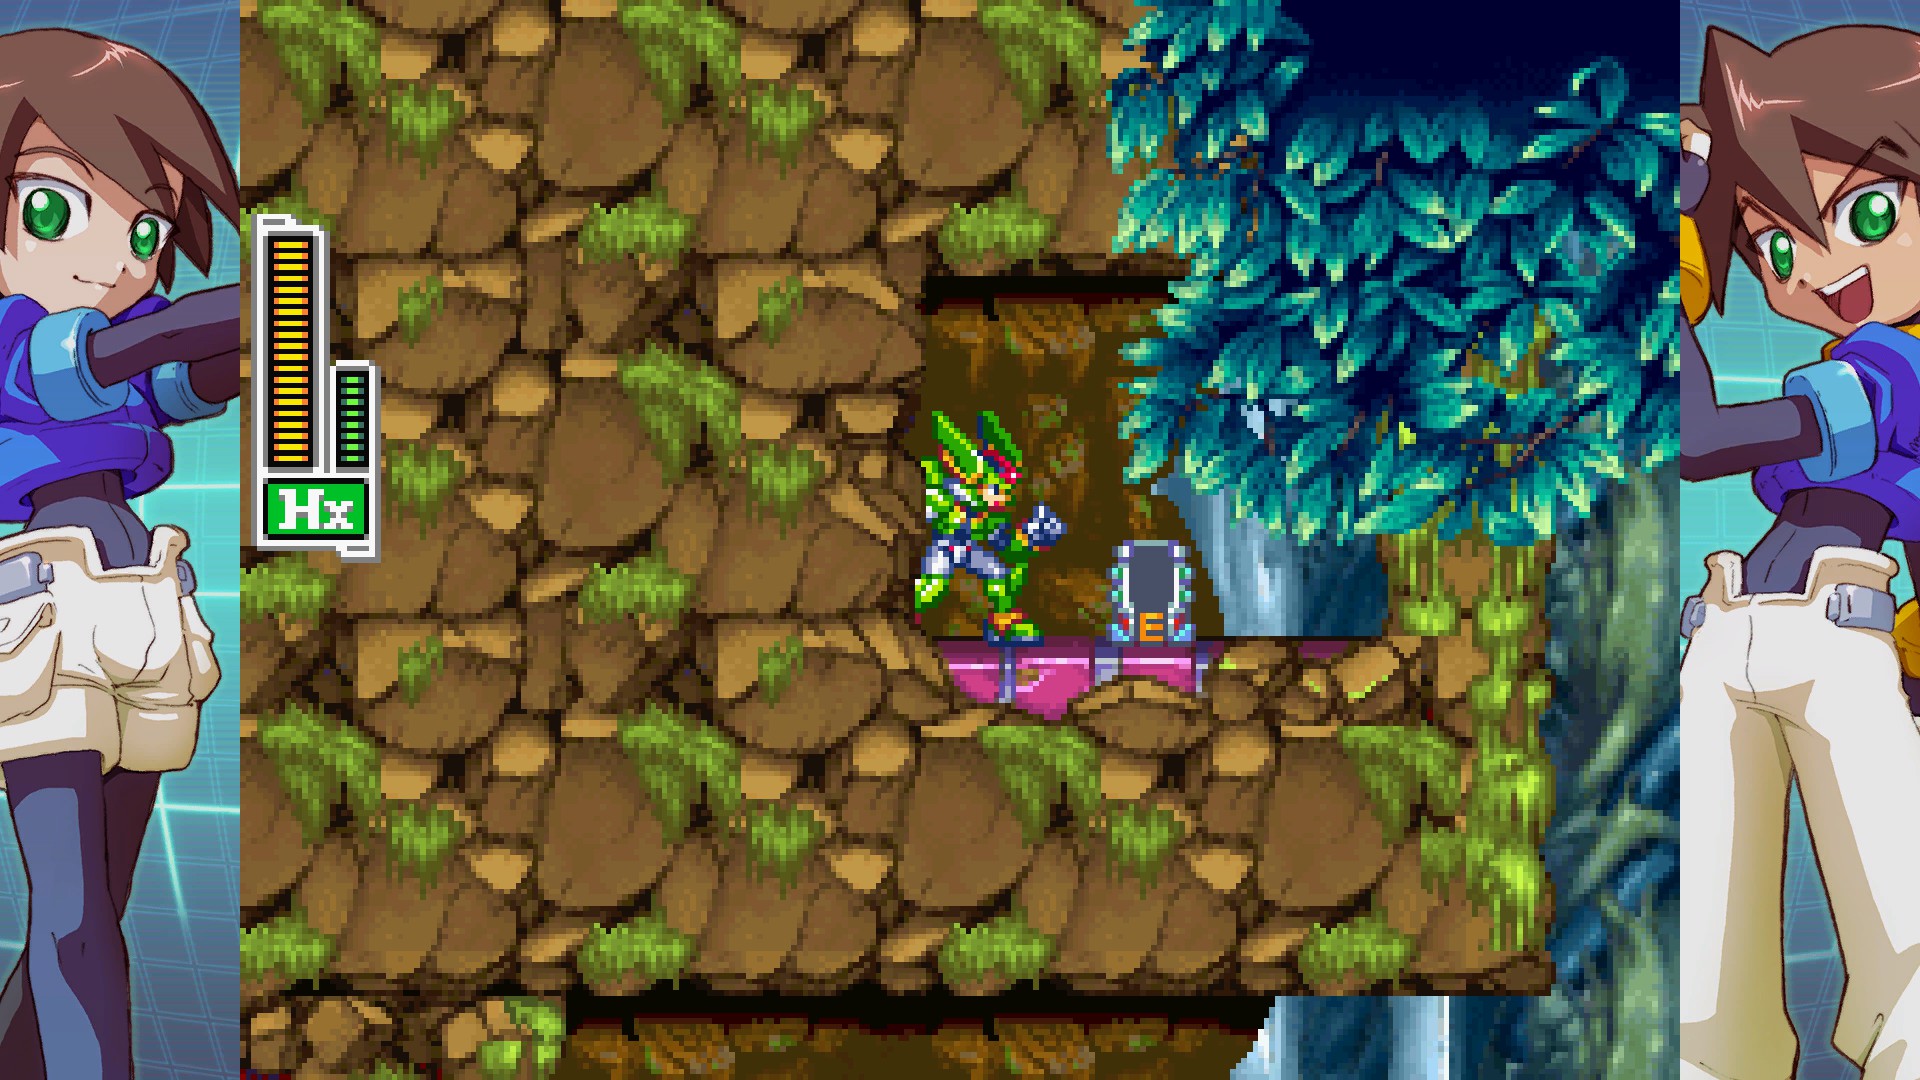
Need: Hx
Location: Area A-2
After arriving via the Transerver, head to the left. Make your way through the small dirt cave. Look for a Whirling 44 (saw mechanaloid) at the far left side of the cave, with a grassy platform you can reach as Hx above it. If you aren’t in Hx form already, transform and then upward air dash up onto the platform to get on top of the cave and then go up into the tree to your left. Keep going left being careful not to lose too much height while air dashing and you will find a small alcove in the rocks you can stand in, with the Subtank above you. The left side of the ceiling above you is fake, so just wall jump your way up and claim your prize.
Second Subtank
Need: Any Transformation (Hx makes things slightly easier)
Location: Area E-4
It is next to the third Shock Face, just upward air dash your way up to the platform with Hx or use a well timed dash jump and wall jump combo, defeat the Shock Face, and grab the Subtank. This is likely to be the first subtank you obtain if you don’t rely on Hx.
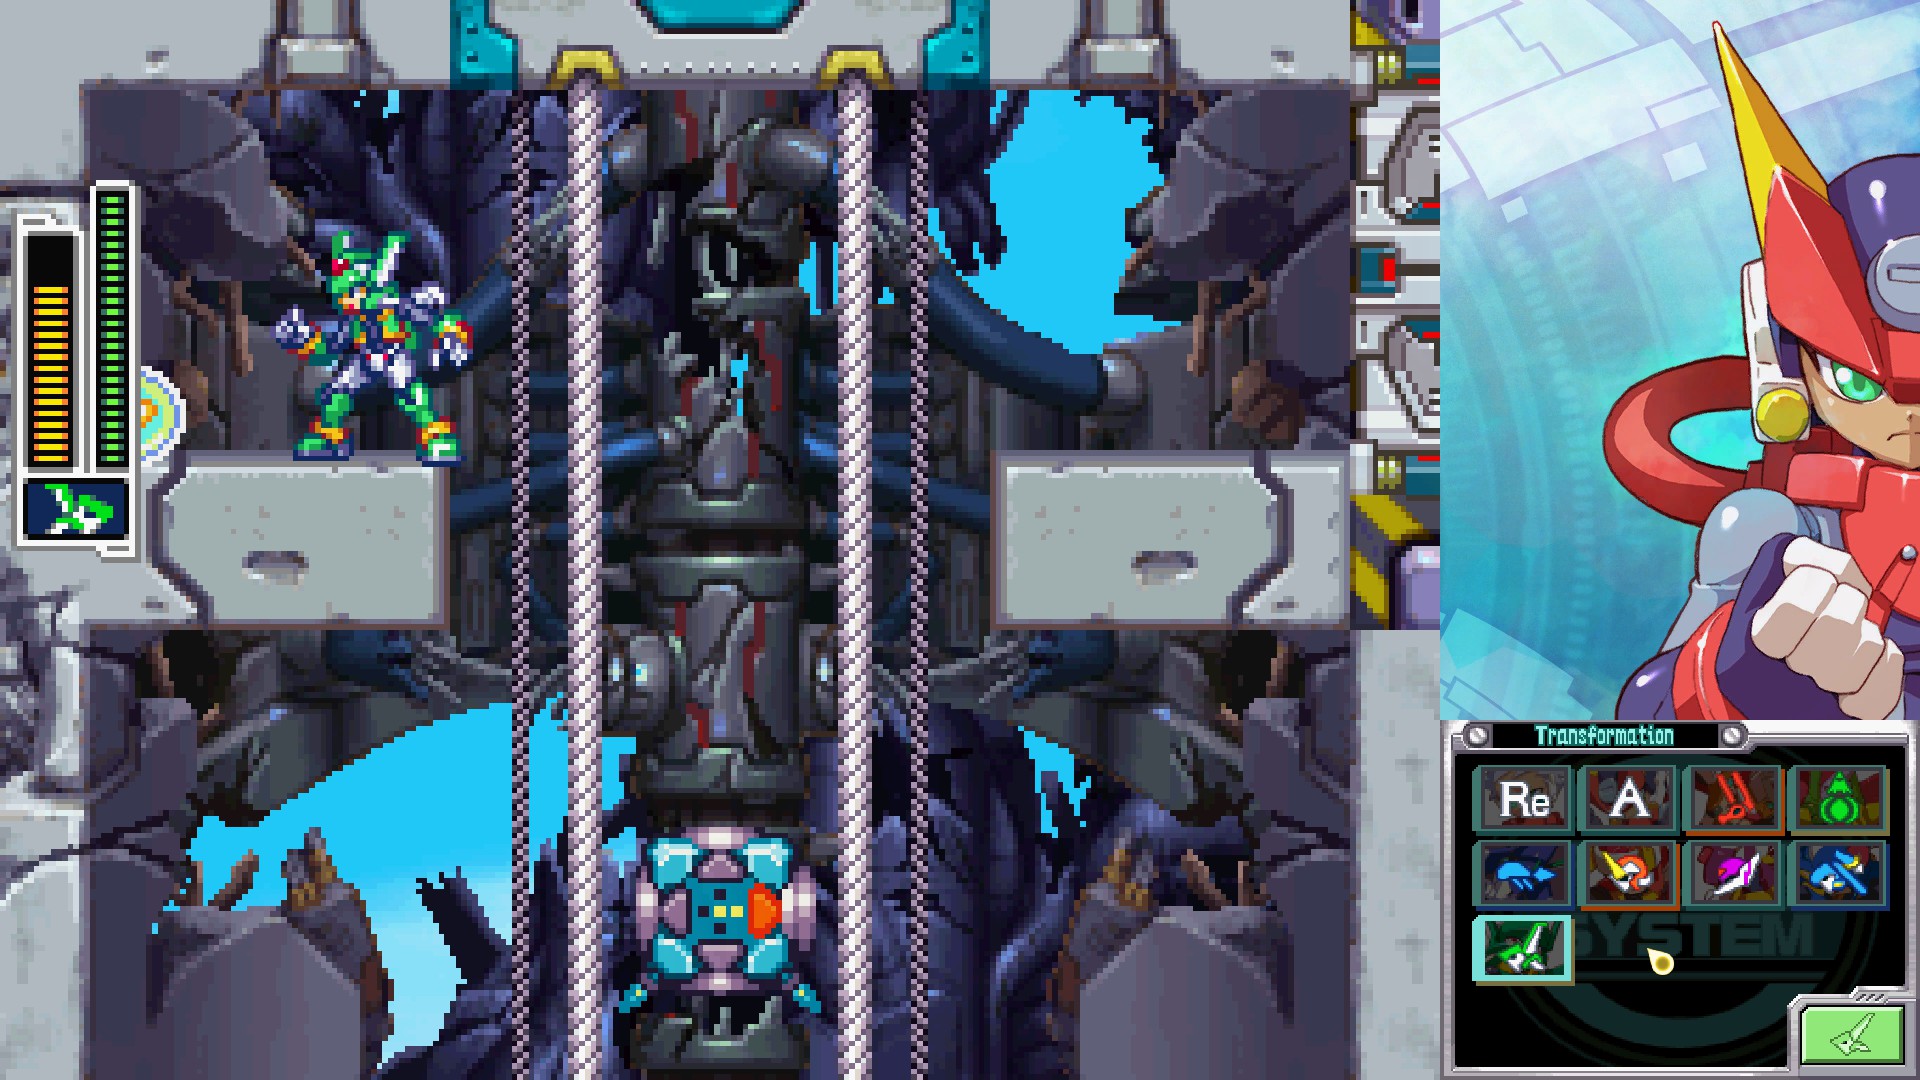
Third Subtank
Need: Hx, Fx, Lx, Px
Location: Area K-1
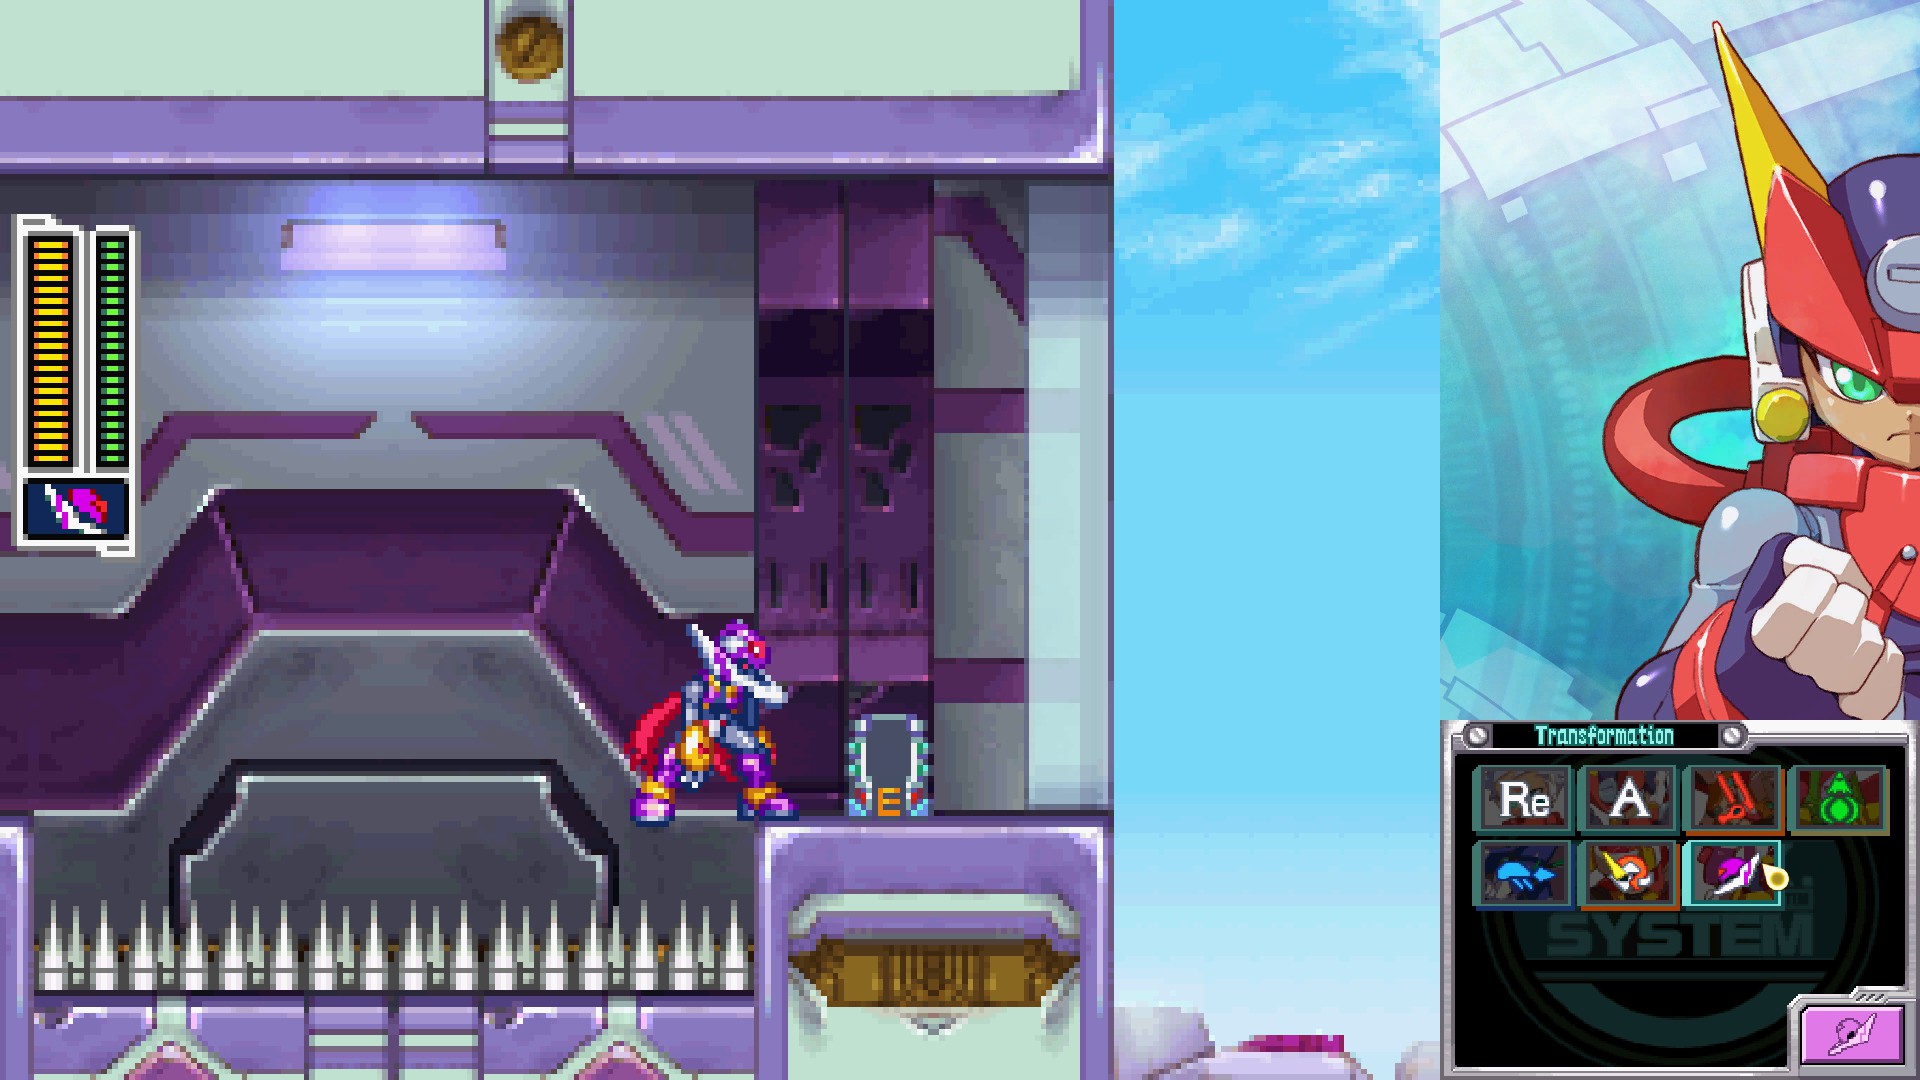
This is the hardest Subtank to obtain in the game, but with a little patience it’s totally doable. After defeating the Lava Demon, you will fall down into the underground section of Area K. Keep an eye on the ceiling above you and you will find platforms you can grab onto to go higher with your Px form, but be careful not to touch the spike walls on either side. This leads you to a section in which you must escape the rising lava on your way back up to the surface.
Once you are back outside, proceed to the left but keep your eye on the holes you encounter. Inside the first one is the entrance to a room containing a control panel to control the speed of the lava flow. Once you find this room, set the lava flow speed to slow, then go back outside and finish traversing the area until you get to the lift on the far left. You might notice an upper area with a red door that won’t open for you. Remember this place for later. Take the lift back to the section of the level just before you fought the Lava Demon, then jump back down into the underground portion.
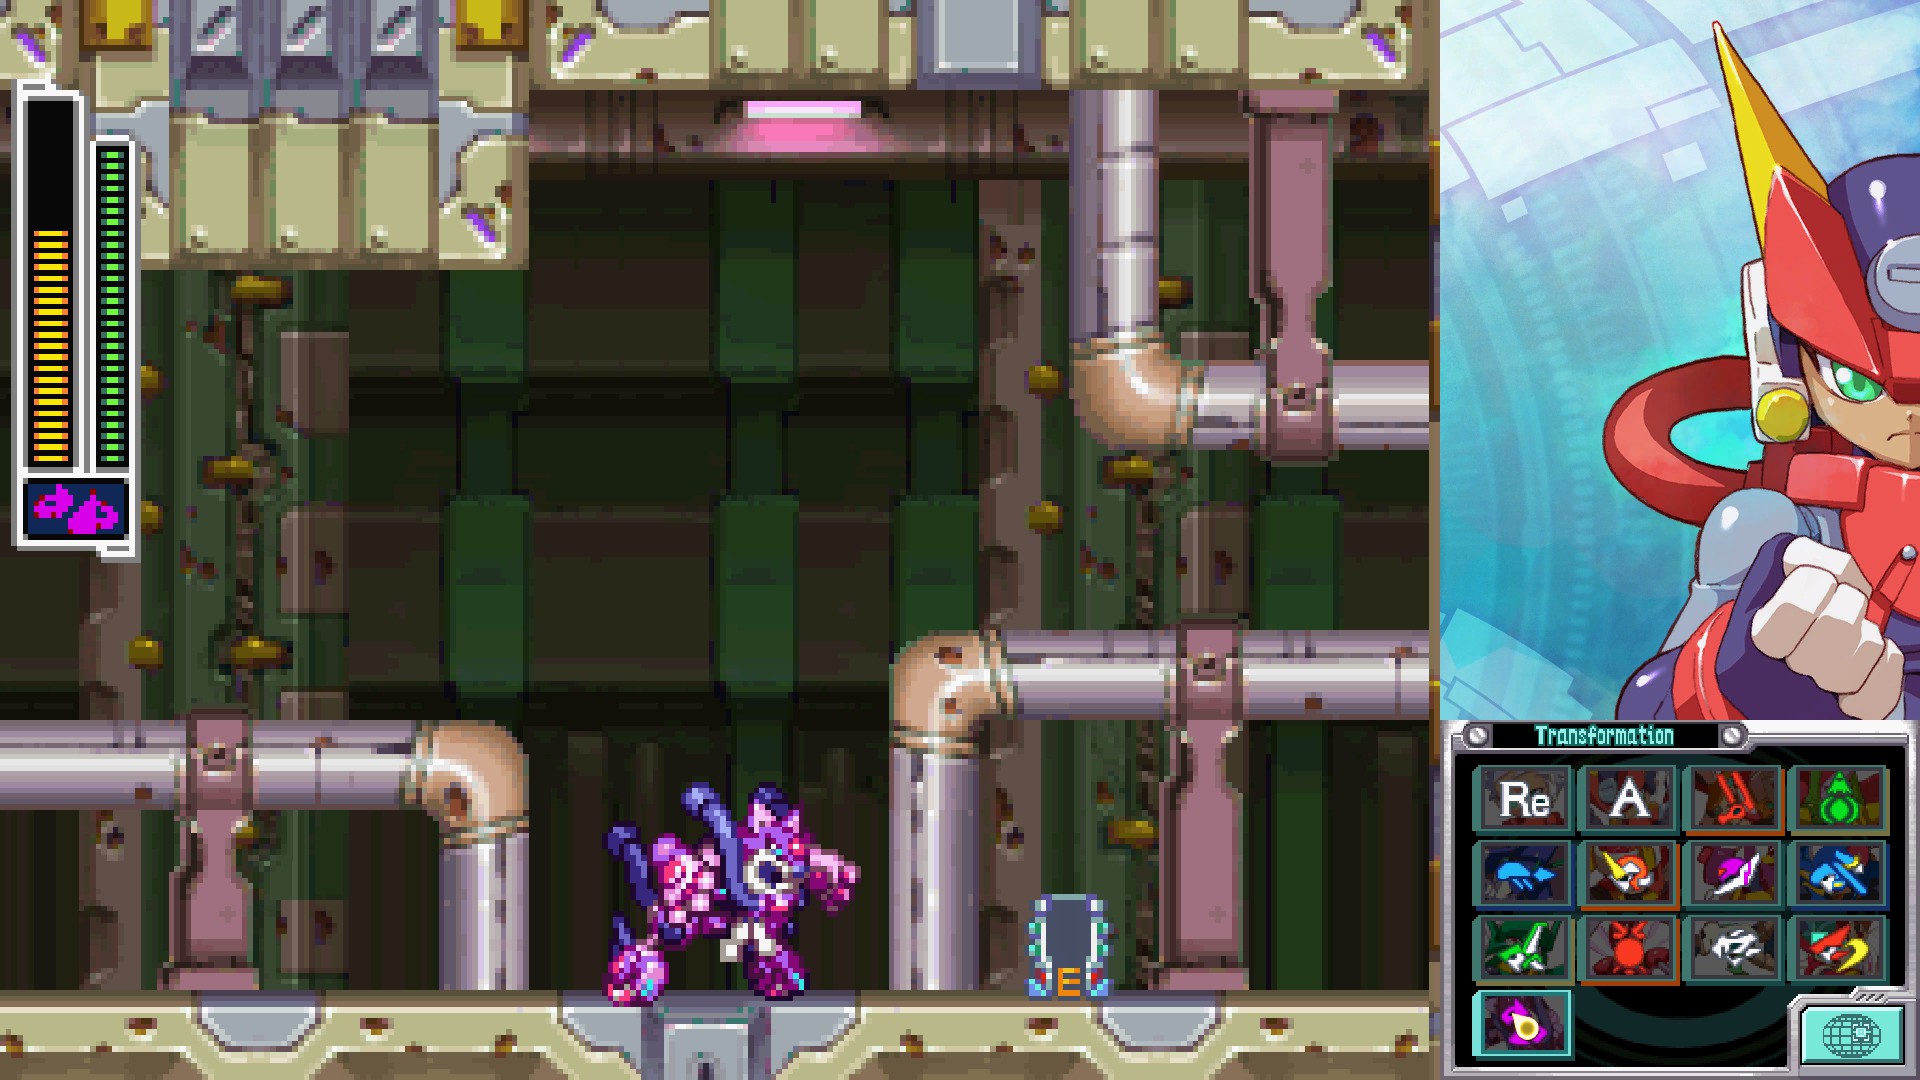
From here, continue through the level as normal but keep an eye on the top part of the screen. Eventually you will encounter blocks you can break with your Fx form’s punches. Charge both primary and secondary at the same time to punch as quickly as possible to destroy all the blocks and then quickly proceed to the newly opened path to the right to escape the approaching lava flow. This may take a few tries as you only have just barely enough time to do this before the lava comes too close and kills you.
Switch to your Px form and keep an eye on the sub-screen. Progress to the right, and use Px’s senses on the sub-screen to locate a hidden door you can enter. Progress through the room carefully, taking extra care not to touch the lava at the bottom of the room, and press the red button, giving you a prompt that a door has been unlocked in Area K-1. Backtrack back out of the room and head to the right, making your way through the level as normal until you reach the boss hallway. If you have not yet beaten the boss, you may need to use a save-assist checkpoint to make backtracking available instead of entering the hallway, loading your quicksave after touching it will reset the lava so that you can backtrack.
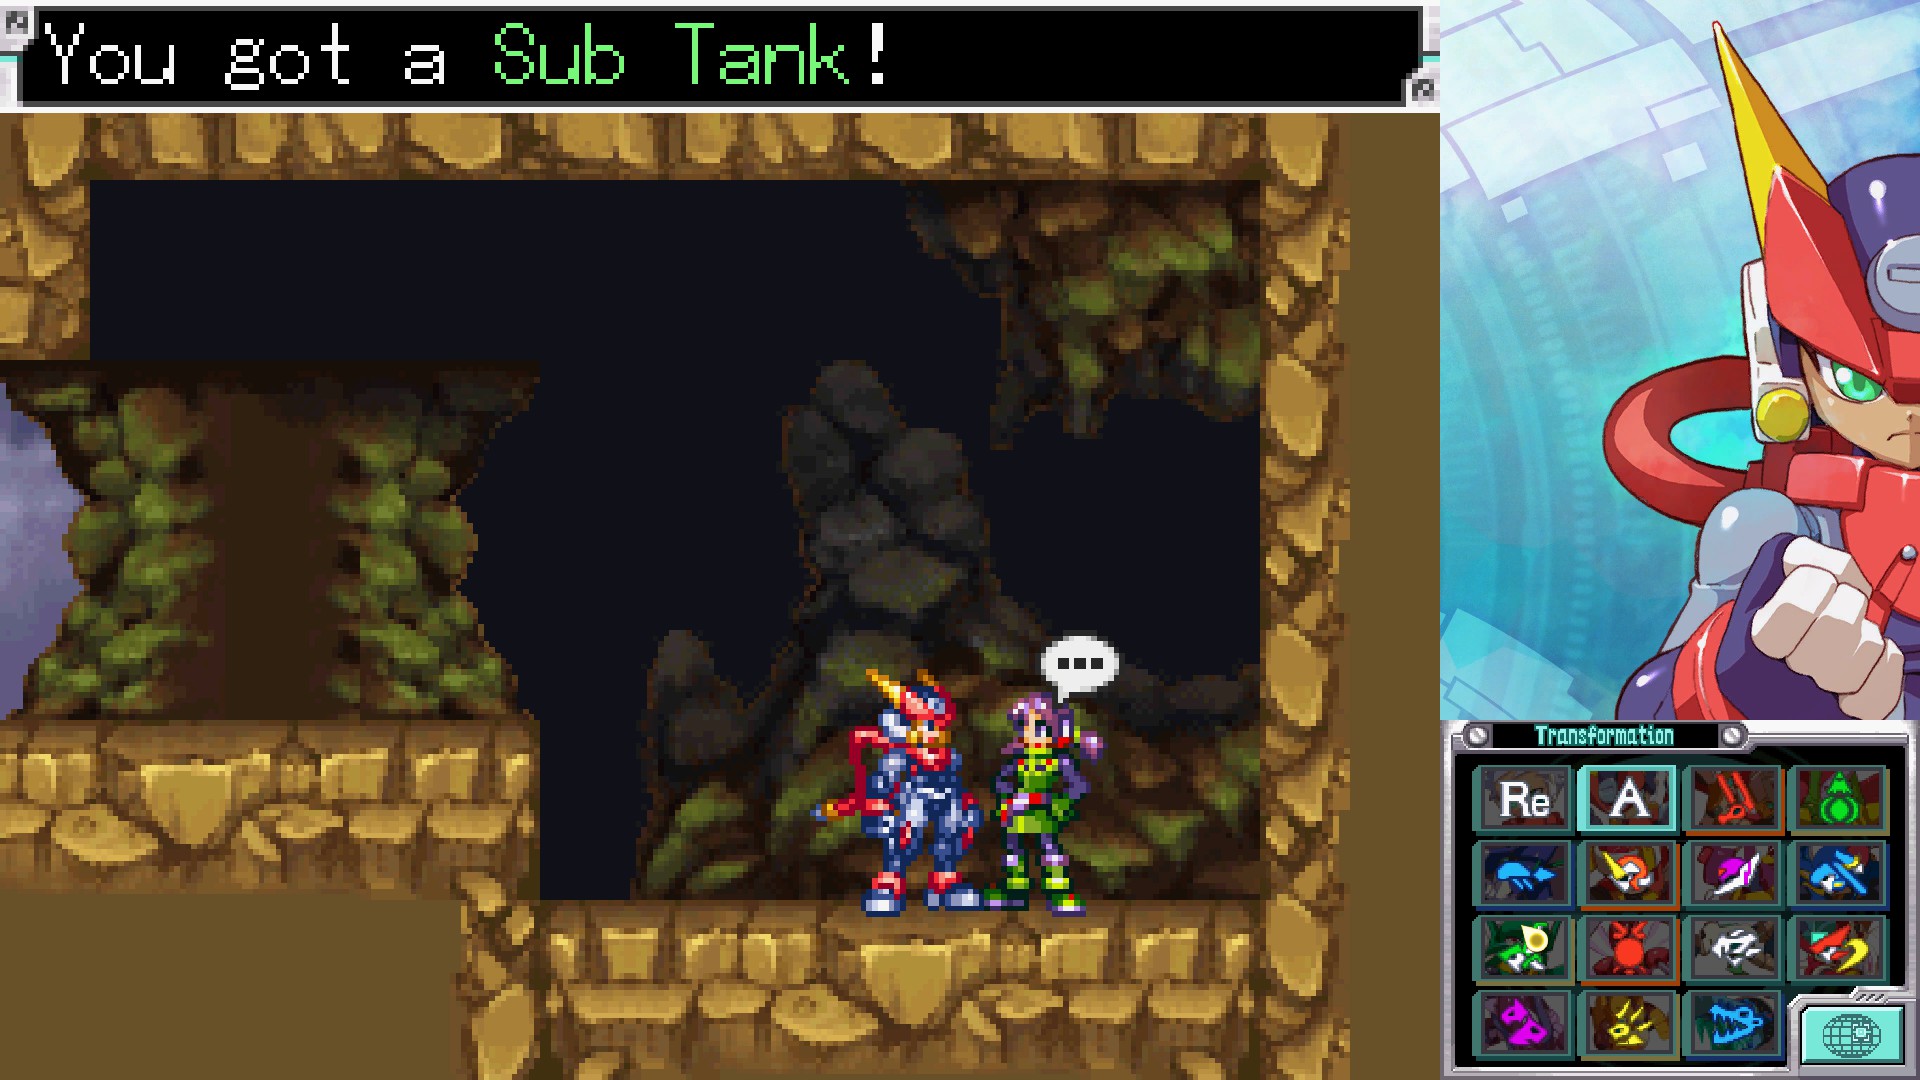
Turn around in the boss hallway or at the checkpoint and make your way back to the room from earlier where you need to escape the rising lava. Once you are back outside, progress back all the way to the left, but instead of taking the lift return to the red door up above you found earlier. It is now unlocked, so you can enter the room on the other side. Switch to Lx to swim past the spikes in your way, and the Subtank is yours for the taking.
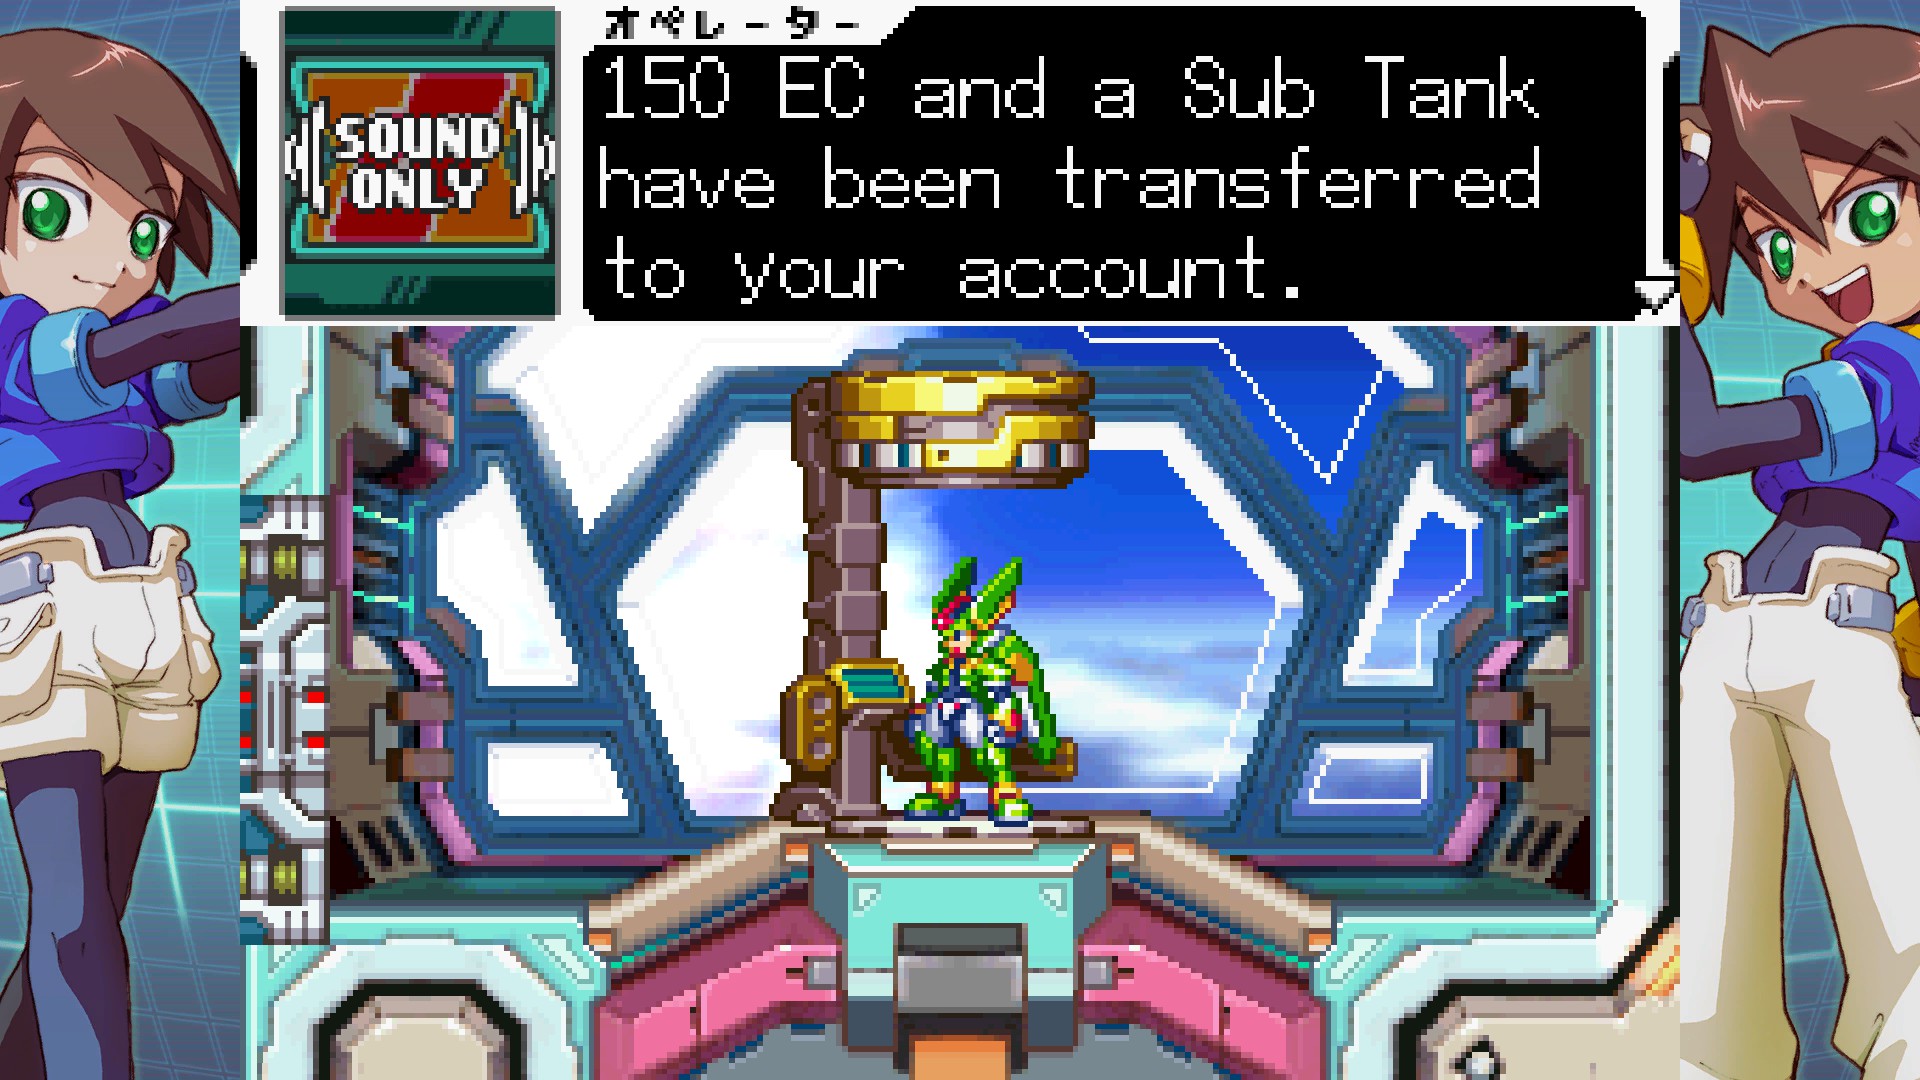
Fourth Subtank
Need: Access to Area L, Story Progression
Location: Guardian Base (Subquest)
The final Subtank is not hidden anywhere within the world, but obtaining it can still be pretty tedious. While at the Guardian Base (Area X-1) take the elevator up and talk to the nurse Muguet to get the “Deliver the Aid Kit” subquest, then after completing that subquest talk to Rose to get the “Deliver the Energy Pack” subquest. You can do this multiple times, but you need to progress through the story to be able to receive the quests, so if they aren’t giving it to you just do some story quests for a bit and then talk to them again.
The sidequests involve exploring Area L and destroying any large supply crates you encounter along your way. Eventually, one of them will drop the item you are looking for, and you can go turn in the quest and receive the next by talking to the proper NPC, either Muguet or Rose. Once you have done this several times, you will be rewarded the final Subtank.
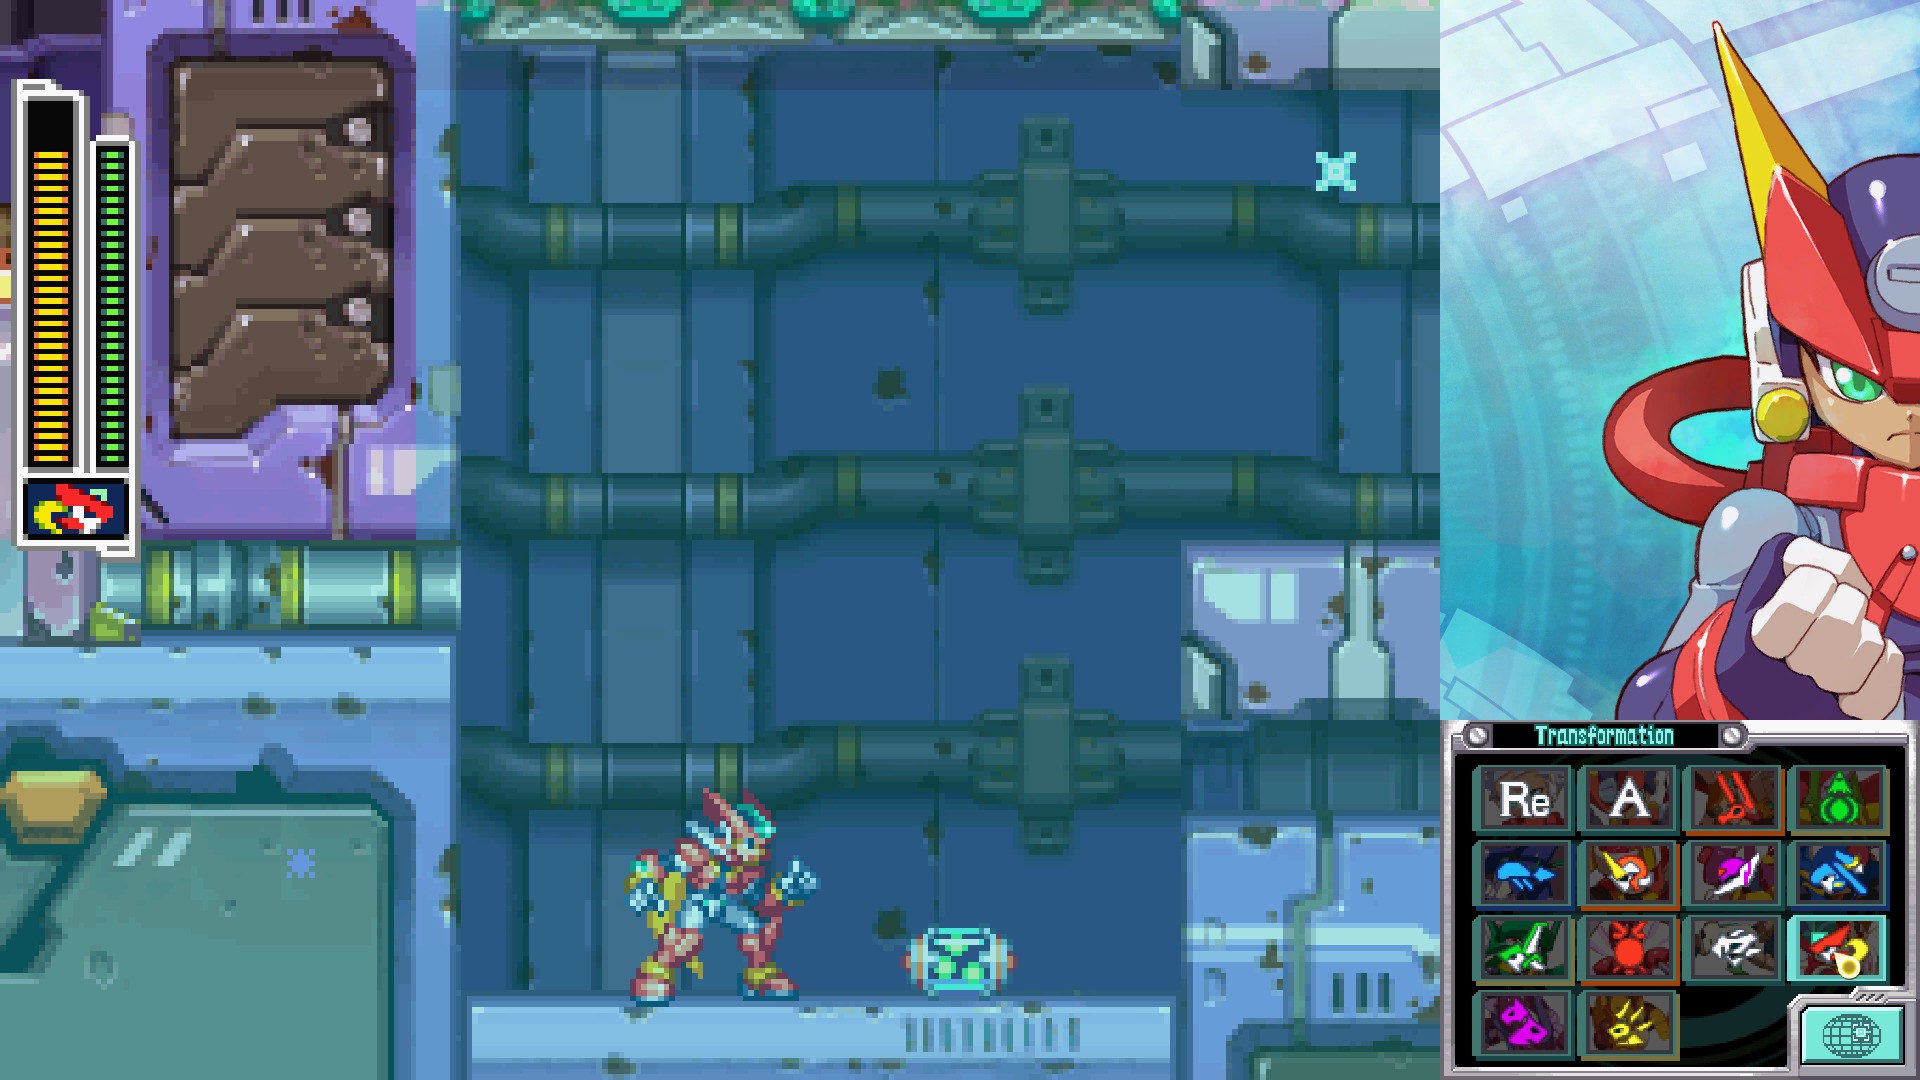
Mega Man ZX: Item B Chips
Eraser
Effect: This chip allows you to destroy small energy projectiles with saber weapons.
How to obtain: This one is quite easy to get, and can be obtained very early into the game. After you obtain the Zx form, talk to Carrelet in the Guardian Base. You might have to talk to him a few times. He will simply hand the chip over to you without asking you to do anything.

Absorber
Effect: This chip neutralizes knockback.
How to obtain: After freeing the people from Area I-3 and sending your mission report, talk to Leonardo in Area C-2 (He’s in the final room, just before the fountain). You might have to talk to him a few times.
Featherweight
Effect: This chip makes you weigh less, so you won’t sink down into sinkable floors or crumble fragile terrain.

How to obtain: After you defeat Prometheus 1v1, you can go talk to Bar inside the Guardian Base (Area X-1) on the bottom floor to receive this chip. You might have to talk to him a few times.
Wind Boots
Effect: This chip gives you a strong grip to the ground while grounded, so wind cannot push you. You can still be pushed in the air however.

How to obtain: After obtaining the Fx form and unifying both halves together, talk to Anguille at the Guardian Base. He will give you a quest to collect all the screws scattered throughout Area K. Once you are done finding them, return to him and he will give you this chip as a reward.
Quick Charger
Effect: This chip reduces the amount of time it takes to charge your weapons.

How to obtain: After obtaining the Hx, Lx, Fx, and Px forms and unifying all their halves together, talk to Fleuve in the Guardian Base. You might have to talk to him a few times.
Extender
Effect: This chip causes your invincibility frames after taking a hit to last longer.

How to obtain: After obtaining the Fx form and unifying both halves together, talk to Silure in the Guardian Base. He will give you a quest to obtain a rock in Area K. Complete this quest, and he will give you another quest to bring the rock to the crusher in Area E. Complete this quest and finally he will give you the chip.
Frog
Effect: This chip causes you to slide down walls slower.

How to obtain: Go to area C-1 after defeating Fistleo and turning in the story quest related to doing so. Find a woman named Karen who will give you a side quest to find her son. Return back to the burning building at Area G where you rescued the civilians and you will find out he has been here playing hide and seek with his friends. As the seeker, win the game of hide and seek by finding everyone hiding in the building (The last one is sneaky, he’s hiding to the left just outside the building) and then return to Karen back in Area C-1. After completing the quest, find Kenny in a nearby room and talk to him while transformed as any form. He will hand over the chip.
Ice Boots
Effect: This chip allows you to run on ice without slipping, but you will still be unable to grip ice walls.

How to obtain: This one is a quest reward for completing a handful of quests, and it’s slightly different depending on which character you are playing as.
As Vent, you will need the full Fx and Hx forms unlocked. Talk to Yu in Area C-1 (The kid just before the door to C-2) and do a couple of quests for him. The first quest is to take a quiz. The second quest is to take another quiz. When you return to the transerver to turn in the quest after completing it, you will receive a Pink Crystal. Return to Area C-1 and talk to Jack, the old man next to the Green Door that requires the green card key. You will give him the Pink Crystal, and in return you get the Ice Boots Chip.
As Aile, you need to have Prometheus defeated. Talk to Arcea in Area C-2, she’s a girl with purple hair and nerdy glasses on. She will give you a quest to find her a Mushroom. Take the quest and then find the Mushroom in Area A-2, and return to her. She will inform you that you misunderstood, and that Mushroom is the name of her small bird. Return to Area A-2 after taking the new quest and find her bird for her. Returning the bird to her will reward you with the Ice Boots Chip.
Note: The bird moves around quickly rather than staying in one place, so you are going to have to be alert and observant to track it down and grab it.
Mega Man ZXA

Mega Man ZXA: Life Up Locations
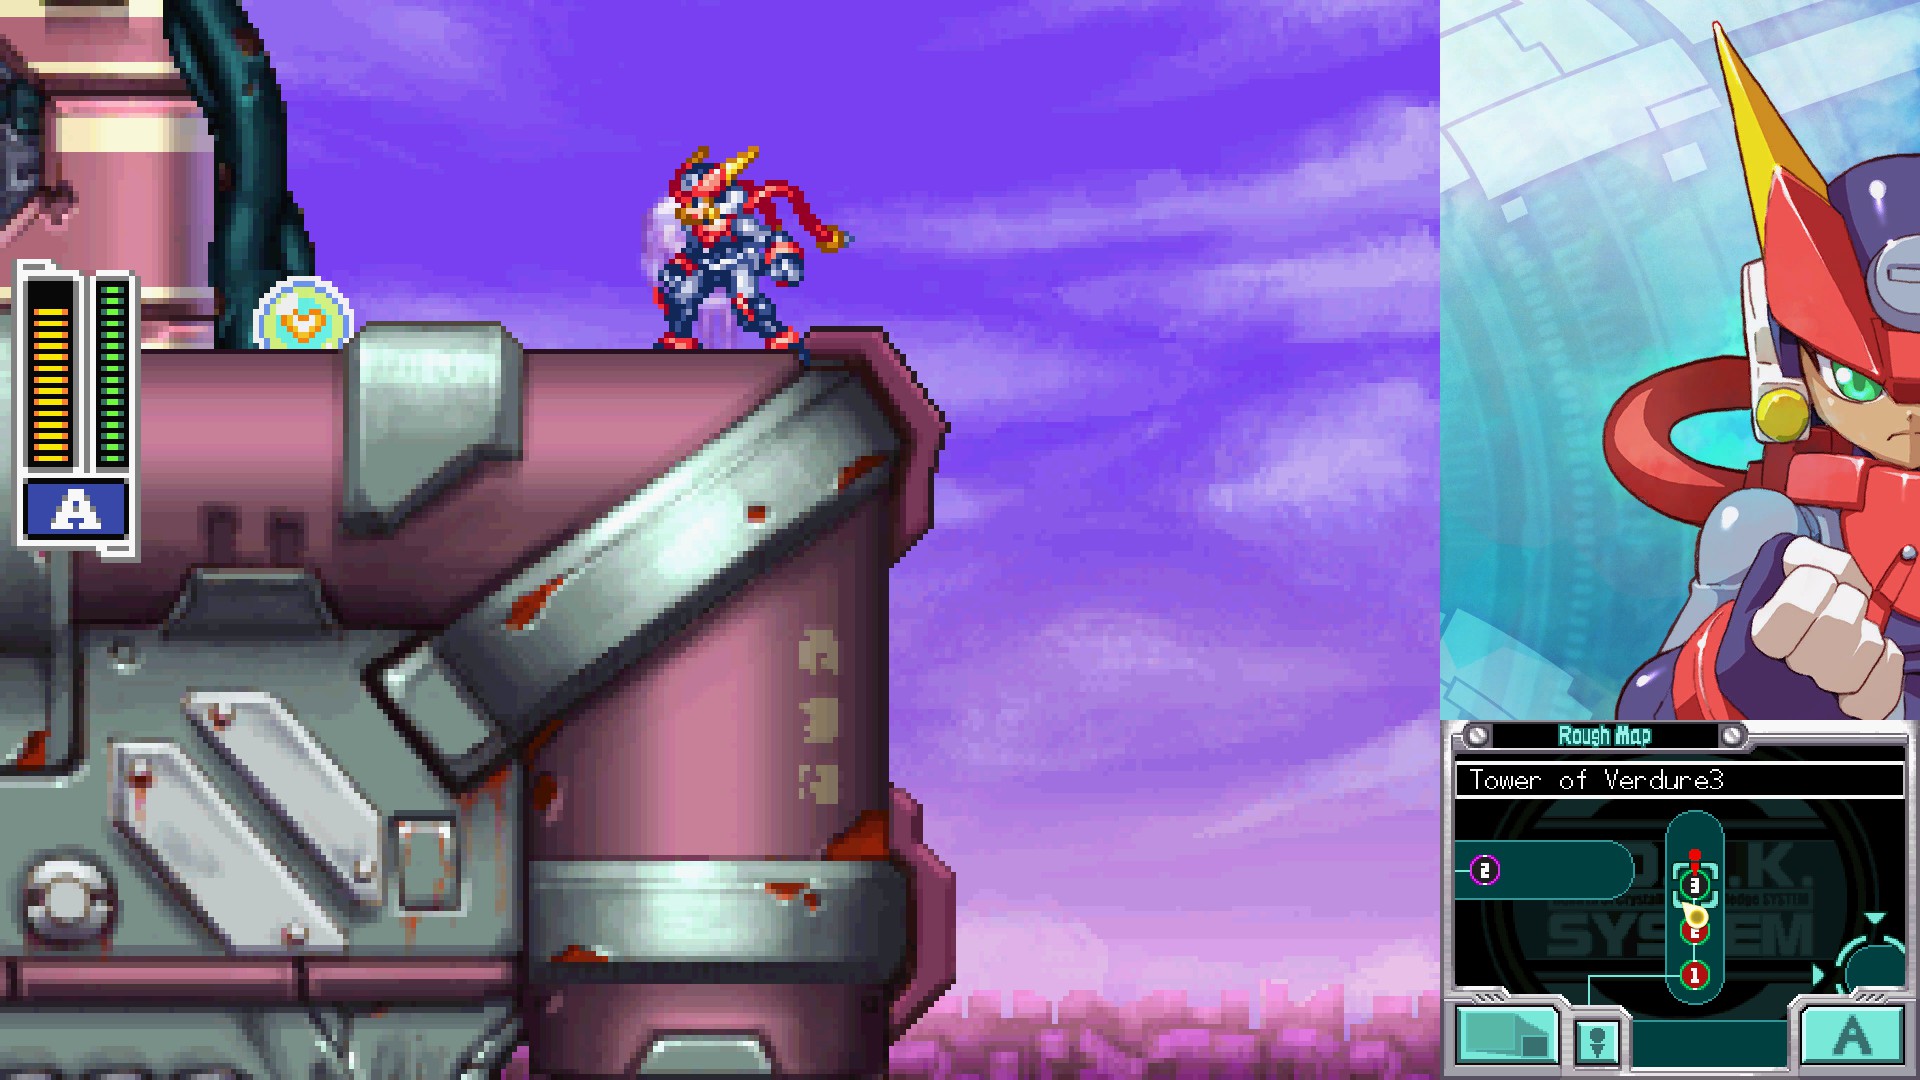
First Life Up
Need: Any transformation that can wall jump or fly
Location: Tower of Verdure Area 3
After defeating the Spidrill, work your way to the right until you come back to the outside of the tower and begin your ascension up along the wall. Eventually you will reach the highest point, at which point you will see a fragile vertical tube that comes apart when you touch it. Transform into Aeolus or Queenbee to gain the vertical mobility needed to reach the life up at the top. It’s technically possible to obtain with well maneuvered dash jumping and wall jumping, but this can be tricky for an inexperienced player to pull off.
Second Life Up
Need: Rospark (Optional), Aeolus
Location: Control Center Area 1
After entering the stage, you can find the second Life Up just before the entrance to the second area. Using Aeolus or Rospark, take the upper path instead of entering the elevator the normal way to skip being inside the elevator on your way up the elevator shaft. The Life Up is at the very top of the shaft.
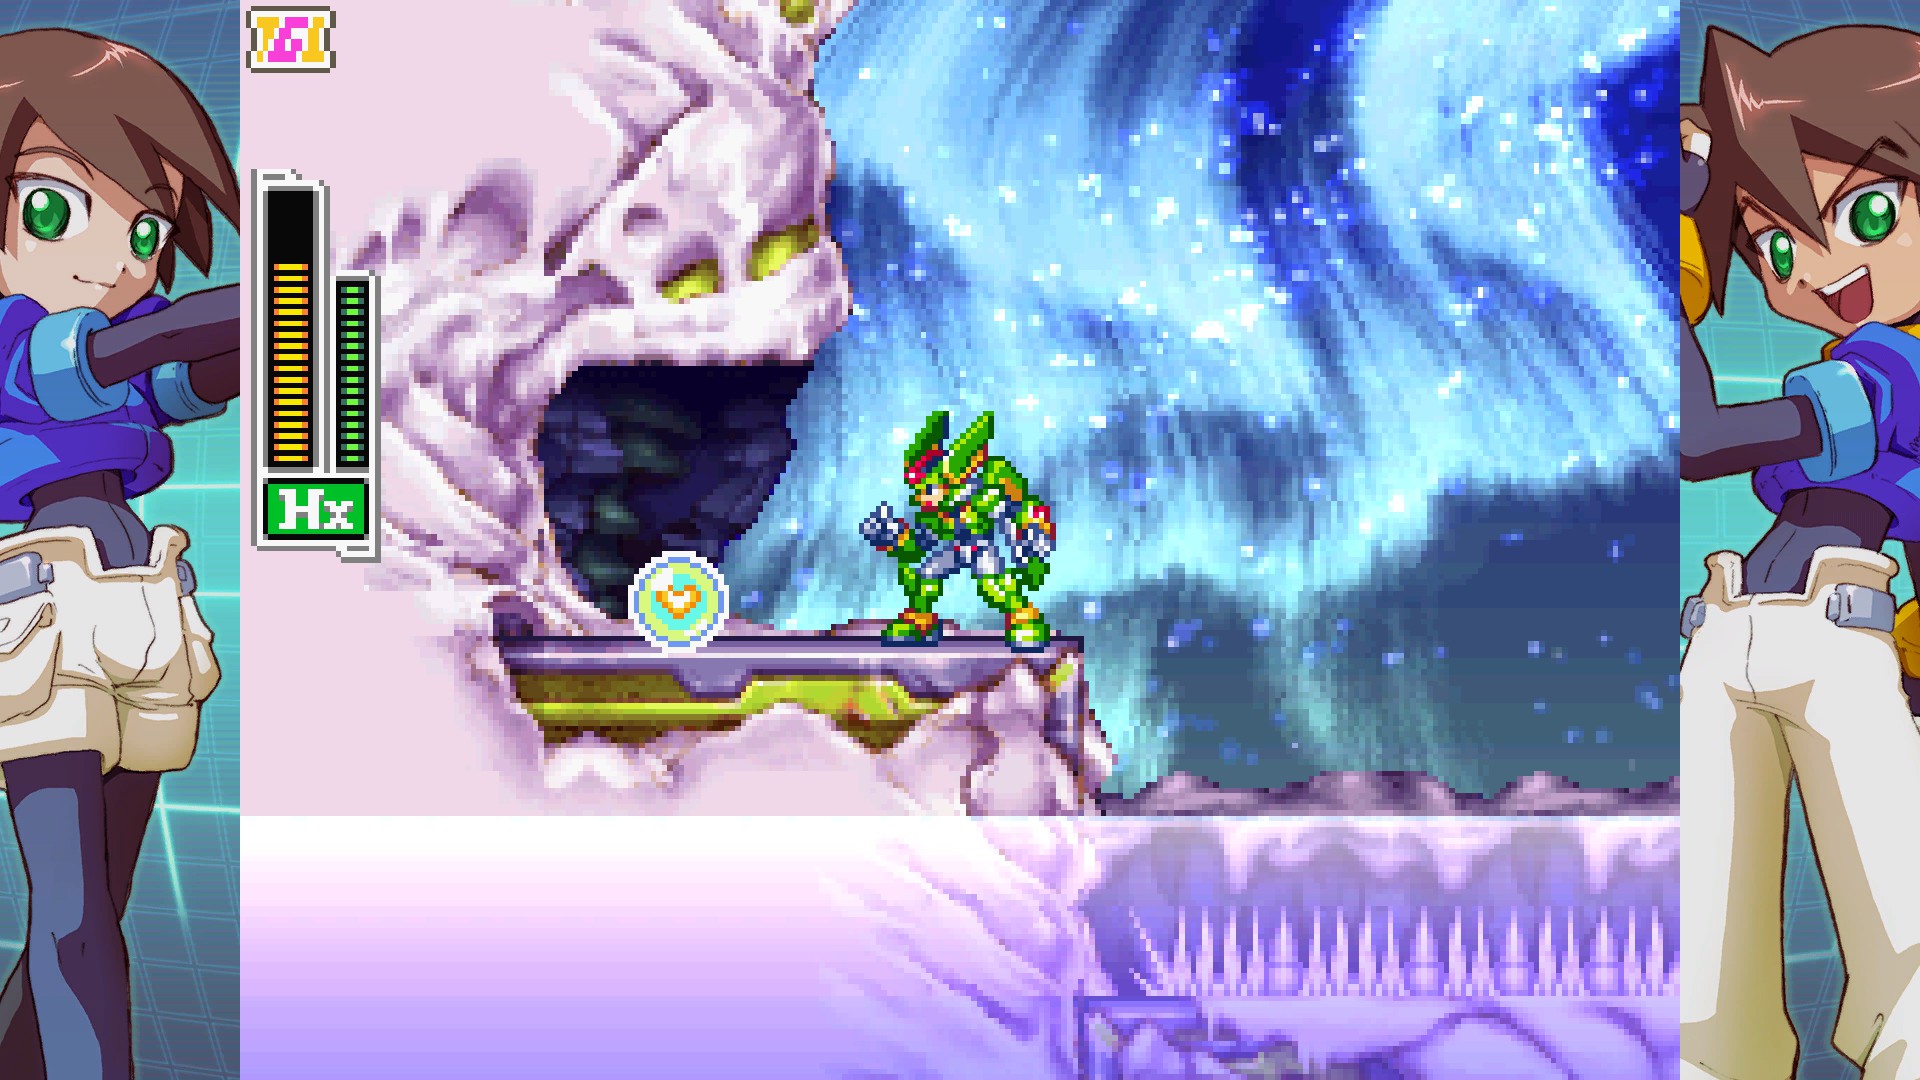
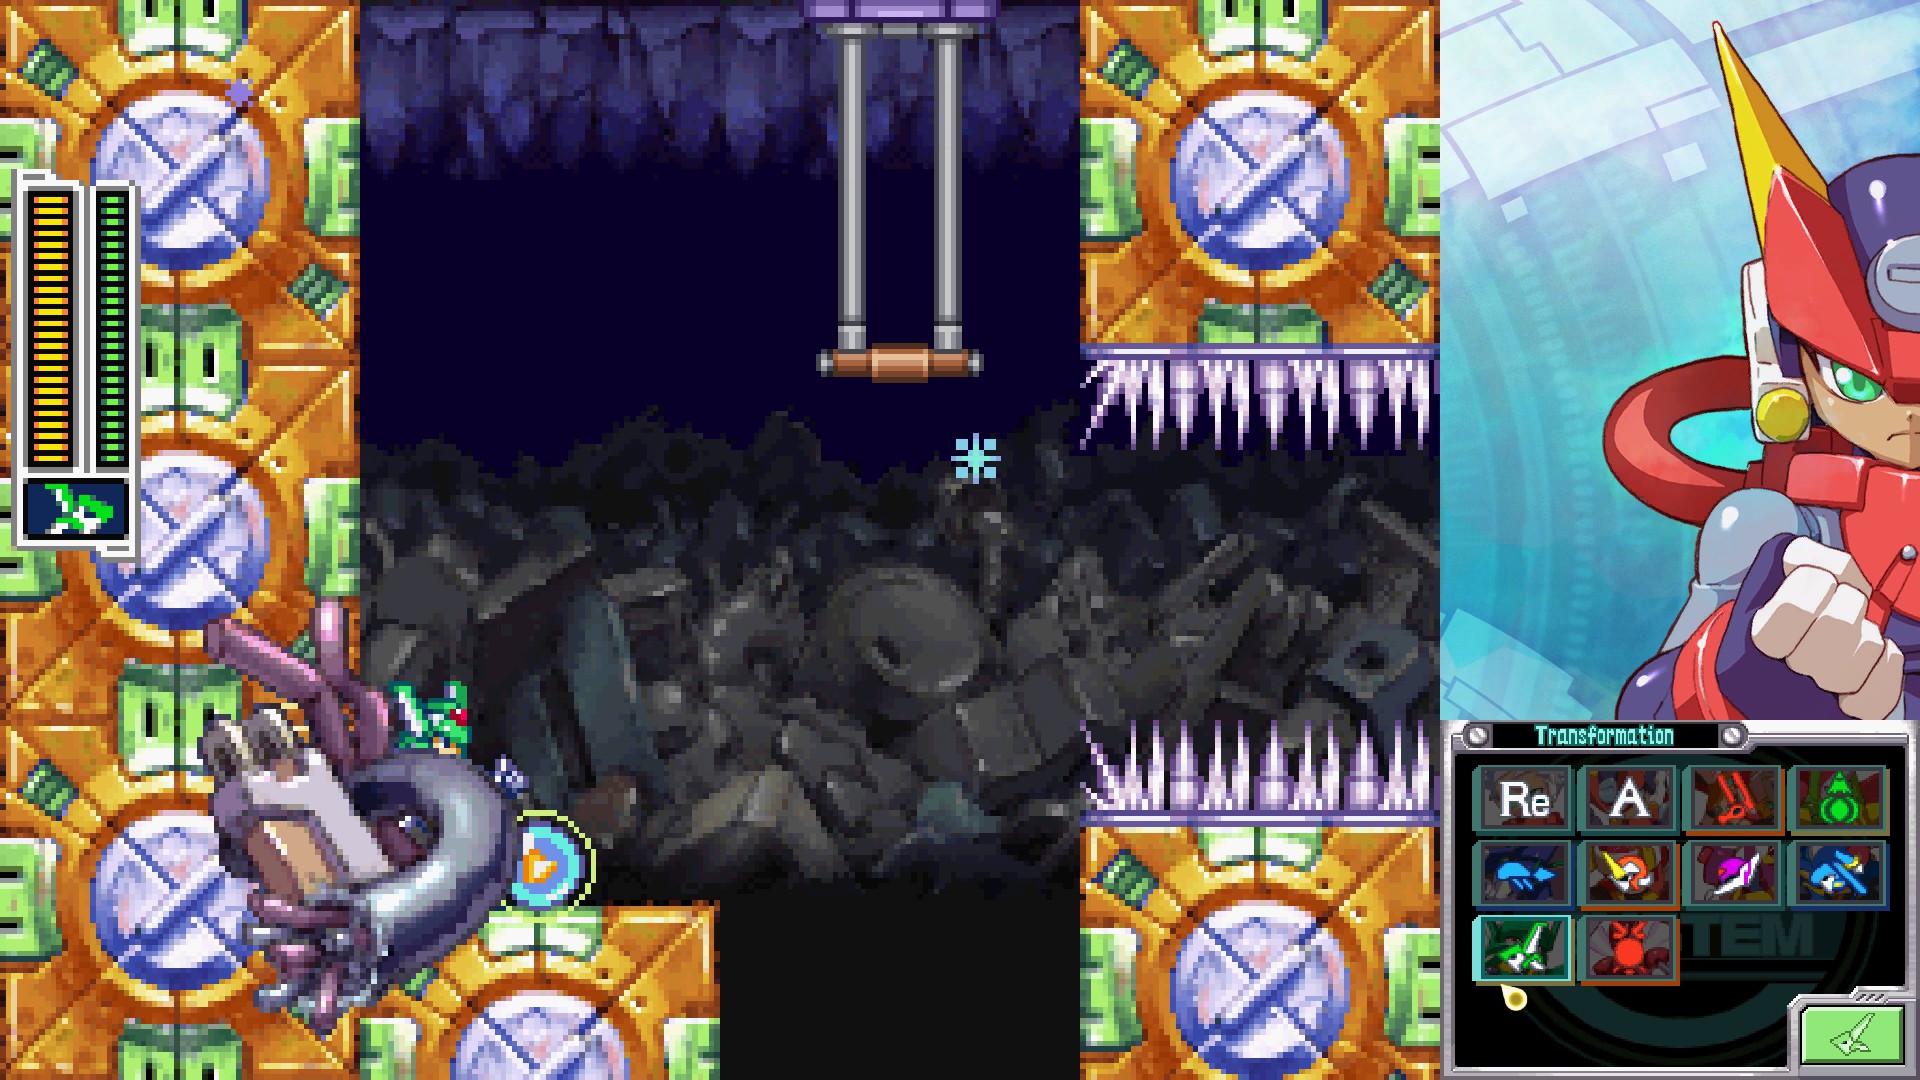
Third Life Up
Need: Siarnaq, Chronoforce, Vulturon (Optional)
Location: Scrapyard Area 2
In a room with many horizontal bars to grab onto, there is a spiked door that you raise by pulling on a switch as Siarnaq that you use Chronoforce’s time bomb to give yourself enough time to cross before it drops, leading to a series of three doors. Take the door on the far right while the time slow is still in effect and quickly drop down to the area below before a second set of spikes blocks your path or smashes you. The Life Up is there waiting for you. If you don’t make it in time and the path is blocked off to you, you can just carefully make your way around with Vulturon, but be careful not to touch the spike walls.
Fourth Life Up
Need: Thetis
Location: Waterfall Ruins Area 2
As Thetis, swim up a waterfall to find a hidden room. The Life Up is waiting for you inside.
Mega Man ZXA: Subtank Locations
First Subtank
Need: Rospark
Location: Arctic Ice Flow Area 2
If you want to obtain this one early on, make sure you complete the Tower of Verdure by defeating Rospark before coming here. You will come up to a selection of small pipes that Rospark can grab onto. Simply climb your way up and the Subtank is yours for the taking.
Second Subtank
Need: Argoyle and Ugoyle (Optional)
Location: Legion HQ Area 2
In the lower areas of the map, you will find this Subtank just inside a window you can’t break normally. The safest way to get inside is to use one of the jet sleds to break into the building from the other side, however if you have the transformation to become Argoyle and Ugoyle, you can charge up your secondary to spawn Ugoyle and get the subtank by phasing through the window. Make sure you quickly transform into someone who can wall jump as soon as you grab the subtank if you are using this method, as otherwise you will fall into the bottomless pit and die.
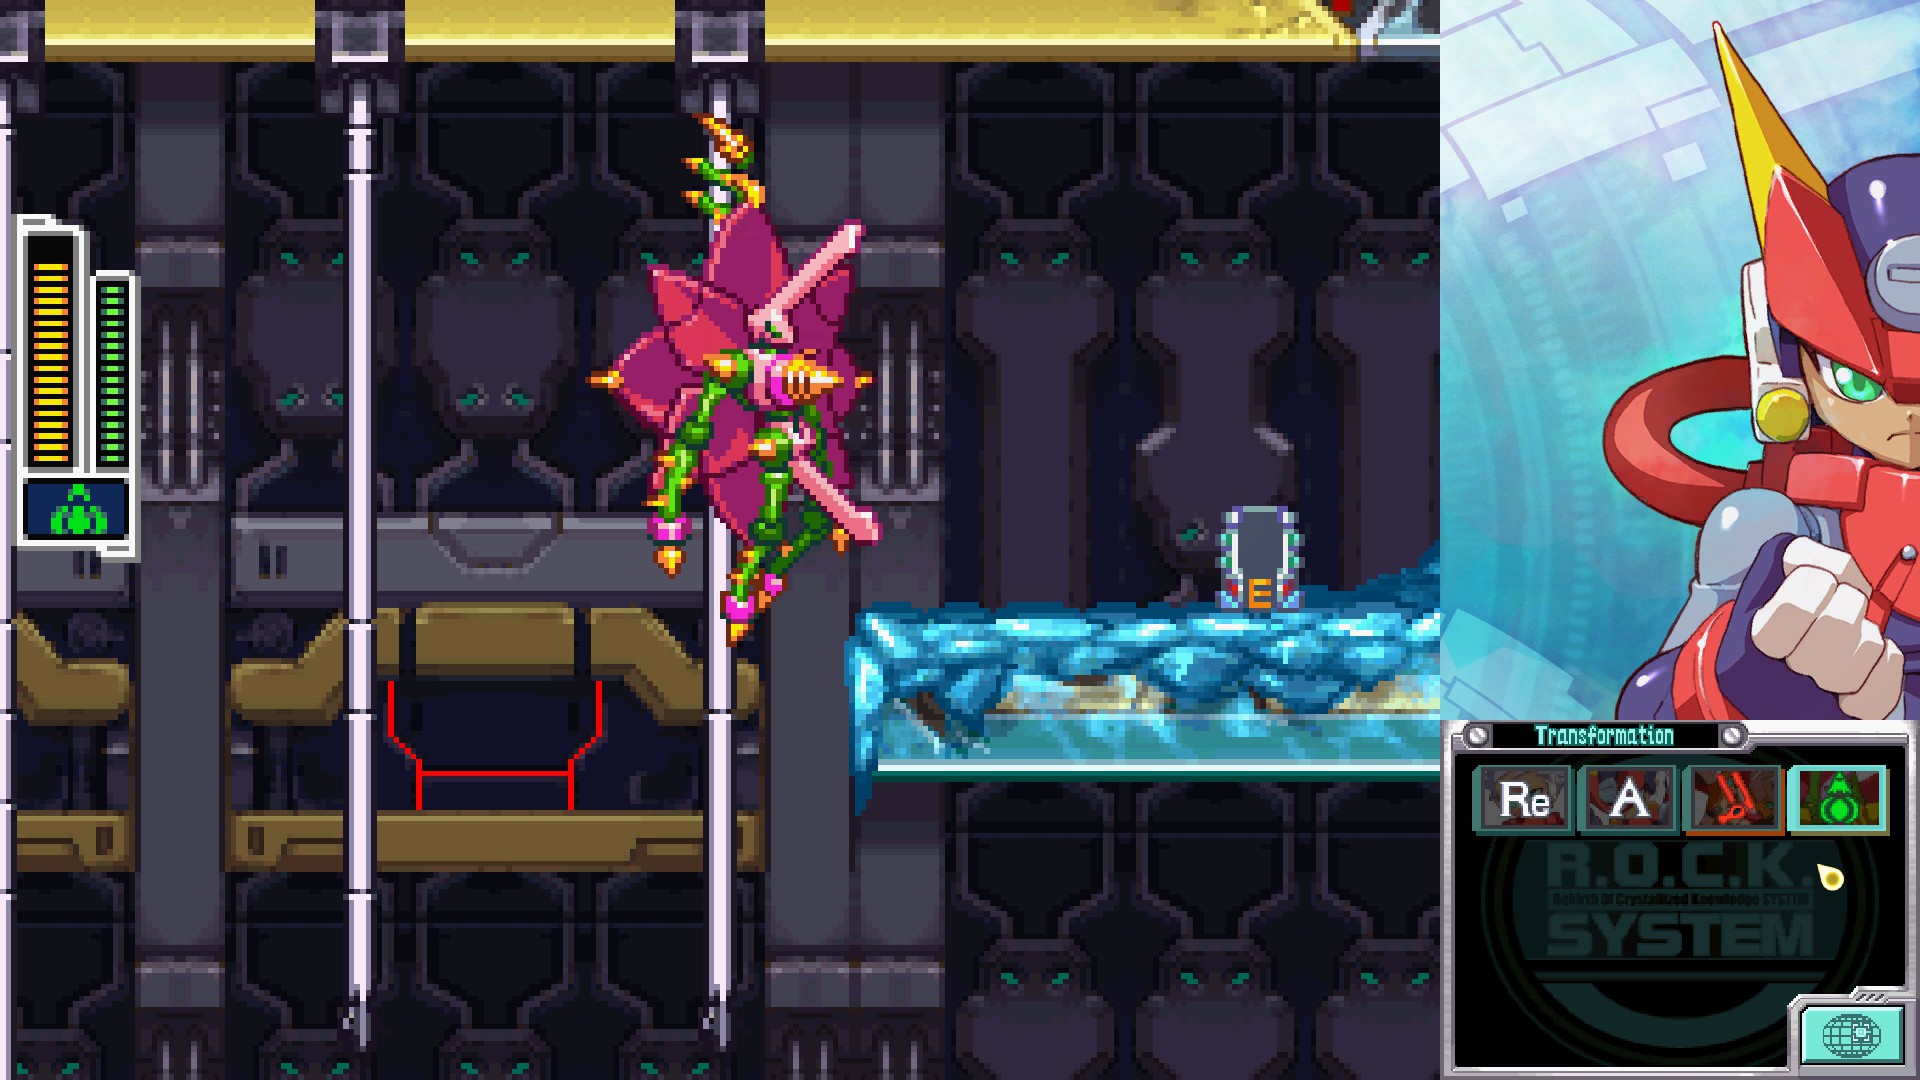
Third Subtank
Need: Argoyle and Ugoyle
Location: Mysterious Lab Area 3
At the end of the section where you place the batteries into their slots, climb the ladder to the upper area and enter the room that’s up there. At the far side of the room you will find the Subtank sitting out of reach behind a pipe. Transform into Argoyle and Ugoyle and phase through the pipe to grab the Subtank.
Fourth Subtank
Need: Aeolus, Thetis, Bifrost
Location: Floating Ruins (Subquest)
Find and talk to Meg (Her room is located in a cave around the middle of the main path in Area 3. It’s hard to miss) and she will ask you to find some items for her. Once you have the quest, you can find the following items:
The first item is the L tank, located just above you at the very start of the Floating Ruins. Transform into Aeolus to reach it.
The Pinwheel is sitting on one of the trees you have to climb normally in Area 2. To reach it, use Aeolus to activate slow fall so that you can lower yourself through and under the gusts of wind otherwise pushing you up.
The Old Balancer can be found near the start of Area 3, also just above you. Use Aeolus to make your way up, then use Bifrost to destroy the wall of cubes blocking your path. Climb the ladder to find the room containing the item. Use your base form or Hedgeshock after entering the room to get under the narrow passages.
The Light Bulb is hidden at the very end just under the ruins where you battled Aeolus. Use Thetis to be able to see where it is on the sub screen, then use Aeolus or Vulturon to reach it. Once you have all the items, return to Meg and she will give you the Subtank as a reward. You will have to talk to her again for every item you collected for her.
Mega Man ZXA: Item B Chips and Items
Note: Item B Chip effects are the same as in ZX
Absorber: After you get the Green Card Key, go to Hunter’s Camp 3 and talk to John. You can find him on the other side of the Green Gate. He will talk about the price he’s offering for the chip, but will finally settle at 99EC. Pay up and the chip is yours.
Eraser: In Hunter’s Camp 3 talk to Warren and Blossom. Blossom will give you a quest to obtain a flower for her mother. There are three locations you can choose to go to find one, it doesn’t matter which you do. You can go to the Tower of Verdure (The flower can be found in the third area), Floating Ruins (Also the third area), or Waterfall Ruins (Second area). If you so choose, you can grab two or three, but you only actually need one flower to finish the quest. You get 100EC per flower. Regardless of how many flowers you grab, you will also be rewarded the chip after delivering the flowers.
Wind Boots: Go to the third Train area after getting the Queenbee transformation and talk to Tillis. She will give you a quest to put out the fire at legion. Go to Legion HQ area 2 and use Queenbee to grab the water tank and extinguish the flames. Return to Tillis and the chip is your reward.
Ice Boots: First you are going to need to fully unlock the building next to the entrance to the quarry at Hunter’s Camp, the furthest building to the left. To do this, you will need to do a series of EC payments and collect a drill upgrade. Once the final room is unlocked, you can start doing a series of quests helping various Hunters get the items they want to display in the room, starting with a quest to get shelves. Once you have the shelves put in, talk to Sharon in front of the Green Gate at Hunter’s Camp 3 and she will give you some money to buy her some comics. Go to the third Train area and locate the shop where they are selling comics. You can choose between three options, each costing a different amount. It doesn’t matter which you pick. After you make your choice, return to Sharon and she will reward you with the chip.
Featherweight: To get this one, you are going to need the Atlas transformation unlocked, and Siarnaq would make things easier as well. Go to Oil Fields 2 as Atlas and smash some floor tiles in the pipes right near the start to get to the lower path. Go to the right and keep an eye open for a door. Inside you can talk to Antonio to start a quest. You are going to need to do that to get the chip. The quest he sends you on is to retrieve his wrench, so go to the top of the room to get it and then return to ground level to give it to him. He will reward you with the chip.
Frog: Just like with the Ice boots, you are going to need the leftmost building at Hunter’s Camp fully unlocked and the final room needs to have the shelves put in. On the bottom floor in one of the rooms you can talk to Carley. She will give you a Micro Transmitter and tell you to place it near some Mechanaloid remains in the Oil Fields. You can find the remains in Oil Fields 1. Place the transmitter and then return to Carley to be rewarded the chip.
Fun fact: The Mechanaloid remains are actually those of a Utuboros, a miniboss from Launch Octopus’s stage in Mega Man X, though it’s notably smaller than the ones X fights in that game.
Extender: Go to Waterfall Ruins 3 (It’s easier to transport to Waterfall Ruins 4 and just backtrack) and find the Waterfall you can swim up as Thetis to get to the second door, then talk to Peter. He will give you a quest to destroy a few Chabanos in a small area behind him. Complete the quest and he will give you the second quest “Eliminate the Chabanos”. For this quest, 50 other Chabanos will appear spread out among various other stages. These places are: Oil Fields 2, Legion HQ 1, Highway 1, Floating Ruins 3, and Scrapyard 2. Once you have located and destroyed all 50 Chabanos, return to Peter at Waterfall Ruins 3 and he will give you the Extender chip.
The following items can be found in the Raider Airship at Oil Field 3. On the bottom floor you can find two doors blocked by sand. Talk to Tom and pay up EC (100 or 300 at a time, you need a total of 600 EC payed to unlock the second door) to have him dig up the doors so you can enter. Depending on the time of year, you can get different items from the boxes inside. For Item B Slot, you have a random chance of finding these in the second room:
Demon Buster (February) (Buster attack damage increase)
Baby Doll (March) (Female Pseudoroid transformation attack damage increase)
Warrior Helmet (May) (Male Pseudoroid transformation attack damage increase)
Soccer Ball (June) (Replace Argoyle’s Rock Bombs with a Soccer Ball)
Magic Pumpkin (October) (Elemental attack effect time extended)
If you don’t get the item, just leave the airship by running back to the left and then enter the airship again to reset the rooms and try again.
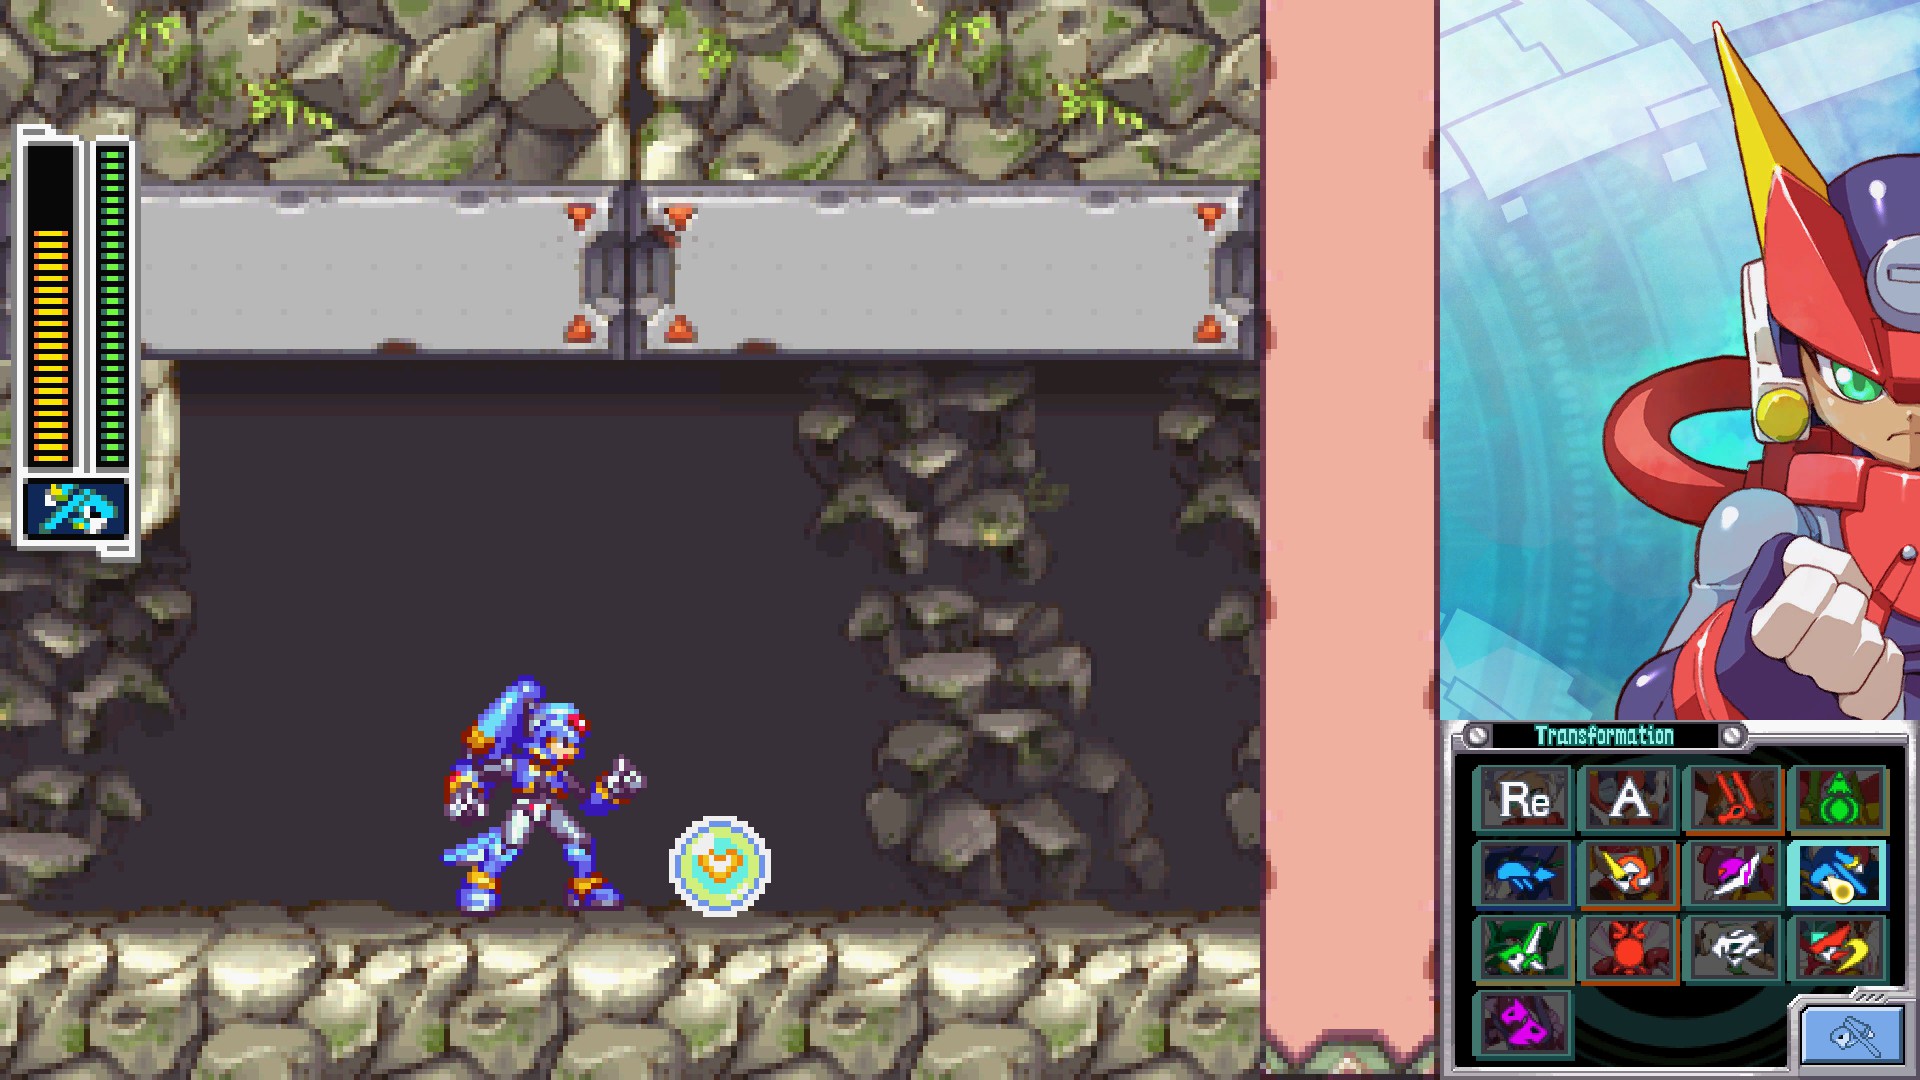
Mega Man ZXA: BM Upgrade Locations
First BM Upgrade
Need: Atlas
Location: Oil Field Area 2
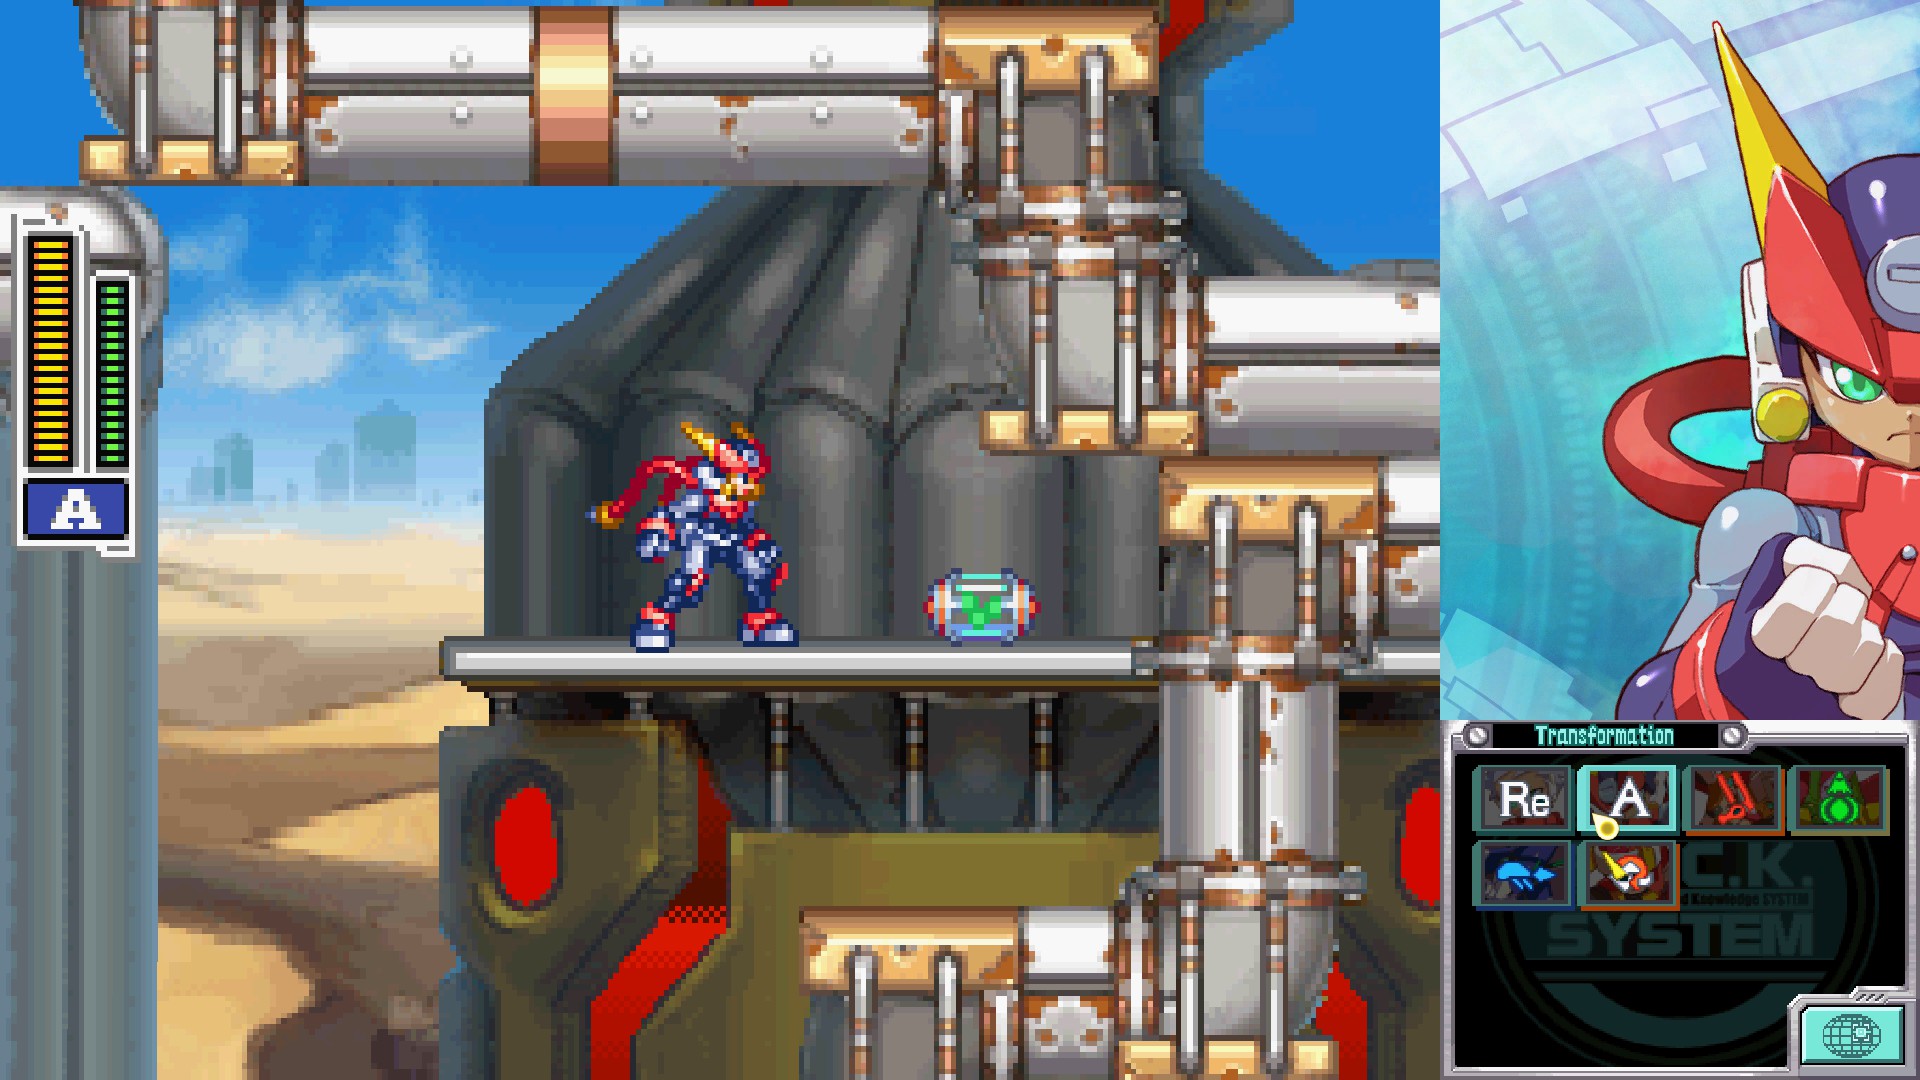
Transform into Atlas and keep an eye out for destructible ground tiles while traversing on top of the pipes. The spot you are looking for is right near the entrance to the area, a Galleon riding a bike should appear as you reach it. Break your way down to the scorching hot sands below and then make your way as far right as this alternate path will take you. The BM Upgrade is sitting there waiting for you.
Second BM Upgrade
Need: Aeolus (Optional), Atlas, Chronoforce
Location: Highway Area 1
The easiest way to find this one is to use Thetis’s sub screen radar to find the fake pit you are looking for. Once you are in the right spot, you will notice destructible blocks you can destroy as Atlas. There’s a button you can attack to push, but don’t just yet. Instead, Transform into Chronoforce and activate a time bomb, then quickly transform into Aeolus for maximum mobility/speed. Finally, press the button and quickly backtrack back up to the main path and work your way to the right and down to get to the other side of the wall the button was on where another button and the BM Upgrade are located. If you are too slow, the path will lock up and you will have to go back to the first button and try again.
Third BM Upgrade
Need: Atlas
Location: Quarry Area 3 (Chase Sequence)
You should notice this BM Upgrade sitting up above inside a collection of destructible rock blocks suspended above a bottomless pit. If you are quick, you can grab it during the chase sequence as Atlas, but it’s far easier to simply progress to the next area entirely and then backtrack to it so that it respawns without you being on a deadline. Be careful not to accidentally break both the blocks it’s sitting on or else it will fall and you will have to reset it again.
Fourth BM Upgrade
Need: Chronoforce (Optional), Queenbee
Location: Bio Lab Area 2
Along the main path not too far from the start of the area, you will find a section where you need to transform into Queenbee to raise containers blocking chemical pipes to progress. You will find it just under a couple of floating platforms that block you from getting to it if they are too low. Solve the puzzle and the BM Upgrade is yours.