
Overview
Quick Guide highlighting how to use the level editor.
Golf With Your Friends Level Editor
This will be a quick guide on the main sections of the editor and depending on our development this guide may be super out of date. (Currently in phase one of the editor)
One important rule is to SAVE YOUR MAP FREQUENTLY, things can go wrong so please remember to save often.
We will be continuously working to tweak the editor along with adding a ton of extra content, If you have any ideas or suggestions please feel free to post them in our suggestions section on the steam forums or on our discord thank you! – [link]
Basic Controls, First Object & Snap
Camera movement
WASD W – forward, A – left, S – backward, D – right
Hold Ctrl to move down and hold space to go up.
You can also hold right mouse down to pan around using your mouse.
Before we begin please go into your control settings to check how its set up
– Esc
– Options
– Controls
– Scroll to the bottom


I prefer Duplicate/quick place to be left alt and will refer to it as such in the guide 🙂
We currently have 6 themes to choose from, these themes will be regularly populated with more assets as time goes on. But for now, let’s stick with forest. (You can use all themed assets if you’d like)
Buttons in order
Themes
– Forest
– Oasis
– Candyland
– Ancient
– Haunted
– Pirate
– Special

Type
– Base (Grass base pieces)
– Wall (Walls for bases or just in general)
– Feature (Moving/Animated objects or assets with specific uses)
– Scenery (Assets such as trees, rocks and so on to make your maps look pretty)
Usually I start with a base grass piece and go from there.
click on the object you desire then move your mouse into the scene and click to place the object.
Movement, Rotation and Scale
Moving an object is as easy as clicking and dragging any arrow depending on the direct you wish to move it.
Rotating is basically the same but instead you click and slide one of the circles in the direction needed (Shortcut key for rotation – hold r and drag mouse)
Scaling you can either hold the middle on the grey cube to scale all of the object or click one of the directions and drag to scale in that direction (Shortcut key for full scale – hold T and drag mouse)


There’s a lot to use on in the editor but one main feature im sure we will all use is the..
Snap can be super helpful especially if you change your numbers for rot,etc but ill just stick to the normal snap feature (However i find it helpful to change snap rot to either 10, 15, 45 or 90)

To know if you have snap enabled the button should be yellow like this.

First Hole, Quick Walls & Testing Your Map
Lets make a simple hole.
MAKE THE COURSE
I start with the base first by clicking where I want then holding alt (my key bind for quick place/duplicate)

Then we have two options (wall builder only works in forest at this time)
Wall builder or manual placement (You already know how to move, rotate and scale so we will go with wall builder)
To use wall builder, place a forest corner piece then hold leftshift (Keybinded), while holding left shirt click where you want the wall to go to then let go. You now have a wall.


The Hole & Spawn
To provide a hole for the players we can choose something like this from our list

Once we have placed the hole we then have to add a flagpole or any other detecting piece.
Spawn and hole detector’s can be found under the button that looks like a joystick


Place the yellow detector box within the hole to despawn players (Ends that hole)
Make sure it is below the rim of the hole.


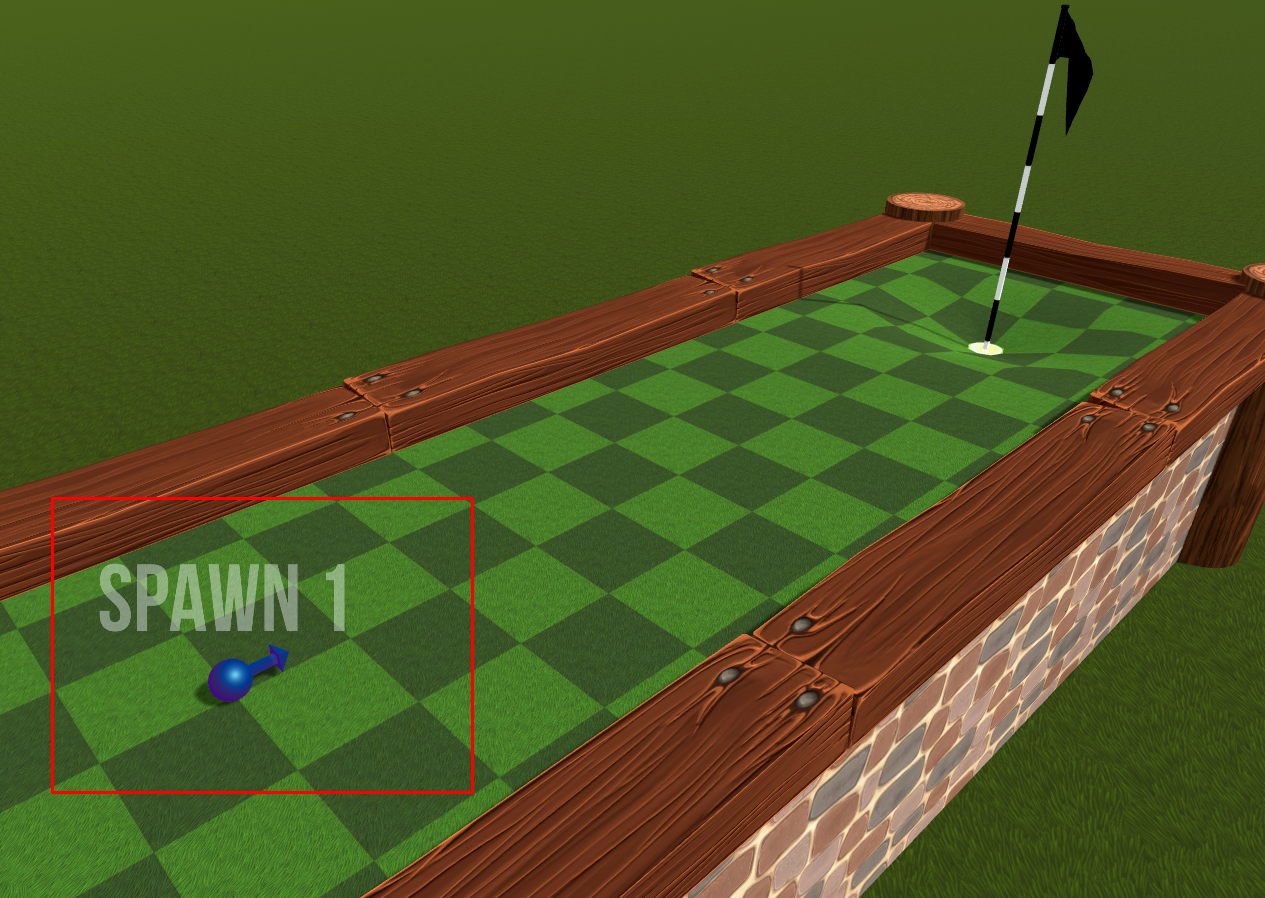
Now to place your spawn, this is usually the little ball and once in the scene it will be a blue ball with an arrow on it, face the arrow in the direction you want the players to spawn facing.
To test the map its as simple as pressing the play button on the top of your screen and to exit just press the esc key click on stop testing, exit then press yes.

How To Save, Publish & Play My Maps
So, you’ve made an awesome map and wish to share it with the world!
First, we will need 2 cameras for displaying your sweet map.
To find these cameras they are located next to the flagpole and bounds buttons in gameplay.

Green Camera – Loading into the map
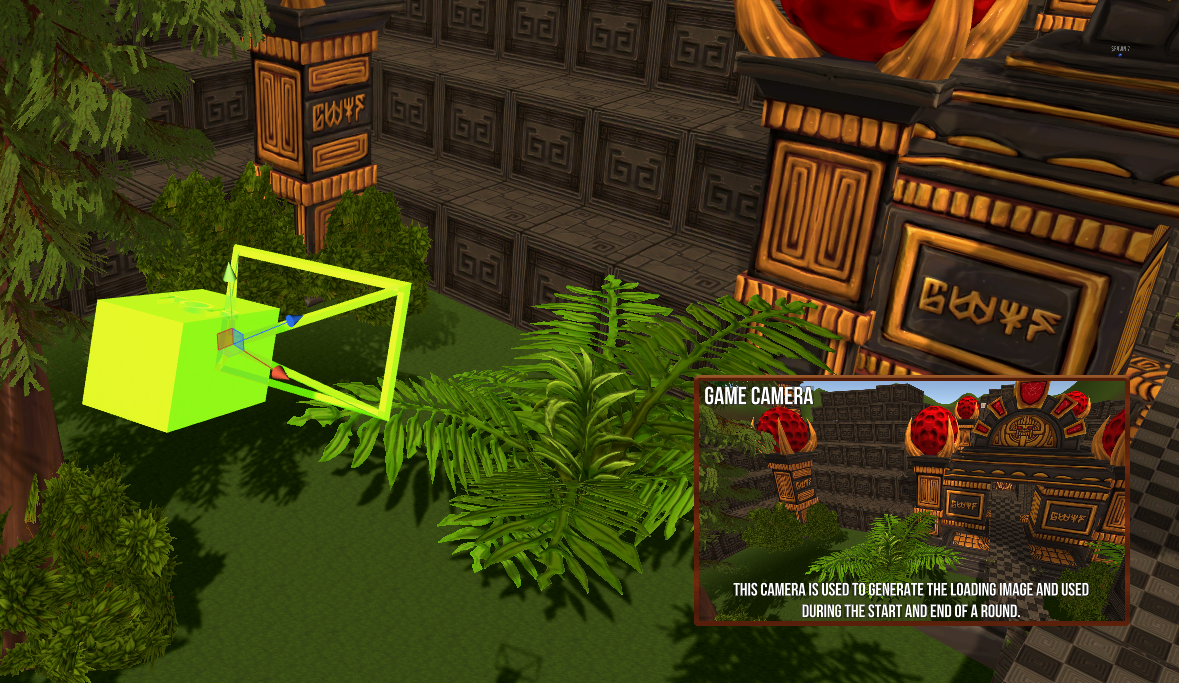
Blue Camera – Workshop image
Place both cameras anywhere in your map you’d like (Choose places that will entice players to download your map)

Now that we have our cameras done all there is to do is save your map and to publish.
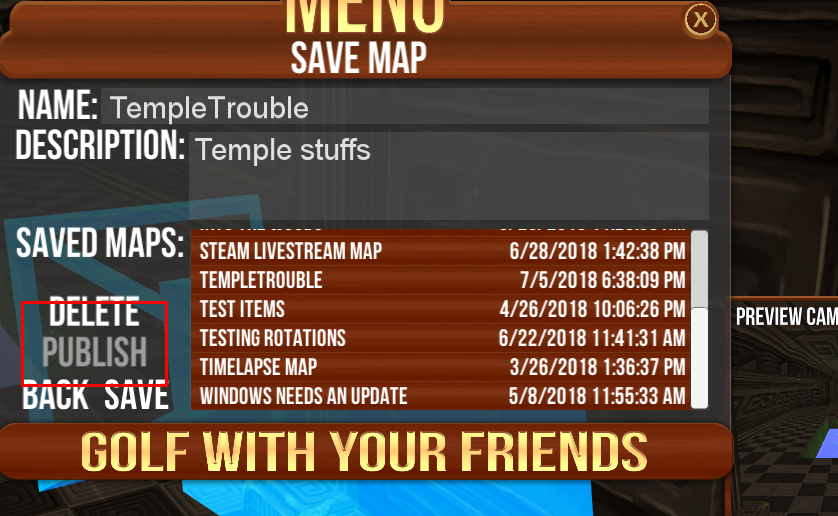
To save press esc then click save, Fill in the name and description then click save to the left.
To publish, basically exactly the same as save but now we press publish.

Please dont leave bug reports in the comments for this guide if you have issues, a bug to report or a suggestion please post it in our steam forum or on our discord! – [link]