![[SteamOS] Installation on VMware Workstation for Steam for Linux](https://steamsolo.com/wp-content/uploads/2021/08/steamos-installation-on-vmware-workstation-steam-for-linux.jpg)
Overview
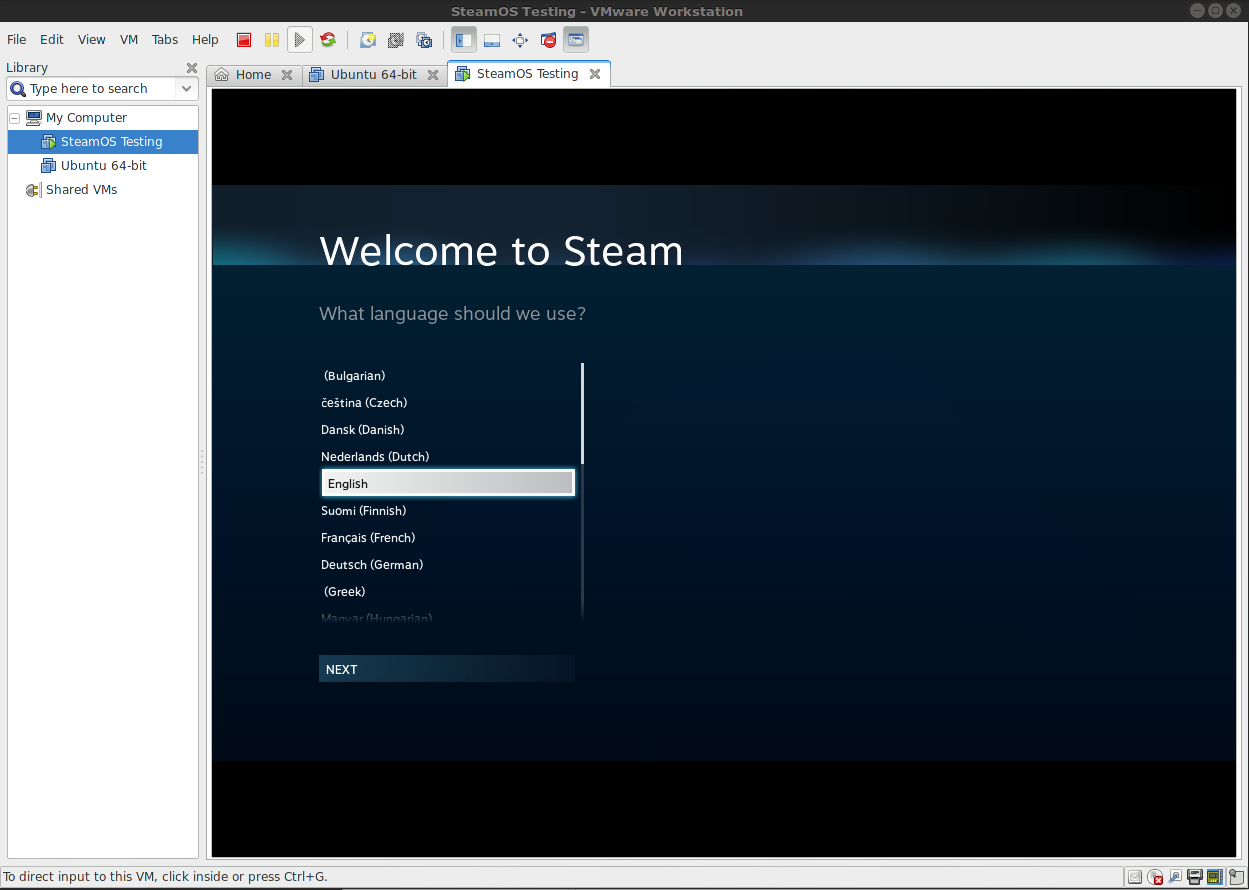
Guide to installing SteamOS on VMware Workstation 10 / 11.
Intro
When installing any operating system on a virtual machine, please do not expect a 1:1 performance / visual experience. The core point of installing SteamOS on a virtual machine is for testing, tinkering, or curiosity of any sort. Please do not expect to use a virtual machine as a proper gaming experience (though PCI pass-through can help).
This guide is created squarely for personal reasons, as I like to record things for good reason, especially when they are difficult. The guide details installing SteamOS on VMware Workstation 11, in all it’s full glory (no gdm3 / non BPM interface), as it was intended. Performance is relative to your hardware, as 3D acceleration is required for this to work.
The short answer to “why do I need to do all this complicated work” is due to some quirks present under the current version of SteamOS under VMware Workstation 11 (issue[github.com]|pull[github.com]). For all intensive purposes, use VMware Workstation 10. But for those that want to use version 11, and don’t mind a little tinkering, it is doable.
The test bed for this guide was as follows:
- Linux distribution: Arch Linux 3.19
- VMware Workstation 11
- SteamOS variant: Stephenson’s Rocket (although the DVD ISO may work fine)
I please ask that any an all questions be directed as a comment to this guide.
Installing VMware Workstation
Installing VMware Workstation is quite simple. In the next section, you can find some troubleshooting elements, especially particular to Arch Linux users. You can find the download page for VMware Workstation here[www.vmware.com]
VMware Workstaiton is a paid product. You are able to try it free for 30 days.
In general the process is as so:
sudo sh VMware-edition-version.release.architecture.bundle –eulas-agreed
Option flags
–console – Use the console UI.
-I, –ignore-errors – Ignore fatal errors.
–set-setting vmware-workstation serialNumber XXXXX-XXXXX-XXXXX-XXXXX-XXXXX – Set the serial number during install (good for scripted installs).
–required – Only ask mandatory questions (results in silent install when combined with –eulas-agreed and –console).
Settings to take note of
- Start VMware Workstation as root with
gksudo /usr/bin/vmware %U
- Head to Preferences > Updates > Vmware tools updates [check]
- Exit VMware Workstation and restart as normal user withicon
- Preferences > Workspace > Default Hardware Compatibility [Workstation 10.0]
Creating the SteamOS Virtual Machine
Basic Settings Overview

Basic
- Create new virtual machine
- Virtual Machine Configuration: Typical
- Install operating system from: Choose your ISO image
- Guest Operating System: Linux
- Guest Operating System version: Debian 7.x 64-bit
- Name: SteamOS
- Maximum disk size: 50 GB or more suggested
- Disk type: store virtual disk as single file
Customize hardware
- Display: Accelerate 3D graphics. (if you get any warning, the modules are not installed correctly)
- Memory: arbitrary (suggested 2-4 GB)
- Processors: arbitrary (suggested 1 proc, 2 cores)
- HDD: suggested 30 GB – 50 GB for automatic install
- Network Adapter: NAT
- USB Controller: unknown yet
3D acceleration is a required component if you wish to even attempt to use the Big Picture Mode of Steam (default for SteamOS) under steamcompmgr. If you do not correct this, you will likely still be able to use Steam under the desktop login after changing to the gdm display manager.
For this and all other issues, please see the troubleshooting section at the end of this guide.
Installing the VMware Guest Modules
Debian Admin[www.debianadmin.com] has a nice page on installing the VMware guest additions. Everything seems to work fine, but I have not been able to test the features extensively yet.
Mount the cdrom using the following command
mount /dev/cdrom /mnt/
Now you need to download the latest version of VMware tools and once you have the file you need to extract using the following command
tar -C /tmp -zxvf /mnt/VMwareTools-x.x.x-x.tar.gz
You can start the installation using the following command
cd /tmp/vmware-tools-distrib
sudo ./vmware-install.pl
Respond to the configuration questions on the screen. Press Enter to accept the default value. The only extra option I enabled, is to automatically rebuild the kernel modules on bootup, if they do not exist for the kernel in use.
Finally, you can unmount the cdrom drive using the following command
umount /mnt
(Optional) PCI Passthrough
This section is under development. In general, setting up PCI passtrough is no easy task. For the time being, please see these resource links.
- Xen Debian PCI Passthrough[wiki.xen.org]
Obtaining a Clone of this VMware Image
I have added a torrent file containing the full folder of files from a Cloned copy of this VM.This torrent uses open trackers. This was uploaded and created using Deluge for Linux.
Torrent file:
https://www.dropbox.com/s/ppk6yhn9bbjzqmu/Clone%20of%20SteamOS%20Testing.torrent?dl=0
Short Link:
{LINK REMOVED}https://db.tt/8F1Azj7S
Troubleshooting
This section contains troubleshooting topics particular to running SteamOS on VMware Workstation, or quirks for the Linux program in general
I did this before running into the next section. Until I can load Arch Linux on a separate machine or VM, I am not quite sure if it required. The following cna only be done after VMware Workstation is installed. Please take tnoe that your kernel version and directory may be different from mine.
cd /tmp
sudo tar -xvf /usr/lib/vmware/modules/source-11.1.0/vmmon.tar
cd vmmon-only/
sudomake
cp vmmon.ko /lib/modules/2.6.32-504.el6.x86_64/misc/vmmon.ko
sudo modprobe vmmoncd /tmp
sudo tar -xvf /usr/lib/vmware/modules/source-11.1.0/vmci.tar
cd vmci-only/
sudo make
cp vmci.ko /lib/modules/2.6.32-504.el6.x86_64/misc/vmci.ko
sudo modprobe vmci
Notable links
- Arch Linux forums (comment #13)[bbs.archlinux.org]
You need to open the file /etc/init.d/vmware fie using your favorite text editor. Of course please backup the file first. Then find the function vmwareStartVmci() under that function definition
You see the module definition referring to $mod and not vmci which is the required module. We need to change that.
Change this line to
vmwareLoadModule “$vmci”
Then Navigate to the other function vmwareLoadModule “$mod”
You see the module definition referring to $mod and not vsock which is the required module. We need to change that.
Change this line to
vmwareLoadModule “$vsock”
Now we need to find the corresponding Module Unload functions
Change
vmwareUnloadModule “${mod}”
to
vmwareUnloadModule “${vmci}”
Change
vmwareUnloadModule “$mod”
to
vmwareUnloadModule “$vsock”
Once done I would suggest reboot your machine although not necessary. After a reboot, please check that the services now start correctly:
sudo /etc/init.d/vmware start
Starting VMware services:
Virtual machine monitor done
Virtual machine communication interface done
VM communication interface socket family done
Blocking file system done
Virtual ethernet done
VMware Authentication Daemon done
Shared Memory Available done
Now you can see VMware workstation works fine and you are able to power on your virtual machines, and connect to network fine.
Tested on:
20150404
3.19.2-1-ARCH