
Overview
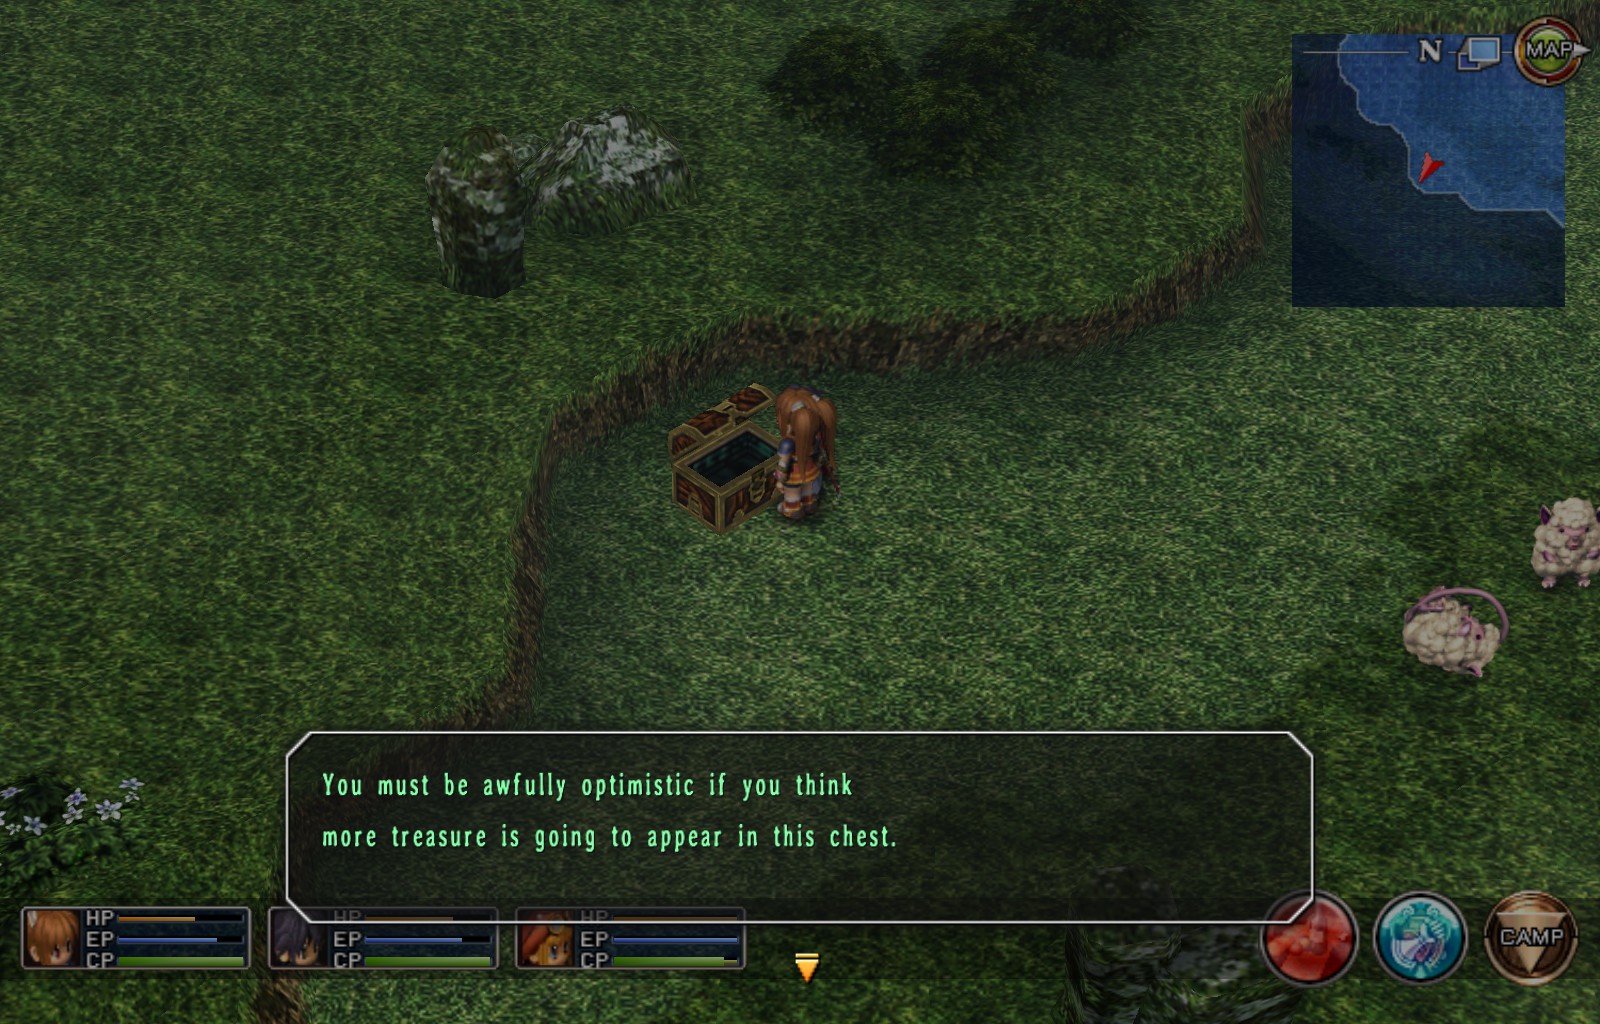
Not that type of chest, perverts! There are a total of 163 chest quotes in game and I can’t find a guide for this subject, I plan to play each chapter pretty thoroughly to find these chests (hence me taking 20 hours to complete the prologue >.>) and list all my findings here. May take a couple of days to complete this guide. If I am missing anything, please inform me so I can add it to this guide =D
Section Shortcuts
Use Ctrl F to find what you are looking for.
Prologue
- Rolent Sewers [RolSe] x2
- Malga Trails [MalTr] x3
- Milch Road [MilRo] x4
- Esmelas Tower [EsmTo] x5
- Mistwald Forest [MisWa] x2 (1 Missable)
Chapter 1
- West Bose Highway [WBoHi] x1
- Ravennue Trail [RavTr] x4
- Amberl Tower [AmbTo] x6
- Nebel Valley [NebVa] x2
- Krone Trail (Bose) [BKrTr] x2
- Sky Bandit’s Fortress [SkBaFo] x6
Chapter 2
- Krone Trail (Ruan) [RKrTr] x2
- Manoria Byroad [ManBy] x1
- Gull Seaside Way [GuSeWa] x8
- Aurian Causeway [AurCa] x1
- Sapphirl Tower [SapTo] x11
- Jenis Royal Academy [JRoAc] x2
Chapter 3
- Kaldia Tunnel [KalTu] x7
- Ritter Roadway [RitRo] x1
- Soldat Army Road [SolAr] x4
- Tratt Plains [TraPl] x9
- Carnelia Tower [CarTo] x15
- Limestone Cave [LimCa] x7
Chapter 4
- Erbe Scenic Route [ErScRo] x5
- Grancel Sewers (Western Block) [WGrSe] x5
- Grancel Sewers (Eastern Block) [EGrSe] x5
- Grancel Sewers (Northern Block) [NGrSe] x4
Aureole
- Floor 1 x10
- Floor 2 x9
- Floor 3 x8
- Floor 4 x13
Notes
Note 1: This achievement seems to be glitched, so i will have, at the end of each section, how many glitched chests there may be on each chapter. Therefore, SAVE OFTEN. AFTER EACH MISSION, IF POSSIBLE.
Note 2: Missable Chests will be noted
Note 3: (F) means that you will have to fight a wave of monsters in order to get the contents of the chest. Also, pay attention to the compass on the upper right to find the chest since some chests are hidden behind things like trees.
Prologue
ONE IS MISSABLE!!
~~~~~~~~~~~~~~~~~~~~~~~~~~~~~~~~~~~~~~~~~~~~~~~~~~~~~~~~~~~~~~~~~~~~~~~~
Tear Balm (1/163)
Unmissable, as it is part of the story.

Unmissable, as it is part of the story.

Reviving Balm (3/163)
As you enter the first screen, continue the path up to the second part of this area. Before entering the second part of this area, there will be a detour to your right.

As you head towards Esmelas Tower at the second part of this area after the fork in the road, take a detour to your north when you come to it to get this chest.

At the third part of the area (the path approaching the mines), you will encounter a path heading east or north. Choose east to reach this chest. If you are getting this on your first trip, the monsters here will be extremely aggresive.
~~~~~~~~~~~~~~~~~~~~~~~~~~~~~~~~~~~~~~~~~~~~~~~~~~~~~~~~~~~~~~~~~~~~~~~~

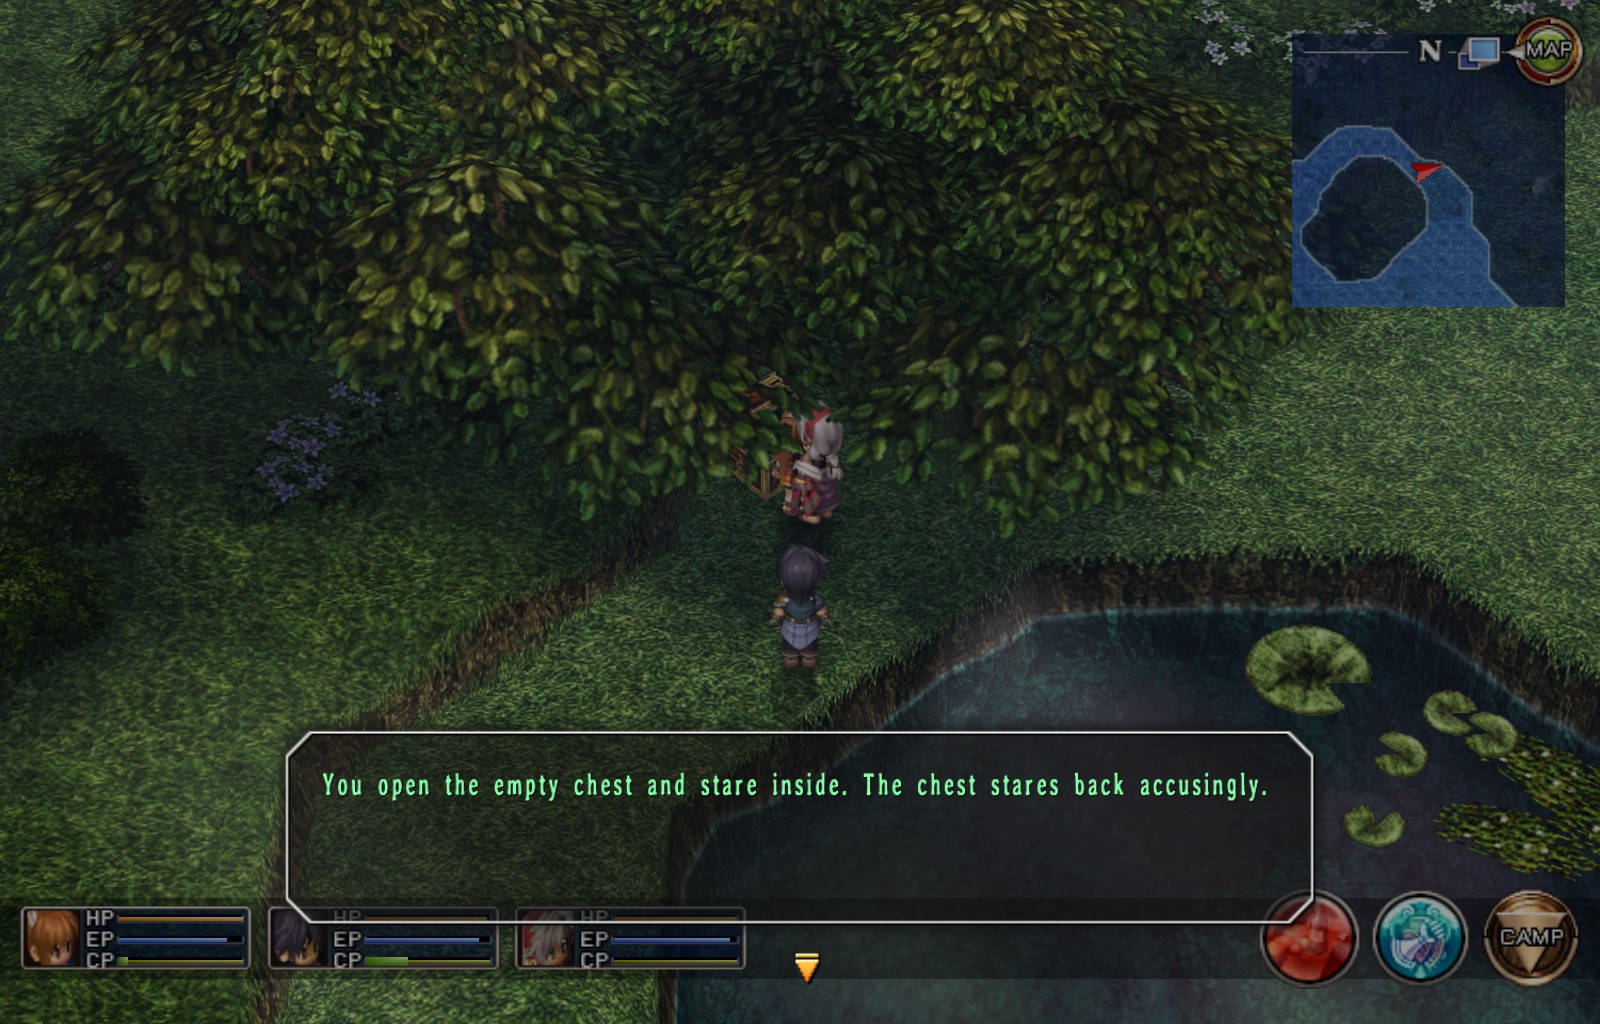
Topaz Talisman (F) (6/163)
As you enter this area, head north. There will be a pond and near the pond, hidden under a tree, there will be a chest. Fight the wave of monsters to get the contents.
At the second part of this area, head straight north.

Before entering the third area, head to the south-west corner and the chest is under a tree

At the second area, head towards the south-east part of the area

~~~~~~~~~~~~~~~~~~~~~~~~~~~~~~~~~~~~~~~~~~~~~~~~~~~~~~~~~~~~~~~~~~~~~~~~
Tear Balm (10/163)
On the 3rd Floor

On the 4th Floor

On the 4th Floor

On the 5th Floor
On the 5th Floor
Tear Balm (15/163)
Head up north from the start of the forest and the first detour you see, go straight right and you will see the chest.

Since there is no map for Mistwald Forest, it will be pretty difficult to get. From the First chest you see, head back left to the normal path and continue north and enter the second area. At the second area, cross the logs on the right and head to the east to another part of the forest. Head east and above you will be an open field. The chest will be on the left side of this field.

End of Prologue results: (15 [+1]/163)
Note: For some reason, the counter didn’t go up for one of these for me. I have no idea which one so I am not sure if one of these chests don’t count or if its a glitch. If anyone has any info, please tell me.
Edit: The first wooden chest in the Rolent Sewers doesn’t seem to count towards the counter for the achievement, but i will advise to make a save here anyways, just in case.
Chapter 1
Reviving Balm (17/163)

Tear Balm (18/163)
As you enter the second part of this area (after going through the village), there will be a fork in the road. go towards the right side and there will be another fork. Head South-east
DeathBlow 2 (19/163)
As you enter the second part of this area (after going through the village), there will be a fork in the road. go towards the right side and there will be another fork. Head North-east
Beast Steak (20/163)
As you enter the second part of this area (after going through the village), there will be a fork in the road. go towards the right side and there will be another fork. Head North-west
Tear Balm (21/163)
At the crossroads before entering the mines, which is on the right, head left. North leads to a dead end.


Tear Balm (22/163)
(Second Floor)

(Fourth Floor)

Fourth Floor

Fourth Floor

Fifth Floor after Alba joins

Fifth Floor after Alba joins

Katars (28/163)
Enter Nebel Valley and as you enter, head west past the Giant Foot and continue the path west

Enter Nebel Valley and head east, and you will enter the second part of this area. Follow the path and you will see two paths. One will lead you to a rest stop to heal and the other one is a longer path, leading to the chest.
Tear Balm (30/163)
Head through the path and you will see it. You can’t miss it,

After you cross the bridge, continue onwards. You can’t miss this chest. Moments before exiting to the gate.

Note: Can come back before crossing the Krone Trail if you unlocked the hidden exit at the near end of the area
Scorpion (32/163)
Area 2
Area 5

Area 5

Downstairs, Area 2

Downstairs, as you move forward, you will encounter a room with 3 doors. This chest is in the corridor to the east. Check the corridor to the north in the vaccum to get the Black Notebook used for a sidequest later in the story.

Lowest floor, In the room before the corridor leading to the boss, head straight east. The boss should be the door to the south.

End of Chapter One Results: (33[+1][+3]/163 chests)
Note, again another 3 of these chests don’t count. I don’t know which two, because after checking all of the, I had 33/163.
One of these chests is located in the Sky Bandit’s Fortrees. The other two, I don’t know.
Chapter 2
EP Charge (38/163)
As you walk down the path, you will see the path split towards some trees. The chest is hidden under said trees.
EP Charge (39/163)
Before crossing the wooden bridge, there will be an opening with a Queen Scorpion. The chest is hidden near the cliffs.


Lily Necklace (F) (40/163)
As you continue down the road, there will be an opening with this chest

Tear Balm (41/163)
Located to the very west on the first beach you see
Tear Balm (42/163)
In the waters on the first beach to the very east
Teara Balm (43/163)
On the second Beach, outside of the crevice where you find the Battle Suit/Save Jimmy
Ruby Talisman (F) (44/163)
On the second Beach, in the crevice where you protect Jimmy (NPC)
Tear Balm (45/163)
Continue down the second Beach instead of going up to the main path to get this chest
Battle Suit (F) (46/163)
Head onto the third beach, following the shoreline north to see the red chest
Tear Balm (47/163)
Continue South on the Third Beach to get this chest
Tear Balm (48/163)
Located on the East path before you approach the signs leading towardsRuan and the Jenis Royal School.


DeathBlow 2 (49/163)
As you continue down Aurian Causeway, there will be an opening on the first part of this road

NOTE: There are two paths on the second floor that leads to different paths of treasures.
Tear Balm (50/163)
Chest outside of tower
Scent Quartz (F) (51/163)
South-Eastern Path, Floor 5 (After taking the FIRST set of stairs on Floor 4)
Range 1 Quartz (52/163)
South-Eastern Path, Floor 3 (After taking the SECOND set of stairs on Floor 4)
Tear Balm (53/163)
South-Eastern Path, Floor 2 (After taking the SECOND set of stairs on Floor 4)
EP Charge (54/163)
South-Eastern Path, Floor 3 right next to the Hot Fried Chicken (After taking the SECOND set of stairs on Floor 4)
Hot Fried Chicken (55/163)
South-Eastern Path, Floor 3 right next to the EP Charge (After taking the SECOND set of stairs on Floor 4)
EP Charge (56/163)
South-Eastern Path, Floor 5 (After taking the THIRD set of stairs on Floor 4)
Tear Balm (57/163)
South-Eastern Path, Floor 2 (After taking the FOURTH set of stairs on Floor 4)
Battle Suit (F) (58/163)
South-Western Path, Floor 5 (After taking a detour on Floor 4 by heading North)
Army Boots (F) (59/163)
South-Western Path, Floor 5 (Will maybe Crash game, but with the new update, it probably won’t)
Flamberge (F) (60/163)
South-Western Path, Floor 5


EP Charge (61/163)
Enter the door to your south on the first floor (Look at the compass as you can’t rotate your camera). Then enter the second door you see and inside will be an opening to outside, leading you to this chest.
Tear Balm (62/163)
Enter the path on the second floor to your North. Then enter the first classroom door.


End Of Chapter Two Results: (50[+1][+4][+7])
Note: This chapter has the most glitched chests I have encountered, thus far.
At least two on Gull Seaside Way and possibly 2 at the Sapphirl Tower.
Chapter 3
Teara Balm (63/163)
On the first fork you see, go directly north-west and then south-west when you come to another fork just inchest away
Curia Balm (64/163)
After obtaining the abouve Teara Balm, head North-east
Teara Balm (65/163)
At the end of the path where the above Teara Balm and Curia Balm lied.
DeathBlow 2 (F) (66/163)
Following the main path, you will yet encounter another fork. Head South here to get this chest
Teara Balm (67/163)
At the intersection leading to Limestone Cave, head past the sign leading there and there will be a circular crevice to the west (if you are facing north). DON”T HEAD INTO THE CAVE YET.
Celestial Balm (68/163)
Continuing on the main path, and again, you will face another fork (not a spoon) heading north-east (to the exit) and south-east. First small corridor you see will contain this Celestial Balm
Teara Balm (69/163)
Second small corridor next to the Celestial Balm corridor contains this Teara Balm.


EP Charge EX (70/163)
Directly West of the sign leading to Fort Leiston

Teara Balm (71/163)
Just before the first giant railing gate thingy on your left, there should be a chest right near it.
Reviving Balm (72/163)
Hugging the east wall after the Teara Balm, you will see this chest
EP Charge EX (73/163)
Just Before entering the second part of this area, to the east, there should be this chest
Curia Balm (74/163)
In the second part of this area, to your east, you will see another giant railing gate thingy and near it will be this chest


Teara Balm (75/163)
West of the sign leading to Elmo village, under a tree, there will be a chest

-Elmo Village Route-
Teara Balm (76/163)
When you enter the first part of this area, you will see a tree. Head direc south of this tree to find a chest leaning against a rock.
Teara Balm (77/163)
Before entering Elmo vilage, head past the fence to your north, and you will see this chest towards the north-east part.
Hit 3 (F) (78/163)
In the very south-west corner, you should see a herd of Creepy Sheep and behind them is the chest.


-Wolf Fort Route-
Teara Balm (79/163)
Just a little east of the sign that leads you this direction, right near it will be this chest.
Black Bangle (F) (80/163)
In the first part of this path (after the screen with the fork in the road leading you here or to Elmo VIllage), In the middle of the field (north of the third log fence if oyu followed the paved road) you will see this chest
Sapphire Talisman (F) (81/163)
After finding the Black Bangle, to the North-East should be an entrance to a dead end area with 4 small pillars and 1 giant pillar in the middle, You should see a red chest at the foot of the North-Eastern pillar.
Long Barrel (F) (82/163)
When you enter the second part of this path, head directly south to find this chest.
Teara Balm (83/163)
Before entering through the entrance to the Wolf Fort, there should be a tree and under it will be this chest.


Chapter 3 (Part 2)
Teara Balm (84/163)
Floor 1: Once you enter the dungeon, before proceding to the circular platform, turn your camera 180 degrees and there should be a 2 chest on each sides of the entrance.
EP Charge (85/163)
Floor 1: Once you enter the dungeon, before proceding to the circular platform, turn your camera 180 degrees and there should be a 2 chest on each sides of the entrance.
Black Coat (86/163)
Floor 1: Located on the very left of the staircase leading to the second floor
EP Charge (87/163)
Floor 1: Located on the very right of the staircase leading to the second floor
Mind 3 (F) (88/163)
Floor 2: In the Middle of the circular platform
EP Charge EX (89/163)
Floor 3: On the second floor, choose the western route at the circular platform with the Mind 3 Quartz.
Teara Balm (90/163)
Floor 3: On the second floor, choose the eastern route at the circular platform with the Mind 3 Quartz.
Hellfire Eggs (91/163)
Floor 4: On the circular platform, head directly south and the chest to your left should contain the Hellfire Eggs
Teara Balm (92/163)
Floor 4: On the circular platform, head directly south and the chest to your right should contain the Teara Balm
Demi-Handers (F) (93/163)
Floor 5: Heading out from the Eastern part of the stair case, you will find this chest to your south once you enter the 5th floor
Attack 3 (F) (94/163)
Floor 5: Head east from the circular platform and you will see a red chest
Tear All Balm (95/163)
Floor 5: Head east from the circular platform and this chest should be south of the staff containing the Octavian Staff
Celestial Balm (96/163)
Floor 5: Head west from the circular platform and you will see this chest
Octavian Staff (F) (97/163)
Floor 5: Head west from the circular platform and you will see a red chest containing the Attack 3
Cavalier Killer (F) (98/163)
Floor 5: On the right of the stairs heading up to the roof should be a chest containing this item


Image Credit goes to Black Murasame63 on Gamefaqs. Not exactly how the dungeon is laid out, but just an approximate.
EP Charge EX (99/163)
Teara Balm (100/163)
EP 3 (F) (101/163)
Teara Balm (102/163)
G-Impact (F) (103/163)
Teara Balm (104/163)
Teara Balm (105/163)


End of Chapter Three Results: (83[+1][+4][+7][+10])
A few counts are probably missing from the Carnellia tower and Ritter Roadway.
One is definitely missing from Kaldia Tunnel. That’s all i noticed though.
There is also a pattern here…..
The two I missed for Carnelia Tower did up the counter (Thanks to IPM for Informing me)
Chapter 4
Shield 3 (F) (106/163)
If you enter Erbe Scenic Route from the Western exit in Royal Avenue, continue east until the first intersection towards the Cerulean Monument
Teara Balm (107/163)
Near the second Intersection, to the west of the path leading east
Defense 3 (F) (108/163)
At the second intersection, continue south and you will see a chest behind the Vermilion Monument
Teara Balm (109/163)
On the second intersection of the second area, head north into another area. Head through the path along the south wall and you will see this chest.
DeathBlow 2 (F) (110/163)
Head through the path where you find the second and head towards the western path at the next intersection towards the old Virescent Monument


Chomping Spare Ribs (111/163) [/b] [/i]
Continue down the path until you see your first metal bridge. Cross it and continue on to the end of this path to find some…. ribs…… Delicious
Teara Balm (112/163)
When you are in a big room, take the path on the south side. Immediately head East to find this chest
Teara Balm (113/163)
After the first Teara Balm, continue the route west and follow the path
Teara Balm (114/163)
After taking the Eastern route, you will encounter 3 doors. The one to the very north is the way to procede, while the one to the very south has this chest.
Teara Balm (115/163)
After taking the northern door, continue down the path until you see another fork. The north part is about a few meters high and at the end has this chest. The other side are some Scissor Hands to exterminate for Sewer Monster West.


Teara Balm (116/163)
Once you enter, there will immediately be a split path. They both lead to the same place but Eastern side has less monsters. Circle around to the other side to see two entrances. This chest is located in the entrance to the left
Gladiator Headband (F) (117/163)
Located to the Entrance to the right
Hawkeye (F) (118/163)
On the Intersection after the first steel bridge, you will encounter two more steel bridges. Take the to the very east and follow the winding path.
Cestus (F) (119/163)
After following the main path, you will yet find another fork in the road, one leading west and another leading south. Take the path to the east and cross the steel bridge when you come to it.
Teara Balm (120/163)
Exit the room with the Cestus chest and continue north to this area that looks like a prong. Located on the third leg of this prong. (Note: Remember how to get here because this place has significance later in the story)


Tear-All Balm (121/163)
Cross the first steel bridge you see after you enter this area to reach this chest.
Reflector (F) (122/163)
Follow the path south from the first Tear-All Balm
Tear-All Balm (123/163)
Continue down the main path until you see a second steel bridge. Don’t cross it yet and continue north.
Cloak (F) (124/163)
Continue down the main path and you will see a door. Skip that door and keep on going to see another door at a dead end. Continue through this path to get said quartz


Aureole (Floor 1)
I was going to make a map, but then I learned that my skills in Photoshop suck. Please use the following maps at Gamefaqs [www.gamefaqs.com] (I TAKE NO CREDIT FOR ANY OF THESE) or use the maps in the guide by Black Murasame63 (which I personally used). Both I believe tho has one or two missing chests.
Note: A warning for most fighting chests: They are EXTREMELY difficult if you don’t have the right set-up. If Photon Judges are pesky if you are an Arts oriented team (I personally used Olivier and Kloe) and even then, they hit hard, along with a few other enemies. I suggest getting Joshua to 100 CP (either by spamming Hell Gate/White Gehenna on enemies which get about 30 CP or so per cast) or eating Special Ice Cream and using S-Craft Black Fang whenever you see a Crit/50%. That will kill off almost all the enemies except for the big enemies (Photon Judges, M-Series Dooms, etc). Then just kill these off with crafts or Arts (If you have quartz like Cast or you are fast enough)
Magesta (F) (Olivier’s Ultimate Weapon) (125/163)
As you enter the ruins, head to your direct east and head into the first door facing north.
Celestial Balm (126/163)
On the same path leading to the Magesta, exit the Magesta room and continue on East to get this chest
Teara Balm (127/163)
In a large room on the main path. Can’t be missed…. Unless you want to miss it….

Celestial Balm (128/163)
In the room after the Teara Balm, don’t go in any doors and this chest will be at the end of the corridor.
Daedalus Arm (F) (Zane’s Ultimate Weapon) (129/163)
In the same corridor with the Celestial Balm, head through the west door
Royal Guard (F) (130/163)
To the very east of the Elevator leading to the second floor
Teara Balm (131/163)
Go through the path to the very south of the elevator and head to the room to the very west
EP Charge EX (132/163)
Go through the path to the very south of the elevator and head to the room to the very south-west
Nine-Tails (F) (Schera’s Ultimate Weapon) (133/163)
Go through the path to the very south of the elevator and head to the room to the very south-east
Tear-All Balm (134/163)
Go through the path to the very south of the elevator and head to the room to the very east


Aureole (Floor 2)
Teara Balm (135/163)
Once you exit the elevator, take the Western Path. At the end, you will find this chest
Teara Balm (136/163)
In the neighboring room to the previous room contains this chest
Atlus Gear (F) (137/163)
On the main path, you will encounter an intersection with three ways to go. Head through the Western door.
Sylphen Boots (F) (138/163)
This time, head through the Eastern Exit and enter the first door you see.
Hauteclare (Kloe’s Ultimate Weapon) (F) (139/163)
Continue through the path that led to the Sylphen boots and enter the door to the south at the end of the corridor
Valkyrie Dress (F) (140/163)
In the room that neighbors the Hauteclare
Berserker (Agate’s Ultimate Weapon) (F) (141/163)
Back on the main path, head south and then to the west. At the end of this corridor, you will see an elevator, leading up to this chest
Tear-All Balm (142/163)
Back on the main path, you will see another door leading south. Head through there to get this chest.
Teara Balm (143/163)
Near the elevator that leads up to the 3rd floor


Aureole (Floor 3)
Thor’s Hammer (F) (Tita’s Ultimate Weapon) (144/163)
After getting off the elevator, continue south until you see a door to your west that will lead to another elevator leading up to this chest
EP Charge EX (145/163)
After making your new rest stop (after defeating Captain Amalthea ), enter the ruins and enter the first doorway to your south that you see.
EP Charge EX (146/163)
As you continue through the main path, you will see a corridor with an entrance to your west. Don’t go through the entrance yet and continue to the end of the corridor, entering the door to your east
EP Charge EX (147/163)
Head through the entrance to the west previously mentioned. Continue down that corridor and head through the door to your west at the end.
Sylphen Boot (F) (148/163)
After the previous EP Charge EX, head through the southern door and then continue down the corridor and enter the second door to the very west (first door progresses through the dungeon).
Teara Balm (149/163)
On the main path, you will come out a door, with a decision to head north or south. Heading north, around the corner, progresses through the dungeon while heading south gets this chest (eastern door) and….
Teara Balm (150/163)
this chest (southern door)
Atlus Gear (F) (151/163)
After heading north from that intersection, you will encounter another two doors. North will be the elevator to the Fourth Floor while the other door to the west gets this Atlas Gear.


Aureole (Floor 4)
IS WRITING
When you exit the corridor after the elevator, there will be two paths. The Path to the west is the main path while the path to the west is a path filled only with treasure.
-East Path-
Tear-All Balm (152/163)
Before going into the eastern exit, head down the south door to get this chest.
Tear-All Balm (153/163)
Head through the eastern door and continue down and there should be another door heading west
Tear-All Balm (154/163)
Head through the same corridor that led to the Tear-All Balm and head through the door to your east
Royal Guard (F) (155/163)
After entering the door after walking the curve after the last Tear-All Balm, there should be a door to your south
Celestial Balm (156/163)
Continue down this path and you will find a corridor with 4 doors (one to the north and east and two on the south) Take the first door to south
Celestial Balm (157/163)
Of the four doors, take the second door to the south
Celestial Balm (158/163)
Of the four doors, take the door to the far east
Arc Rod (F) (Estelle’s Ultimate Weapon, if you didn’t get/have the Mystic Stave) (159/163)
Of the four doors, take the door to the north
-West Path-
Tear-All Balm (160/163)
Continue your path west and enter the doorway to your west to get this chest
Erbe Blades (F) (Joshua’s Ultimate Weapon, if you didn’t get/have the Twin Plovers) (161/163)
After going down the stairs, you will encounter three doors. Head through the door to your west
EP Charge EX (162/163)
In the neighboring south door that’s next to the Erbe Blades
Valkyrie Dress (F) (163/163)
Before going down the second flight of stairs, there should be a door nearby, leading you to the Valkyrie Dress
Tear-All Balm (164/163)
Before going up the third flight of stairs (which will lead to the final elevator) there should be a door nearby, leading to the final treasure.

Final Chapter Results: 142[+1][+4][+7][+10][+0]
No glitched chest in this chapter, but for some reason, I came out with an extra chest. Two possibilities are:
1) There are actually 164 chests
or
2) The two chests in Rolent Sewers don’t count because they maybe considered Story-related chests (as the achievement description says to open all non-story-related-chests) and I am missing a chest myself. If that’s the case, if I am missing a chest, please tell me!


All in all, 142 is what I see to be the most common number to stop at (I saw a few 143s and 141s here and there though) This concludes my chest guide, so I wish everyone luck in their Treasure Chest spelunking!
Special Thanks To
ladynadiad for giving me countless tips and correcting a few of my mistakes
Saga Saga for telling about the glitched chest (now patched)
IPM for telling me the chests I have missed
And Every one of you for reading my guide! I really appreciate it, so have a nice day. And a few lemons. =)
If I left out someone, please let me know!