Overview
Godmaster introduces an endurance challenge dedicated to everyone’s favorite NPC, Zote the Mighty. This content is HIGHLY SECRET which means that most absolutely everything that follows is a SPOILER. This guide will outline the best possible ludicrous way of completing the challenge (and thus unlocking the best of all possible Title Screens).
The Ordeal
You will face wave after wave of Zotes. There is a Zote-counter. The goal is to brutally murder at least 57 of them. Our goal is to do it the dumb way, the Zote way, namely, by getting beat up.
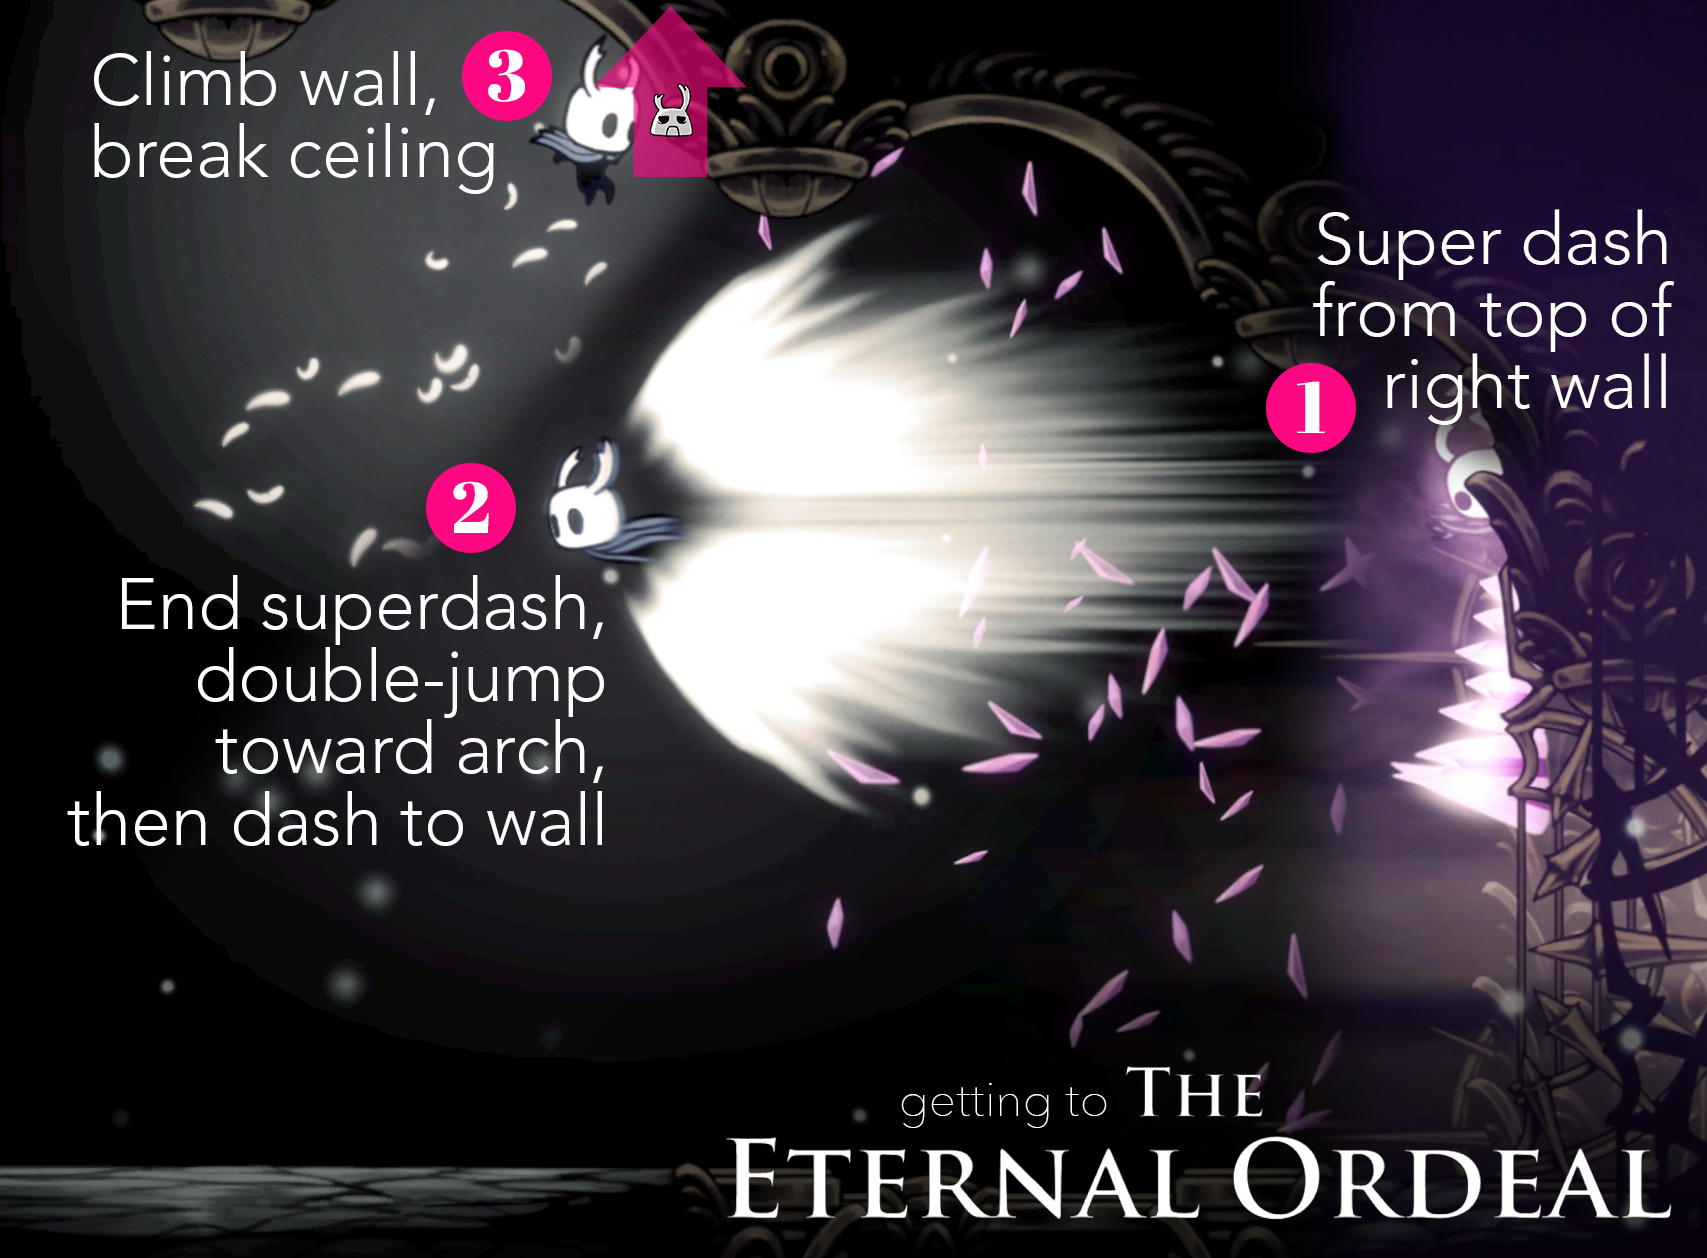
Getting to the challenge room is silly. (I cannot imagine how anyone found it in the first place, except by being an extreme masochist. Or maybe looking at the game files.) It’s at the top-right of the main area of the Hall of Gods (where you can fight any boss you’ve encountered), accessed from the bottom of Godhome. I will assume you know where these places are, as this is the main meat of the Godmaster DLC. Once there…

Yep. Obviously.
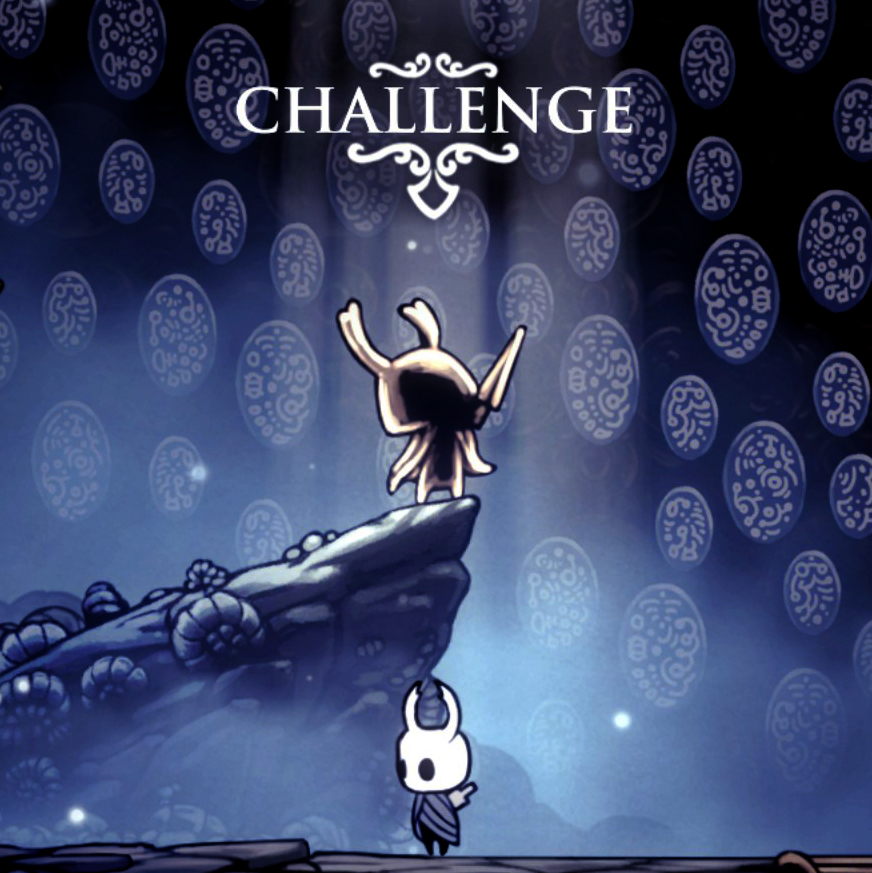
In more detail: First, you need to get on the wall of the arch 3rd-from-the-right at the top of the main room of the Hall of Gods. Super dash from the top of far right wall, cancel it quickly, and then jump-dash-jump/double-jump frantically until you are on it. (I’ve marked it with a big pink arrow above.) Wall jump as far up as you can. Next we need to break a hidden wall, which is either the ceiling or maybe on the left, it’s not clear. I find it’s easiest to just Abyss Shriek, as it always works. Above you is now the challenge room. A statue of Zote will explode into the room, accompanied by Zote’s melodious voice. Challenge it to enter the ordeal.

Once the player has killed 57 Zotes, the counter will turn gold (as does the hidden Zote statue we challenged) and a new title screen will be unlocked: The Eternal Ordeal. The title screen features a statue of Zote. Zote will sing the main menu theme of the game. You will like this. Congrats.
Getting Beat Up FTW
The point of this guide is the magic build I call “Beating Zote at His Own Game”:

- Quick Focus
- Grubsong
- Grubberfly’s Elegy
- Thorns of Agony
- Stalwart Shell
- Spore Shroom
Yes, this looks terrible. 
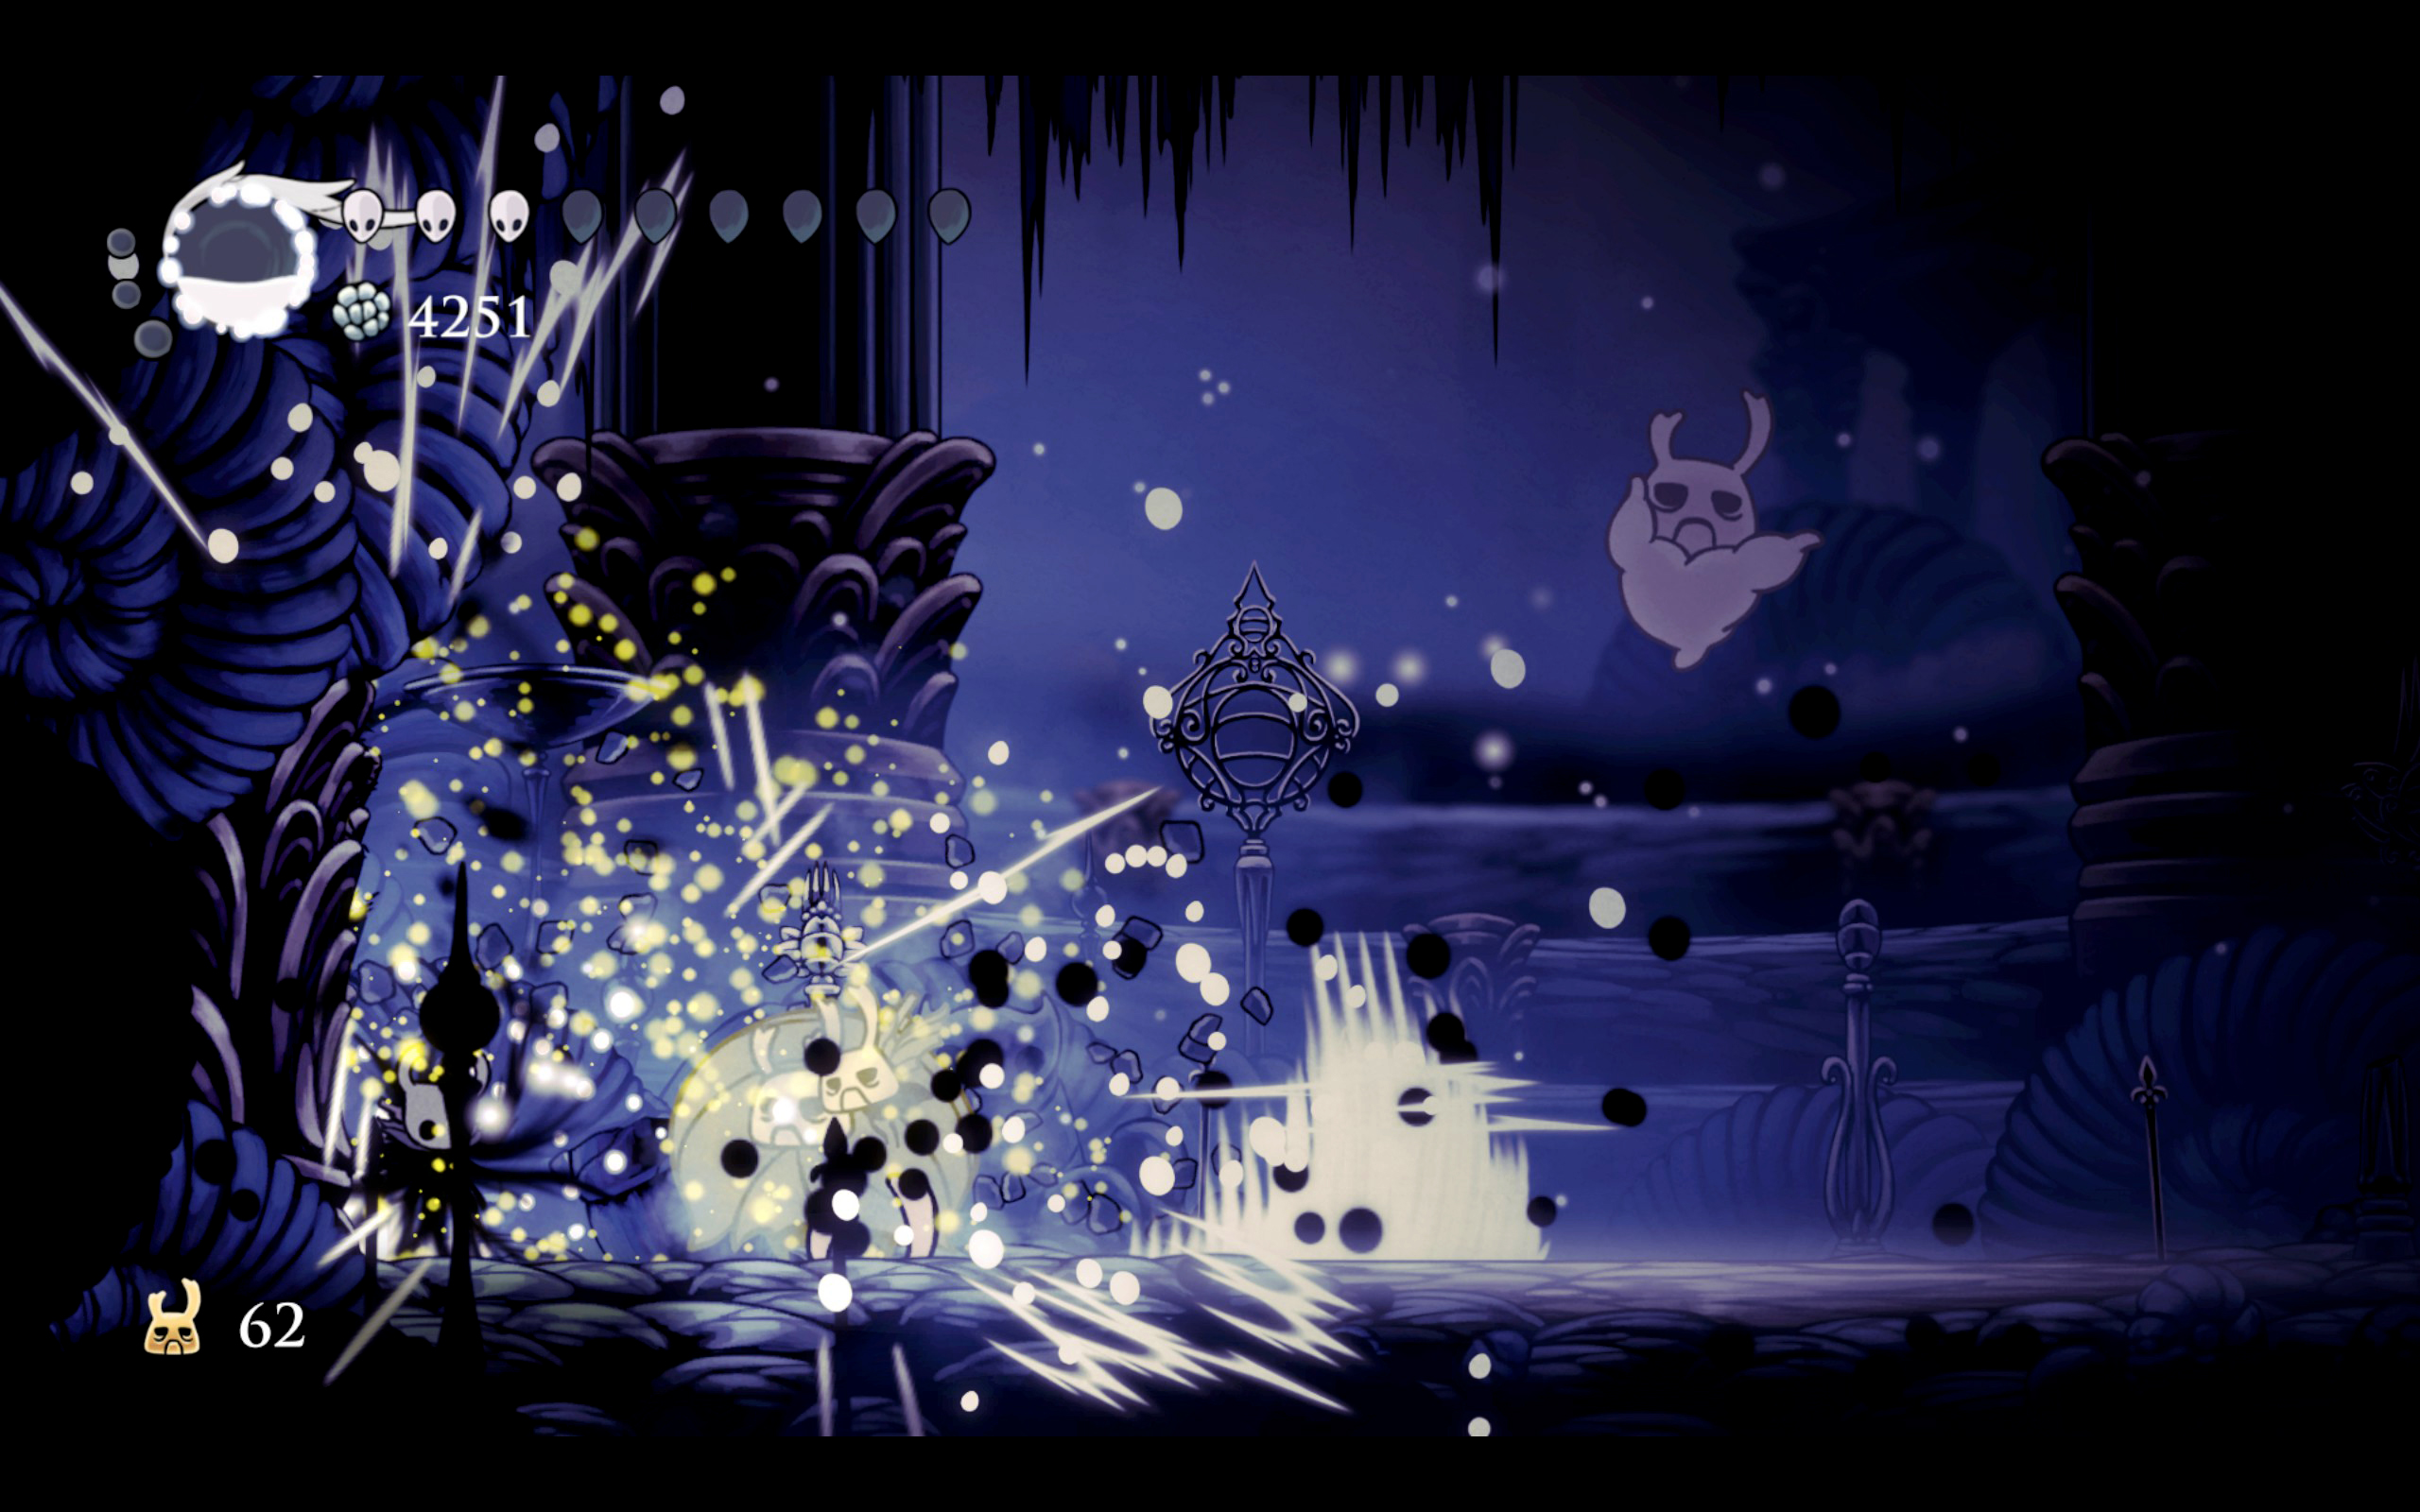
Your job is to heal. A lot. This implies you get your ♥♥♥ kicked. A lot. Does it look like you can panic heal there? Try it! Nice! Almost that time! (We just gotta get off maybe half of those!) Each time you get punched, Thorns deals 2x Nail damage to your surroundings. Each time you get punched, you will also gain 25 soul. (Your main meter holds 99; each pip holds 33. A spell or heal is costs 33. You gain 11 with each Nail strike.) This means you will have enough to heal after one nail strike. The heal takes half time (Quick Focus) and also triggers the Shroom DoT (which deals at most ~1x nail hit to everything that stays around). Due to Stalwart Shell, you will be invulnerable for 2 full seconds after being hit; if you were on the ground, that’s long enough to pop off a heal.
So, to review, your goal is to get hit a lot. I did this by being mediocre at dodging. Once this occurs, you will look for a mediocre place to heal. A lot of the time you’ll not succeed. But with each try, you’re doing quite a bit of area damage via Thorns. You knock a few Zotes back and try again. You still ought learn the patterns of the enemies, but it’s important to keep this strategy in mind, as it’s feels like “bad play”. I mean, normally it *is* bad play. But it works very well here as the tempo of the fight will rapidly become overwhelming and ♥♥♥♥ just happens for no reason at all.
We also have a few clever, unobvious advantages. The projectiles from Grubberfly’s Elegy knock back any Zoteling that can be knocked. So if you focus on staying at full health during the early part of the fight (<20-ish kills?), you will find you can bat away most guys to focus on your arch-nemesises, Zote Turrets. (These are the guys who hang from the ceiling and shoot projectiles.) I know, Zote Fatties feel horribly disruptive, but their shockwave does not traverse the whole room, and their AI is not very smart; you can easily get a heal in as they jump away so long as the rest of the situation is under control understood. So dodge them. Everything dies to Thorns eventually.
Here is an example of us winning, with both Thorns and our Plan clearly on display:
…Except the turrets. Turrets have a nasty habit of interrupting your heals, so it is important not to stand close. They spawn in exactly two locations, about a third of a screen from each wall. While Thorns will not reach them from the ground, Abyss Shriek will. I try to time it to hit more than one guy, but there’s no shame in simply burning them out. It requires one additional nail hit after a Shriek to end a turret.
Midway through the fight, the diversity of Zotes will make turrets rare. Strangely, this portion (~20-35) feels easier than the earlier and the later parts. The difficulty really ramps up when the Zote Ghosts show up. These hapless idiots float around above your head, yelling, and slowly syphoning off soul. This is a huge problem as it is continuous, has unlimited range, and uh we need that soul. Moreso than people who are better at dodging, we need it. Once again, it works well to Shriek them out. But you can also hit them with a Shade Soul fireball from across the room once you get the height right. Given that this is soul you’d otherwise be bleeding off to every tick of their existence, it is worth it to spend up front to kill em off.
Apart from those two enemies, you will find that most the fight is about looking for enough quiet to heal. You will often find your soul meter completely full, which is another reason to use spells against our highest priority enemies.
Finally, it is mildly important to prioritize targets. There is always a limit to the number of Zotes alive at any time; it goes up with kills. Each kill therefore frees a slot up to spawn a new Zote. And as the worst and most annoying Zote-species are spawned as your kill count goes up, it is wise to leave the hapless Zotes alive if you can help it. This is another place GFE shines: it lets you bat things back with the projectiles and only deals half a hit of damage, preserving those gents lovingly and haplessly waving their weiner at you. (Keep it up, dude. I will hop over you and be over here now.) GFE also helps to eliminate hoppers, fliers, and turrets by letting you add extra damage as you dodge about / miss your nail strikes. As the first two really don’t have much health, it adds up fast.


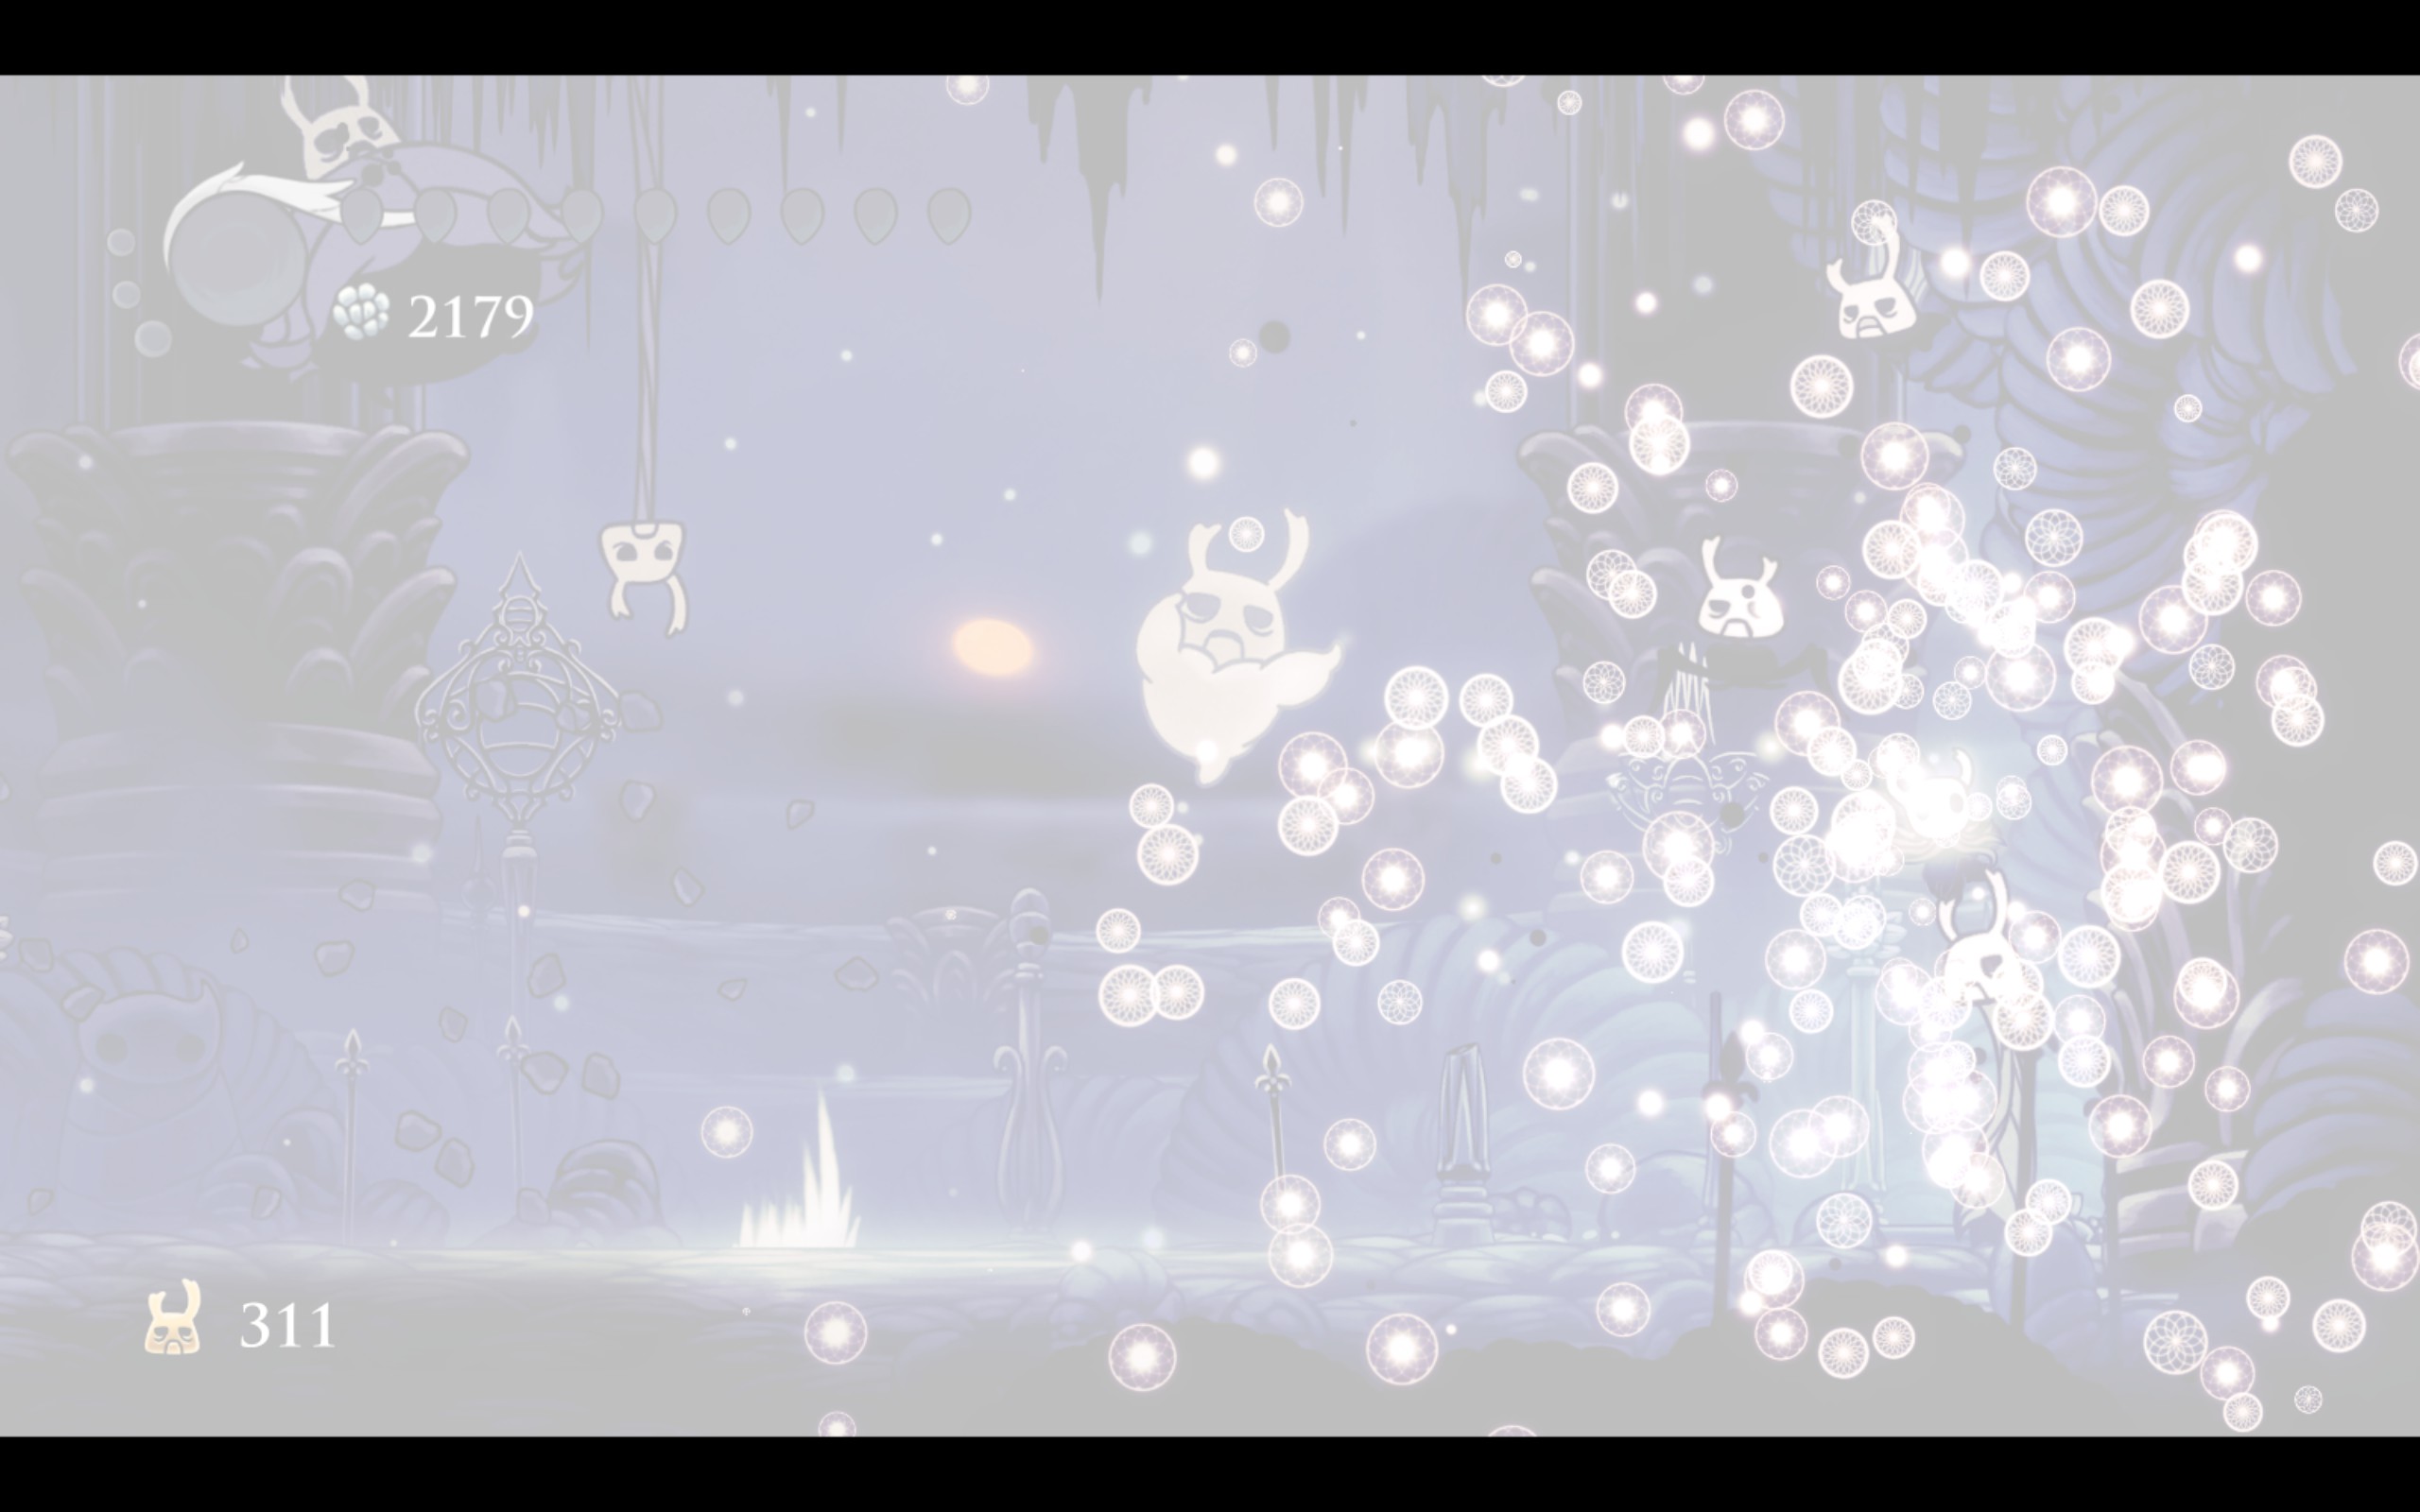
As I’ve gotten better the build has changed—relying more on dodging / not being a dipsh♥t—but the essential strategy remains the same. The 311 run was still with Quick Focus, Stalwart Shell, Grubsong, Thorns of Agony, but swapped in Shape of Unn and Longnail (in exchange for Grubberfly’s Elegy and Spore Shroom):
lmk if there’s interest in this sort of Extreme High-Score Zote-ing. I could write up the post-100 fight and upload a video, as I am pretty sure my average is around 150 now.


Bestiary: The Types of Zotelings
Here you’ll find info about the various Zotelings you’ll encounter in the Ordeal.
Notes:
- Health values tested by counting Pure Nail strikes.
- The Kills to Spawn field listed below is the minimum needed for the type to start spawning. Note that new Zotelings only spawn after a previous one is killed (it sometimes takes a few seconds), selected randomly from among the available types. This means you may not see a new type immediately after crossing the kill threshold.
- No more than 2 of the same type of Zoteling will spawn at the same time.
- All Zotelings increase in speed with each kill. The speedup is subtle, but becomes highly noticeable around 50 kills. At ~80, charging Zotes/Lanky Zotes can cross the screen in ~1s.
- The damage auras generated by Spore Shroom and Defender’s Crest appear to inhibit Knockback: if you hit a guy who’s inside the aura, they will fall down (if possible) but not really move backward.
The maximum number of Zotelings alive at any time increases with the amount of kills.


Health: 120
Kills to Spawn: 0
Knockback: Enhanced (even from GFE projectiles)
Zote is mainly dangerous for his contact damage, though his charge becomes a menace as everything speeds up. Note: Only the first Zote (before the title screen) can be Dream Nailed for soul, so fill up then for a small edge. He also has more health (200 vs 120).


Health: 55–75 (4 hits)
Kills to Spawn: 1
Knockback: Reduced
Flies toward you; slow turn-around.


Health: 55–75 (4 hits)
Kills to Spawn: 1
Knockback: Minimal, esp up or down
Hops toward the Knight in a slow, tall arc. (Same behavior as the ones spawned by Grey Prince Zote.)


Health: 169-175 (9 hits)
Kills to Spawn: 8
Knockback: Immune
Leaps back and forth slowly in a tall arc, creating small shock-waves that cover a fraction of the arena wherever it lands.


Health: 135-150 (7 hits)
Kills to Spawn: 15
Knockback: Immune
Dangles from the ceiling and shoots acid at the Knight. No contact damage. Will leave on its own after a while (which does not count as a kill).


Health: 55-75
Kills to Spawn: 20
Knockback: Enhanced (including GFE projectiles)
A taller version of Zote the Mighty with vastly less HP. Runs toward the player flailing his wiener.


Health: ~200 (but who cares)
Kills to Spawn: 25-30
Knockback: Immune
Falls from the ceiling, creating a large-size (wide & tall) shockwave on impact which travels the whole arena. After landing, the Head is immobile; after ~10 seconds, it departs upward through the ceiling (which does not count as a kill).
The fall and the rise of the Head can kill other Zotelings. These friendly fire deaths do add to the kill counter.
Nail strikes do not give you soul; the Head also cannot be Dream Nailed for soul. (So no, it’s not a soul piñata like you were hoping.)


Health: 30
Kills to Spawn: 30
Knockback: Yes
Explodes on death or after a few seconds, dealing area damage (2 masks). The explosion can kill other Zotelings; these friendly fire deaths do add to the kill counter (though the self-destruct does not unless you triggered it).
Survives one nail hit (2 from GFE) without exploding, so you have a little ability to move them. This is mostly useful to move them slightly up (to hit a Turret or Zote’s Curse) or down (to hit ground guys).
Heavies alternate jumping toward and then away from you: use this to lure them into a bomb.


Health: >63 (but who cares)
Kills to Spawn: 35
Knockback: Yes
Burrows up out of the ground and flies upward, dripping blobs of acid onto the ground (which persist for a few seconds). Leaves on its own as soon as it reaches the ceiling (which does not count as a kill).


Health: 121-126 (6 hits, or a full (4-hit) Abyss Shriek plus one nail strike)
Kills to Spawn: 40
Knockback: Yes
Floats around the arena, draining soul from the player (about 2-3 soul per second). No contact damage.
Downward knockback is limited a little above the ground (presumably so it doesn’t go through the floor). Nail pogo is very effective due to the lack of contact damage and the floor limit, but it still takes some time and you will have trouble dodging Hopper and Heavy jumps.

Special thanks to the people at the wiki[hollowknight.wikia.com] for uploading the Zoteling sprites.

![The Eternal Ordeal: Beating Zote at His Own Game [Godmaster] for Hollow Knight](https://steamsolo.com/wp-content/uploads/2021/07/the-eternal-ordeal-beating-zote-at-his-own-game-godmaster-hollow-knight.jpg)

