Overview
This guide covers all of the elements of Tier 1 progression through survival mode from first landing in the cold to automating a mining network. Learn how to find ore with the ore ping, set up and power an extractor, utilize hoppers to feed a pyrothermic generator, and transmit power with lasers and power storage blocks. (Sorry I know the guide is way out-of-date but I hope it still provides a good introduction. I still lurk in Steam so I’ll answer questions left in the comments!)
Introduction
This guide was written within the context of Steampipe beta version 1.9 during the Early Access phase. Some parts of the guide may be out of data, inaccurate, or irrelevant if you are reading this in a later patch. I will do my best to keep this updated as the game changes. Feedback is welcome. Feel free to contact me with additional questions or if you want clarification on any part of the guide. Don’t forget that there is an in-game help guild which you can open with ‘H’. Take a look through it as you will find more details on advanced systems and higher tiers than you will find here as this guide is meant primarily to introduce the key elements to starting out.
Crash landing!
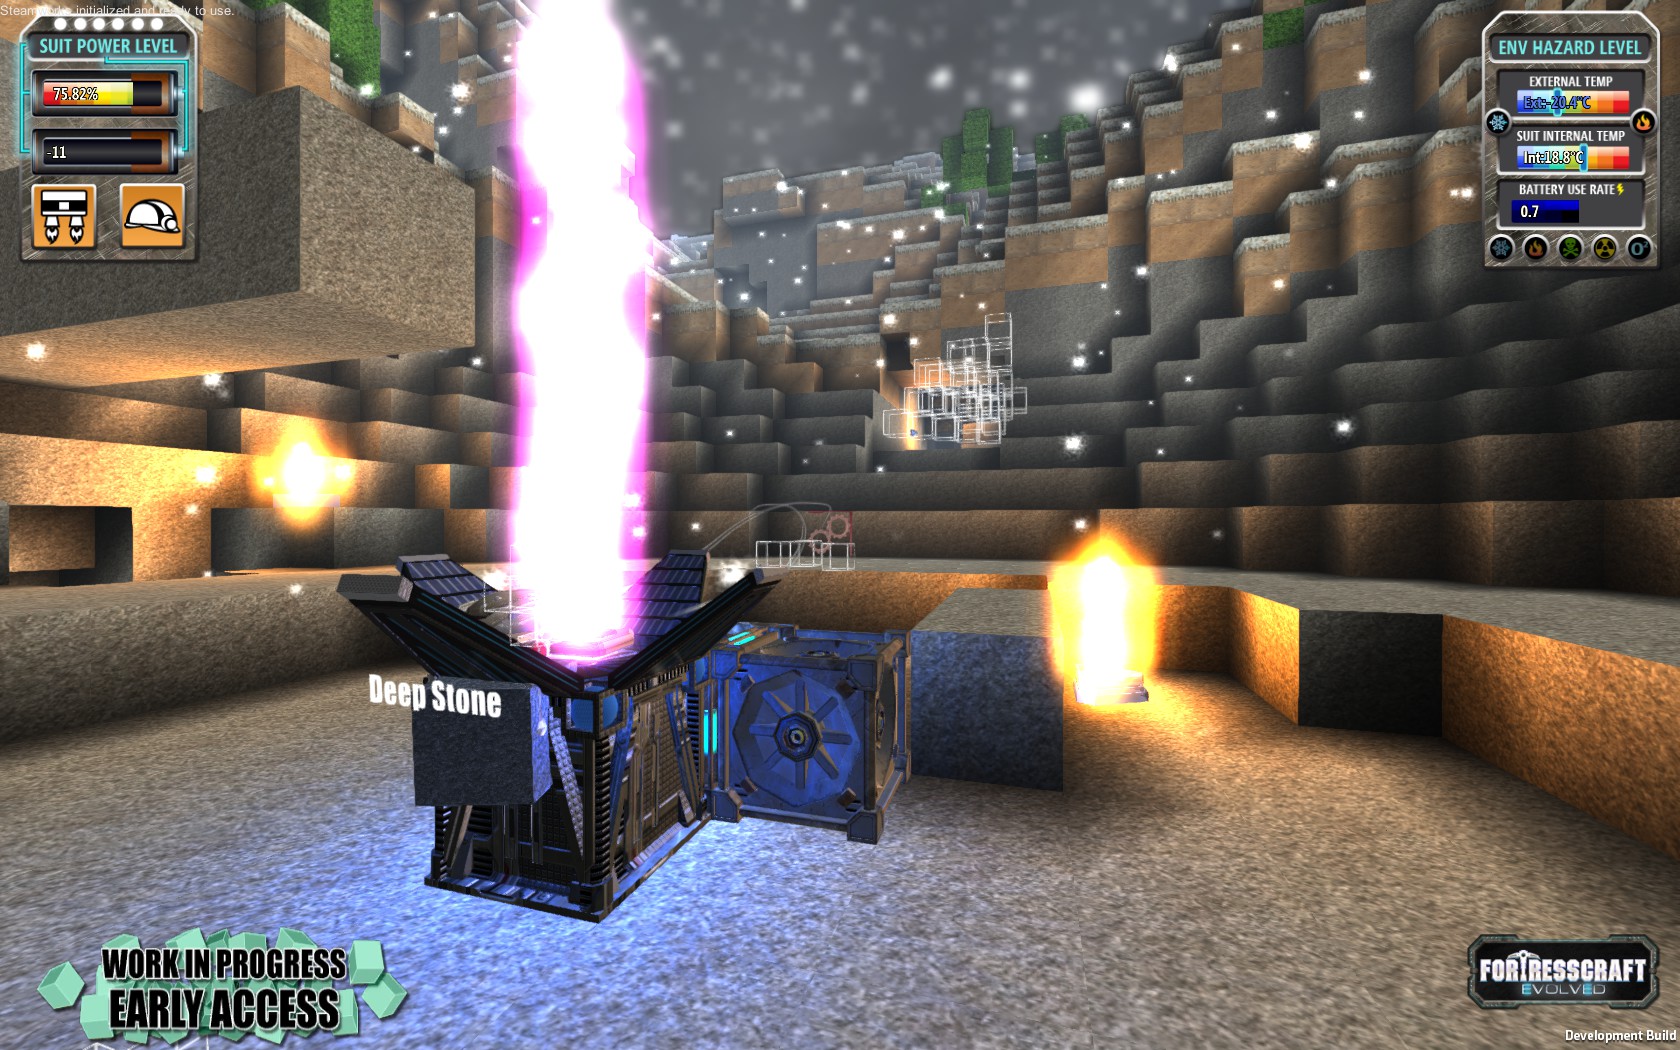
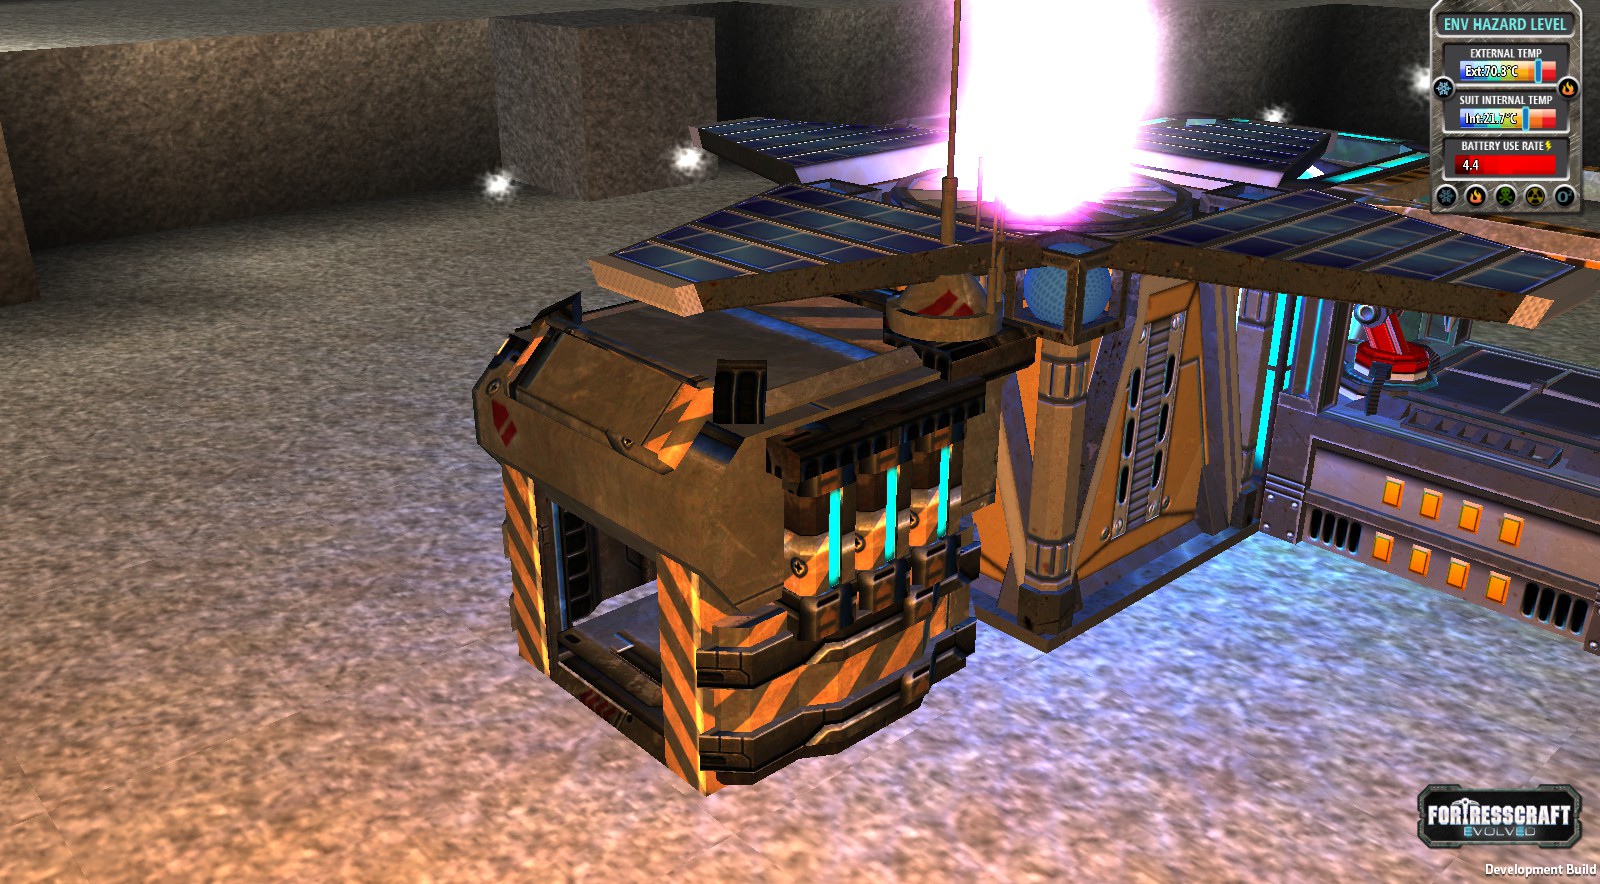
The crash site has a Central Power Hub, a Power Storage Block, a Smelter, a Crafting Station, and the Research Station. First let’s look at the Central Power Hub (CPH). We’ll take a closer look at the others later.
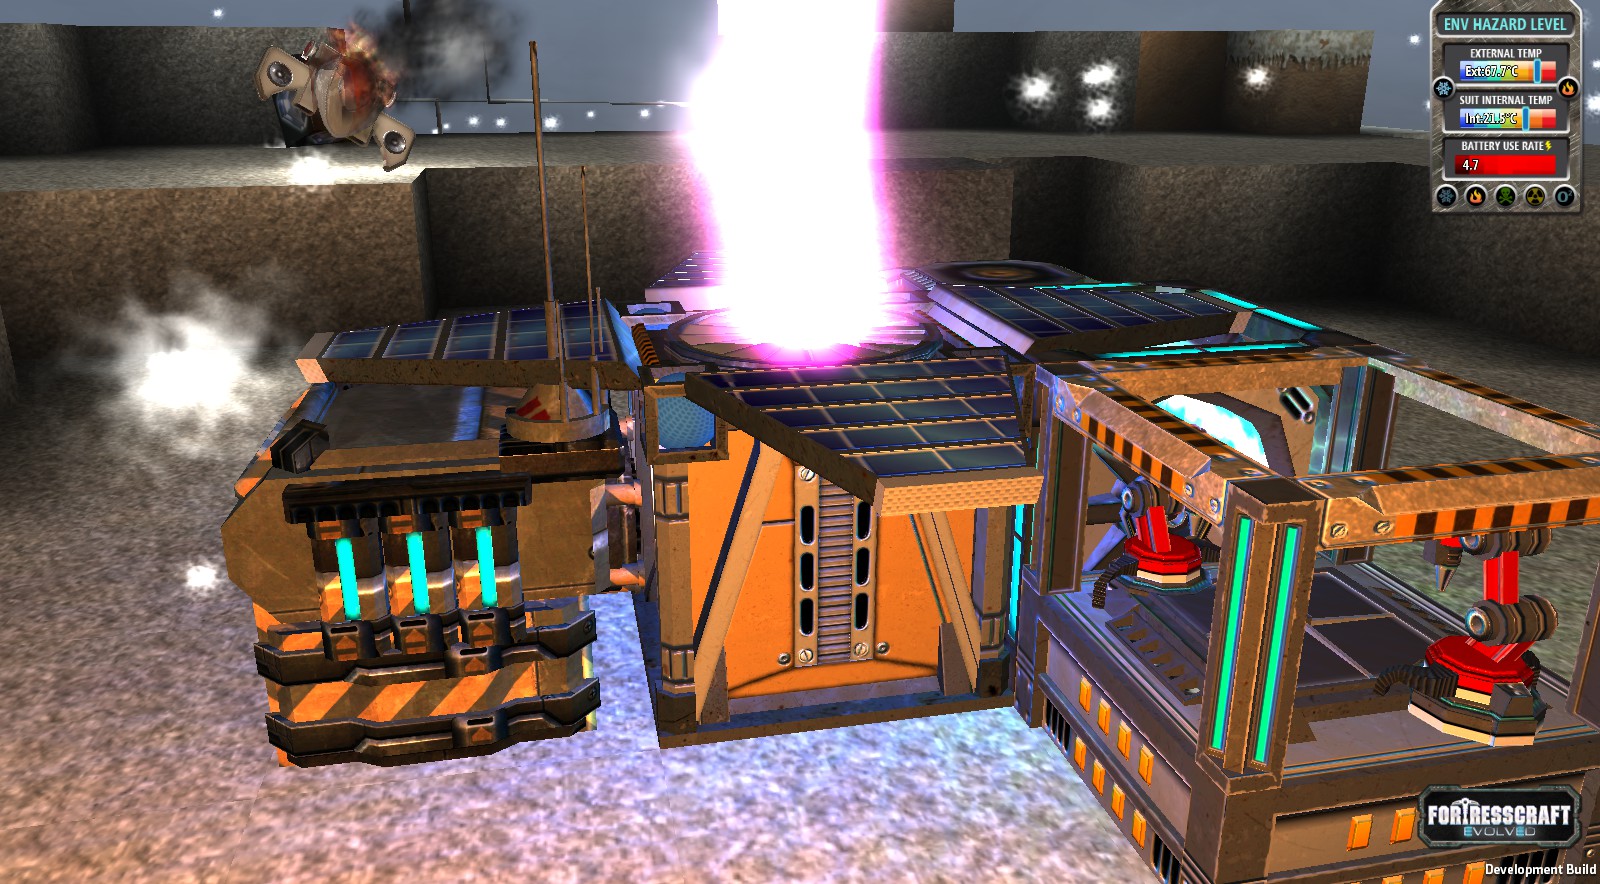
- The internal power source will produce a small amount of energy constantly under any conditions.
- With access to the sky the solar array will open to generate additional solar power.
- Resources can be added manually which will be consumed to produce energy. This is the fastest method of energy production but it requires your input. Any stray block including dirt and rock can be added however these provide very little energy. Wood is a good source of energy when just starting off. Finding a source of coal to replace the limited availability of wood should be a priority. Coal is the most efficient fuel as of the time of writing this guide.
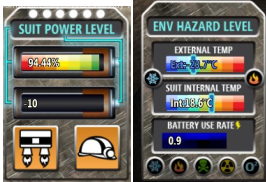
Below your energy guage is a listing of the current altitude. This is very useful for estimating the resources that can be found at the current level and as well as aiding in connecting machines by identifying at what height they are situated. At the bottom are indicators of the status of the suit jetpack (toggle with J) and the head lamp (toggle with L). Both consume energy so it is best to save these for the future when energy is plentiful or extreme emergencies.
The right display indicates the current ambient temperature, suit internal temperature, and the energy consumption rate requested by the suit to stabilize the temperature to the comfortable 20C. The world is very cold so be sure to keep a stock of energy to stay warm! Should your energy drop the suit will be unable to maintain a safe internal temperature. If the internal temperature drops below 10C you will begin to suffer from hypothermia and if you do not warm up soon you could meet your end by the harsh environment.
Among the items that survive the wreckage (view your inventory with ‘i’) are 5 torches which can both light a dark cave as well as serve as an emergency heat source. These torches will be invaluable in conserving energy in the early game by placing them along often traveled routes or common stopping points. Placing one near the landing site is a good start as you’ll be stopping by here often so a place to keep warm will save a lot of energy in the long run. You can craft more by opening the self crafting menu by pressing ‘C’ once you’ve found some coal. (Bonus tip: placing a wall or a few blocks near the torch can aid in finding the Goldilocks positioning to minimize the energy consumption. If you reach 20.0C exactly you won’t lose any energy to heat loss!)
Now that you are familiar with your crash site and the basic tools to help you survive we can begin exploring the area to identify what we have at our disposal to survive this harsh environment. To do that it is time to begin researching.
The Research Station
When you first land, aside from the crash site machines themselves, all of the objects in the world are unidentified. Press M to switch to the scanner (you can swap back to the build gun by pressing ‘X’) and hold right click to scan an object or simply collect one of the blocks with the build gun. Scanning objects drains your suit of a small amount of power so make sure you have some available or the scan will fail. The bottom left information window will tell you if a block is unknown, has been scanned, or the details of the block if it has been researched. More advanced details are provided in this window for machine status.
At your disposal is an ability called the material ping. Think of it as radar for certain blocks. It has several modes that are each useful in varying situations. Press ‘M’ to bring up the scanner, select the appropriate ping type, then press left click to activate the ore ping if you have enough energy (25% of your starting suit maximum or 64 energy –EDIT: I believe this has been reduced lately I’ll need to double check the actual number–) sending out a wave that pinpoints the nearest 128 objects associated with the ping.
Initially you won’t have any ores scanned so none will appear if you use the ore ping. The unknown ping will point out all of the unresearched blocks around you up to a limit. This will highlight the closest 128 blocks that you have not researched yet including unknown ores. Air ping is useful for finding underground caverns and machine ping can help you find your way back to your base or to connect up a distant array of machines underground by helping you pinpoint the location of a distant battery or conveyor line for example.
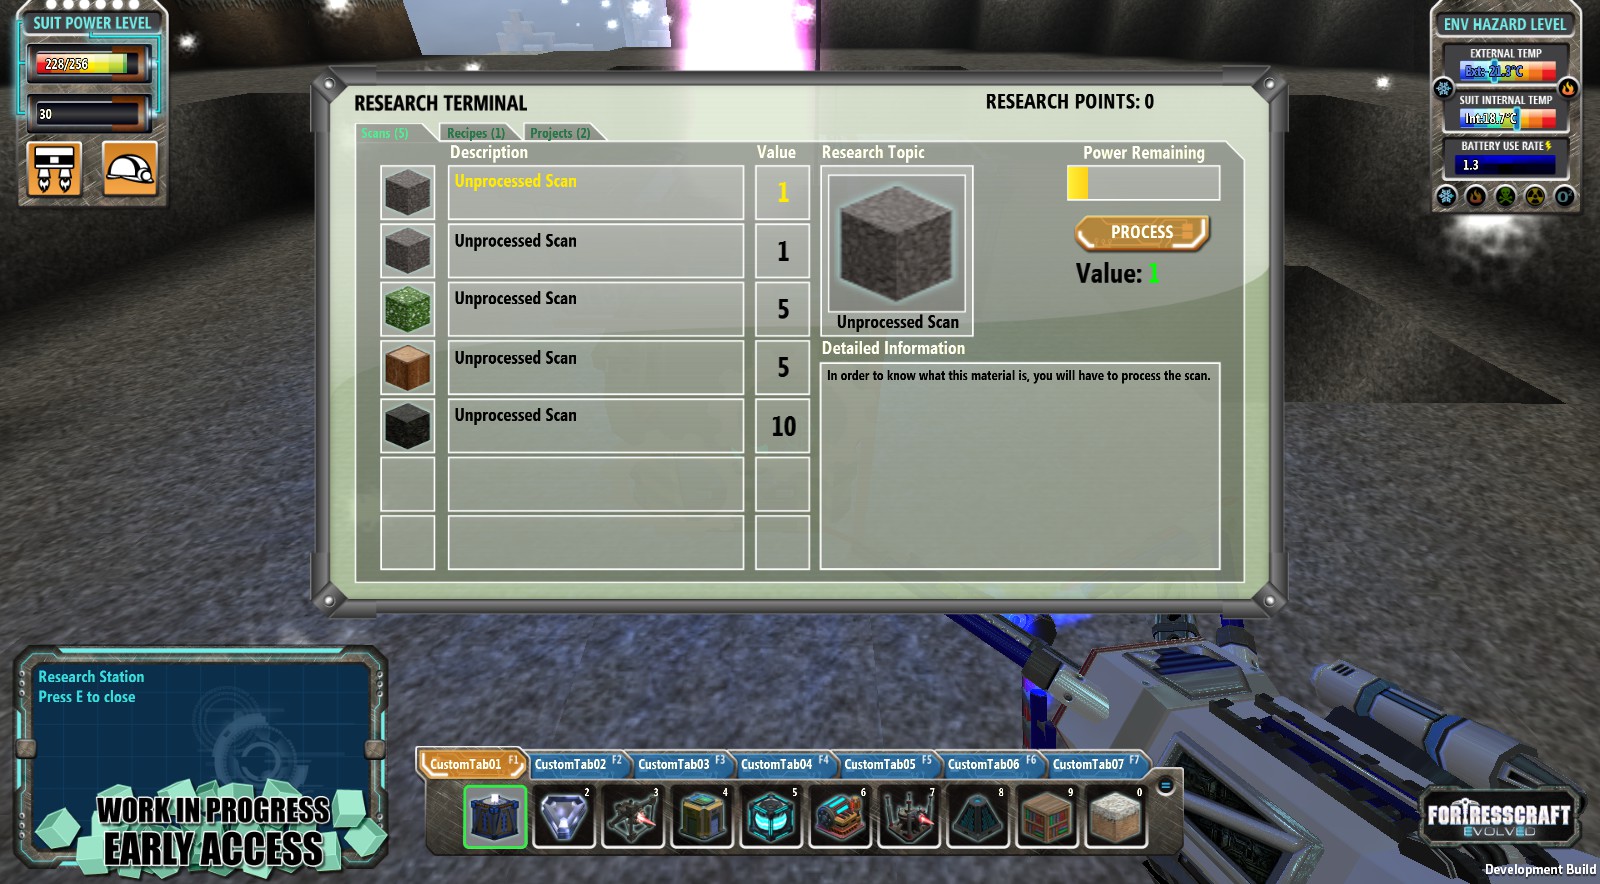
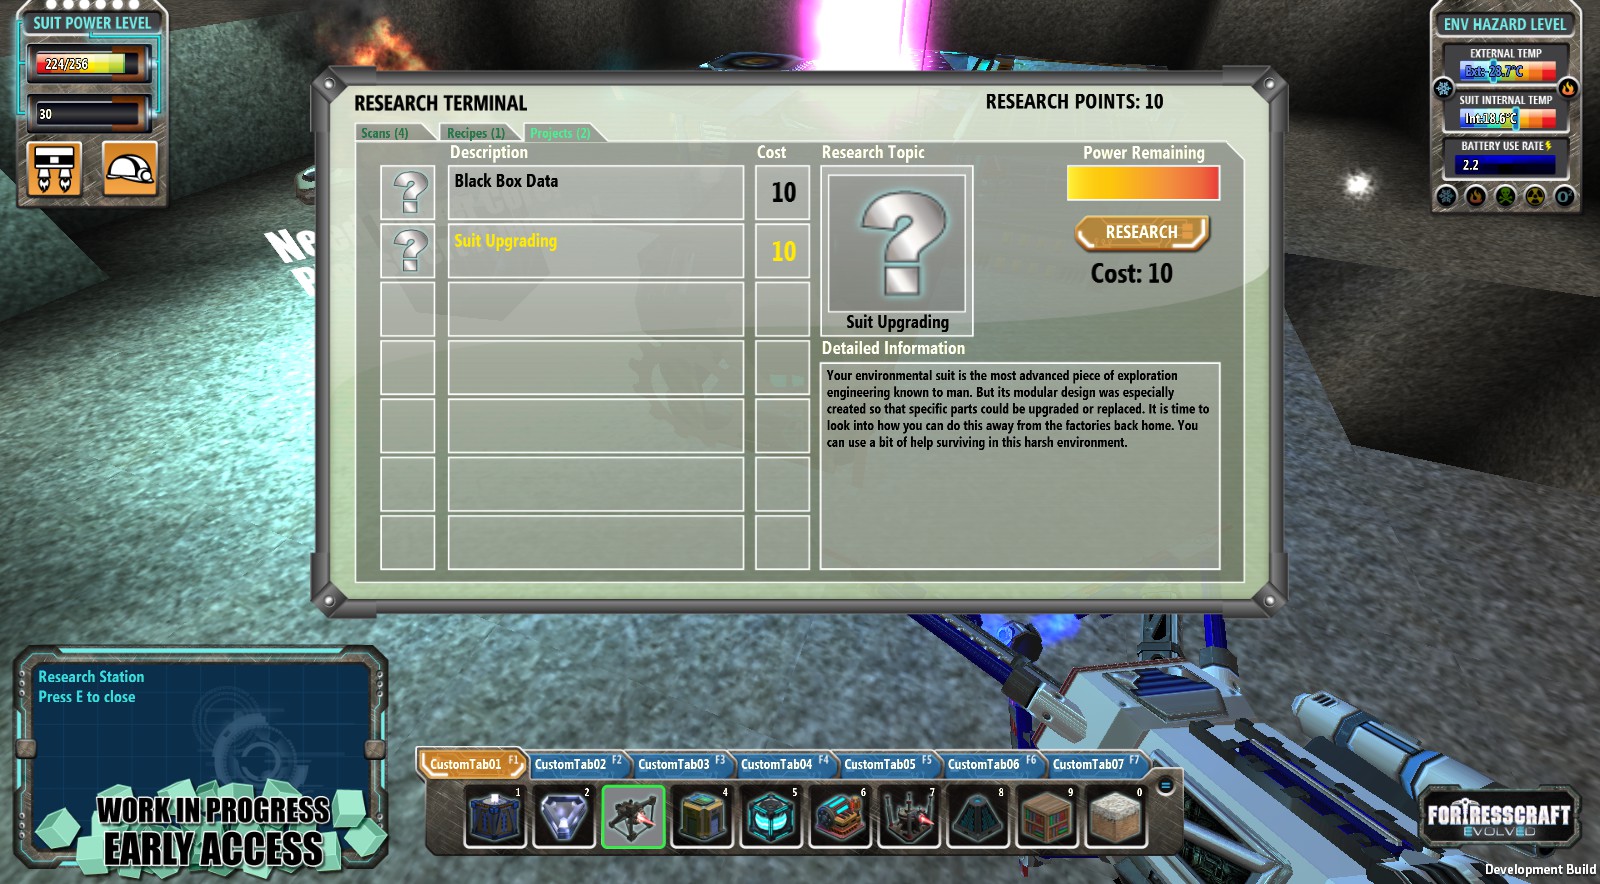

Once you scanned and researched the basic blocks in the area (snow, rock, trees, leaves, etc.) it is possible to begin the search for resources. We’ll next cover a bit about the process of collecting resources and the machine you’ve started with to accomplish this task: the extractor.
The Extractor
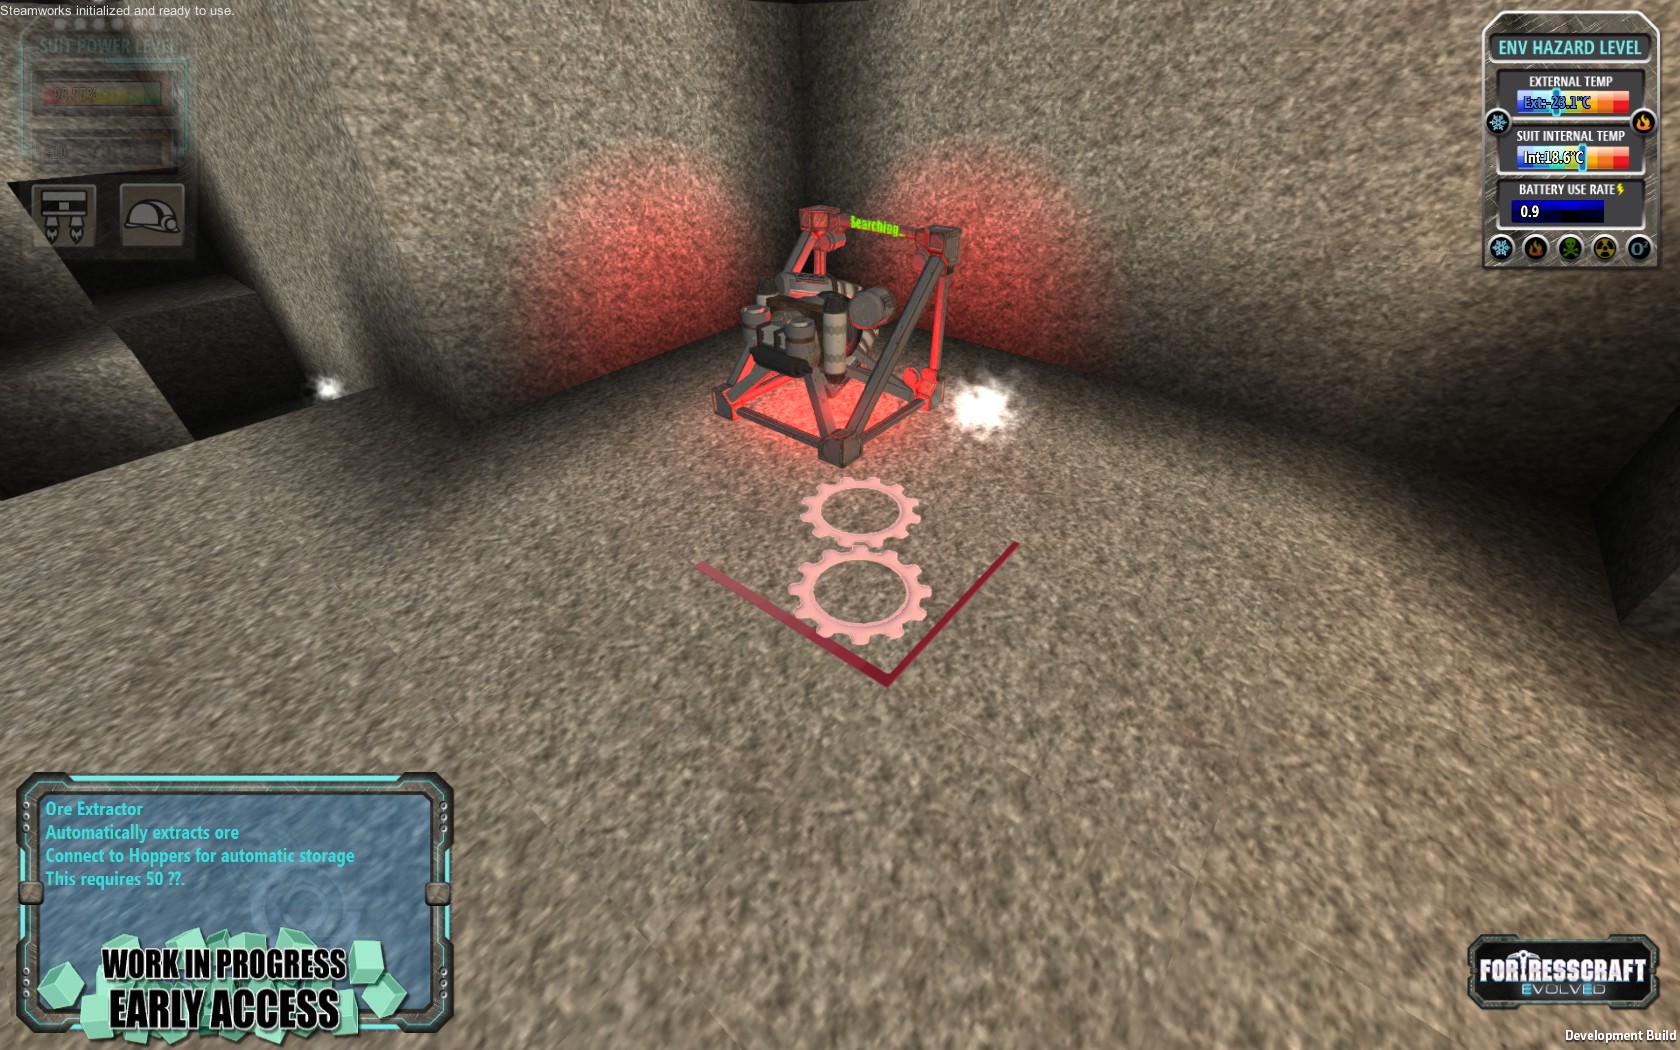
The extractor is your go to machine for harvesting resources. Before we get to the details let’s look at resource gathering in general. Unlike rock, dirt, grass, and other blocks of terrain, ores are not dug out when harvested with right click. Each block of ore has 900 resources available to harvest. Each attempt at mining with right click subtracts from the total resources available in the ore block
When right clicking the ore there is a chance a piece of the resource is generated for you to collect. If you attempt to mine the block quickly you’ll find often times you will get “Rubble” which is a worthless item so it is not very efficient to mine by hand. Mining ores manually is a very time and resource consuming process and should only be used if you are desperate.
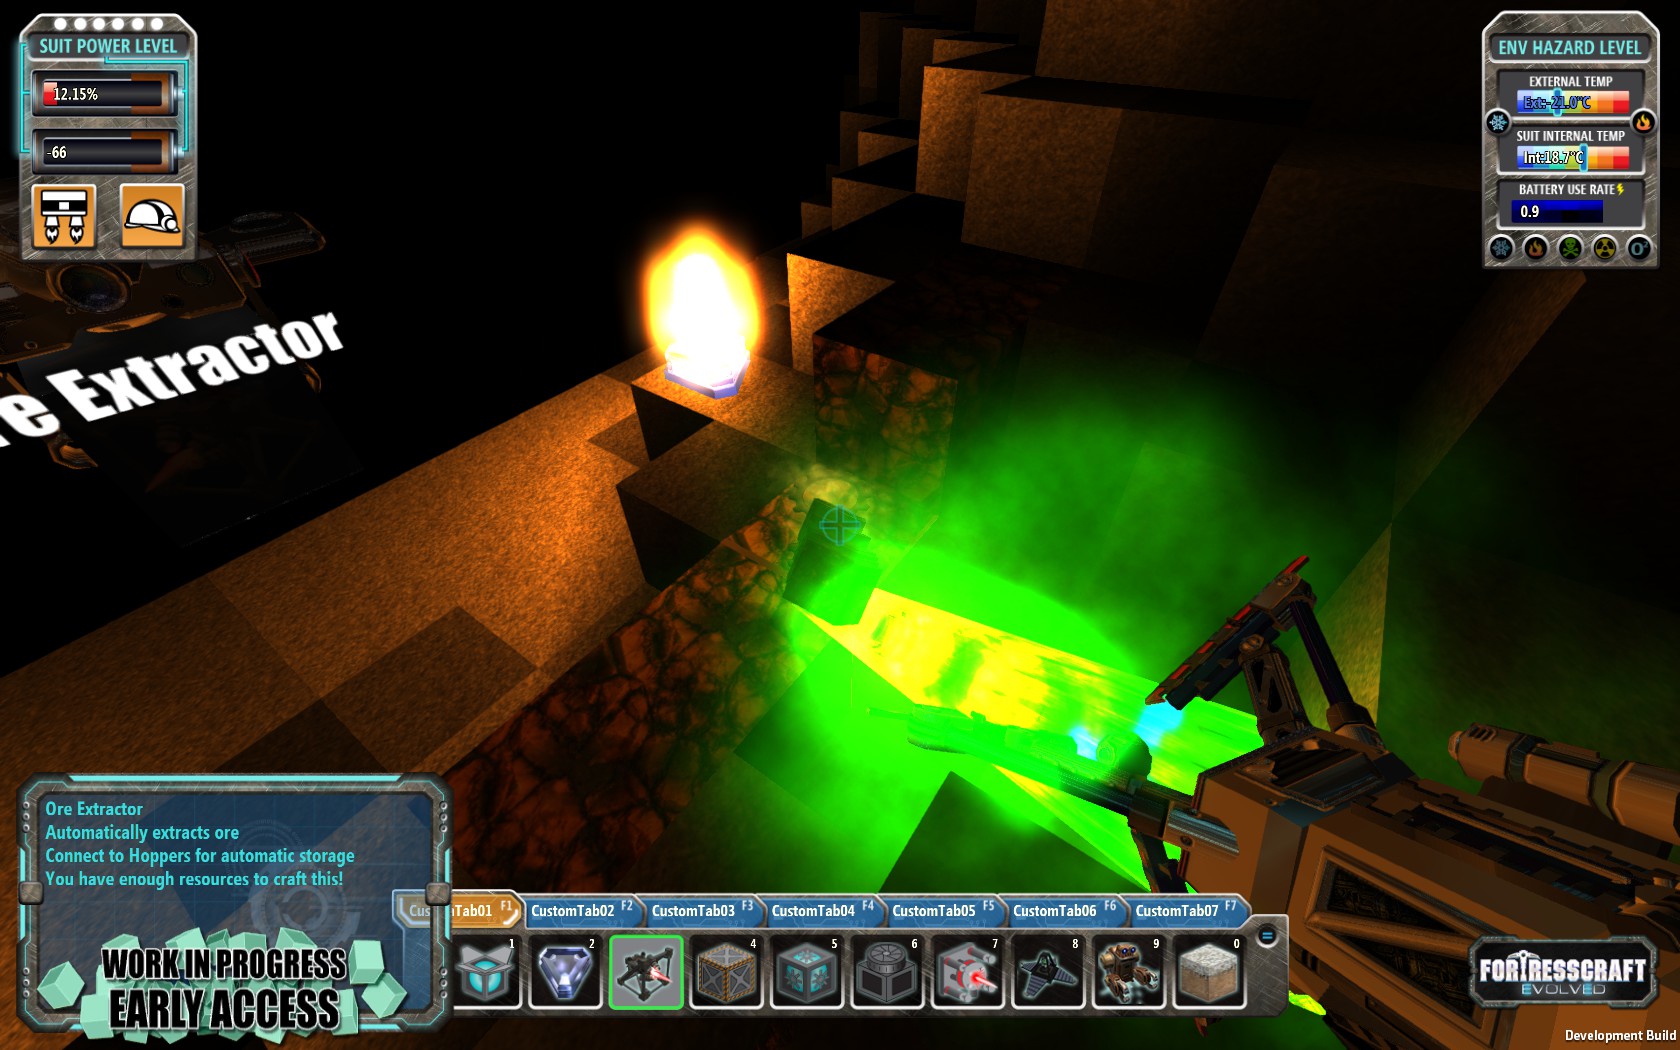
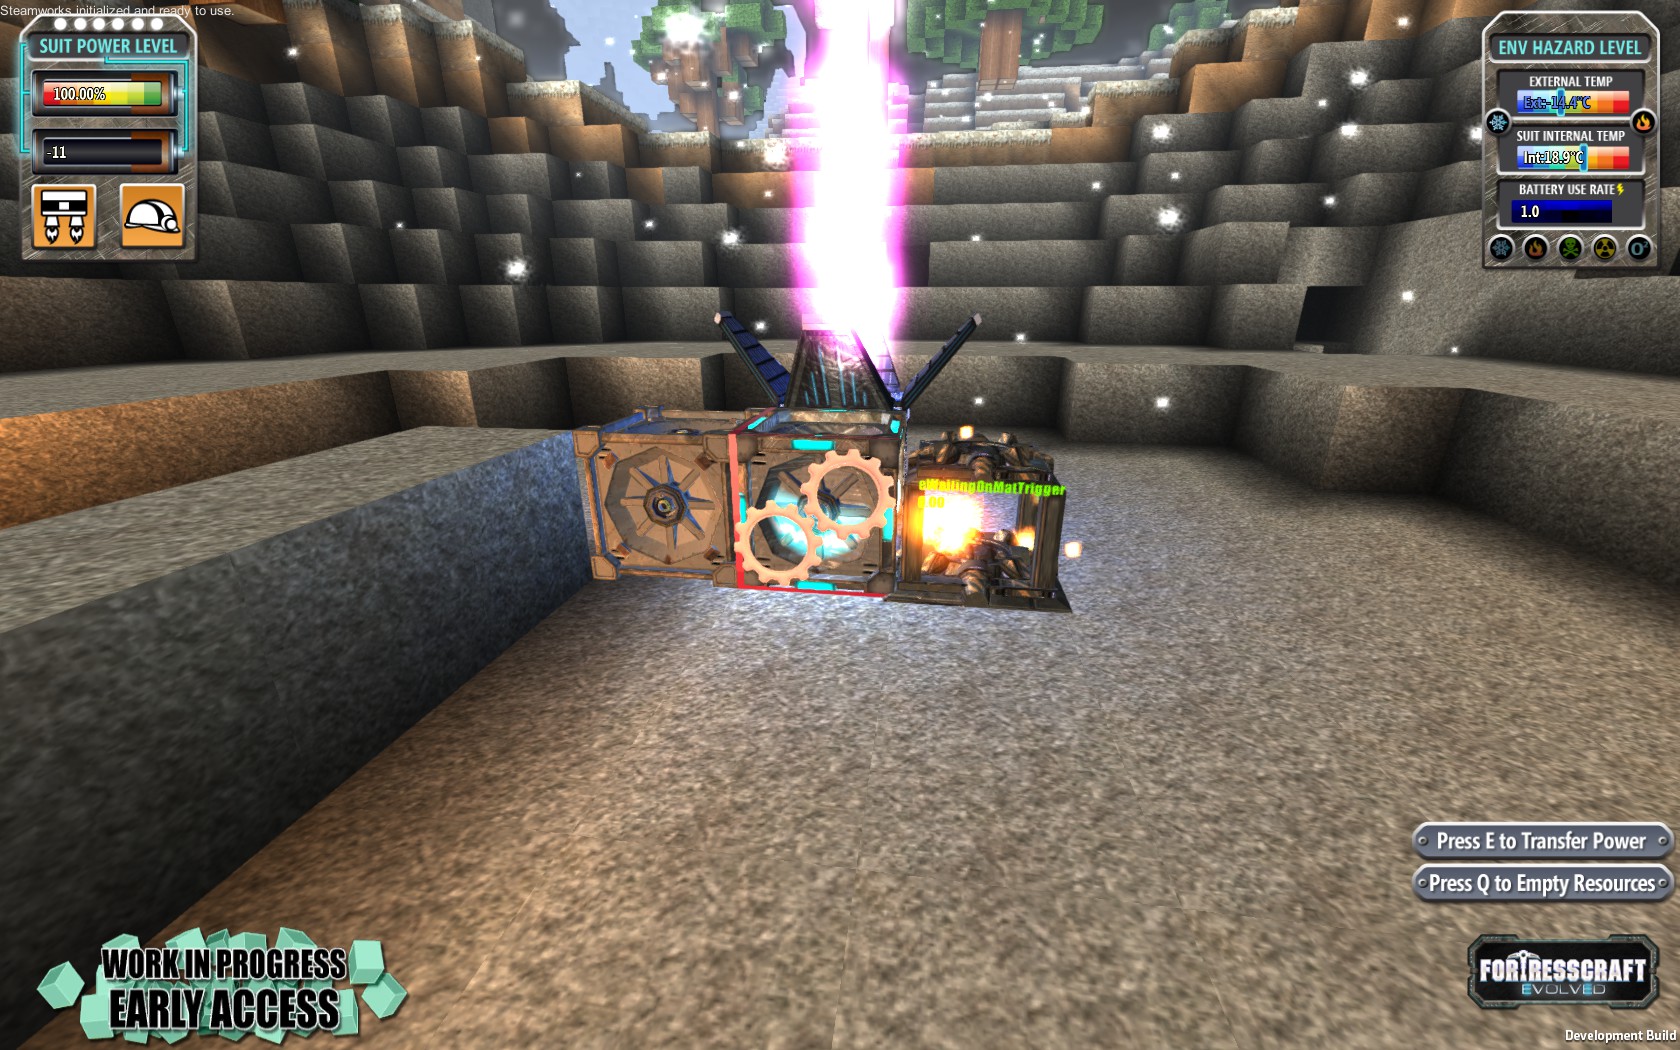
The extractor is a machine that can be placed up against an ore block and will consume energy to extract resources automatically. There are two ways to directly interact with the extractor. The first and most important when first placing the extractor is to give it energy with ‘e’ so that it will start working. After some time the extractor will collect a piece of the resource in its inventory. Pressing ‘q’ will pop out the collected resources from the top of the extractor for you to collect. The information panel in the bottom left corner tells you everything about the extractor when you point at it. The starting extractors are no more resource efficient than super digging but are automated which can enable more resource collecting than you could manage otherwise.
The extractor requires a fair amount of energy to produce ore. It has an internal storage of 500 energy which is a little over two full suit’s worth of energy before you get the suit battery upgrade so you will need to make multiple trips to fill it up. A fully charged extractor will collect 33 ore before running out of energy. If it’s internal storage of 25 ore fills up however the extractor will cease mining until it has been emptied with ‘q’.
Finding Coal
The first major task that should be tackled after settling in to your new home is to find coal. Coal is the most efficient source of energy and will not only keep you warm in your energy hungry suit but also keep your machines running so that you can continue to expand your mining operations.
After you’ve researched the basic blocks in the area of the crash site the unknown ping should only detect the unknown ores in the area. Once discovered and researched you can continue to find additional veins by using the standard ore ping and you can use the unknown ping to find the other ore types that you have not yet discovered until you have found a vein of each resource.
Since you’ll be relying on the CPH for keeping your energy stock up it is best to look for the closest vein from here. The crash site being so close to the surface also increases the chances that the local veins are coal so it shouldn’t take too long to find one.
Here you can see the larger vein of coal that I found not far from my crash site. You can also see the tunnel I dug out to gain access to it from the crater. The vein was close enough that I can sit by the torch and move energy from the battery into the extractor without moving. This allows me to stay warm conserving energy so that I can dedicate as much as possible to the extractor. Once it produces its first piece of coal it can be fed into the CPH to produce a surplus of energy when needed.
At this point you are self-sufficient. The extractor consumes less energy than the coal it collects can produce when burned in the CPH. The excess energy can be used to keep you warm when you begin digging in to find other resources, exploring caves, and to power the ore ping which will come in handy in your search.
Smelting and Crafting
Now that you have a supply of energy to keep you alive and to run your machines at your base you’ll need to begin assembling new machines. To do so you’ll need the raw metals and the tools to convert them into a more useful form. The crash site provides two tools for doing so.
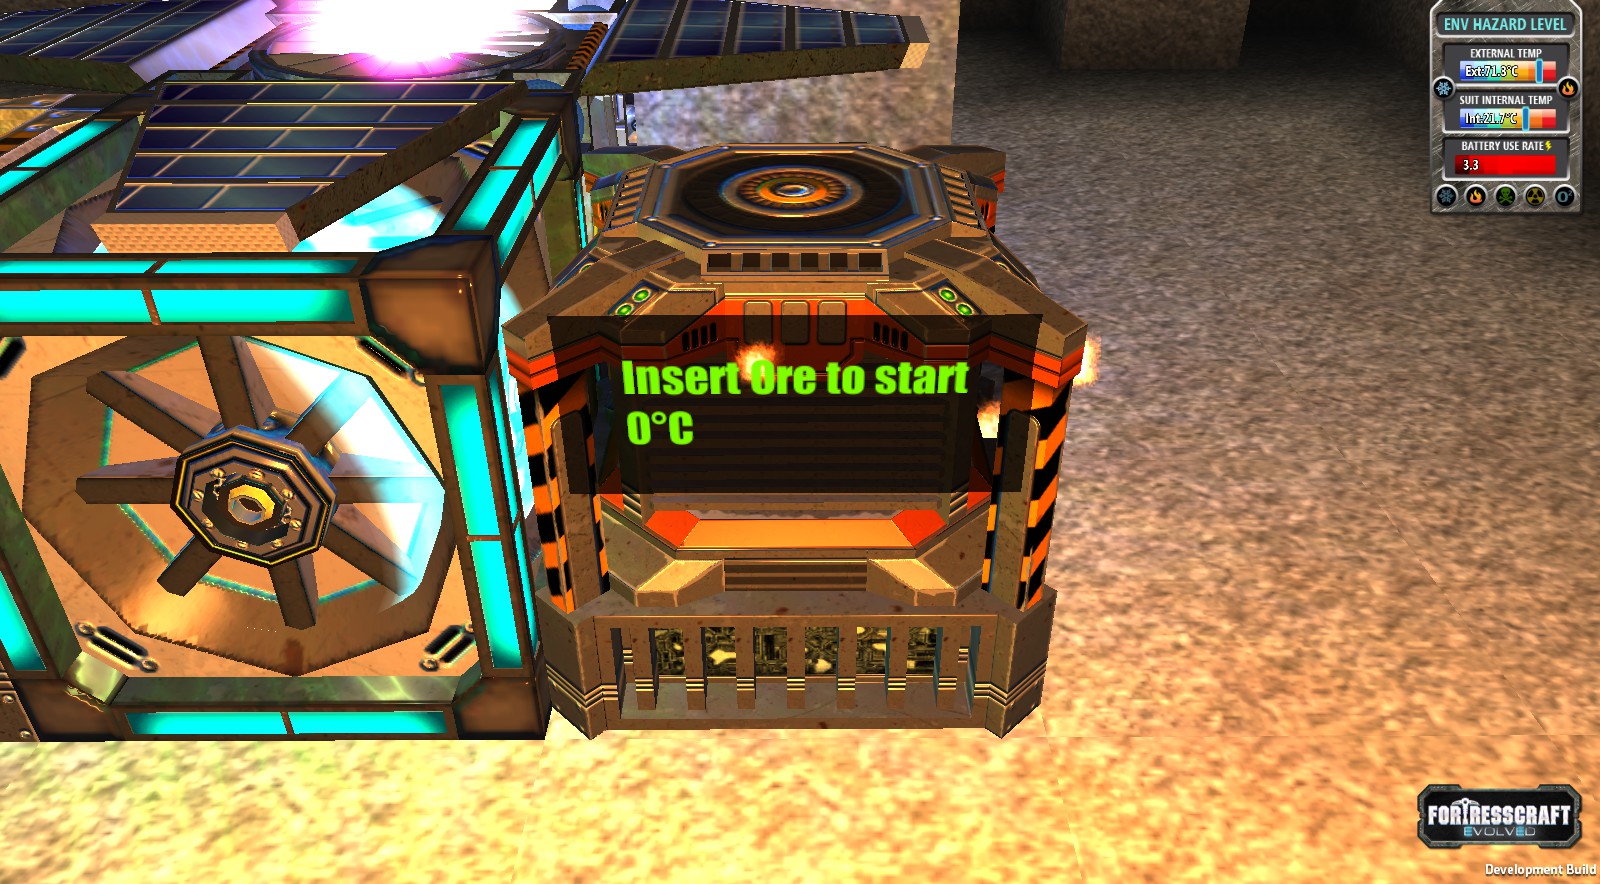
The smelter consumes energy to heat raw ore to melt them into bars of metal which are required to craft the game’s various machines. The smelter provides useful information on mouse over in the bottom left corner of the screen as well as a short summary on the front of the tool itself.
The smelter requires 8 ore to make a bar of a metal (16 ore when playing with Hard Resources enabled and 25 with “Greg” difficulty). When you have at least 8 ore you can place the ore into the smelter by pressing and holding ‘E’ on the machine. The display will tick up as the ore is added to the machine. Once the smelter has been loaded it will request power so that it can heat to the appropriate temperature to melt the ore and form a bar. This process requires some time which can be monitored as the smelter lists the current temperature on its display.
Typical smelting temperatures are around 1140 degrees. Heating the smelter up to this point requires a lot of energy and must be done any time you want to smelt a bar. However, the smelter does not require much energy once it reaches smelting temperature and it cools down quite slowly. This can be used to your advantage by smelting many bars in quick succession as little energy is required to maintain the smelter at the melting temperature. As you load the next load of ore the previously smelted bar will be removed from the smelter. Bars are not currently shown in the player inventory but rest assured that they are there and will appear appropriately in the crafting interface. The same is true for any excess ore that is removed from the smelter.
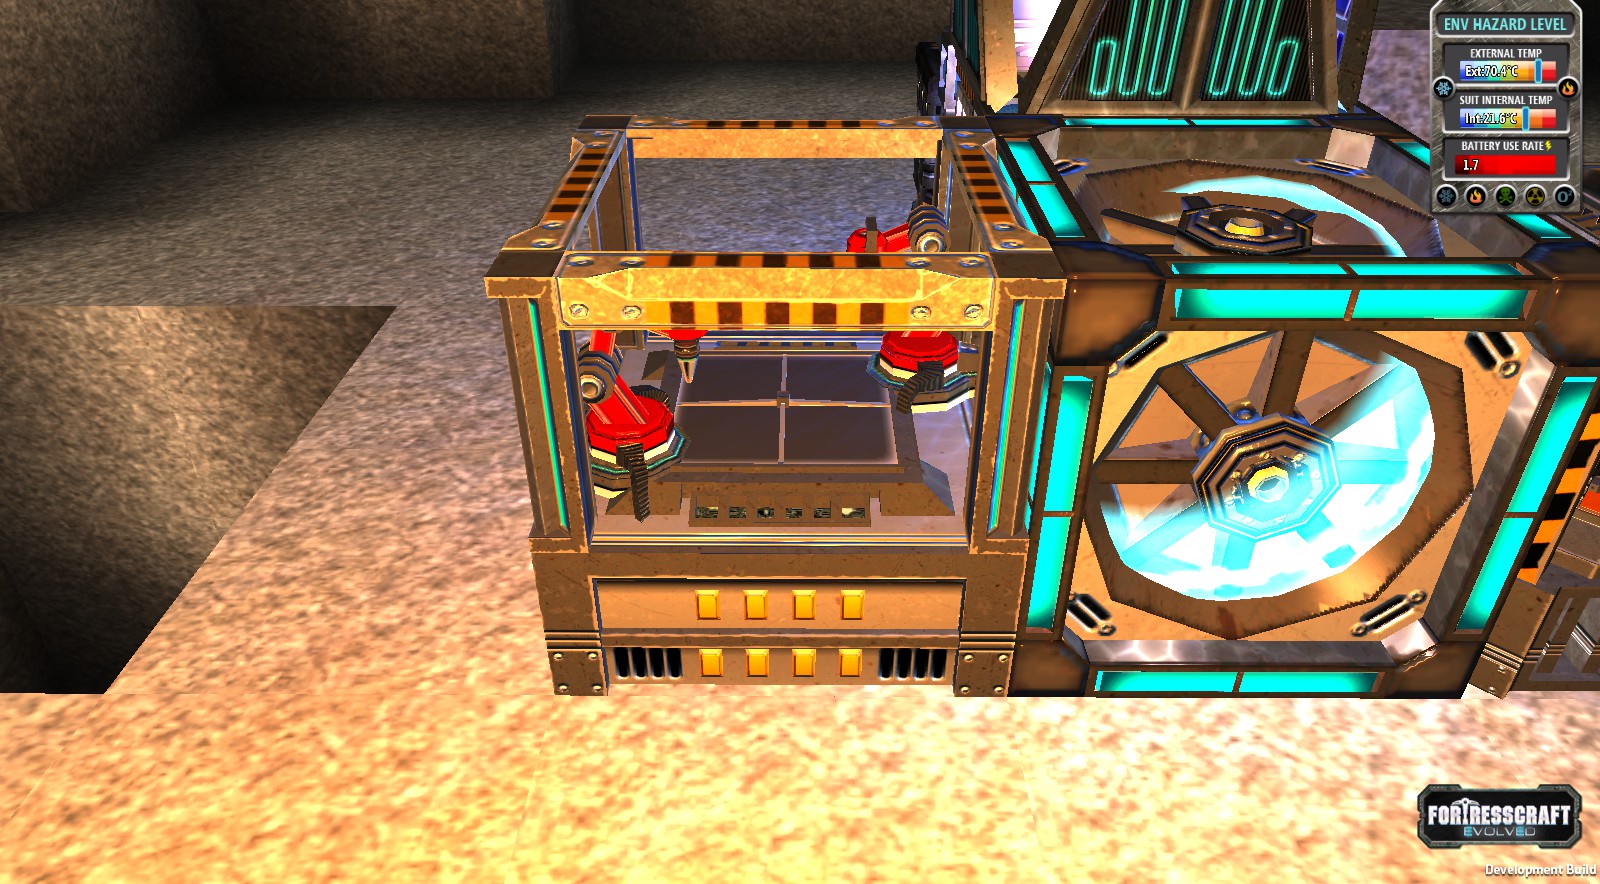
After you’ve forged some bars of metal you can begin making machines at the crafting station found at the crash site. Open the crafting interface by pressing ‘E’ when looking at the machine.
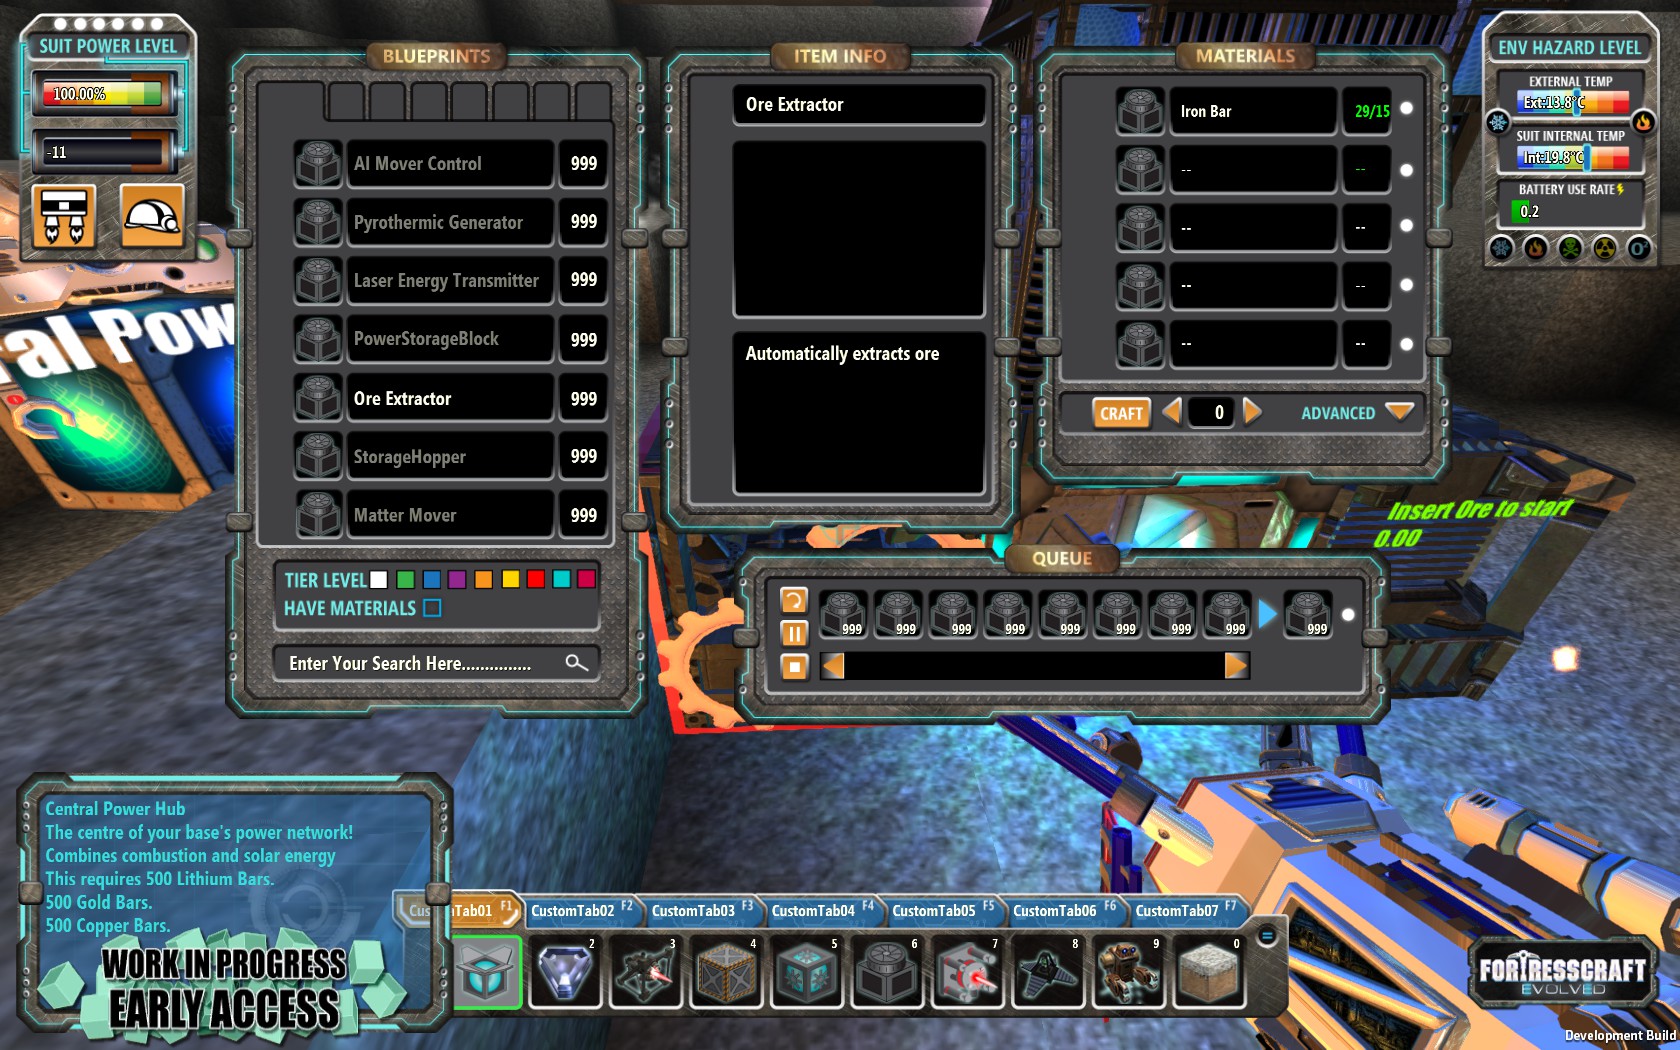
Below the item list you’ll find a selection of colors which mark off the different item tiers. You can browse the various craftable item tiers by clicking the colors. White is tier 1 items, green is tier 2, blue is a collection of some miscelaneous items, red is extractor upgrades, light blue are upgrades for ARTHER, and the far right color which I refuse to attempt to name are upgrades for your suit. Browse through the tiers to become familiar with what is available to you and how much each item costs. (I will make a special note here as this is a problem on my laptop. The buttons don’t match up properly with the color squares on some systems – it may be resolution related. You may have to click around to find where the buttons actually register. I have to click down and a little to the right to get them to register.)
But before you can craft anything you’ll need to first find some ore deposits underground.
The hunt for metals!
By this point you should have a small functional base which has the CPH and the core machines of the crash site as well as an extractor producing coal. The coal should keep your crash site battery charged. This should provide you plenty of energy to explore without worrying too much about freezing to death.
The next step is to find some of the Tier 1 metals. These include Iron, Tin, Copper, and Lithium. The easiest way to do that is to begin digging down. Remember that you have the unknown ping at your disposal. Finding ores can be much easier though if you can find a cave system. Conveniently the scanner can also function to find air pockets (cave systems) by using the air ping function to find the closest air blocks. It is dark in the caves but a glowstick tossed with ‘G’ will light up the area nicely. It can be hard to distinguish blocks in the green light but it provides a fair idea of what is around.
In making your way down deep into the ground keep in mind you’ll need to be able to make your way back out! Once your energy runs low you won’t last long unless you have a spare torch to keep you warm. I tend to prefer wide stairways as these provide safe passage down and can be navigated fairly easily. Climbing stairs slow and boring? Your fancy high-tech suit comes with a built-in grappling hook! Press ‘F’ to fire the hook and zip along up to your target. A few hundred meters goes by pretty quickly zipping along at speed on the grappling hook.
So what next? You’re likely to find copper and tin relatively close to the surface. Copper is the first priority as it is necessary to fix ARTHER and for crafting your first suit upgrade. The unknown ore ping should point you in the direction of new undiscovered ores. Try to find a large vein before researching each ore. Tip: Lithium is only found very near the cavern layer in the range of -150 to -250 meters. If you research iron, tin, and copper the unknown ping will only highlight the lithium in this layer so you should be able to find a sizable vein fairly easily even though lithium is normally quite difficult to find.
By now you should have a small stockpile of coal if you’ve been conservative with your torch use. This coal will provide the excess energy you need to power additional extractors for gathering ore. Together your extractors provide a supply of energy and a supply of ore.
With the extractors gathering ore somewhere below the surface it may be a short trip to gather energy from the CPH to power the extractors. With the extractors running, feel free to continue digging and exploring the world in search of other metals. If you want to speed up the process you can use super dig on a spare block of ore to quickly fill up on much needed resources. This is highly recommended when you find yourself in need of a particular machine as you can quickly fill up on the desired ore.
From here the path opens up a bit depending on what you find and which resources you prioritize. Each of the following machines plays a role in the mining operations. Skip below to the section on the relevant machine as you find the associated resources. I’ve listed them in approximately the order in which you are likely to gain access to them and adjusted by the priority in which they are worth crafting.
Iron – Lifts
Iron + Tin – Hopper
Copper + Tin – Conveyor Belts
Iron + Copper – Pyrothermic Generator
Copper + Lithium – Power storage block
Iron + Lithium – Laser energy transmitter
Copper – AI Movers
You can also consider crafting upgrades for ARTHER, your suit, or your extractors.
Craftable upgrades

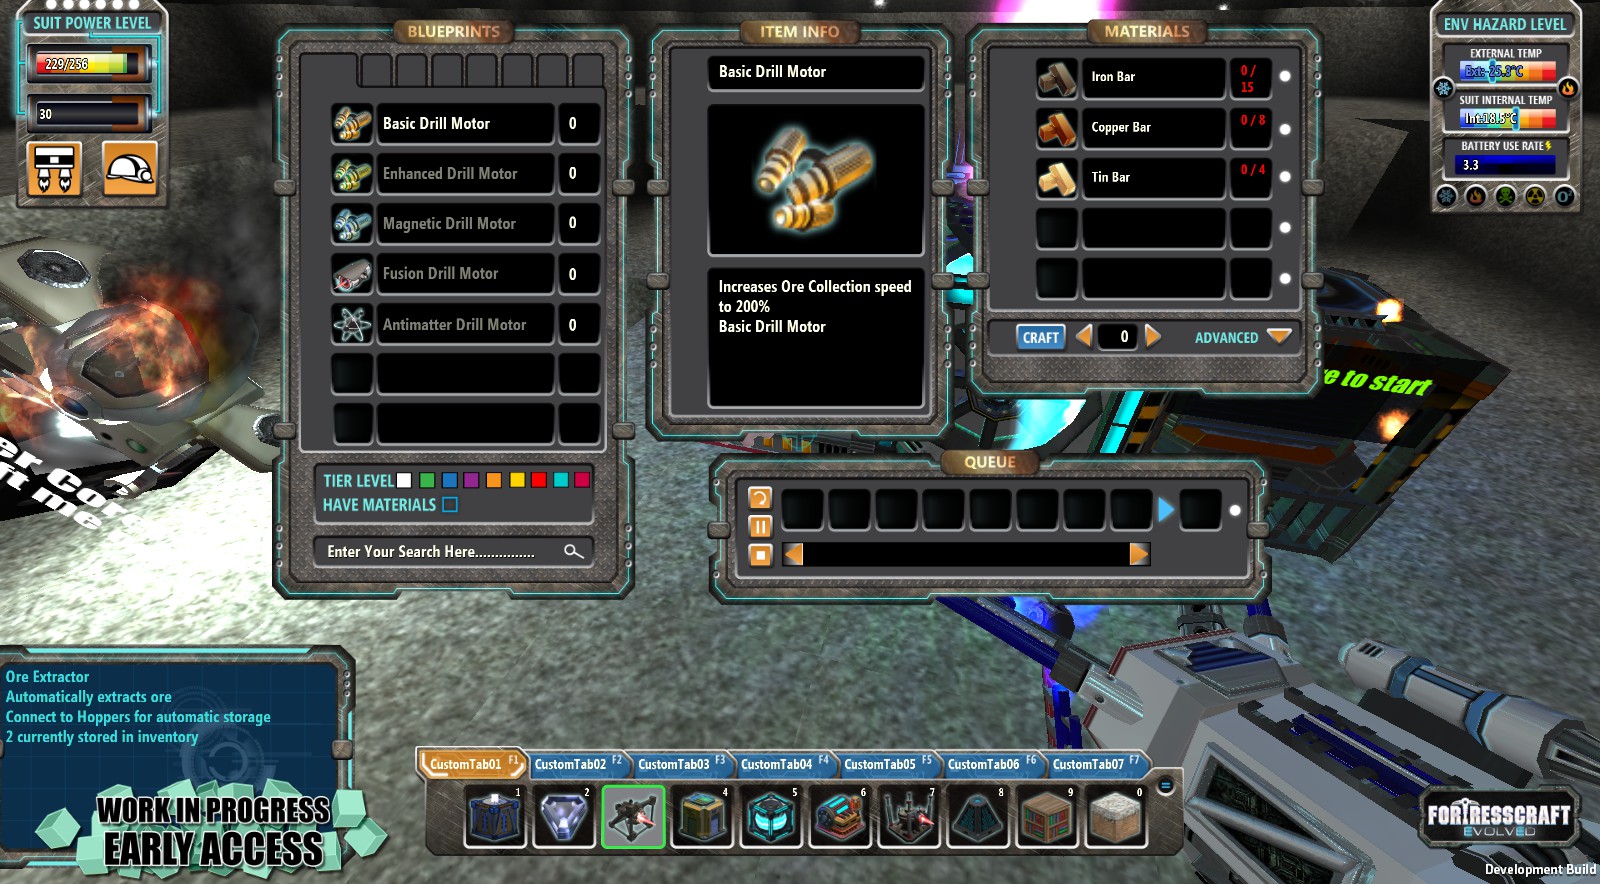
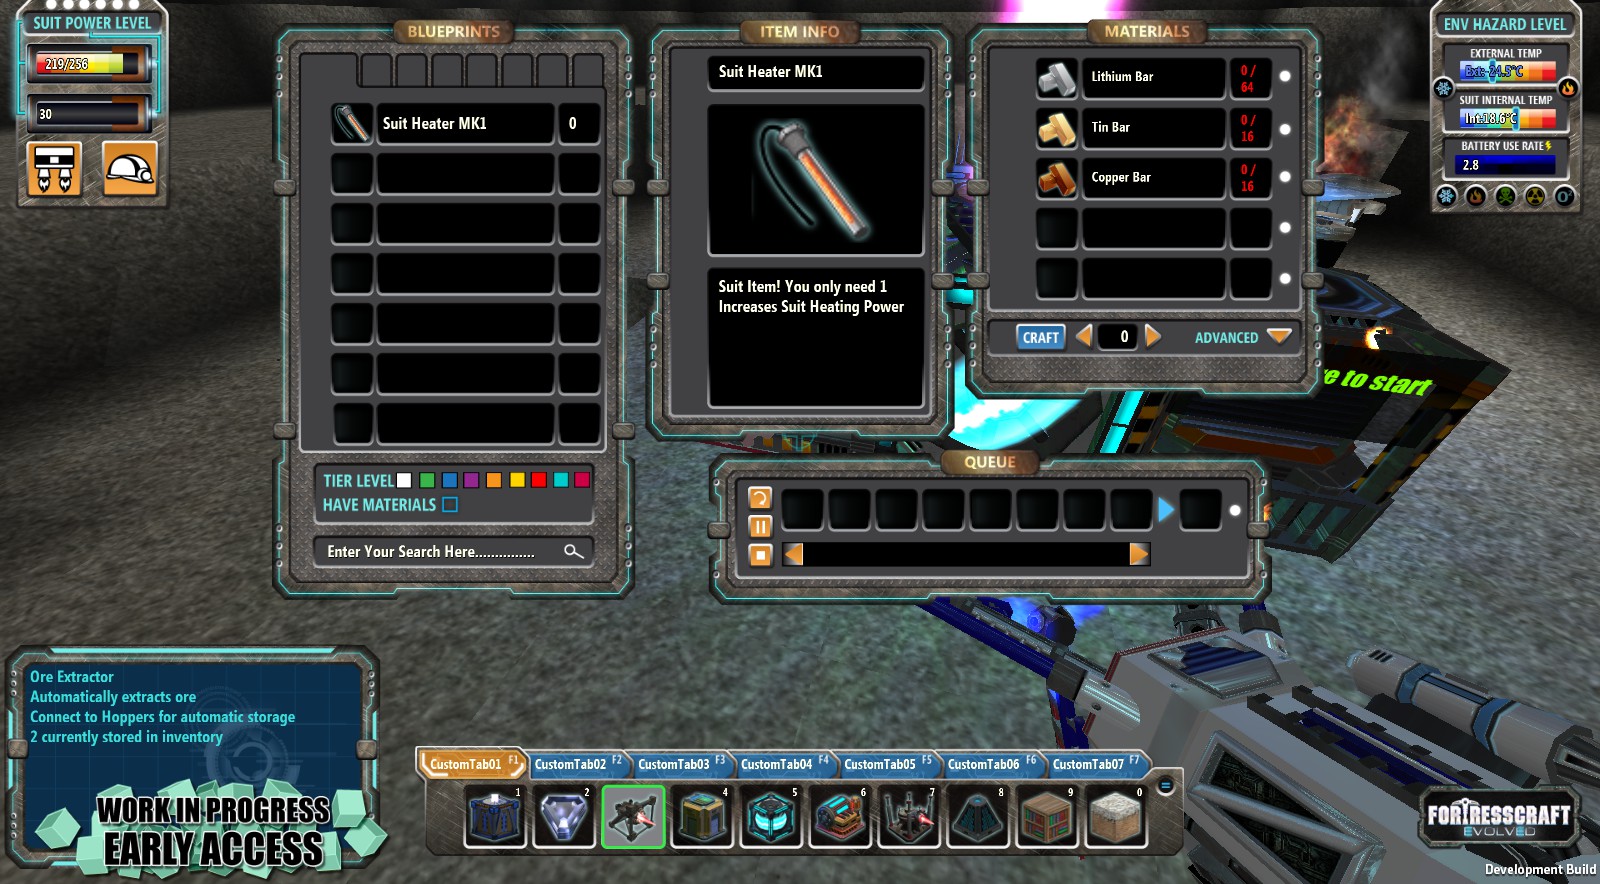
There are other tier 1 upgrades to help you out including a solar panel upgrade and a battery upgrade which are defintely worth purchasing before proceeding through the cavern layer. The extra stock of energy is very useful as even the suit heater upgrade won’t allow you to spend forever in the caverns.
Remember the suit upgrades must be unlocked by researching them at the research station only after unlocking the suit upgrades project.
Lifts
Crafting cost: 15 iron bars
Lifts serve as your primary means in and out of the depths of your mining operations. Although early on digging stairs is sufficient to get you in and out, the lift is a safe and reliable way to travel. The lift will produce a platform one block above the center piston that you place. The height of the lift can be adjusted in increments of 8 up to a maximum height of 64 so several are required to extend far into the depths. The lift can be set to default to either extended or retracted and will slowly descend or ascend when the play steps aboard, respectively.
The lift has a maximum speed of 4 m/s but it consumes pressure to move at this speed. The lift will slowly regain pressure over time however this can be sped up by connecting and powering an additional compressor unit. This is generally only required for well traveled routes that extend to the full 64 block range of the lift. The lift can still be used if it runs out of pressure but it will only move at 1 m/s.
It is a good idea to set aside an area to dedicate one central location to your lift system so that you minimize the time required to travel deep underground.
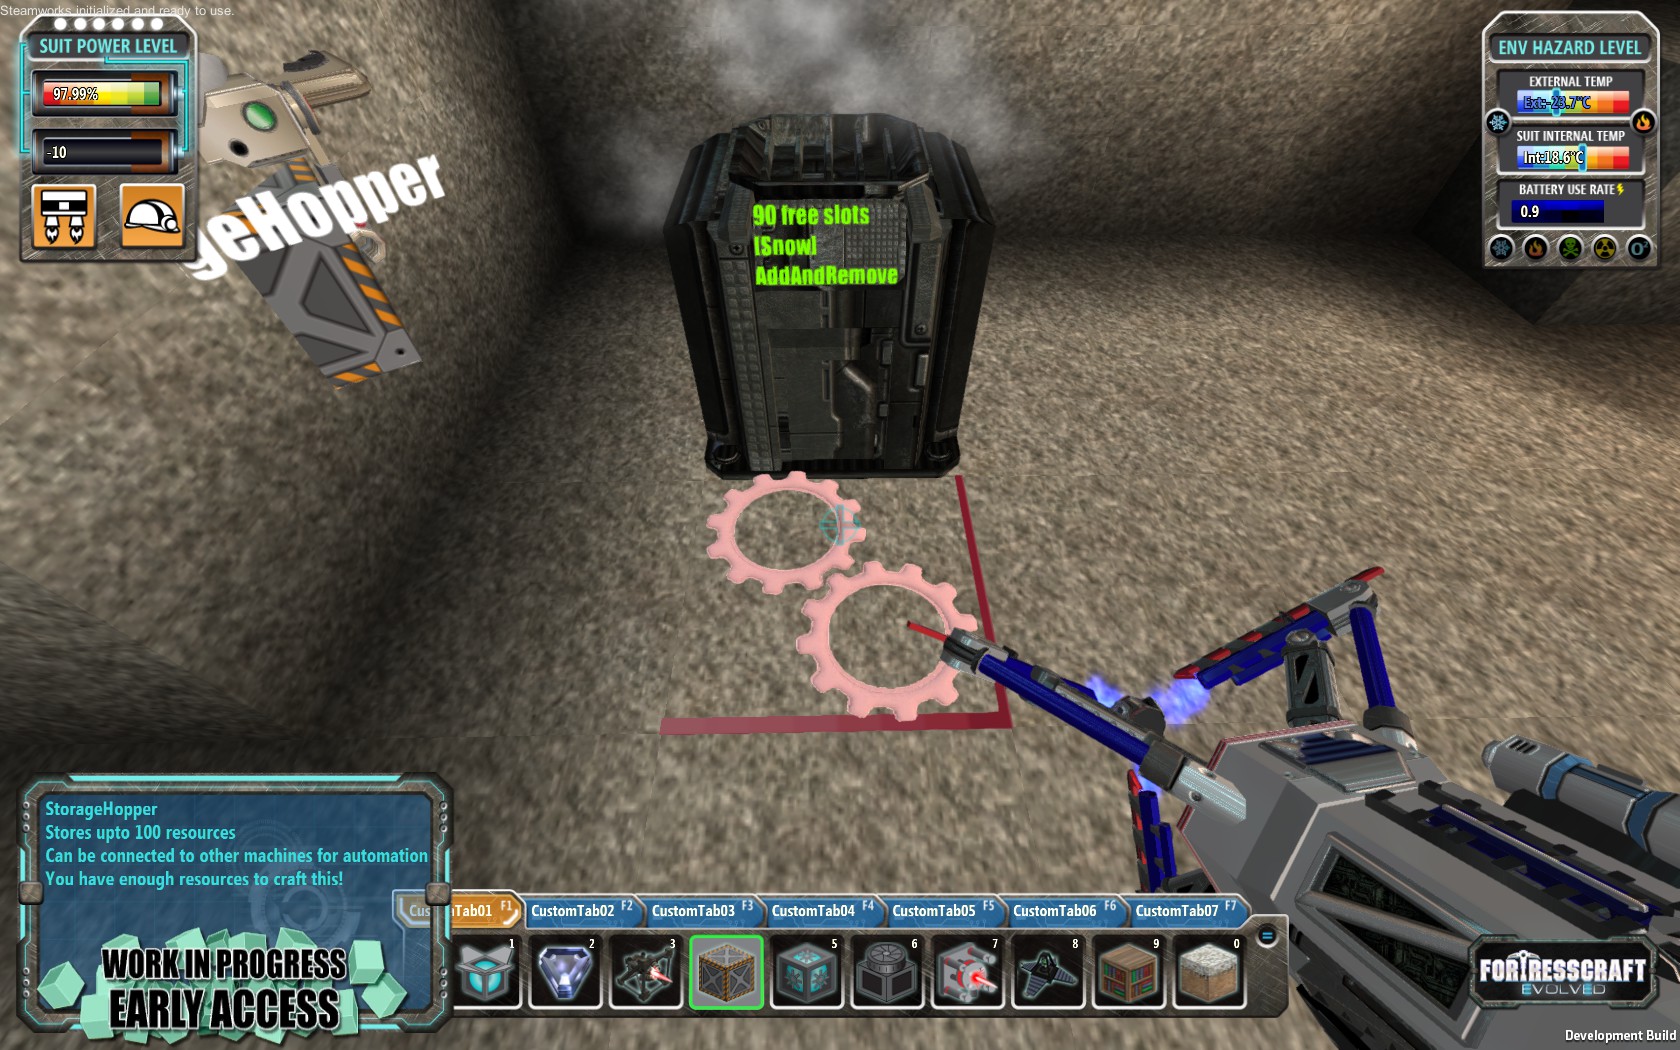
The Hopper
Crafting cost: 15 Iron bars, 12 Tin bars
The hopper’s primary function is to collect items. When a hopper is placed next to an extractor it will automatically collect the resources from the extractor’s inventory. When collecting items from the hopper with ‘Q’ the items are transferred instantly to the player inventory making collection at a distance much easier than from the extractor itself.
Hoppers have a few advanced functions. They’ll automatically even out the number of items in their inventory with connected hoppers. This enables the extension of the storage space. The CPH and PTG can pull resources from a hopper to use as fuel.
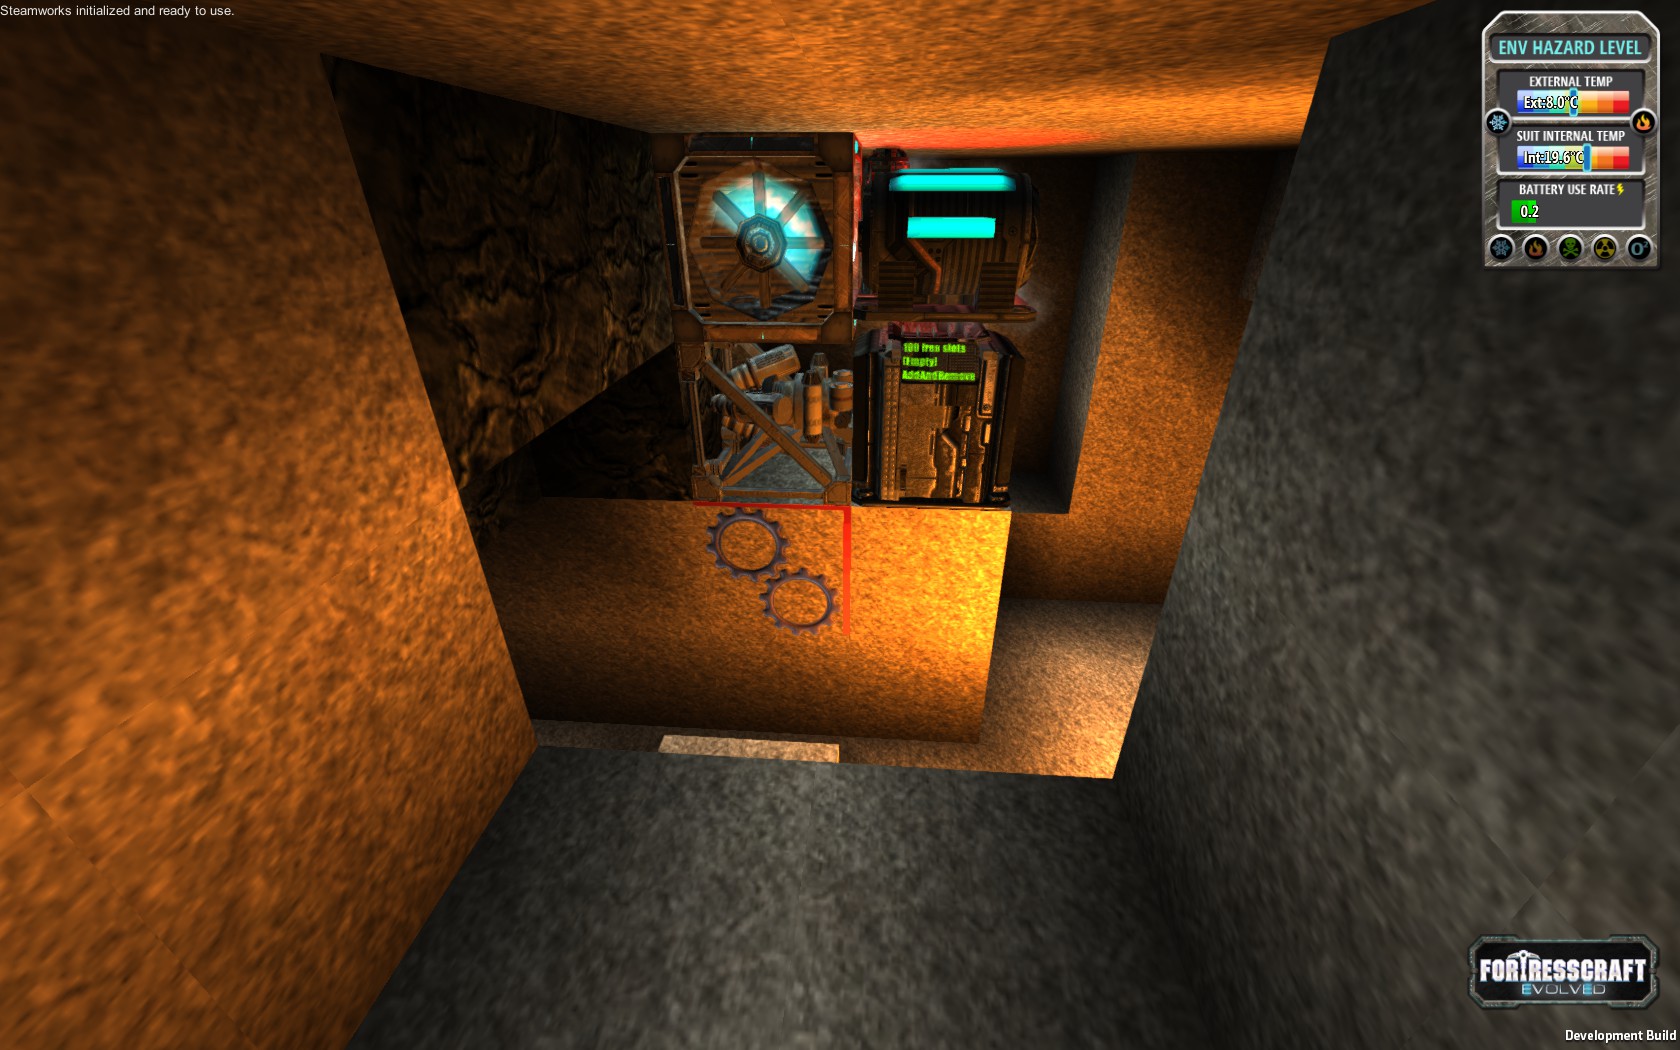
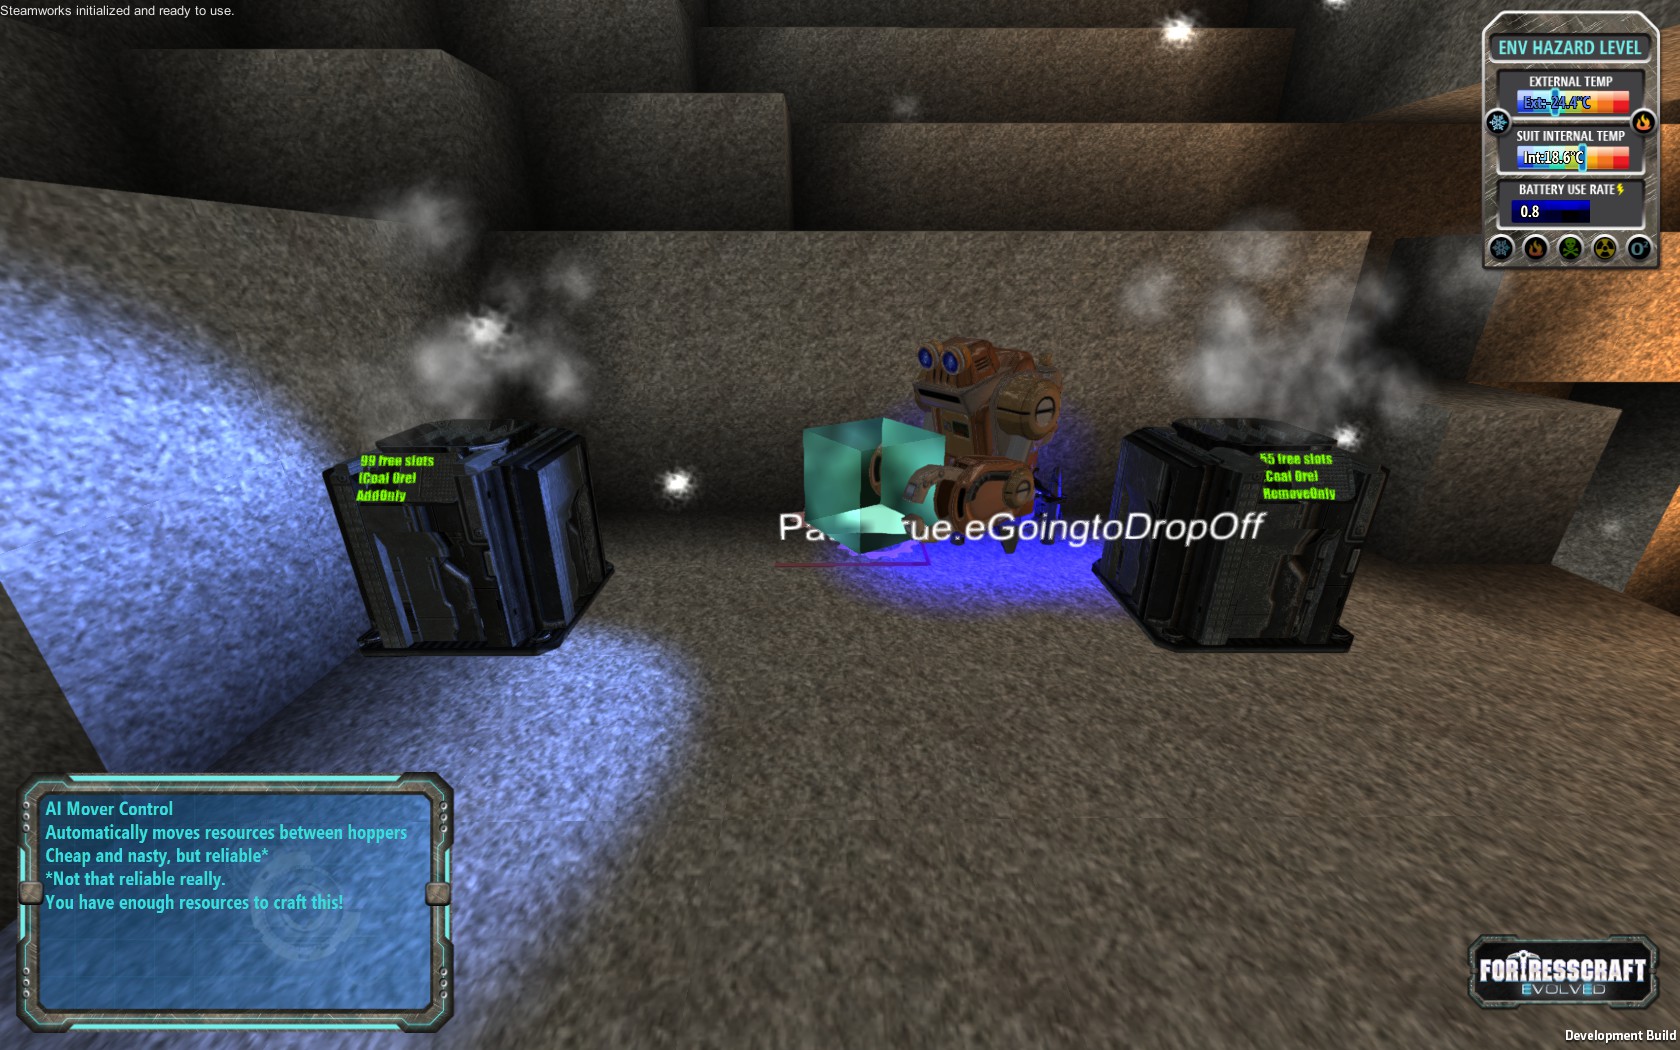
Resource movement systems will obey the rule of the hopper which is displayed on the front panel. The rule can be changed by pressing ‘E’ on the hopper. The options are ‘Add only’, ‘Remove only’, ‘Add or Remove’, and ‘locked’. A locked hopper is ignored by the movement systems otherwise they will only place or take from hoppers marked as add or remove, respectively. More on these systems later.
Conveyor Belts
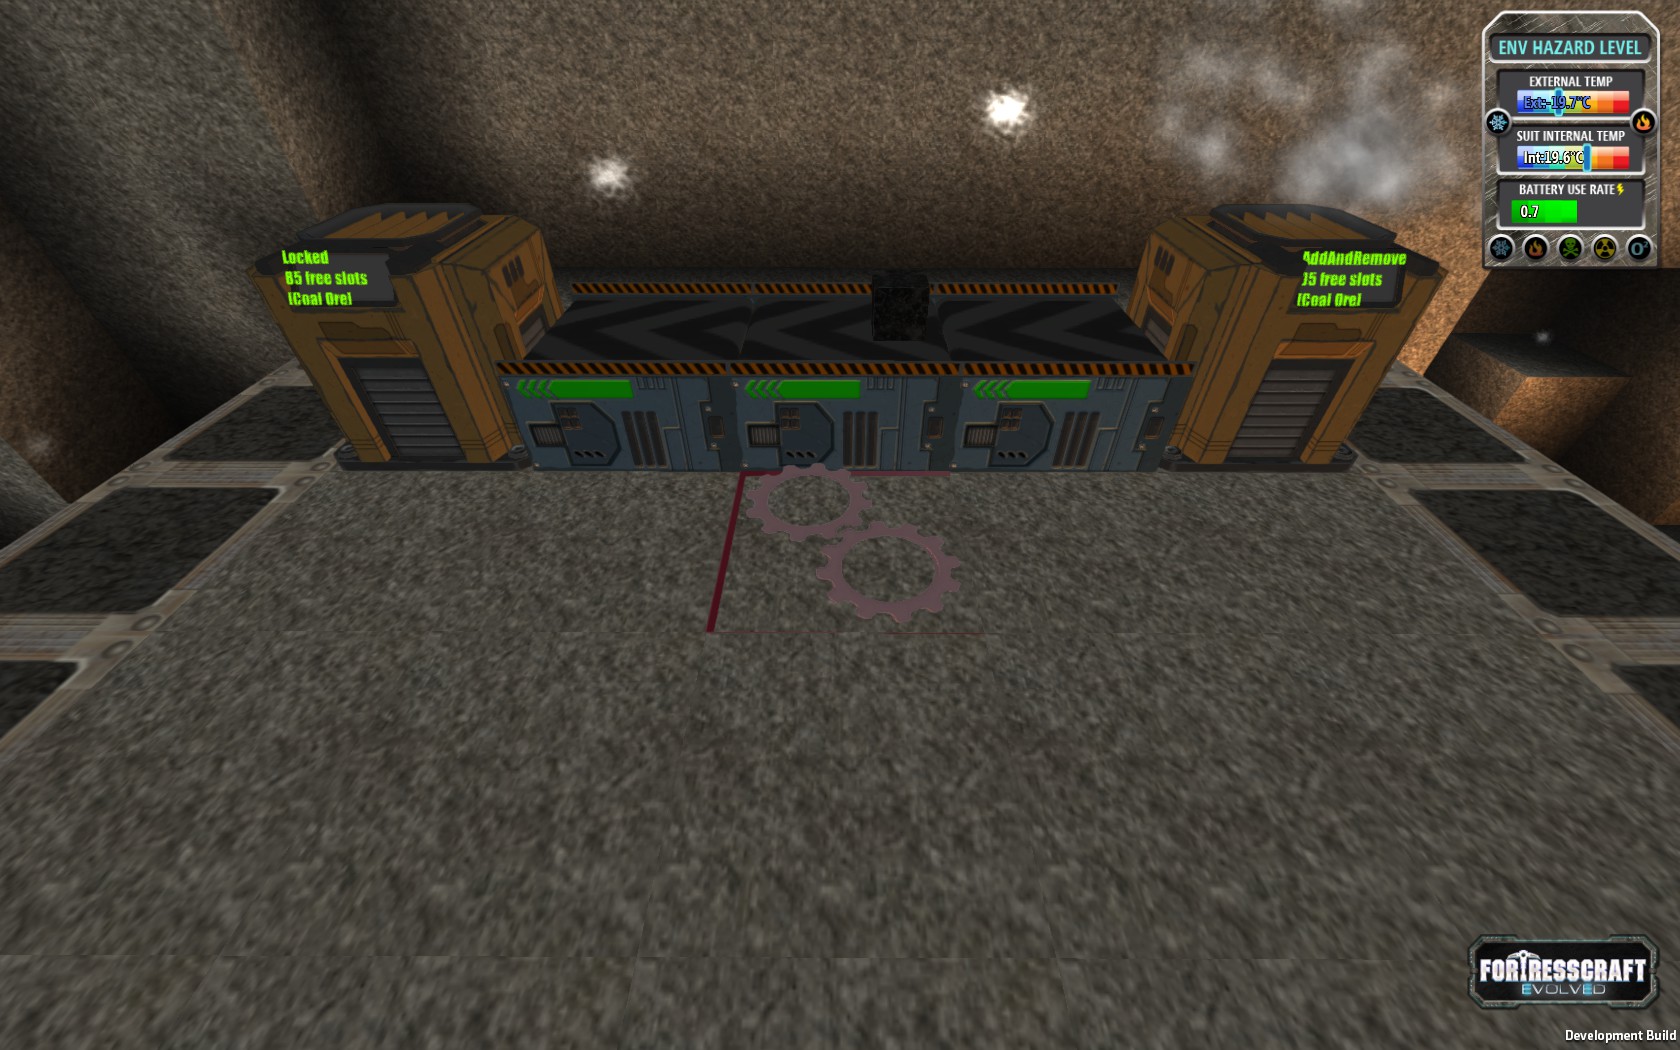
The conveyor belt is the first primary means of item transport. A conveyor will transport an ore output from an attached hopper or from another conveyor. Much like the laser the conveyor points the direction the player is facing when placed.
Conveyor lines can be merged by connecting several individual conveyors into one and they can be split by feeding the contents into a hopper and connecting several output lines. The output to each is random unless conveyor filters are attached which enable the selection of a particular resource class (ore, fuel, garbage) to move on the conveyor.
Focusing on shallow copper and tin veins is recommended until you have the resources necessary to build a conveyor system to the deeper ore deposits. Automating your ore transport to the surface will save you a lot of time in the long run enabling much faster progression. Attempting to rush through the tech tree too quickly can result in bottlenecks due to a lack of resources.
The Pyrothermic Generator
Crafting cost: 5 Iron bars, 15 Copper bars
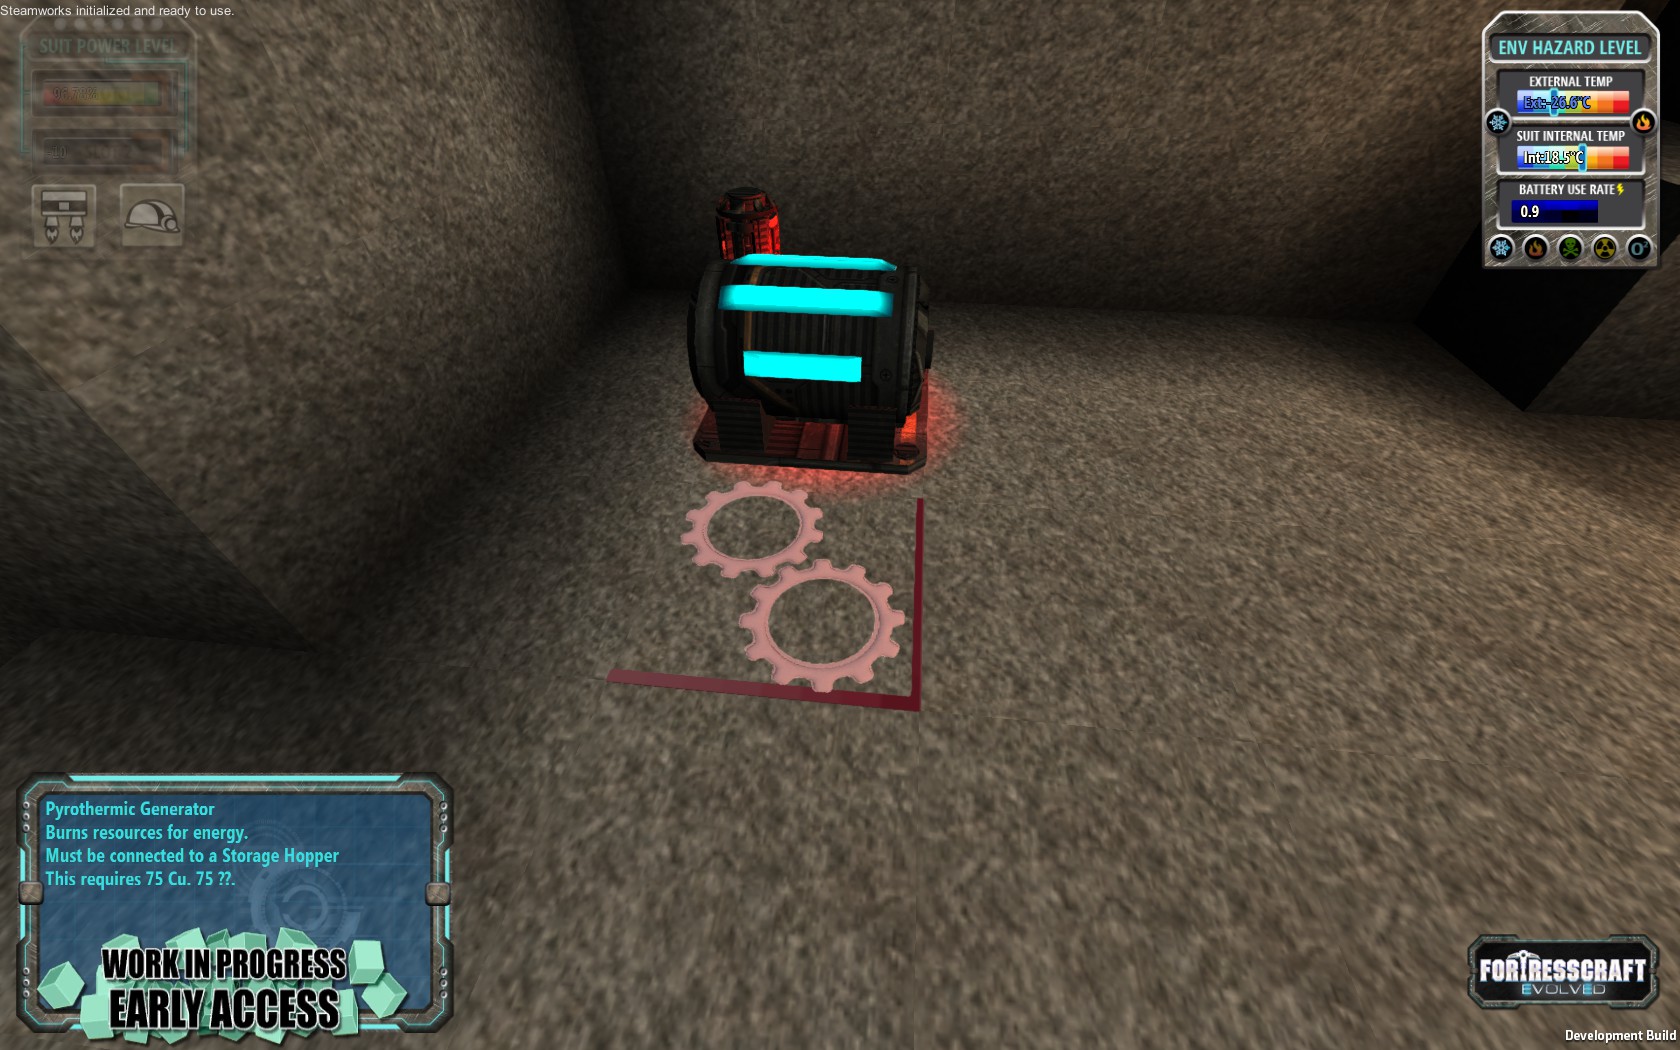
The pyrothermic generator (PTG) as its name implies is a generator that operates by burning things. It functions similarly to the CPH in that regard however unlike the CPH resource can not be fed to it manually. The PTG will only operate by pulling resources from a hopper. This means that although it can be made with only iron and copper it is useless if you haven’t also found tin so keep this in mind.

The Power Storage Block
Crafting cost: 8 Copper bars, 2 Lithium bars
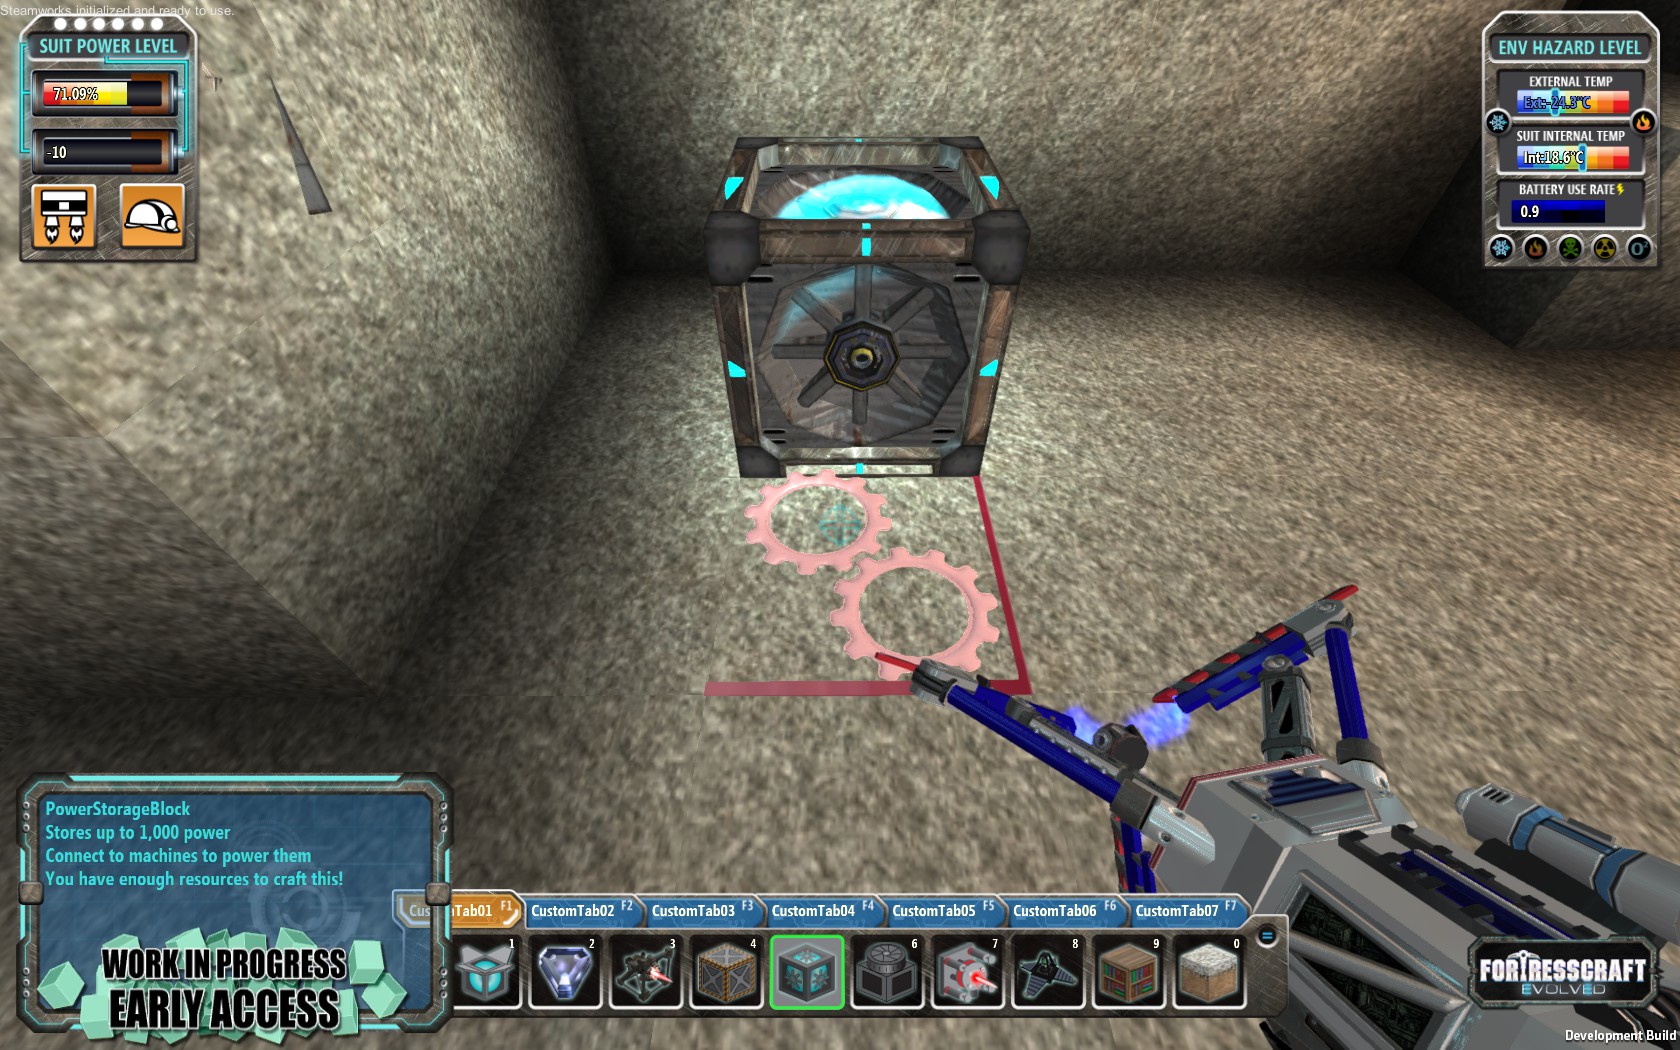
The power storage block (battery) will provide power to any attached machine that requires it as well as collect power from machines that output energy. The crash site has a battery attached to the CPH which serves as additional storage. It can also serve as a location for charging your suit. The battery can be charged or discharged with your suit energy as needed in the field.
The battery also serves the unique purpose of receiving power for the laser energy transmitter.
The battery’s ability to both receive power from a generating source and provide it to a machine requiring it enables the construction of a self sufficient power source.
Here the battery is both receiving power from the PTG and providing the power to the extractor. The extractor’s coal is collected by the hopper which supplies the PTG. This system will charge the battery to full after giving it a jump start and is capable of providing excess energy to other connected systems. Construction of a coal power plant is the first step to power automation.
The Laser Power Transmitter
Crafting cost: 8 Iron bars, 2 Lithium bars
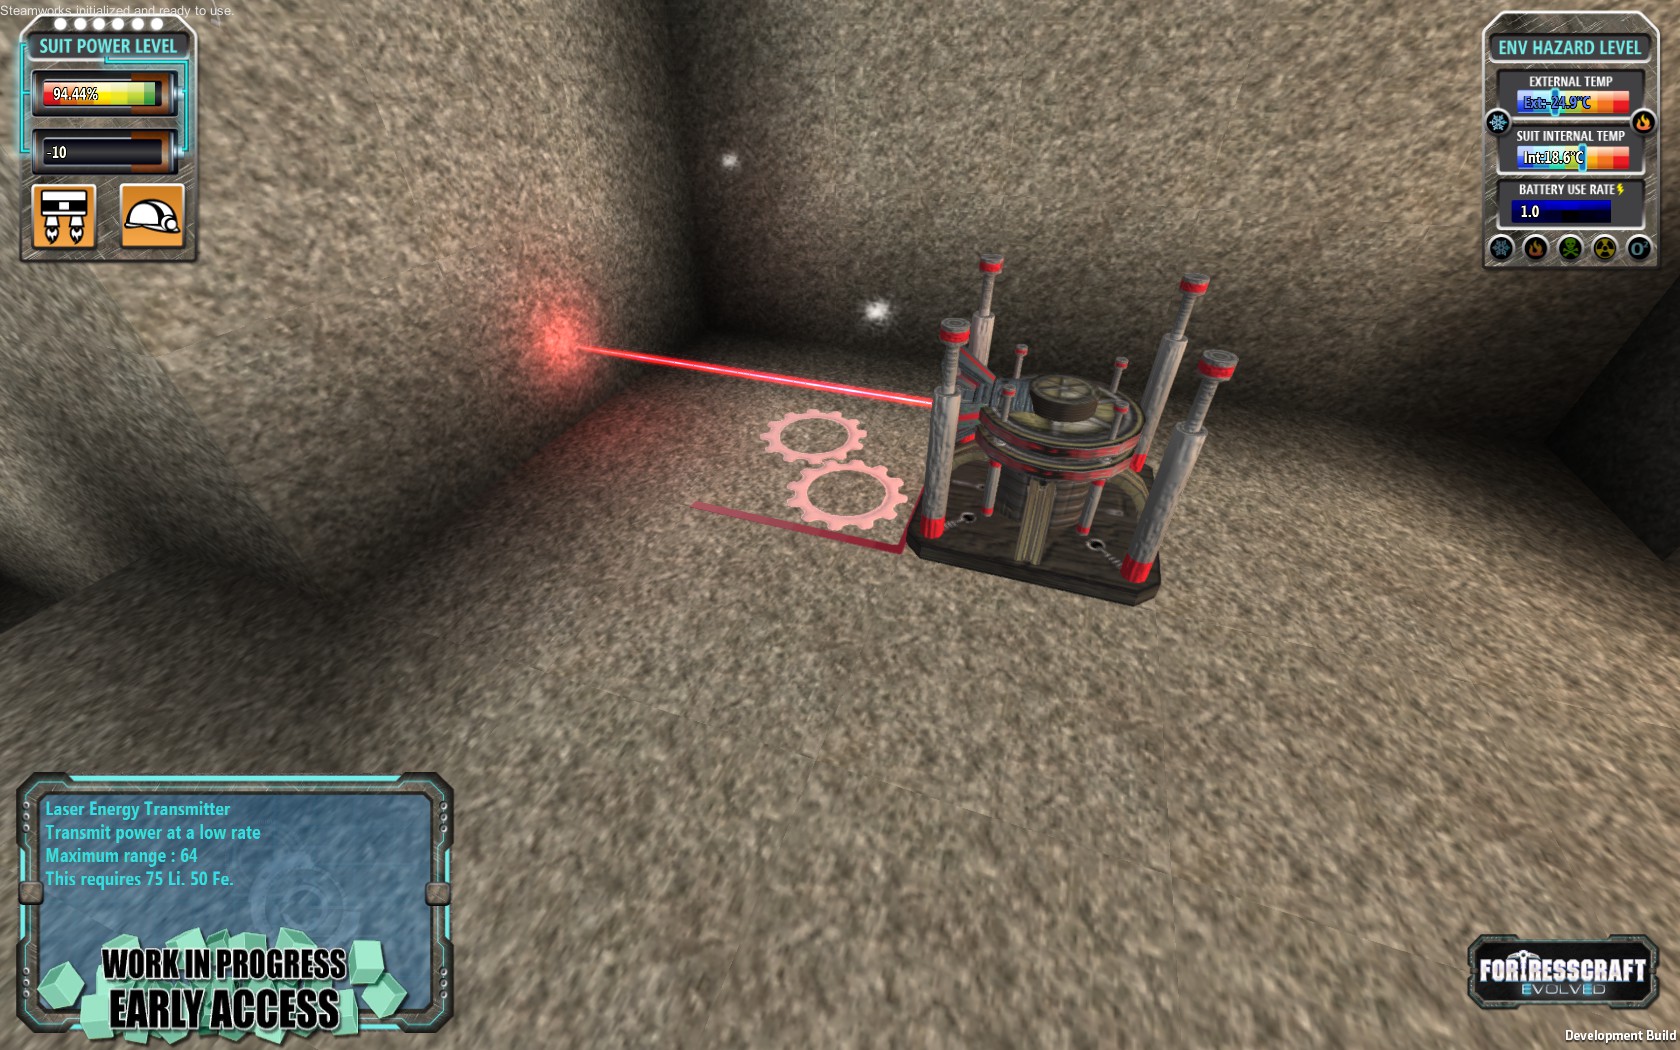
The laser power transmitter, or simply the laser, provides the means to move energy over great distances. When connected to a battery or PTG the laser will pulse power to another connected machine if it has room to store energy. The laser beam will follow the direction you face so you may need to dig down or build a tower above the block location to place the laser from an angle that will make the beam shoot up or down. There is no required orientation for the laser to connect with the source as long as the it is adjacent the laser can take power from it.
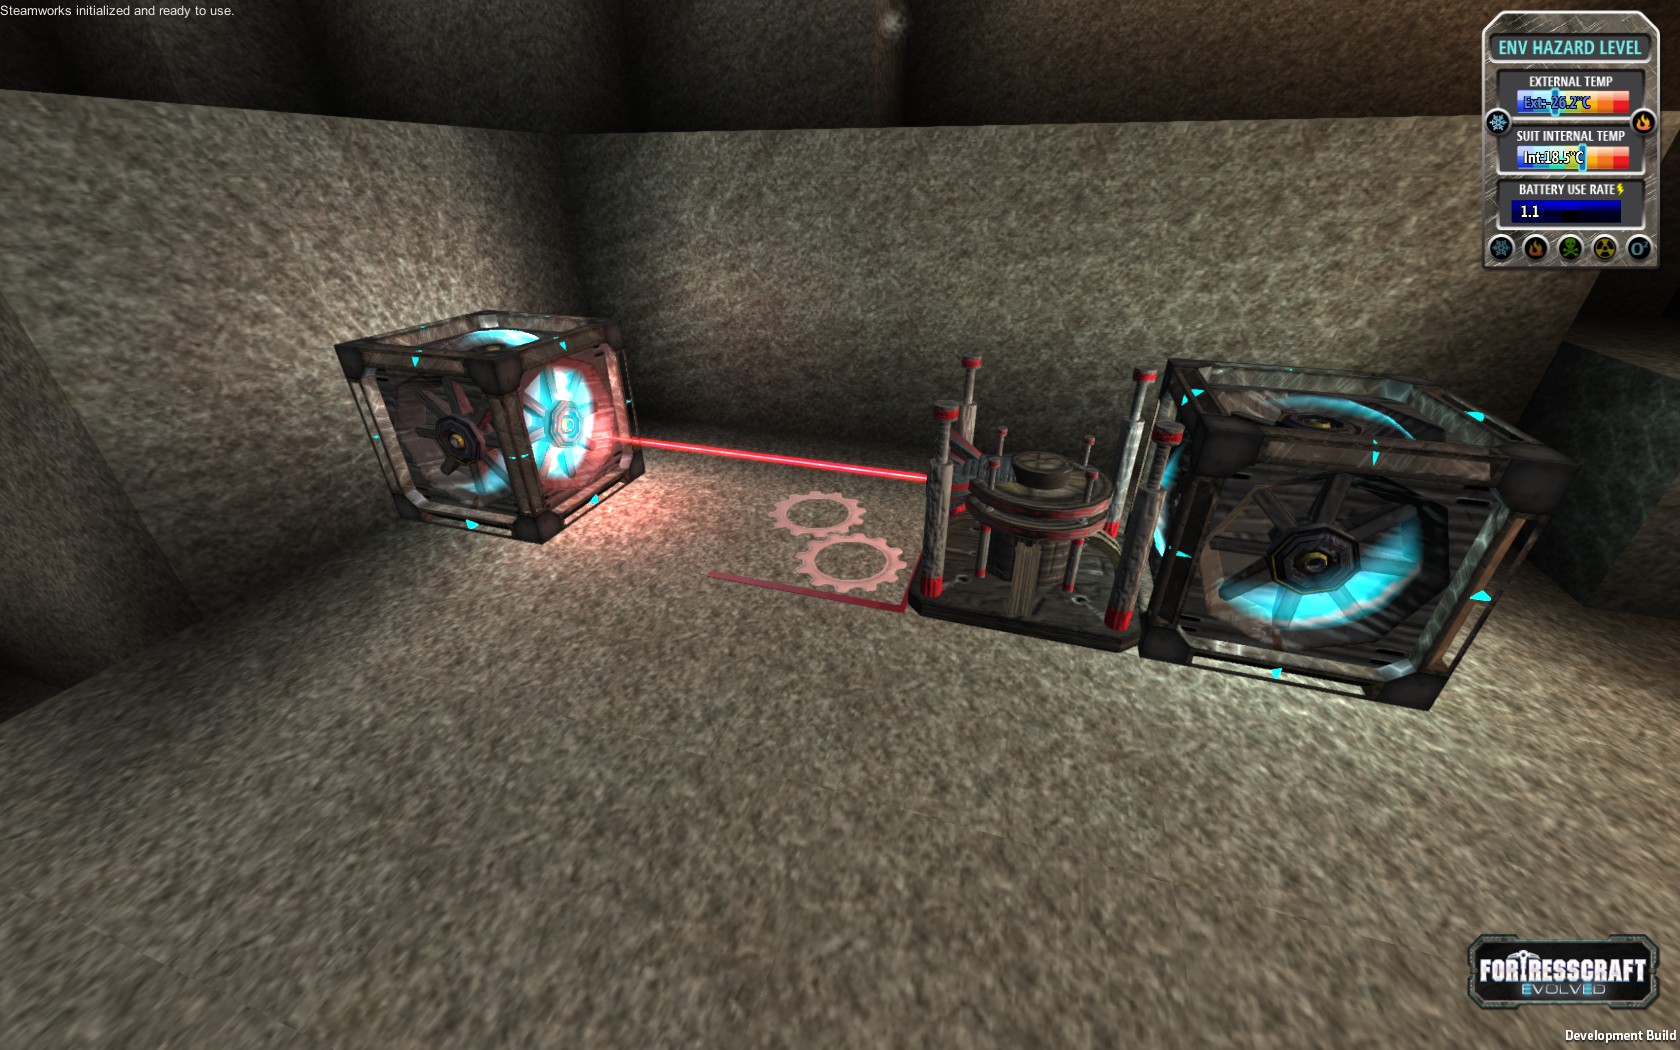
Tip: The laser pulses power in packets (16 energy for the T1 version) as it pulls it from connected batteries or receives power from another laser. The laser only pulls a small amount of energy from a source at a time so you can increase the pulse rate of the laser by connecting multiple batteries. Doing so ‘overcharges’ the laser which enables greater transmission rate than is possible with just one source connected. You can then power another laser with the overcharged beam to continue moving the large amount of power a great distance and along different directions.
AI Movers
Crafting cost: 15 Copper bars
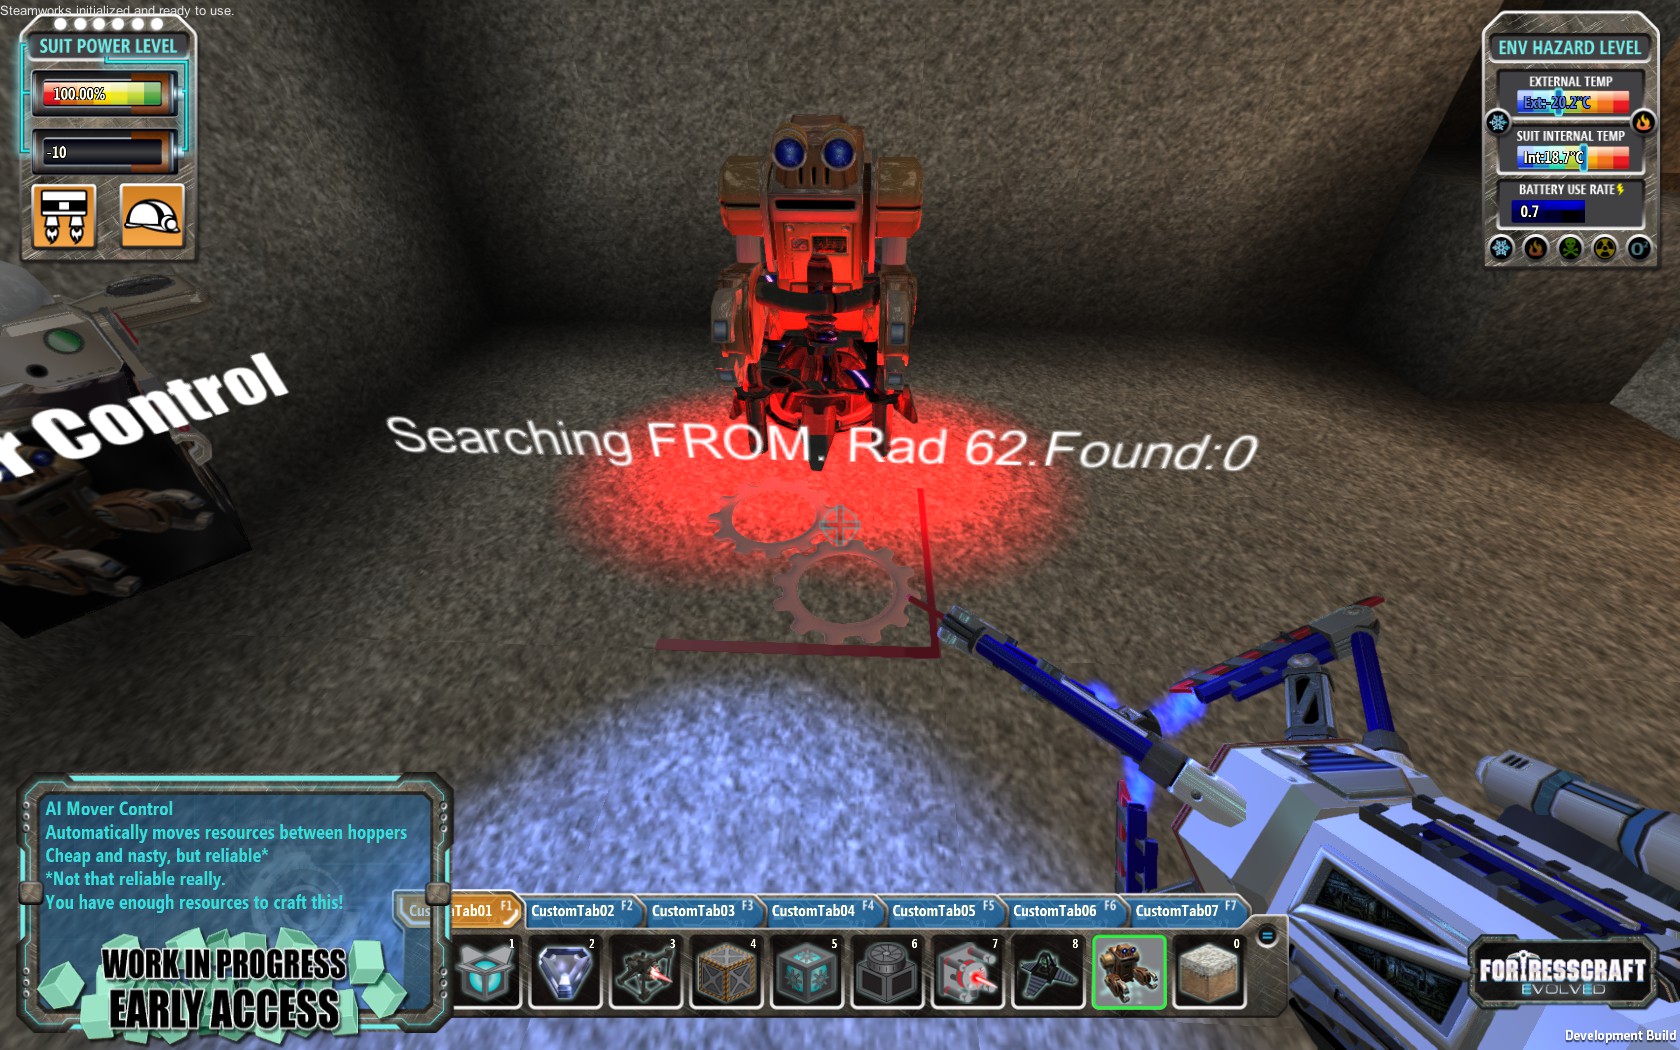
The AI Movers are one of the first resource movement technologies alongside the conveyor belts. These robots will gather resources from the nearest hopper that is flagged as either ‘Remove only’ or ‘Add or Remove’ and carry it to the nearest hopper flagged as ‘Add only’ or ‘Add or Remove’. They aren’t very fast nor very ‘intelligent’ but with a bit of care they can move your resources to a single collection point. They cannot move a large quantity of resources but they can move a small amount moderate distances for little investment. They are a good choice for carrying coal to a PTG over moderate distances as the transfer rate is a nonissue with the rate a PTG will burn the coal.
Automation and more
NOTE: The following screenshots were taken in an earlier version of the game. Since the introduction of extractor upgrades it is far more efficient to maintain one extractor and upgrade it than to opperate many unupgraded extractors.
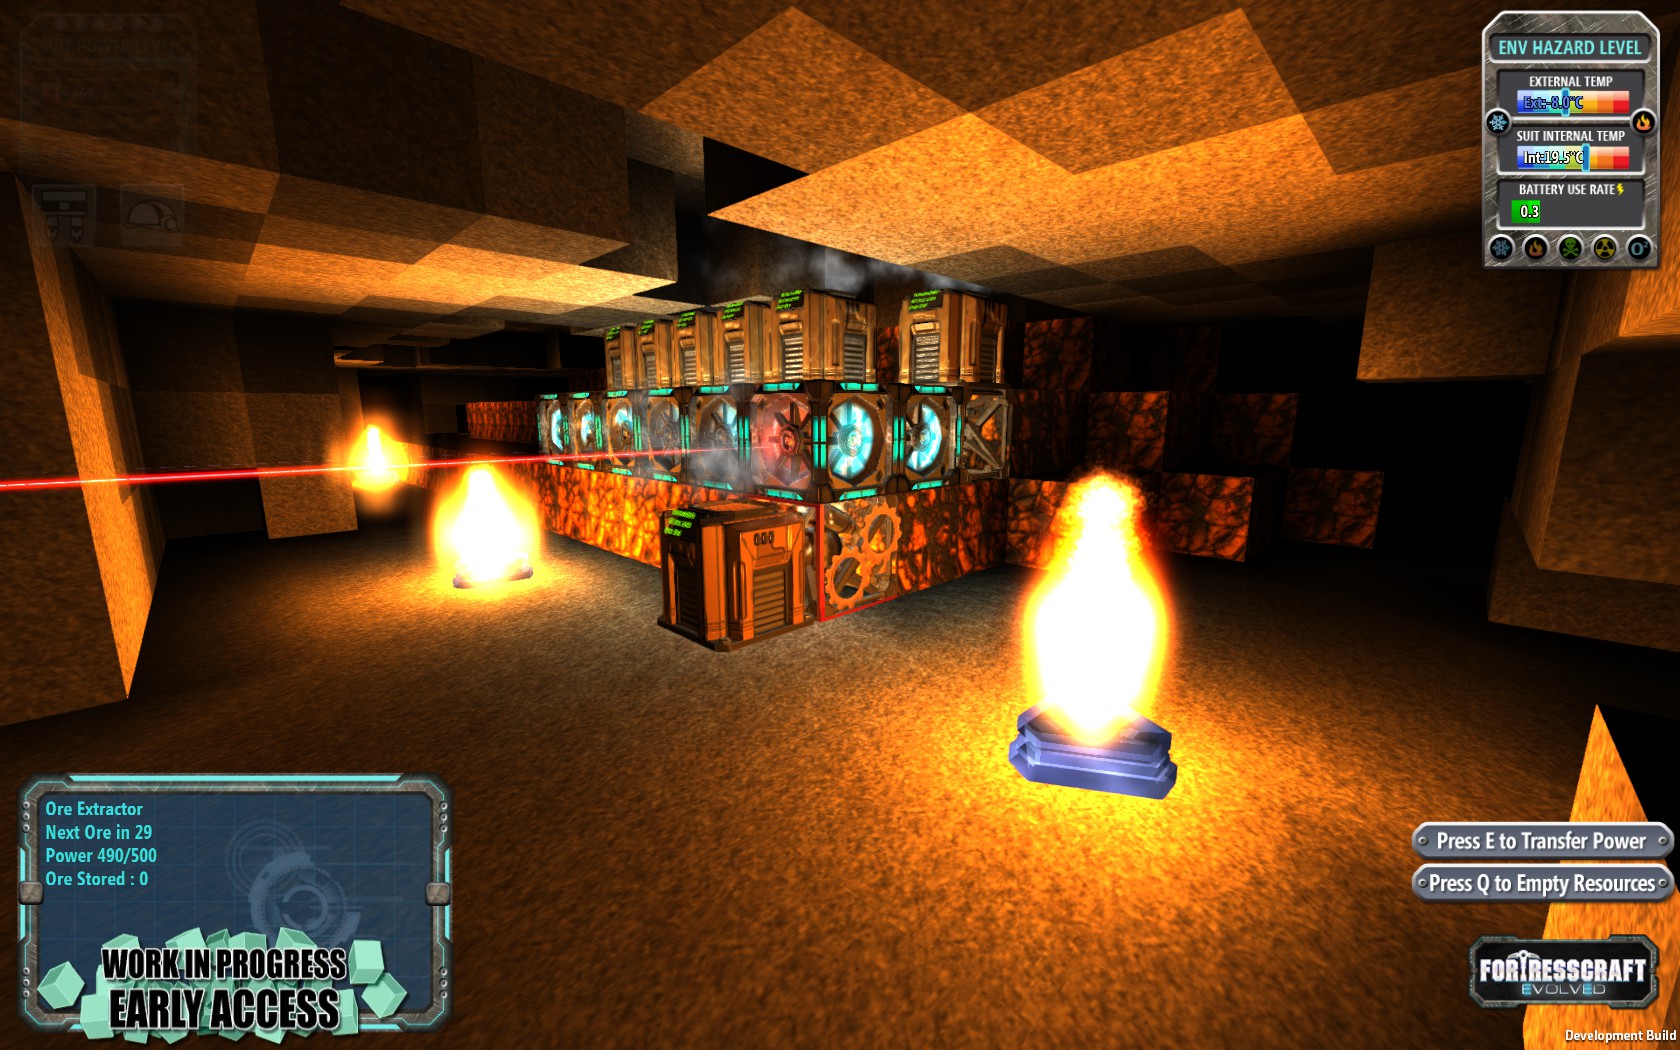
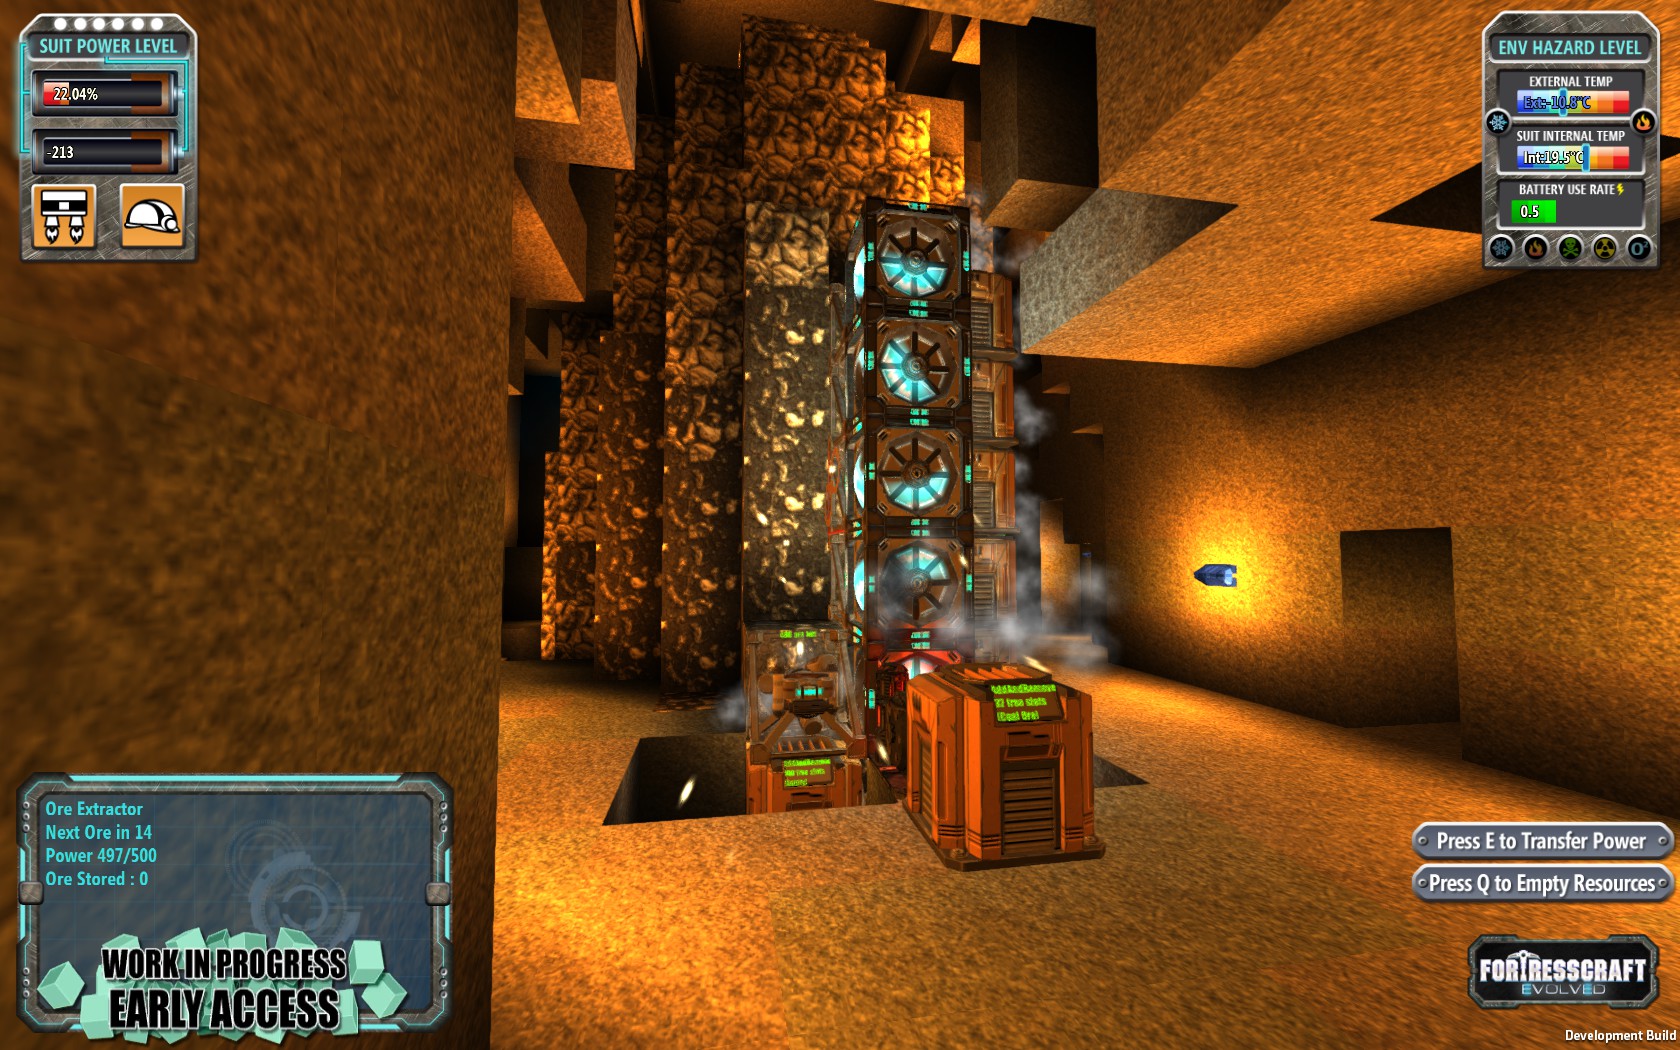
Note in the screenshot you can also see the effects of the ore depletion system. When an extractor depletes a block of ore it pulls from the rest of the vein and in doing so you’ll begin to see the entire vein deplete as the blocks expand from the extraction point. Keep an eye on your veins and ready a replacement when the vein gets close to empty to minimize down time.
I will try to keep the guide up to date as patches change the early game so that if you drop in fresh you’ll have a reference for quickly getting on your feet. Thanks for reading and please leave any feedback or questions and I’ll try to get back to it as soon as I can. I hope you enjoy the game and good luck braving the cold!
Appendix: Math and machine numbers
WIP section detailing numbers for machines for automation purposes. Or curiosity! Given the number of changes that come with each patch these are particuarly volatile so please only use this as a guide. If you are unsure if something is correct please drop a comment.
Gather ore every every 30 seconds.
Energy consumed at about a rate of 1 per 2 sec.
With total storage of 500 this amounts to 16 minutes 40 seconds on a full charge.
(Rates for an unupgraded extractor)
For upgraded extractors the ore is gathered every 30 seconds just as an unupgraded extractor however the extractor pulls 2x, 4x, 8x, 16x, or 32x the ore into its inventory. This means a 3200% extractor completely filles its inventory momentarily until the connected hoppers can unload it.
For 1600% and 3200% extractors the amount of ore generated is so large that two hoppers are necessary to empty the extractor will minimal downtime. Additionally the 3200% extractor requires two battery connections to pull enough power to sustain continuous operation. With only one battery it will consume more power than the single batter can provide and it will periodically stop.
900 resorces per block
10 resources consumed per ore for tier 1 extractors totaling 90 ore per block.
45 minutes are required for one T1 extractor to deplete one ore block with a total energy cost of 2,700.
Time to deplete an ore vein = 45 minutes * number of blocks in the vein / number of unupgraded extractors working at full power. Adjust accordingly for upgraded extractors
Consumes a block every minute.
For coal this amounts to 5.8 energy per second – enough to power an 800% extractor with a small excess. For the coal power plant shown earlier in the guide the rate of consumption enables the extractor to produce excess coal at a rate of one coal every minute thus filling the hopper in 1 hours and 40 minutes. Alternatively one extractor can supply two PTGs at full capacity.
A continuously powered attached ore extractor will fill the 100 slot inventory in 50 minutes.
A filled hopper can keep a PTG running for just nearly two hours (1 hour 48 minutes 20 seconds).
The rate at which a hopper outputs items onto a convey is slightly slower than the conveyor’s movement rate so to keep a convey full from a filled hopper it is necessary to connect two conveyors to pull from the hopper and merge them to maximize throughput on one conveyor line.
16 energy per pulse
Pulse rate varies with energy input i.e. the number of connected batteries
***NOTE: Testing by Mithious indicates that overcharging a laser is capped when chaining lasers together so to take full advantage of overcharging each stage must be overcharged. I will do additional testing of this on my own to identify the caps.
My additional testing confirms Mithious indicating a cap of 4 energy per second for T1 lasers and 12.7 energy per second for T2 lasers when chaining lasers.
One battery connected: 1 pulse per 4.75 sec = 3.33 energy per second
Two batteries connected: 1 pulse per 2.4 sec = 6.66 energy per second
For three connected batteries = 10 energy per second
Four connected batteries = 13.4 energy per second
Five connected batteies = 16.6 energy per second
Or in other words 3.3*n energy per second where n is the number of connected batteries.
These should be a good rule of thumb in planning the number and configuration of materials necessary to move required power about.
This suggests a chain of alternating batteries for power transimission that maximizes batteries connected transfers power at a rate of 2*3.333 + (n-2)*5.2 where n is the number of lasers in the array and n >= 2.
T2 laser transfer rate test for v1.9 shows a fully overcharged T2 laser (5 connected batteries) can supply ~51 energy per second. T2 laser transfer rate is 10.2*n where n is the number of connected batteries.
624 energy generated in one day
Averaged out over day and night this equates to approximately 0.4 energy per second
13 solar panels = 1 PTG powered by coal but requires zero item input (12 solar panels if you factor in the energy cost of producing the coal to run the PTG)
On easy energy and easy solar (constant day) the solar panel operates continuously at 100% output for a consistent 4 energy/sec making it a viable energy alternative on the surface even at its cost.


