
Overview
This chapter covers the RUINS portion of Undertale, as spoiler-free as possibly. Useful for new people and secret hunters alike!
Howdy!
Welcome to the official first chapter of the Idiot’s Guide to Undertale! This chapter shall help you get through the RUINS using whatever preferred way you have chosen. Here, I will tell you about each monster in their spoiler-free forms, how to solve each puzzle, and all the interesting secrets that have nothing to do with spoiling the lore of the game. Ready? Good, let’s begin.
The beginning and Flowey
When you have successfully started the game by naming the fallen human, your character will begin by waking up at the bottom of the hole they fell in at the start. You have to walk to the right of the flower patch and go through the large purple door at the end of the screen. You will end up in a dark room with light shining on a part of the ground.
When you try to walk forward in this room, a flower will be waiting there for you. This flower will offer to help you understand how to survive and the Underground, and will introduce himself as Flowey the Flower.
He will bring you into your first encounter and will send ‘Friendliness Pellets’ at you in the hopes that you will run into them. Collecting or dodging them has no effect on the outcome of the encounter. As you have probably already suspected, the pellets were a trap and would have never healed you. As the bullets get closer and closer to your character’s SOUL, they suddenly disappear and heal you. Flowey will then be blasted away by a mysterious fireball, resulting in your rescue.

The RUINS and its puzzles
You have been saved from Flowey by a strange, anthropomorphic, goat-like monster. Her name is Toriel, Caretaker of the RUINS.

After this puzzle, you will end up in a room with a training dummy in it. Toriel will tell you to strike up a friendly conversation with the dummy, but you can win this ‘battle’ by using any of your presented options (FIGHT, ACT, or MERCY). Once the encounter is over, Toriel will make a comment based on your method of victory and will then bring you to a spike floor puzzle, but she will decide that it is too dangerous and will guide you across it personally.
After the spiked floor, you will encounter your very first true monster encounter: a Froggit. This first encounter is unique in the fact that it only takes one turn to win against it (FIGHTing is an instant kill to Froggit, and all the other options will cause Toriel to notice you being attacked and will scare Froggit away using a motherly death stare).
The rest of the RUINS is very linear and self explanatory, except for a few puzzles you must solve after Toriel has left to go clean her house. You will also encounter monsters along the way and will be interrupted by Toriel calling you for feedback on questions she has for you. There are also a few rooms where you can obtain items useful to your journey and a room where you can purchase two types of healing items. You will also encounter a gender-neutral ghost named Napstablook: you can attack them until they point out that you can’t kill ghosts or you can keep cheering them up until they show you their hat. Once you are shown the hat, both the cheer and flirt options will end the fight. Napstablook attacks with tears and squiggly lines; the attacks are not that difficult to dodge once you get the hang of them.
The puzzles that you have to solve without Toriel’s aid are as follows:
[Falling Floor & Switch] In this, you need to fall down the top-middle one to reach the switch that lowers the spikes.
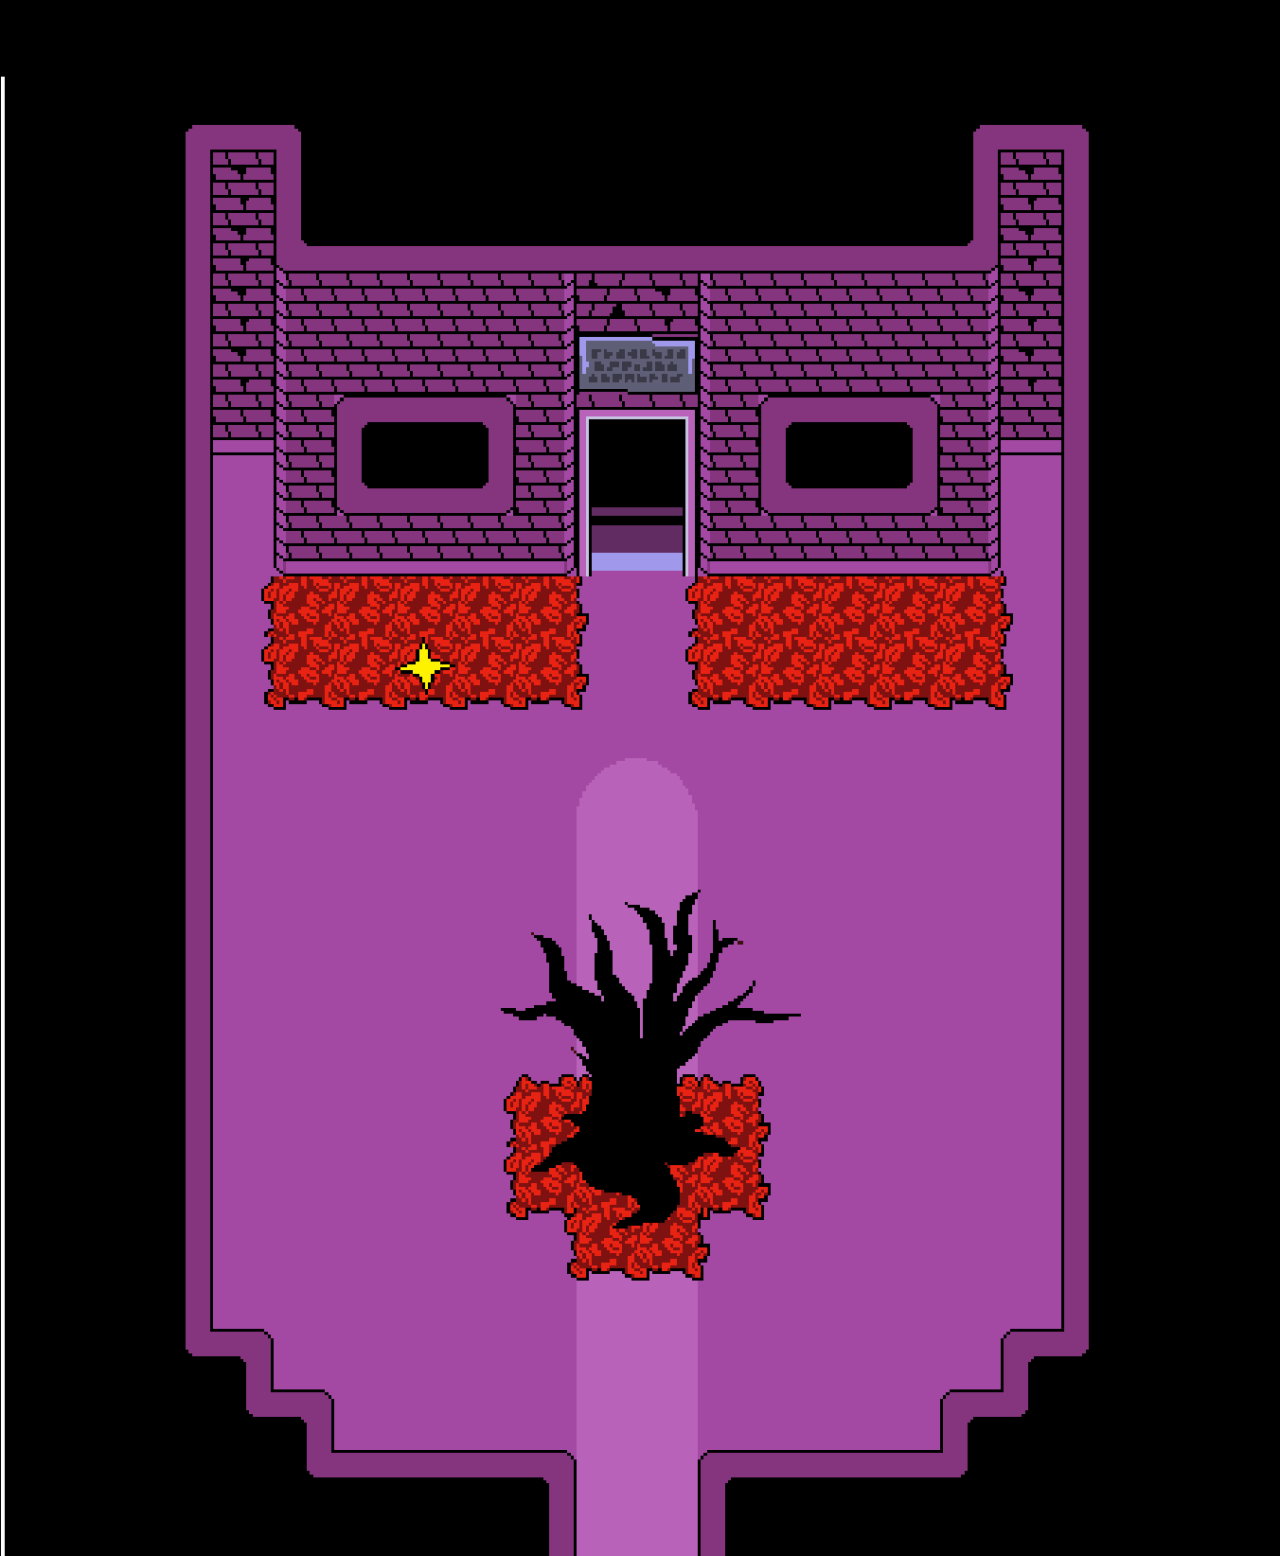
[Crumbling Ground/Invisible Path] In this puzzle, you have to follow the ground in the same path as the red leaves underneath the puzzle.
[Perspective/Coloured Switches] In the perspective coloured switch puzzle, you have to press the correct switches as indicated by the sign in each room. Each of these rooms is a rotation of the starting room with switches.
Once you have completed this final puzzle, you will have finally reached Toriel’s house.
Toriel’s house and basement
Once you have entered the house and approached Toriel, she will greet you and tell you that she has a surprise for you. Follow her into the hallway that she goes down. She will tell you that the surprise is a room of your very own for you to stay in and that you are free to get comfortable. After she leaves to go check on the pie she baked, you have the freedom to go about her house and explore. Sleeping in the bed in your room will give the pie enough time to cool down so that Toriel can give you a slice to pick up when you awake. As interesting and cosy as Toriel’s house is, the story will not progress until you go to her living room and talk to her.

When you are prepared, go down to Toriel’s basement. Follow her down the long corridors and she will tell you about what will happen if you leave and that she will stop that from happening by destroying the exit. Once you have finally reached the spot before the exit, Toriel will get disgruntled at your persistance and will engage you in battle to assure your stay.
Toriel

[Violent Options] You can FIGHT her until her health reaches zero, resulting in her warning you about the monsters outside and to behave/take care of yourself. You can also SPARE her to the point where she refuses to attack and then choose FIGHT when she is vulnerable, resulting in her instant death. This option will result in her being shocked at the fact that you betrayed her and will cause her to diss you with her dying breath by stating that she had no reason to worry about you not fitting in with the ruffians outside of the RUINS.
[Peaceful Options] You can repetitively refuse to damage her each turn. This includes using the MERCY option and chosing SPARE over and over again, or if you like eating Honey Nut Feelios every morning you can choose FIGHT and miss each shot on purpose. Both of these merciful options result in the same end fight dialogue and conditions.
As you are trying to win the battle, Toriel will attack you with fireballs in various patterns. They are listed below (Note that these are not their official names, they are just named for the sake of convenience and clarity.)
Regular Fireballs: Toriel will send down fireballs in this attack. They don’t have any special pattern or strategy; they just fall down the screen and you have to dodge them.
Weaving Fireballs: Toriel will send down a line of fireballs that weave from side-to-side at different segments (this attack is featured in the picture above). To effectively dodge this, it is recommended that you follow the weaving pattern of the fire across the screen.
Stringed Fireballs: Toriel will launch a set of weaving/twisting strings of fireballs that leave diamond-shaped openings. To dodge this attack, try to find one of the openings at the start of the attack and stay as close to its center as possible.
Sweeping Hands: In this attack, Toriel’s hands will appear in the battle area and sweep across the screen, leaving a trail of fireballs behind each one.
Mercy Fireballs: Toriel sends down an attack similar to her regular fireballs when your health reaches 2 or below or when you have spared her to the point of making her feel guilty. These fireballs stay towards the edge of the battle area and move out of your way when approached. Despite this, it is possible for a clumsy player to still find a way to bump into this attack and get killed.
Once you have won against Toriel, you have the option to leave the RUINS and head out into Snowdin Forest, thus progressing further in the game. Past this point, there is no more hand-holding from Toriel and you are on your own.
The Monsters
This section will focus on the monsters located in the RUINS as well as how to win their encounters. The only ones not here are the training dummy, the first Froggit, Napstablook, and Toriel since they were already covered in other sections.
Froggit: As you might have guessed from the name, Froggits are frog monsters. These monsters are often very confused and have a hard time getting by in life.
Ways to Win:
1. You can attack Froggit until it is dead.
2. You can attack until it is too afraid to fight you anymore, then you can spare it.
3. You can ACT on Froggit by complimenting it until it feels bad about fighting you, then it can be spared.
4. You can try to flee from the battle.
Whimsun: This monster is a small, tunic-wearing, winged creature with a very fearful facial expression. As can be guessed from its appearance, Wimsun is very meek and shy.
Ways to Win:
1. You can attack until it is dead. Whimsun dies in one hit.
2. You can use any of the ACT options and cause it to run away due to shyness/social awkwardness.
3. You can try to flee.
Moldsmol: Moldsmol is a jelly/jello/gelatine/whatever-word-for-it-that-doesn’t-offend-your-dialect monster. This monster loves social interaction and is “curvaciously attractive” to the human (somehow).
Ways to Win:
1. You can attack until it is dead.
2. You can ACT on Moldsmol and flirt with it to make it sparable.
3. If you already won a Moldsmol encounter by flirting, all future Moldsmols are instantly spareable.
4. You can try to flee.
Migosp: These monsters look like roaches or some other type of bug. It looks angry and intimidating when other monsters are present as it it always trying to fit in with the ‘cool’ crowd.
Ways to Win:
1.You can kill it by fighting.
2. Migosp can be spared only when all other monsters in the encounter have been dealt with.
3. You can attempt to flee from it and its posse. (No point in fleeing it once it’s alone; may as well spare or kill).
Vegetoid: Vegetoid is, unsurprisingly, a vegetable-like monster. It seems angry and aggressive, but it really just wants youngsters like the protagonist to eat their vegetables.
Ways to Win:
1. You can kill Vegetoid by fighting it until it dies.
2. Use the ACT option and choose “Dinner”. Show that you eat your vegetables by collecting at least one of the green attacks it sends after you and it will let you spare it.
3. When it is weakened (by fighting until it has low health or choosing the dinner option and eating an attack), you can choose the “Devour” option in ACT. This, obviously, will cause you to eat Vegetoid and end the battle.
4. Try to flee from it.
Loox: This monster is a giant eyeball creature whose last name happens to be Eyewalker. It bullies people due to its own insecurities.
Ways to Win:
1. You can kll it by attacking enough.
2. You can use ACT and choose the option “Don’t pick on”. This will cause Loox to feel better and allow for sparing.
3. You can try to flee.
Collectables
This section is for all the items you can collect/buy within the RUINS.
Monster Candy: In the room after the pillar that Toriel hid behind, you can go into the doorway at the top of the screen. This leads to a room with a bowl of candy in it. The sign says ‘Take one’, but you can take up to 4 candies before the bowl tips over due to your greed. Serves as a healing item.
Spider Doughnut: There is a room after the encounter with Napstablook where you can purchase doughnuts from a spider web. They cost 7 G each. Serves as a healing item.
Spider Cider: Located in the same room as their doughnut counterpart, the spider cider costs 15 G for each glass of it. Serves as a healing item.
Faded Ribbon: At the puzzle with the switch located under a crumbling block, you can find the ribbon. This ribbon is under the block at the top left. Serves as an armour item.
Toy Knife: At the cross section before Toriel’s house, you can head to the right and through a doorway. This will lead to a balcony overlooking the city of ‘Home’, where a toy knife is located. This knife serves as a weapon item.
If you want to find out the exact specs of each item, check them in the ITEM menu outside of battle.
Spoiler-Free Secrets
This section of the chapter is all about the spolier-free secrets found within the RUINS. There may be a separate guide for spoiler-filled secrets when all the main chapters are done.
1. After encountering Flowey, you can go back to the flower patch at the start and interact with it. The text that shows up implies that you survived the fall thanks to the flowers cushioning you.
2. When you are in Flowey’s encounter, you can really annoy him by refusing to run into his “friendliness pellets”.
3. If you interact with the wrong switch at Toriel’s first puzzle for you fast enough, the game will tell you that “you are super fast at being wrong”.
4. When you are put up against the dummy, you can ‘win’ by making it very bored. You do this by choosing SPARE repetitively rather than talking to it. The dummy will fly away, leaving Toriel very confused. You can also dissapoint Toriel by running from the dummy.
5. When Toriel runs from you down the long hallway, you can interact with the pillar at the end of it (before she reveals herself) and find her nervously hiding there.
6. After you get the phone, you can get interesting dialogue from Toriel by calling her multiple times and in many different combinations. (Example: calling to say “hello” enough will cause her to tell you to play in the leaf pile in the room after the one that she told you to stay in, which implies that she assumes you may have wandered against her command).
7. Staying put in the pillar room like Toriel asked will cause a series of phonecalls to happen. She can’t find the flour, a dog runs off with her phone, and the dog falls asleep on her phone. You can’t call Toriel anymore once the dog steals her phone since “the signal is jammed by a dog”.
8. In the room with 3 Froggits, you can find an ant-sized one in the wall. You need to travel all along the wall and interact with it to find this frog.
9. Also in the Froggit room, you can change the names of spareable monsters pink instead of yellow. You do this by telling the third frog that its information is not helpful, then tell it that you want the yellow names back. All the yellow names have already been thrown in the trash, so the monsters will have to use pink ones instead.
10. In Toriel’s house, there are cattail plants in pots throughout the place. Your character has no clue what they are called, but if you read an encyclopedia from Toriel’s room, the human will call them by their nickname. The book calls them a part of a group of water plants called Typha, but states that the monsters also call them ‘water sausages’.
11. If you keep trying to go down into Toriel’s basement before she decides to destroy the exit, she will go down there and bring you back upstairs. She will come up with a different motherly excuse for you not to go down every time she picks you up, but will eventually get annoyed.
12. If you’ve defeated Toriel by killing her, you can go back upstairs and sleep in your bed. This will trigger a slow, melancholy version of “Fallen Down” to play and will cause a dialogue scene with the same voice in the Game Over screen to tell you not to give up. (This is spoiler-free, so I won’t tell you whose voice that is until you meet the character that has it).
13. If you’ve defeated Toriel by sparing her, you can return to the point of the game where you fell on the flowers. There, you will find her tending to them.
End of Chapter
You have reached the end of Chapter 1 of the Idiot’s Guide to Undertale. Good job! If you feel that I forgot something or made an error in this guide (or just have a question), please leave feedback in the comments below. The next chapter of this guide will focus on Snowdin Forest/Snowdin Town. If you get stuck in Snowdin or just feel curious about secrets, check out the next chapter. Thank you for reading my guide, and I’ll see you all next time!
Chapter 2: [link]
Basics: [link]
