Overview
This is a text guide on how to play custom cooperative maps from the workshop by yourself.
Obtaining The .bsp File
1. Subsribe to the desired map. On the corresponding workshop page, notice its thumbnail image and make sure you remember it. Or you can just keep the workshop page open and refer to the thumbnail.
2. Let the Workshop Content download finish and then start Portal 2. Select “Community Test Chambers” and then “Play Cooperative Chambers”.
3. Make sure that the desired map shows up in your list of available Coop chambers. Also, the corresponding thumbnail image (that you must remember/refer to) will be displayed alongside when you select that map in the list.
4. Quit or minimize Portal 2.
The above steps are to ensure that the map has been properly downloaded; some times subscribed maps are not downloaded immediately after subscription.
If you don’t see the map listed in the “Play Cooperative Chambers” list, you may have to wait, or unsubscribe from the map and re-subscribe to it again. The workshop content should be downloaded eventually and you can check the same using step 3.
5. Next, go to the directory SteamSteamAppscommonportal 2portal2mapsworkshop. You should see folders named with large numbers. Each folder corresponds to a map that you’ve subscribed to, and contains the .bsp file of the map and a thumbnail image for it.
6. Arrange the folders by “Date modified” in descending order (in Windows 8, right-click -> Group by -> Date modified). The way to do this varies with operating systems. Since the desired coop map is what you subscribed to most recently, the folder containing it should probably be at the top (suppose that it’s named 12345).
7. Double-click that folder (so now you’re in SteamSteamAppscommonportal 2portal2mapsworkshop12345) and notice the thumbnail image.
7A. If it matches the one you saw on the workshop page in step 1, this is the correct folder.
7B. If it doesn’t match, go back to the directory SteamSteamAppscommonportal 2portal2mapsworkshop, and go through each numbered folder starting from the top, checking the thumbnails. You should see the matching thumbnail in the first 5 or 6 folders, in that case the folder with the matching thumbnail is the correct folder. If you still don’t find it, then either the map hasn’t been properly downloaded from the workshop, or you’ve arranged the folders by “Date modified” in ascending order (so check that as well).
8. Once you’ve found the correct folder, copy the .bsp file in it (suppose it’s named 789.bsp) to SteamSteamAppscommonportal 2portal2maps.
Starting the Map in Split-Screen Mode
1. Now that you have the .bsp file in your maps folder, rename it to mp_coop_name, where you can substitute “name” with whatever you want. The important bit is for the map name to have the prefix mp_coop_, otherwise you’ll get an error.
2. Start/restore Portal 2 and open the developer console.
3. Enter the following:
sv_cheats 1
BindToggle “v” in_forceuser (you can replace “v” with whatever key you want).
The second command lets you swap between the Atlas and P-body when you press v.
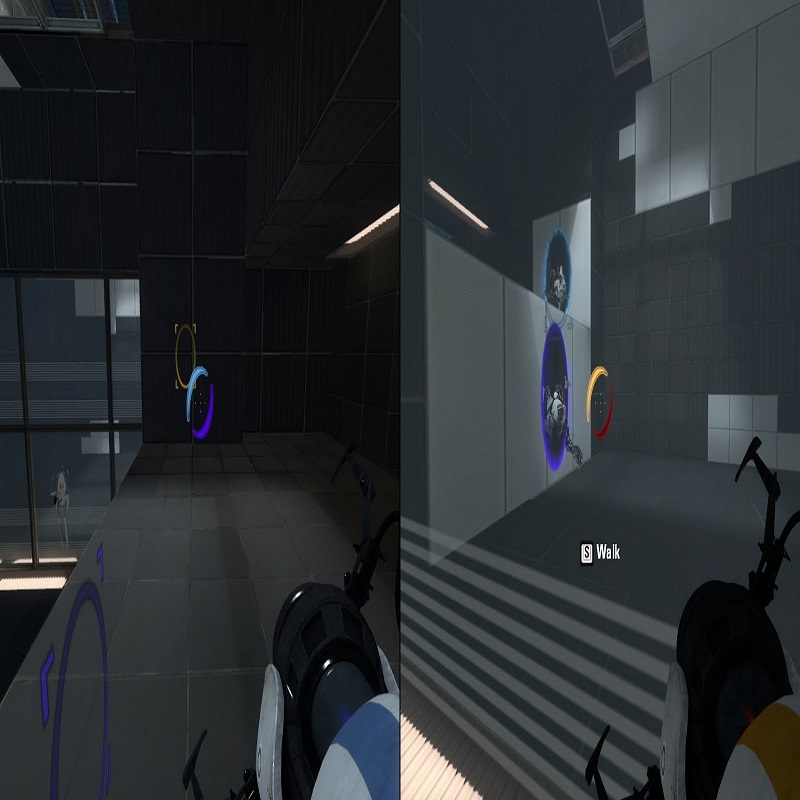
4. For side-by-side split-screen, enter “ss_splitmode 0” in the console. For top-botton split, enter “ss_splitmode 1”.
5. Finally enter “ss_map <mapname>” in the console, replacing <mapname> with the name of the coop map (in our case, we’d enter “ss_map mp_coop_name”).
And you’re done! Just press v to switch your control over the two players while playing.

