Overview
This tutorial will explain the basics on how to make a map in the ingame editor, then export it to hammer to implement world portals. This will let you make all kinds of impossible geometry in your maps. This guide will cover everything you need to know. No Hammer editor experience needed!
Exporting map to Hammer
To begin, I’ve made a simple map in the in-game editor.
Add a name that contains no spaces.
Make sure that you completely finish everything that you can within the ingame editor before exporting it. You WILL NOT be able to export it to hammer, then continue editing it in the in-game editor.
Now build the map. Once you’re in the map, open the console and type puzzlemaker_export (mapname).
If you’ve done this correctly sofar, you will see this in the console.
And now you’ve succesfully exported your map to hammer!
Setting Up Hammer
If you aren’t sure how to open the hammer editor, go to your steam tools, and find Portal 2 Authoring Tools. Open it, and select Hammer World Editor.
Once the program has opened, go to File and click on New. Now find your map. (It should save to SteamsteamappscommonPortal 2sdk_contentmaps)
It should look something like this in the editor
(quick tip. Hover the cursor over the 3d view in the top left, and press z. This will allow you to control the camera like a first person game. Use WASD to move around. press z to disable it when you need your cursor back.)
Before you do any editing, make sure objects rotate in increments of 15 degrees. This will make the process of rotating objects evenly much easier. To do this, Click on tools at the top of the screen, and go to options, then click on 2D view.
You will see this menu. Tick the box “default to 15 degree rotations”
Now, Time to actually implement the world portals.
Implementing World Portals
Now, select the object tool at the left side of the screen.
With the object tool selected, in the lower right corner of the screen, search and select Linked_Portal_Door under Object.
Now, in the 3d view, click where you’d like the center of the first portal to be.
After you’ve done this, click the selection tool at the top of the toolbar, and click on the object you’ve created.
This will highlight the object in all the other views.
Using the selection tool, zoom into the object in the 2d top-down view, as well as one of the side views, and make sure it snaps to the grid in both dimentions in the center of where you’d like the portal. If you don’t snap it to the grid, the portal will spawn slightly off.
Still using the selection tool, click the center of the object in the 2d view until you see circles at the four corners of the object. This will allow you to rotate it. The direction of the portal is shown through a yellow line in the 2d views, and a red line in the 3d view.
In this example, I had to rotate it 90 degrees.
This is what it should look like in the 3d view. Again, red line depicts direction.
Now you must edit the info of the object. Using the selection tool, double click the object in the 3d view. It will bring up a menu. Name the portal what you’d like (door1) and set a name for the linked partner portal that you will create later (door2). Then set the dimensions of the portal. One cube in the in-game portal editor has the surface dimensions of 128×128, so in this case I set the portal dimensions as 64×64, since the measurement stems from the center of the portal. Finally, set “start active” to Yes.
With the object selected, press ctrl-c to copy it. In the 3d view, find where you’d like the partner portal to be, hover the cursor where the center of the portal should be, and press ctrl-v. Adjust the object in the 2d views to the correct rotation, and snap to the grid. Finally, switch the names in the information to compliment the original portal.
Now you’ve succesfully added world portals to your map!
Playing and Publishing Map
To test your map, go to file, and click run map
It will bring up a menu. Click “Expert” at the bottom of the menu.
In this new menu, under configuration, select “default” if all you want to do is test the map to make sure it works. Click the “Go!” button to run the map.
If it doesn’t launch after it is done building, Open Portal 2, and in the console type “map (mapname)” with no parentheses. This will launch the map.
Once you’ve fixed all the bugs in the map, and it is completely finished, instead of selecting “default” under configuration, you’ll want to select “full compile -both -final (slow!)” This will compile the map as a .bsp file, which you will be able to upload to the workshop. Now hit the “Go!’ button
Now you’ve got a finished map file ready for upload!! It should save to SteamsteamappscommonPortal 2sdk_contentmaps
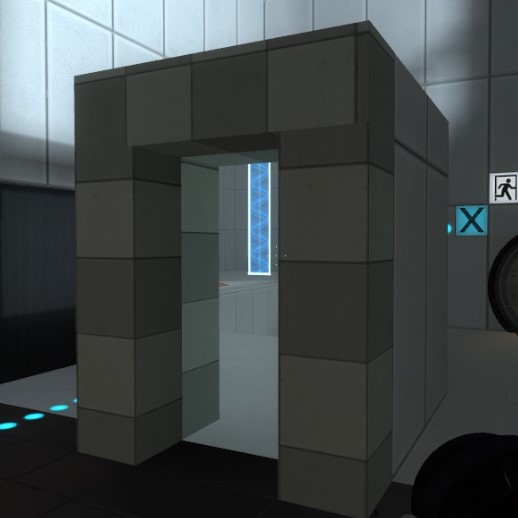
Here is what my world portal ended up looking like.
Uploading a map that’s been edited in Hammer is a little different than uploading one made entirely from the in-game editor. There is an application called “p2map_publish” within the portal files which can be found in SteamsteamappscommonPortal 2bin
Run this to upload your map. And you’re all done! Enjoy.


