Overview
A lot of people ask me how to install the BEE2 mod, and it’s actually simpler than you might think. This guide is to clearly explain how to work the BEE2 mod as well as install it. I really hope this helps some people, it’s a really useful mod. Feel free to leave some contructive critism or feedback!
How To Install The BEE2 Mod
You don’t need any pre-installed programs to run BEE2, everything shown in the guide should be all you need!
Also I’m making each step very very specific so this guide includes TONS of pictures but not many clear steps. I hope it makes it easier for you!
Get to the installation website, this link brings you to the right place:
[link]
The page looks like this


How To Use The BEE2 Mod
Exporting
Exporting is a HUGE part of BEE2, basically it’s a fancy word for moving the items you’ve set to the game, saving your changes. All you need to do this is simply just go into the File section, and click Export. If you change your items but forget to export they won’t appear, remember to export! Very crucial.
Setting Your Item Choice (Or Your Palette)
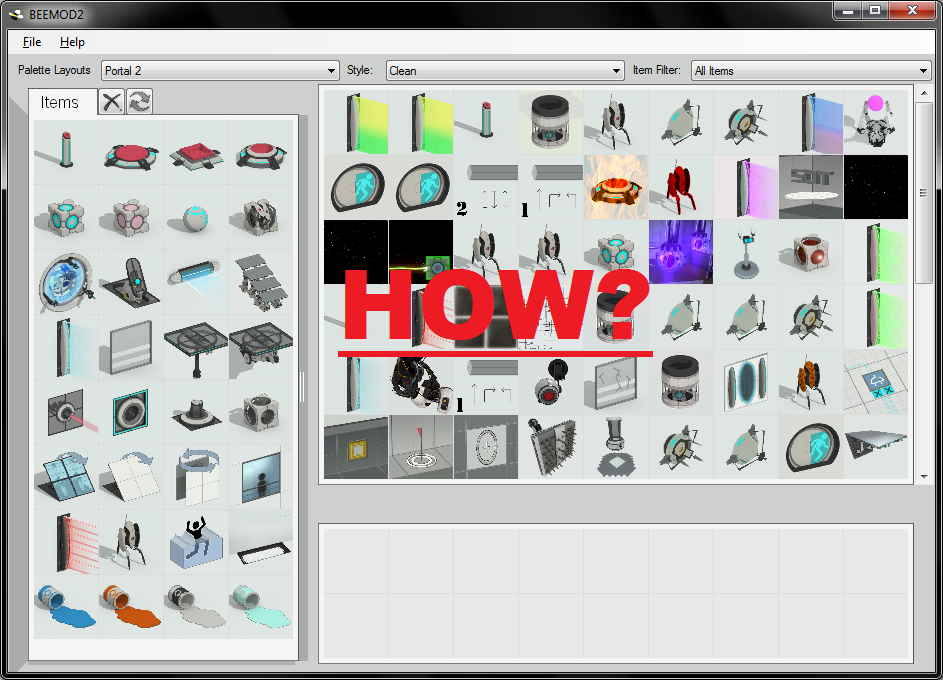
This is the main attraction, every item on the right you can click and drag to the menu on the left, this is where your PTI palette is. Once you have changed the PTI palette, go to File, click Export, and you’ve changed your PTI set! Feel free to try every item!
Saving Palettes
In File, you’ll see something saying Save, don’t confuse it with Export. Save only saves your item palette, you can use it at any time by looking through Palette Layouts. Styles may occasionally get rid of some items from your palette, but don’t worry, this won’t change the save.
Styles
Above the BEE2 items you’ll see Style: and a bar to set said Style. Using this section you can change how your chamber looks, once you create a chamber in the Perpetual Testing Initiative, it will change to that style. Don’t be fooled by PTI looking clean once edting, when you test-run it it’ll change.
Tips And Tricks or FAQ’s
The Living Panels
Okay so the living panel and large living panel have the same functions and rules, they’re simply just different sizes. The living panel’s icon is a laser beam whereas the large living panel is represented by a lift. The checked Start Open option is basically the most useful convenience wise. The Start Open check is really two different types, when unchecked the panels have different animations and crazy broken/haunted living panel functions according to the number. But when Start Open is checked, the panels start at different heights. I’ve measured these and 3 with Start Open checked is about as high as one cube, making it useful for setting Reflection Cubes on to reach lasers one notch higher than the floor. 4 is a half block, 5 is a full block, and the rest get obscure, luckily I’ve made these images for reference. The top is large living panels, bottom is living panels.
To Place Bomb Droppers
To place bomb droppers, here’s what the icon looks like:


